
{“This blog post contains sponsored content. It reflects my personal views and opinions on the products.”}
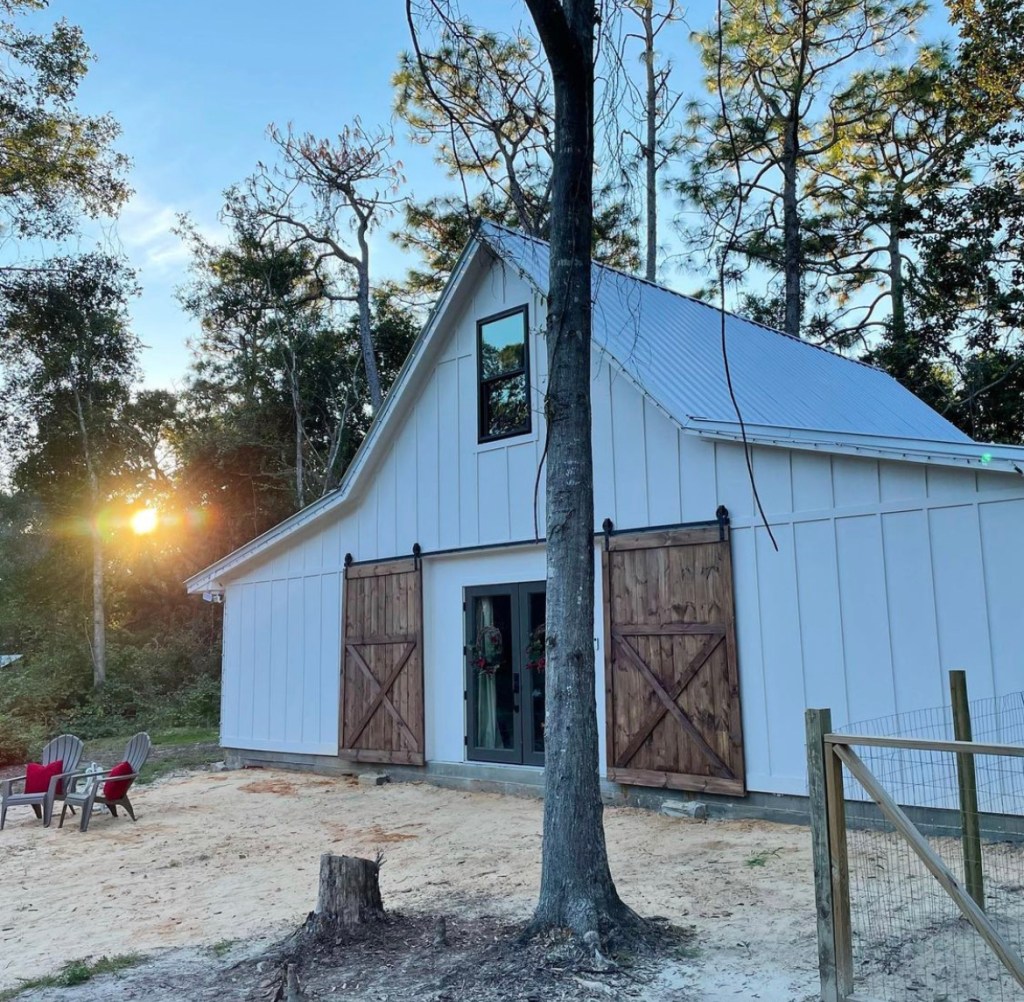
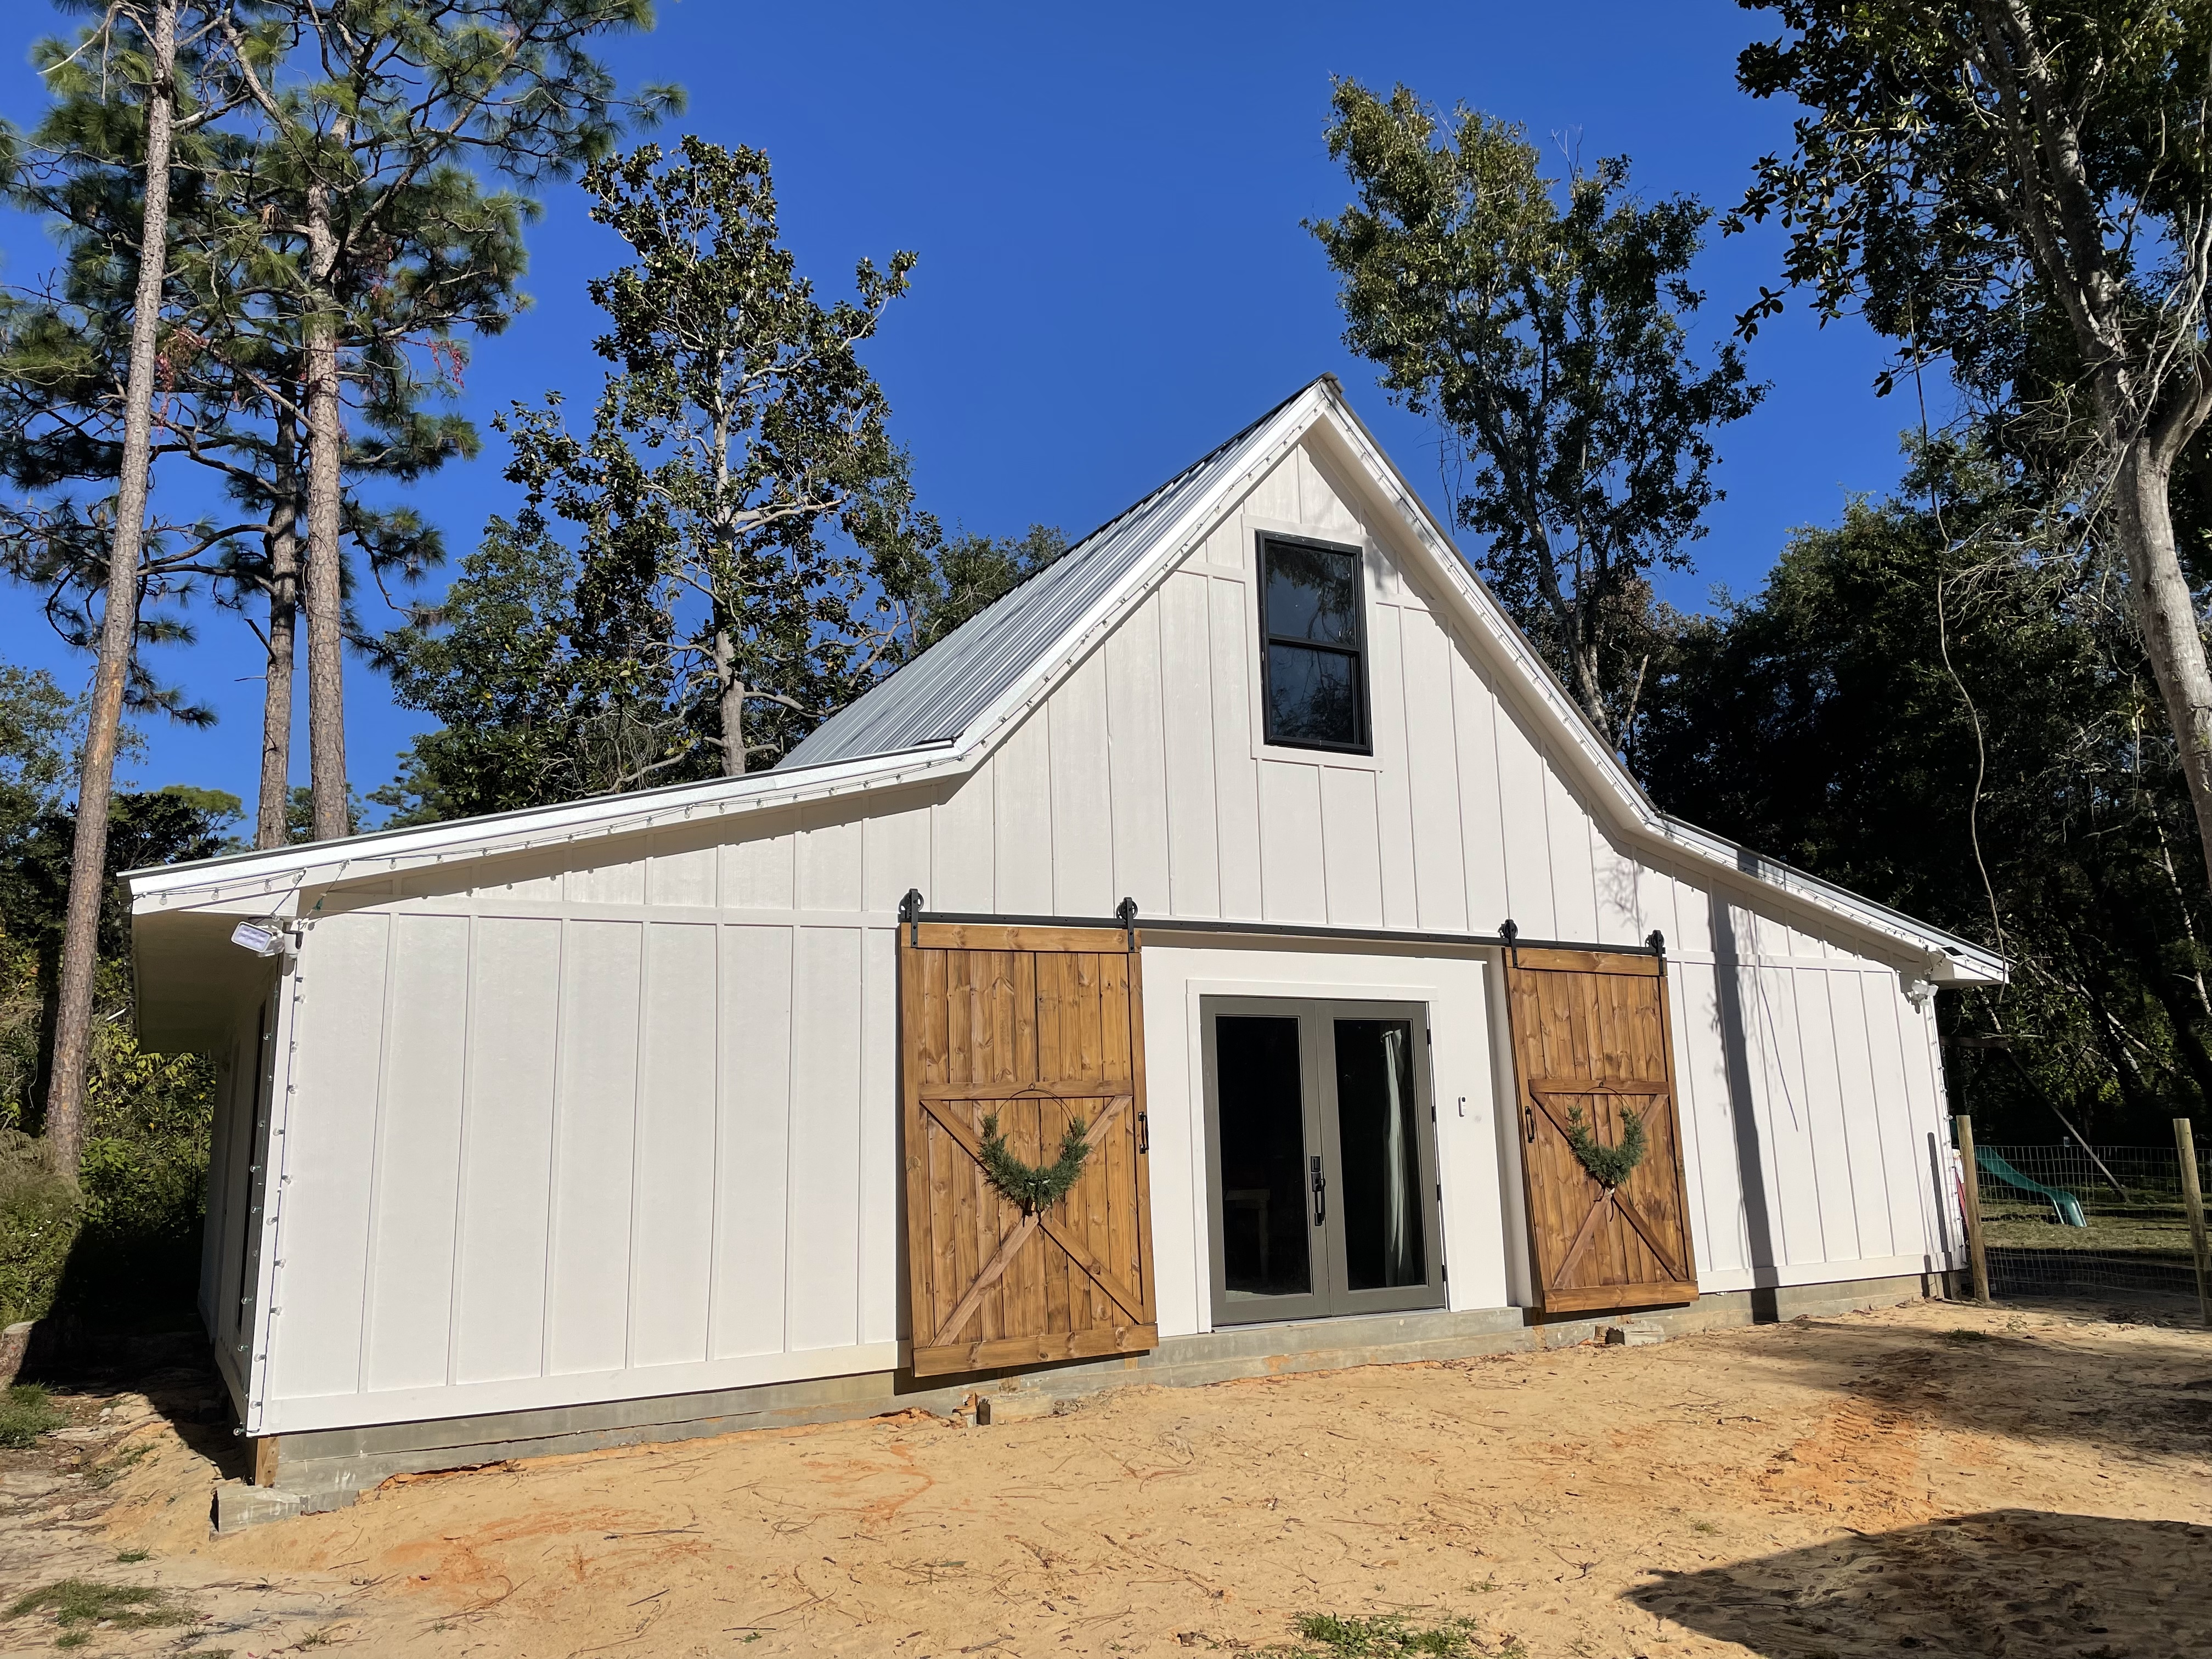
I am always looking for ways to character to my home. What about you? Hardware is one way to add character to your home and instantly elevate your space! Today, I want to take you through our self-built barndominium (completion date is Dec 2023) and share how we have upgraded our hardware with Ageless Iron. (Front porch and side porch (3) completion date is spring 2024.)

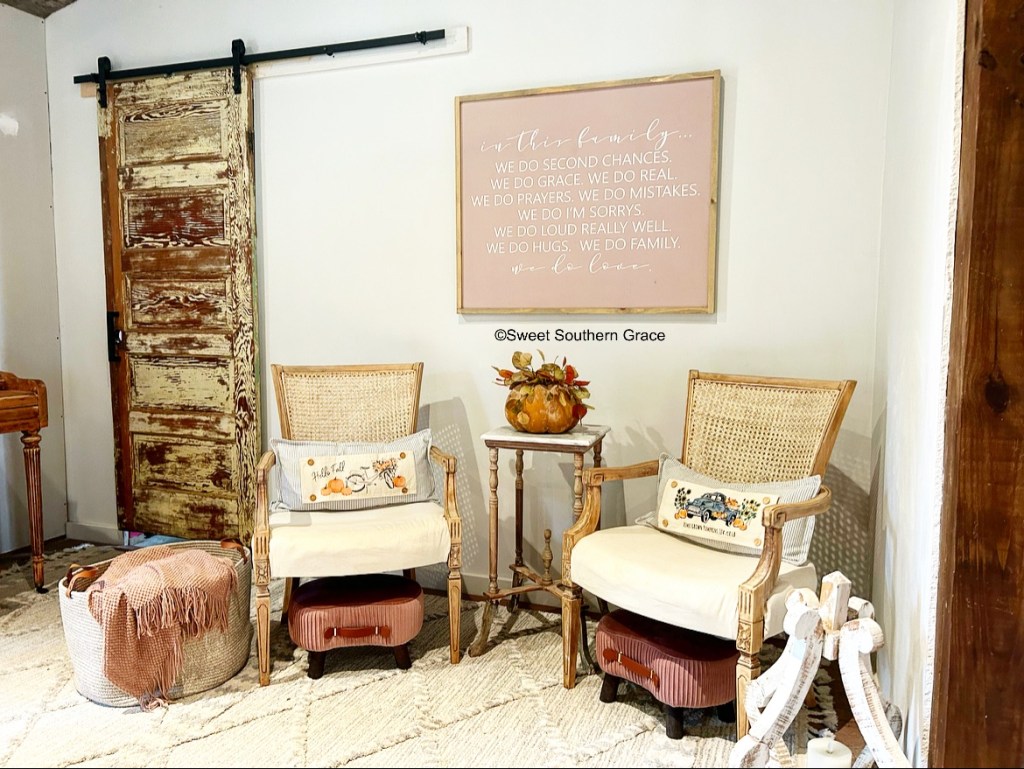
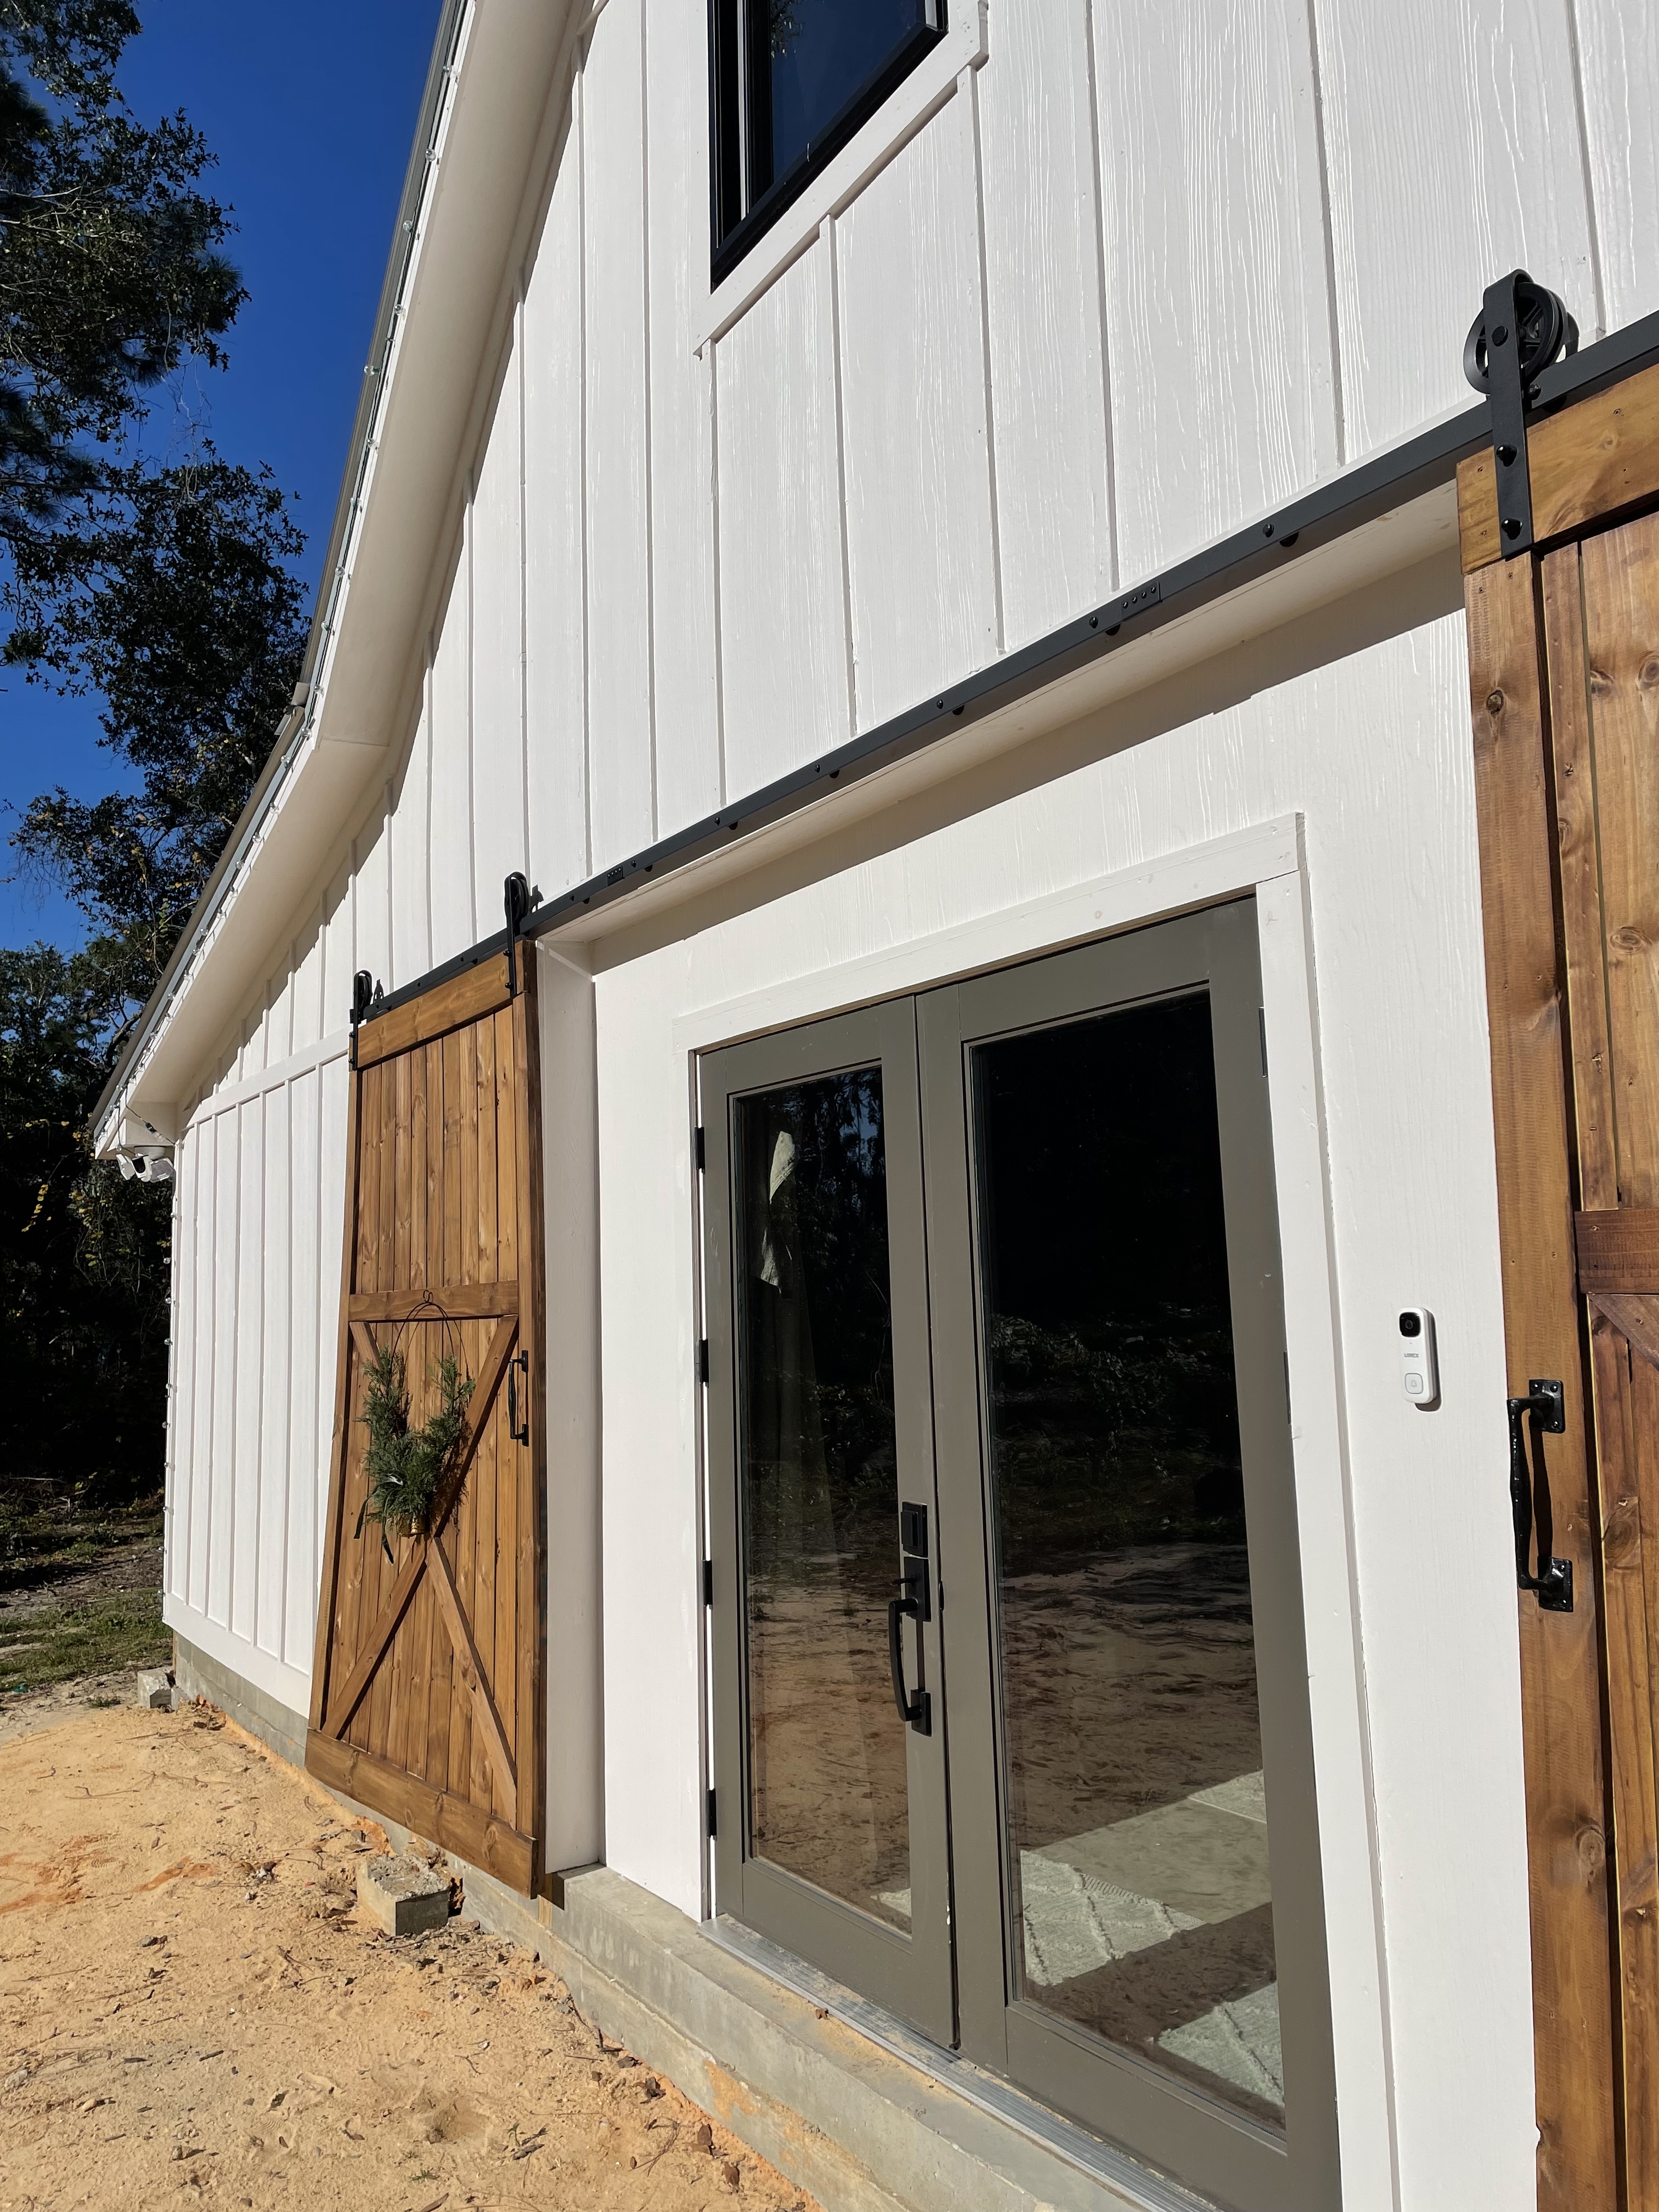
Come on in! Let me share, how these modern, rustic door handles complete our doors and give off a, polished look, in our barndominium.

Your Home’s Style
Unsure of how to start choosing out your hardware? Just think about your home’s style and look for options that compliment that style. Our double front doors are more of a traditional look but, I knew I wanted to achieve a more modern, rustic look with Ageless Iron’s Keep Long Plate Entry Set with Lance Lever.

I wanted hardware that blends with modern, rustic farmhouse. I fell in love with it’s hand finished iron that reflects it’s unique surface texture. I believe that with the hardware’s sophisticated black color, will remain timeless, season after season. Our hope is that our Great-Grandchildren will be turning the handle on that door someday!
The knob is an oval shape which I find, oh,so timeless. All of these characters work well in our barndo interior details, making a seemless flow, artistically throughout our home.

Mix or Match
I need to admit, I stayed on the “Match” trail for quite some time. Ask my older two (adult) children! It was the nostalgia folks!

These days, I say, “Mix”, to an extent. While I am drawn to keeping things consistent, in this house, I have really enjoyed seeing my artistic abilities come to life!

I chose the Black Iron Barn Door Grip for passages with our barn doors, like our Pantry Door and our Laundry Room Door.
Mixing Finishes
While the finishes on all door hardware is black, I did choose to mix finishes, such as gold, with other accessories in our home, like lighting or bathroom finishes. In my opinion, I think it is nice to keep door hardware finishes consistent so the home feels cohesive.
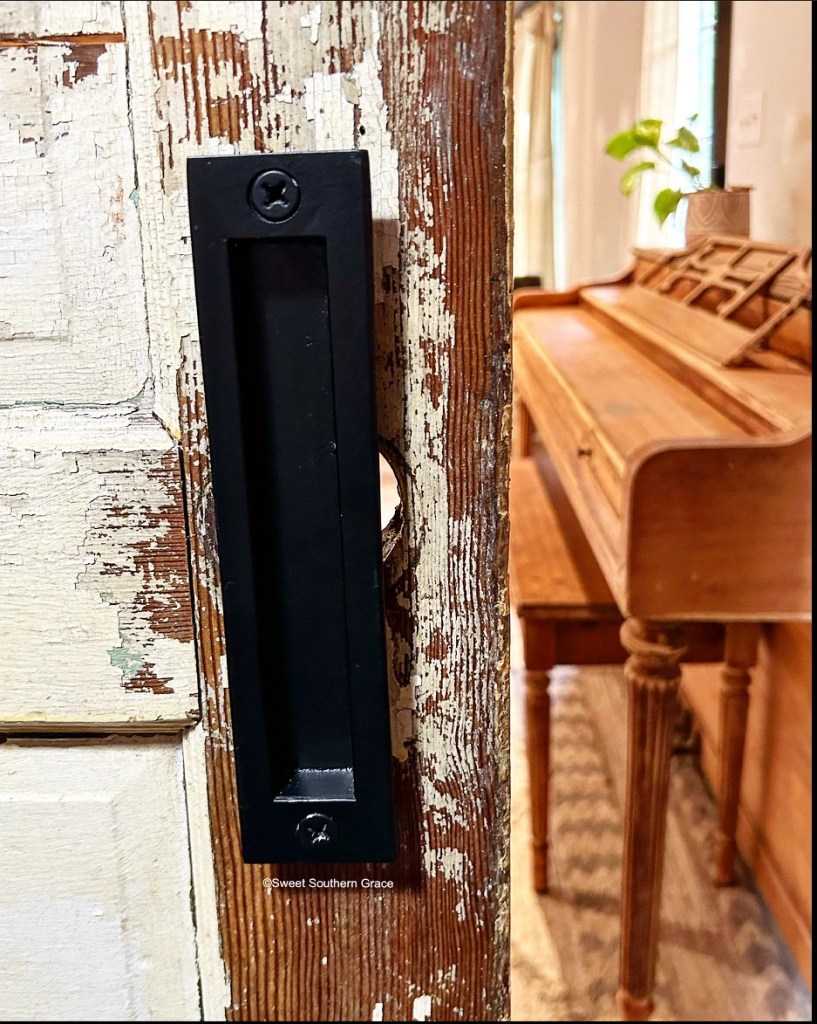
Below is the Black Iron Barn Door Pull.

In the photo below, you will find the Black Iron Barn Door Flush Pull.
Thanks For Stopping By
I am so glad you stopped by and I hope you enjoyed seeing our new hardware from Ageless Iron. They have many different styles that you can shop on the site, here.
If you don’t already follow me on social media, follow the links and subscribe so that you don’t miss any upcoming posts!


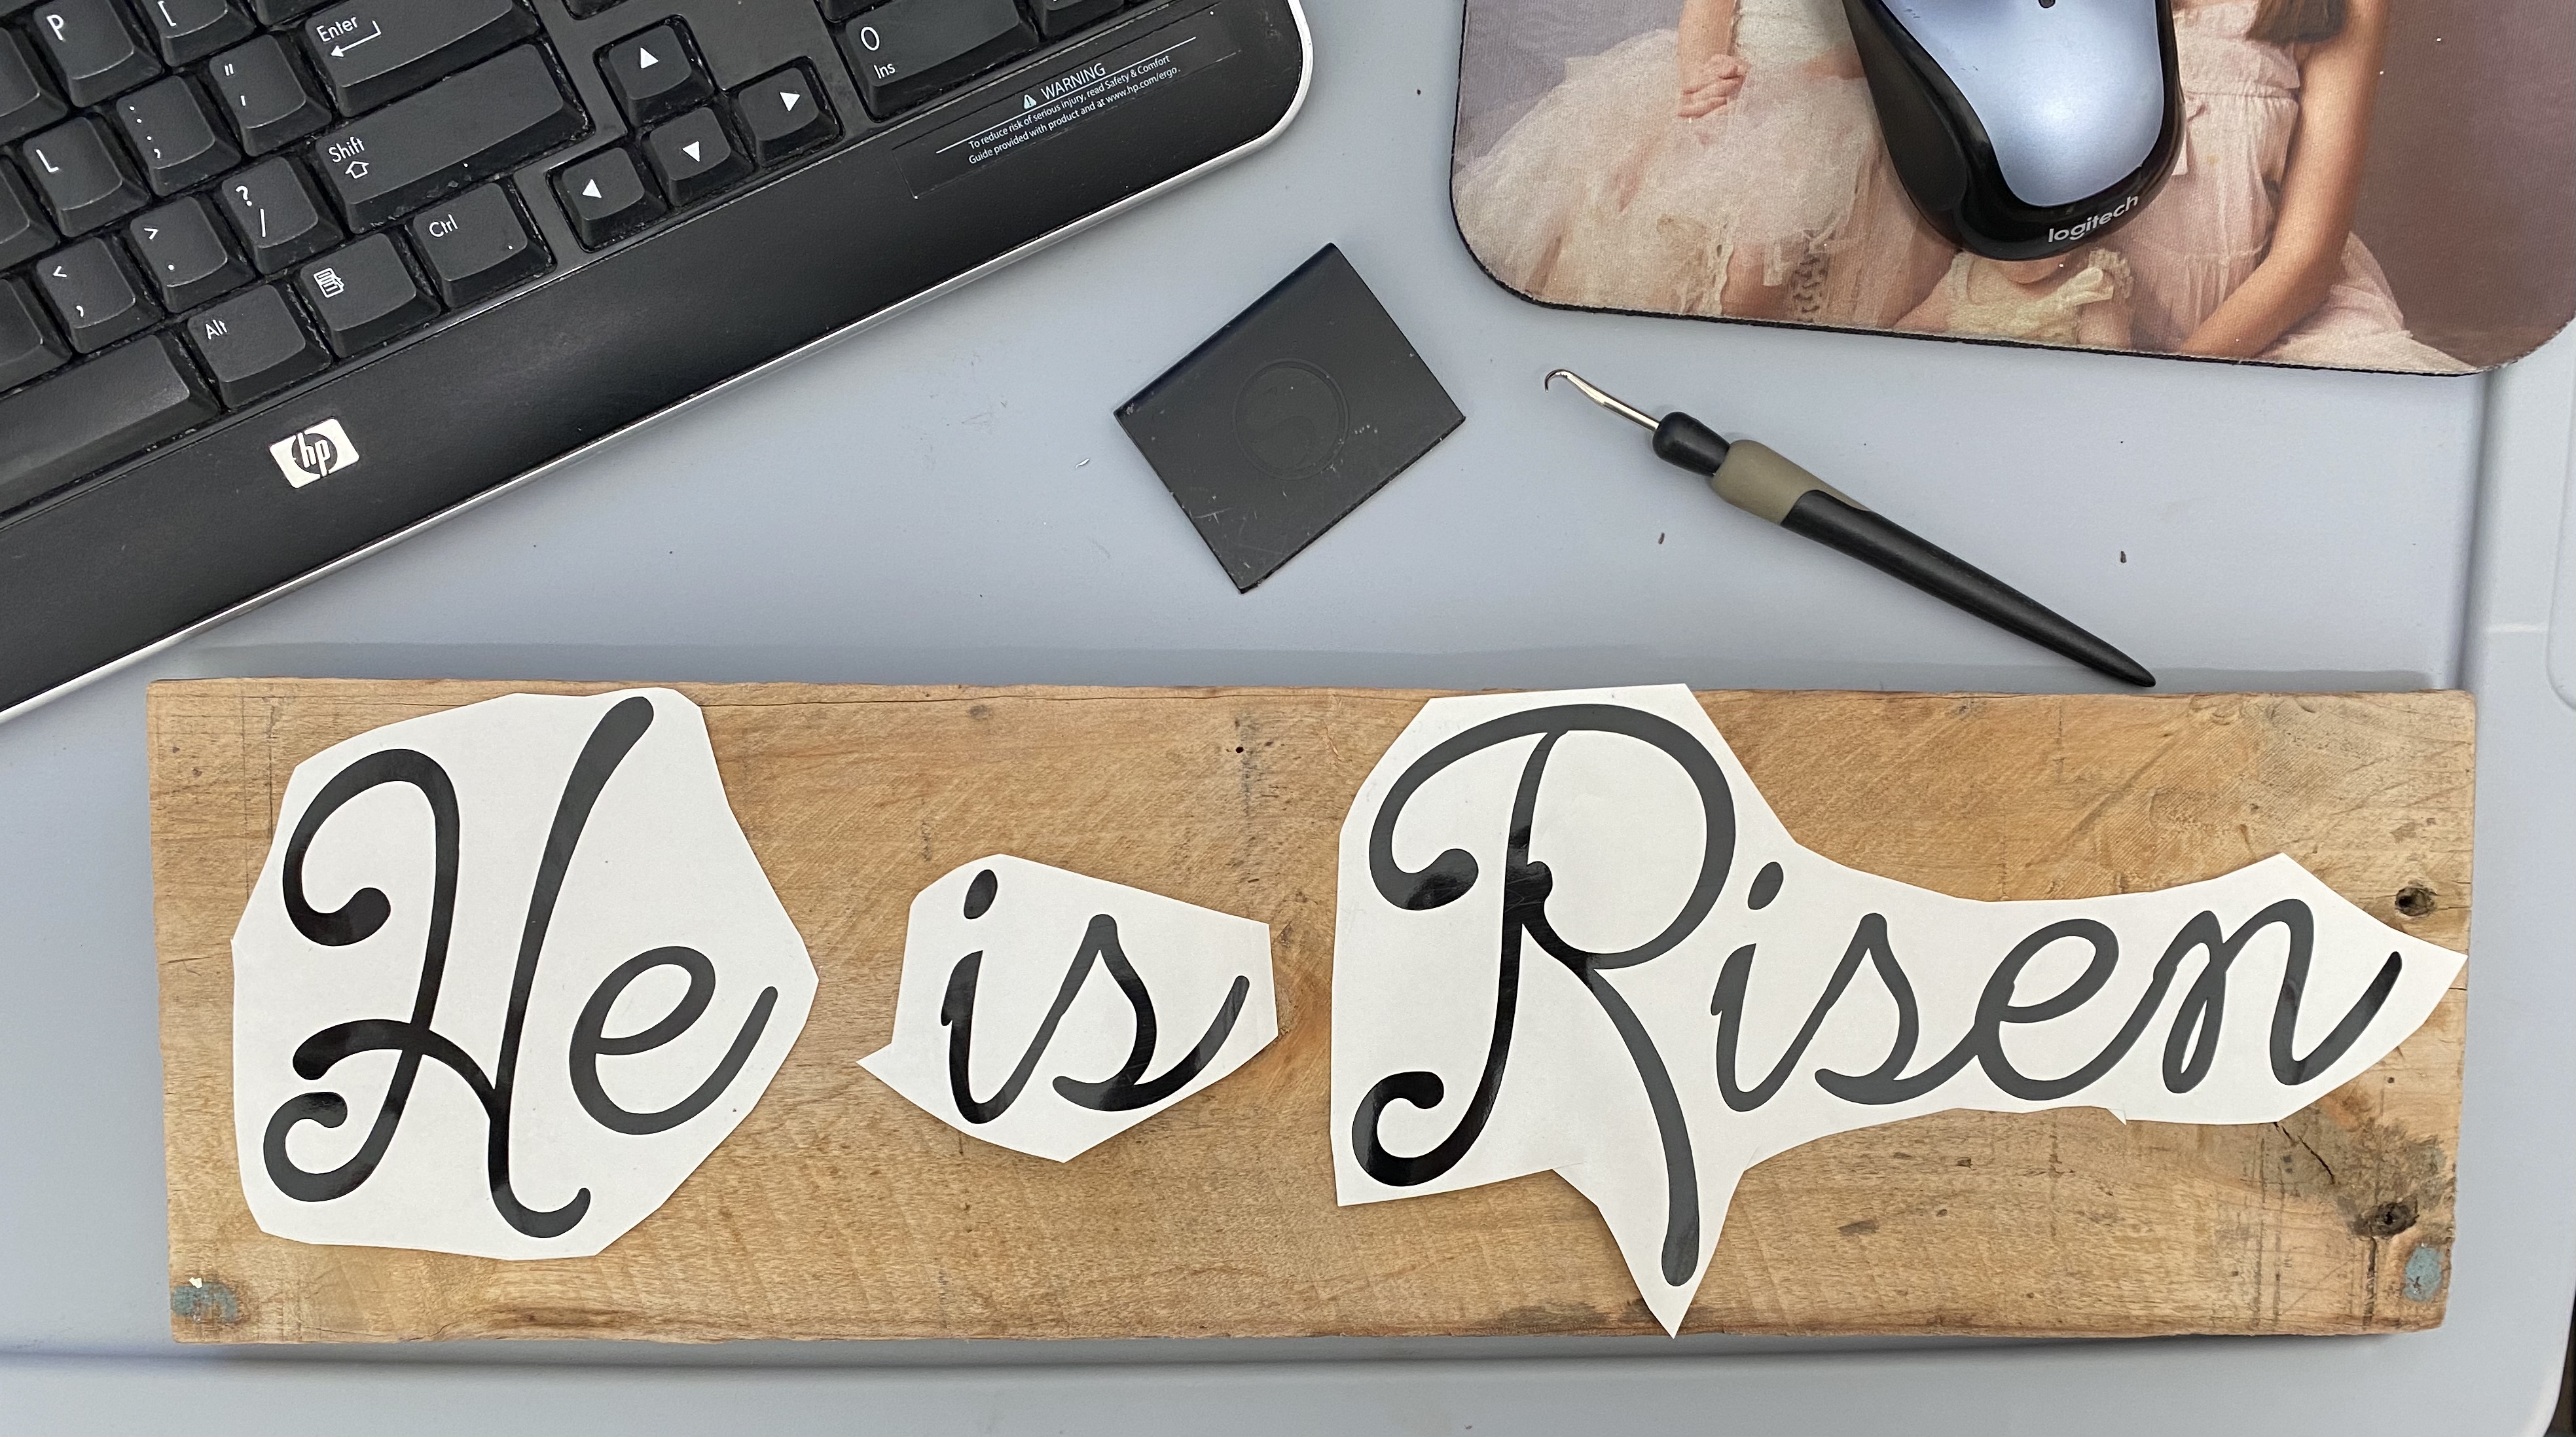
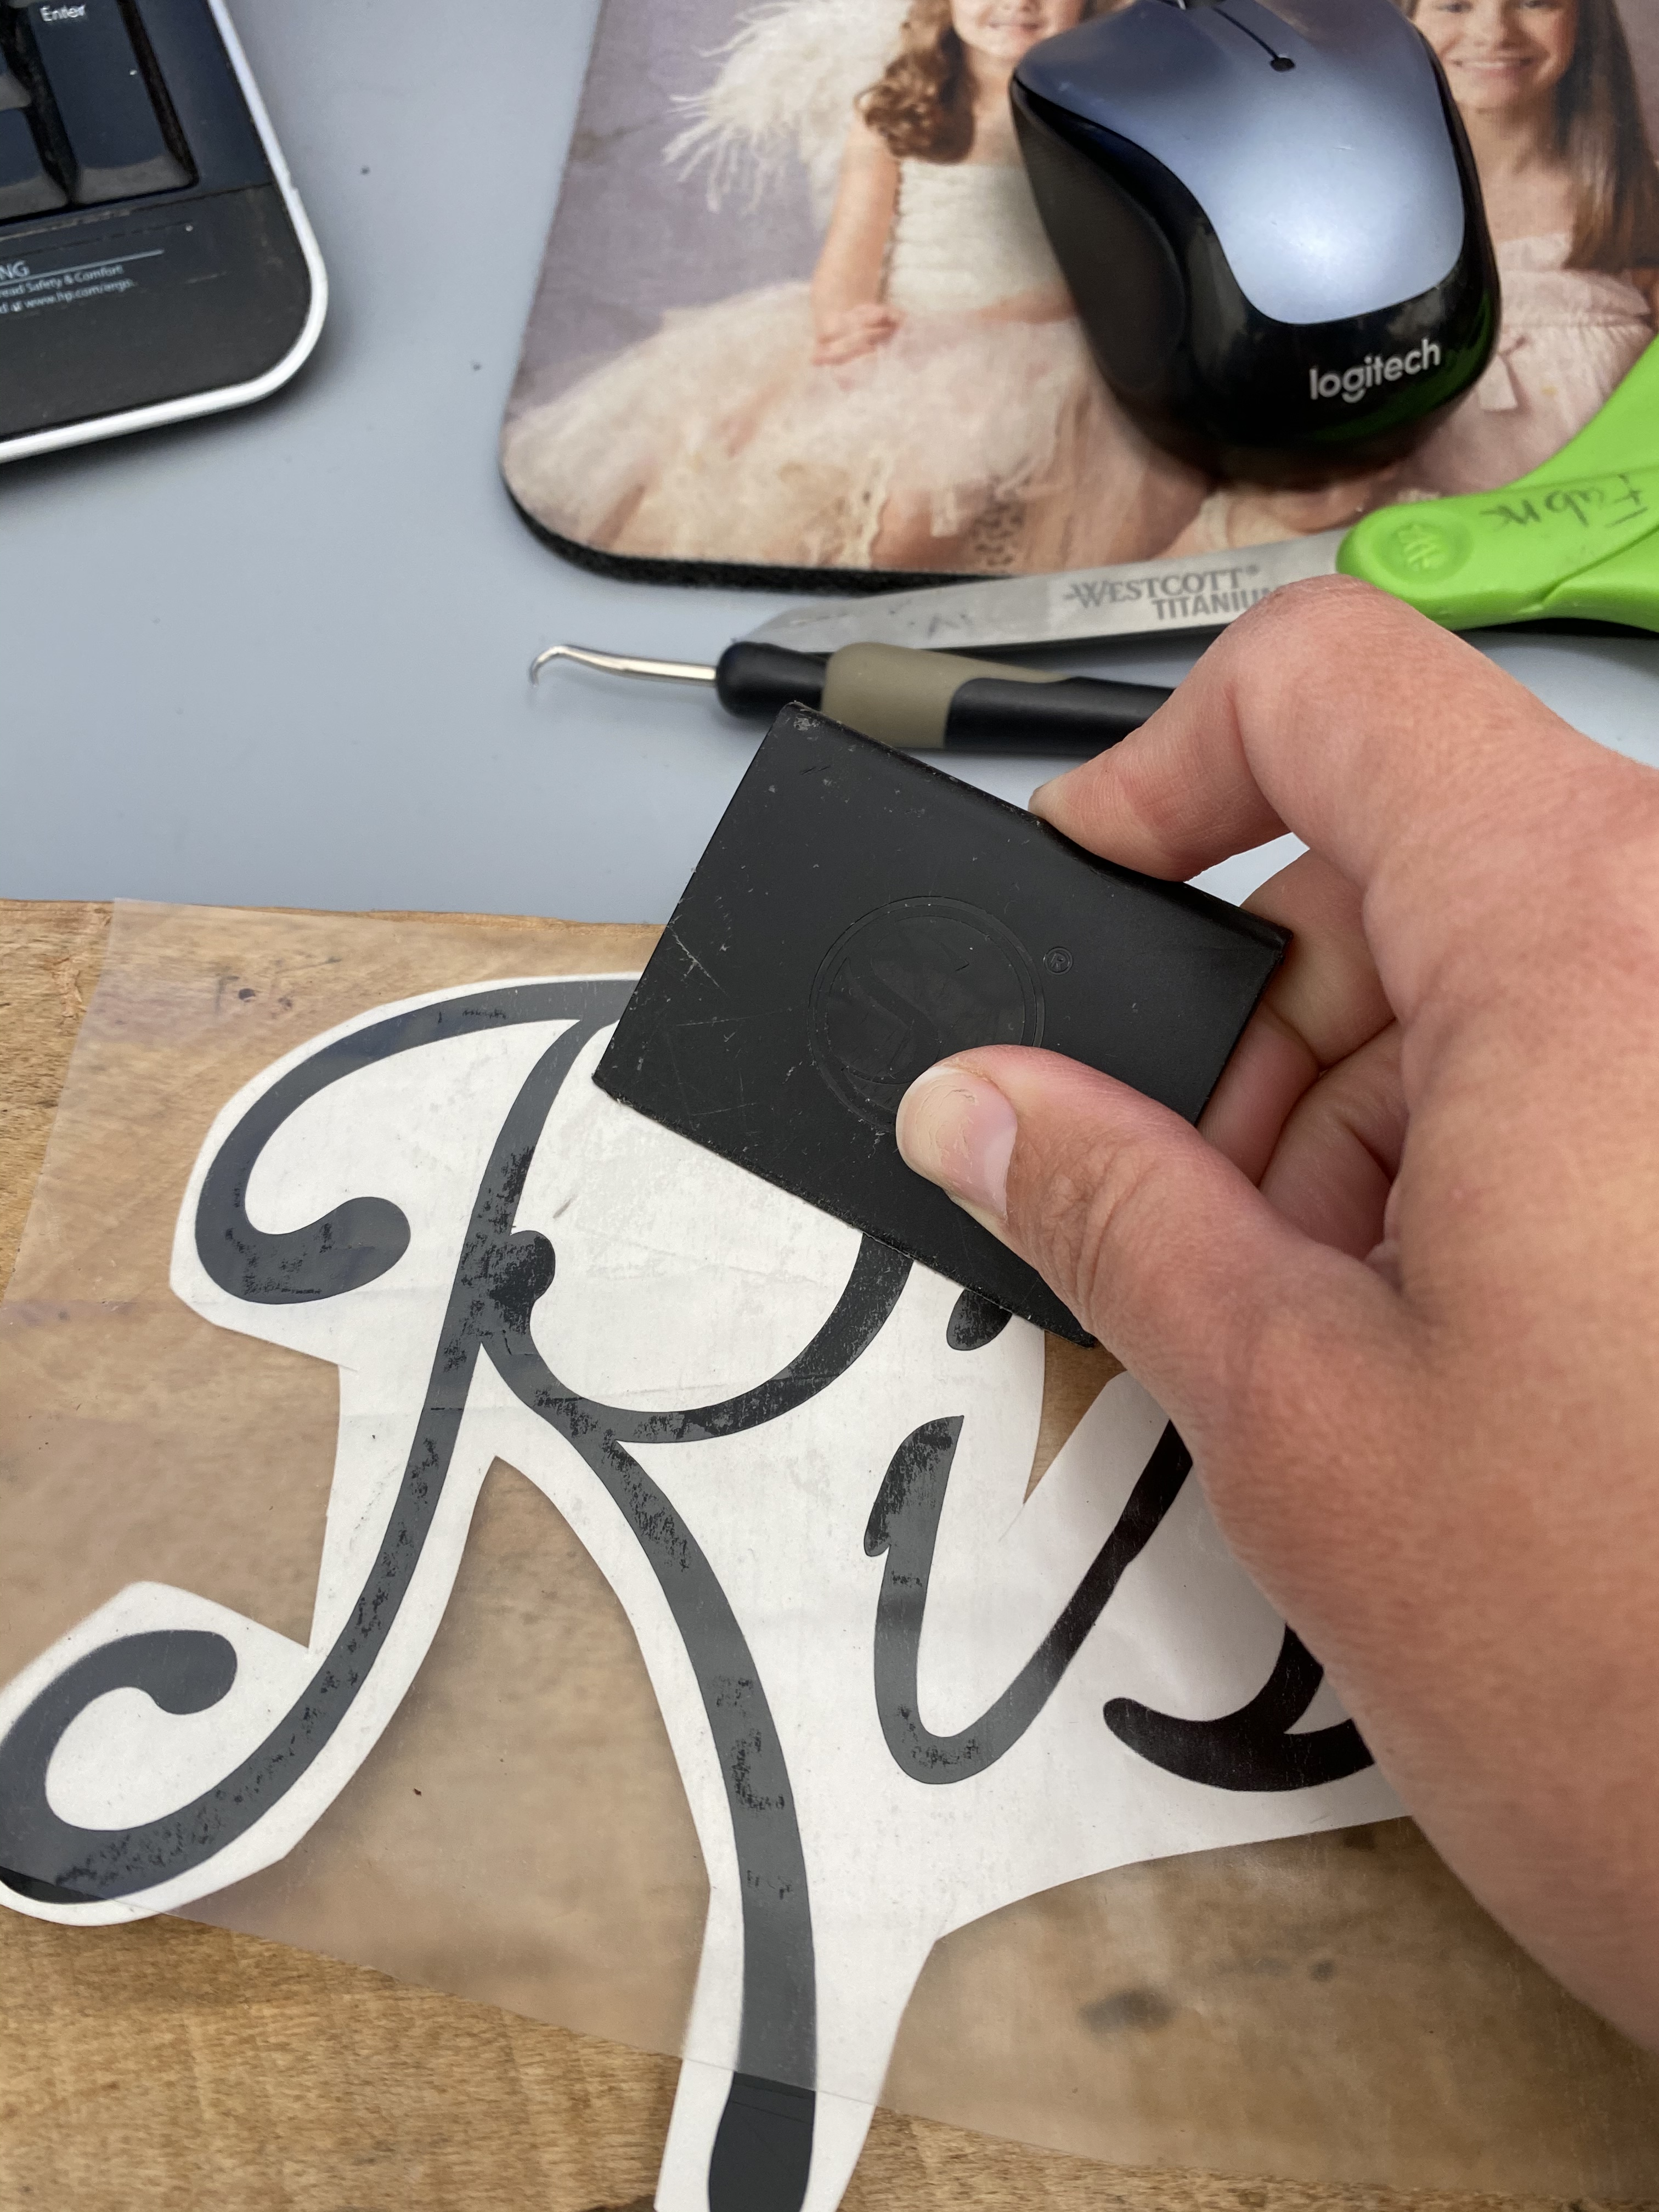
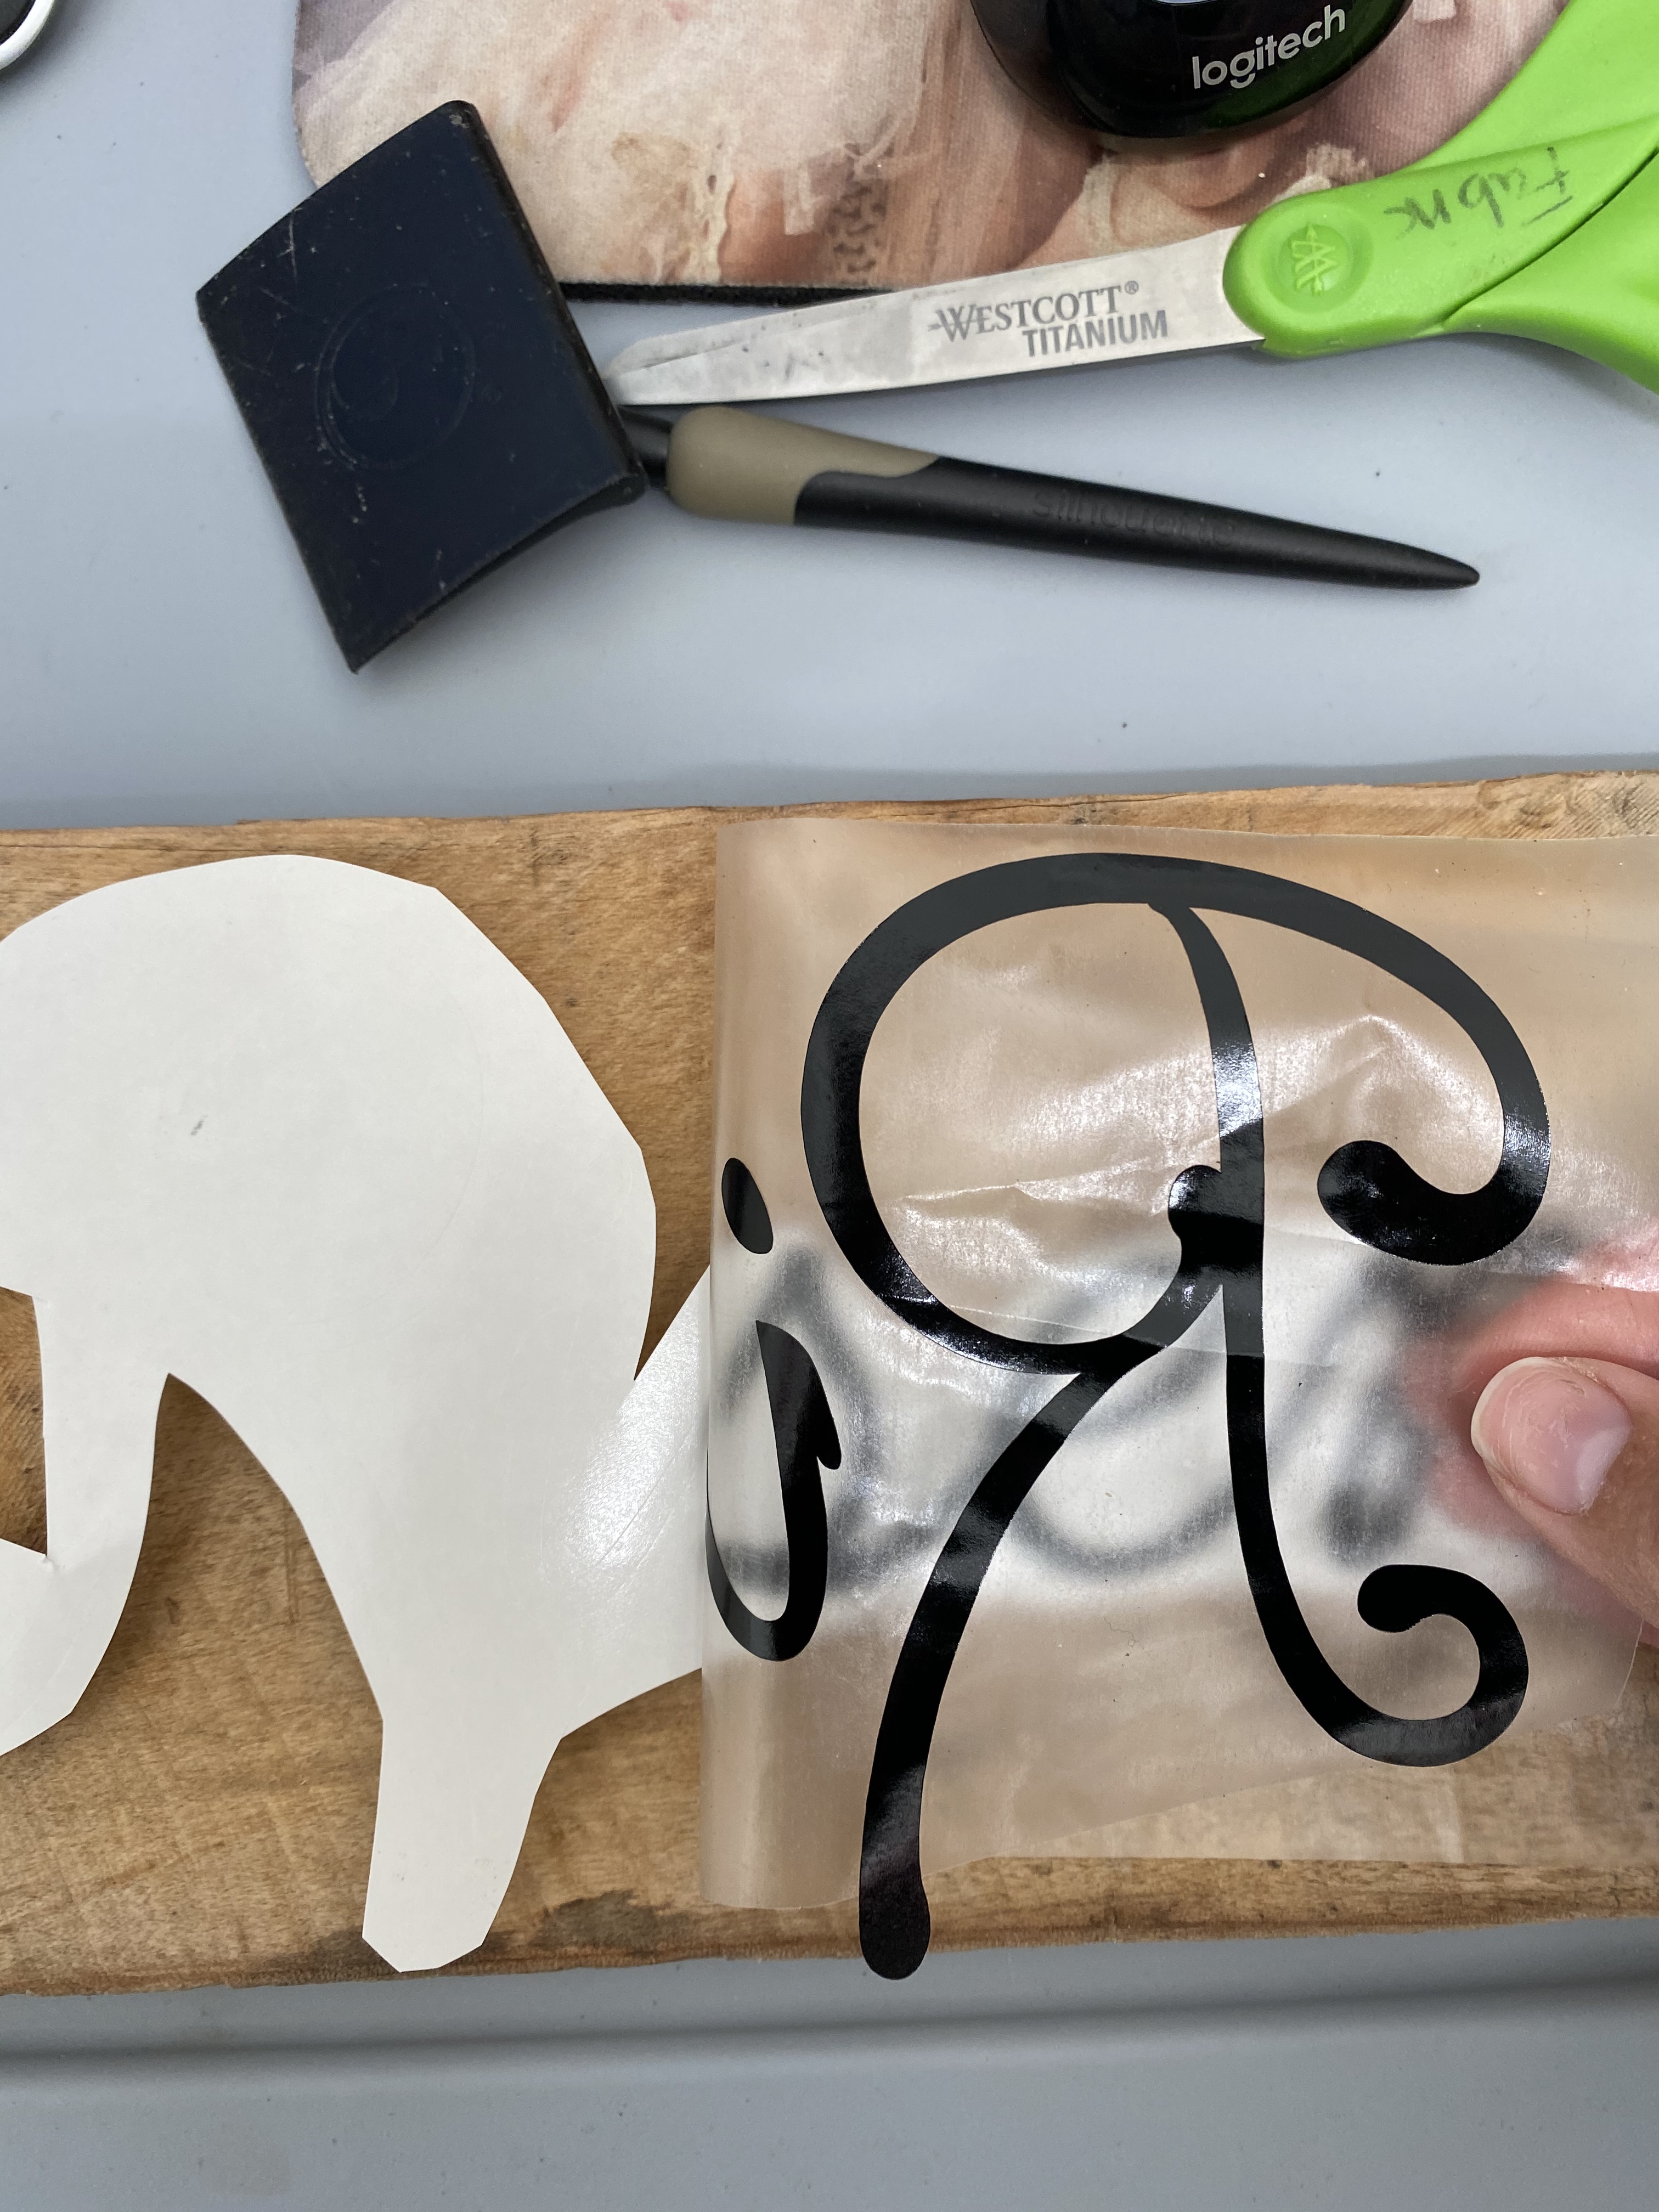
 I decided I could use the back of this sign for a different sign. The first vinyl design did not work out due to the size and file of the vinyl design. I realized this AFTER designing the entire design.
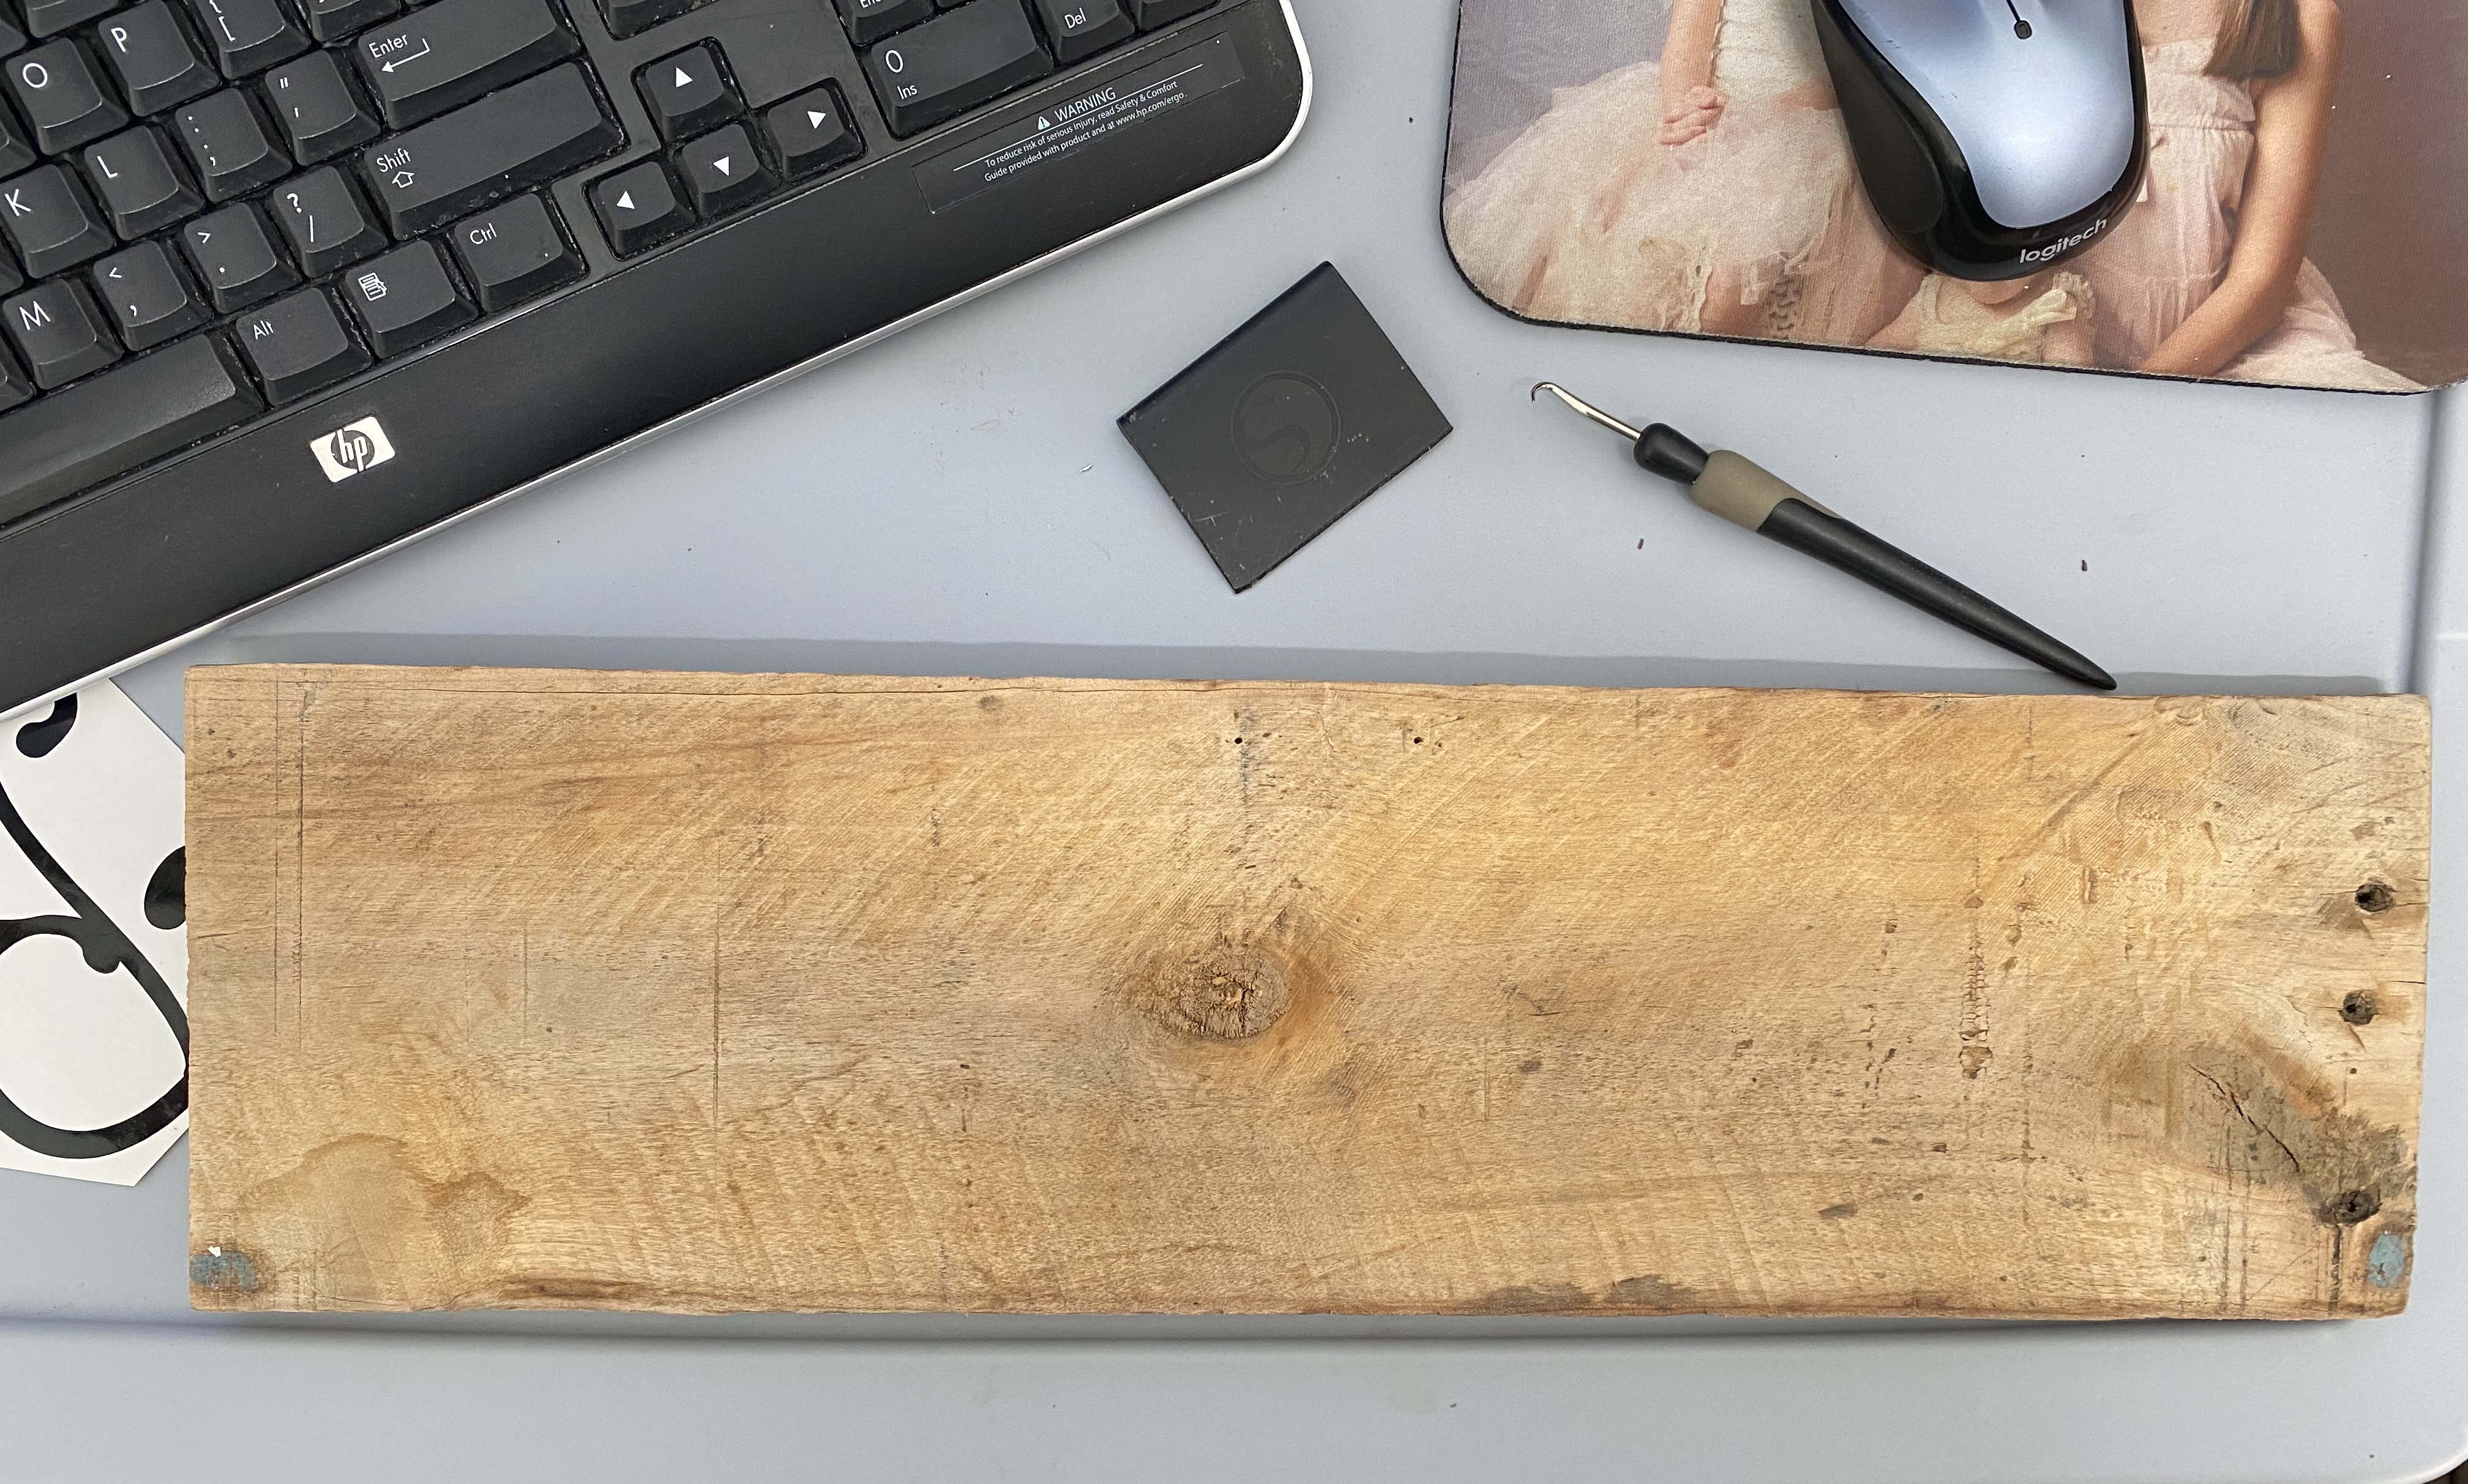


You must be logged in to post a comment.