{This post contains sponsored links from Abound Aesthetics. All thoughts, views and opinions are my own.}
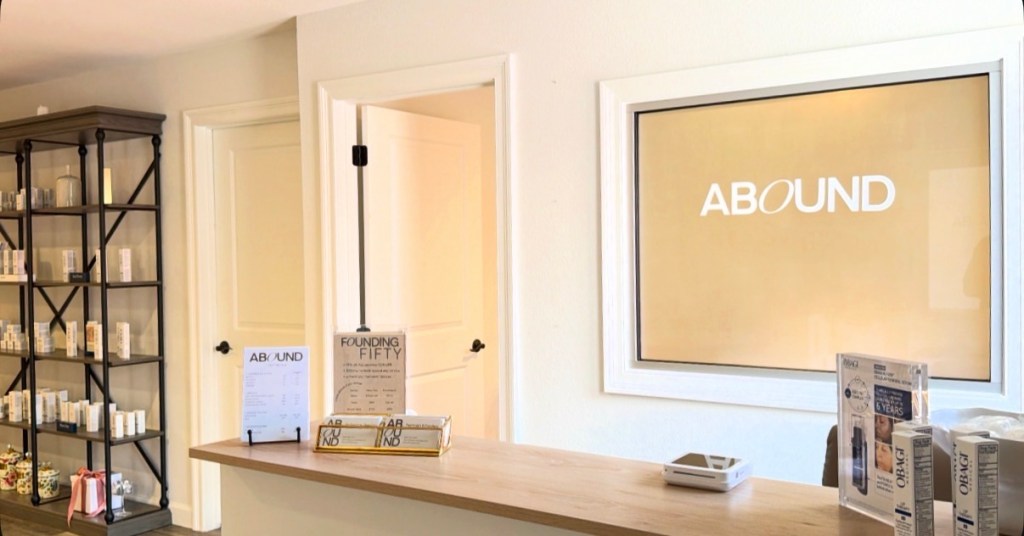
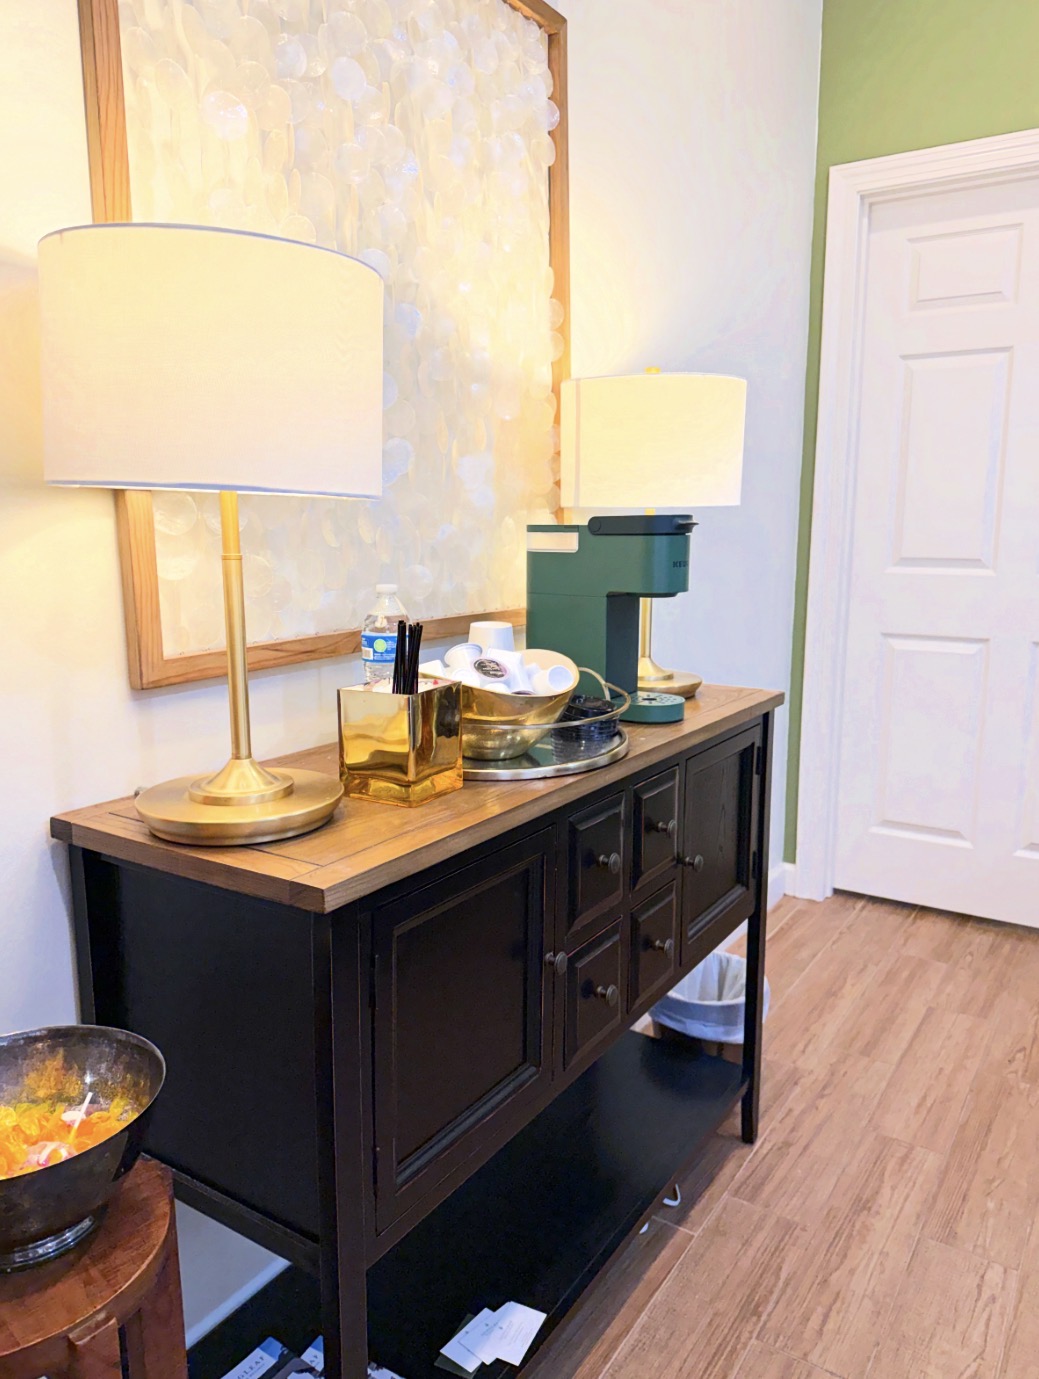
Abound Aesthetics Lobby
For years, I’ve tried different skincare products-hoping to calm redness, improve my skin, and slow the beginning signs of aging.
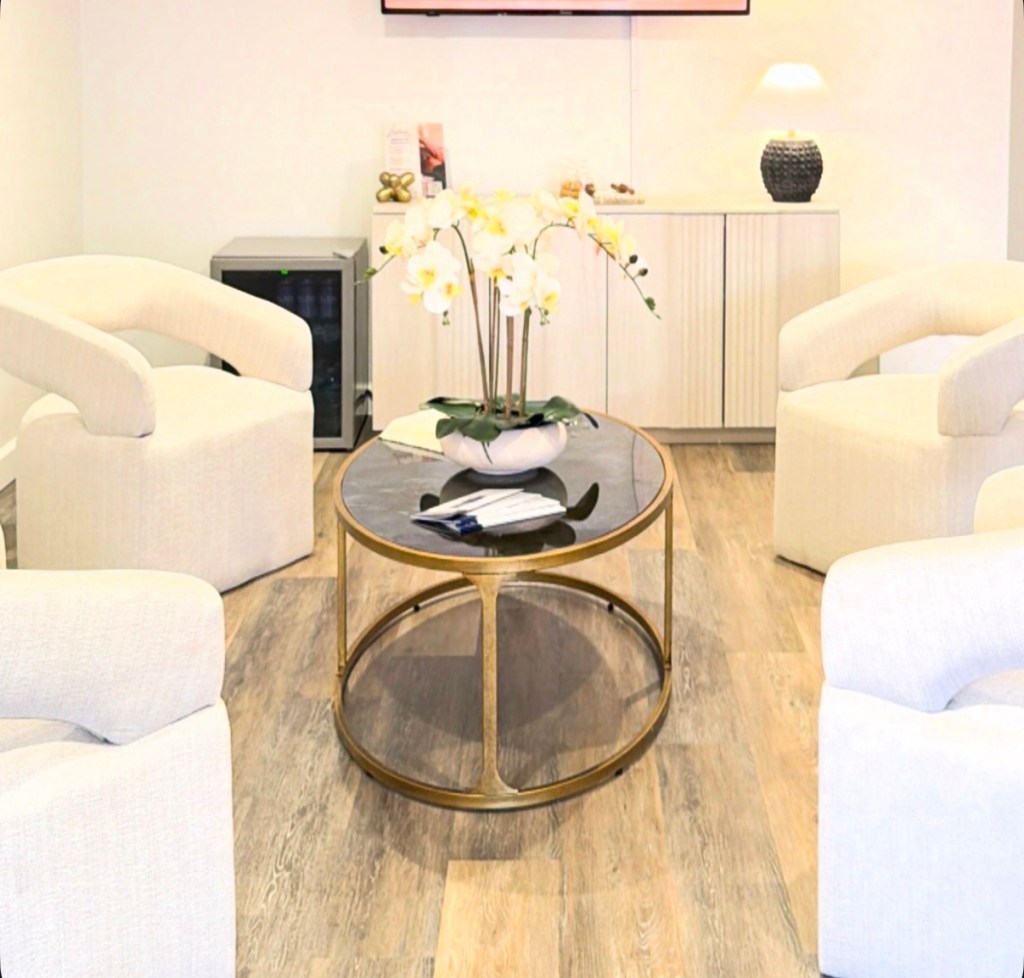
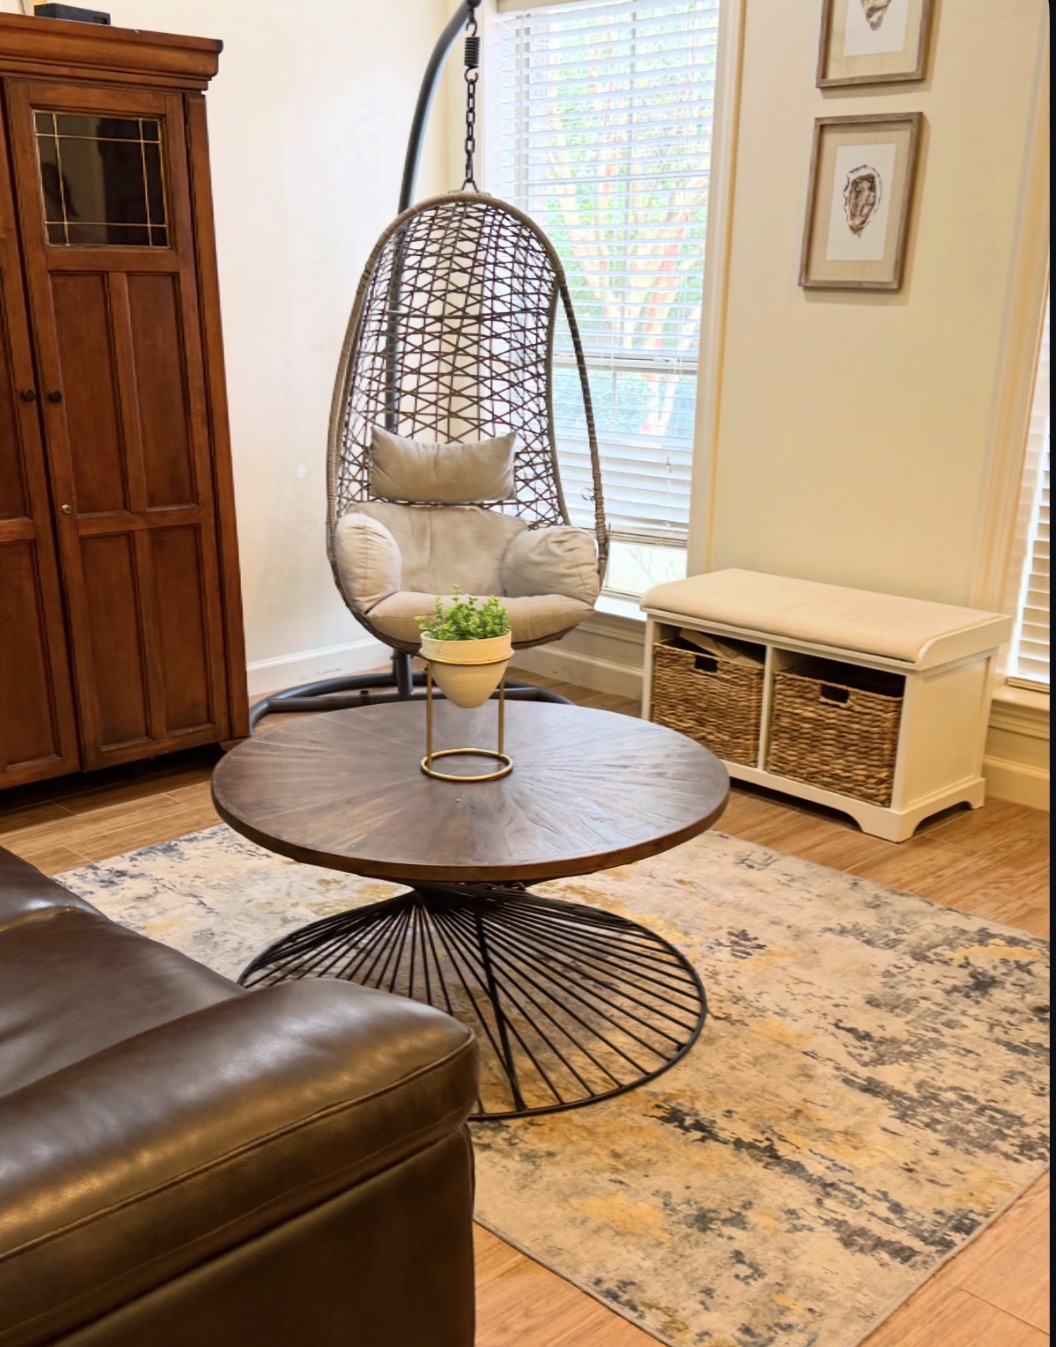
Waiting Area
My recent consultation at Abound Aesthetics Med Spa taught me differently.
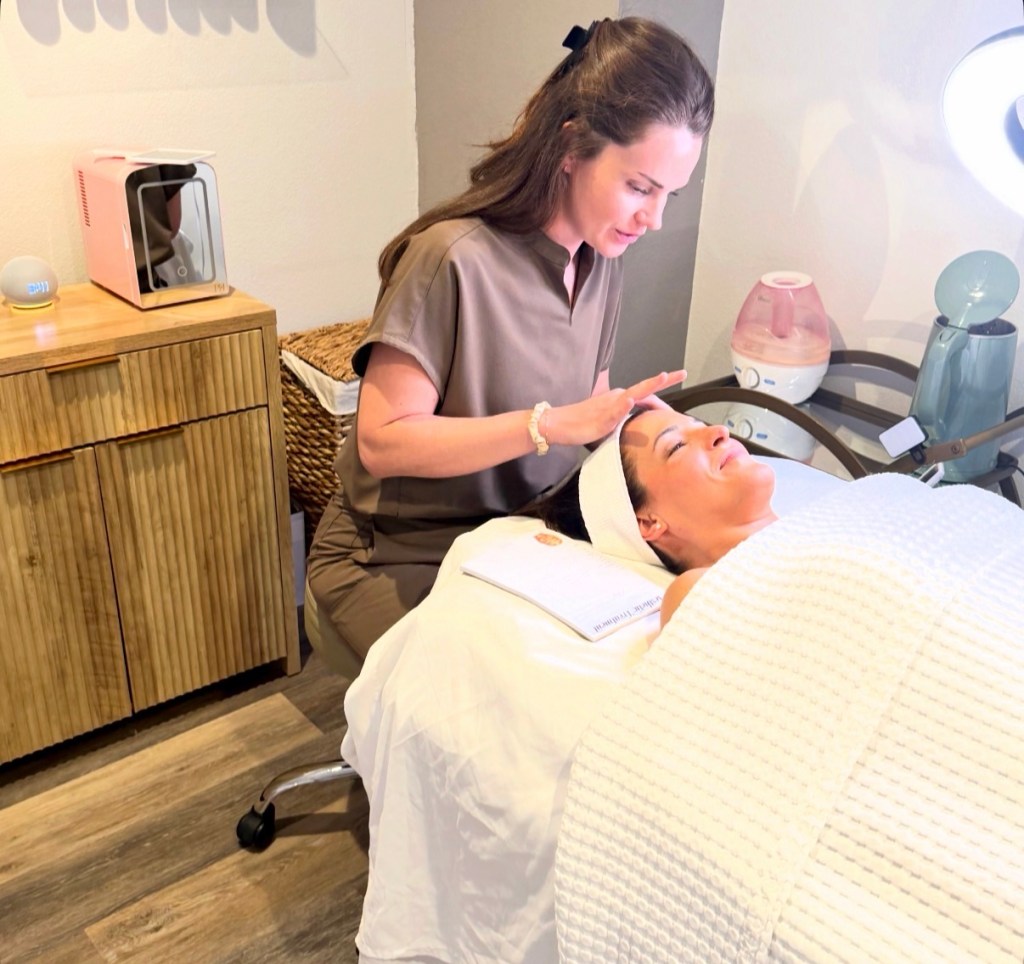
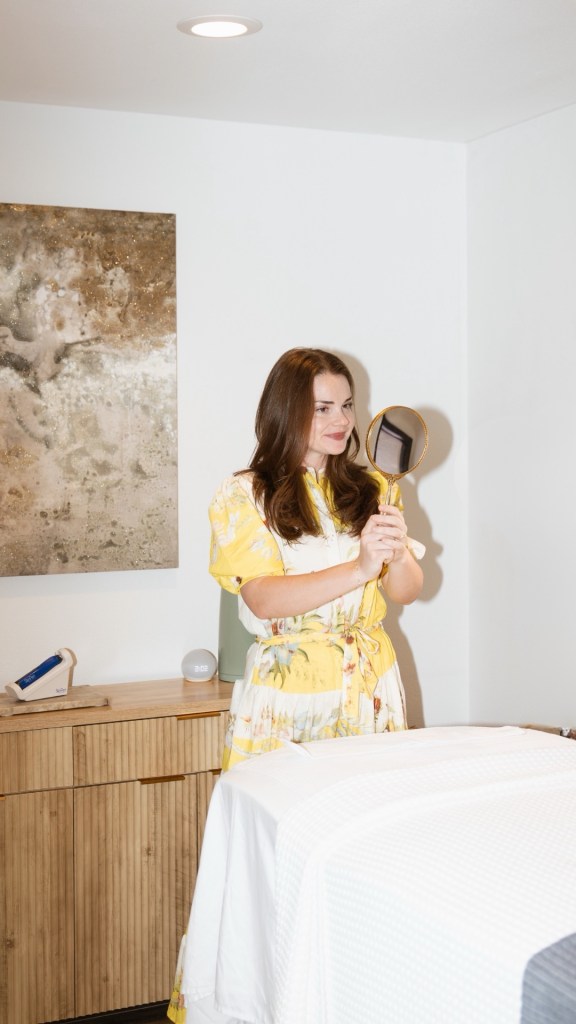
Skin Consultant
After evaluating my skin concerns, Hannah identified two primary goals: calming rosacea and supporting healthy aging. What surprised me most was how simple the recommended plan was for me to do on a daily basis.
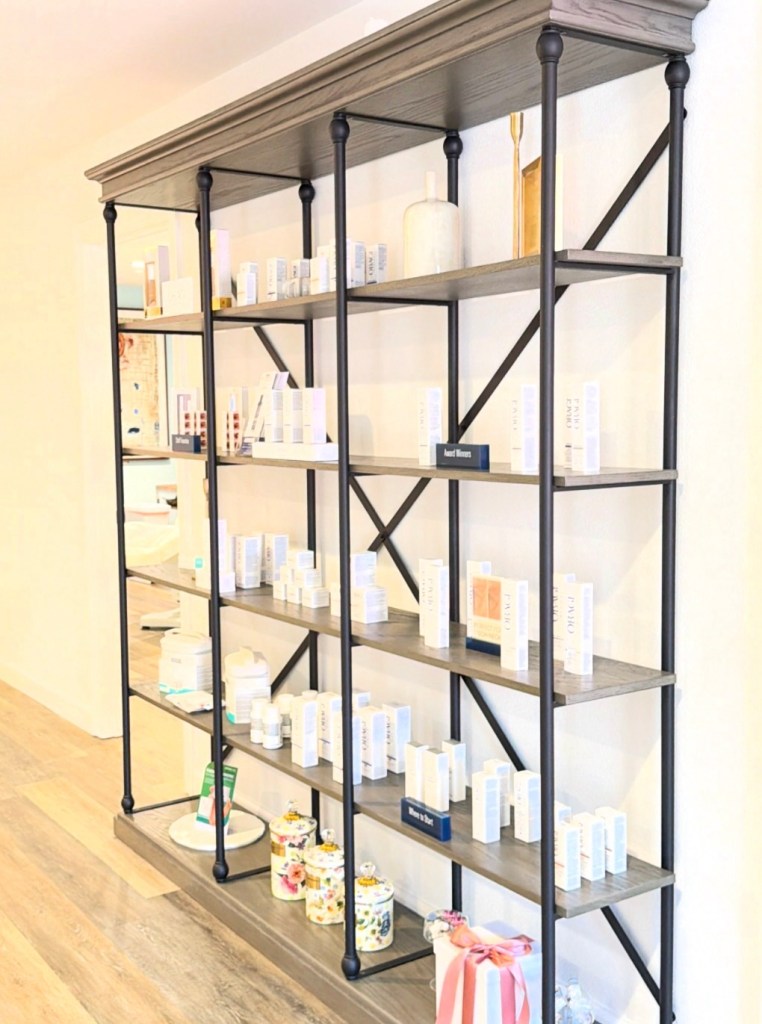
Products for Purchase
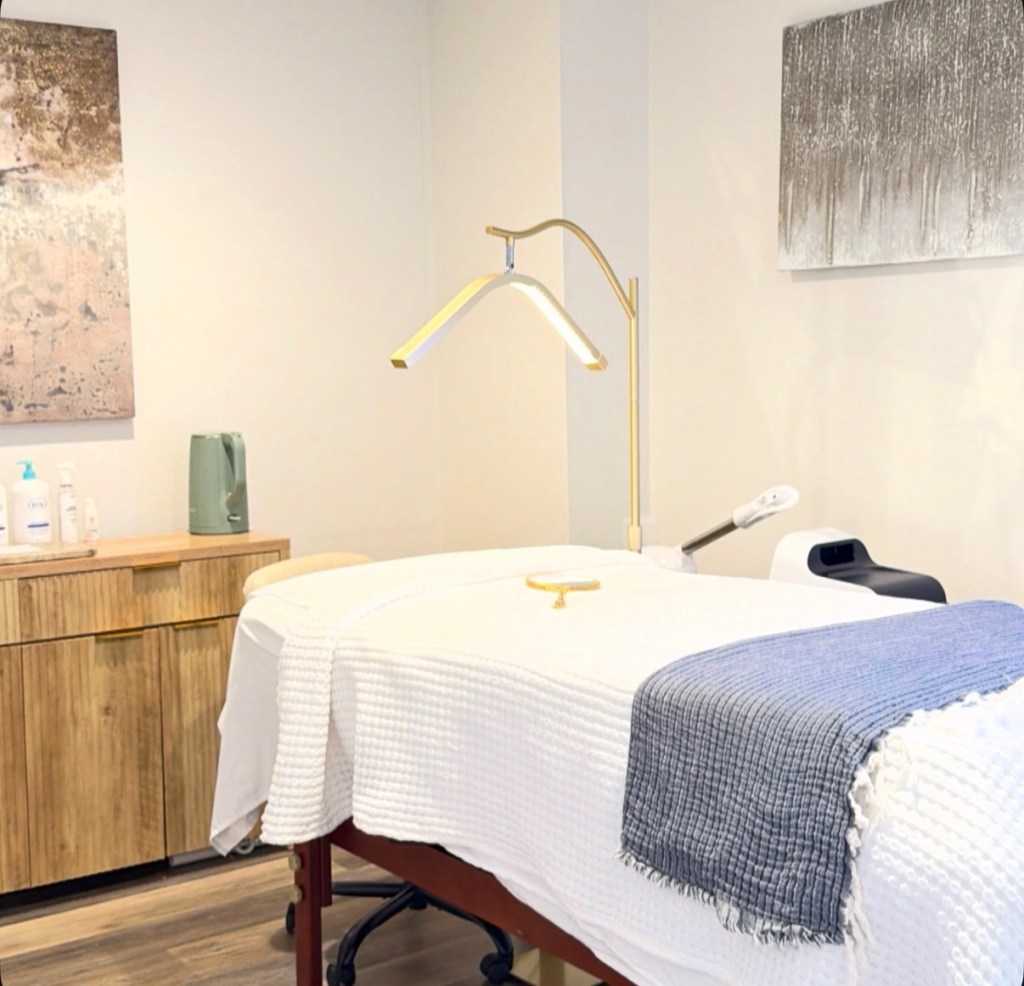
Abound Aesthetics Med Spa, located in the heart of downtown Pensacola, is a boutique medical aesthetics practice where advanced treatments meet personalized care.
Offering a curated range of services, including Botox®, dermal fillers, customized facials, microneedling, and other results-driven skincare treatments designed to enhance your natural beauty.
Facial Room
Thoughtfully designed space provides a welcoming, elevated experience where every client feels seen, heard, and cared for-they believe that no two treatment plans should look alike, which is why they take the time to understand your goals and create a customized approach tailored specifically to you.
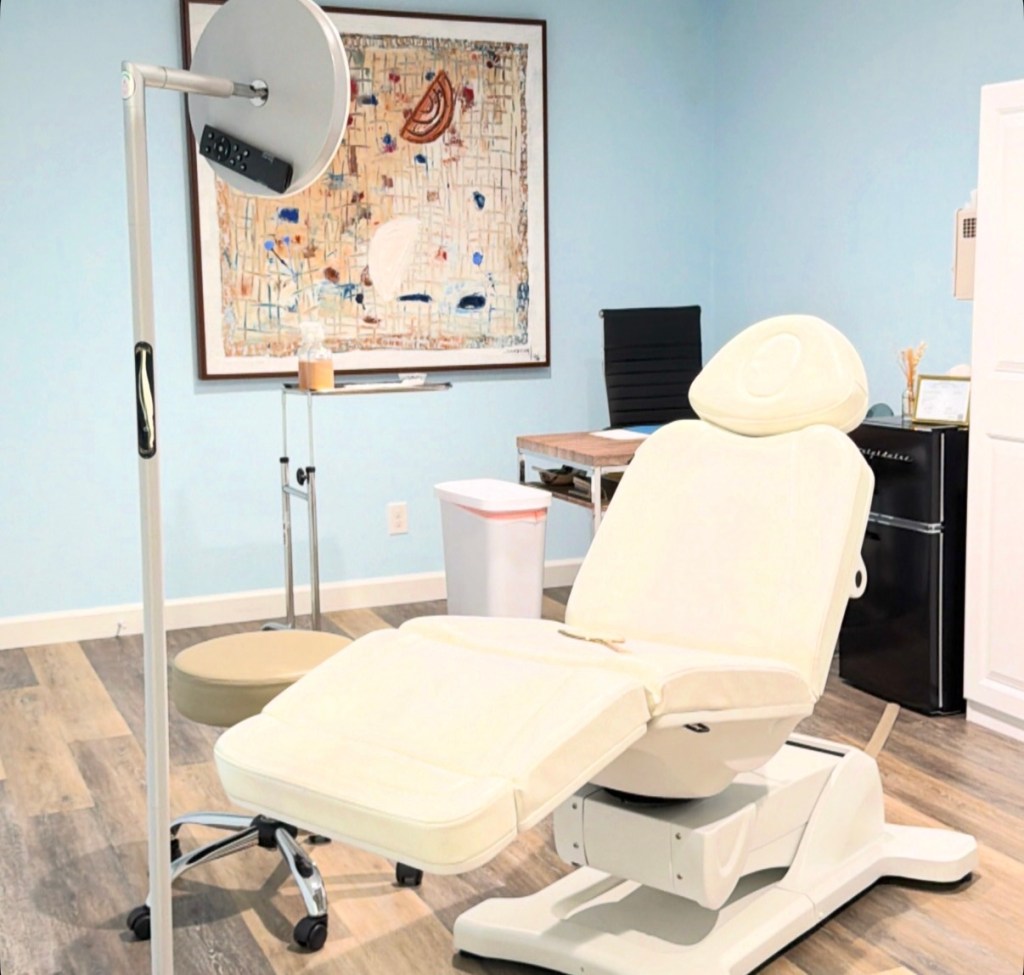
Injectable Room
At Abound Aesthetics, the team is committed to delivering exceptional care with honesty, precision, and attention to detail. From your first consultation to your final results, their focus is on helping you feel confident, refreshed, and empowered in your own skin.
Instead of overwhelming my skin with multiple active ingredients-focus was placed on strengthening my skin barrier, reducing inflammation, and maintaining consistency with gentle cleansing.
Hannah shared my customized plan with me. Goal was to reduce redness and inflammation and begin reducing signs of aging.
My customized plan includes:
• Gentle cleansing • Niacinamide to help calm redness • Azelaic acid to support rosacea-prone skin • Daily mineral sunscreen • Lymphatic-based facials every 4-6 weeks • Red light therapy to support healing and reduce inflammation
One statement from my consultation from Aesthetica Med Spa that stood out:
“Rosacea skin rewards a simple, protective routine done faithfully every day.”
What a great reminder and was exactly what I needed to hear.
Healthy skin isn’t always about adding more products or following every trend-Sometimes, it’s about understanding what your skin truly needs and giving it consistent support, over time.
I’m looking forward to documenting my journey as I continue treatments and focus on calming my skin from the inside out.
If you struggle with redness, sensitive skin, or simply want a more personalized approach to skincare, a consultation may be one of the best places to start.
Owner, Hannah Moseley
“Healthy skin isn’t about doing more—it’s about doing what’s right for your skin. My goal is to create a personalized plan that supports your skin’s health, builds confidence, and delivers results that look natural and feel sustainable.” — Hannah, Owner of Abound Aesthetics Med Spa
Be Seen
Every treatment plan begins with a conversation. Owner Hannah, Abound Aesthetics will take the time to understand your concerns, discuss your goals, review what’s worked (and what hasn’t), and answer any questions you may have. Their focus is never on selling a service—it’s on creating a personalized approach that aligns with your needs and expectations.
Be Supported
Abound Aesthetics is known for their attention to detail, thoughtful approach, and honest recommendations. Hannah will take the time to explain every option, answer your questions, and ensure you feel confident moving forward.
Be Confident
Whether you want a subtle refresh or something a little more noticeable, the standard is the same: results that look intentional, never overdone. Abound Aesthetics will work with what you want and make sure you leave feeling good about it.
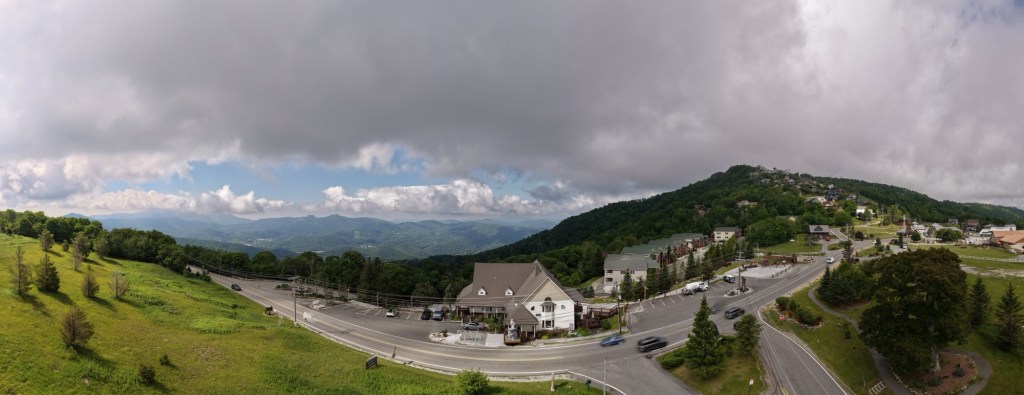
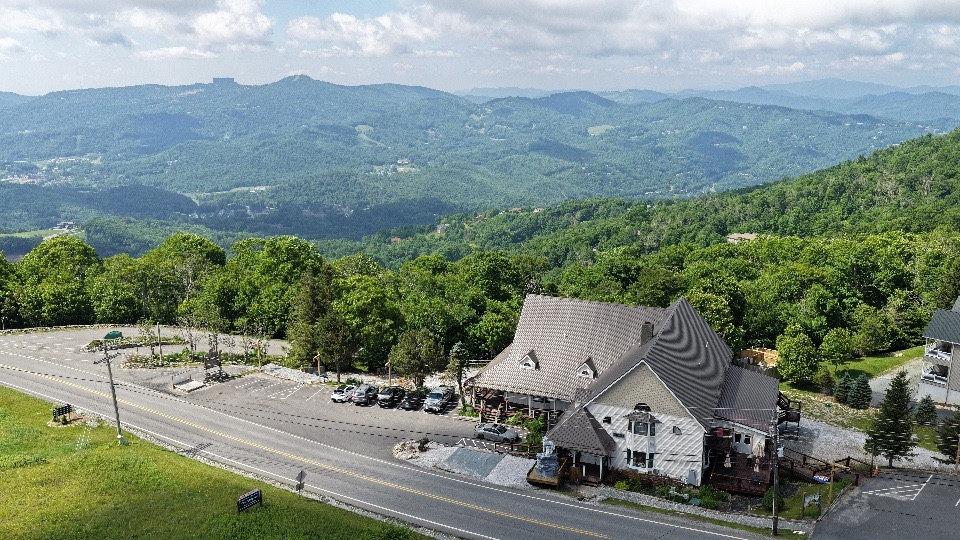
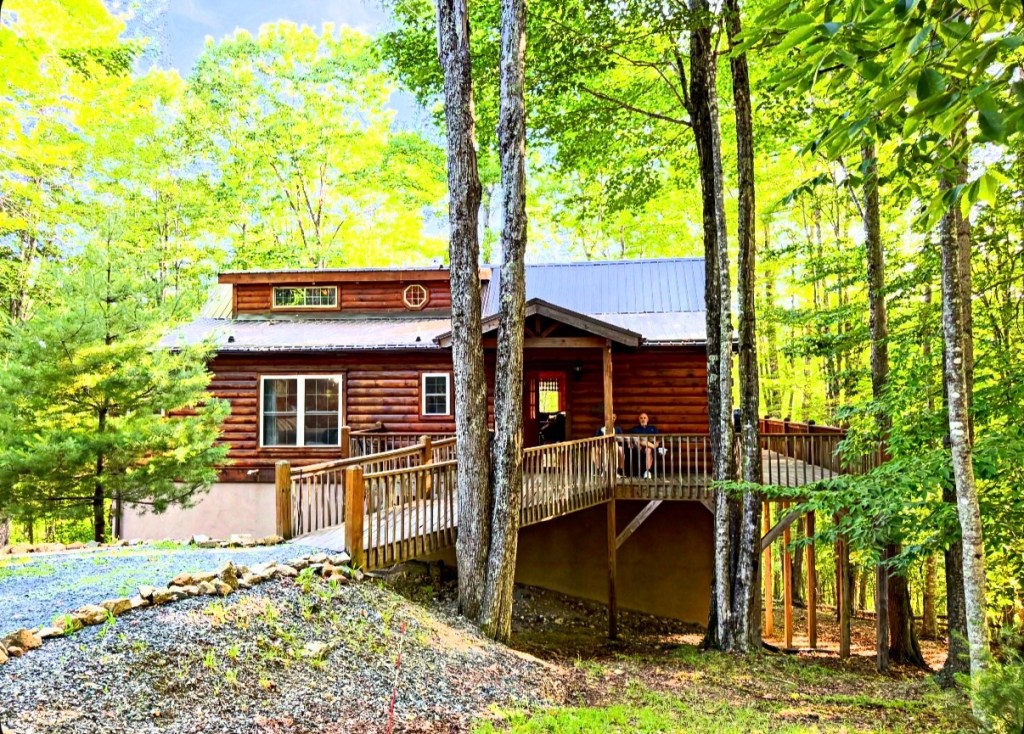
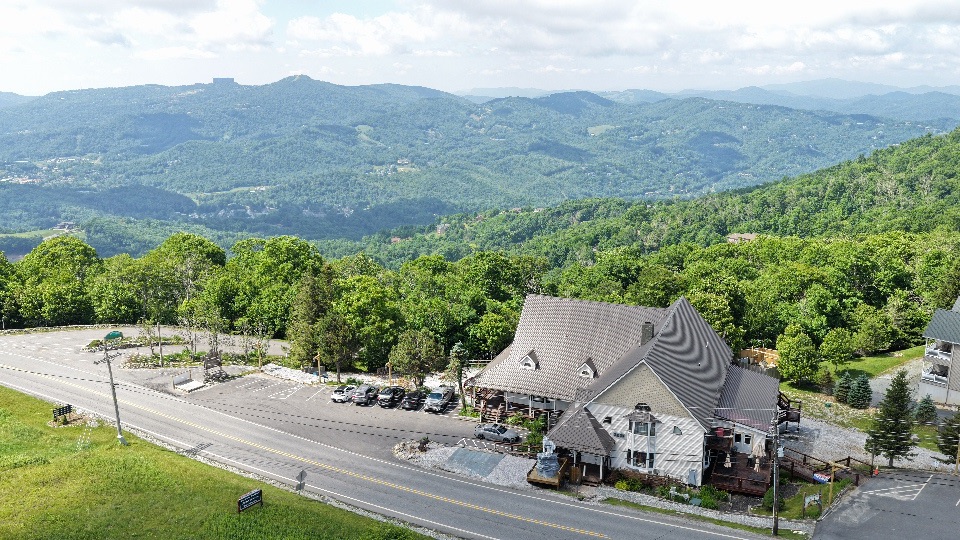
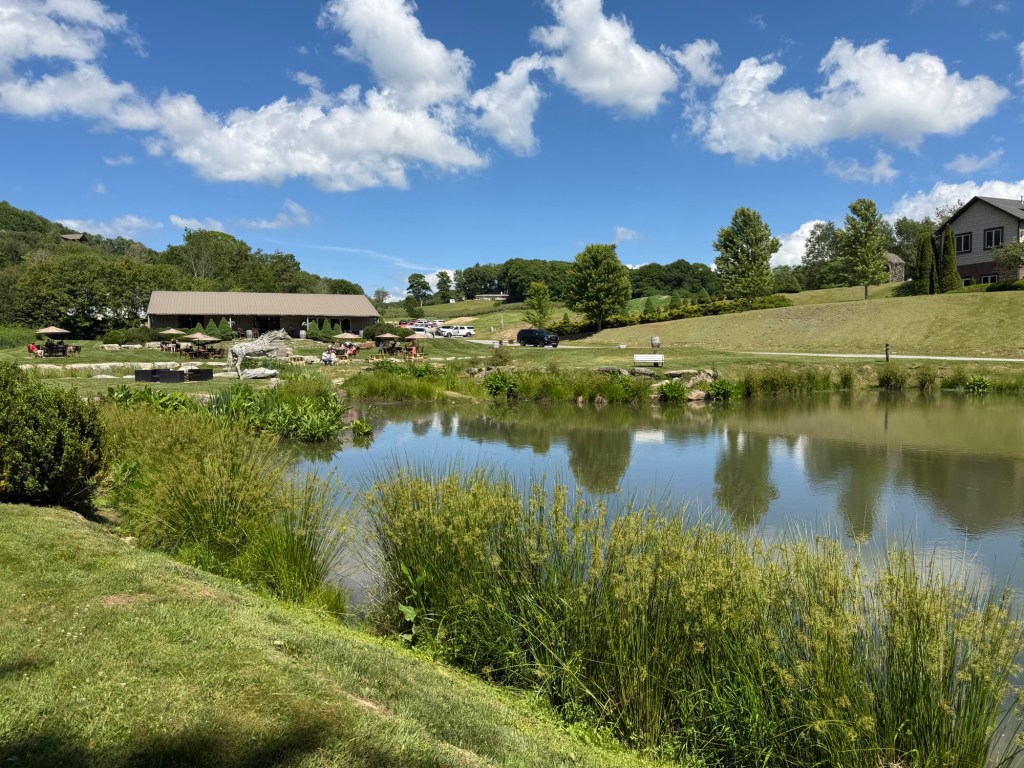
Nestled in the beautiful Blue Ridge Mountains of North Carolina, White Wolf Lodge offered the perfect combination of peaceful mountain views, cozy accommodations, and easy access to some of our favorite places we explored—including Beech Mountain, Banner Elk, Blowing Rock, Carver’s Gap, and the Blue Ridge Parkway. One of our favorite parts of visiting during the summer was escaping the heat. The higher elevations brought cooler temperatures, crisp mountain air, and comfortable mornings and evenings that made every adventure—and every moment spent relaxing on the porch—even more enjoyable.
White Wolf Lodge
White Wolf Lodge Beech Mountain: Your Home Base for a Mountain Adventure
Ends of the Earth by Lord Huron
White Wolf Lodge is more than just a place to stay — it’s the perfect home base for exploring everything this area has to offer. Check out more of our adventures here and find my map of the area!
A map of all the places we visited while here!
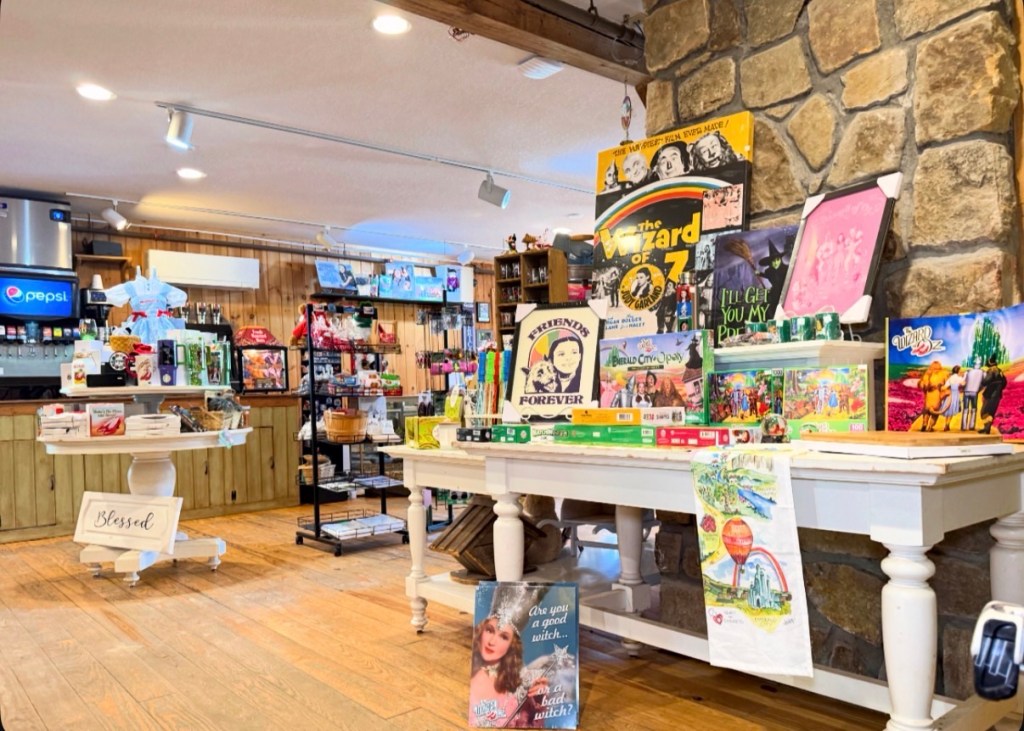
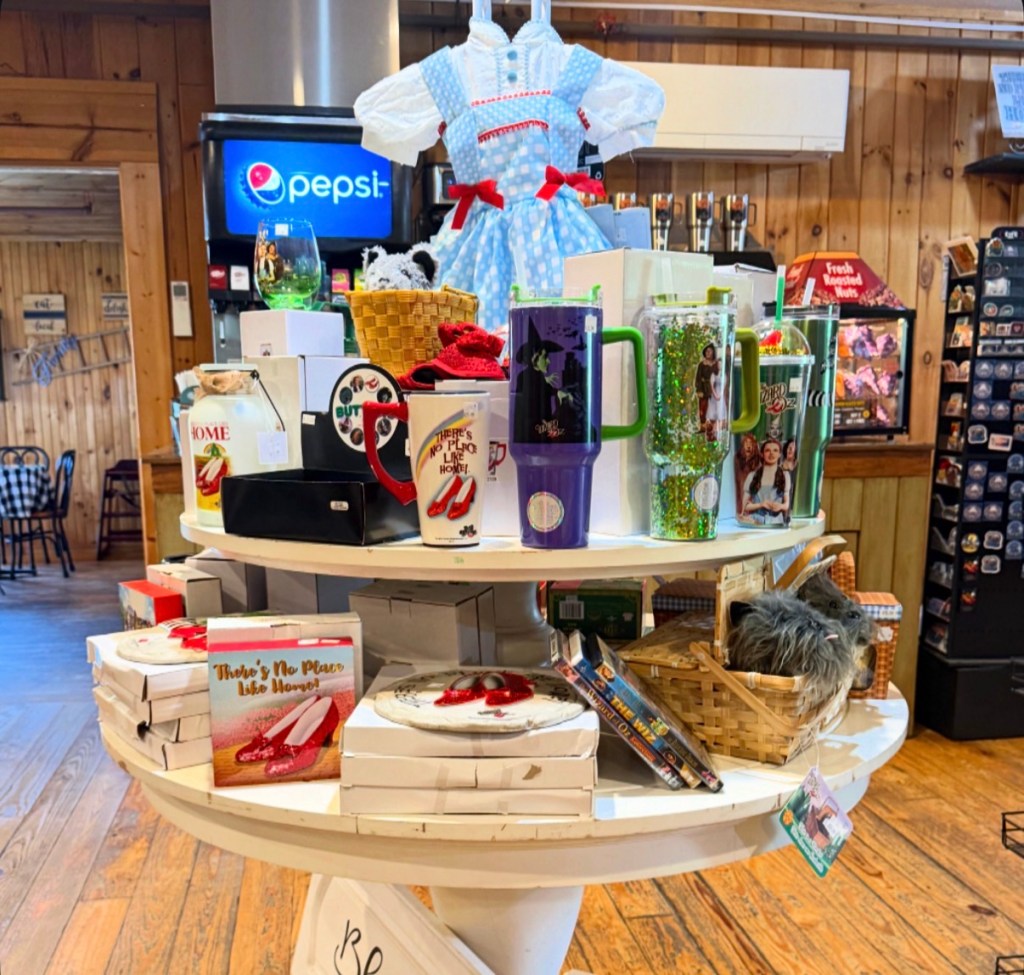
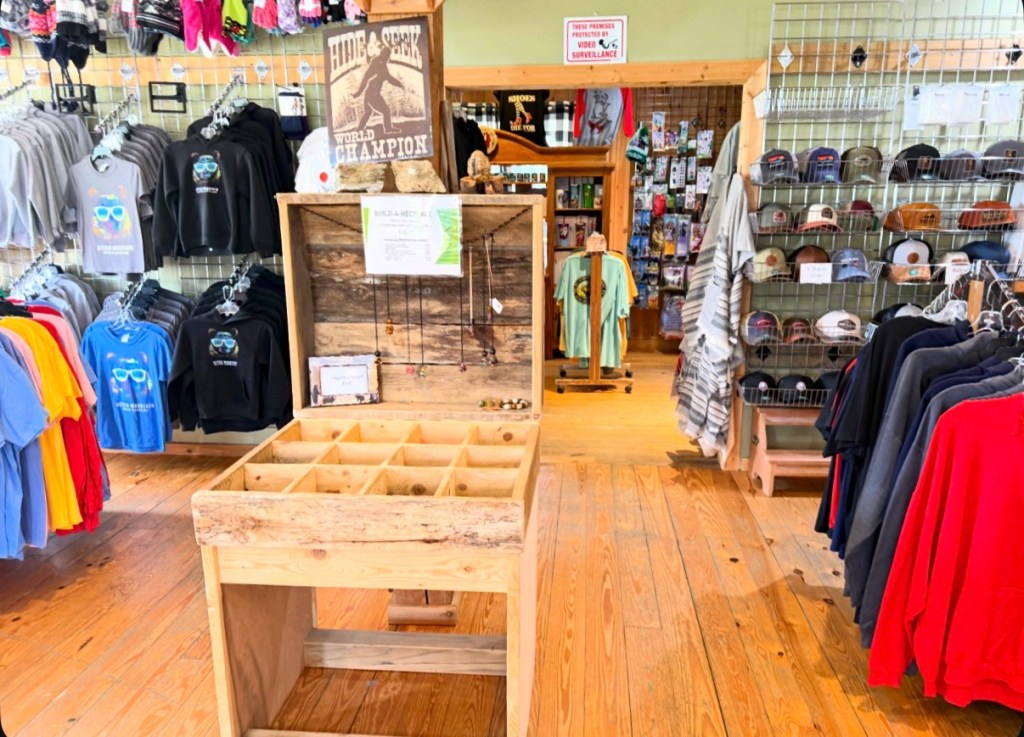
Gift Shop
Entrance Wizard of Oz MerchSouvenirs Christmas 🎄
Whether you’re planning a family getaway, a group retreat, a sports team trip, or a relaxing mountain escape, the lodge offers a welcoming place to gather, recharge, and make memories.
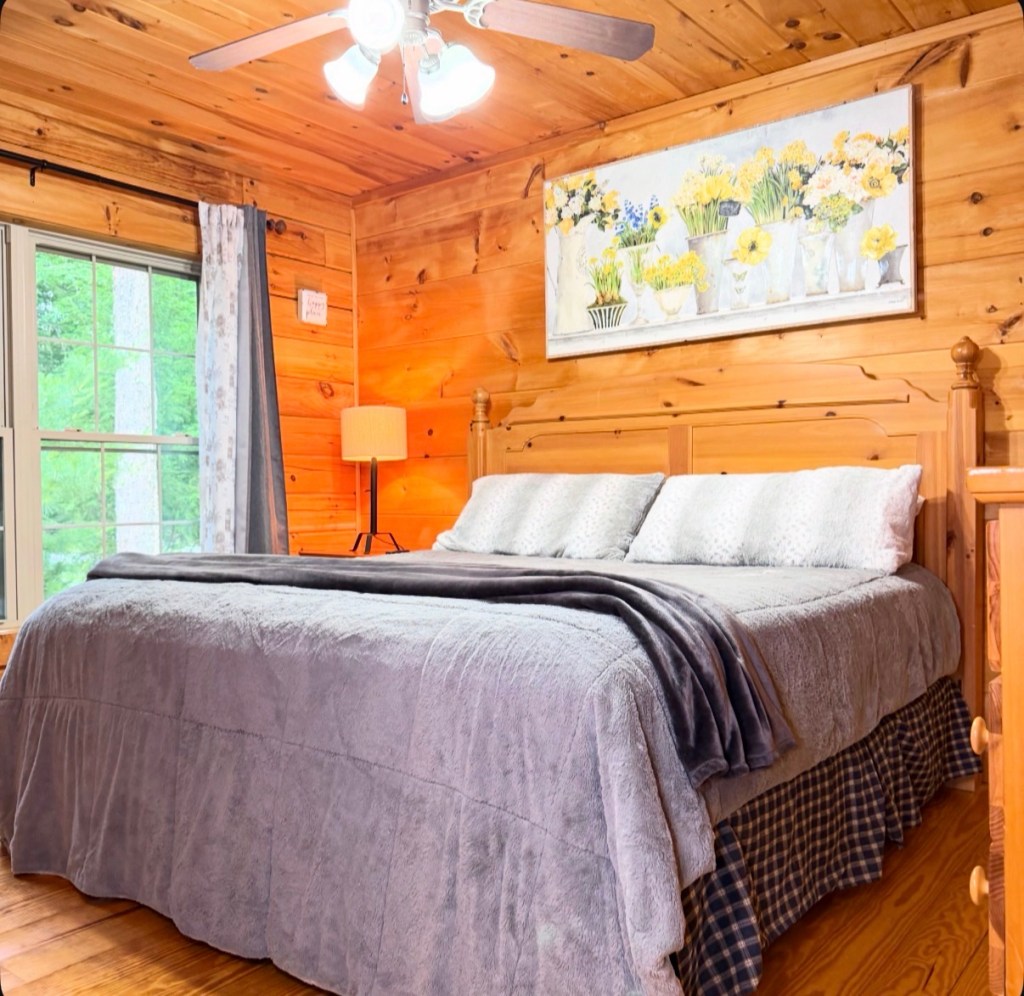
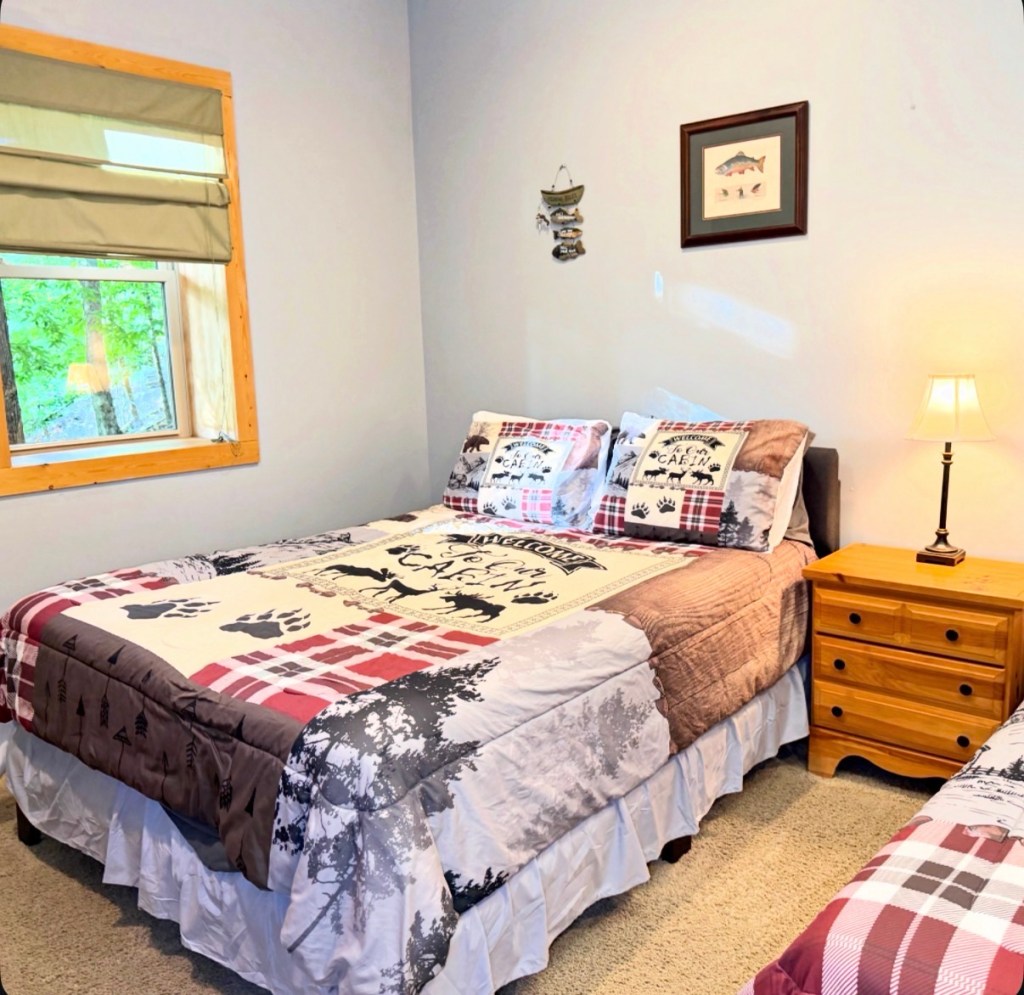
King Wolf
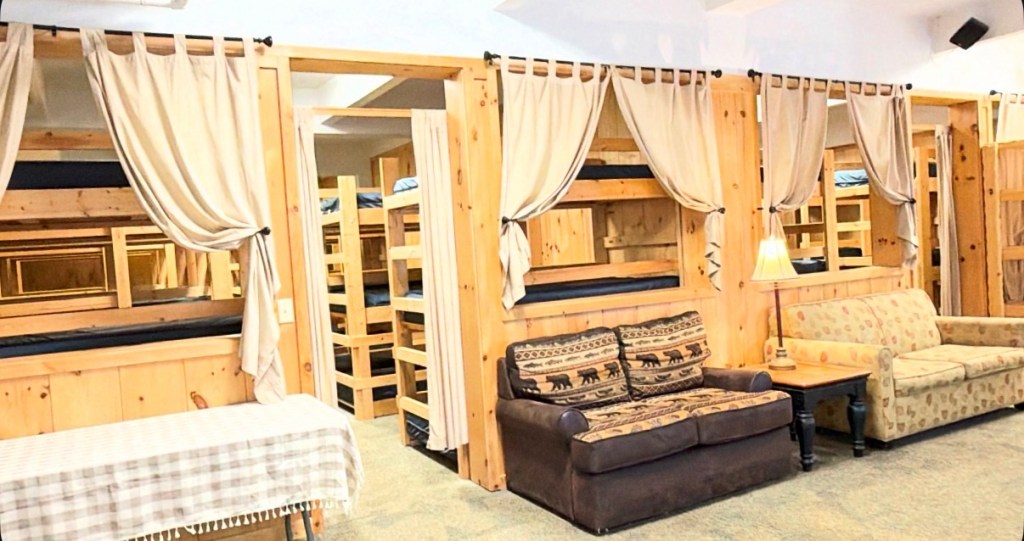
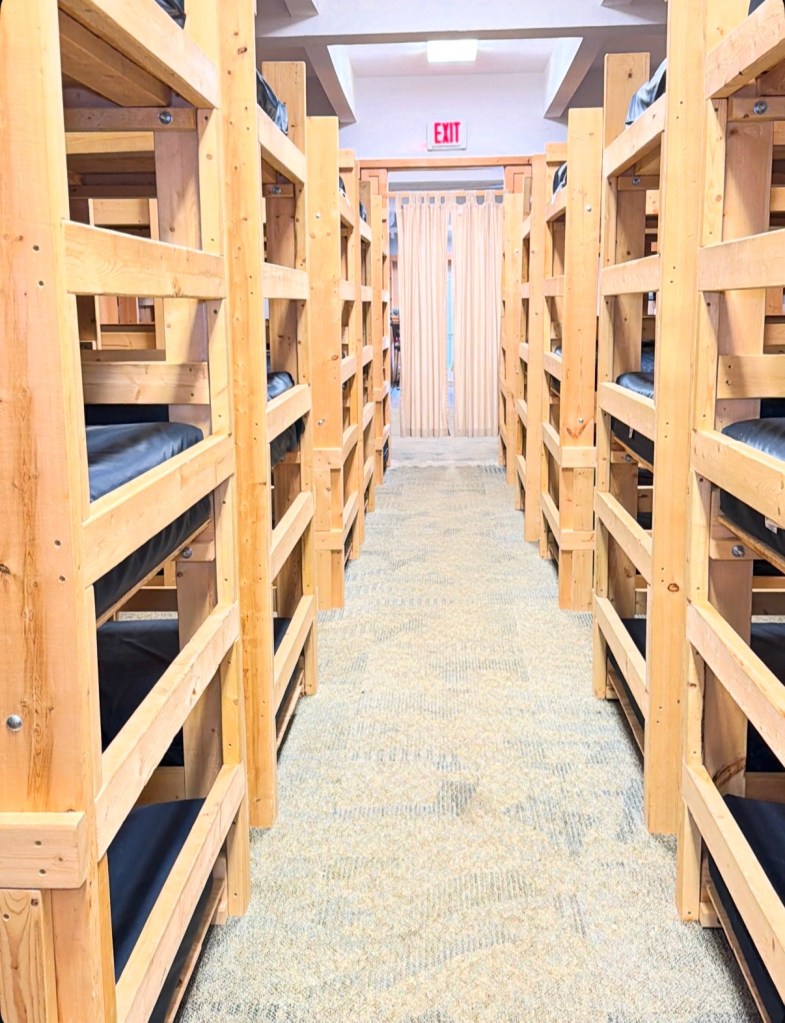
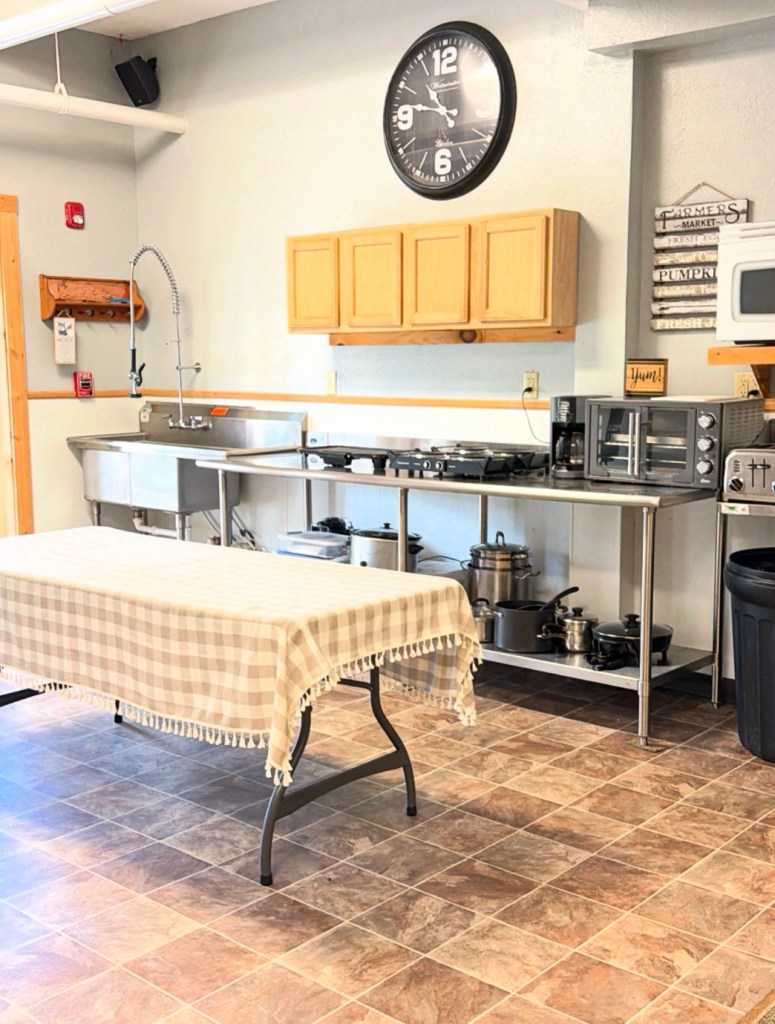
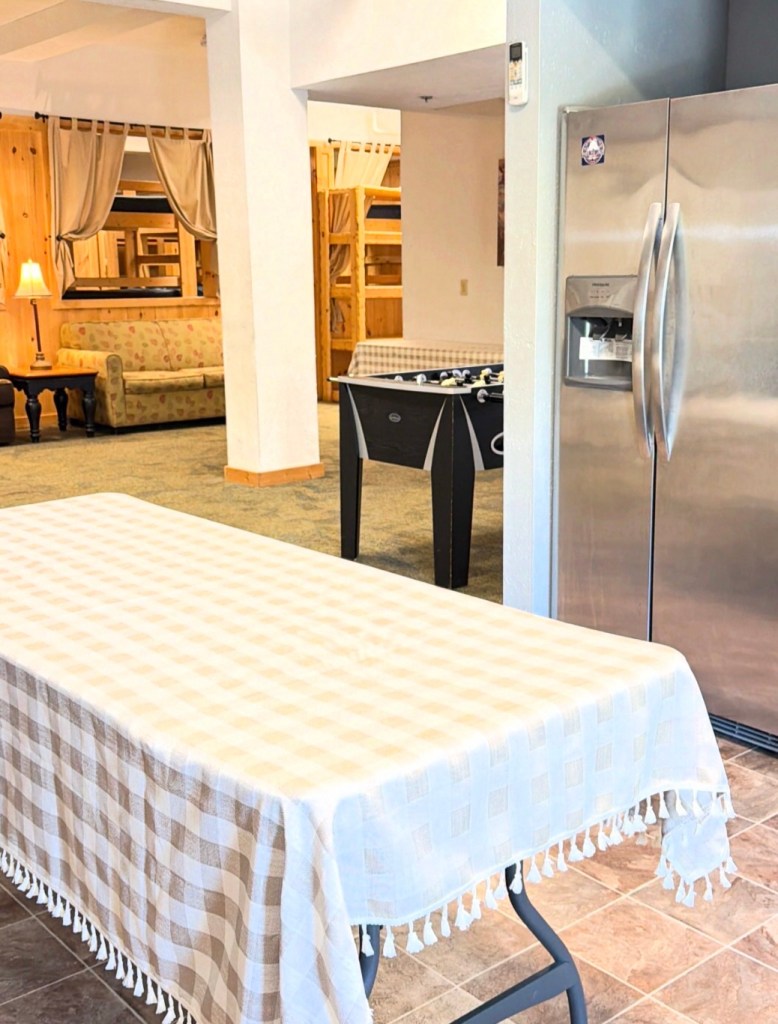
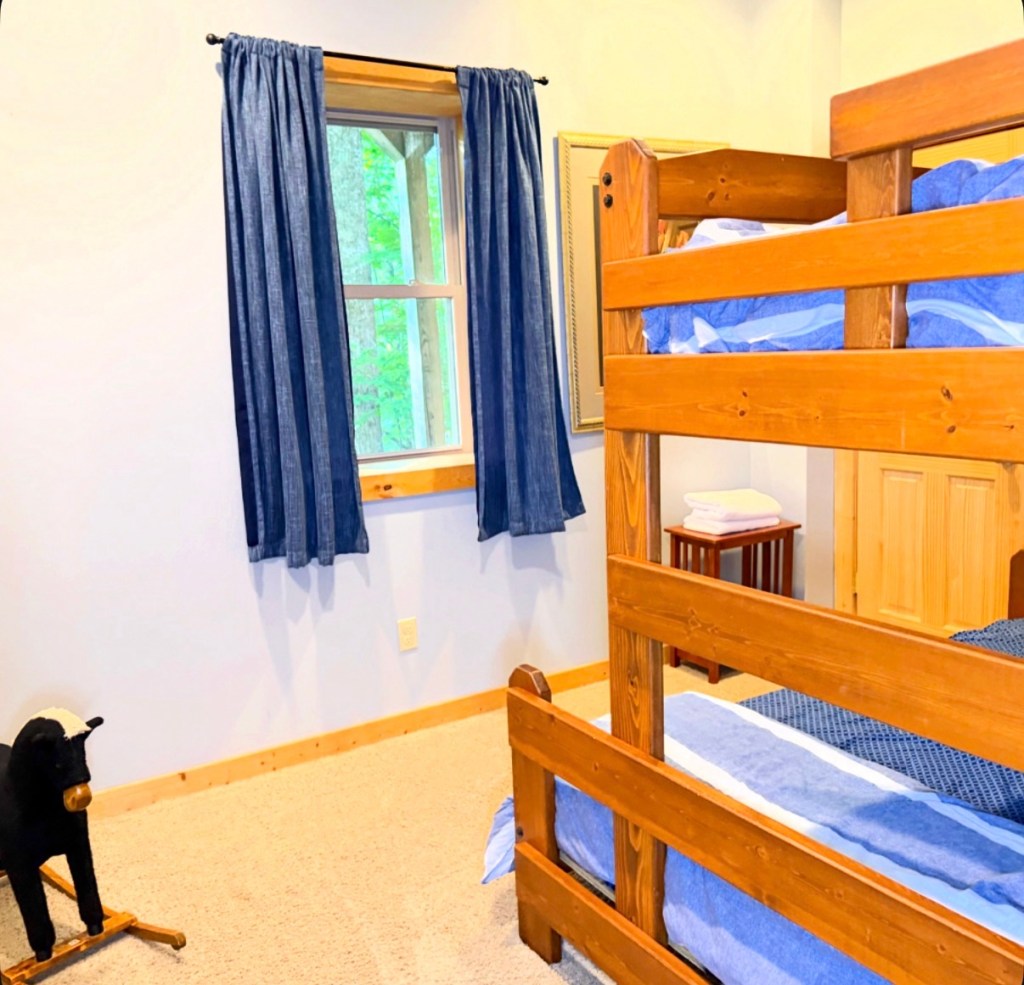
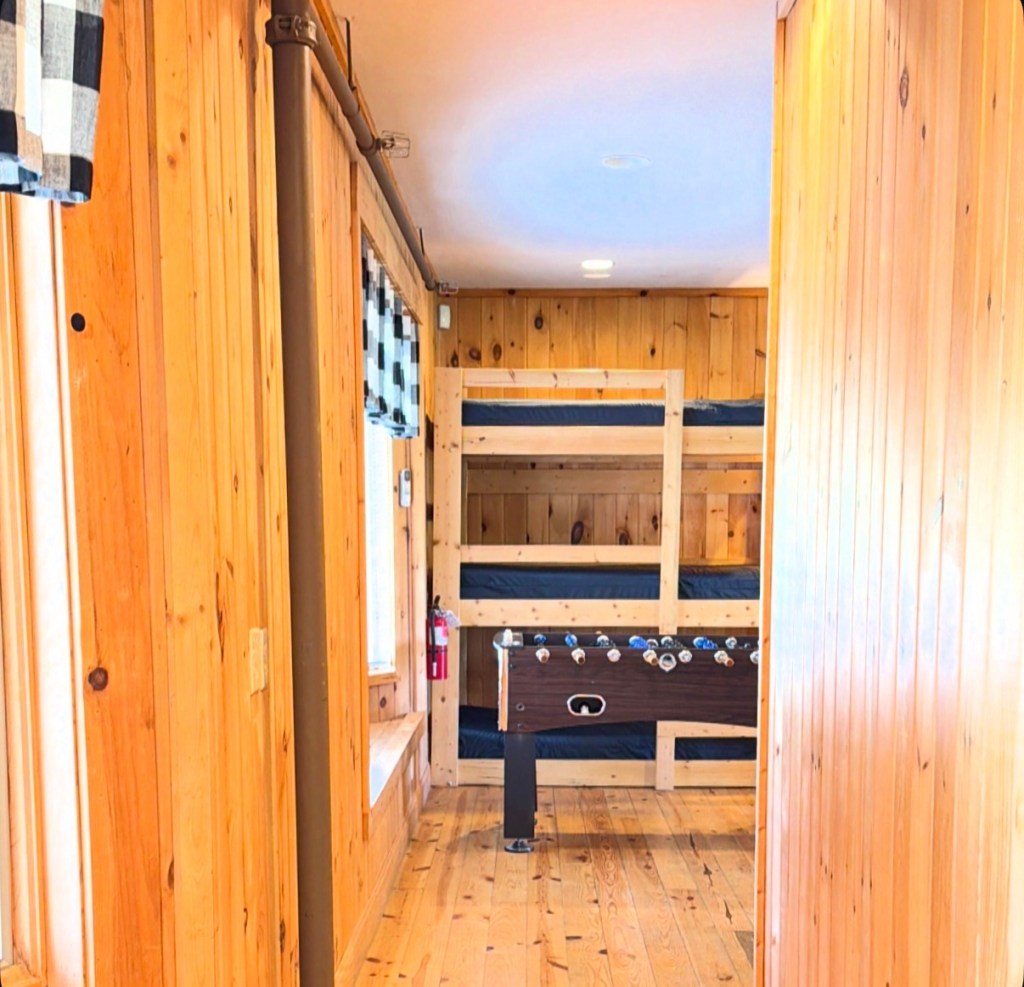
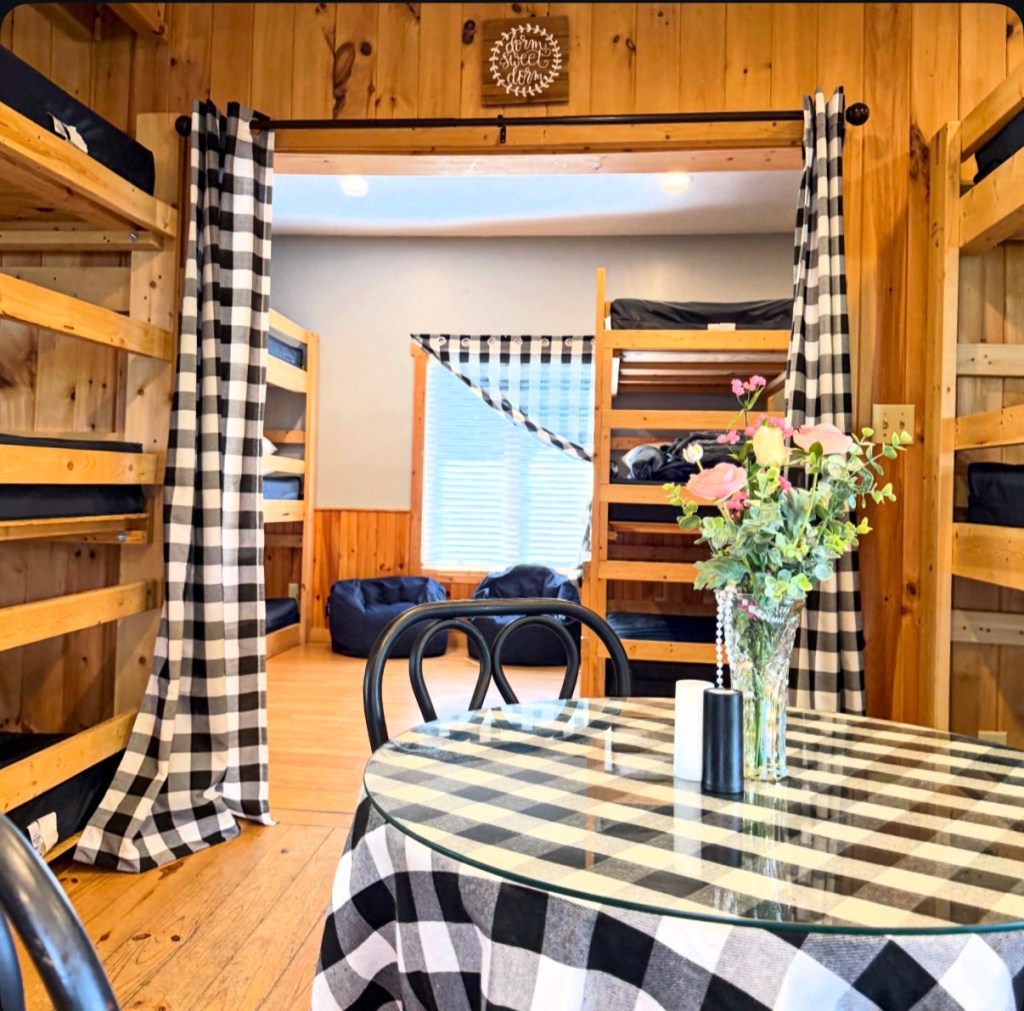
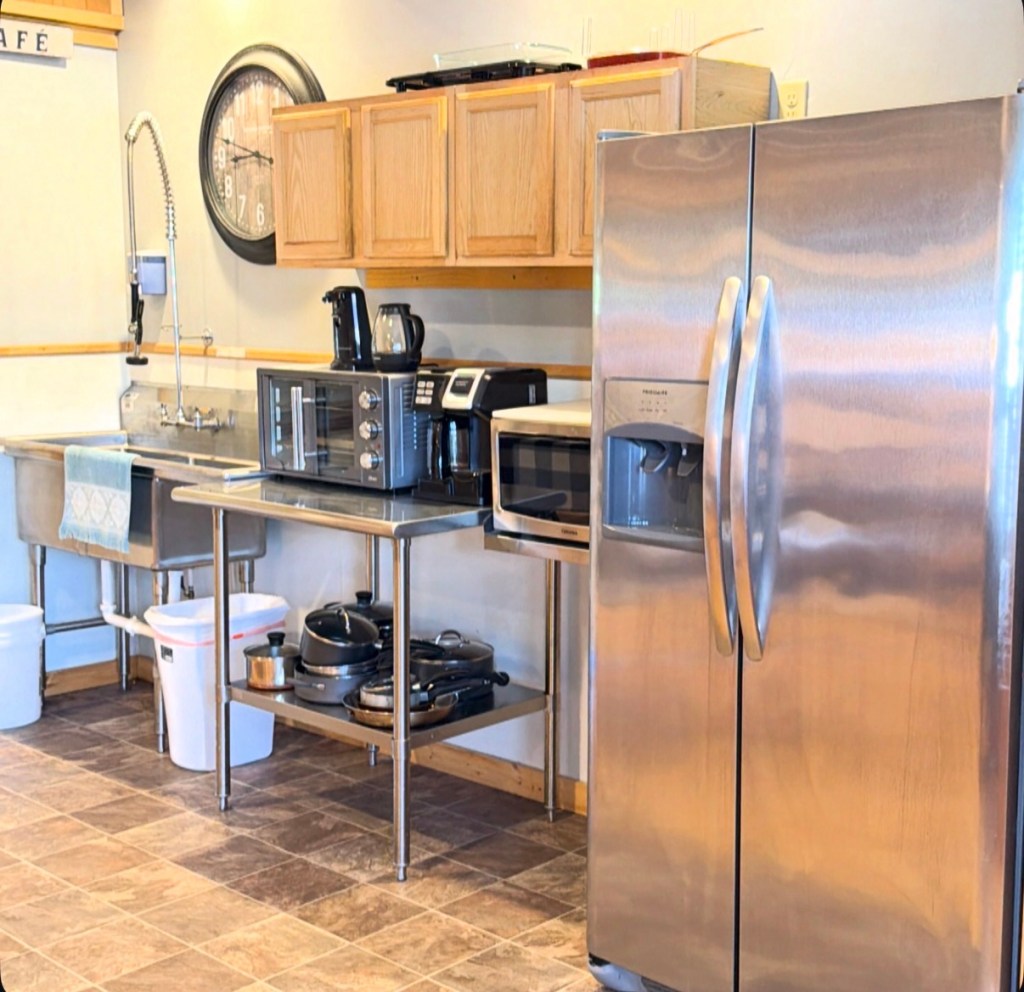
Bunks & LoungeBunk RoomKitchen Kitchen
White Wolf Lodge also offers flexible accommodations for a variety of groups. Along with traditional lodging options, they have bunk rooms and smaller apartment-style guest areas that make it a great fit for sports teams, college groups, retreats, and larger gatherings looking for a comfortable place to stay together.
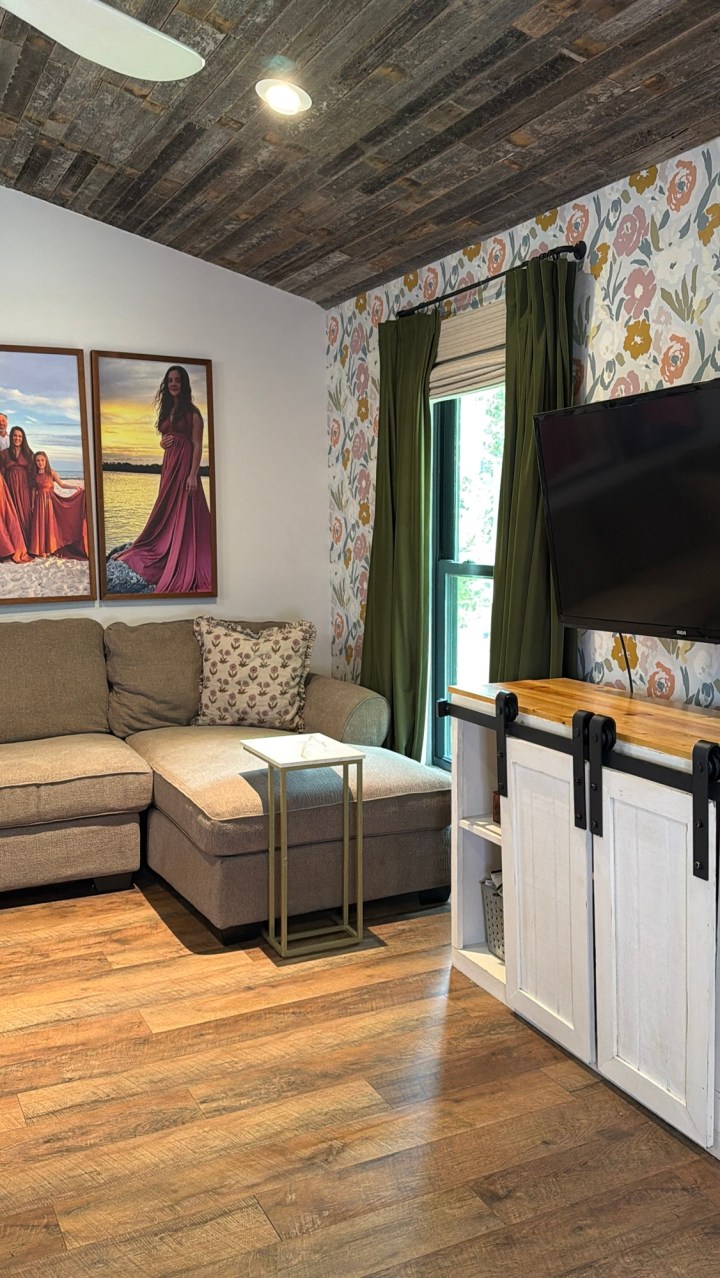
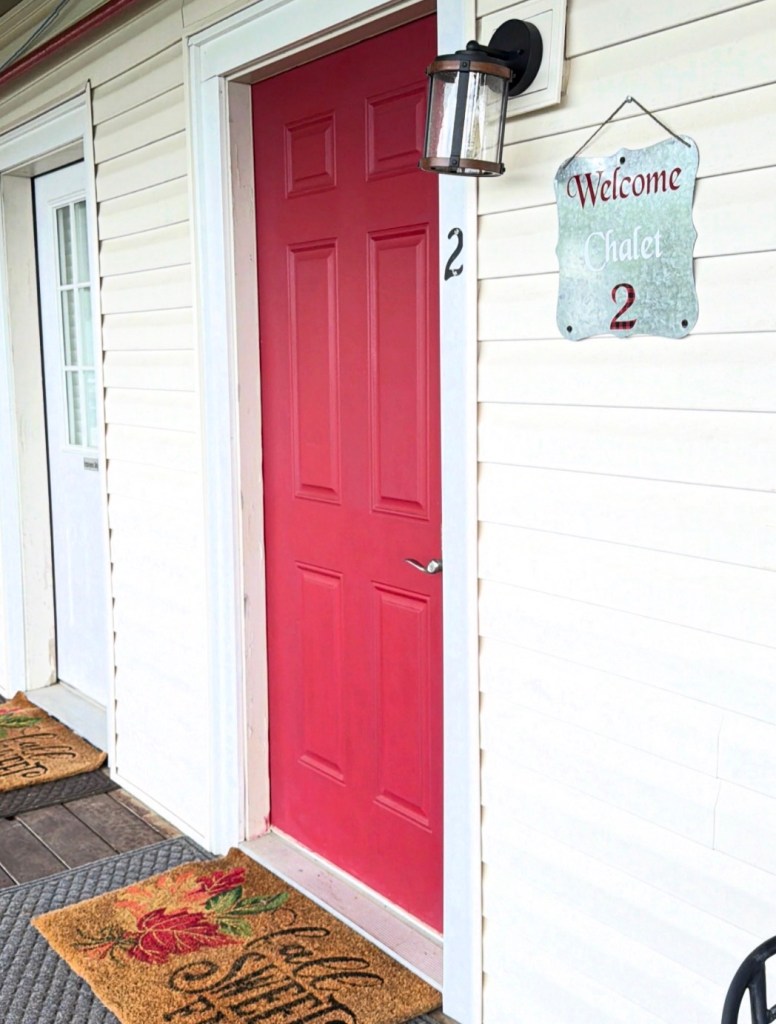
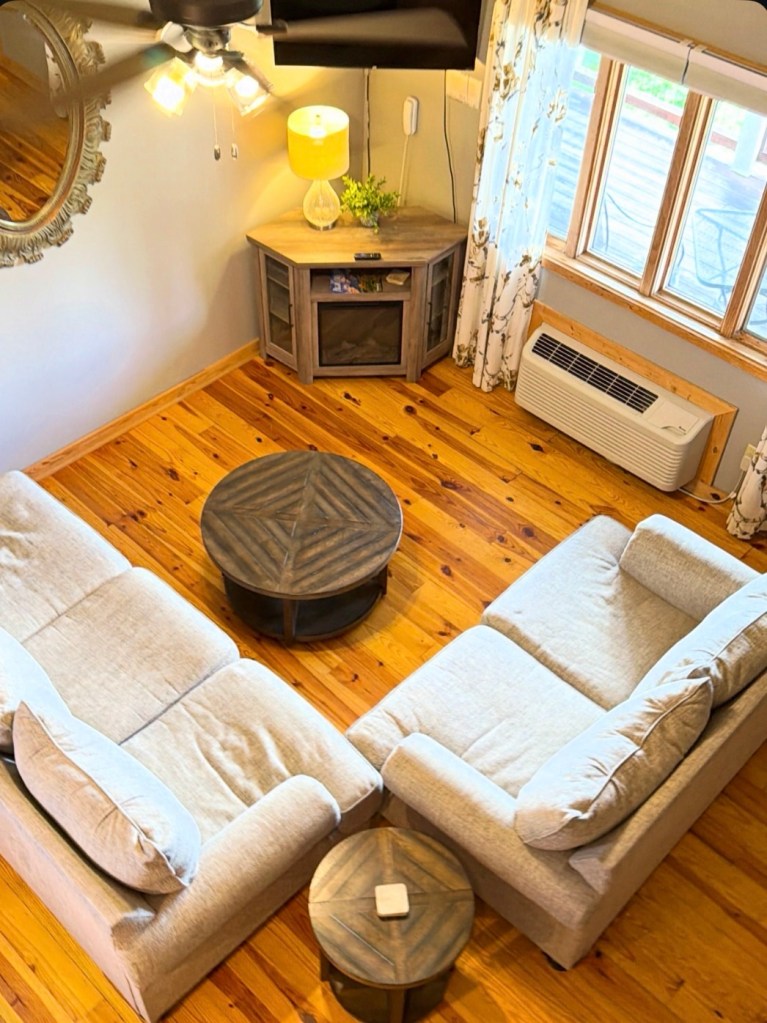
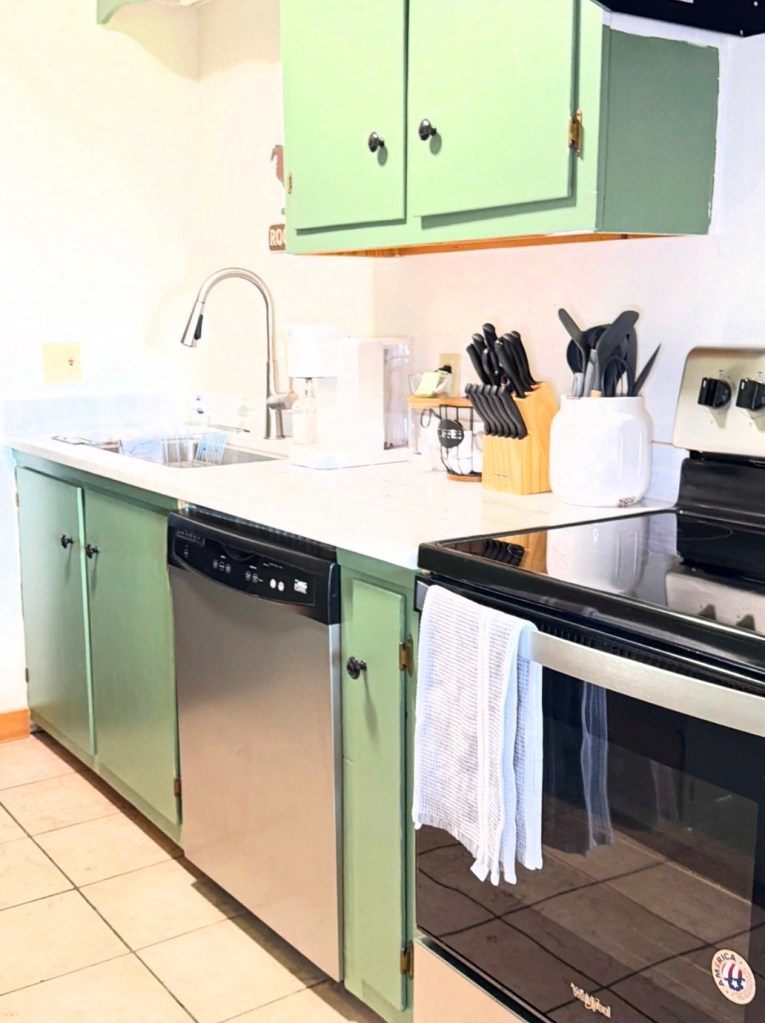
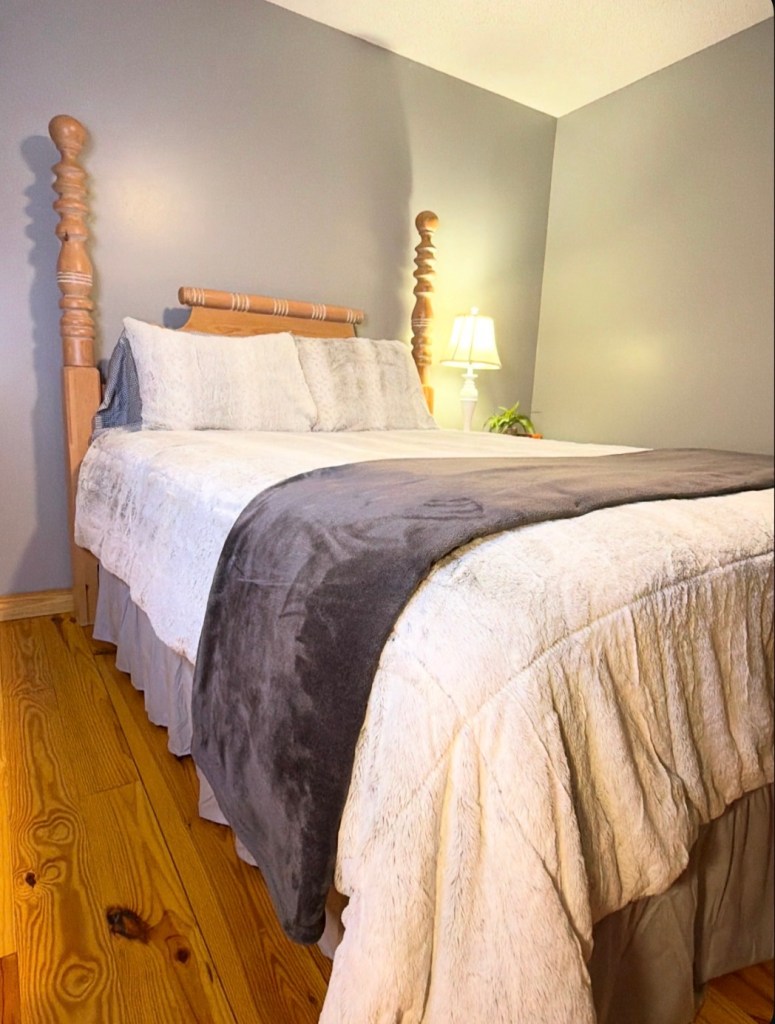
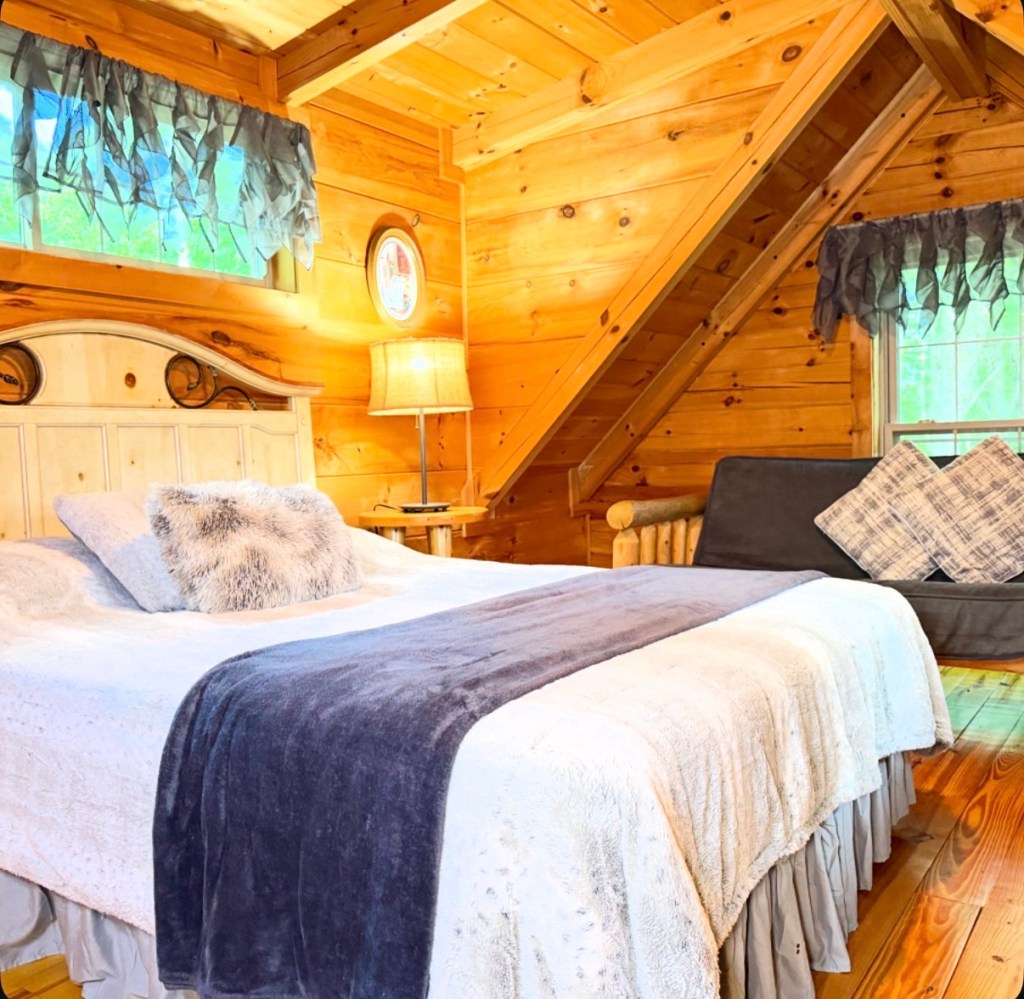
Chalets
Chalet #2 Living RoomKitchenBedroom
White Wolf Lodge offers three beautifully designed mountain chalets, each thoughtfully decorated to provide a warm, inviting retreat after a day of exploring the North Carolina mountains. Whether you’re planning a family vacation, traveling with friends, or enjoying a peaceful mountain escape, the chalets provide the perfect blend of comfort, privacy, and stunning mountain surroundings—making it easy to feel right at home.
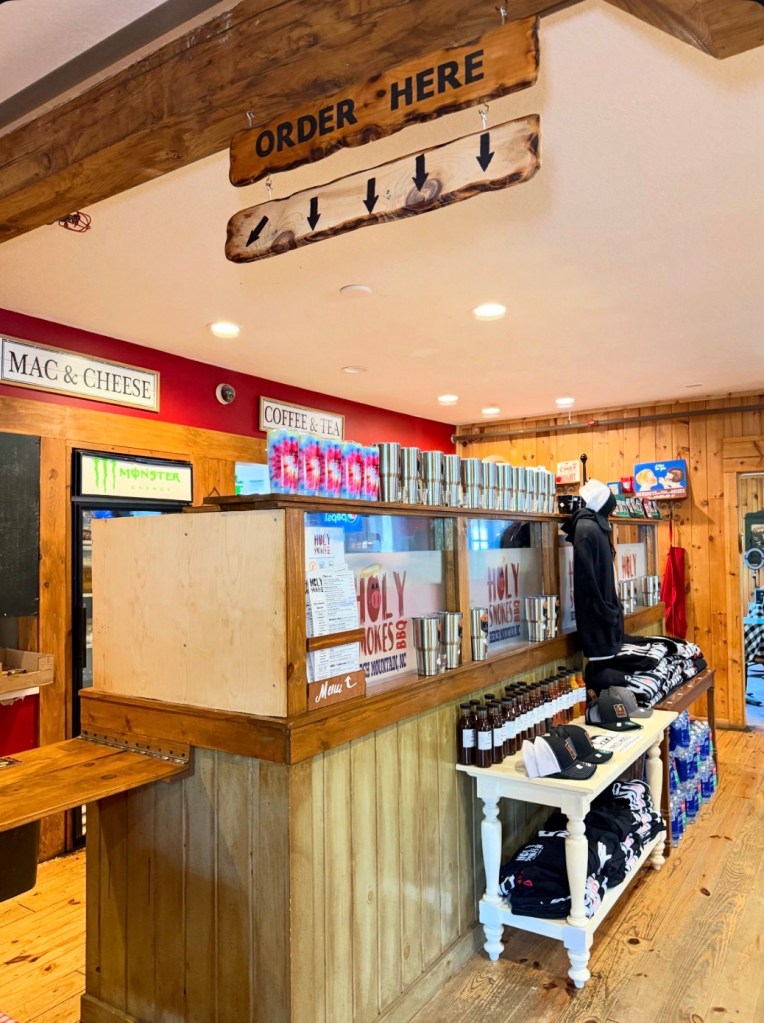
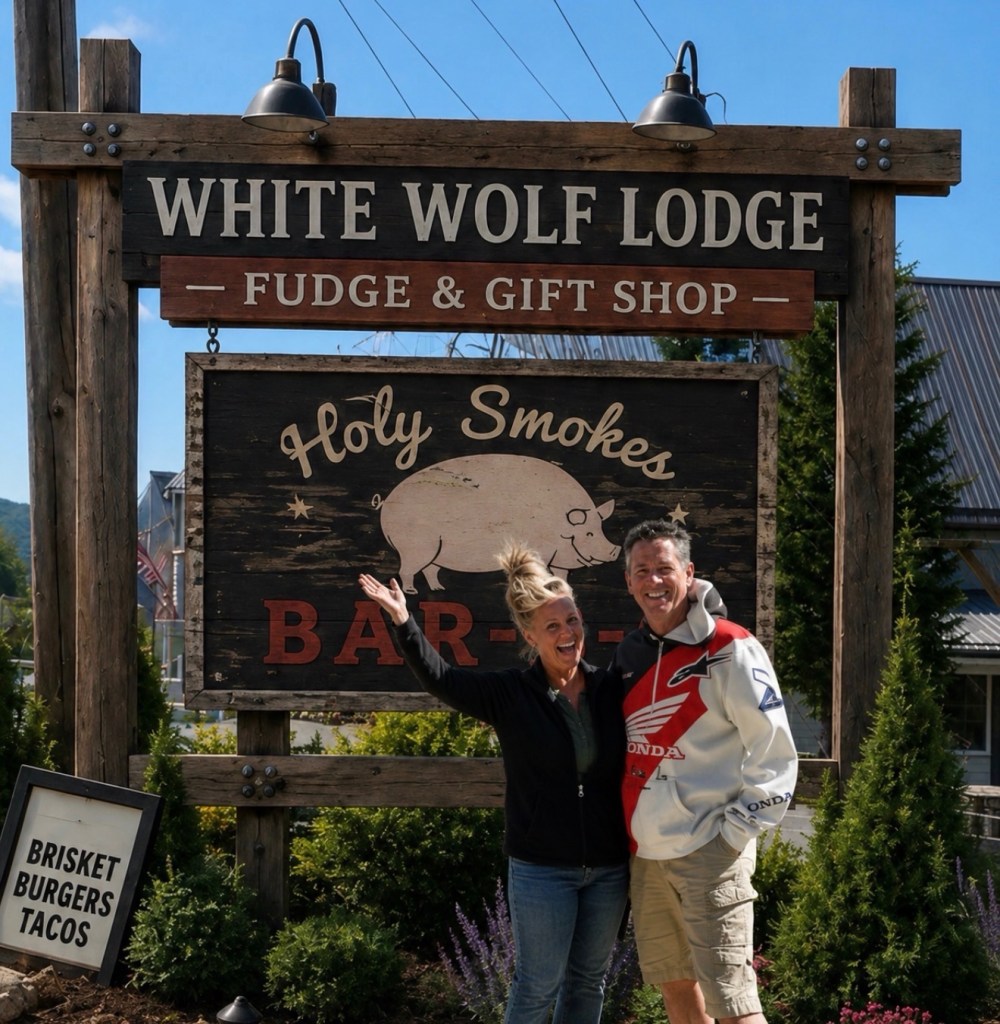
Holy Smokes Barbecue
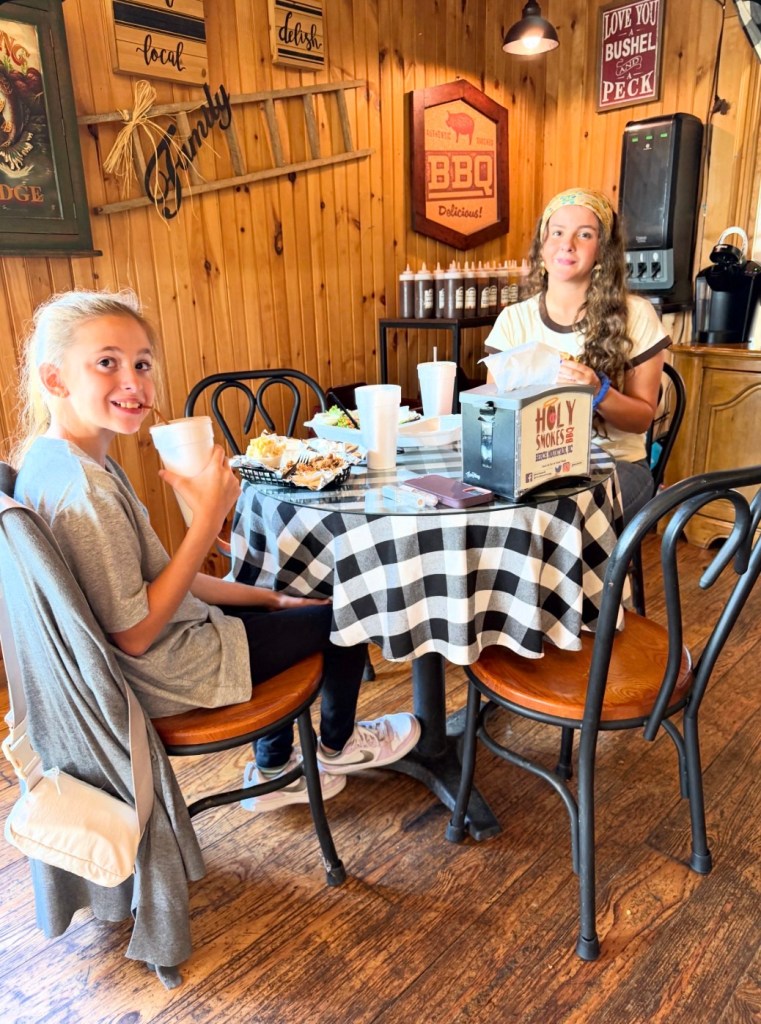
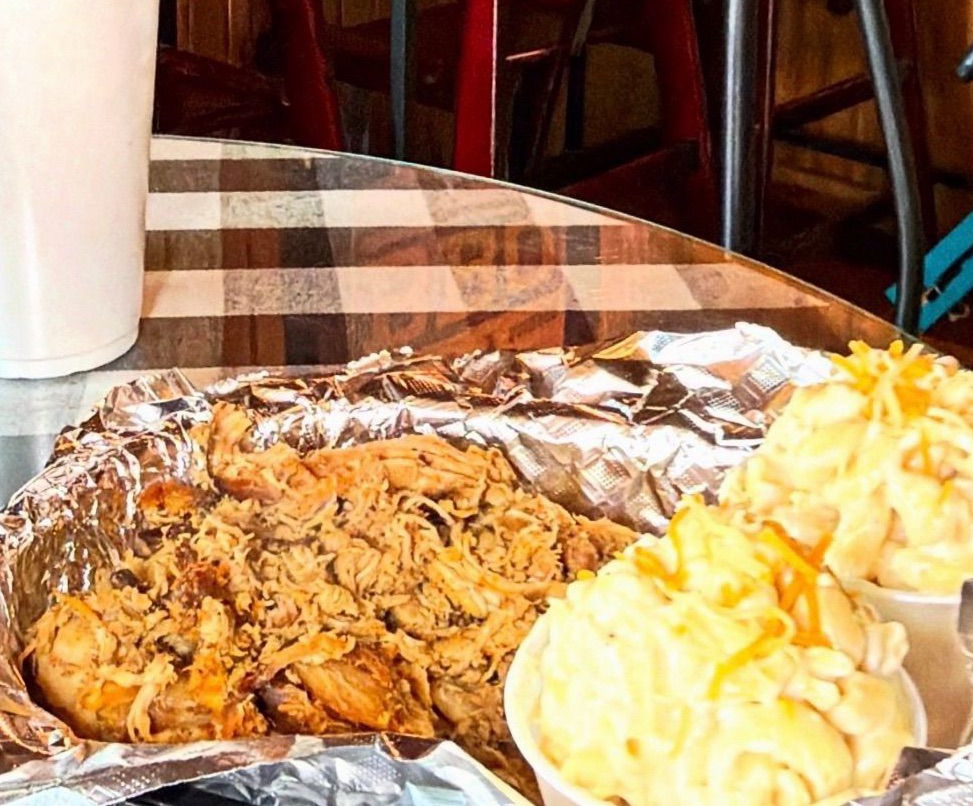
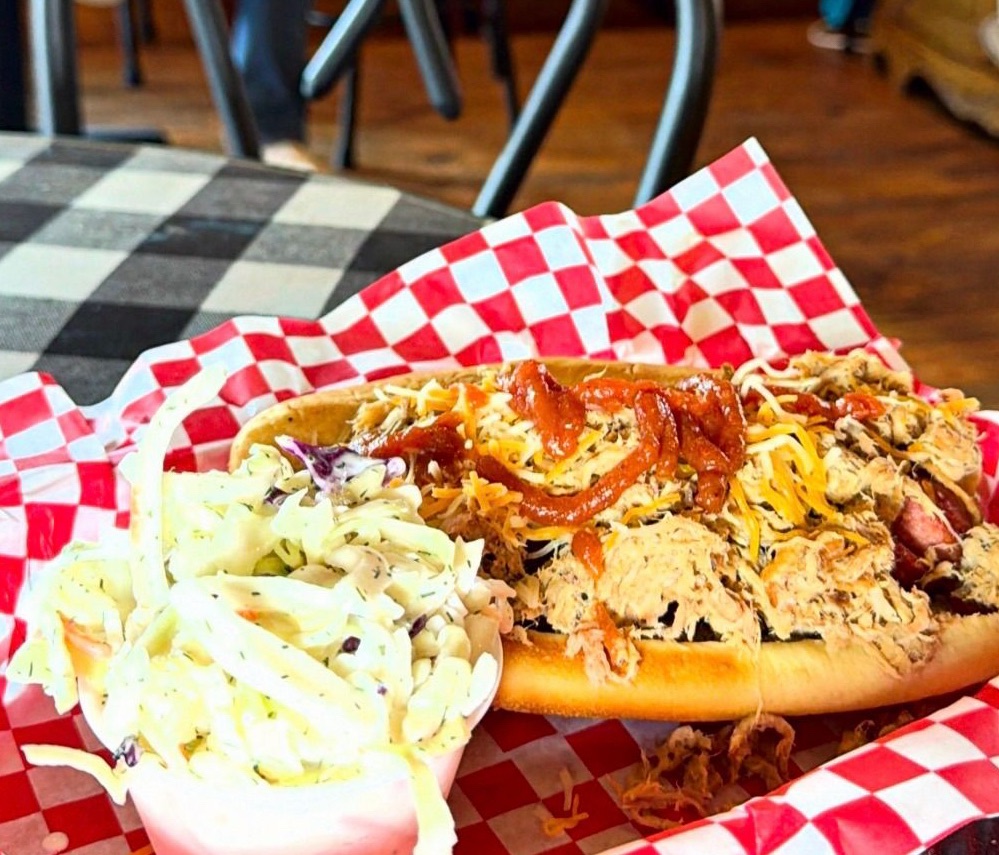
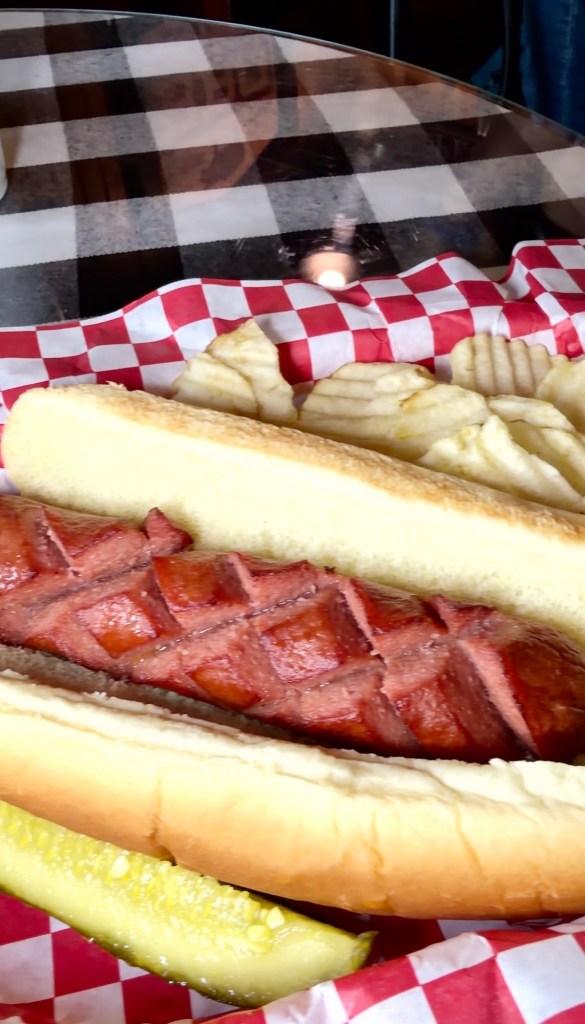
One of our favorite parts of the White Wolf Lodge experience was having Holy Smokes BBQ right on the property. We found ourselves stopping in for lunch every day during our stay — and it quickly became a favorite.
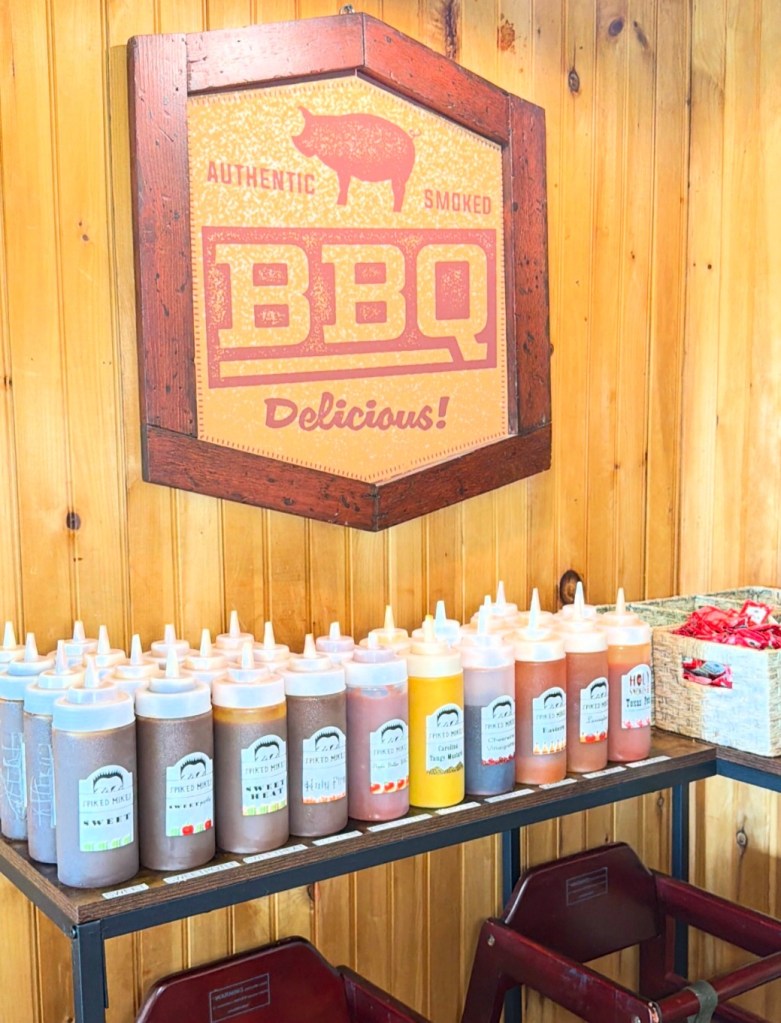
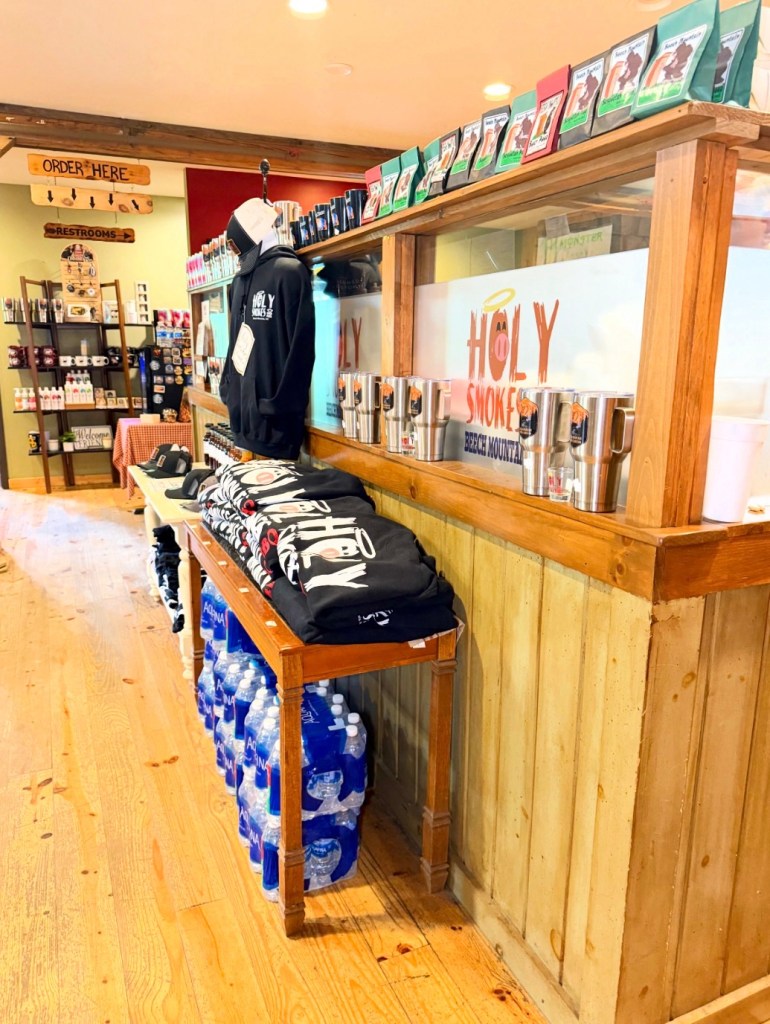
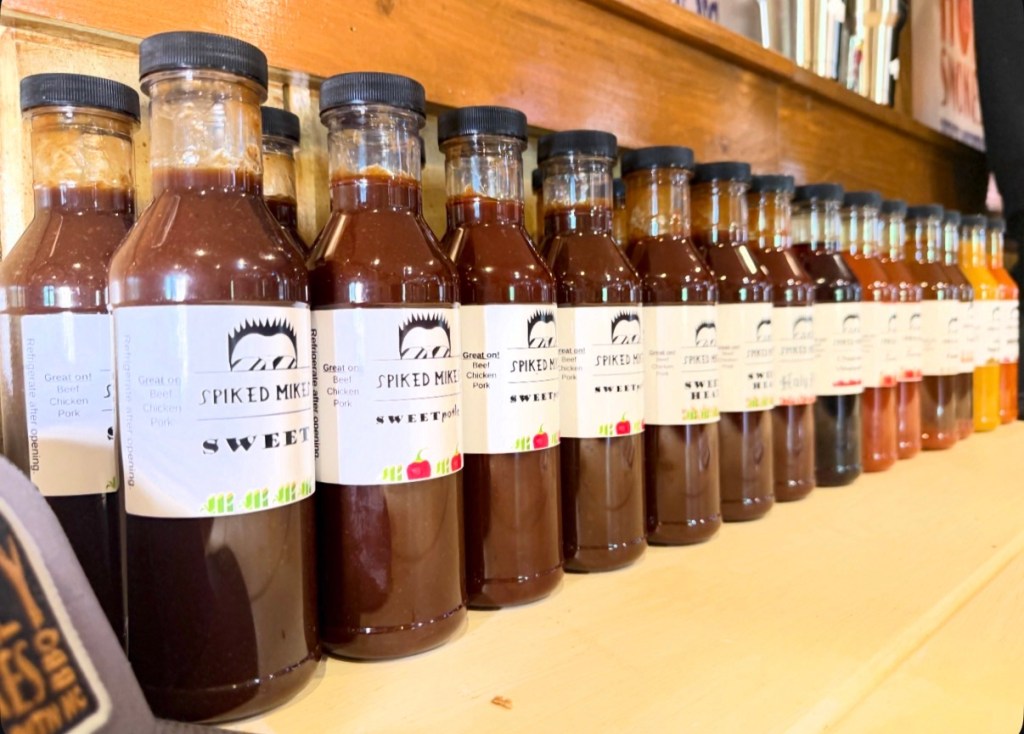
Order Here Barbecue Sauce Merchandise Purchase Your Fav!
Whether we were grabbing a casual family meal after exploring the area or sitting down for a business meeting, Holy Smokes offered the perfect mix of great food and a welcoming atmosphere. They also make their own barbecue sauces! It’s one of those hidden gems that makes White Wolf Lodge more than just a place to stay — it becomes part of the experience.
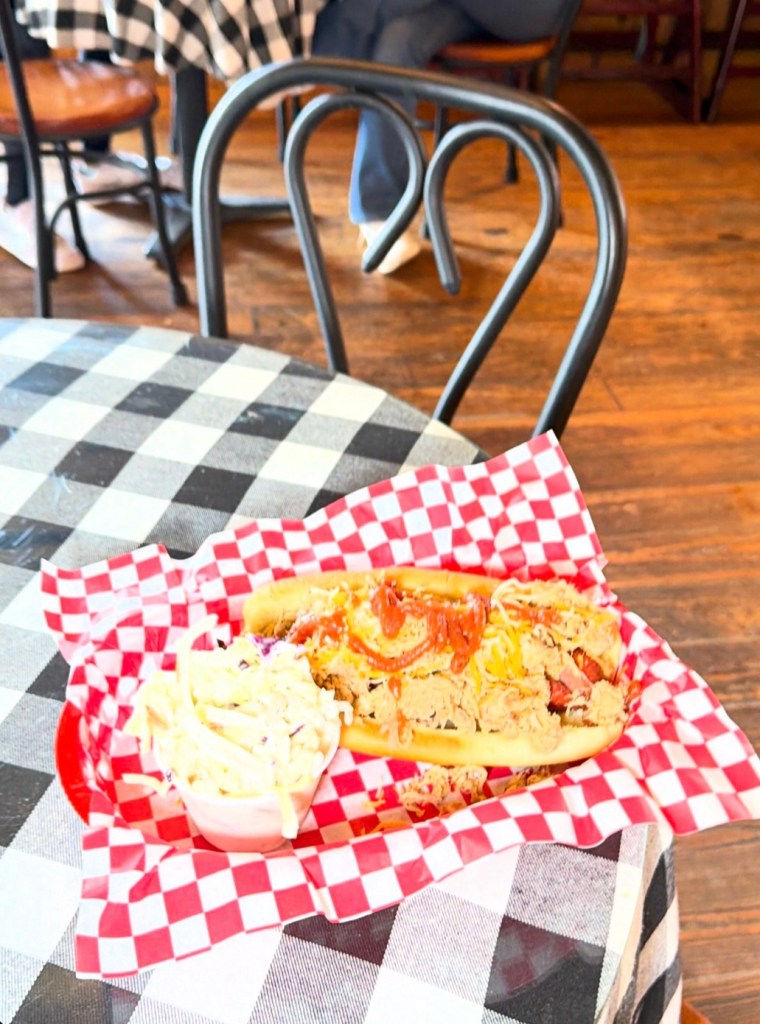
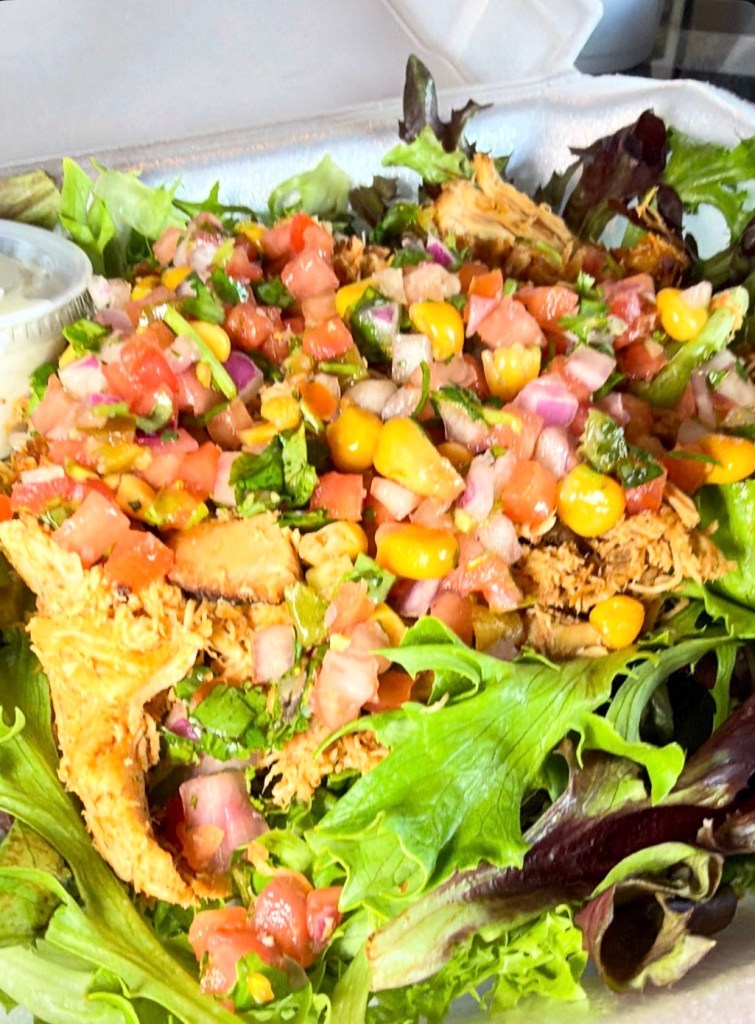
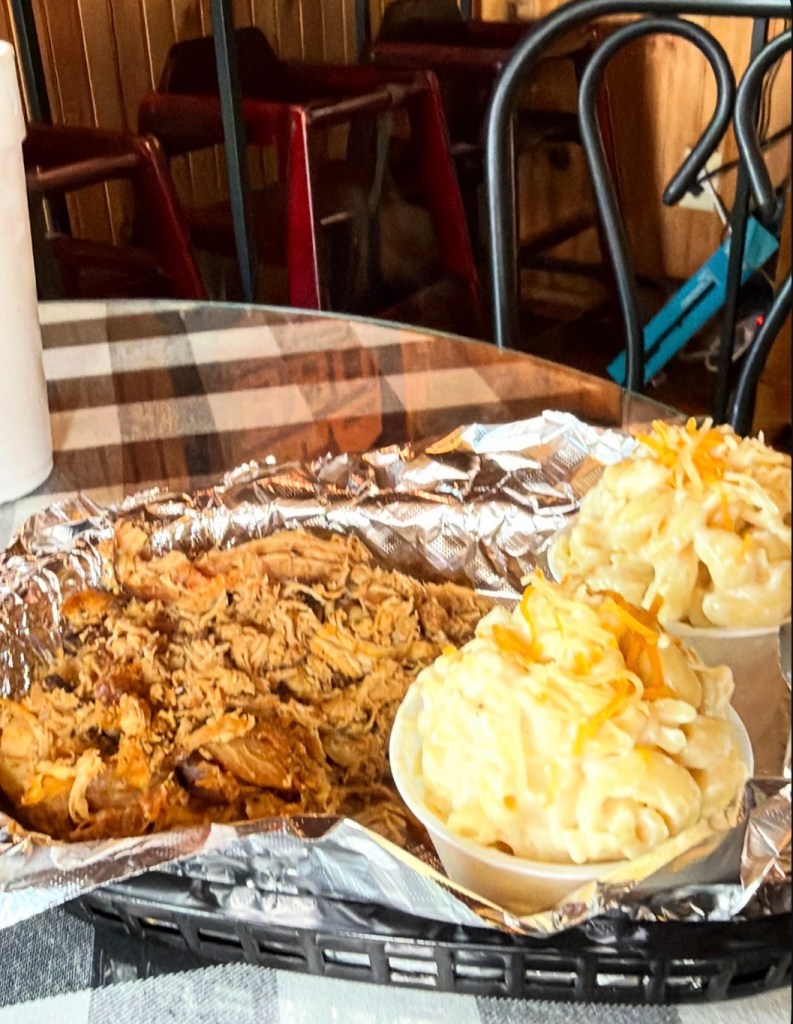
Lunchtime Pork Slaw DogPulled Pork Southwest SaladPulled Pork & Mac and CheesePork Slaw Dog All Beef Hot Dog
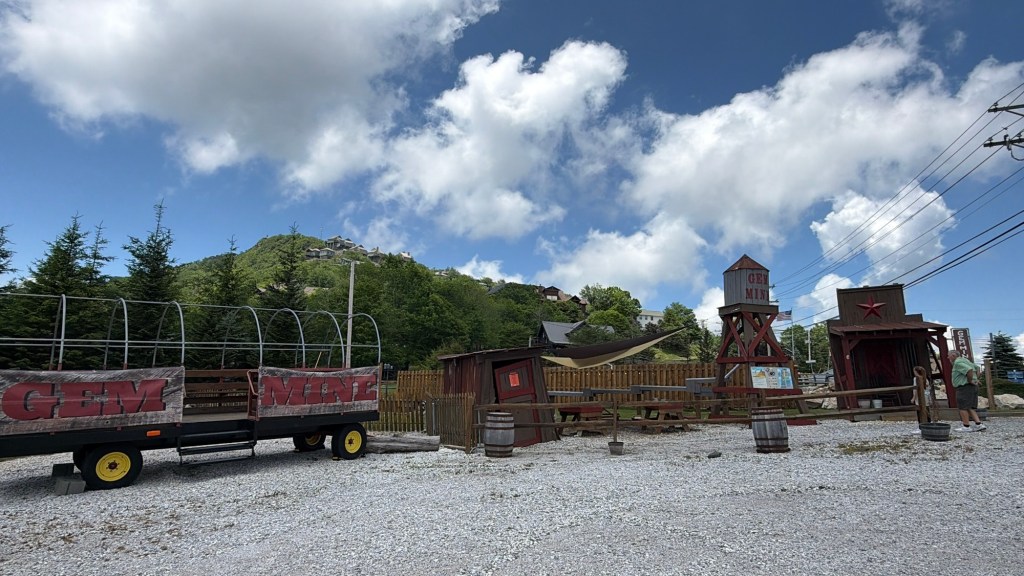
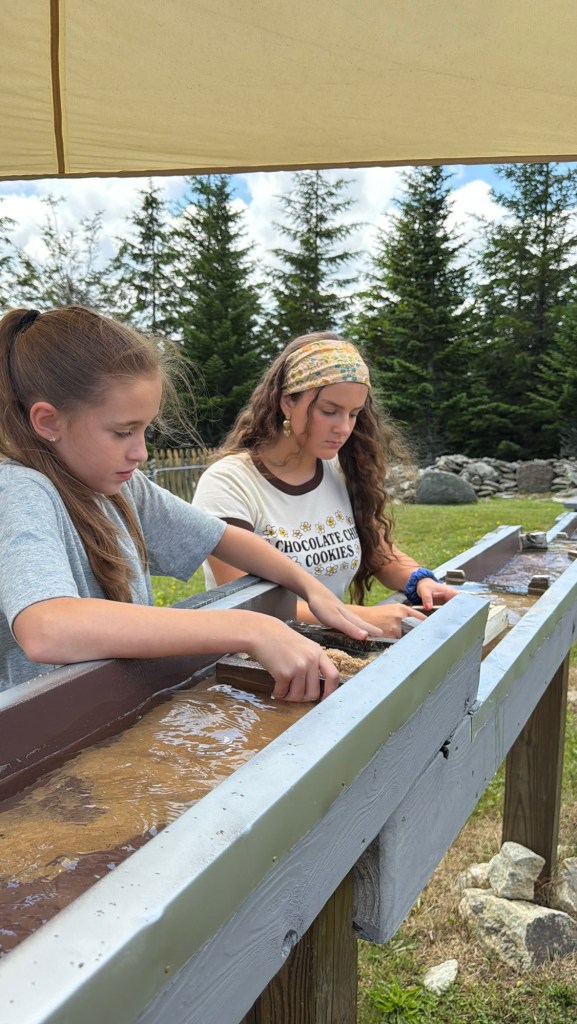
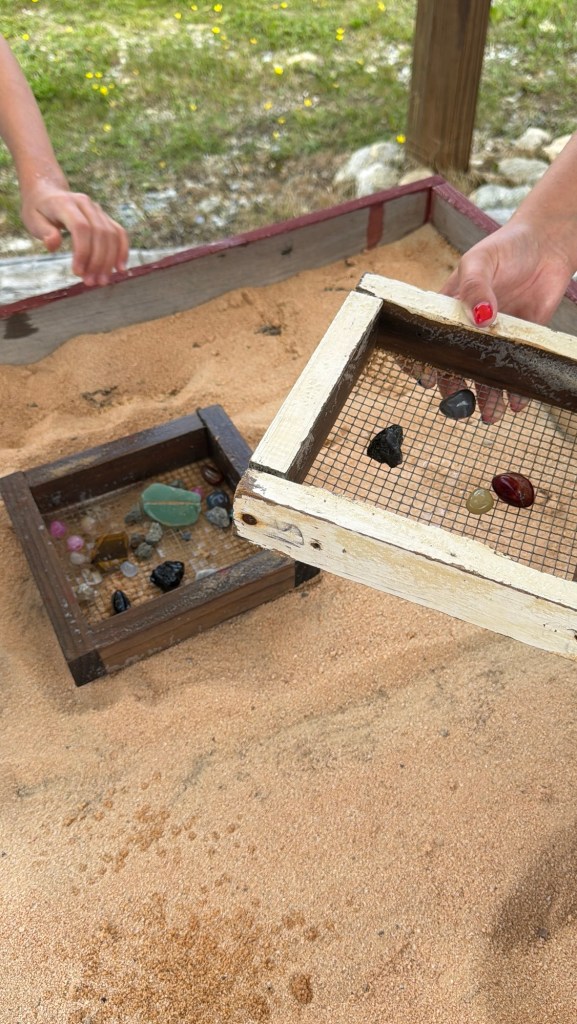
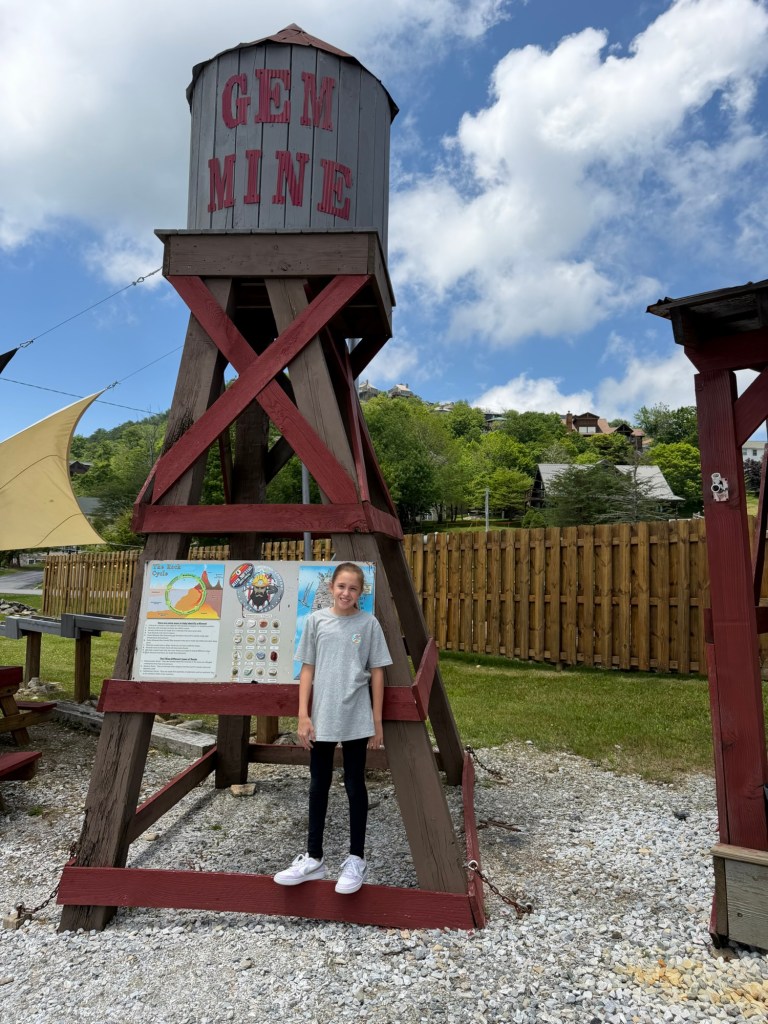
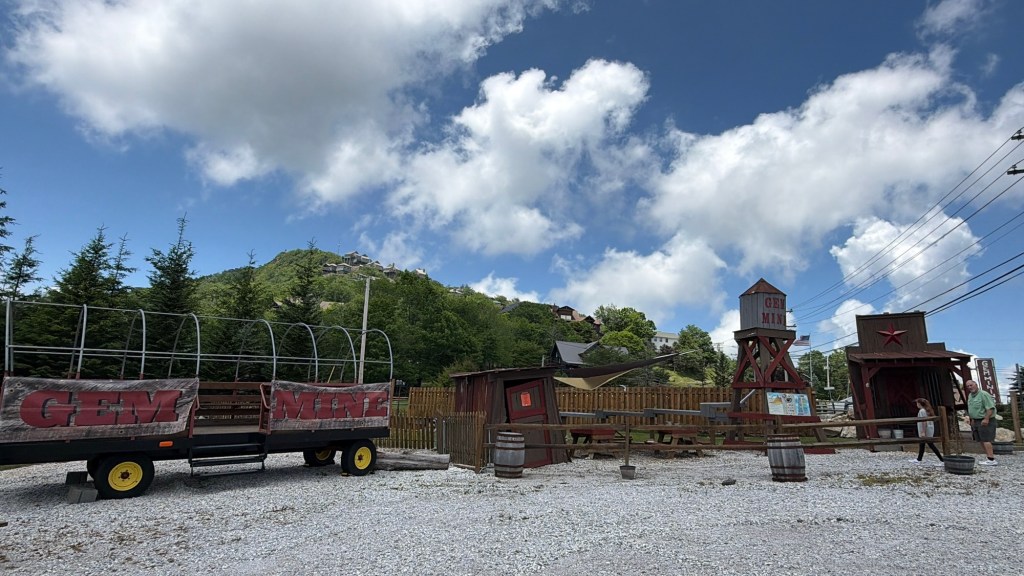
Gem Mine
One of the things that makes White Wolf Lodge unique is that the adventure doesn’t stop when you arrive. The property itself has experiences for everyone to enjoy, including a fun gem mining experience where kids and adults can search for hidden treasures.
Gem MineMining Gem Mine Finds!A Fun Day!
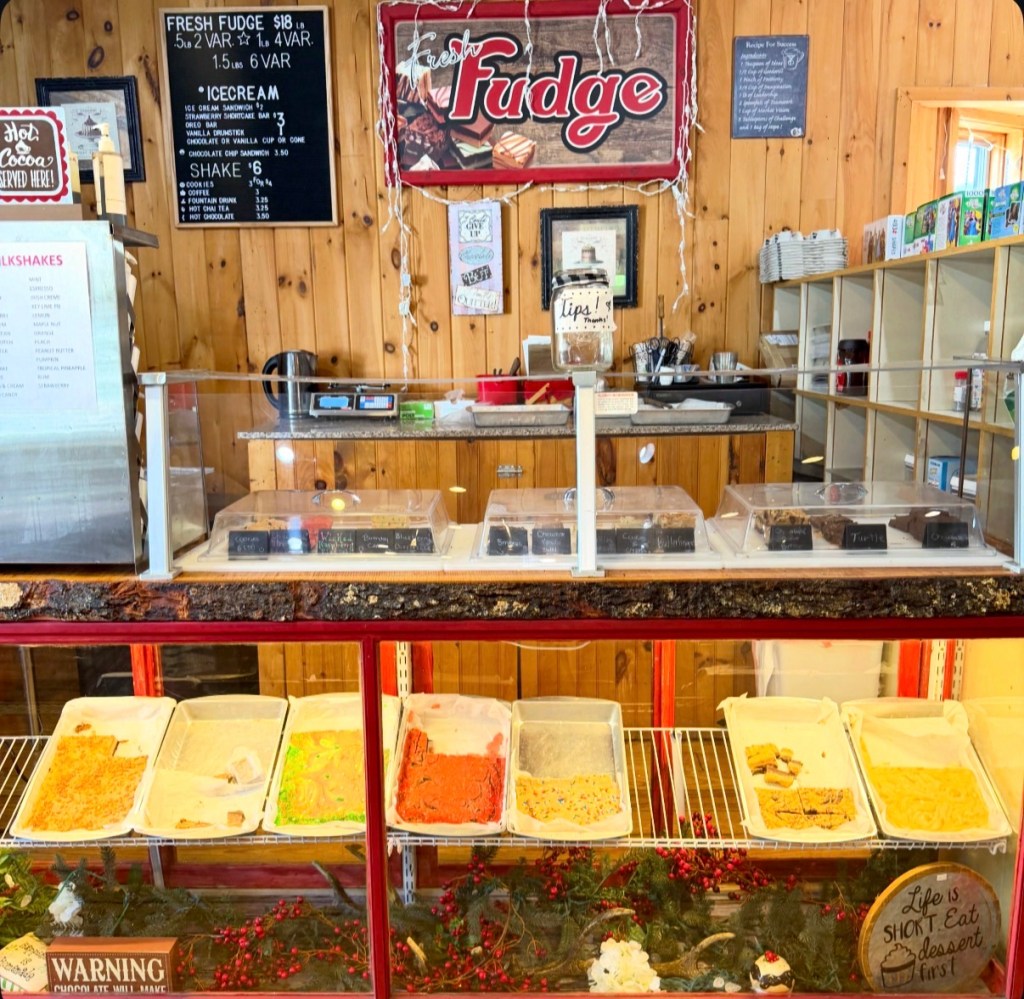
Fudge Shop
White Wolf Lodge isn’t just a place to stay—it’s an experience. Browse the unique gift shop, try your luck at gem mining, enjoy lunch at Holy Smokes BBQ, and don’t forget to treat yourself to their homemade fudge. Made with real butter and cream, it’s one of those little mountain traditions that makes every visit feel extra special.
Waking Up to the Blue Ridge Mountains
Every morning started the same way—with a warm cup of coffee and a quiet moment on the deck.
White Wolf Guest Cabin
My first thoughts were of how God created such a beautiful world for us to enjoy, together with the ones we love.
White Wolf Lodge Guest Cabin
A Great Home Base for Exploring the High Country
During our stay, White Wolf Lodge made the perfect home base for exploring some of the most beautiful destinations in North Carolina’s High Country. Everything was just a short drive away, making it easy to experience the best the area has to offer.
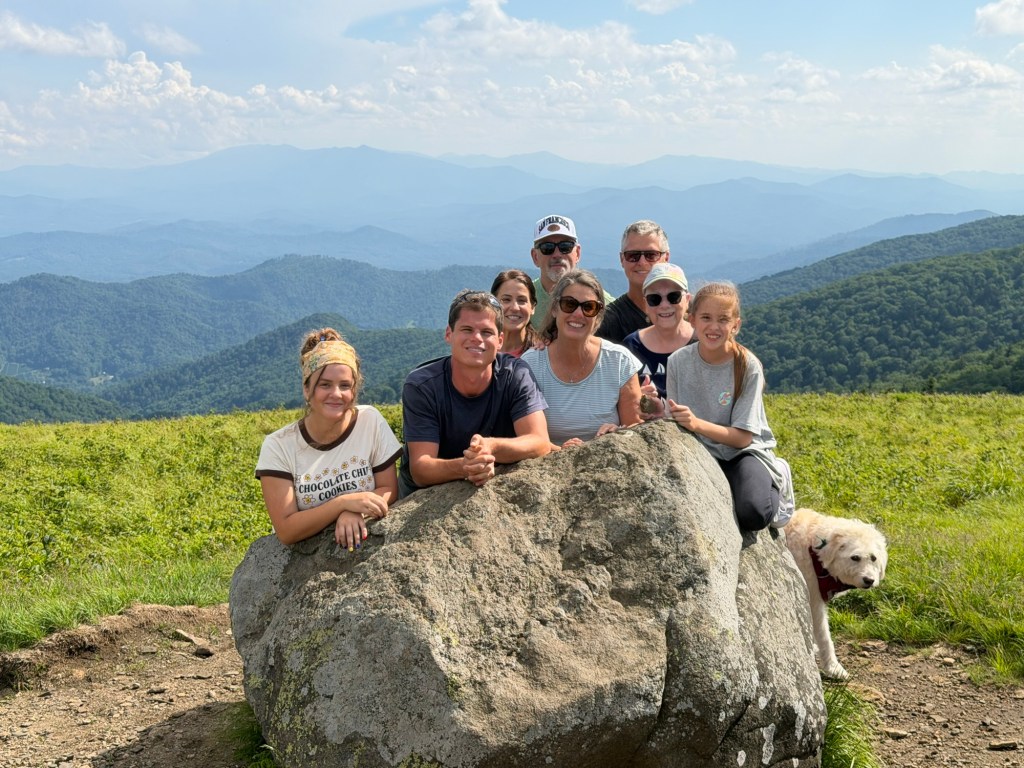
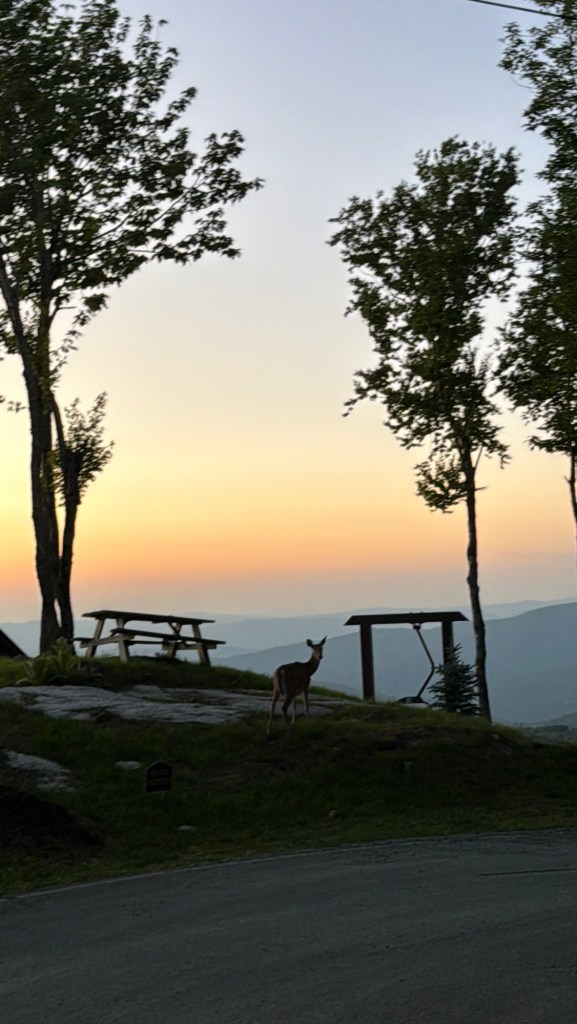
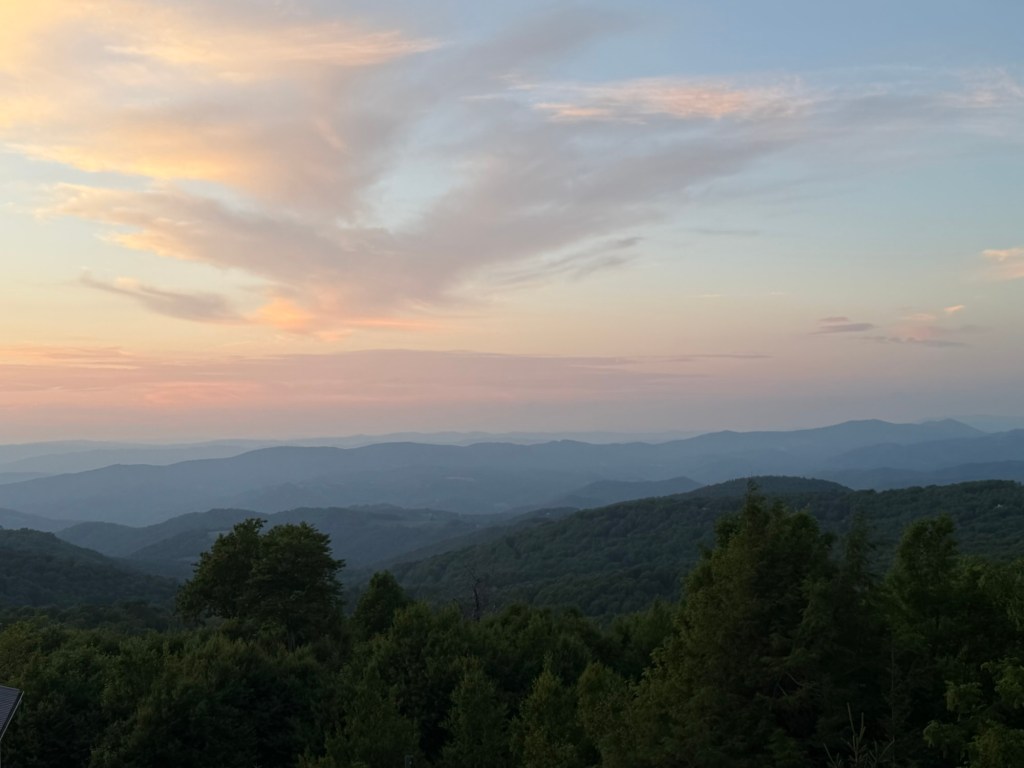
As the sun slowly rose over the Blue Ridge Mountains, the views seemed to change by the minute. Layers of mountains stretched into the distance while cool mountain air and the sounds of nature created the kind of peace that’s hard to describe until you’ve experienced it yourself. It became my favorite way to begin each day before heading out to explore!
Our Home Base: White Wolf Lodge Beech Mountain
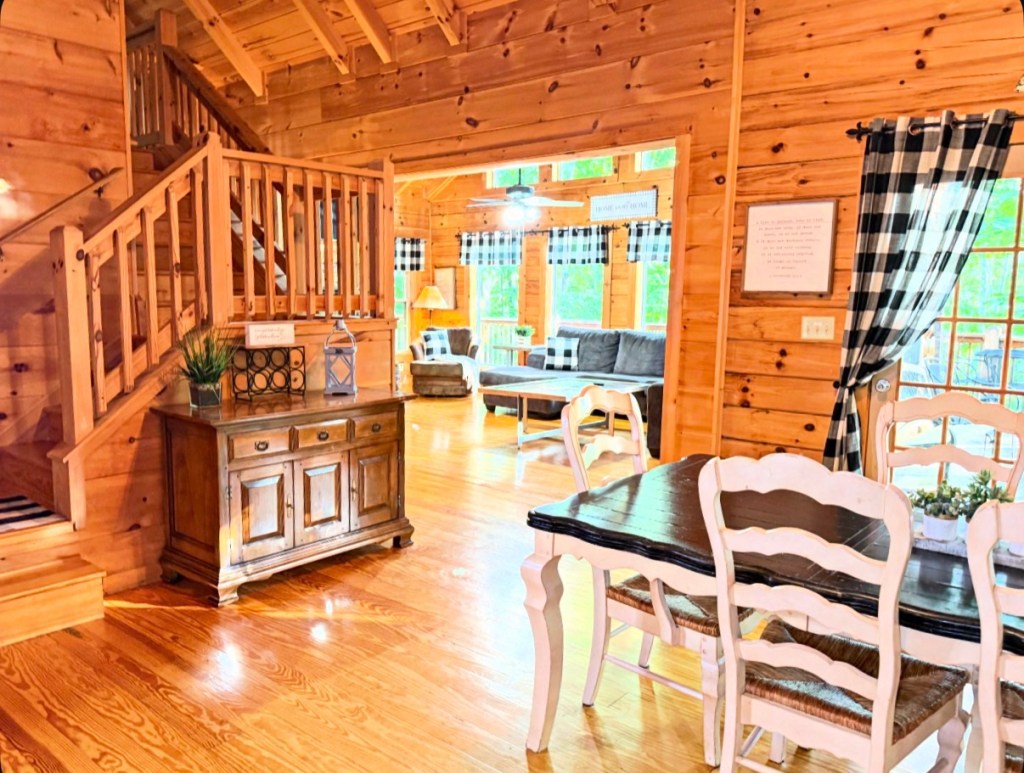
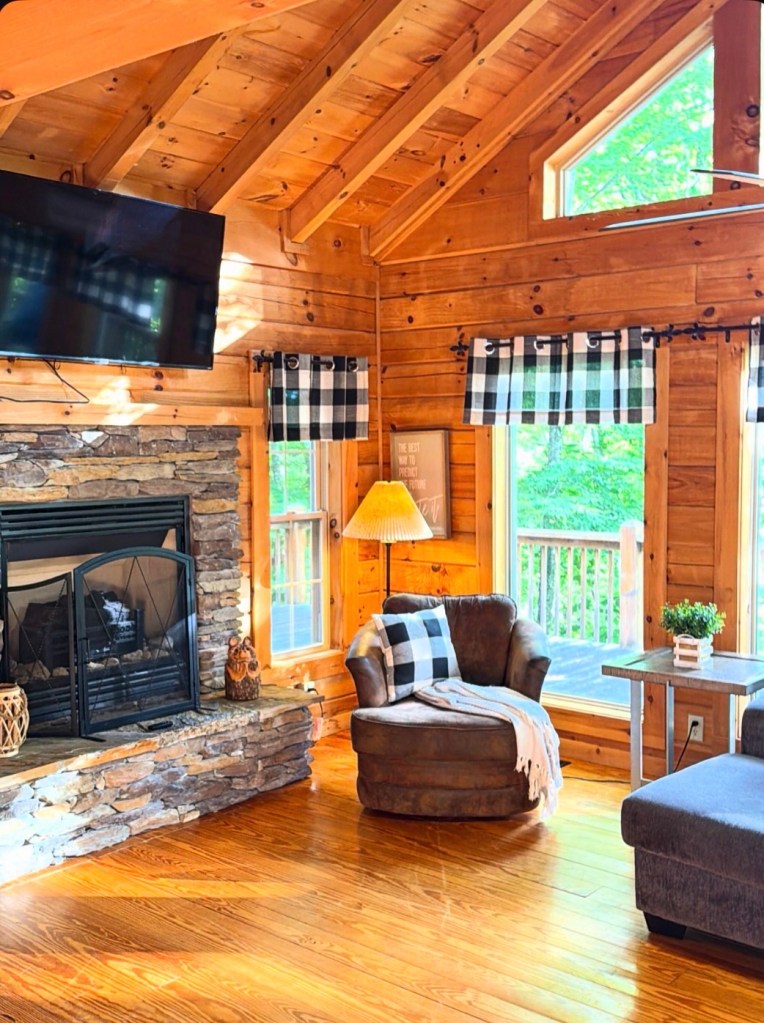
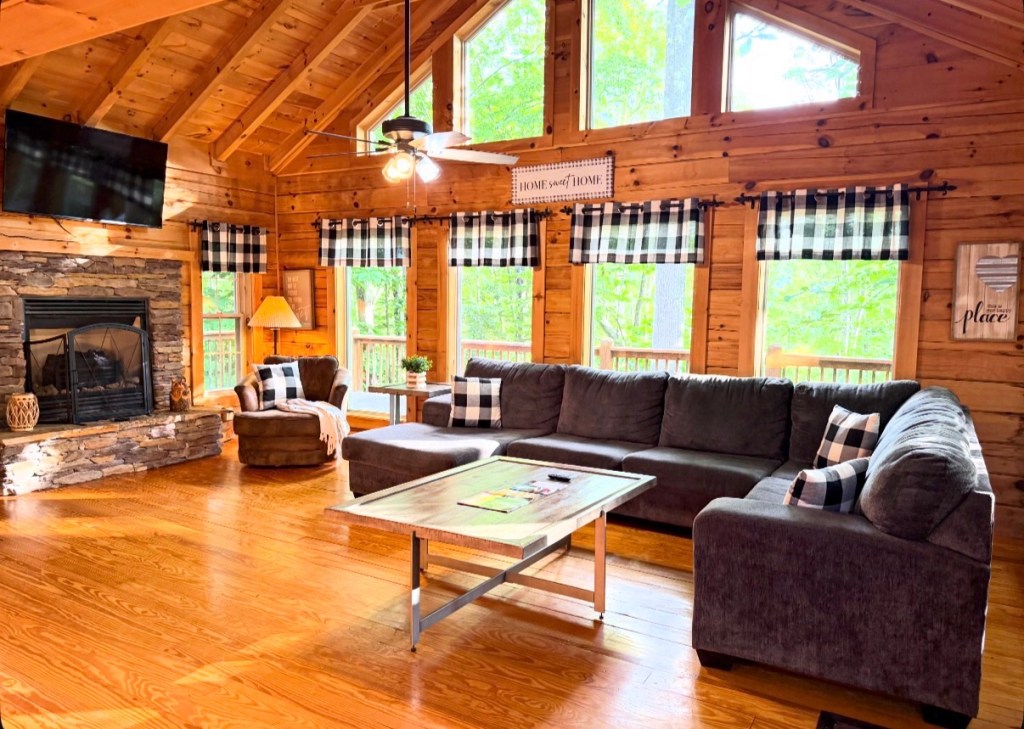
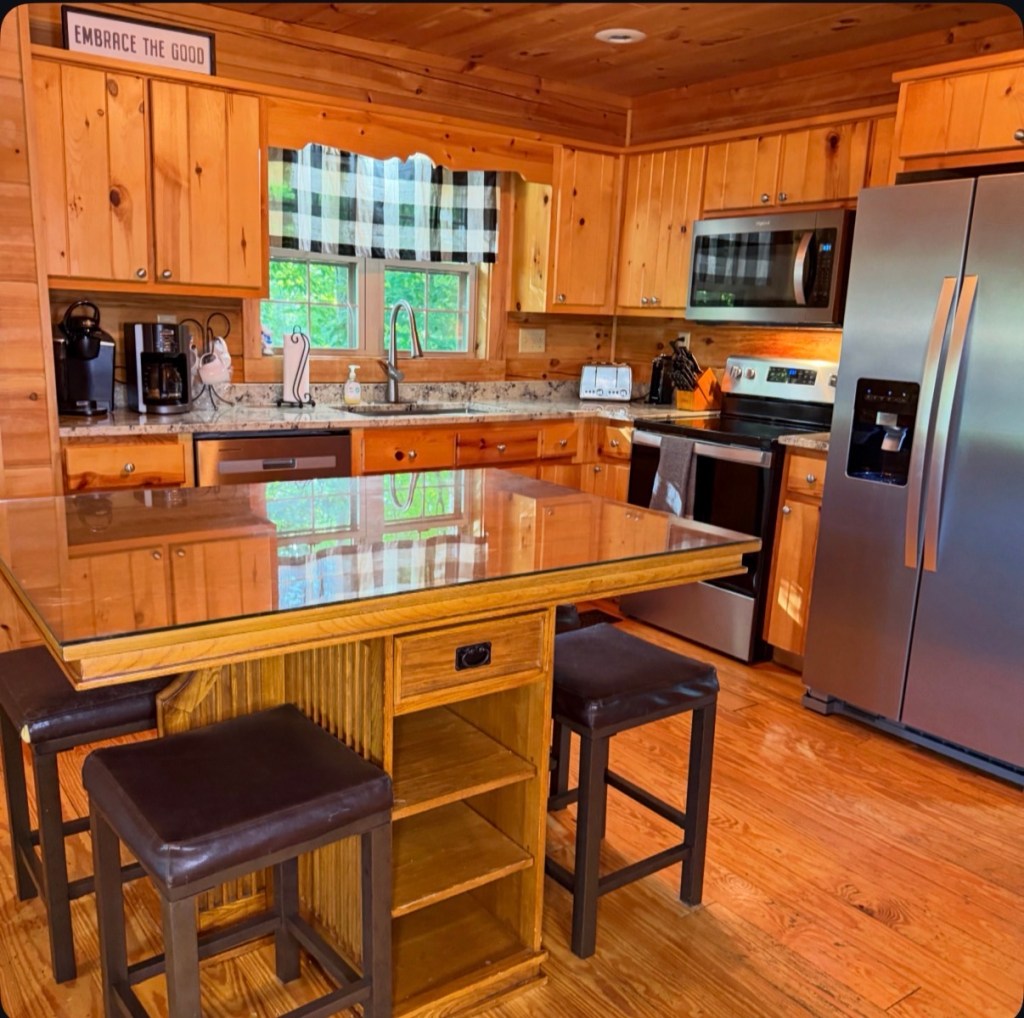
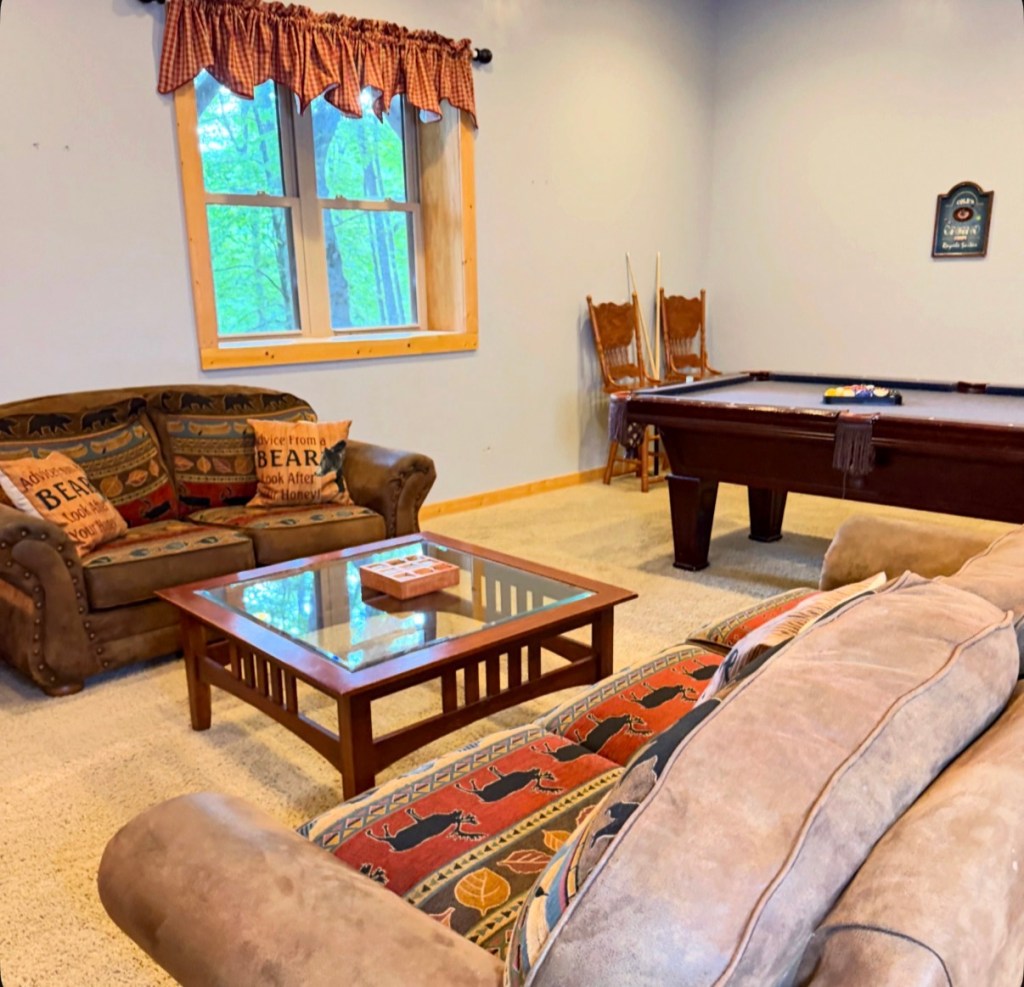
One of the best decisions we made was staying at White Wolf Lodge. We stayed in their Cozy Cabin and it was such a peaceful mountain setting, which gave us the perfect balance of relaxation and adventure.
Fireplace Living Room Kitchen Game Room
Every morning started with incredible mountain views, and every evening ended with a cozy place to unwind after exploring everything the High Country has to offer.
Because of its central location, we were just a short drive from Beech Mountain, Banner Elk, Blowing Rock, Carver’s Gap, and several scenic drives along the Blue Ridge Parkway. It made exploring the area easy while still giving us a quiet retreat to return to each night. You can watch all about our adventures here over on IG!
A Great Home Base for Sports Teams & College Groups
While White Wolf Lodge is an incredible family getaway, it’s also an excellent choice for sports teams, college groups, church retreats, and other large organizations.
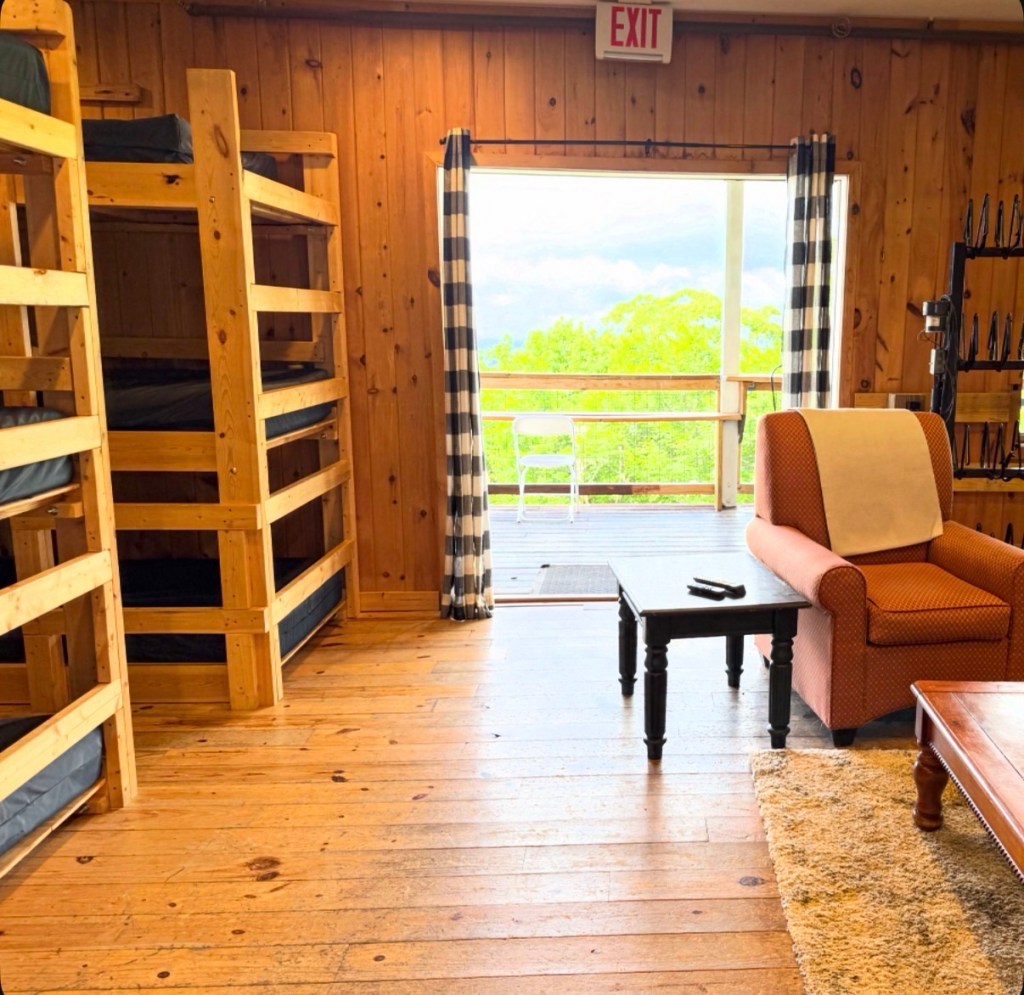
Entry DiningBunksKitchen
With spacious bunk room accommodations that can host large groups, everyone can stay together while enjoying the beautiful mountain setting. Whether you’re visiting for team bonding, preseason training, tournaments, or a weekend retreat, White Wolf Lodge offers comfortable lodging, with a kitchen and bathrooms, plenty of outdoor recreation, and easy access to everything Beech Mountain has to offer. It’s the kind of place that brings people together both on and off the field.
Where Hospitality Feels Like Home
As our stay came to an end, one thing became abundantly clear—White Wolf Lodge isn’t just a beautiful place to stay; it’s a place where people genuinely care. Managers, Trish and Mike’s passion for serving others shines through in everything they do, and their warm hospitality leaves a lasting impression long after you’ve headed home. One of the things I loved most about White Wolf Lodge was its location.
WWL Managers: Mike & Trish
Final Thoughts
Looking back, White Wolf Lodge Beech Mountain wasn’t just where we stayed—it became part of our story.
It’s where we watched the sunrise with coffee in hand, enjoyed the cool, crisp mountain air, laughed together while gem mining, returned after unforgettable mountain adventures, and ended each day surrounded by the beauty of the Blue Ridge Mountains.
If you’re planning your own North Carolina mountain getaway, I wholeheartedly recommend adding White Wolf Lodge Beech Mountain to your list.
And if you’re wondering what to do while you’re there, be sure to read my companion guide, The Perfect North Carolina Mountain Getaway: Beech Mountain, Banner Elk & Blowing Rock, where I’m sharing our full itinerary, favorite stops, scenic drives, and can’t-miss adventures from this incredible trip.
A heartfelt thank you to owners, Larry and Laura Watren for your incredible hospitality during our stay at White Wolf Lodge. Thank you for welcoming our family, sharing your beautiful mountain retreat with us, and creating a place where so many special memories are made. We truly appreciate your kindness and can’t wait to visit again! We love y’all!
Looking for the perfect North Carolina mountain getaway?
Nestled in North Carolina’s Blue Ridge Mountains, Beech Mountain, Banner Elk, and Blowing Rock offer a unique blend of breathtaking scenery, mountain-town charm, and outdoor adventure. Watch my reel on IG of our NC adventure!
Round Bald > Elevation 5, 826 feet
Grab my personalized guide and map to discover the destinations, hidden gems, and memorable experiences that made this High Country getaway so unforgettable.
NC Mountain Guide High Country, North Carolina
Lodging: White Wolf Lodge, Our Home Base in the Mountains
White Wolf Lodge served as the perfect home base for exploring the surrounding area. We stayed at White Wolf Lodge’s Cozy Cabin.
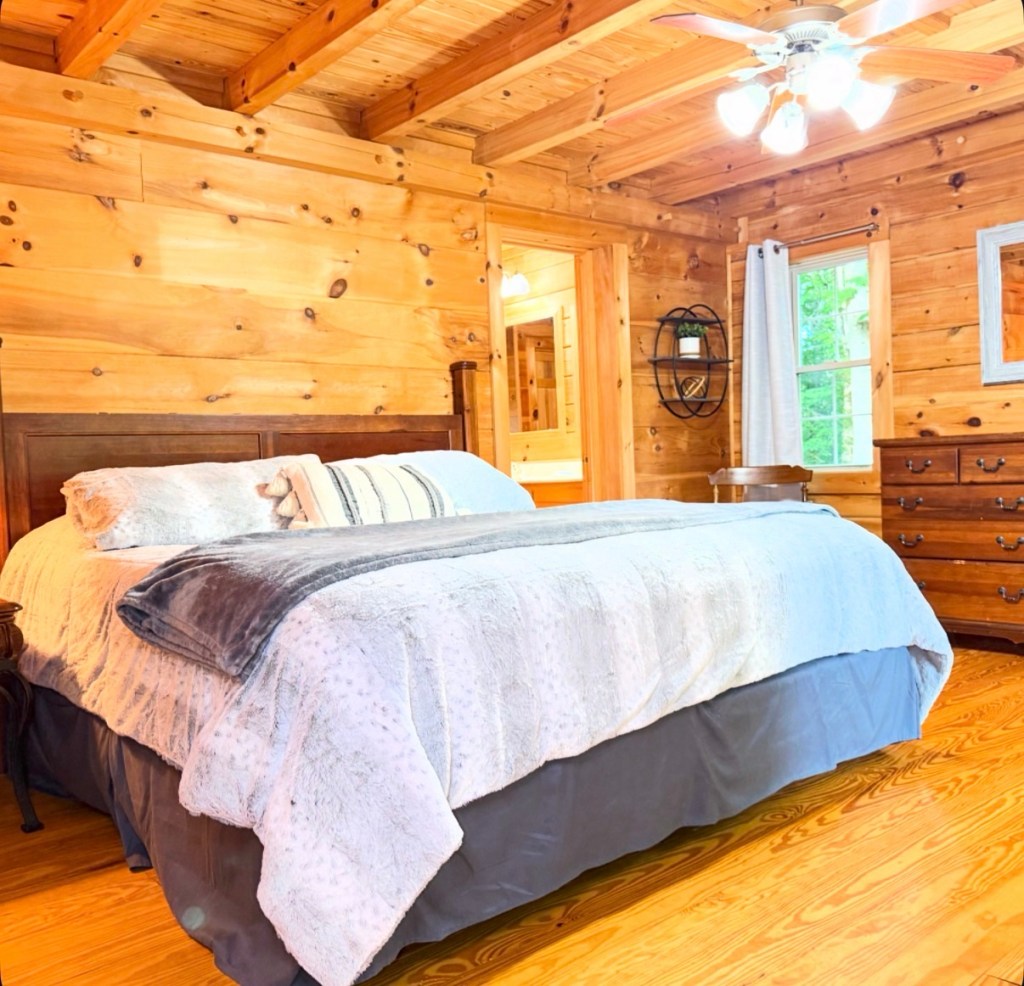
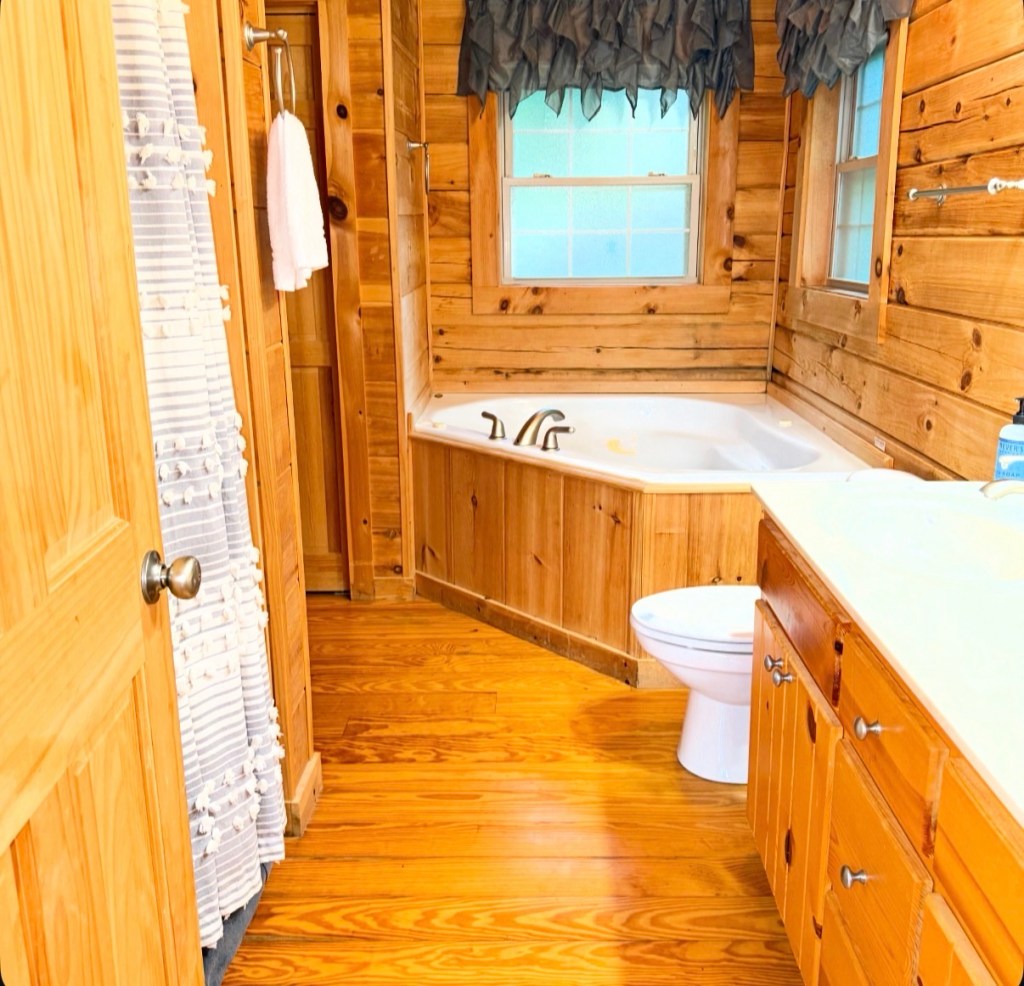
Cozy Cabin at White Wolf Lodge
Nestled in Beech Mountain, the Cozy Cabin offered everything we were looking for—a peaceful setting, beautiful views, and plenty of space to relax after long days of adventure.
Cozy Cabin Living Room
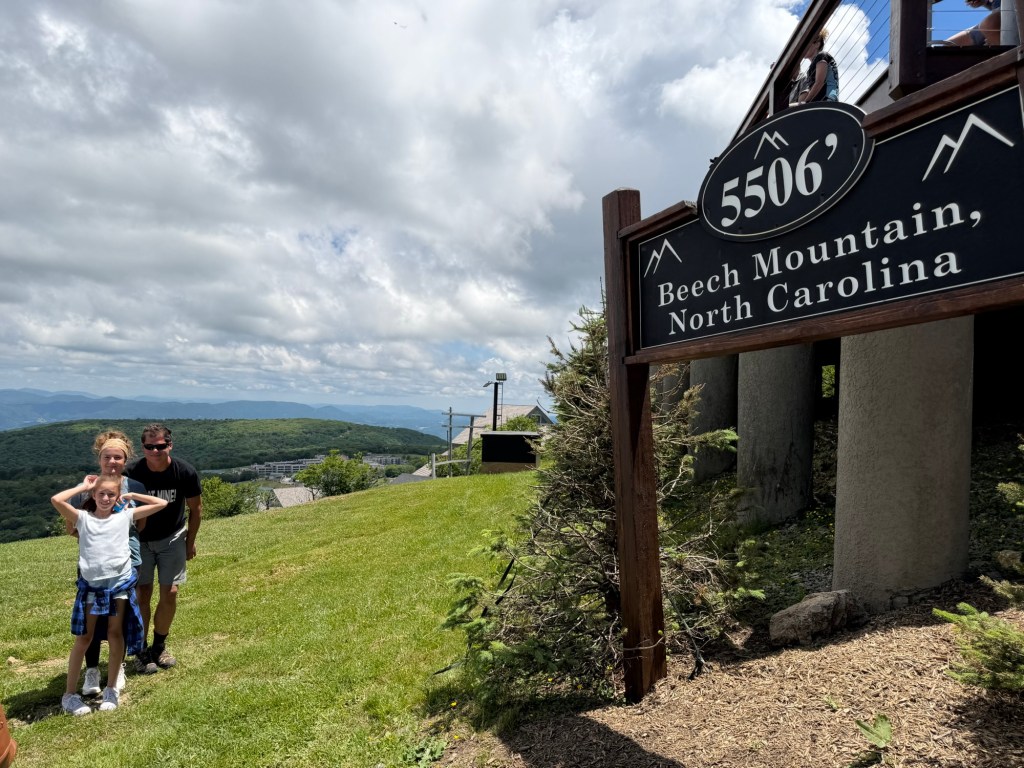
Beech Mountain
Mornings started with coffee overlooking the mountains, at White Wolf Lodge’s Cozy Cabin, while evenings were spent unwinding and enjoying the cooler mountain air.
Beech Mountain > Elevation 5, 506 feet
One of the things we loved most about White Wolf Lodge was its convenient location on Beech Mountain.
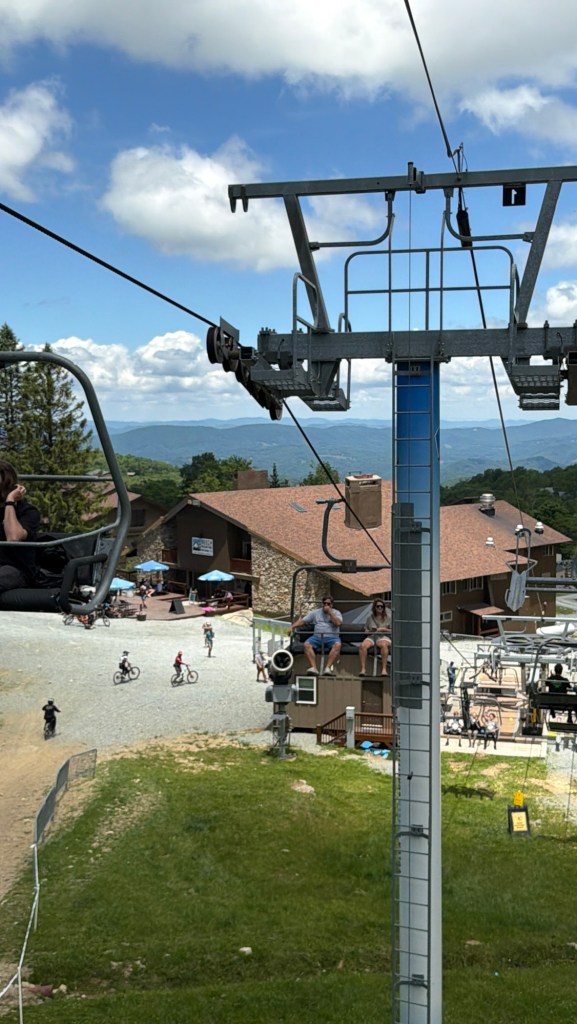
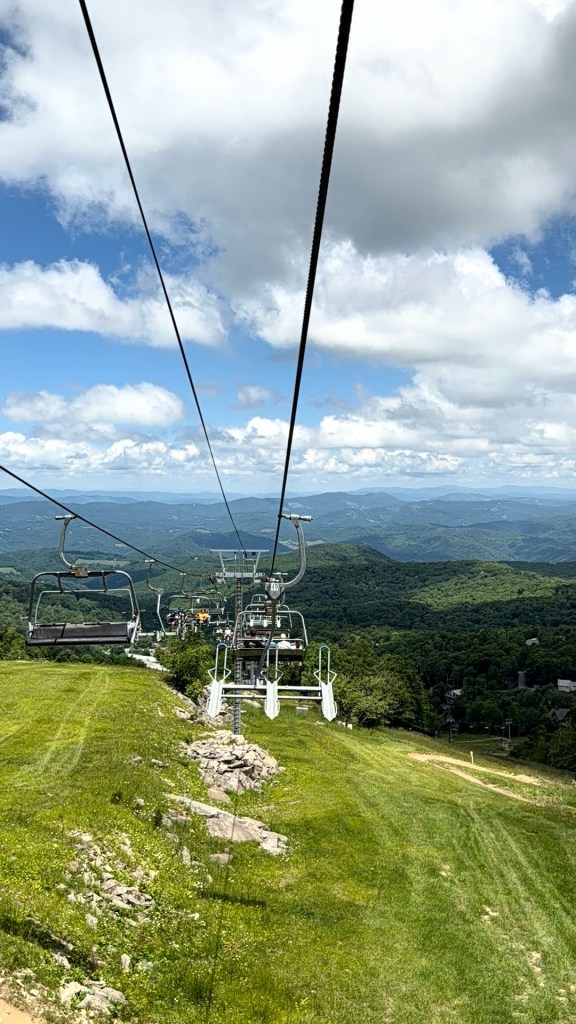
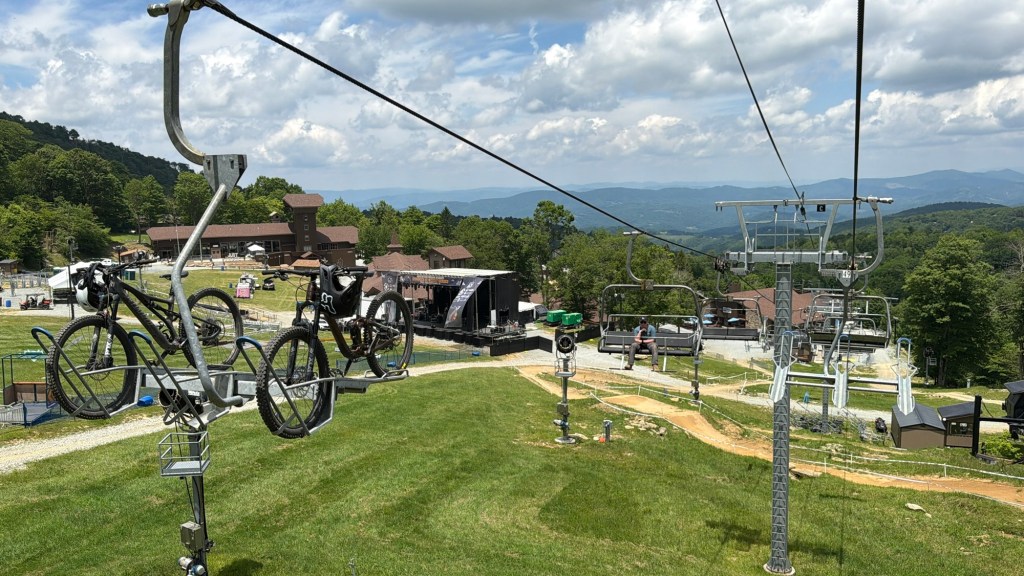
Beech Mountain Resort Ski Lift
It allowed us to easily explore Beech Mountain, Banner Elk, Blowing Rock, and many of the area’s most popular attractions, while still feeling tucked away from the hustle and bustle.
Elk River Falls
Exploring Beech Mountain
Exploring Beech Mountain is the perfect mix of adventure and breathtaking scenery. From scenic chairlift rides and mountain biking to gem mining and unforgettable Blue Ridge Mountain views, there’s something for every age to enjoy.
White Wolf Lodge Restaurant:
Holy Smokes Barbecue
Our favorite lunch spot was Holy Smokes Barbecue, along with our favorite spot for our office meetings! Ha! Pulled pork and their mac and cheese definitely hit the spot daily.
White Wolf Lodge Gem Mine
White Wolf Lodge Gem Mine
Family Fun at White Wolf Lodge’s Gem Mine was one of the highlights for our trip. There’s just something exciting about searching for hidden treasures, and it’s an activity that appeals to both kids and adults alike.
Mining for gems at White Wolf Lodge
Watching gemstones emerge creates lasting memories and makes for a fun family adventure.
White Wolf Lodge Gem Mine
Beech Mountain Resort Ski Resort
Beech Mountain Resort offers year-round adventure, from breathtaking scenic chairlift rides in the summer to thrilling downhill mountain biking trails and winter skiing. Whether you’re taking in the panoramic Blue Ridge Mountain views or watching bikers tackle the slopes, it’s a stop you won’t want to miss.
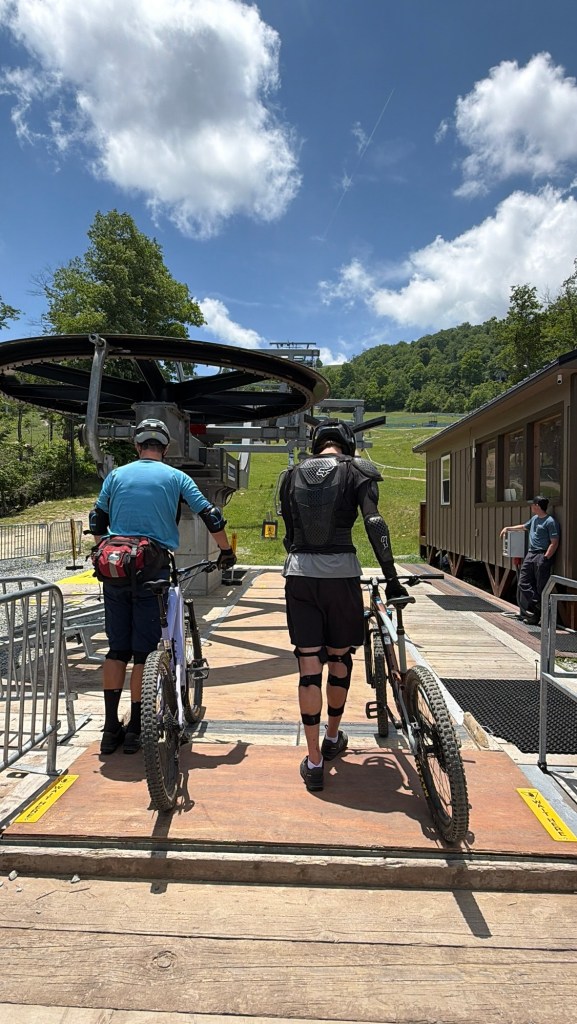
Beech Mountain Resort Ski LiftMountain bikers loading up on the ski lift.
In the summertime, they feature the first lift-assisted bike park in North Carolina, offering mountain biking.
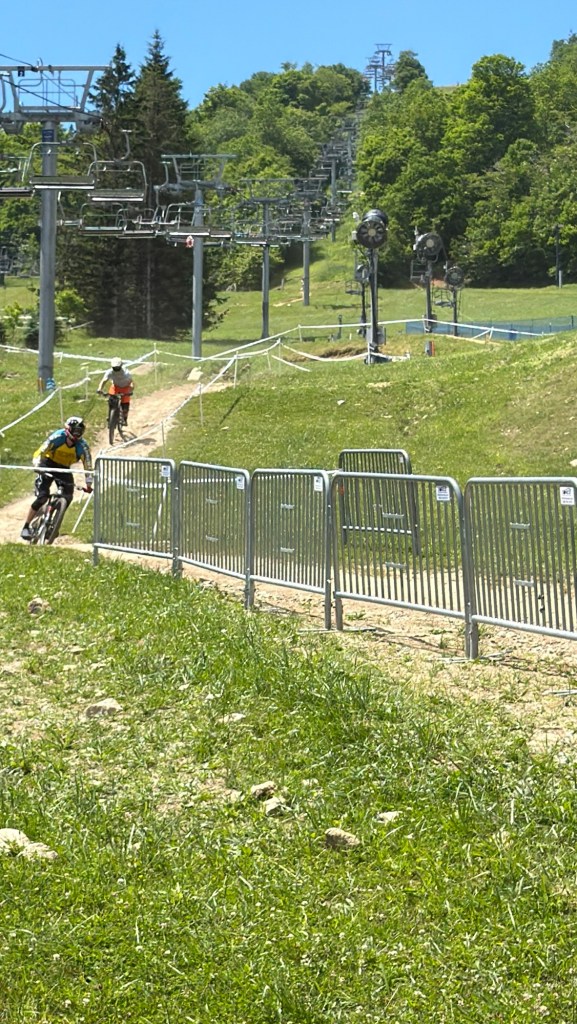
Beech Mountain Resort Trail
The ride offers a completely different perspective of the area and provides countless opportunities for breathtaking photos. Great bike trails for the mountain bikers!
Mountain Bike Trails
Fred’s General Store
We also enjoyed exploring the charming mountain community, stopping by Fred’s General Mercantile, a local favorite that has become a tradition for many visitors.
Fred’s General Store
From souvenirs and snacks to mountain essentials, Fred’s truly feels like part of the Beech Mountain experience.
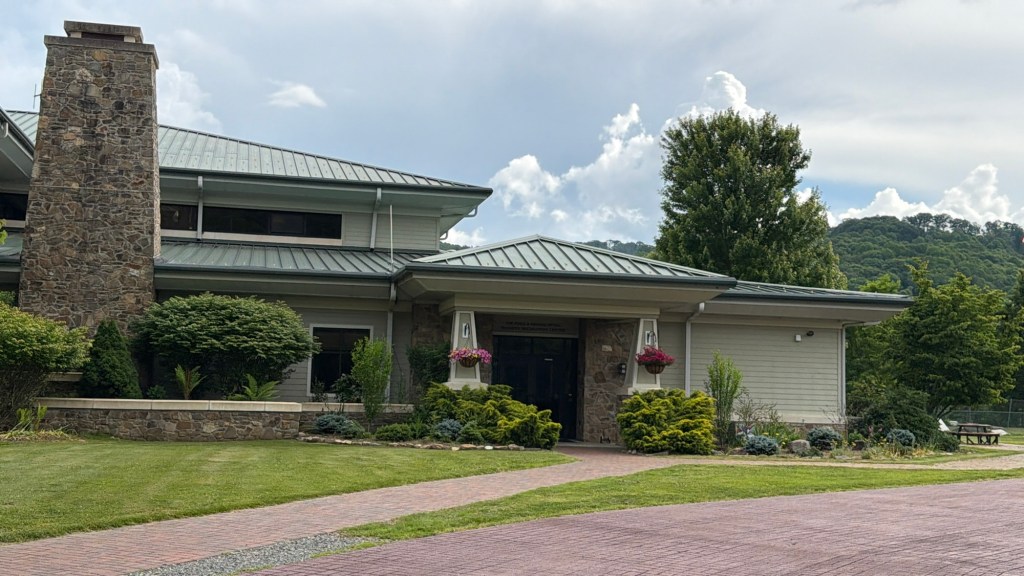
Buckeye Rec Center
For recreation and family fun, the Buckeye Recreation Center offers activities for all ages and is a great place to spend an afternoon.
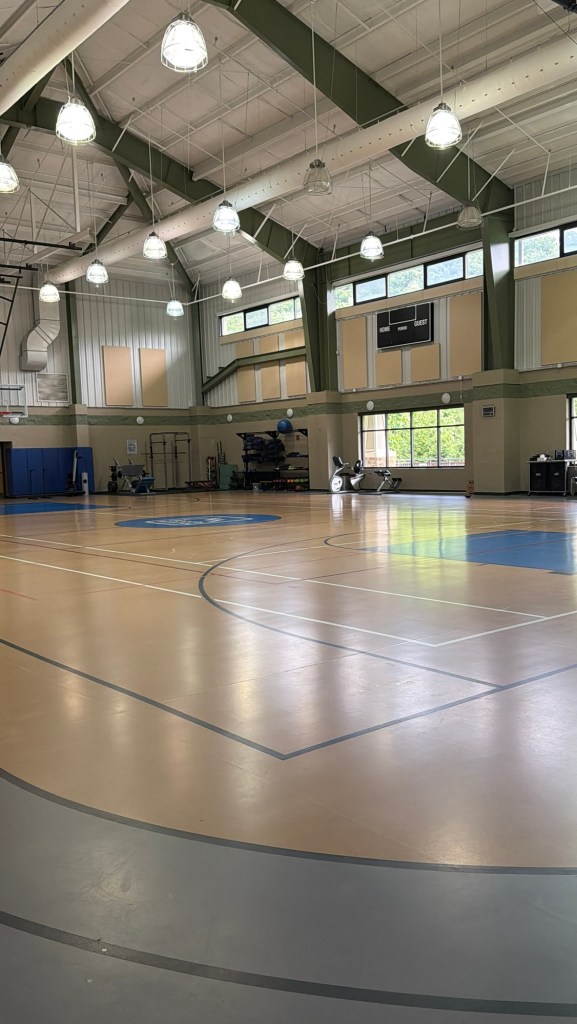
Buckeye Rec Center Buckeye Rec Center Basketball Court
The rec center features a fitness room, basketball and pickleball courts, an indoor walking track, fitness classes, a children’s play area, and outdoor amenities including tennis courts, a playground, picnic areas, lake with fishing gear and scenic walking trails. It’s a fun option for anyone!
Buckeye Rec Center Lake
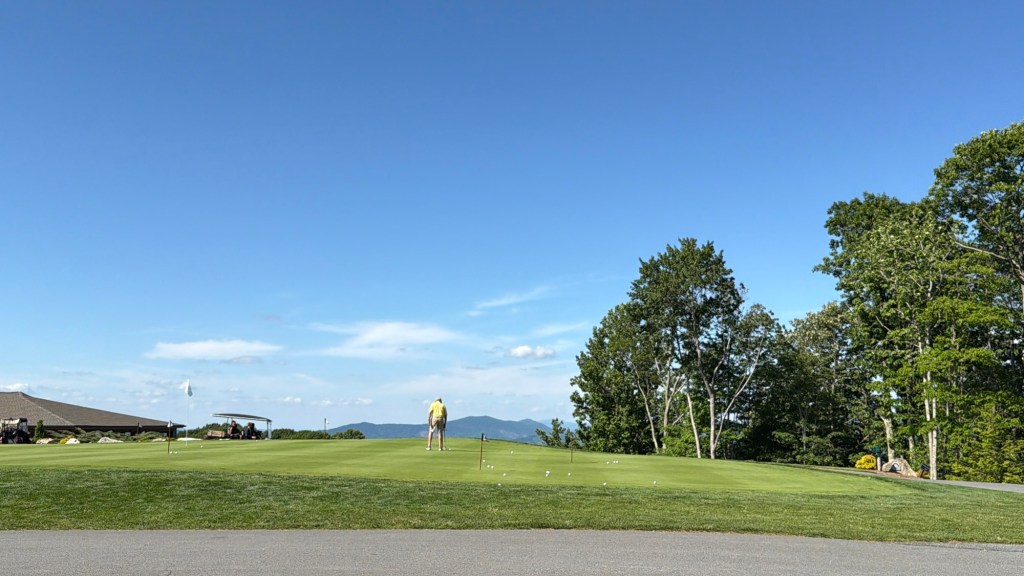
Beech Mountain Country Club
Golf enthusiasts may also enjoy visiting Beech Mountain Club, where members and guests can enjoy one of the area’s most scenic mountain golf experiences.
Beech Mountain Country Club
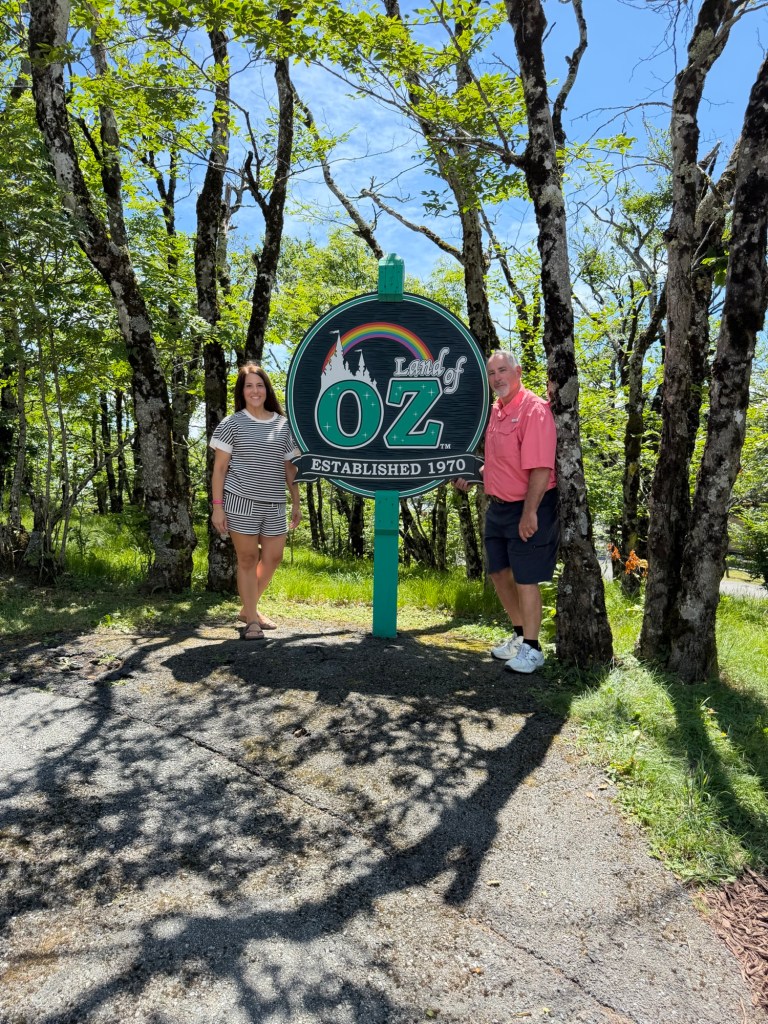
Land of Oz
A Magical Afternoon at Land of Oz One of the most unique experiences of our trip was attending the Land of Oz event on Beech Mountain.
The Land of Oz
Stepping into the world of Dorothy, Toto, and the Yellow Brick Road felt like walking into a childhood memory.
Glenda, from the Land of Oz
The mountain setting adds even more magic to the experience, making it a favorite attraction for both children and adults.
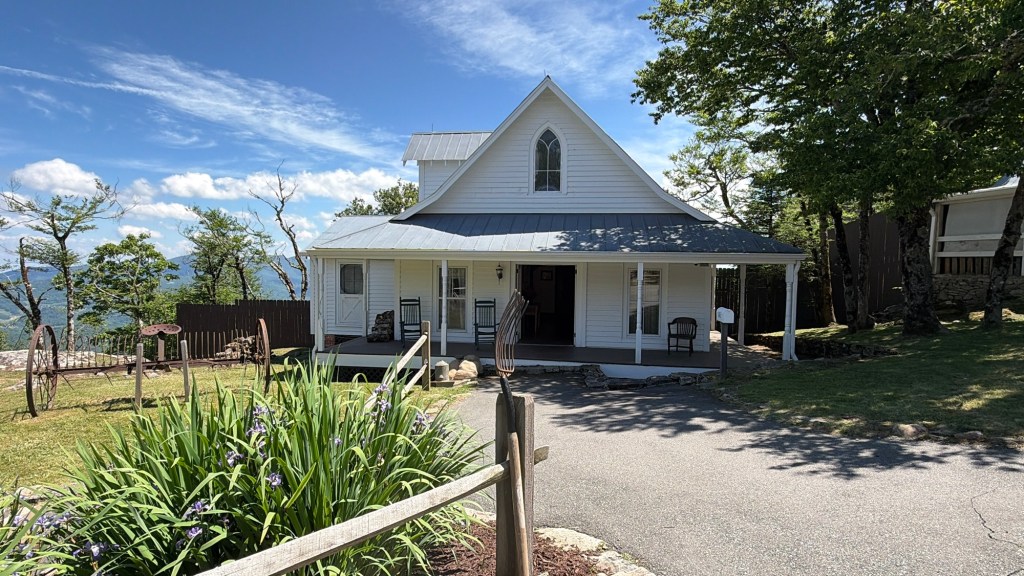
Dorothy’s house in the Land of Oz
Whether you’re attending Autumn at Oz or one of their special themed events, it’s truly a one-of-a-kind experience that has become a beloved tradition in the mountains of North Carolina. Visit for Oz Fest in September! Tickets are on sale now!
Banner Elk Adventures
Banner Elk offers the perfect combination of mountain charm, tranquil shopping, outdoor adventure, and relaxing dining.
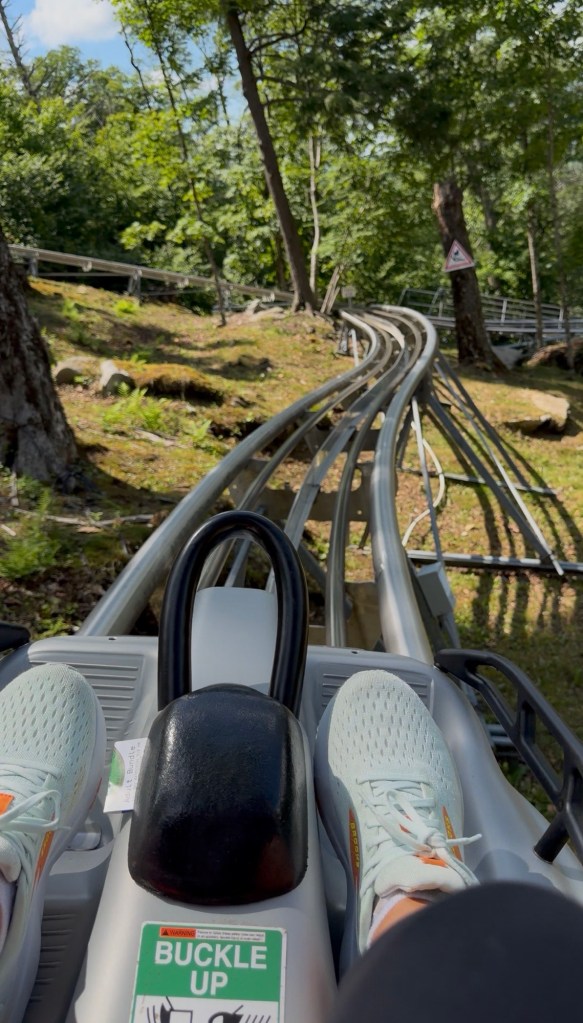
Wilderness Alpine Run Coaster
One of our favorite stops was Wilderness Run Alpine Coaster. This thrilling ride allows you to control your own speed as you wind through the beautiful mountain landscape. It’s an experience the whole family can enjoy and one we’ll definitely do again.
Banner Elk Winery
Banner Elk Winery & Villa
We also spent time exploring a local winery in the area. The High Country is home to several beautiful vineyards where you can relax, enjoy mountain views, and sample local sangria and wine.
Banner Elk Winery
The combination of rolling vineyards and mountain scenery creates a truly unforgettable experience.
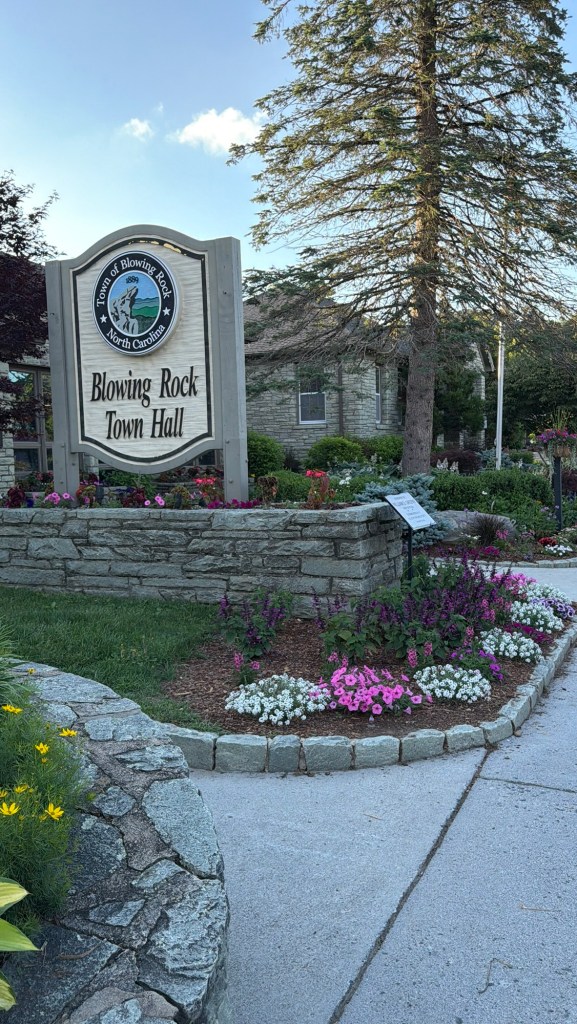
Blowing Rock
Blowing Rock remains one of our favorite mountain towns to visit. Its charming downtown streets are lined with unique boutiques, specialty shops, galleries, and restaurants.
Whether you’re searching for home décor, gifts, clothing, or local treasures, there’s something around every corner.
The relaxed atmosphere makes it easy to spend an entire afternoon wandering through town and enjoying everything it has to offer.
Blowing Rock Town Hall
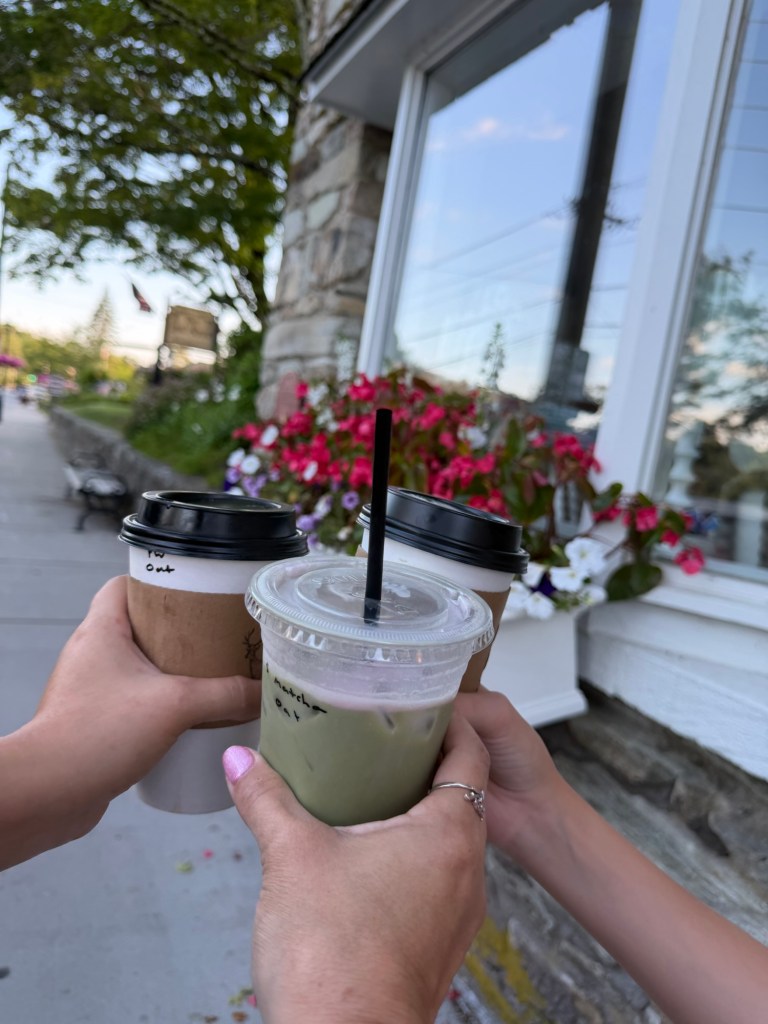
Some of our favorite stops included: ● The Town Tavern, a popular pub in Blowing Rock known for its casual atmosphere and great food ● Bella’s Italian Restaurant-our Dave pizza place ● Blowing Rock Market, perfect for fresh sandwiches, snacks, and local favorites ● Blue Deer Coffee-strawberry matcha is sooo delish ● Last Straw Boutique-my teen found a headband and shirt
Each stop offered its own unique charm and helped make our mountain getaway even more memorable. I really enjoyed getting to go shopping in the shops with my daughters and family. It’s one of the best experiences that I’ll carry with me for a lifetime.
Driving the Blue Ridge Parkway
No visit to North Carolina’s High Country would be complete without spending time on the Blue Ridge Parkway.
Often referred to as “America’s Favorite Drive,” the Blue Ridge Parkway offers some of the most breathtaking scenery in the Southeast.
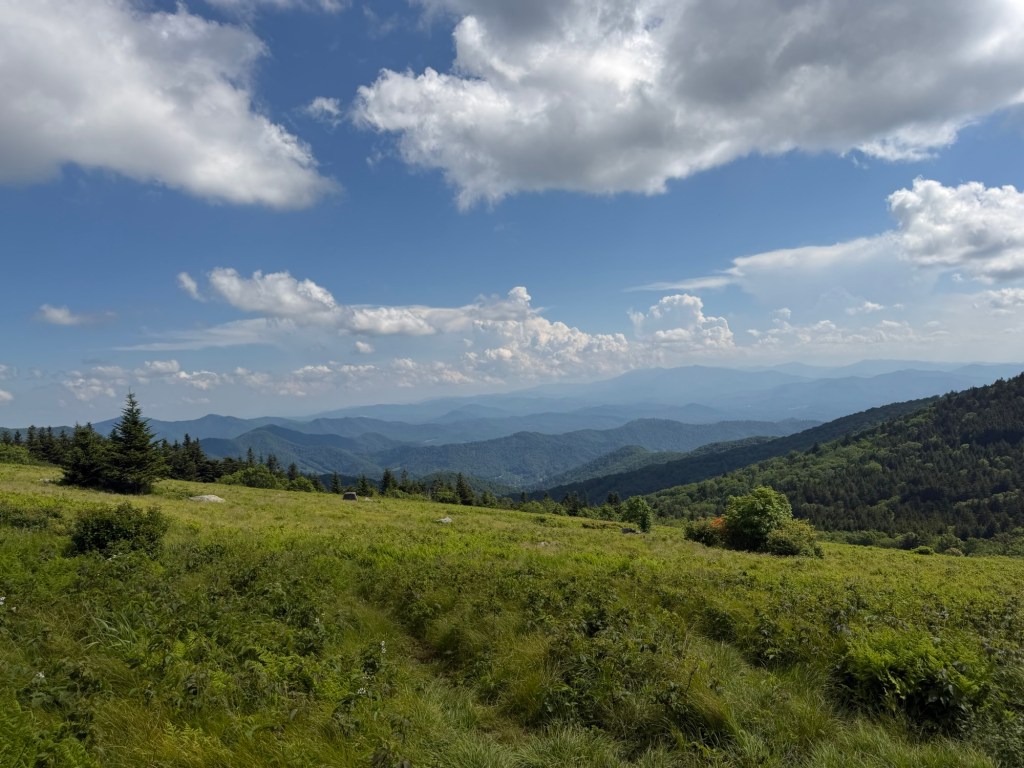
Blue Ridge Mountains
Winding through the Blue Ridge Mountains, the parkway is filled with scenic overlooks, rolling mountain vistas, and countless opportunities to stop and take in the beauty around you.
My first thought was “Wow! God made this beauty for us to enjoy. It is incredible.”
Driving back to our cabin one night.
One of our favorite parts of the trip was simply slowing down and enjoying the drive. Around every curve was another incredible view, with layers of mountains stretching endlessly into the distance.
Whether we were stopping for photos, admiring the changing landscape, or simply enjoying the peaceful drive, the Parkway became an experience all its own.
The beautiful North Carolina!
It’s not just a road—it’s a destination. The slower pace encourages you to take your time, soak in the scenery, and appreciate the natural beauty that makes this region of North Carolina so special.
Carvers Gap > Elevation 5.512 feet
If you’re visiting Beech Mountain, Banner Elk, or Blowing Rock, make sure to set aside time for a drive along the Blue Ridge Parkway. Some of our favorite memories from the trip happened between destinations, simply taking in the views along one of the most scenic drives in America.
Blue Ridge Parkway
Standing on the ridgeline and taking in the endless layers of mountains is one of those moments that reminds you just how beautiful God’s creation truly is.
Why We Love This Area
What makes Beech Mountain, Banner Elk, and Blowing Rock so special isn’t just the attractions—it’s the feeling you get while you’re there.
Life slows down. Conversations last longer. Sunsets seem a little more beautiful. The mountain air feels so refreshing, and every winding road seems to lead to another unforgettable view or wildlife. I found peace in the mountains.
Whether you’re looking for outdoor adventure, family activities, shopping, incredible dining, or simply a place to relax and recharge, this corner of North Carolina offers it all.
Our stay at White Wolf Lodge provided the perfect home base for experiencing everything the High Country has to offer, and we’re already looking forward to our next visit.
Until then, we’ll be holding onto the memories, the mountain views, and all the special moments that made this trip one to remember.
✨Special thanks to the Watren Family, Mike & Trish Moore, White Wolf Lodge and Holy Smokes Barbecue.✨
Coming Soon: I’ll be sharing a dedicated blog & guide to White Wolf Lodge, including our stay in the Cozy Cabin, the on-site gem mine, gift shop, homemade fudge, Holy Smokes Barbecue, and why this beautiful mountain retreat became the perfect home base for exploring North Carolina’s High Country. Stay tuned—you won’t want to miss it!
(This post contains sponsored links from the Gulf Coast Neurofeedback. All thoughts, views and opinions are my own. RIGHT NOW: Your First Session is FREE and 50% off a, 3 Session Trial.)
What Changes You Might Actually Feel-And Why Those Changes Make Sense From A Nervous System Standpoint
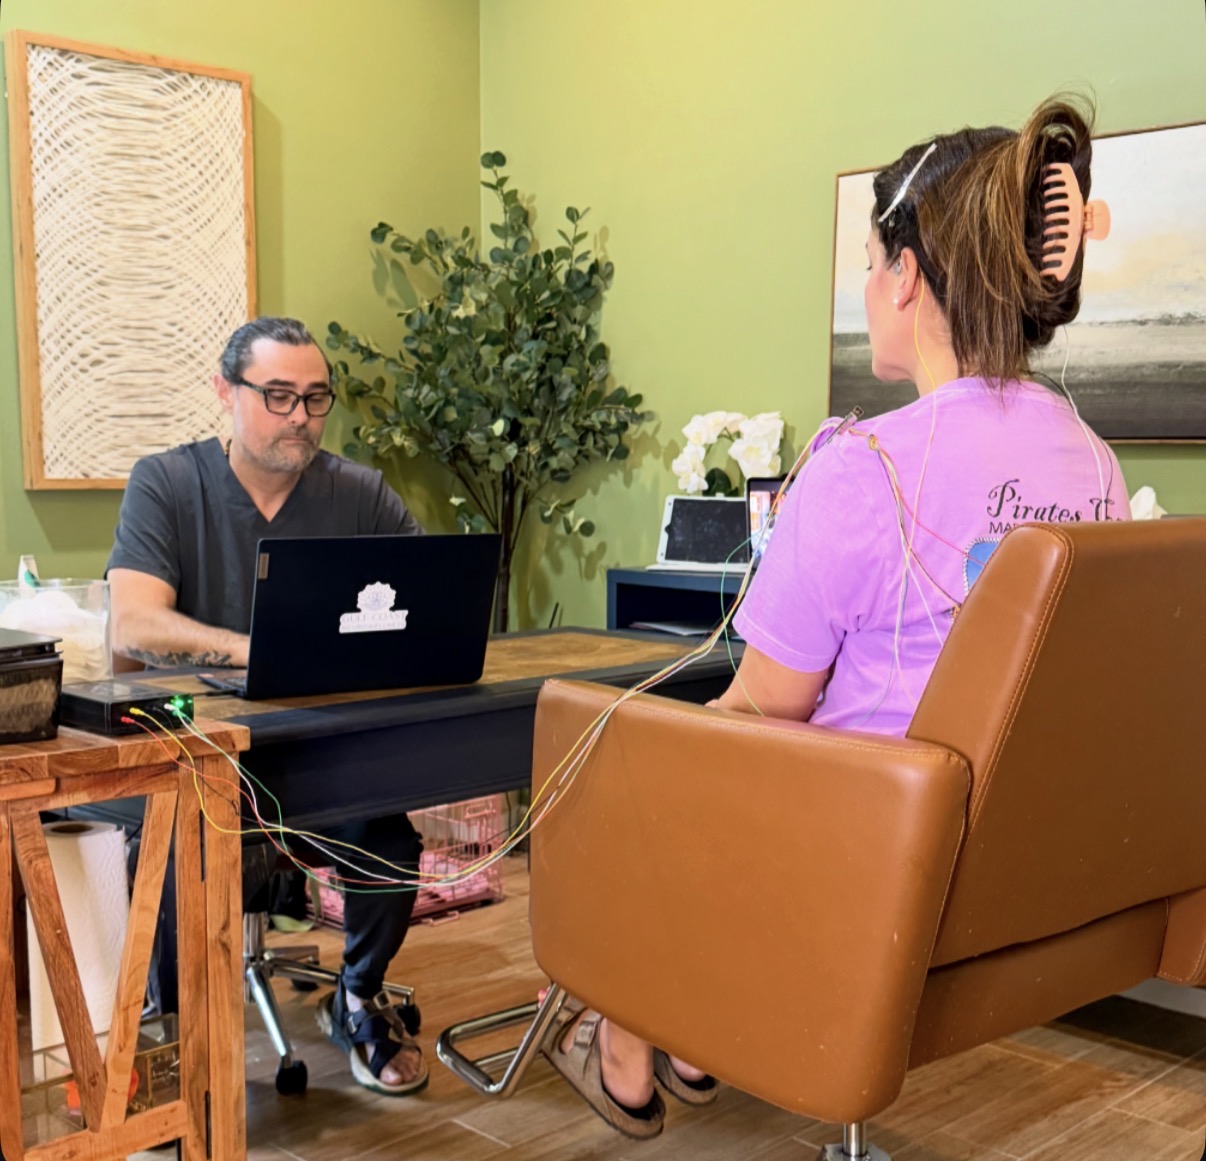
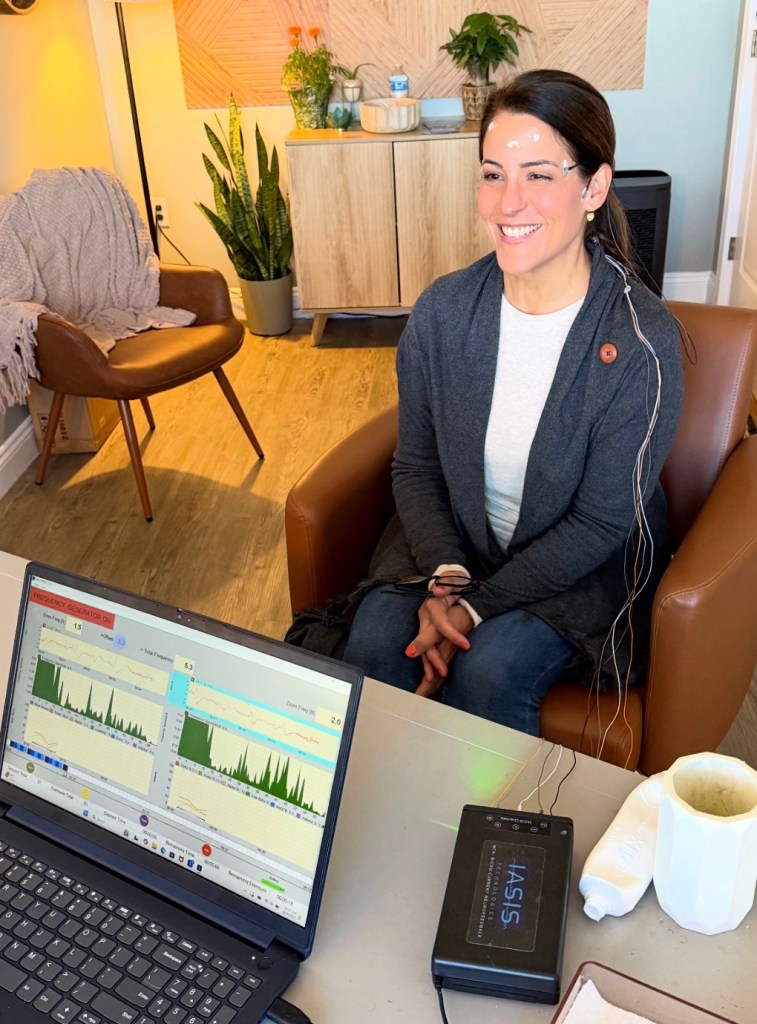
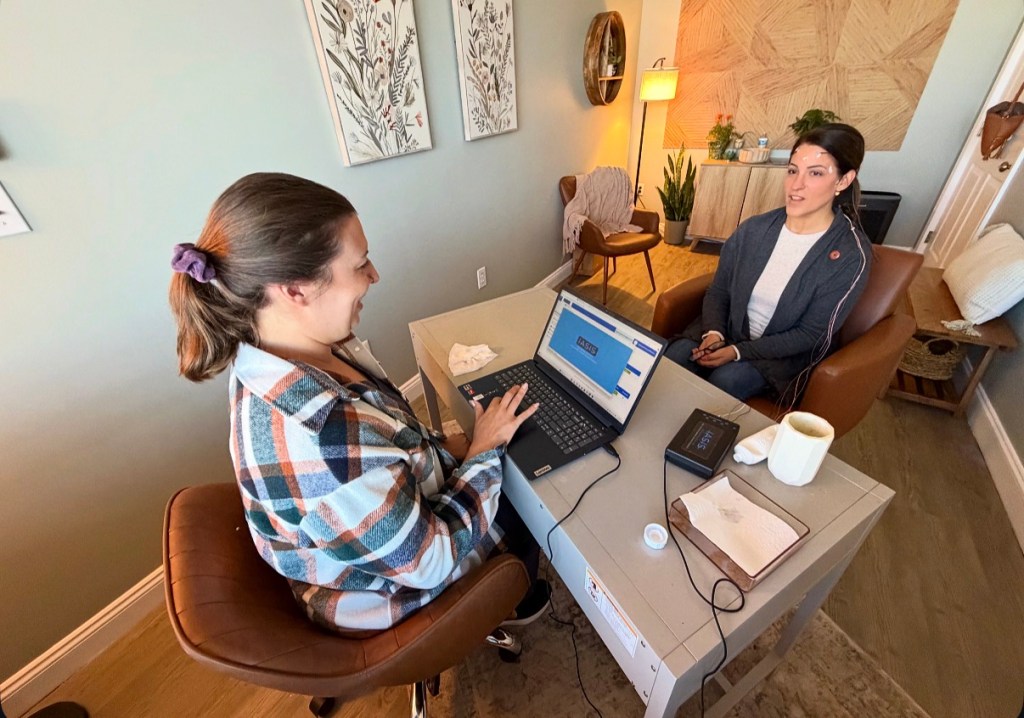
I have been receiving Microcurrent Neurofeedback, at Gulf Coast Neurowellness, and my experience has been that it supports what so many of us are trying to achieve: better regulation-sleep, focus, stress response, and sensory overload.
Nervous Systems Require Regulation
A lot of modern life keeps the brain and body in a state of hyperarousal—meaning your system is running on “high-alert” more often than it should. Read here how understanding the stress response from chronic activation of this survival mechanism impairs health from Harvard Health Publishing. Gulf Coast Neurowellness provides relief from insomnia!? Yes, they do! And I’m a walking testimony to it! You can see all about it, here! In research on insomnia, for example, cortical hyperarousal is one of the proposed drivers of poor sleep, and some neurofeedback protocols aim to reduce that over-activation.
Microcurrent neurofeedback is designed to be a non-invasive, passive approach (you’re not actively “training” during the session). The goal is to help the brain recognize its own patterns and move toward improved self-regulation over time. It’s different from talk therapy—and it’s not medication—but it can be a supportive part of an overall plan.
What I’ve Noticed Personally (And How It Connects)
1) Sleep: more restorative and easier “downshift”.
I’m sleeping better—and it’s not just “I’m tired so I slept.” My body feels like it can settle more easily at night. From a physiology perspective, that lines up with the idea of lowering hyperarousal and improving the brain’s ability to shift into a calmer state when it’s time to rest.
2) Focus: less mental noise, better task-follow-through.
I feel more focused and less scattered. The best way I can describe it is: fewer “open tabs” competing for attention.
3) Stress Response: More Patience, Less Reactivity
I’m more patient—meaning my nervous system doesn’t spike into irritation or overwhelm as quickly.
Clinically, that fits with the broader goal of helping the brain become more flexible in how it responds to stressors. Microcurrent neurofeedback (IASIS I-MCN) can help in improvements in symptoms like ADHD, anxiety and depression.
4) Sensory Overload: Less “Flooded” by sound and stimulation.
When the nervous system is overloaded, the brain can feel like it has less “filtering capacity.” For me, it’s been the difference between feeling instantly overstimulated and feeling like I can stay steady in normal day-to-day noise and movement.
Final Thoughts
Microcurrent neurofeedback is non-invasive with protocols that can be individualized, clinics commonly work with a wide range of people—kids, teens, adults, and older adults—based on goals like sleep, stress resilience, attention, regulation and more! See my previous blog post for more info on what IASIS MCN treats.
So many of you have related with being silently overwhelmed—functioning, but not thriving.
If you’ve been feeling like:
• you’re always “on”
• stress hits you harder than it should
• you’re overstimulated easily
• sleep isn’t restful
• your mind won’t slow down
…it might be worth exploring.
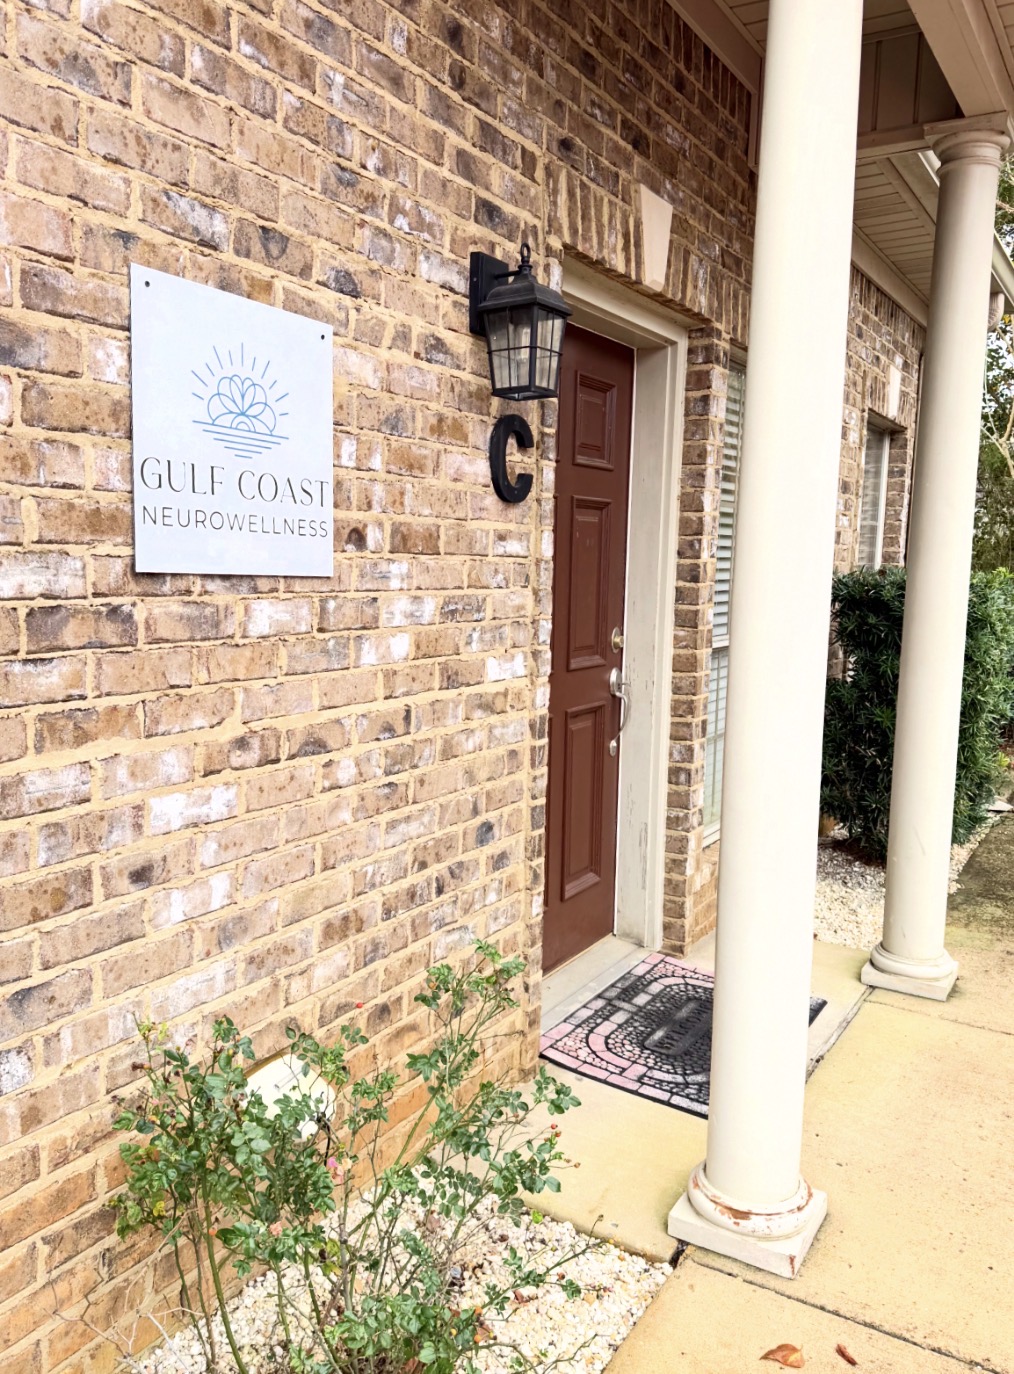
If you’re local, or don’t mind a drive, I truly recommend Gulf Coast Neurowellness. They have two amazing locations, one in Foley and one in Spanish Fort. Ashley is amazing and we love her and her staff!
Spanish Fort Office
I’m so grateful to be working with Gulf Coast Neurowellness, and even more grateful for how supported we’ve felt through the process.
If you have any questions or you are thinking about microcurrent neurofeedback, please reach out! If you have experienced microcurrent neurofeedback yourself, I’d love to hear your journey! Check out my newest Reel!
Entrance of Spanish Fort Office
Entrance of Waiting Area
Inside Waiting Area
If you’re curious about receiving Microcurrent Neurofeedback, reach out to Ashley at Gulf Coast Neurowellness. When speaking with Ashley, you don’t have to know all the technical terms—you just have to start with, “This is what I’m struggling with. Can this help?”
Because sometimes the best thing you can do for yourself (and your family)… is support your nervous system first!
[This post contains sponsored links. The product featured and linked in this post is provided by Genesis Health Beauty Bar – all opinions and reviews are my own.]
I’m always intentional about the treatments I choose—especially when it comes to skin. I want results, but I also want science, safety, and a provider I trust. That’s exactly why I chose Genesis Health Beauty Bar for my microneedling treatment with salmon DNA—and I’m so glad I did.
From the moment I walked in, the space felt calm, clean, and professional. Kelsea took time to explain the treatment thoroughly, answer my questions, and make sure I felt comfortable every step of the way. That alone made the experience feel elevated and personalized, not rushed or transactional.
So what exactly is salmon DNA microneedling?
This treatment combines traditional microneedling—which creates tiny micro-channels in the skin to stimulate collagen—with polynucleotides derived from salmon DNA. These polynucleotides are known for their ability to support cellular repair, hydration, elasticity, and overall skin regeneration. In simple terms: it helps your skin heal better, faster, and stronger.
The microneedling itself felt like microdermabrasion, nothing more than a small amount of temporary pain, and the salmon DNA serum was applied immediately before and after to deeply penetrate the skin.
Post-treatment, my skin was a bit red—as expected—but not overly irritated. Over the next few days, I noticed my skin looked plumper, more hydrated, and noticeably smoother. What stood out most was the glow. Not a surface-level glow, but that healthy-from-within kind that makeup can’t replicate.
What I loved most about this experience was that it didn’t feel like a “quick fix.” It felt like an investment in long-term skin health. Genesis Health Beauty Bar offers treatments that support your skin’s natural processes, and that philosophy really resonated with me.
If you’re looking for a treatment that’s rooted in science, delivers real results, and is performed by a team who genuinely cares about your skin, I can’t recommend Genesis Health Beauty Bar enough. Salmon DNA microneedling has officially earned a spot in my skincare routine—and I’ll absolutely be back. Stay tuned for my next appointment in January! This treatment experience was documented on my Instagram for those who prefer a visual walk-through-Check out my REEL on IG!
(This post contains sponsored links from the Gulf Coast Neurofeedback. All thoughts, views and opinions are my own.) Right now, you can get your first session FREE and half off a 3 session trial package!!
If you’ve ever felt like stress or anxiety have taken over your life, you’re not alone—and you don’t have to stay stuck there. I know that firsthand, because for me, discovering Gulf Coast Neurowellness in Baldwin County, Alabama, completely changed everything.
A Gentle, Natural Approach to Healing
At Gulf Coast Neurowellness, the focus isn’t on masking symptoms—it’s about helping your brain restore its own natural balance. They specialize in Microcurrent Neurofeedback (MCN), a gentle, drug-free technology designed to help the brain “reset” itself.
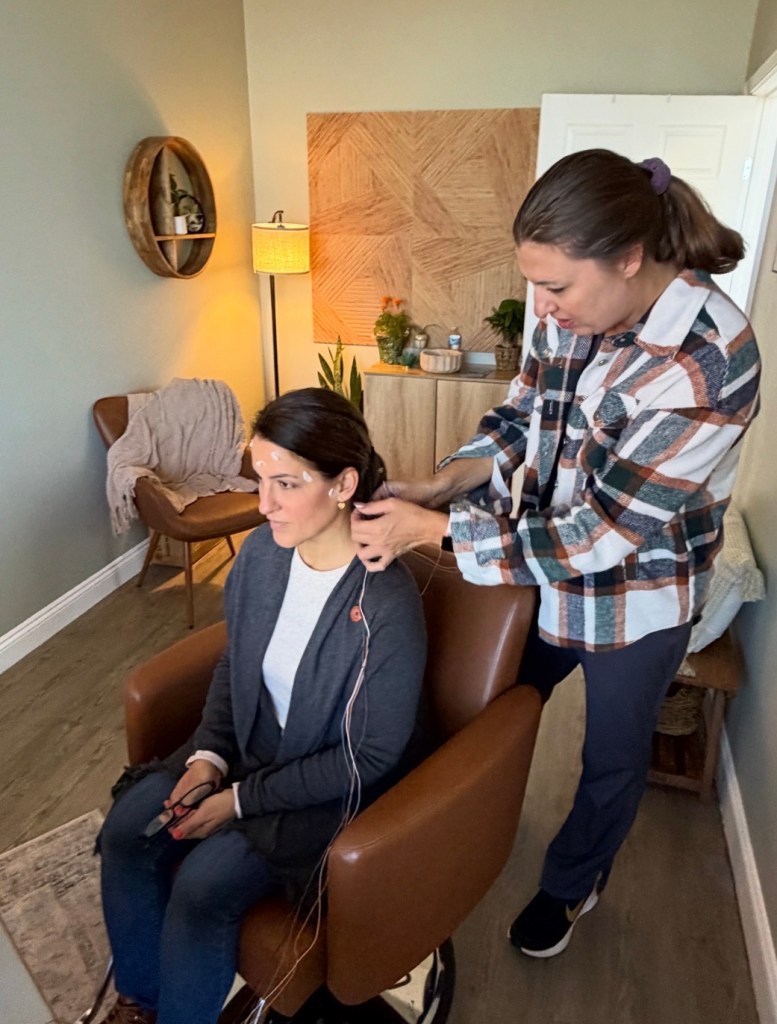
MCN works by delivering an extremely tiny microcurrent to the scalp through sensors placed on the head. This current is so mild you don’t even feel it—but it communicates directly with the brain, encouraging it to reorganize and release stuck patterns that may be contributing to things like:
Anxiety & Depression
Insomnia
PTSD
Brain fog
Chronic stress
Headaches
ADHD & ADD
OCD
Concussions
Epilepsy
Parkinson’s
Autism
Fibromyalgia
Eating Disorders
Stroke
Lyme Disease
Traumatic Brain Injury
and more!!
In simple terms, it helps your brain “unstick” itself—allowing you to return to a calmer, clearer, and more balanced state of mind.
My Experience at Gulf Coast Neurowellness
When I first walked into Gulf Coast Neurowellness, I was struggling. My mind felt foggy, I couldn’t sleep well, and my nervous system always seemed to be in overdrive. I had tried supplements, somatic work, EMDR, CBT and even medication—but nothing truly helped me feel like me again.
After just a few sessions of microcurrent neurofeedback, I started to notice small shifts—better sleep, a lighter mood, and a sense of calm I hadn’t felt in years. Over time, those small shifts added up to big change. My anxiety lessened, my focus returned, and I finally felt like I could breathe again. The staff is incredible! They make you feel comfortable and explain everything.
Why Gulf Coast Neurowellness Stands Out
What makes Gulf Coast Neurowellness so special isn’t just the technology—it’s the care. The team takes time to listen, explain, and walk you through each step. The sessions are quick (usually 30 minutes or less), non-invasive, and relaxing. You simply sit back while your brain does the work.
They understand that healing isn’t one-size-fits-all, and they meet you exactly where you are. Whether you’re dealing with years of stress, recovering from trauma, or simply want to improve your mental clarity, they offer a space that feels safe, supportive, and full of hope.
Getting Your Life Back
Microcurrent neurofeedback didn’t just help me think more clearly—it helped me feel again. It gave me back my energy, my peace, and my ability to be present with the people I love. Best of all? My quality of life has improved dramatically and I’m finally starting to sleep again!
If you’ve been looking for a natural, science-backed way to restore your brain and body connection, I can’t recommend Gulf Coast Neurowellness enough. It’s more than therapy—it’s a reset for your nervous system and a path back to yourself.
Ready to learn more? Visit Gulf Coast Neurowellness in Baldwin County, AL, and experience for yourself what it means to feel like you again. Right now, you can get your first session FREE and half off a 3 session trial package!! That’s a steal! If you have any questions, please feel free to reach out!
(This post contains sponsored links from the Revival Collective and Sassy Bass. All thoughts, views and opinions are my own.)
✨ Why Visit Fort Morgan? Fort Morgan, Alabama is all about relaxation. With wide-open beaches, unspoiled wildlife, and a slower pace of life, it’s the kind of place where you can truly disconnect. Often called the “quiet side” of Gulf Shores, Fort Morgan offers the perfect balance of seclusion and convenience. Check out my REEL over on IG!
🚗 Getting to Fort Morgan
Traveling to Fort Morgan is simple and scenic.
By Car: Easy access via the I-65 and I-10 corridors, making it a popular weekend getaway for nearby states.
By Air: Both Pensacola International Airport and Mobile Regional Airport are under two hours away. The drive includes beautiful views of pines, oaks, and waterways—setting the tone for your beach escape.
🏖 Things to Do in Fort Morgan, Alabama
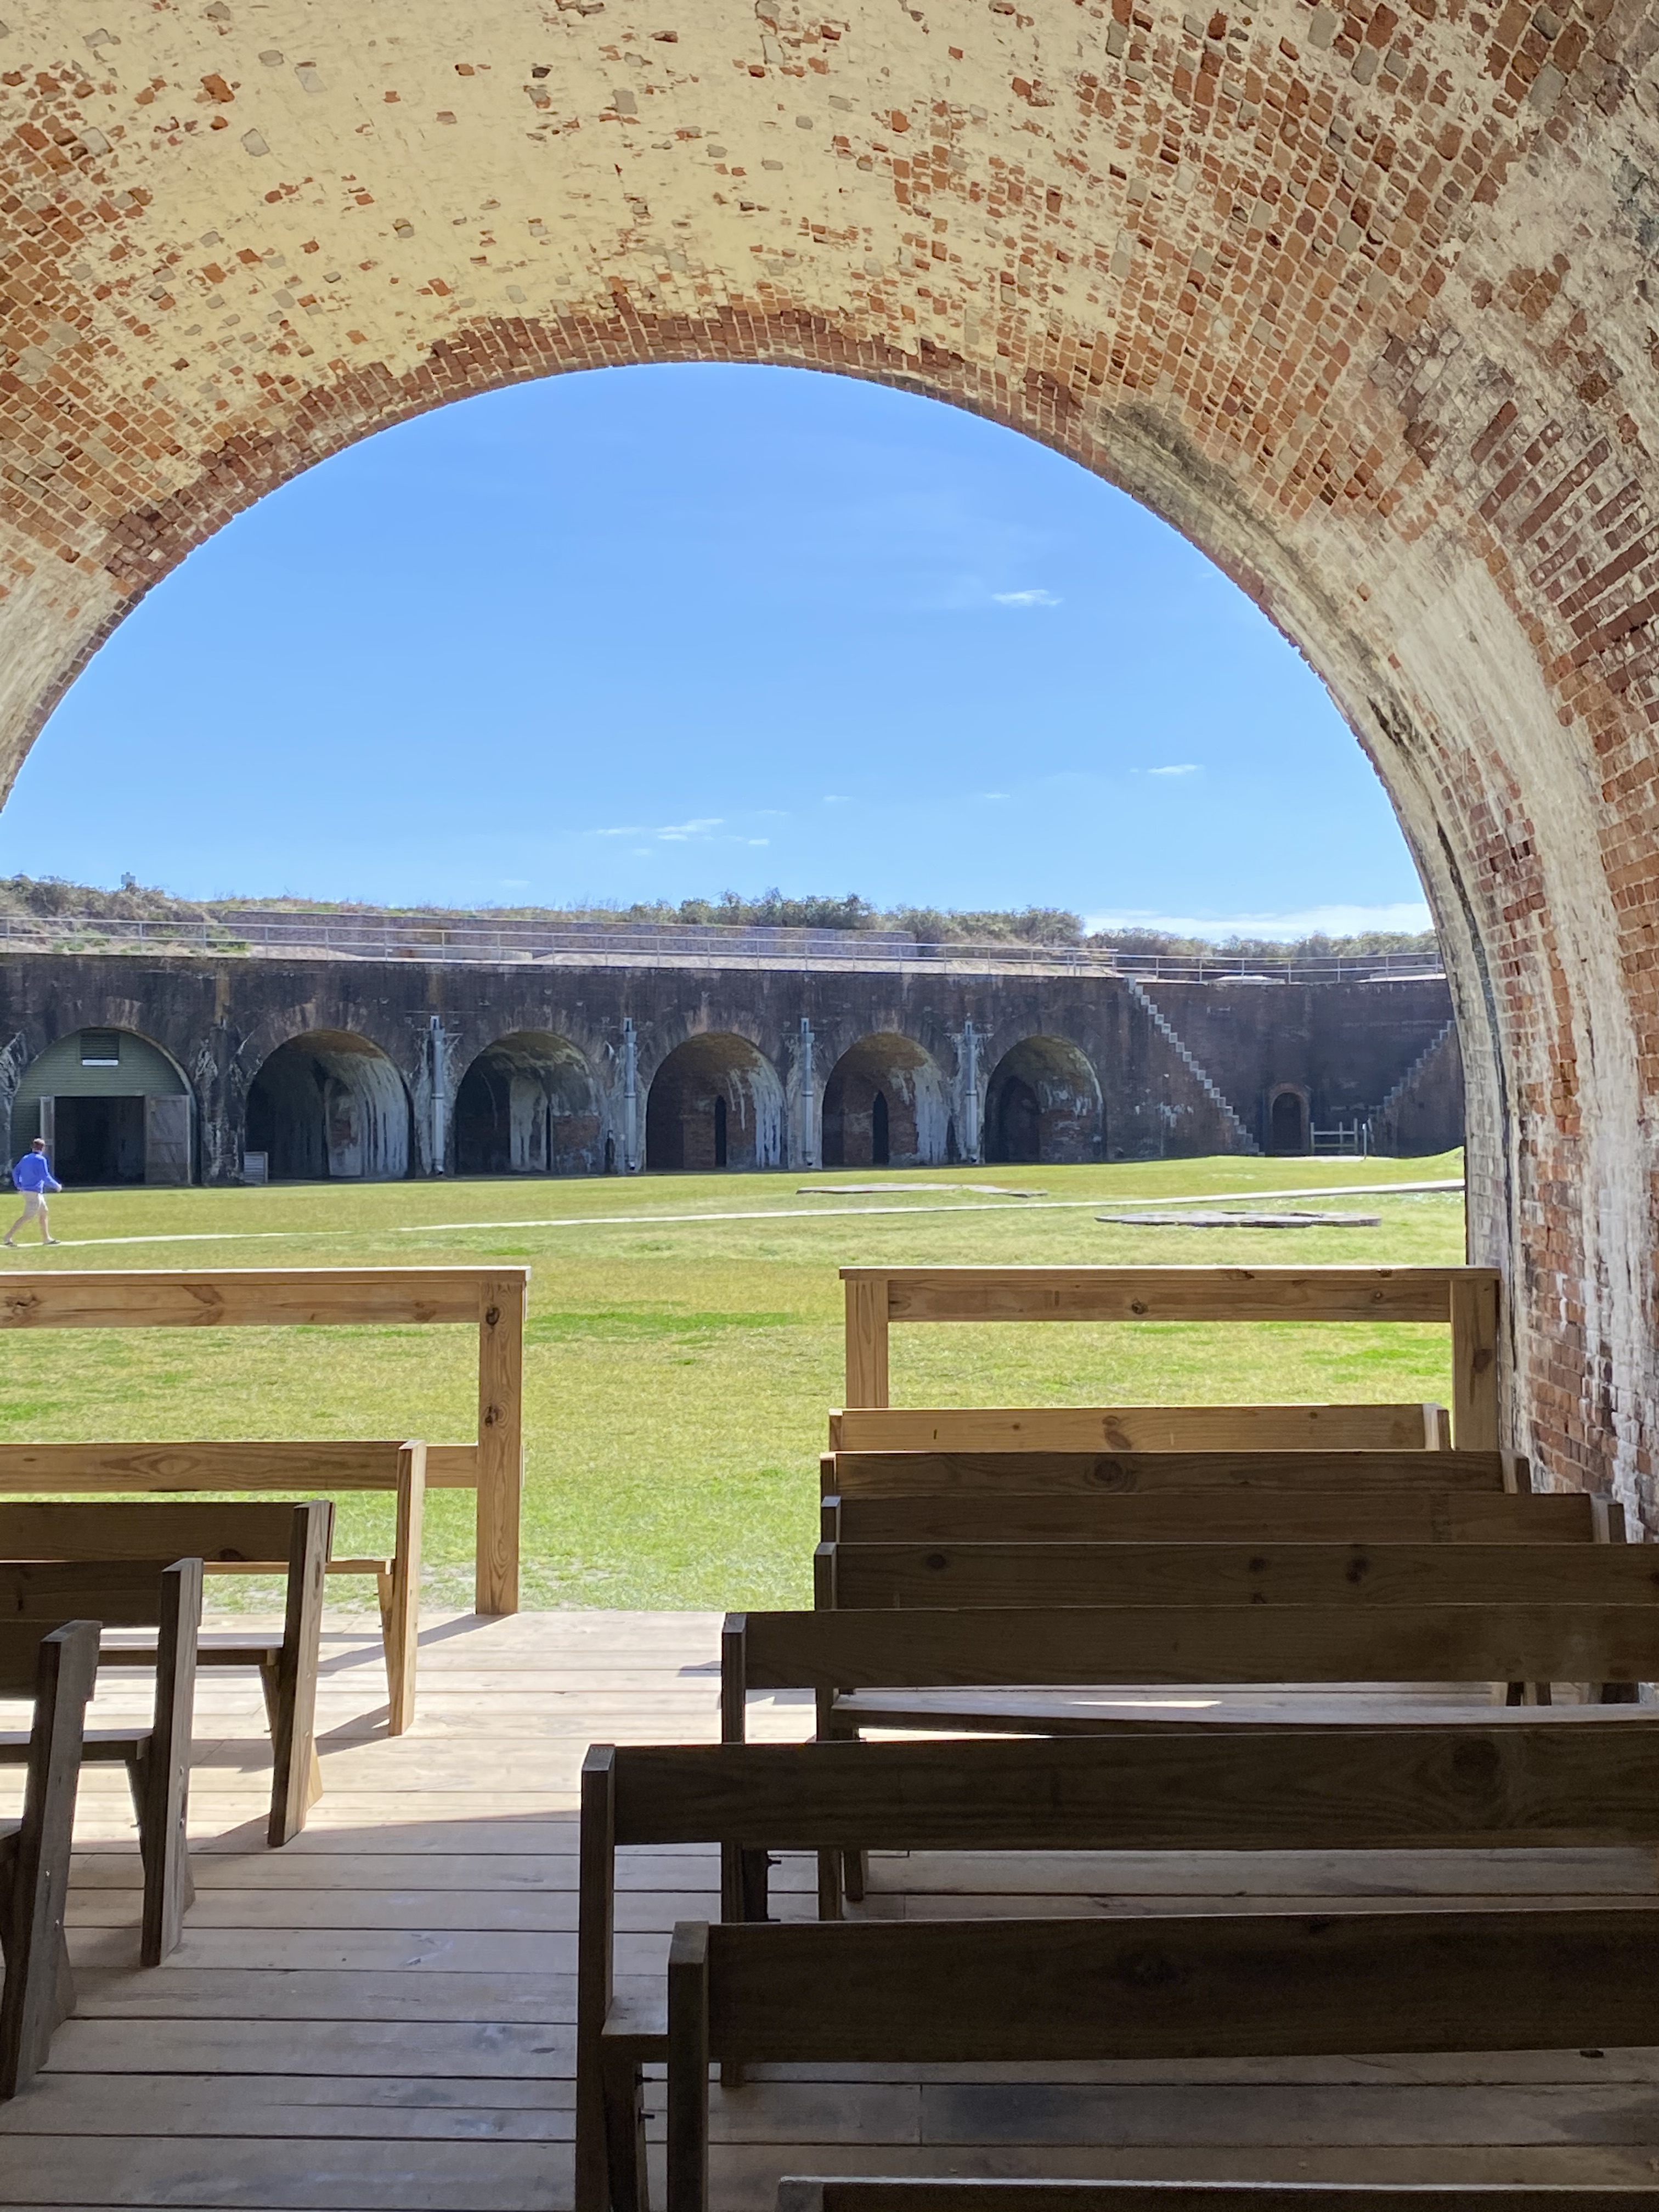
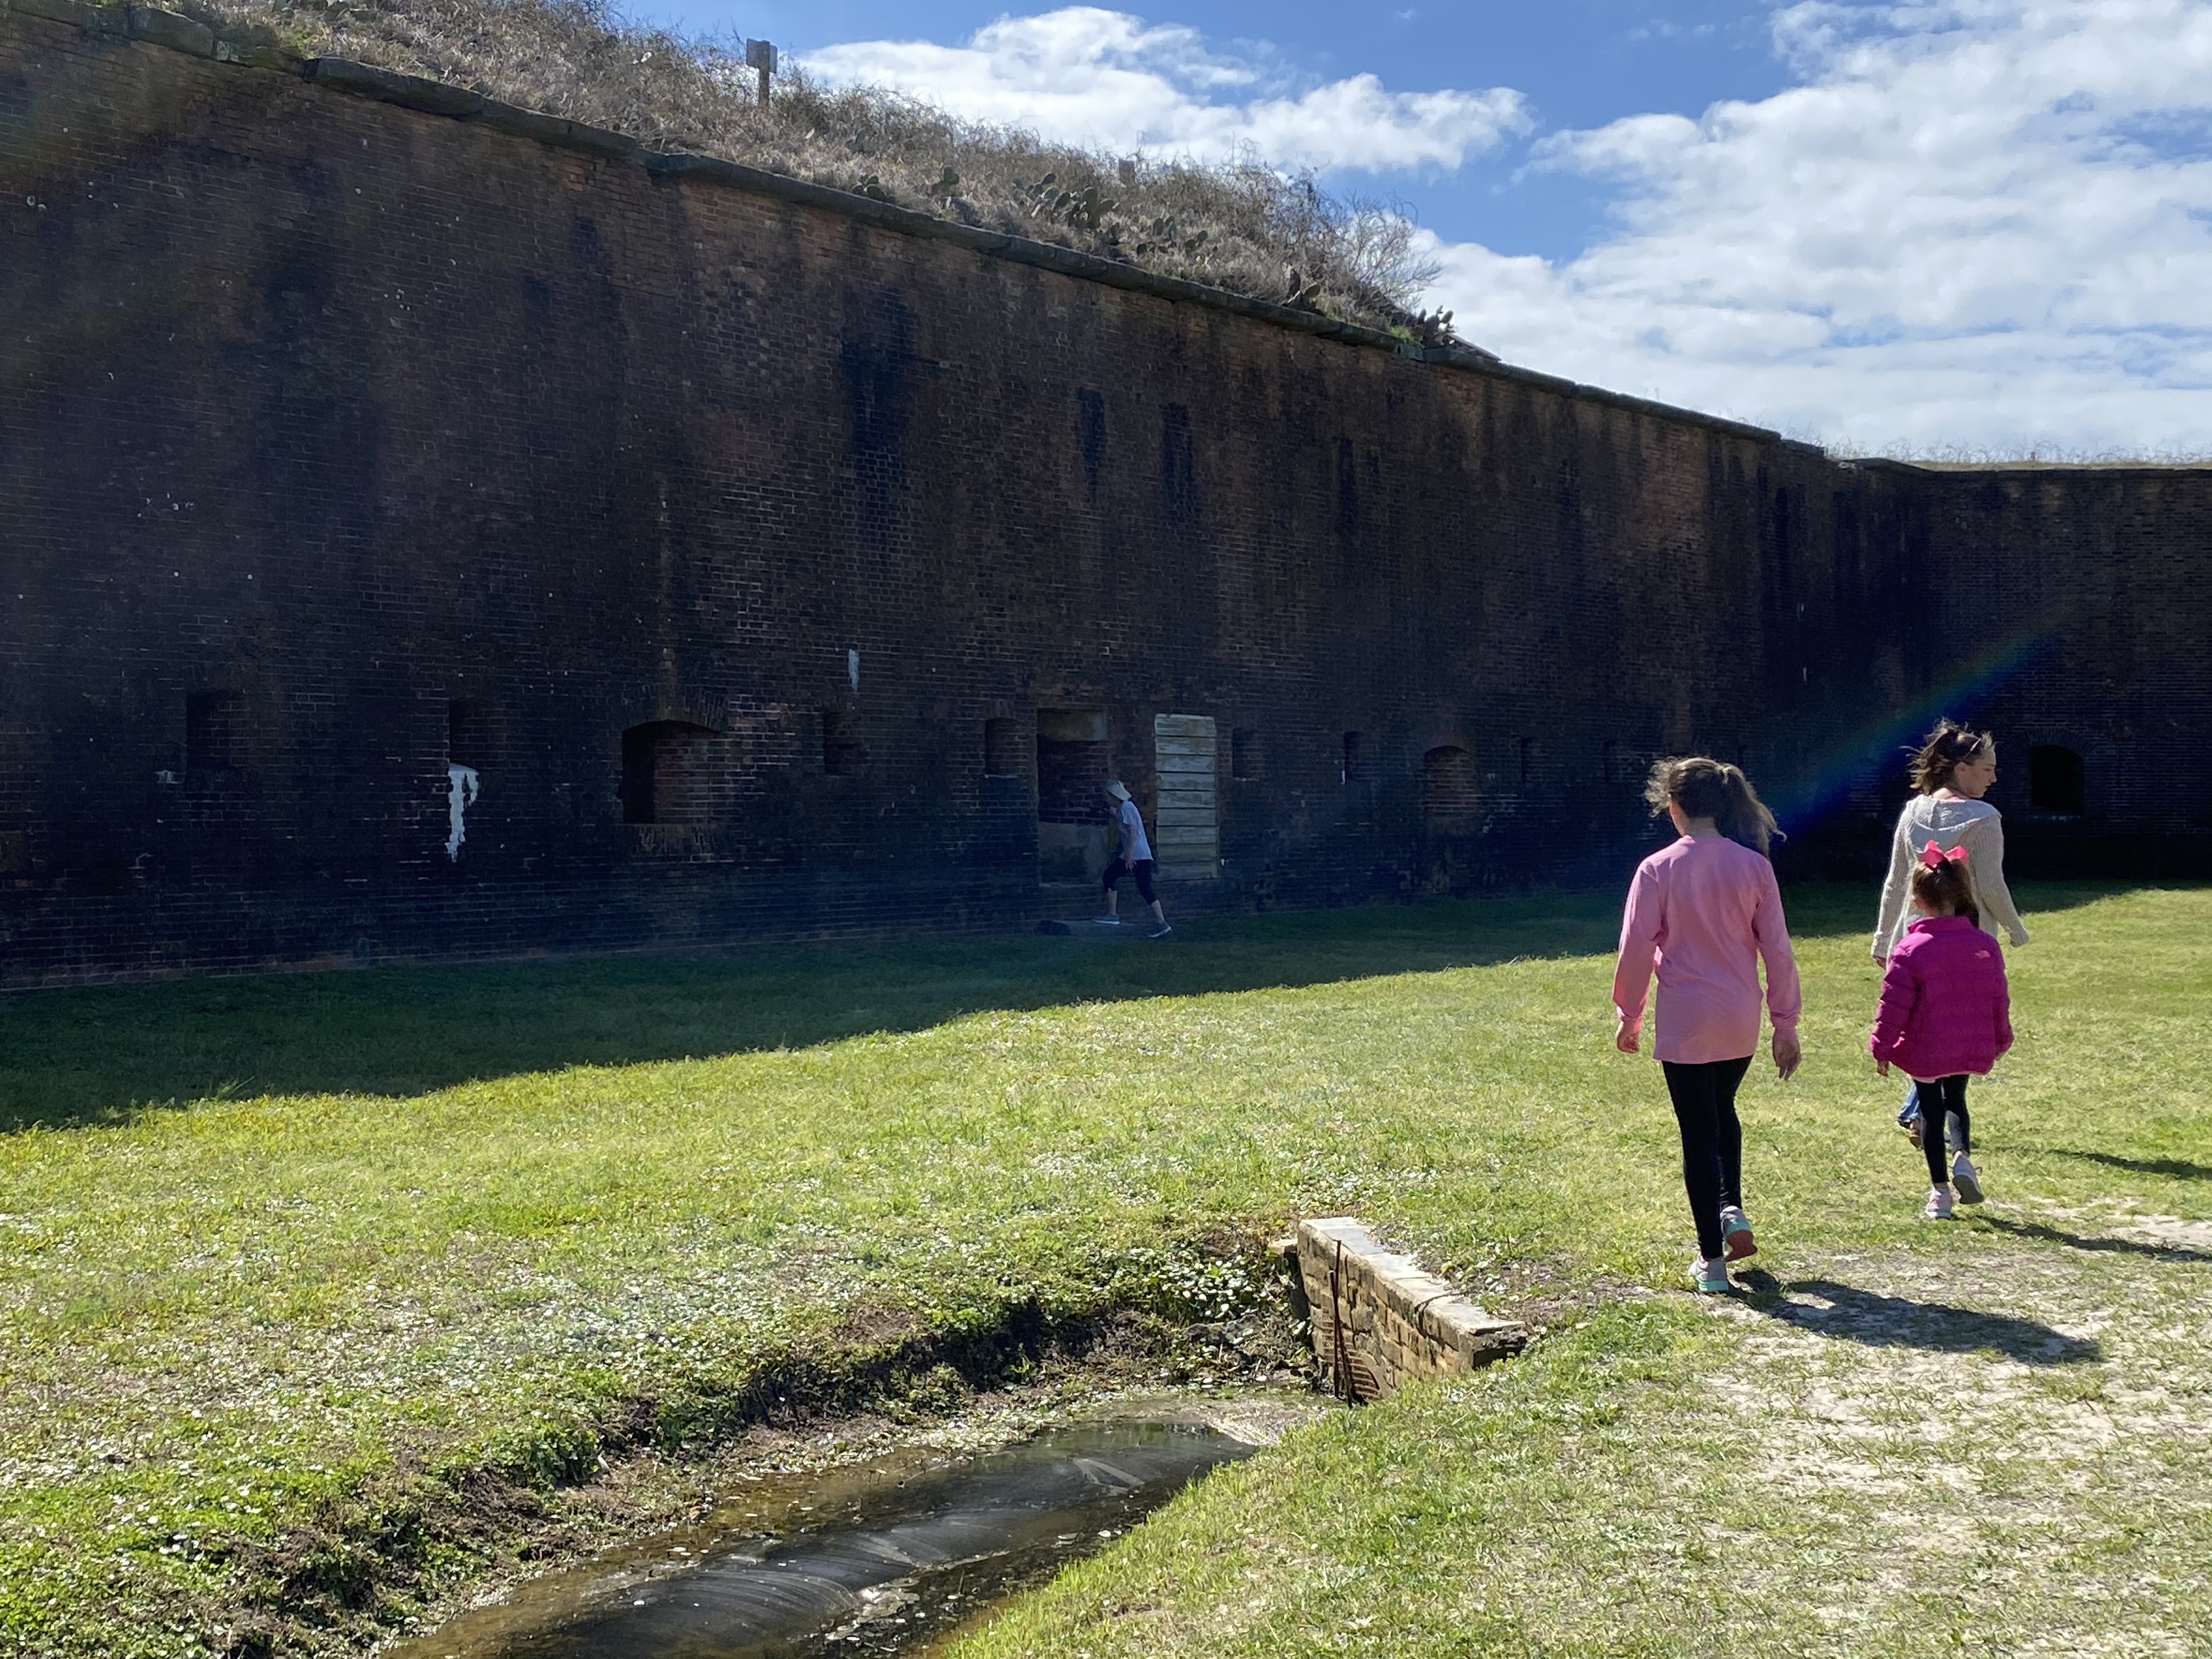
1. Explore Historic Fort Morgan
Visit the Fort Morgan State Historic Site, a masonry fort central to the Battle of Mobile Bay during the Civil War.
2. Relax on the Beaches
Fort Morgan beaches are peaceful, family-friendly, and less crowded than nearby Gulf Shores.
3. Take the Ferry to Dauphin Island
Hop on the Mobile Bay Ferry for a scenic ride to Dauphin Island, home to Fort Gaines and the Audubon Bird Sanctuary.
Photo from Mobile Ferry website.
4. Wildlife Watching
Fort Morgan sits along the Alabama Coastal Birding Trail and is a sea turtle nesting site—making it a nature lover’s dream.
5. Fishing & Water Adventures
Book a charter for deep-sea fishing, rent kayaks, or simply cast a line off the beach.
🏡 Where to Stay in Fort Morgan
Beach Rentals: Gulf-front homes and condos ideal for families.
Pet-Friendly Rentals: Many accommodations welcome pets, and Fort Morgan beaches are pet-friendly too.
Hotels, Resorts & Rentals Nearby: Stay in Gulf Shores or Orange Beach for more amenities.
Our family stayed in the Morgantown community. And we absolutely enjoyed every minute of our stay! The family-friendly, gulf-front community of Morgantown is perfectly tucked away on the Fort Morgan Peninsula in Gulf Shores, Alabama.
Photo is the front of the home with an entryway balcony.
As you travel west from Gulf Shores along Highway 180 toward Fort Morgan, the landscape begins to unfold like a story—offering fleeting glimpses of open water, coastal wetlands, peaceful walking trails, and stretches of sugar-white sand. Surrounded by a wildlife refuge, natural uplands, and the awe-inspiring Gulf of Mexico, Morgantown greets you with a sense of serenity and charm.
Living Room
Dining Room
Sun Room
Master Bedroom
Second Floor Balcony
Second Bedroom
Beach Revival is your perfect getaway! Gather your family and friends and escape to Beach Revival, a beautifully updated beach house! Designed with comfort and coastal style in mind, Beach Revival is the ideal retreat for your next beach vacation, family gathering or work event. Sleeps 12, walking distance or drive your golf cart over to the pools, tennis courts and beach!! We loved staying here in the Morgantown Community! Easy access to walk to the beach, pools, hot tubs or tennis courts!
Pool
Tennis and Pickleball Court
Walkway to the pool.
🍤 Where to Eat Near Fort Morgan
Photo from Sassy Bass Facebook.
Sassy Bass Amazin’ Grill – Sassy Bass Amazing Grill in Fort Morgan is a locally owned and operated restaurant serving a variety of dishes, including fresh local seafood, seafood, burgers, and other options for breakfast, lunch, and dinner. It’s part of the Sassy Bass family of businesses and is known for its fun, casual atmosphere, signature Navy Cove Oysters, and live entertainment. Check out our reel over on IG of our experience over at Sassy Bass!
Grilled Sizzlin’ Oyster Platter
Four classic toppings and crusty roll for dipping-Rockefeller, Bacon Me Crazy, Garlic Butter, or Bearnaise. These were delicious. Our youngest daughter really enjoyed these, as well!
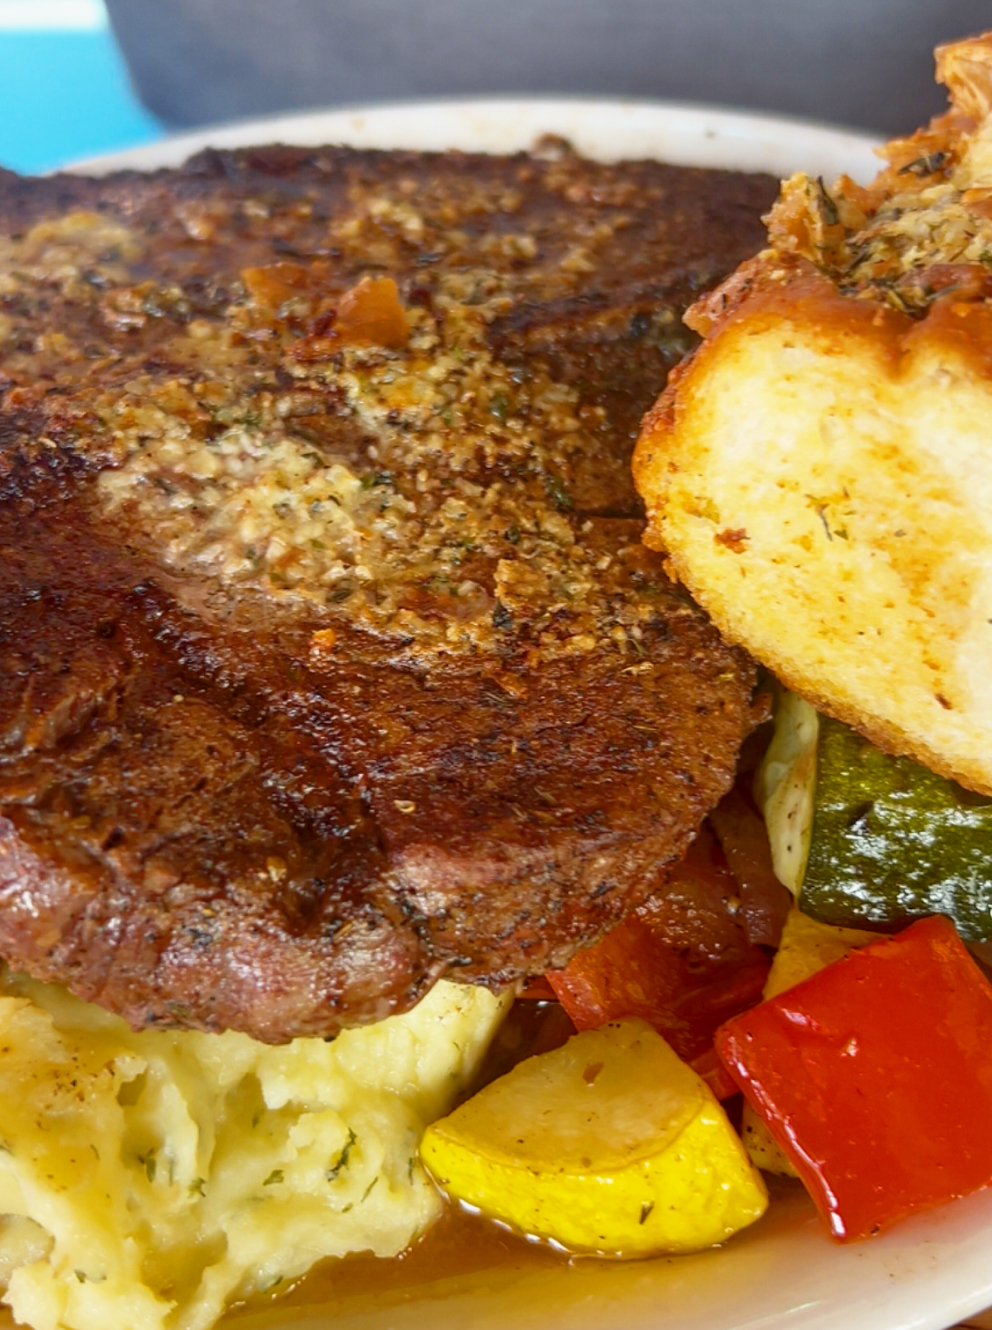
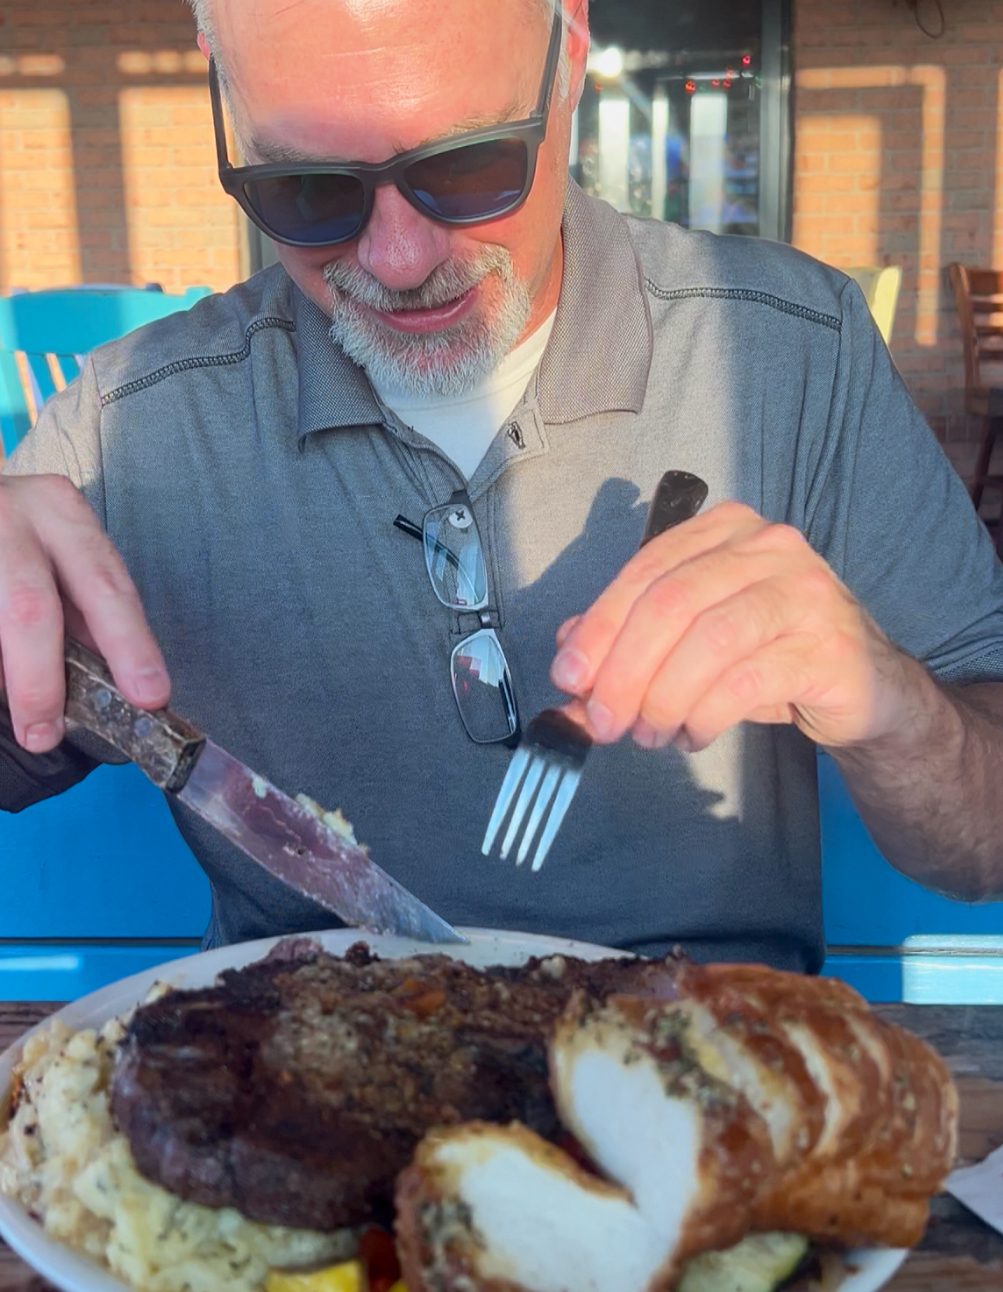
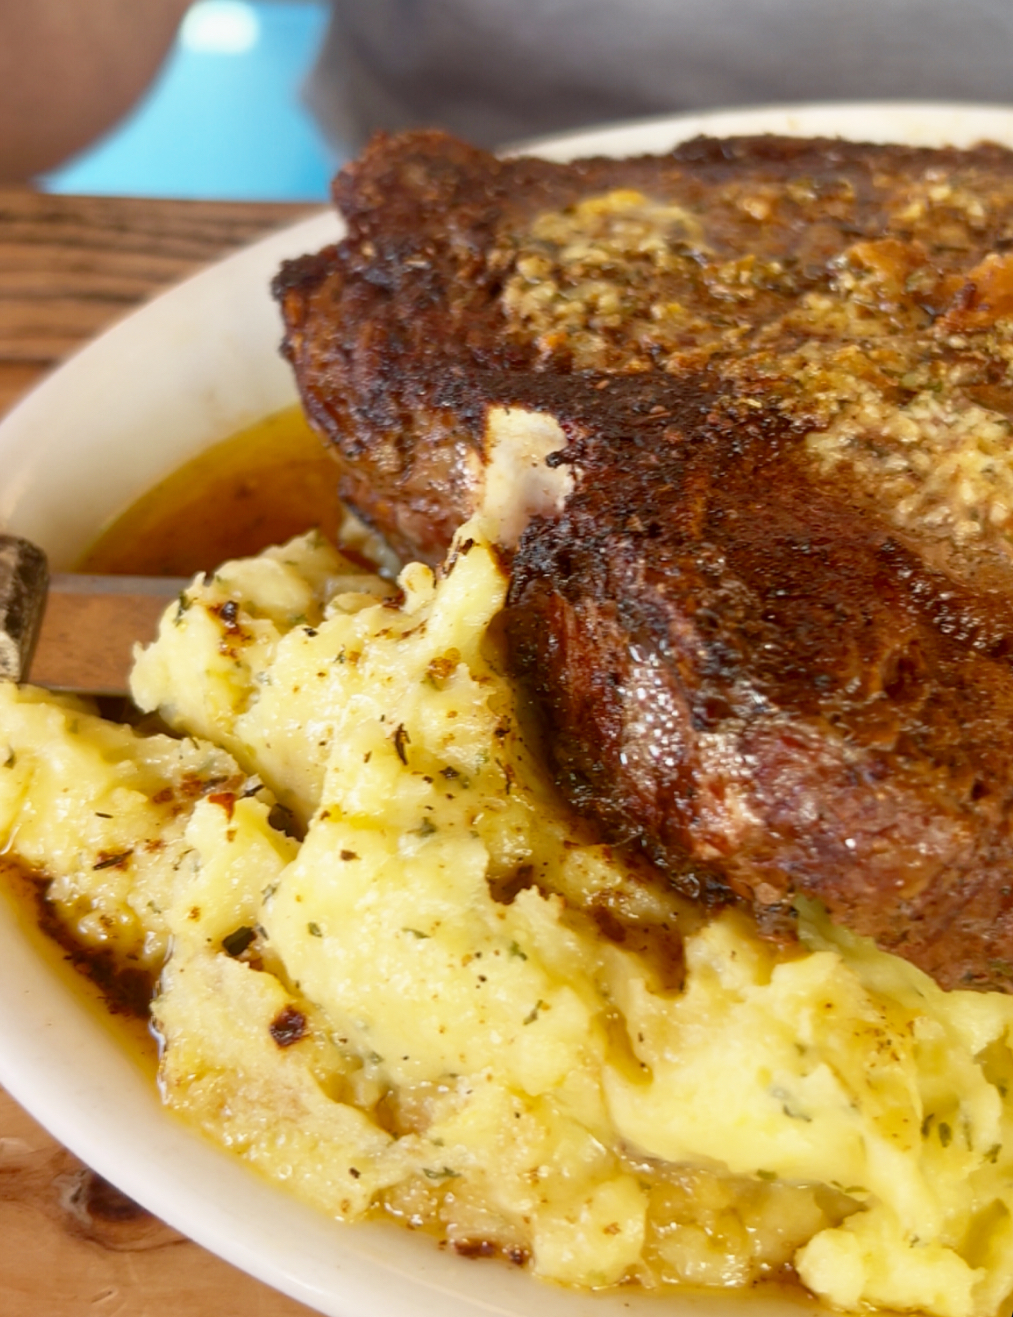
Big Butt Steak
Classic 24 oz Porterhouse Steak offers two unique steak flavors in one… rich taste of the meaty Kansas City Strip and the tender, buttery-soft Filet Mignon seared to perfection on Sassy Bass’s flat grill, brushed with garlic butter and served with twice baked potato, grilled vegetables & garlic bread! Our whole family loved this meal!
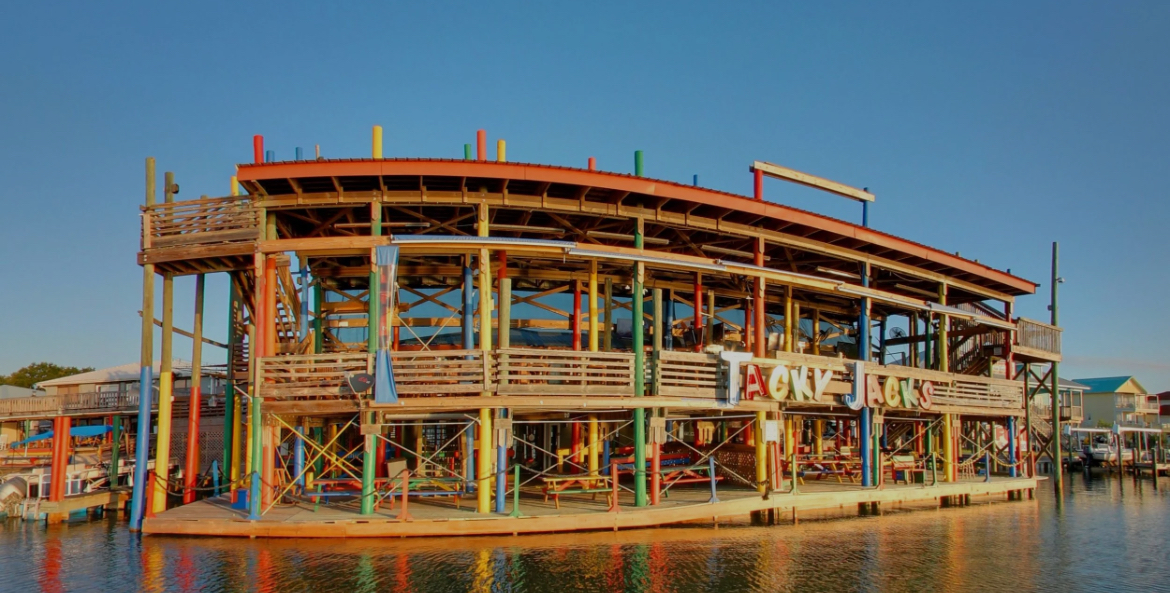
Photo from Tacky Jack’s website.
Tacky Jacks – Laid-back dining with waterfront views. Breakfast, Lunch and Dinner are available everyday at Tacky Jacks, along with a view to make each visit a great experience. Tacky Jacks offer wonderful, casual dining for the whole family with the emphasis on FUN. The Tacky Jacks Brand stands for quality, value, family and community. Come join the experience Tacky Jacks.
Photo from Florida Panhandle Website.
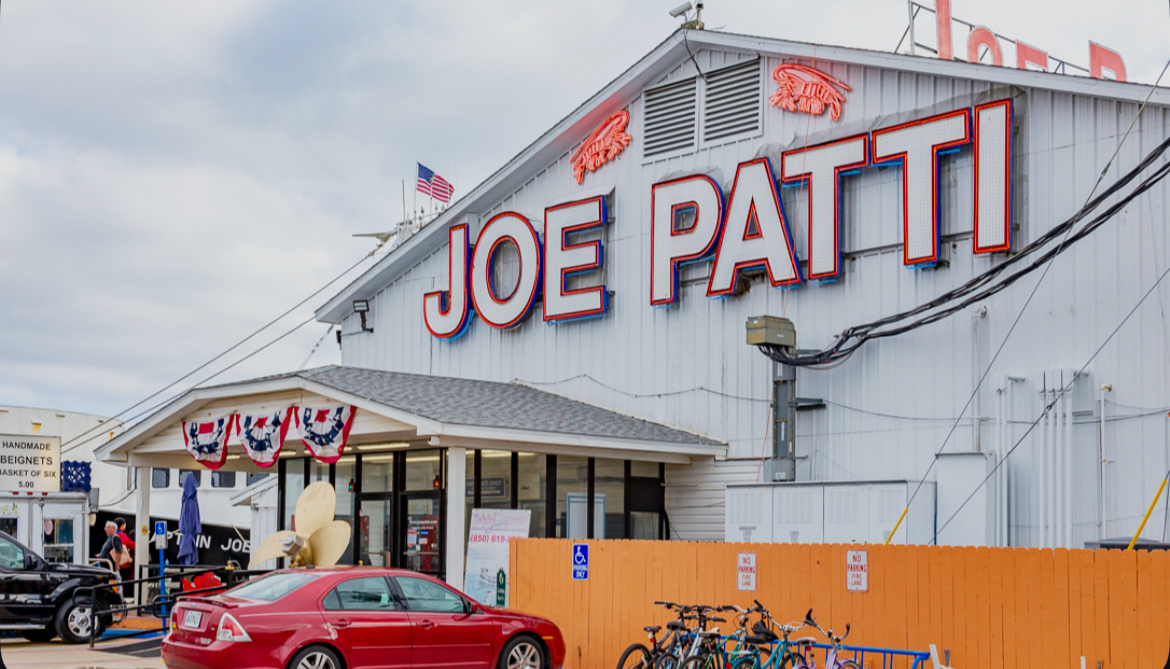
Local Seafood Markets – Grab shrimp or oysters to cook in your rental. Our favorite place to grab seafood is at Joe Patti Seafood. Our family has shopped here for 25 plus years!
🌅 The Perfect Gulf Coast Escape
Whether you’re planning a family vacation, couples’ getaway, or weekend trip, Fort Morgan, Alabama is the Gulf Coast’s best-kept secret. With pristine beaches, rich history, and natural beauty, it’s a place you’ll want to return to again and again.
You can check out our reel on IG, about Revival Collective & Morgantown, here. I’d love to hear your experiences about coming to Fort Morgan! Please share in the comments below! If you have any questions about a Ft. Morgan Vacation, please feel free to reach out! I’d love to hear about your experiences here! Where are your fav spots here in Ft. Morgan and Gulf Shores? Please let me know in the comment box below!
(This post contains sponsored links fromJuicebox Charters. All thoughts, views and opinions are my own.)
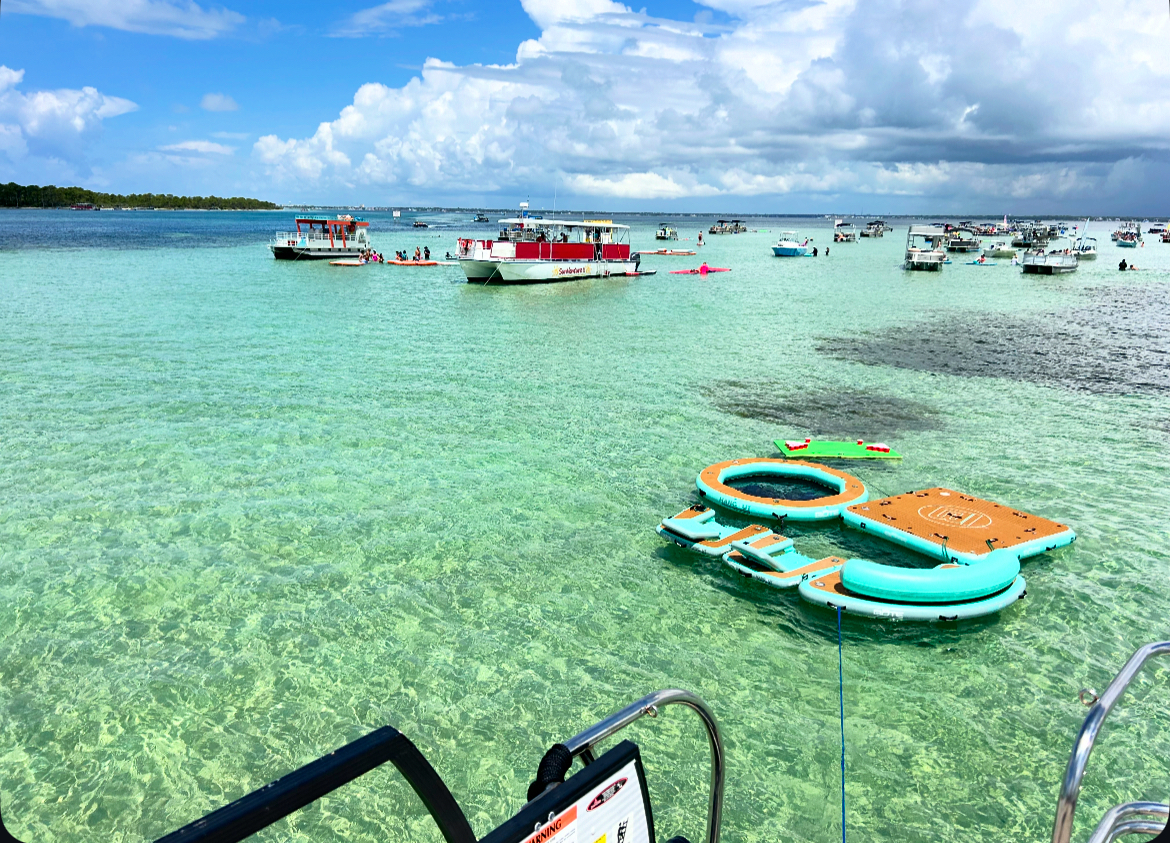
What is Crab Island?
Crab Island is a massive sandbar located on the Emerald Coast in Destin, Florida! It is one of the most popular attractions in all of Destin! With it’s shallow, emerald green waters, dolphin sightings and floating restaurants Crab Island is one of the most favored activities, in the area! Did you know that Crab Island been featured on HGTV and Good Morning America?!
How deep is the water on Crab Island?
On Crab Island, the depth of the water is about 1-4 ft. It’s the perfect place to anchor your boat and enjoy the day! Check out my blog post here to read more about Crab Island and local spots in Destin/Ft. Walton Beach area’s.
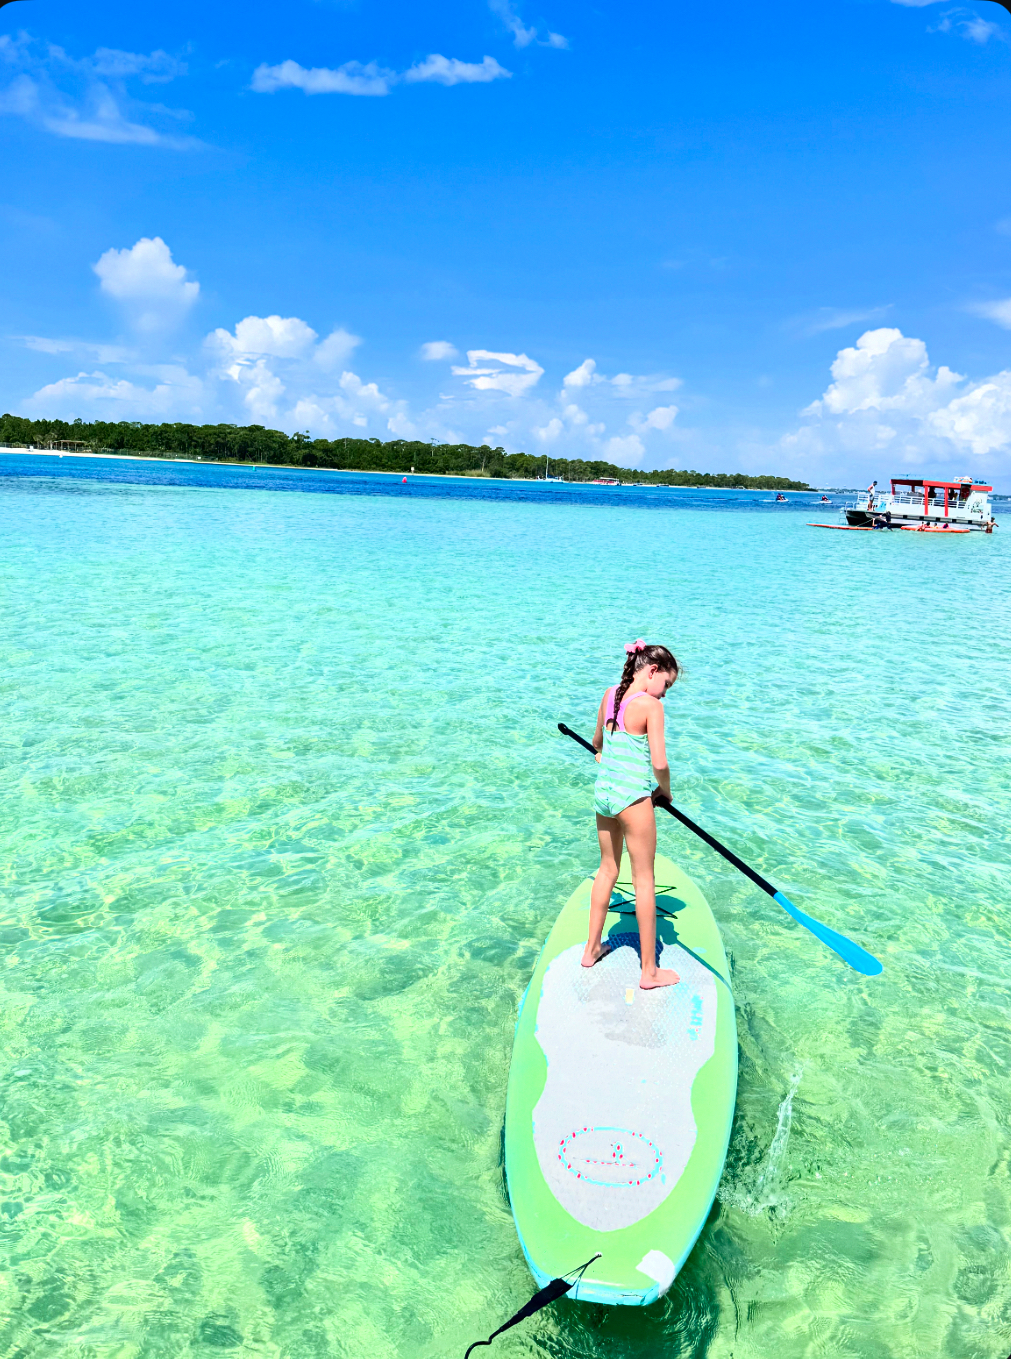
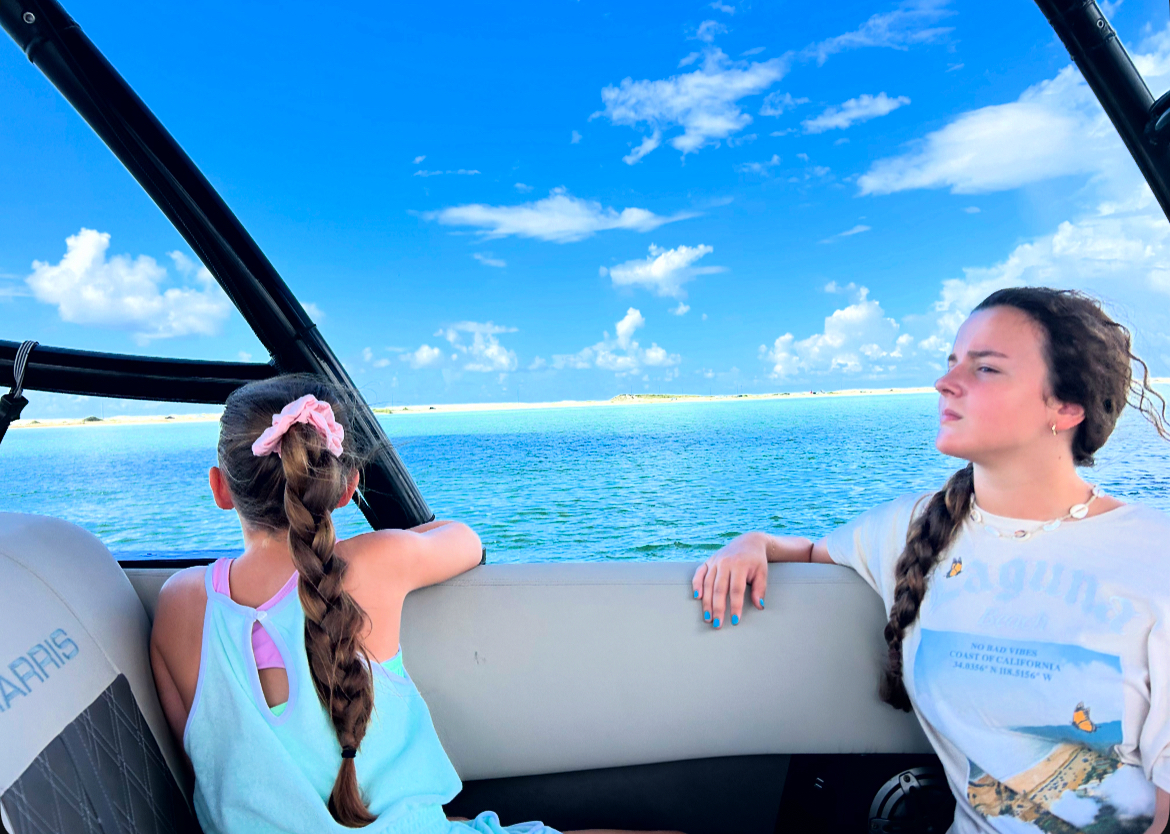
My husband and youngest daughter had a blast paddle boarding! My number three daughter and I, relaxed on the 2nd tier of the boat, up top! We also enjoyed walking around on Crab Island, visiting with restaurant vendors and vacationers. These views have blown my mind. I am constantly awe-struck of what an incredible place we live in! It’s absolutely beautiful here on Crab Island!
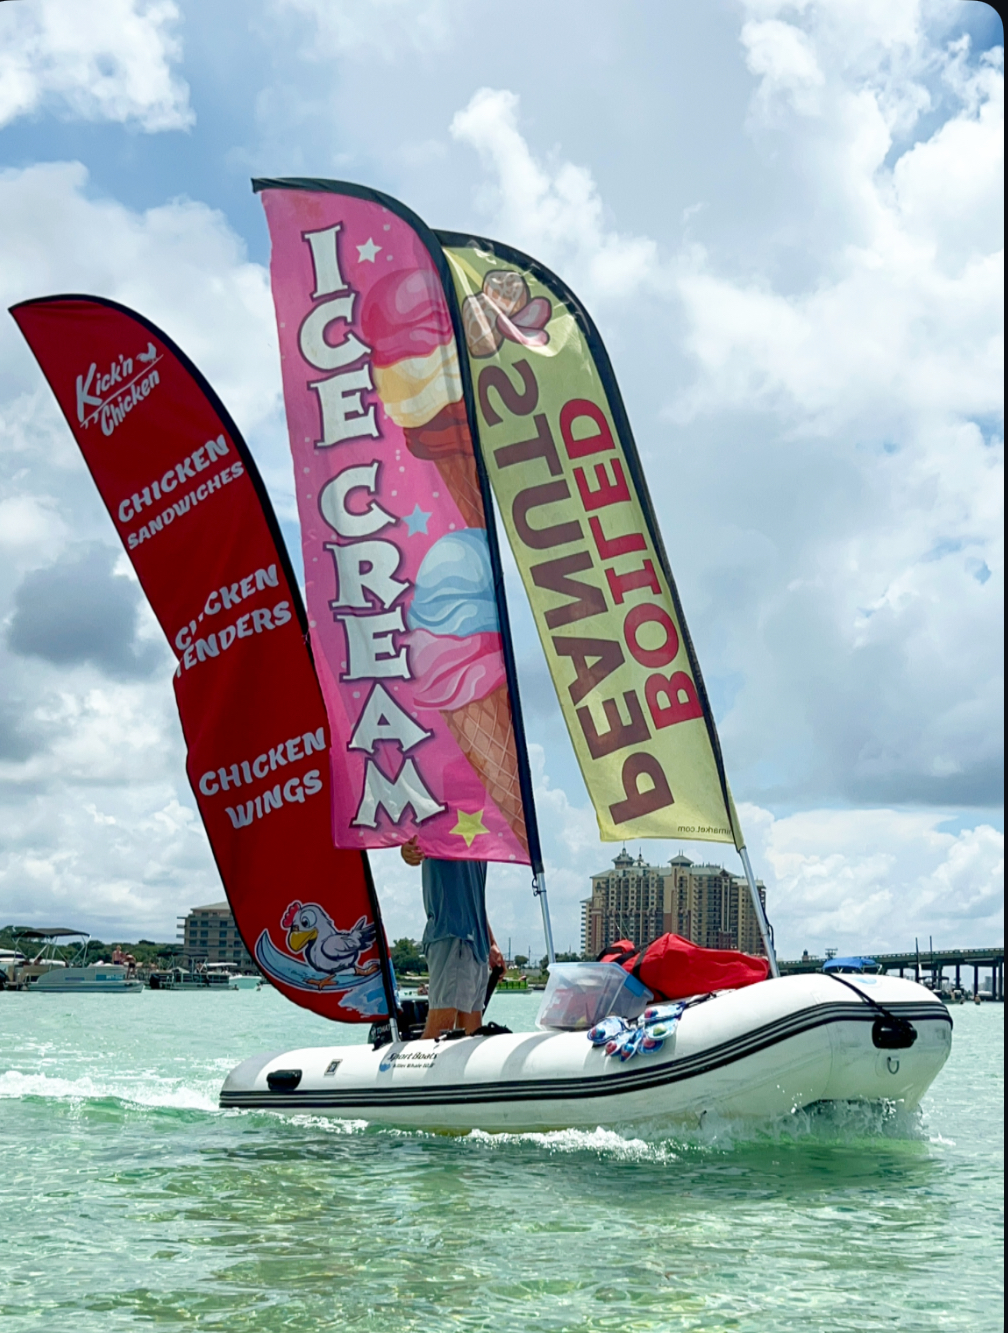
Floating Restaurants on Crab Island
There are many floating restaurants on Crab Island! From boiled peanuts, to grilled burgers and pizza or Chick-Fil-A! You won’t go hungry on Crab Island!
The General Store
The General Store on Crab Island has floats, sunscreen, googles, dry bags snacks, drinks and more! I think I even saw that they sold T-shirts!
Gulf Stream Ice Cream & Shaved Ice
Gulf Stream sells ice cream on the water, sort of like a boat ice cream truck! They will drive their boat, right up to your boat, on the water! So fun! They also have shaved ice!
Pirate Porky’s Pizza & Grill
For lunch, we did pizza & burgers. We decided to take one of the paddle boards over (included in your charter) to one of the floating restaurants! Such a fun experience!
Reef Burgers
Hungry for a 1/2 pound burger at sea? Reef Burgers did not disappoint!
My husband and I tried a burger a it was great! Their employees are super sweet, too!
Kluge’s Barbecue
They seek turkey legs, pulled pork barbecue sandwich’s, tacos and more!
You can even get your favorite chicken out here on Crab Island!!! Chick-Fil-A serves you in a boat and will deliver right up to your boat!!
Juicebox Charters
Sail away to the best sandbar in America with a private pontoon charter, guided by a USCG-licensed captain!
Let’s Plan a Trip
Planning a family outing day, a girls weekend, or a couple’s trip? A cruise through Destin Harbor, is the perfect way to explore the beauty of the Emerald Coast. Book your adventure today and let Captain Justin create a tailored and memorable charter for you!
Why choose Juicebox Charters?
The waters are pristine on the Emerald Coast and with Juicebox Charters, you can experience luxury on the open water. Their expert team is dedicated to providing an unforgettable adventure-whether you’re snorkeling in crystal-clear waters, island hopping, or simply relaxing aboard their comfortable, well-equipped vessels.
With a variety of customizable packages, Captain Justin will cater to your every need, ensuring your time with Juice Box Charters is as seamless, as it is memorable.
Experience and Affordability
With over 5 years experience operating a charter boat, rest assured that they have a track record of success in hosting your group.
Competitive pricing without surprise fees. The cost of your charter includes a luxurious, modern Harris Solstice double decker slide boat, two paddleboards, a full complement of Bote floats, a large cooler with ice and bottled water, an upgraded Bluetooth sound system, beer pong float, games, snorkel masks, net. You really only need sunscreen and towels! Check out my IG Reel for a complete video of our trip, here.
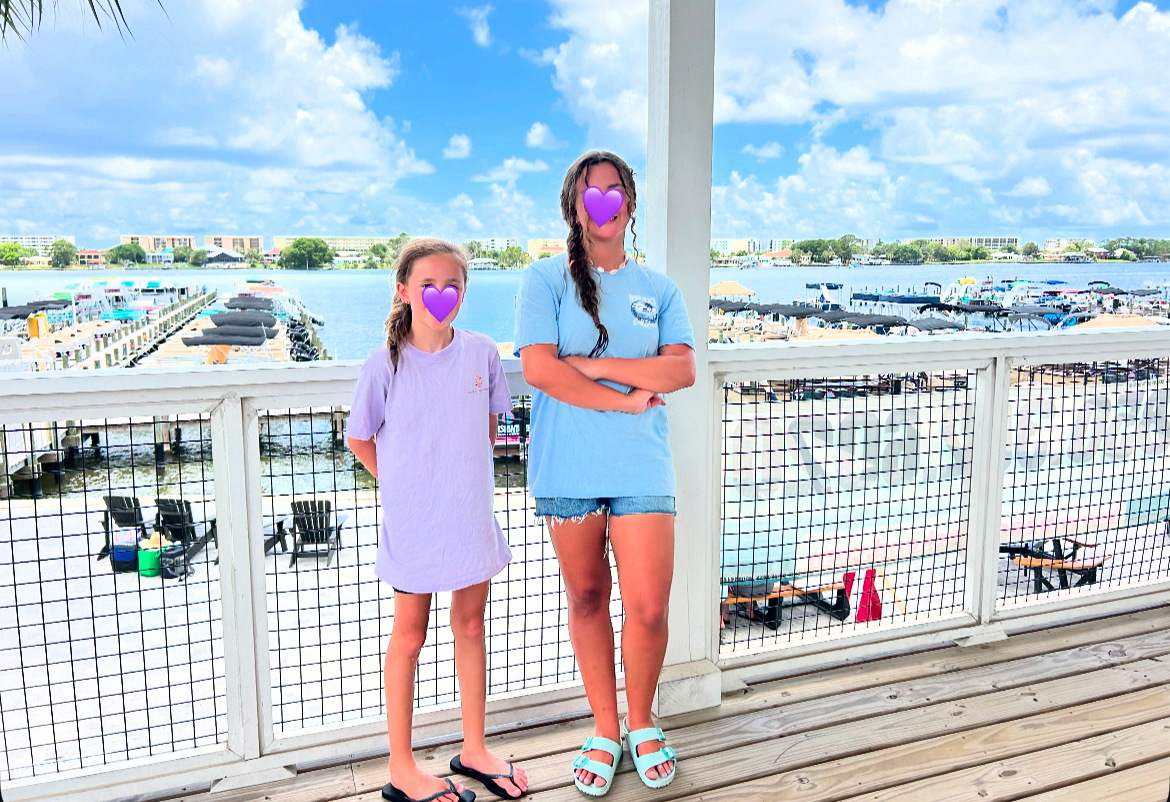
Beach Weekend Marina
Beach Weekend Marina in Fort Walton, is where you set off for your adventure, to Crab Island! The marina has a wrap around patio, which is an excellent way to enjoy a cold drink and enjoy an Emerald Coast Sunset.
Final Thoughts
Crab Island was a blast with Captain Justin from Juicebox Charters! The best pricing, which INCLUDES all you need for a trip to Crab Island! The boat is super clean and nice, no worries with being uncomfortable. The team from Juicebox Charters was amazing! Friendly, nice, very accommodating!! Our family loved it so much, we plan to go back again before the summer is over!!
A long weekend in the Destin and Ft. Walton Beach area is a perfect escape for beach lovers seeking relaxation and adventure. Nestled along the stunning Emerald Coast, Destin and Ft. Walton is filled with white sandy beaches and stunning emerald green waters.
Whether exploring the charming Henderson State Park, to feeding alligators at Gator Beach, or embarking on a dolphin-watching show at the Gulfarium, a long weekend in the Destin and Ft. Walton Beach area promises unforgettable excitement and relaxation!
Crab Island isn’t an actual island – it’s a submerged sand bar next to the Destin Bridge. Because of its festive atmosphere and crystal-clear waters, Crab Island is a popular destination for boaters, tourists, and locals alike.
Take your own boat, rent a boat or take the shuttle to Crab Island. If you get hungry, you will find floating restaurants with tropical drinks and food! Whichever way you choose, you are destined to have an amazing time!
Henderson State Park
Enjoy the beautiful shoreline of emerald waters, surrounded by 30 foot white sand dunes at Henderson State Park. You can also enjoy fishing, a nature trail and camping, all connected to the area’s beach boardwalks.
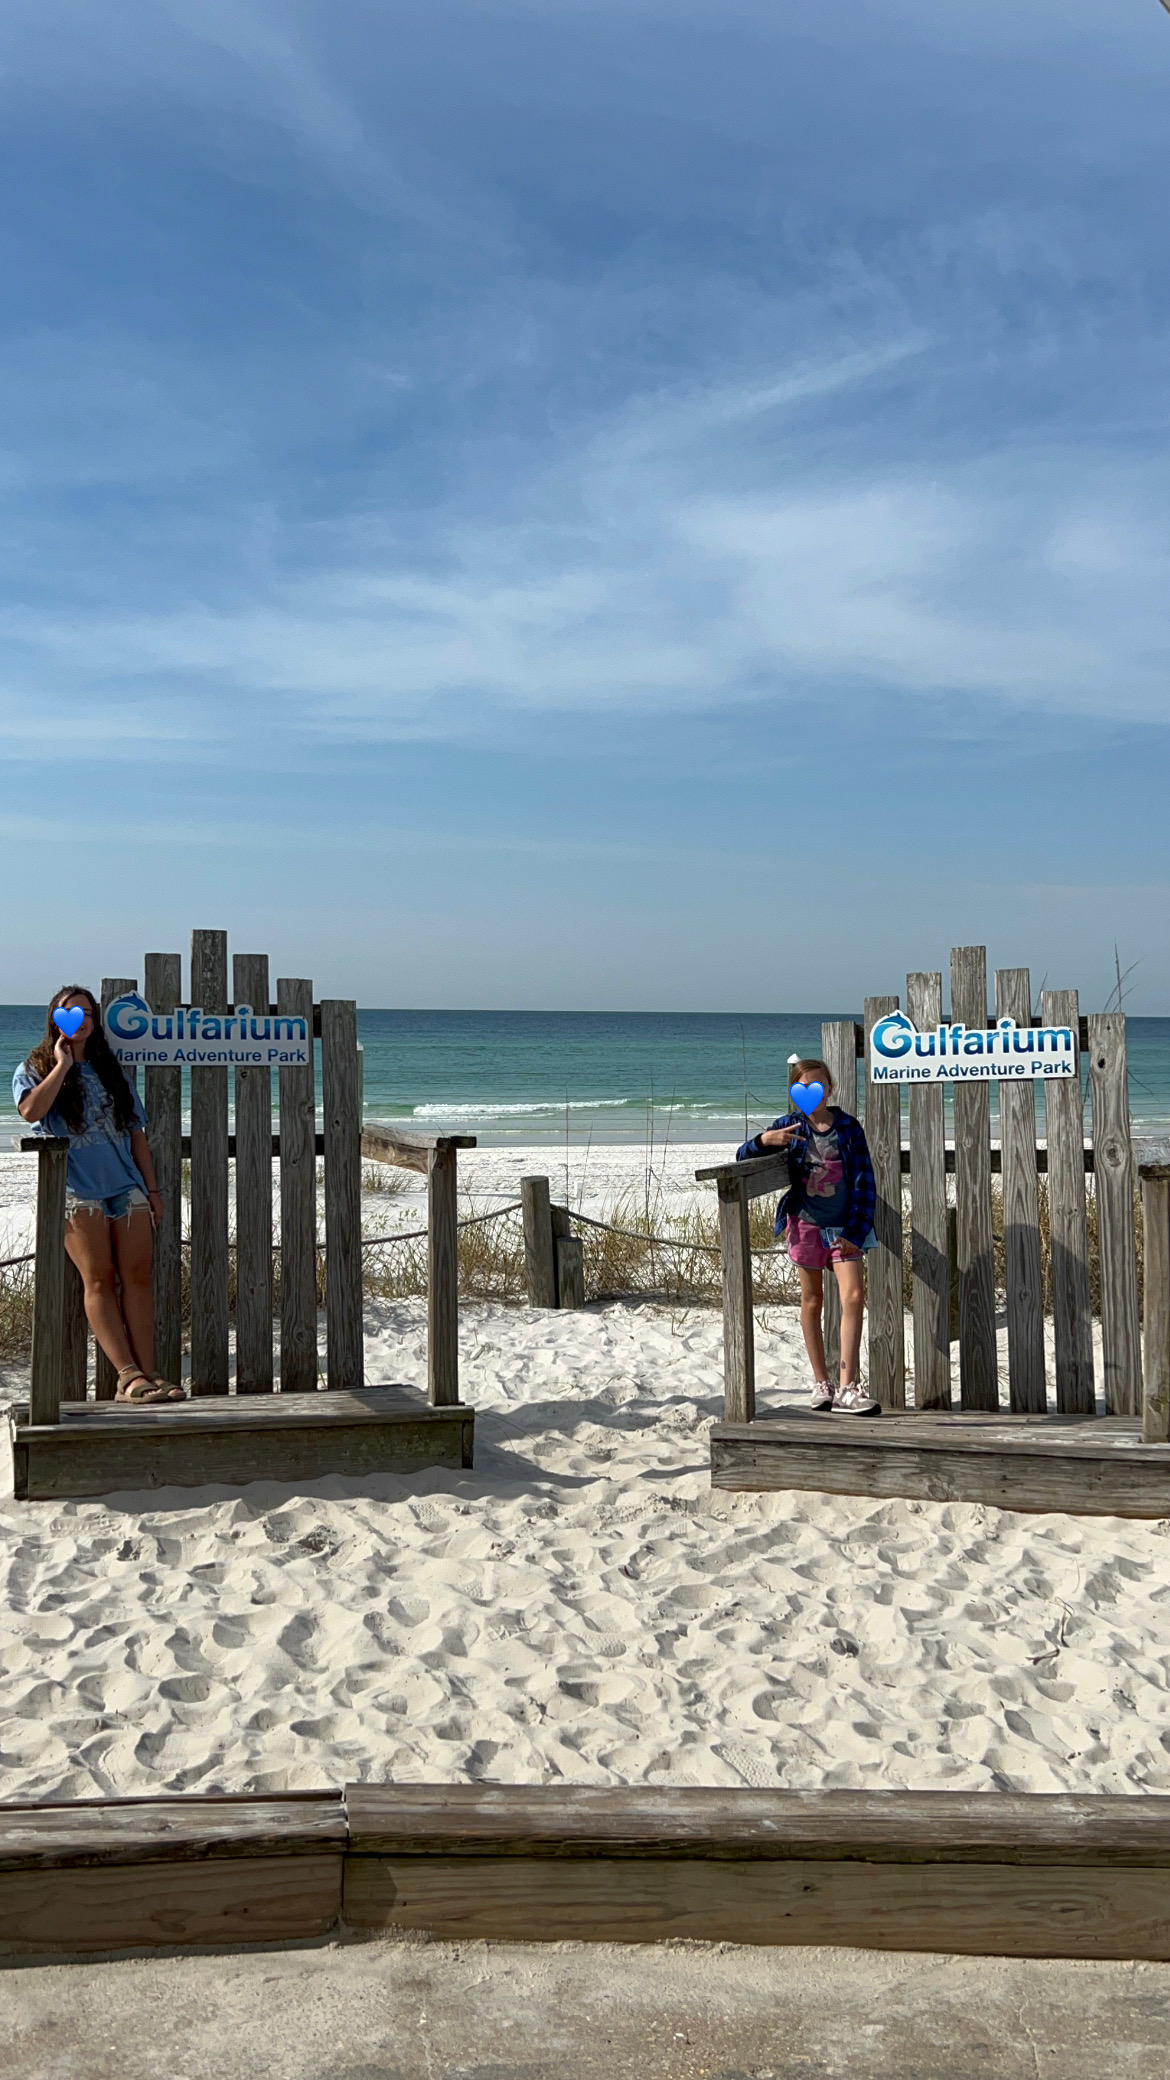
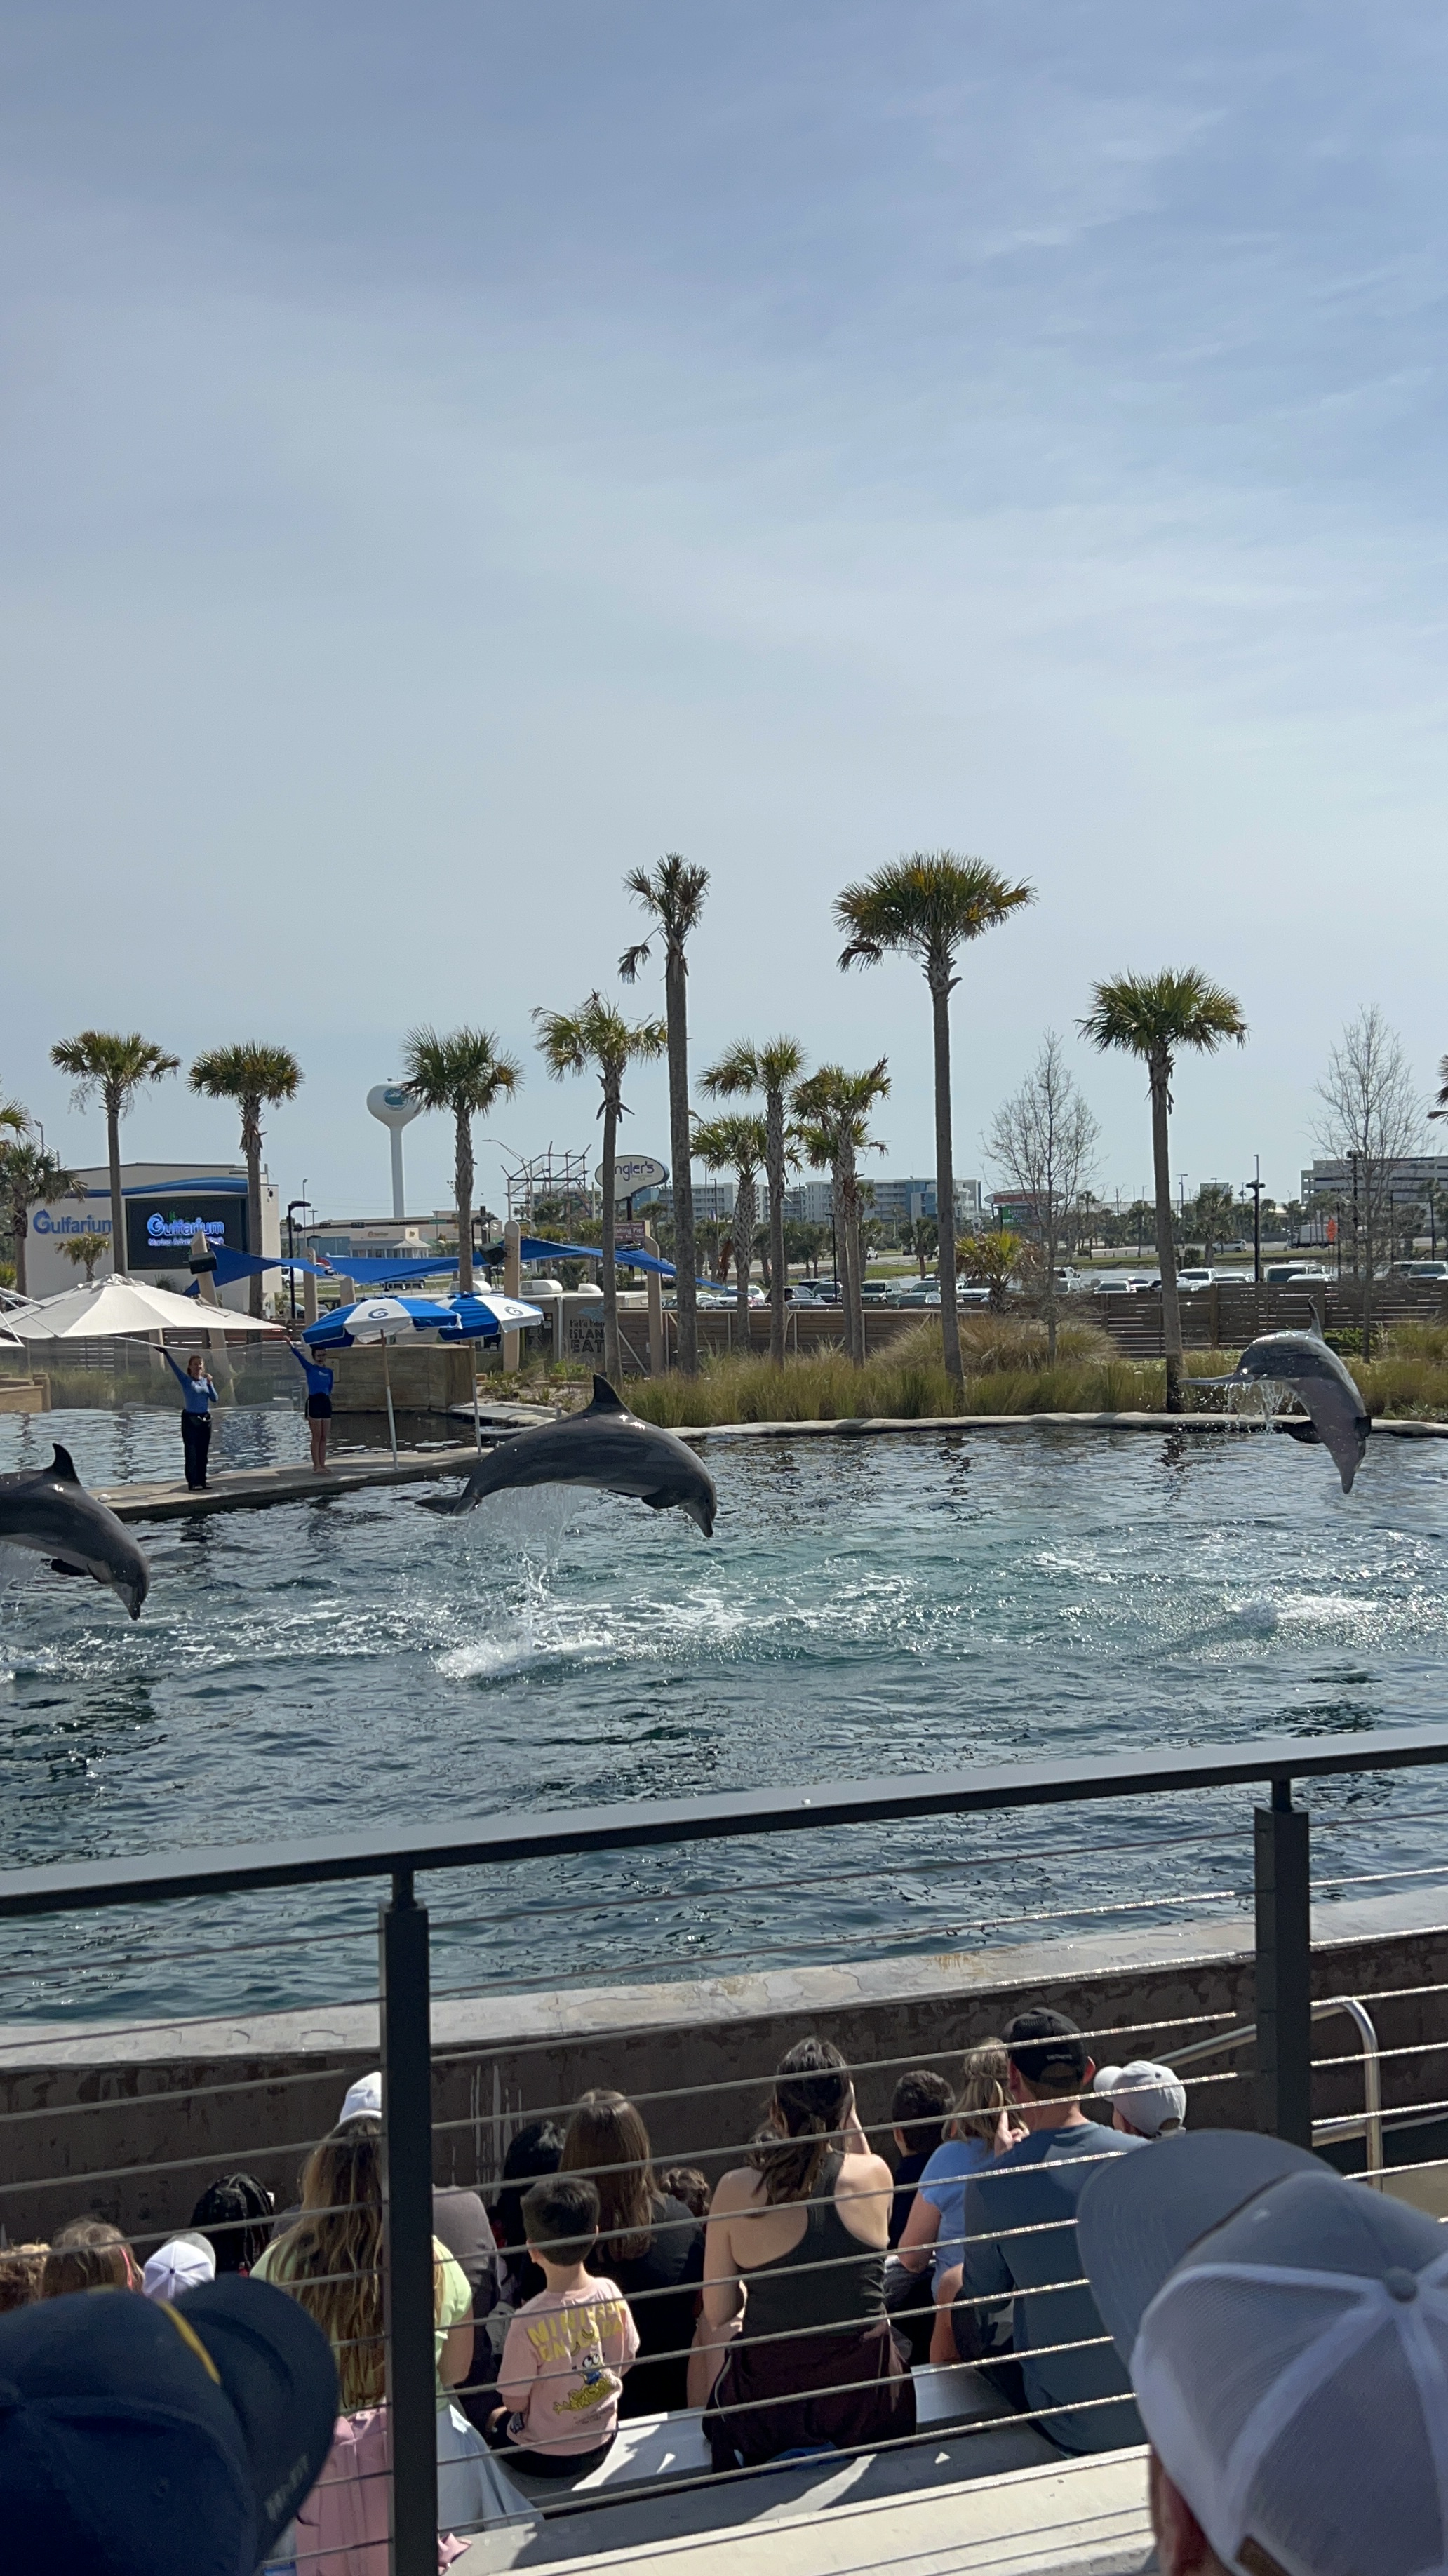
Gulfarium Marine Adventure Park
Explore all the wonders of the sea with Gulfarium!! Located in Ft. Walton Beach, just off of Miracle Strip.
Unique animal encounters and can’t miss dolphin and sea line shows!! First come, first serve on seating at the shows. Arrive early for the best seating. They even have splash zones! I promised my youngest daughter that we would sit in the splash zone, next month, when we come back. Learn all about animal habitats and marine life.
Our family loves this place! You will have the opportunity to observe penguins (our girls fav), otters, dolphins, sea lions, different types of birds, sharks, manatees and more!
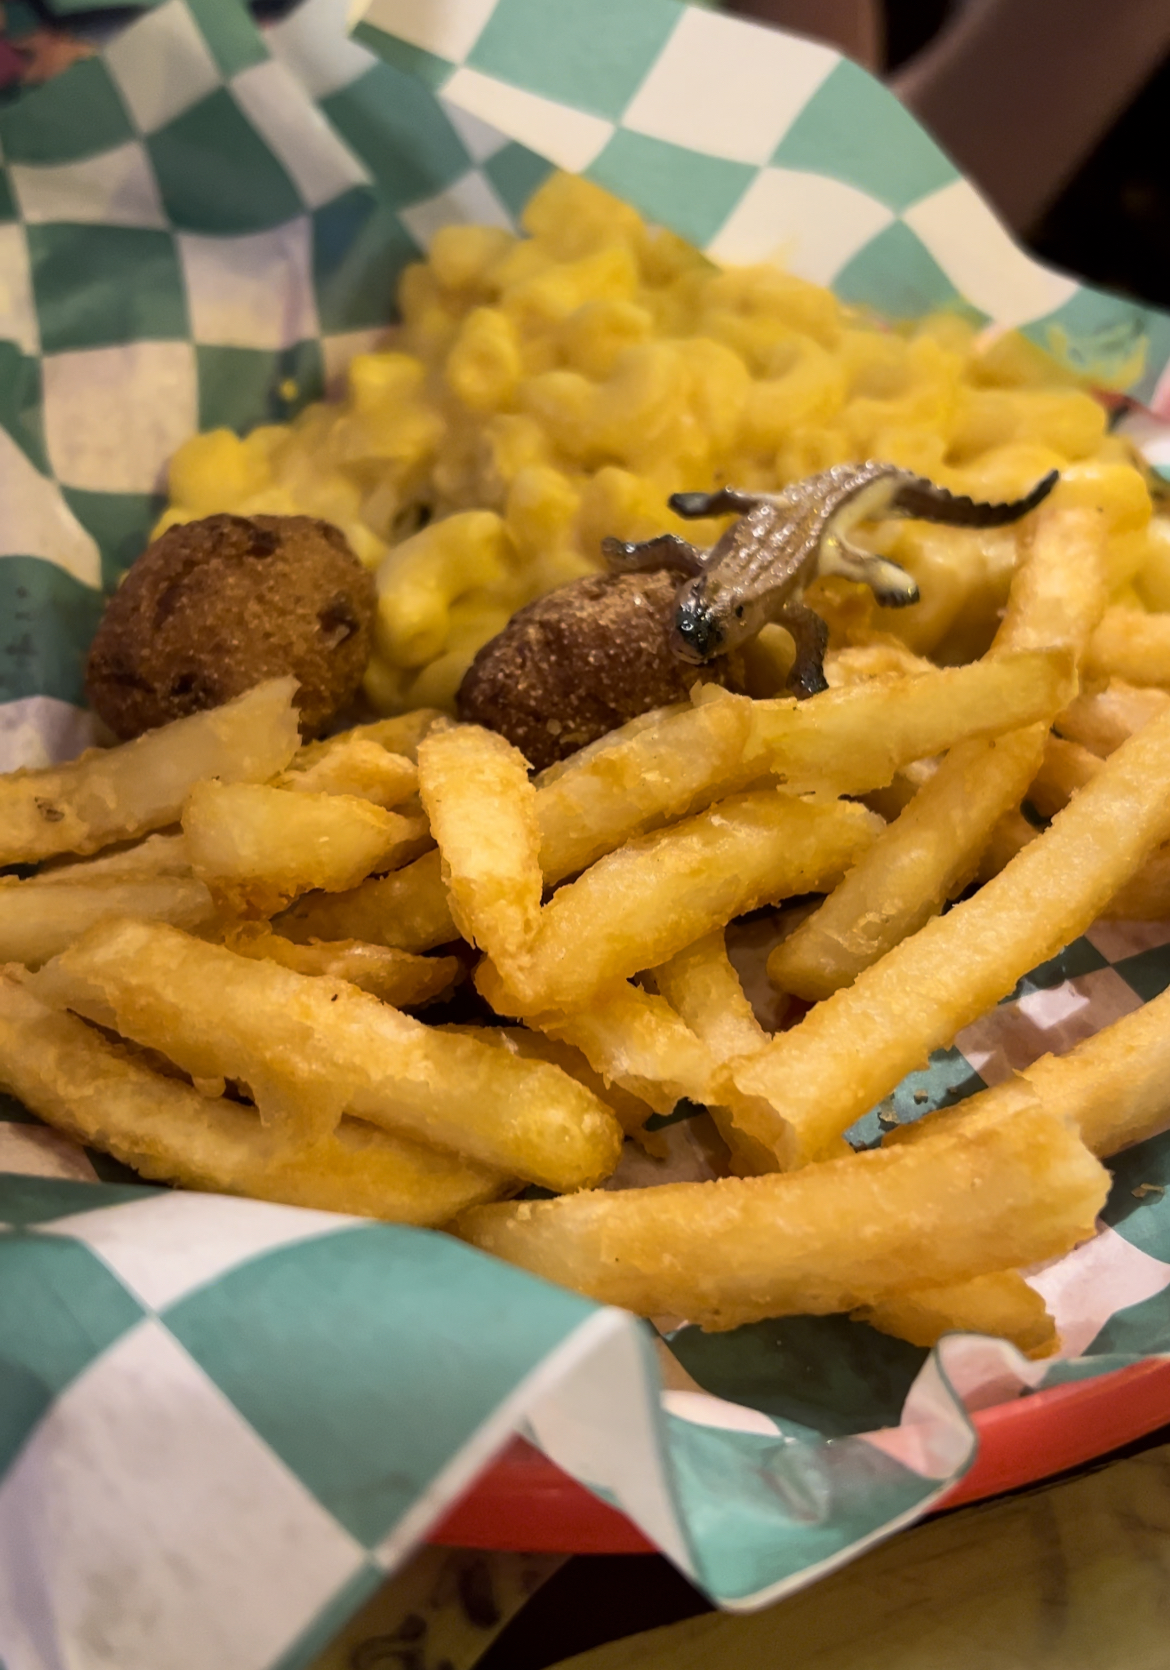
Fudpuckers & Gator Beach
Fudpuckers and Gator Beach is a restaurant with an alligator park, located in Destin. Come and feed the alligators, watch an alligator show or even get you and your family’s photo with an alligator!
Don’t forget to fill those hungry bellies with a meal from Fudpuckers! We enjoyed the “mini alligators” they put on each dish they served! The photo above is the Kids Mac & Cheese with Fries. Notice the tiny alligator in the plate. So fun!
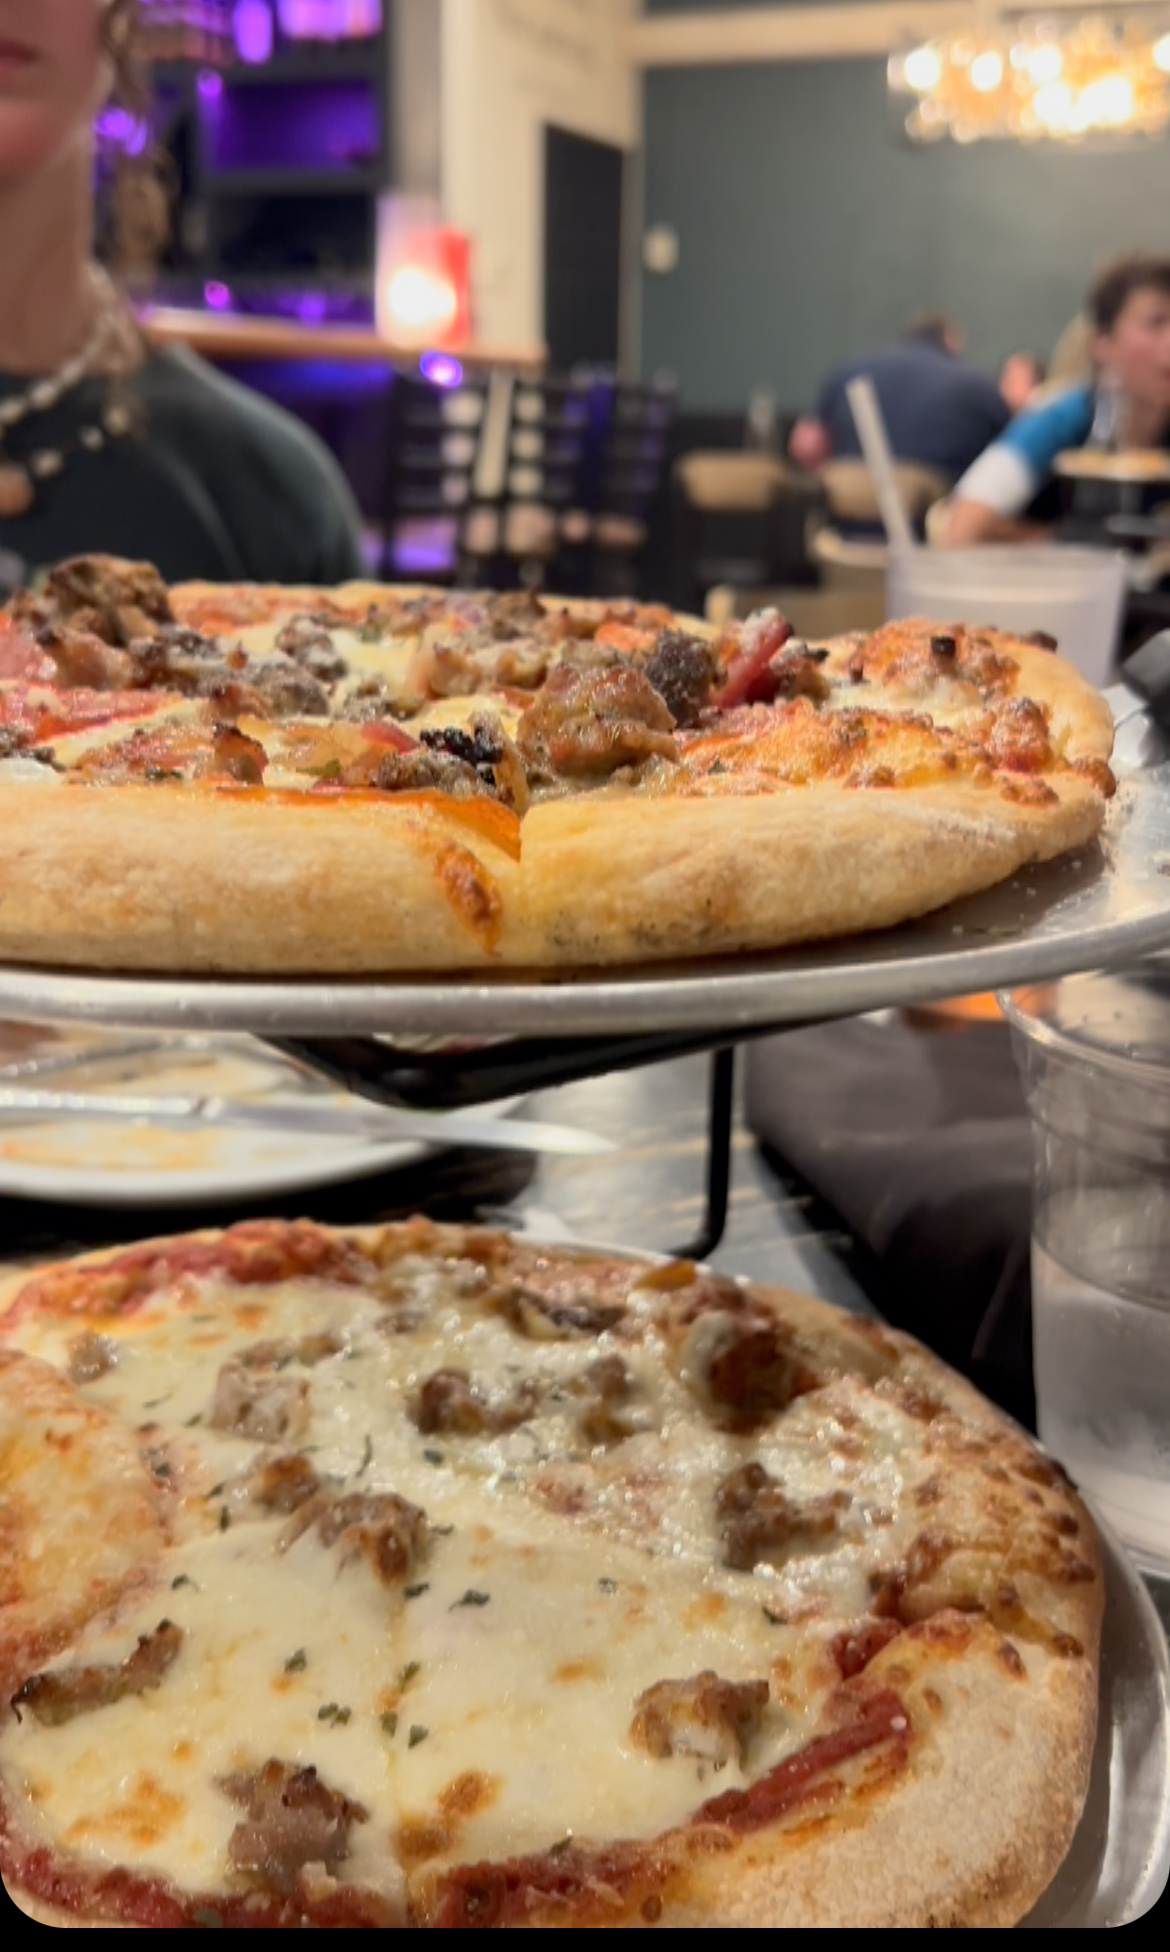
Grace Pizza
Grace Pizza is a restaurant with a modern twist, offering local craft pizza baked in a brick oven and also offering the most over the top milkshakes!
They are located in 30A, in Santa Rosa Beach. I can honestly say this is the best pizza we’ve ever had!! We are planning to visit again very soon!!
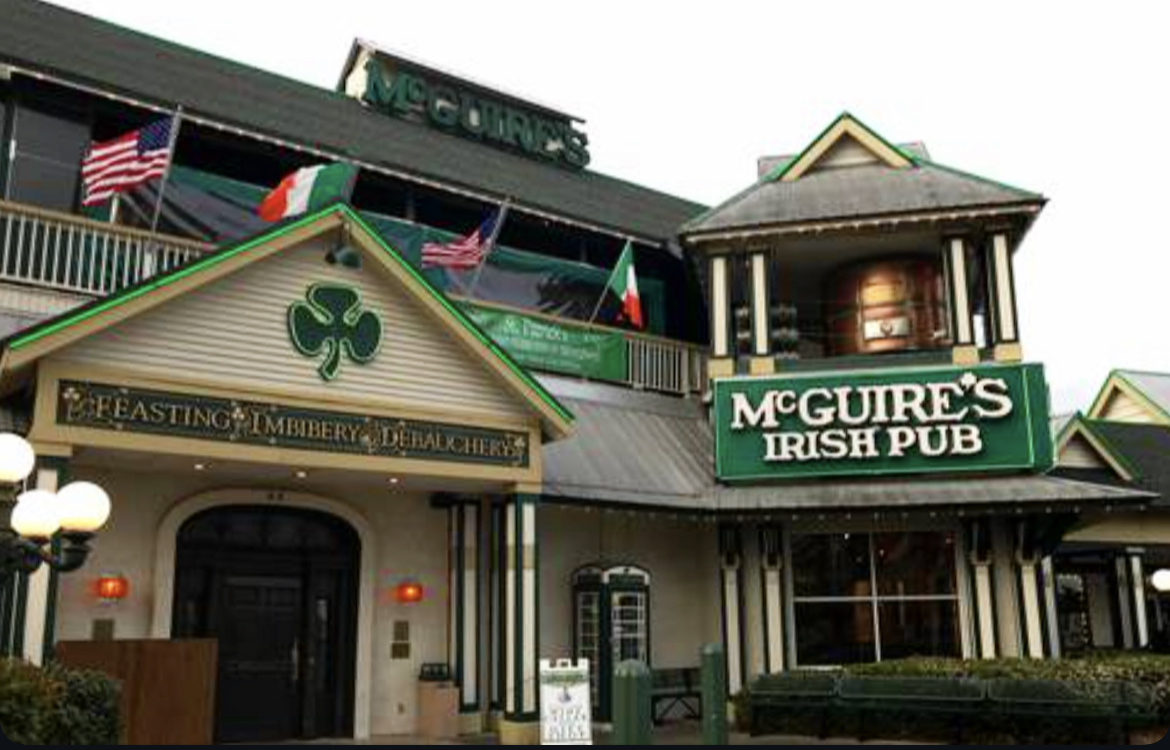
McGuire’s Irish Pub
McGuire’s is a restaurant that opened in small shopping center in 1977. In 1982, they moved into their current location, in Pensacola, the original 1927 Firehouse. Inside the pub, you will find a New York Irish Saloon themed 615-seater restaurant. In 1966, a second location, McGuire’s Irish Pub of Destin opened, and is located right on the Destin Harbor. A third location opened in Panama City Beach, as well. They serve pub favorites, seafood, steak and more! Locals and vacationers visit McGuire’s for the relaxed atmosphere, good food and friendly service. When you first walk into the restaurant, you will notice the walls, covered in one dollar bills. It was a tradition started in 1977 with the owners and having each customer sign their name to a one dollar bill.


You must be logged in to post a comment.