Spring DIY Blog Hop

Spring DIY Blog Hop

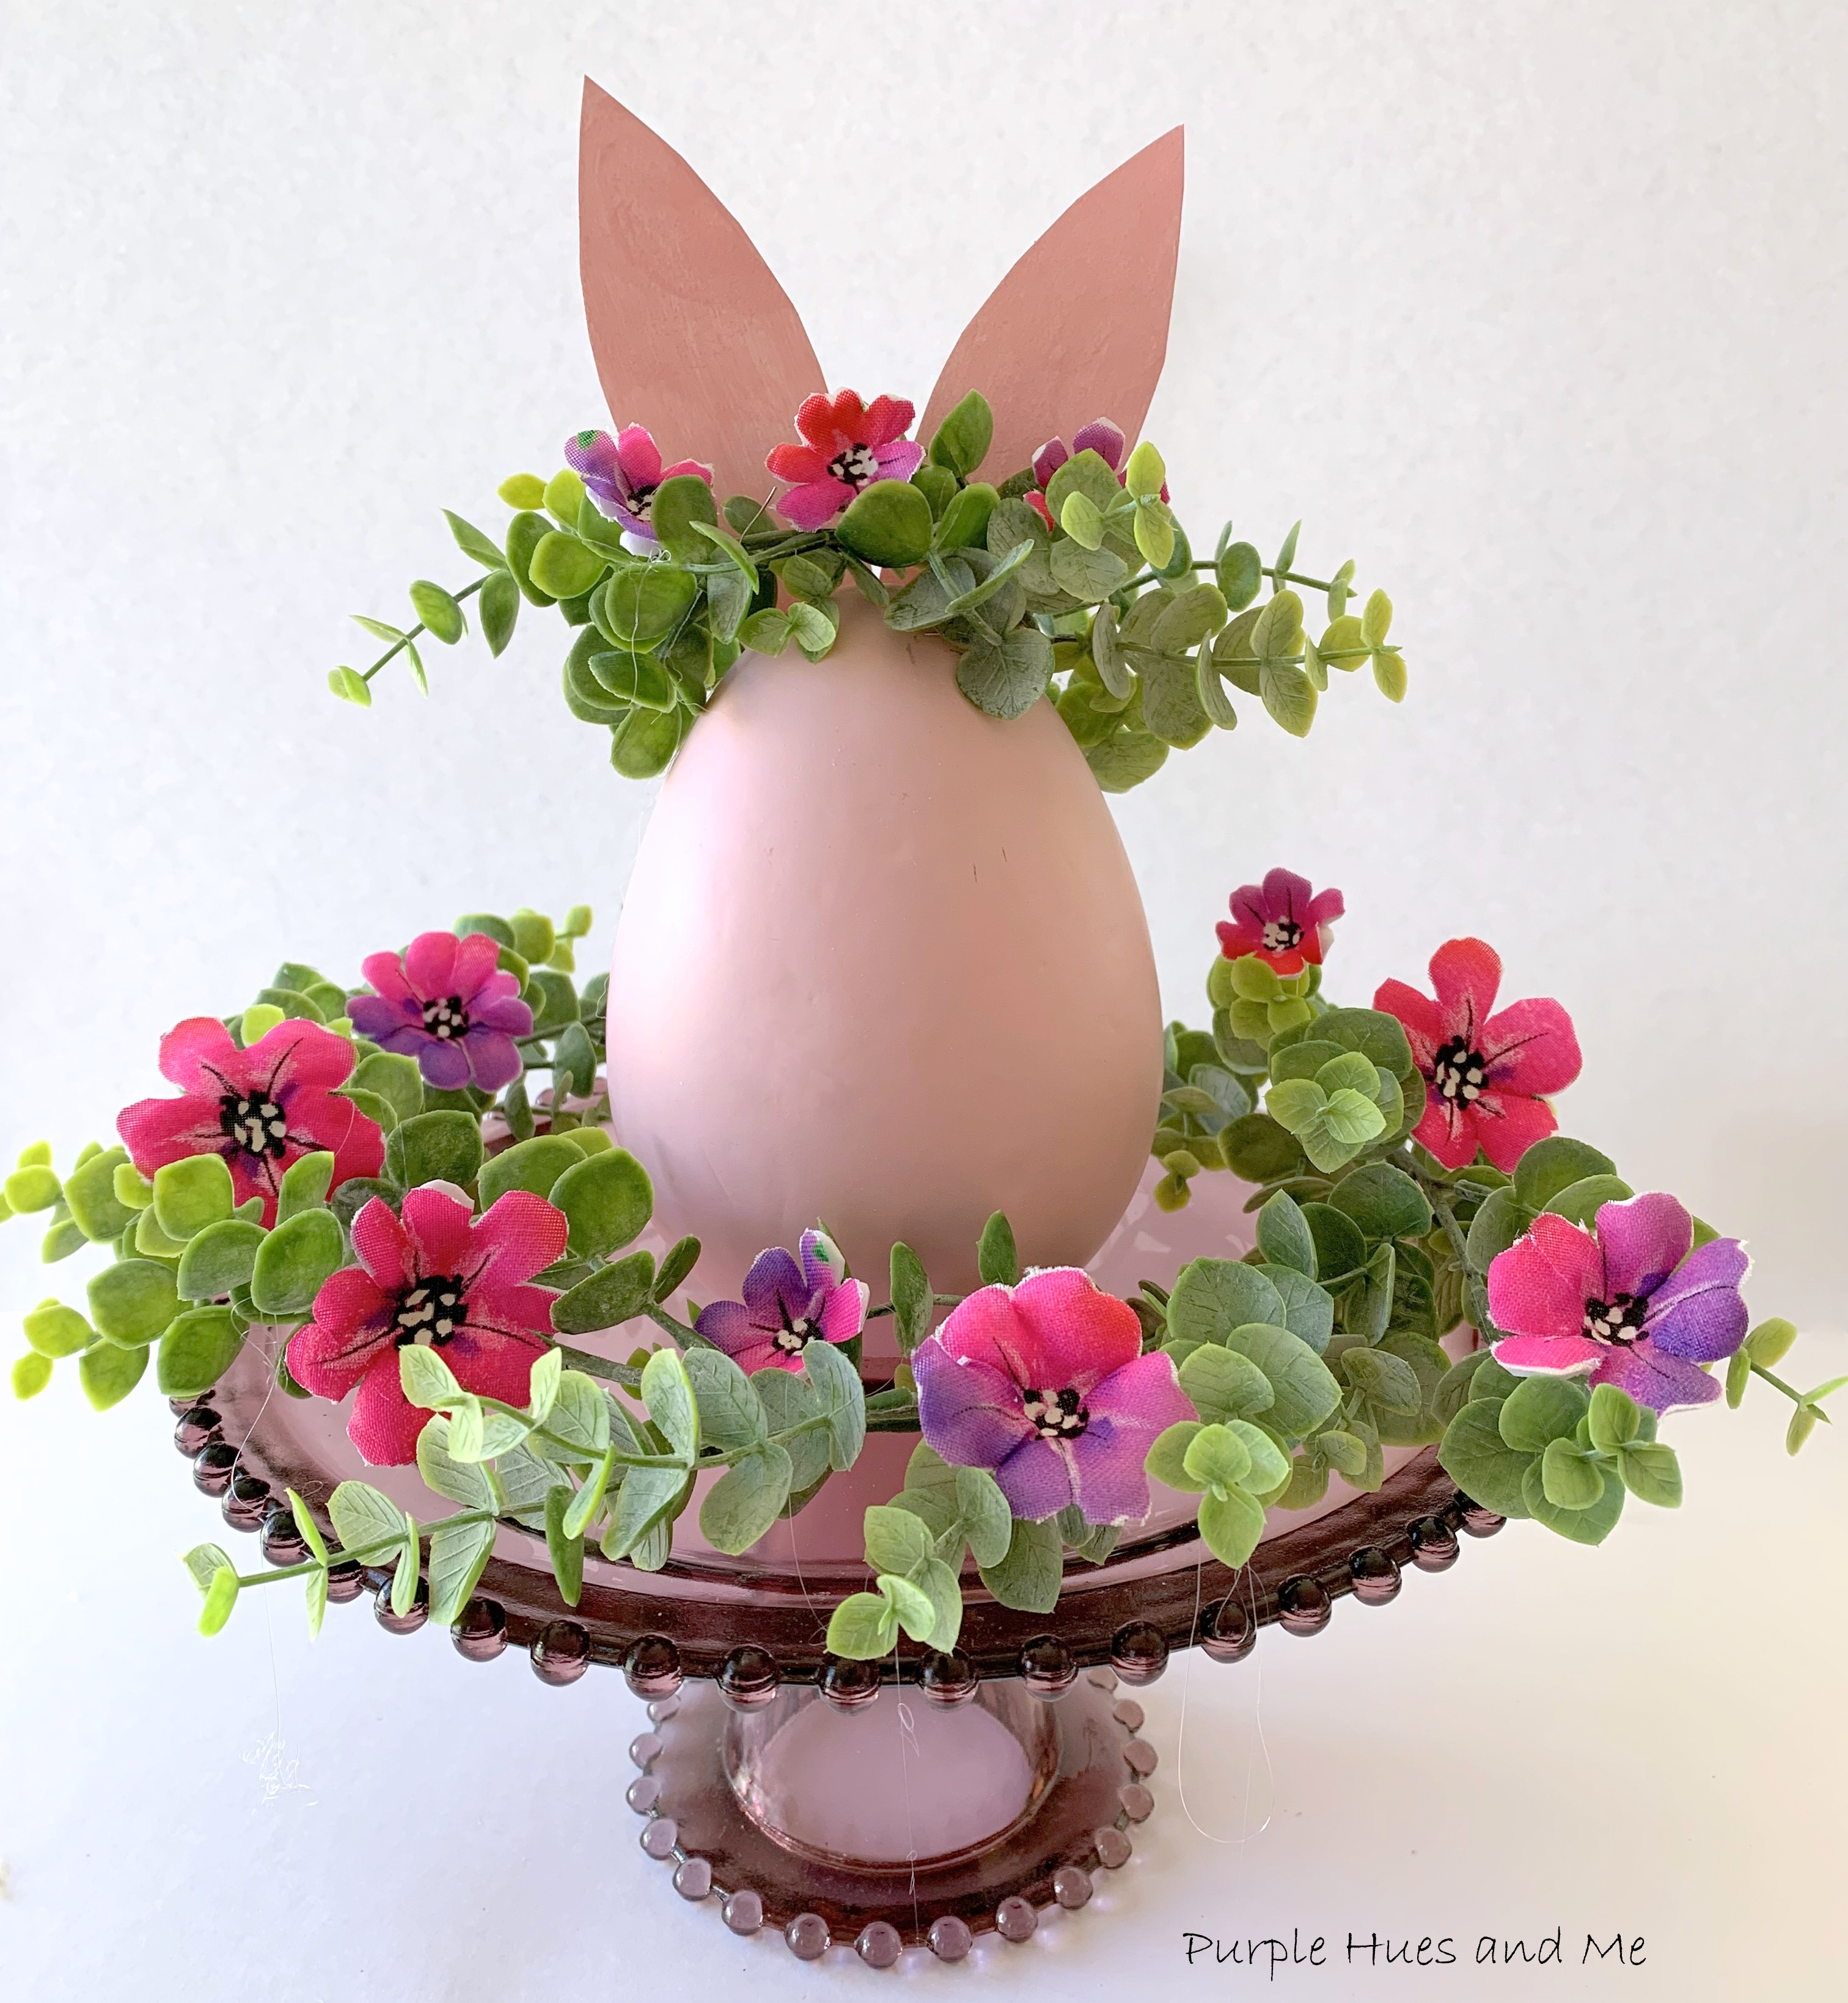
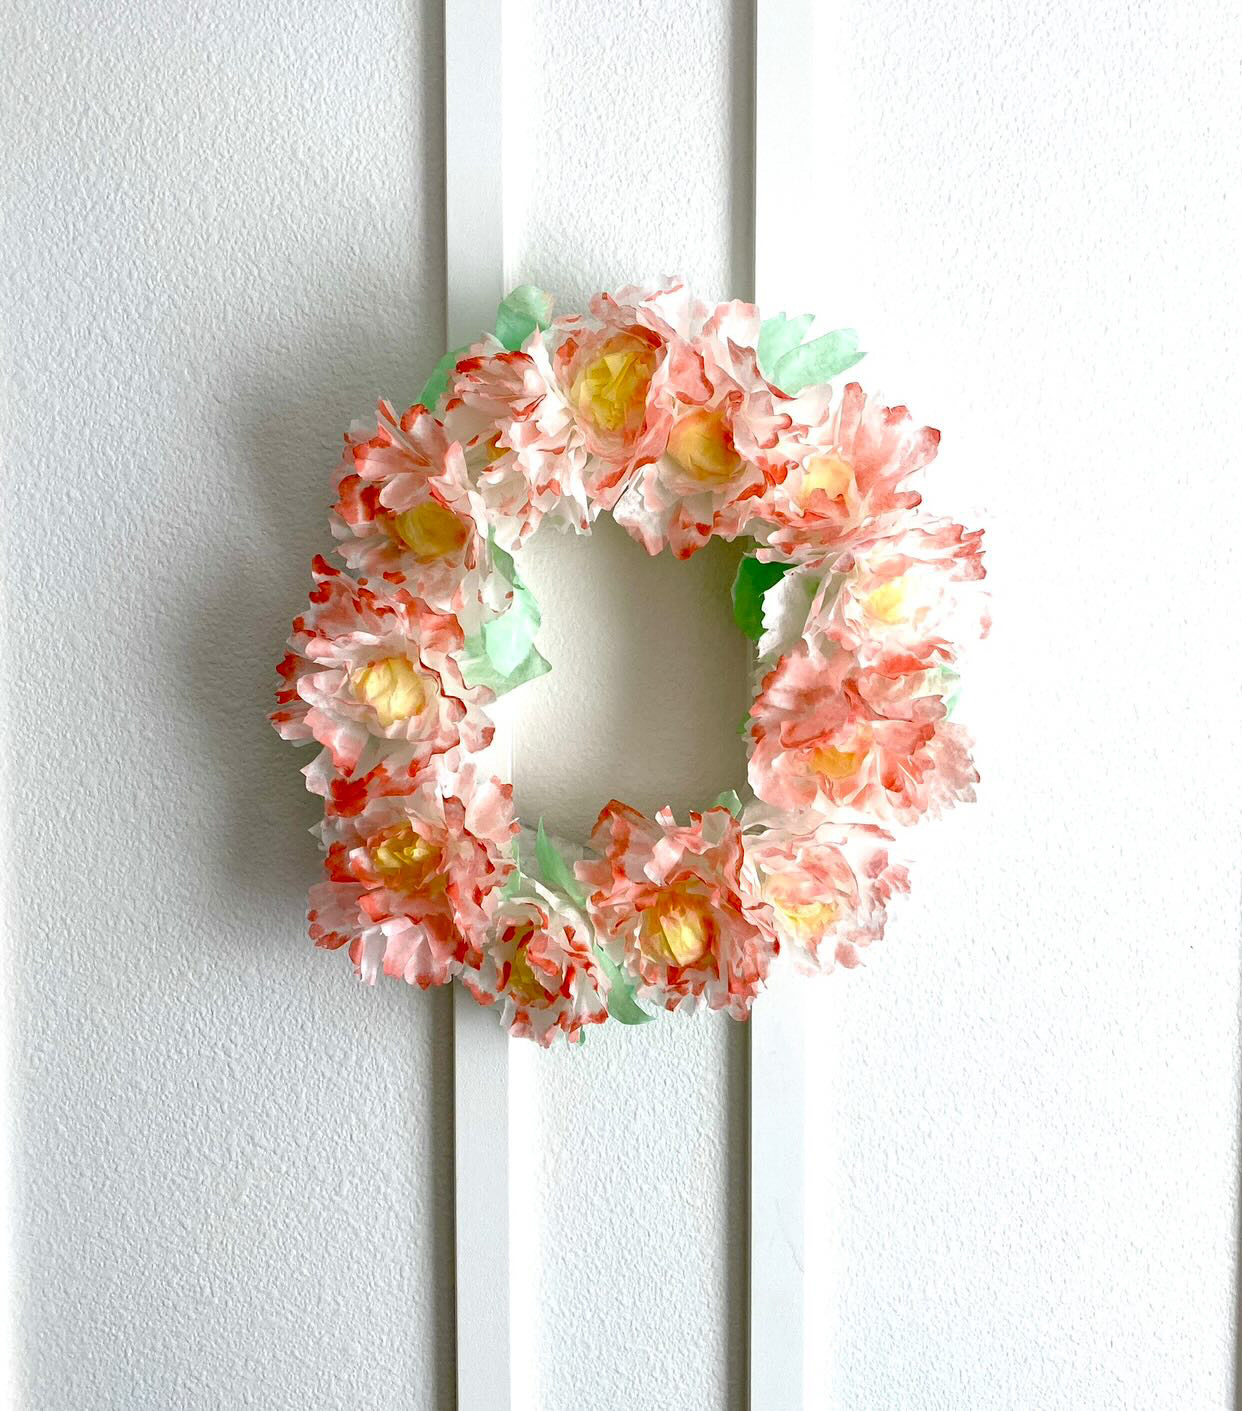
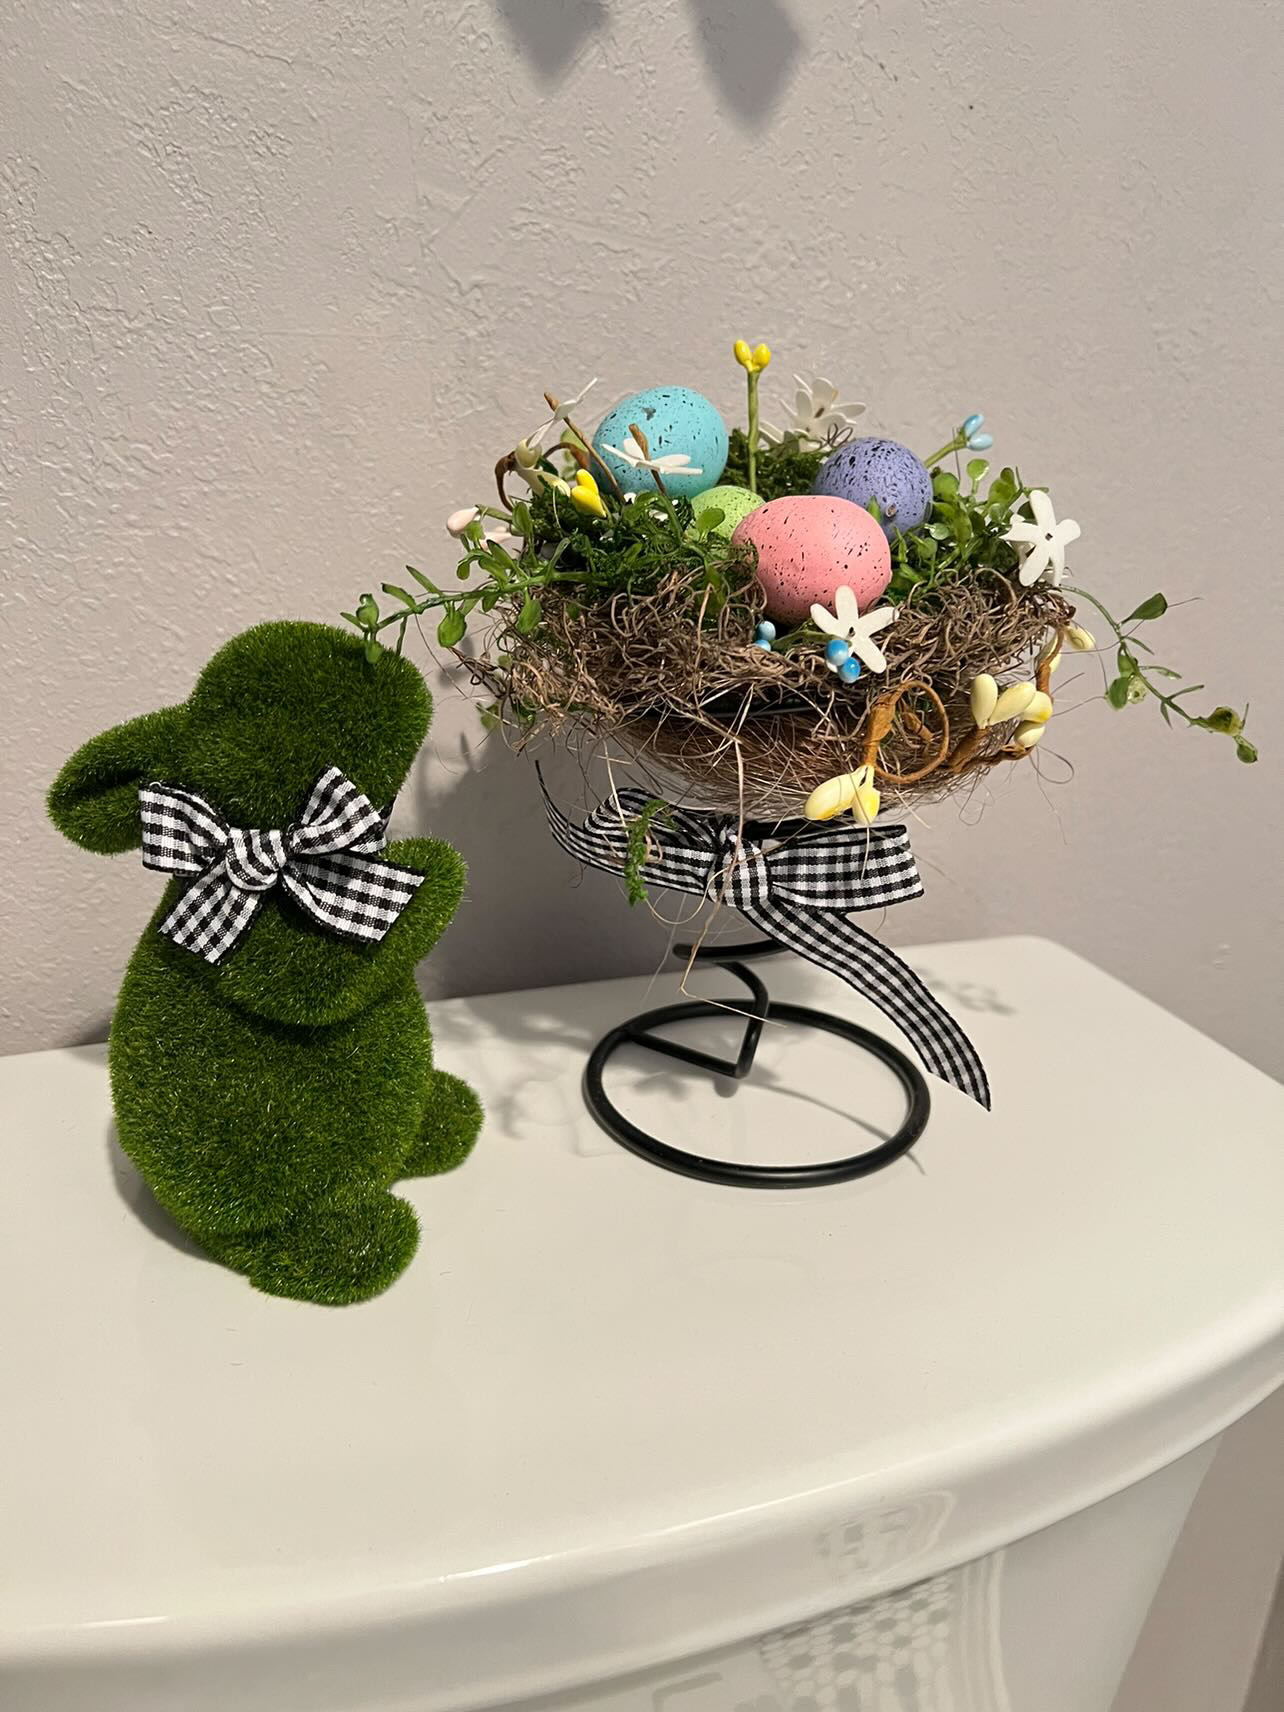
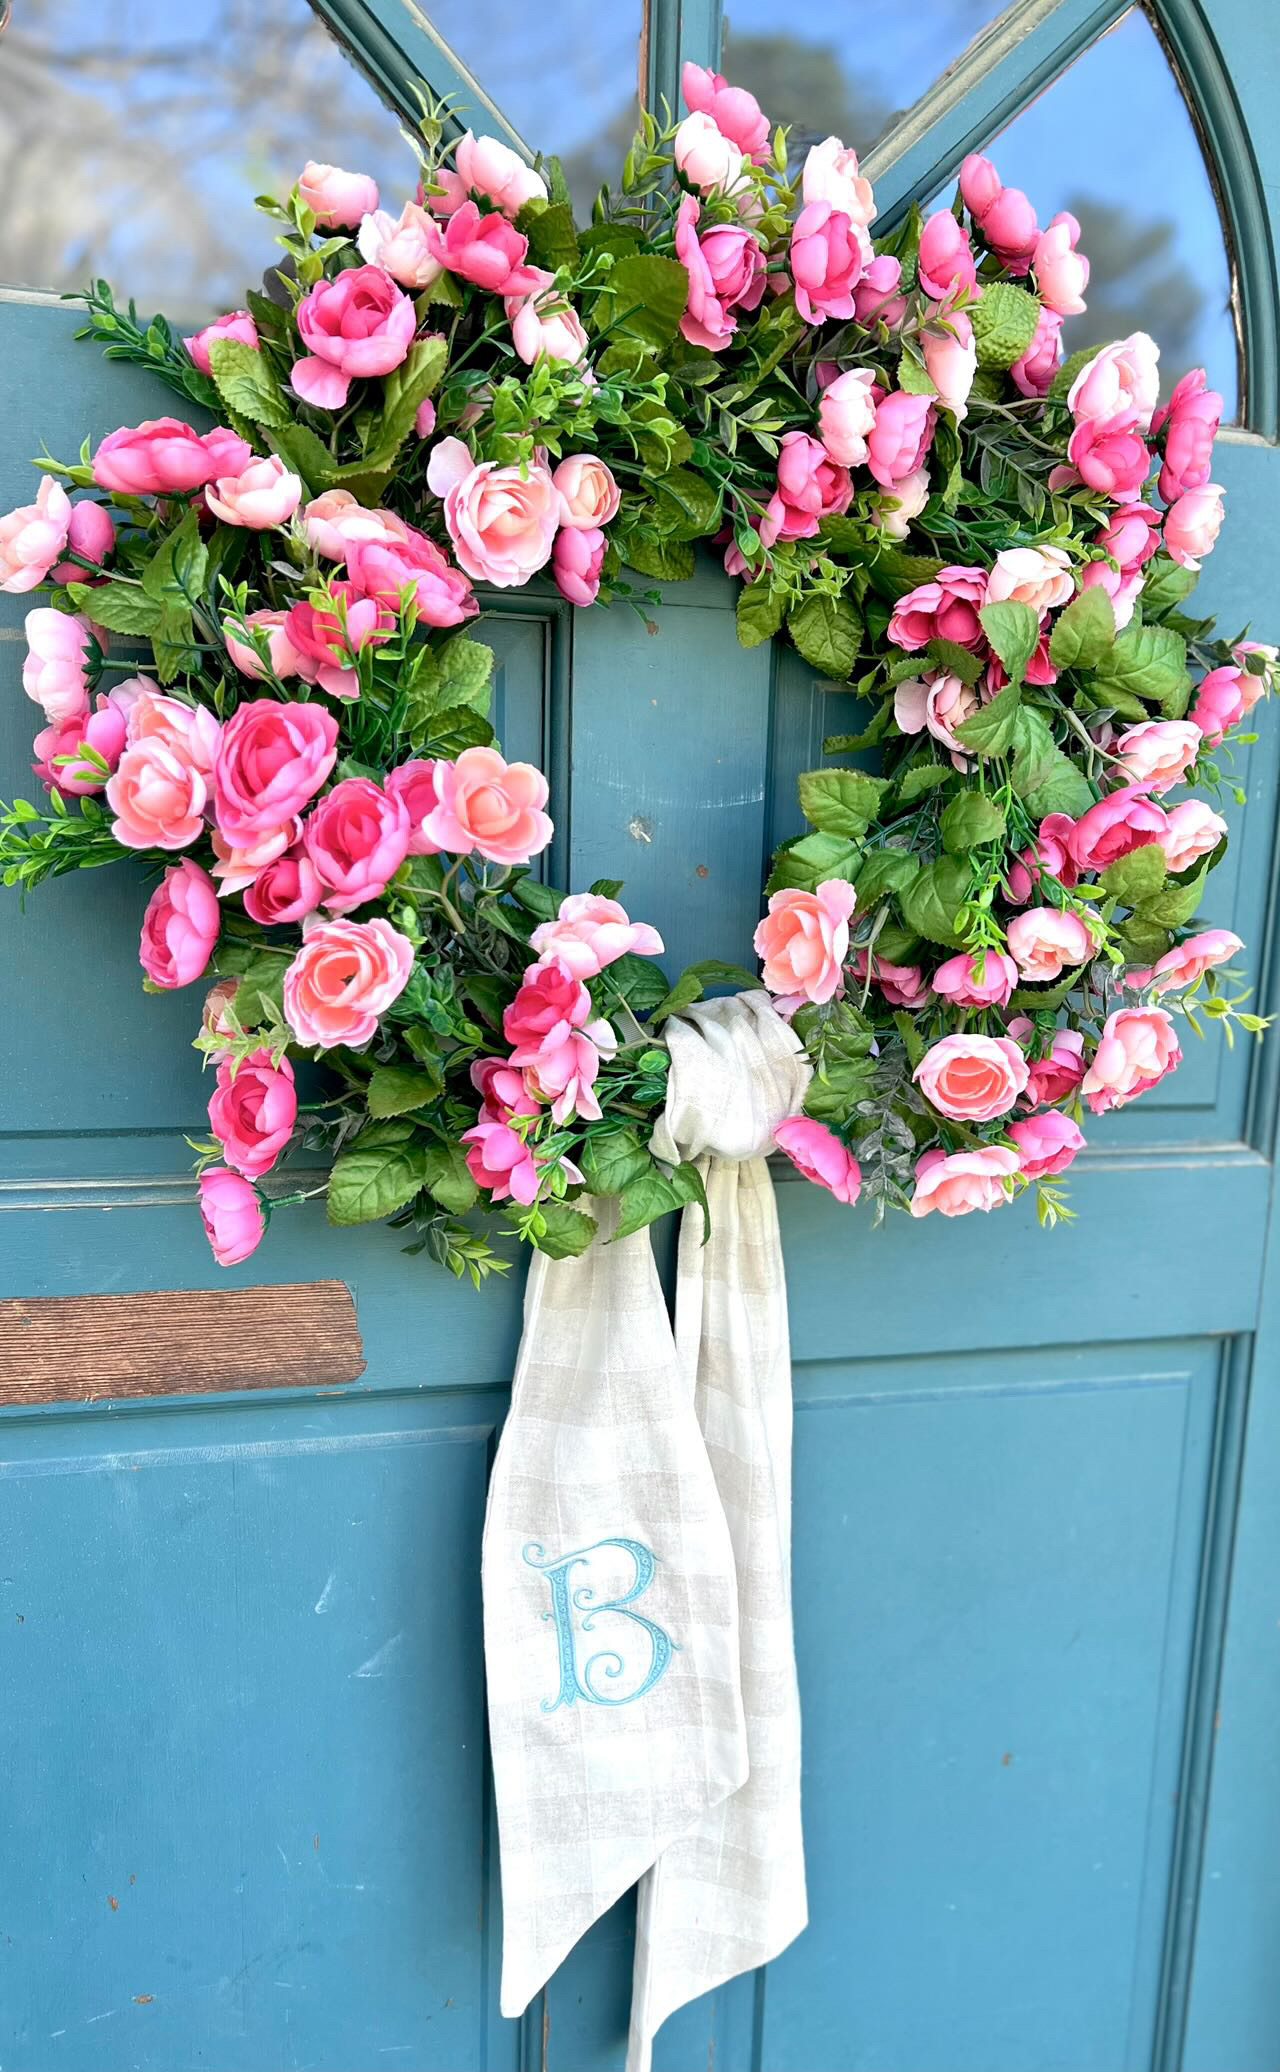
Today I’m hosting a Spring Blog Hop with five other bloggers. We can’t wait to share our spring DIY’s with y’all!
6C5015DD-AE4A-4027-9CD7-CFA3464355FC

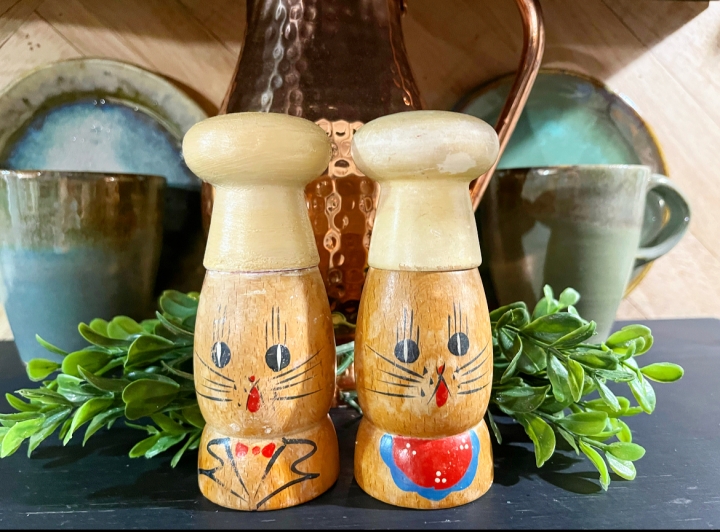
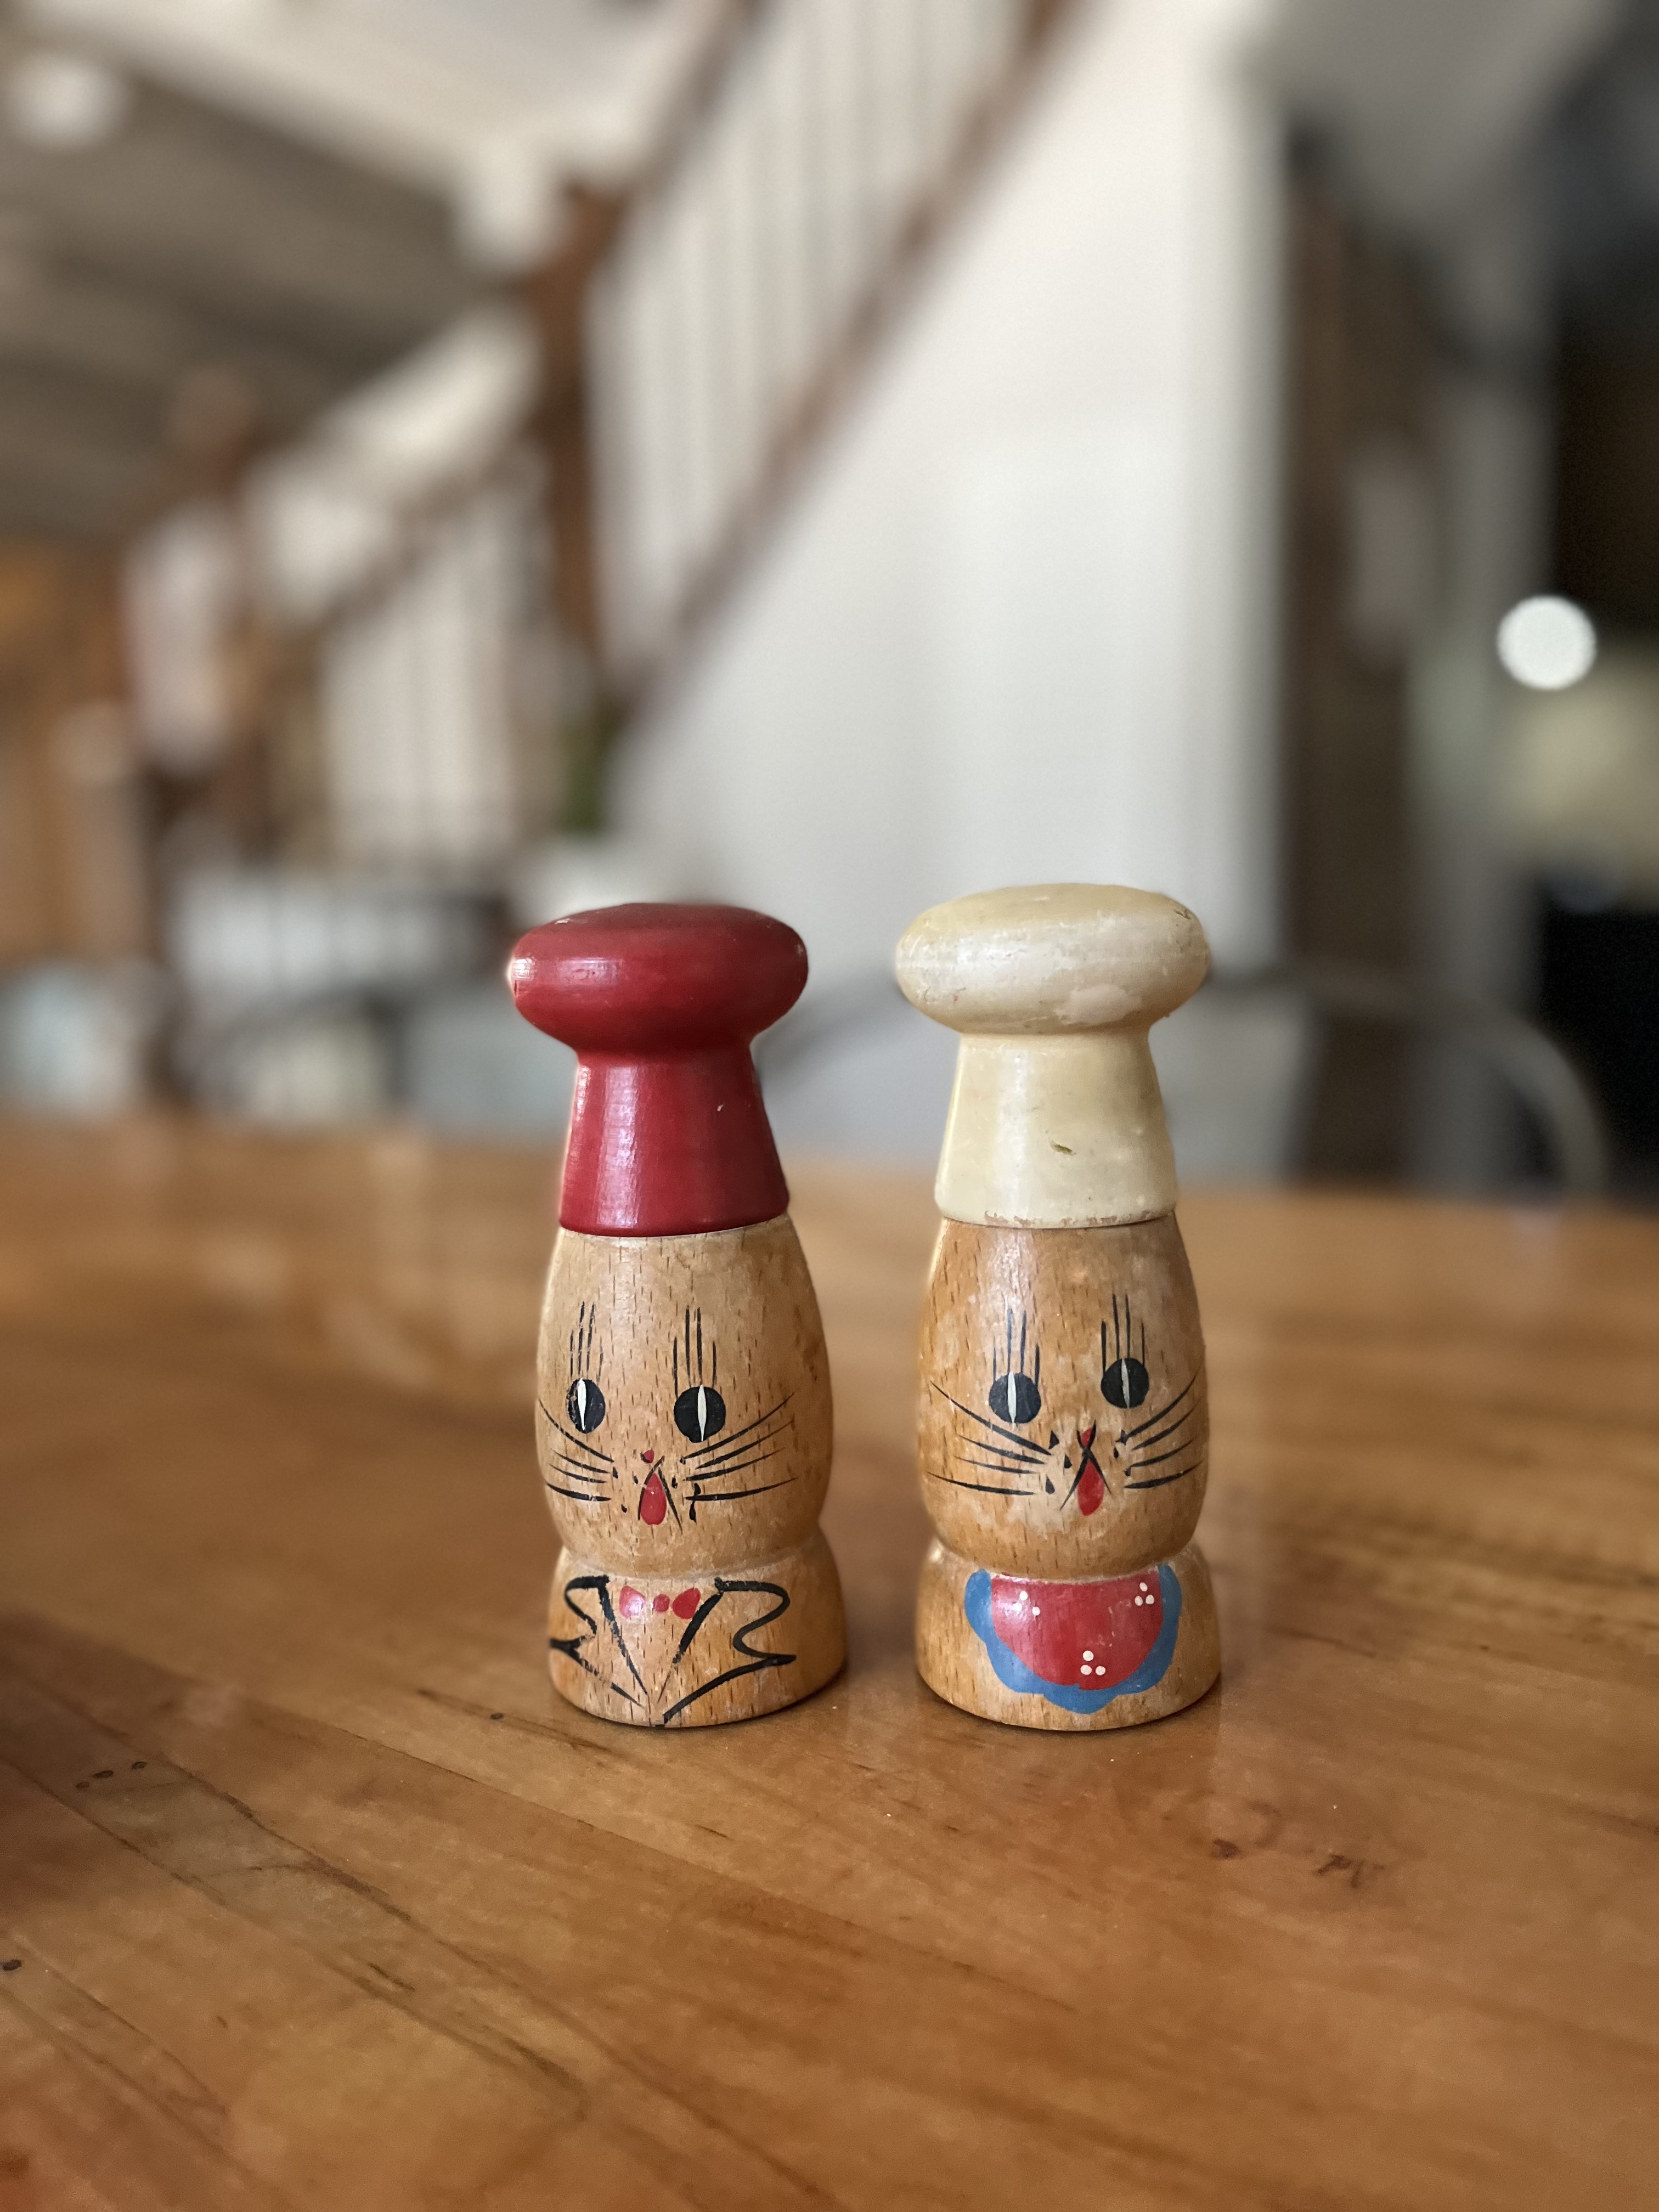
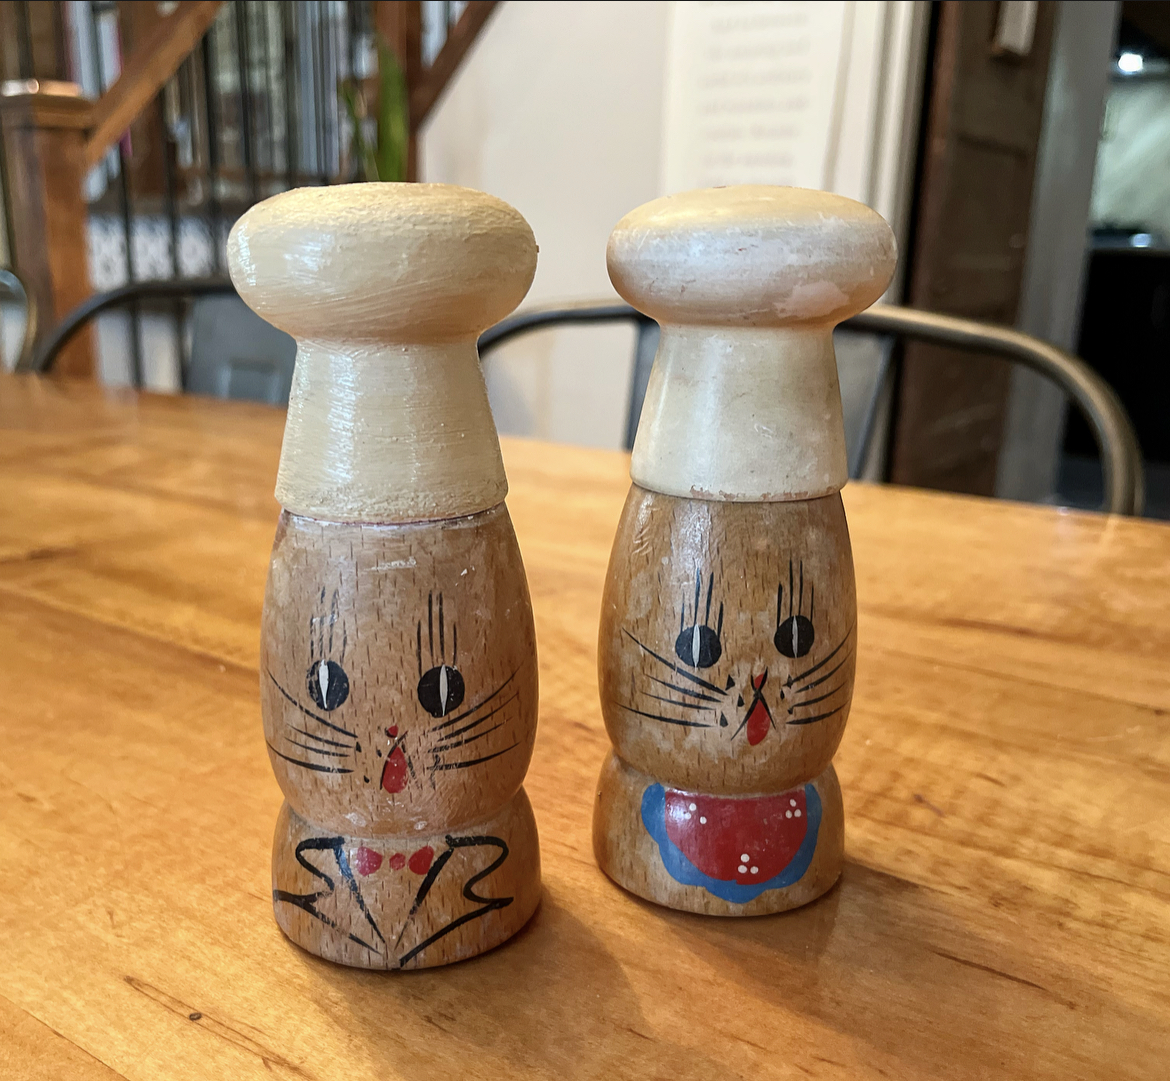
My mom gave me the cutest set of vintage bunny salt and pepper shakers! I believe they were my Mom-Maw’s. I think that the red colored top, stands out, to much for my decor taste, so I decided to paint the pepper shaker’s top to match the color of the salt shaker’s top.

641D7CFA-E994-4BA9-9E8F-486209F5B068

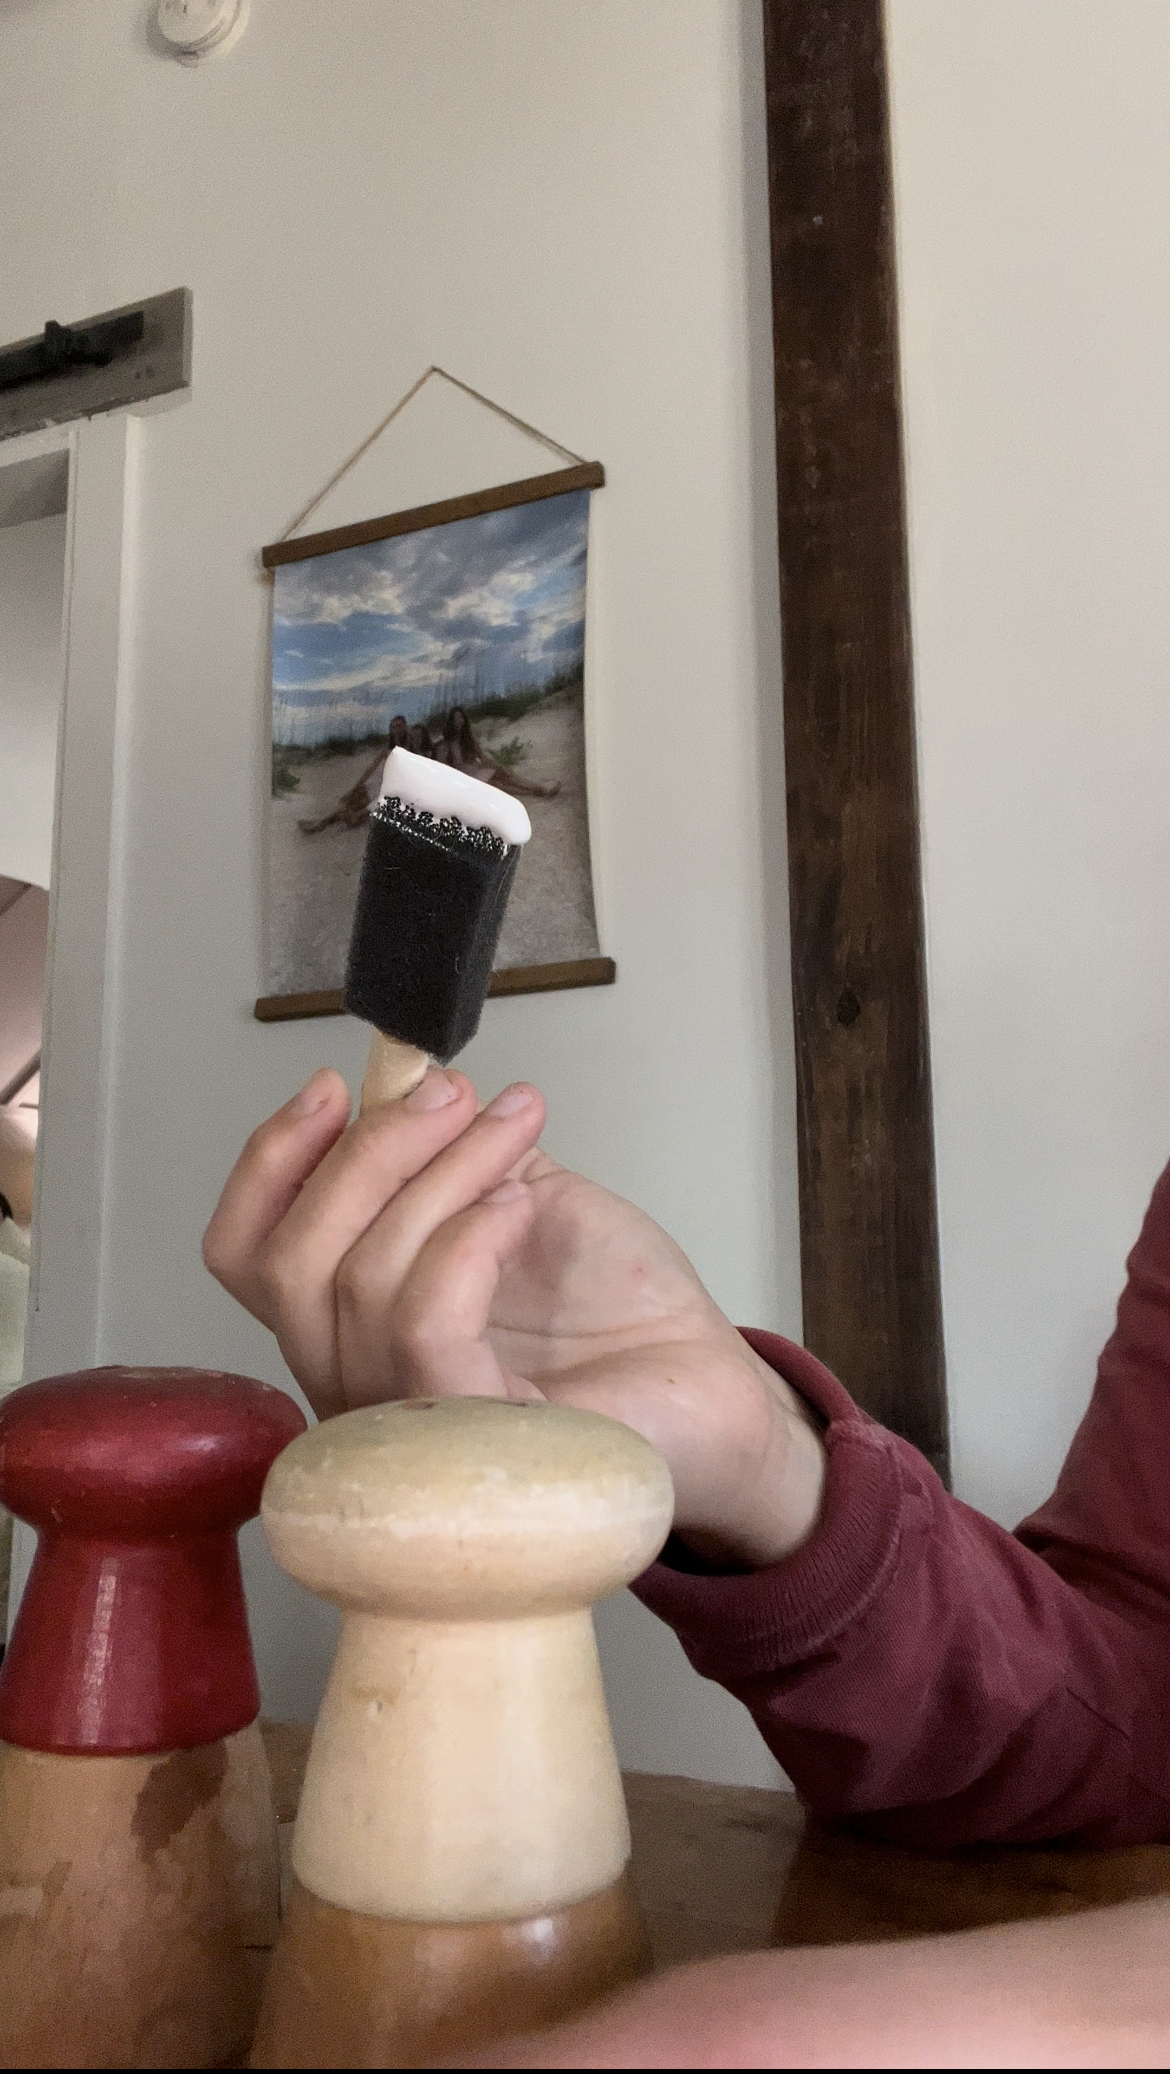
I started out by painting the top white. I just used some left over SW paint in Eider White. I painted two coats.

F217984A-D6FB-4581-96A5-6687DCA16450

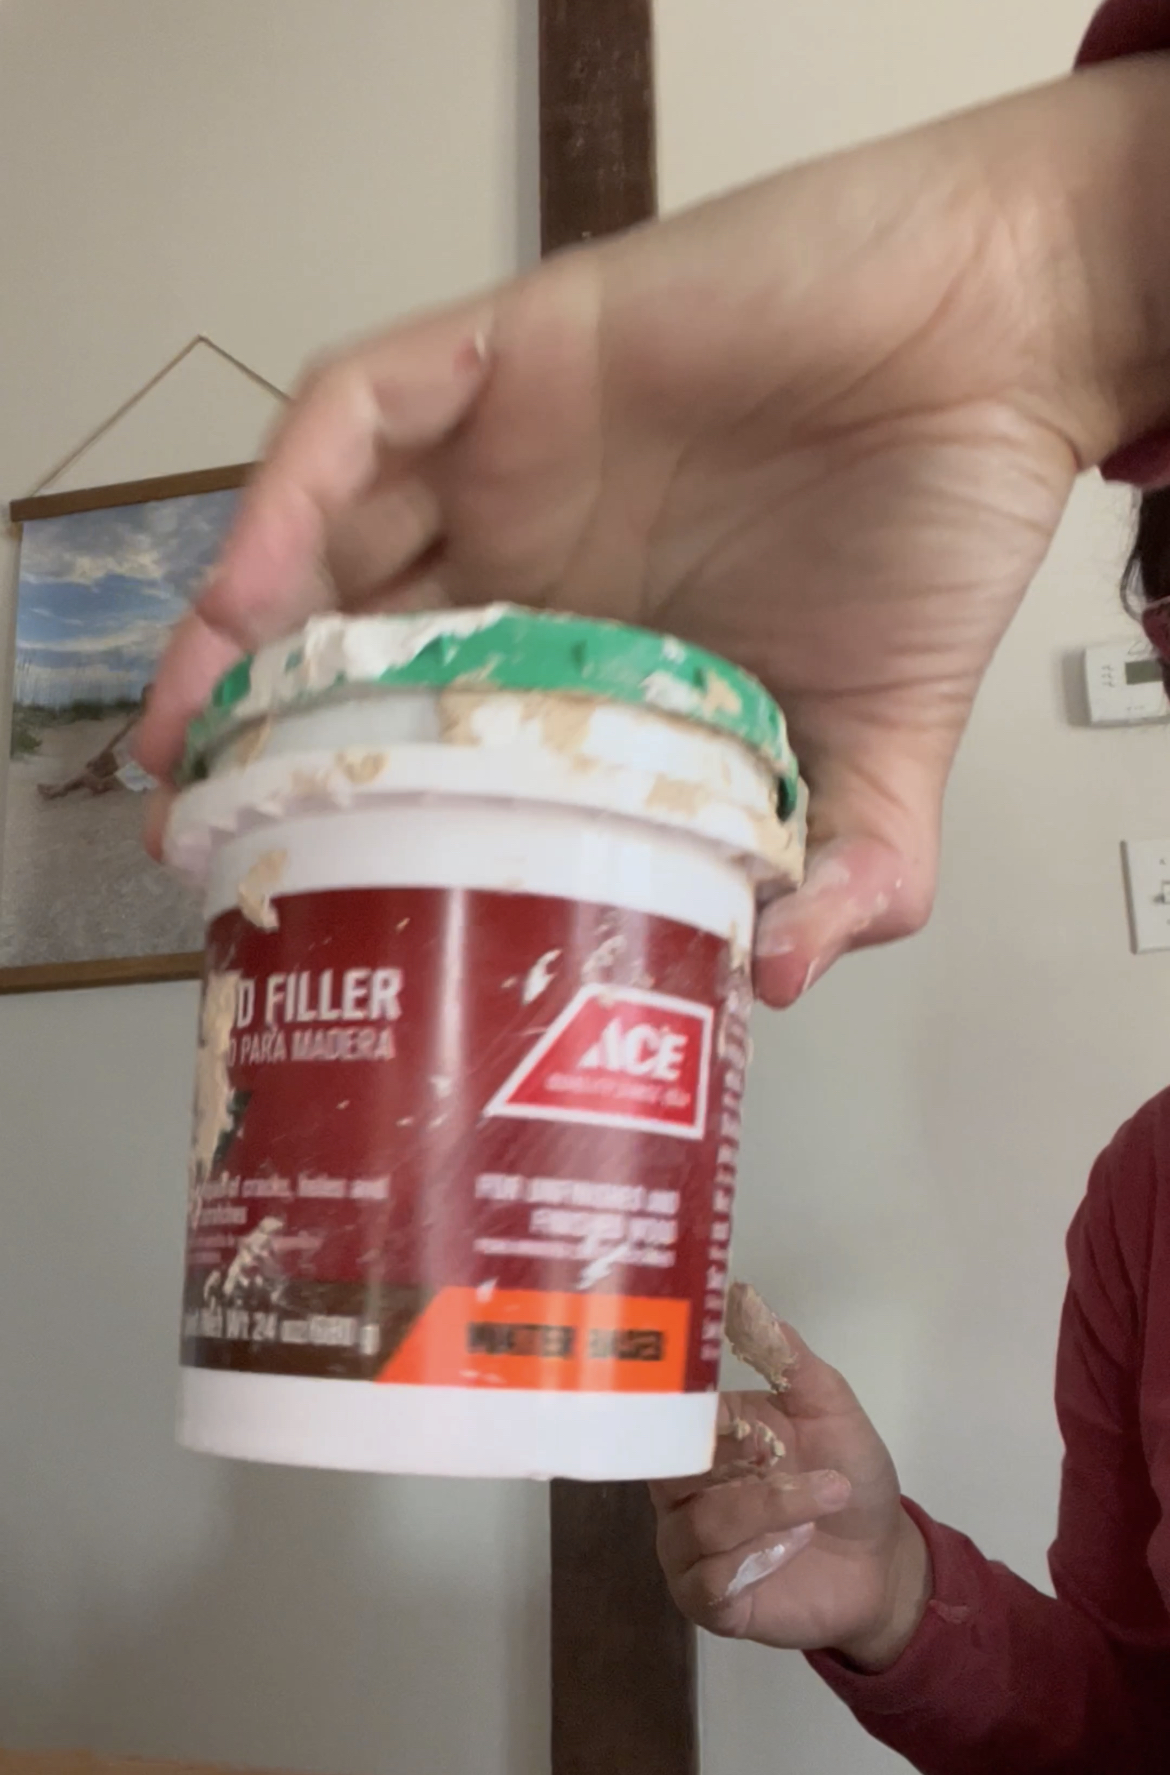
Next I decided to add a light coat of wood filler that I had on hand from the hardware store.

6CC373A1-466D-412F-A47C-216A26566D4A

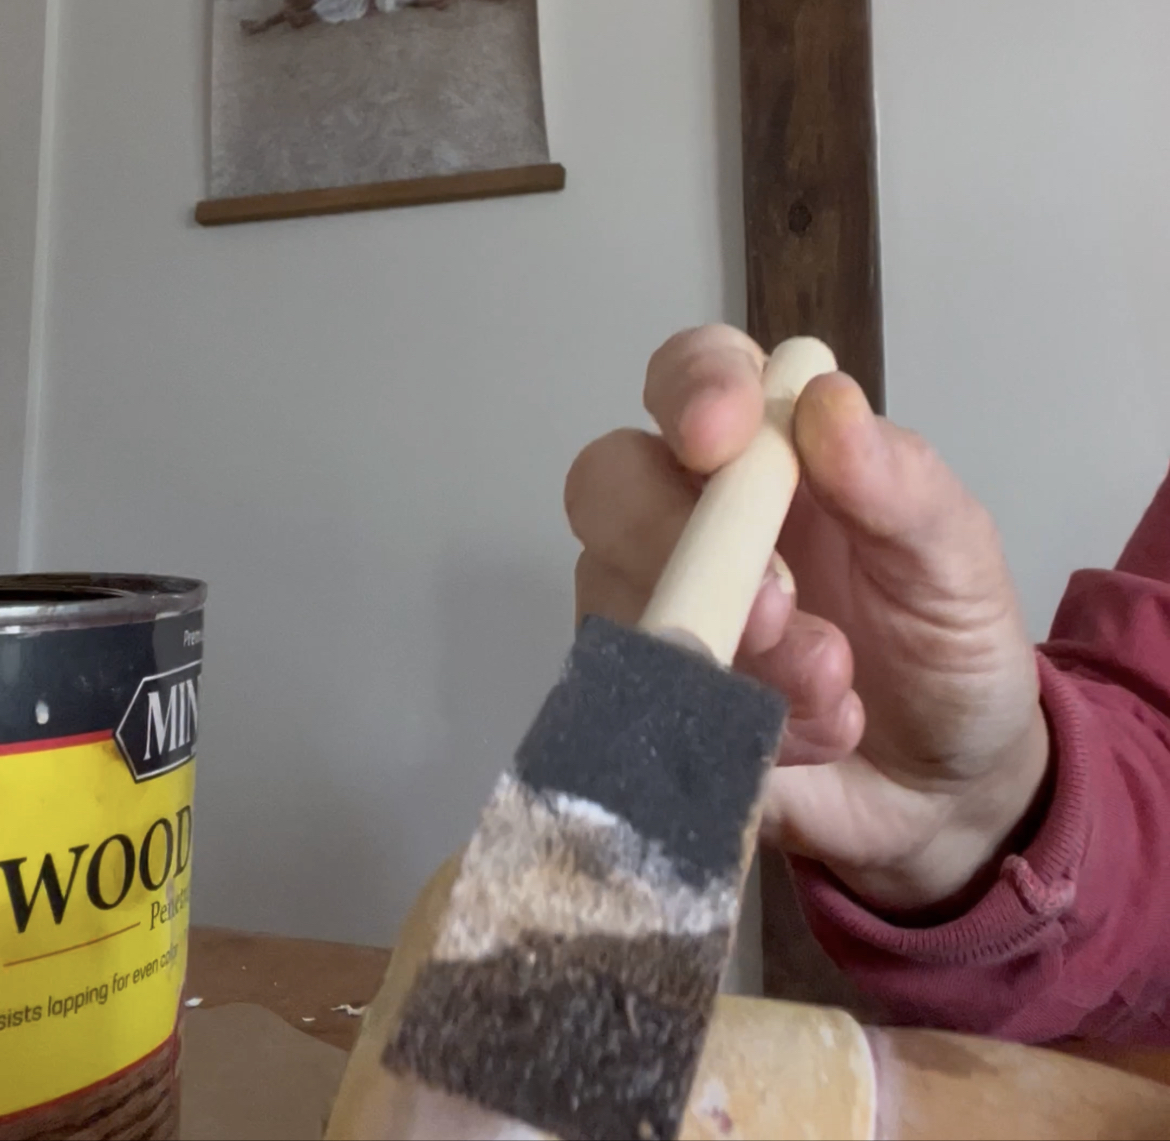
Next, I decided to use a Semi Transparent Minwax Stain in Red Oak on the white paint, while it was still wet.

4AA05AAA-C7BB-42A1-B47A-7D9E0496C3E7

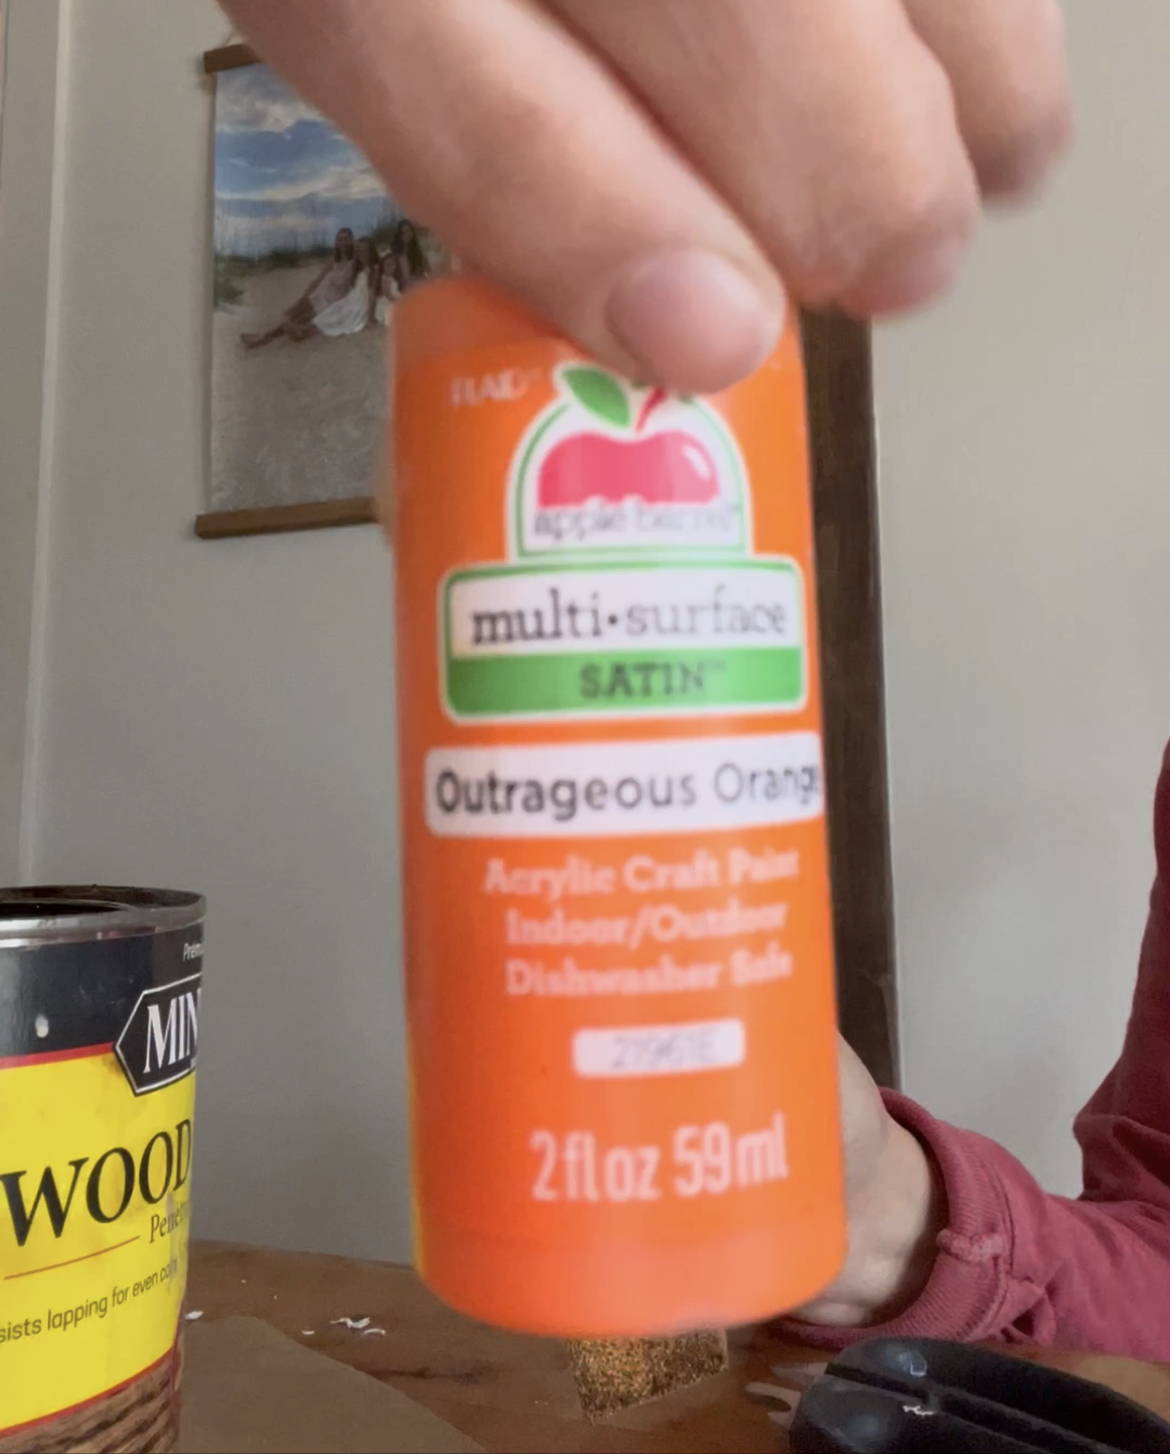
I thought the color needed more of a yellow tone instead of a brown tone, so I added Outrageously Orange craft paint.

D79B99C8-DDF9-4365-B5F5-6D4CF52F4D20

I ended up sort of mixing the paint colors and stain together to make the color, while sanding in between coats for an aged look.

8A09096C-453A-4E02-9C8D-57291F424B9B

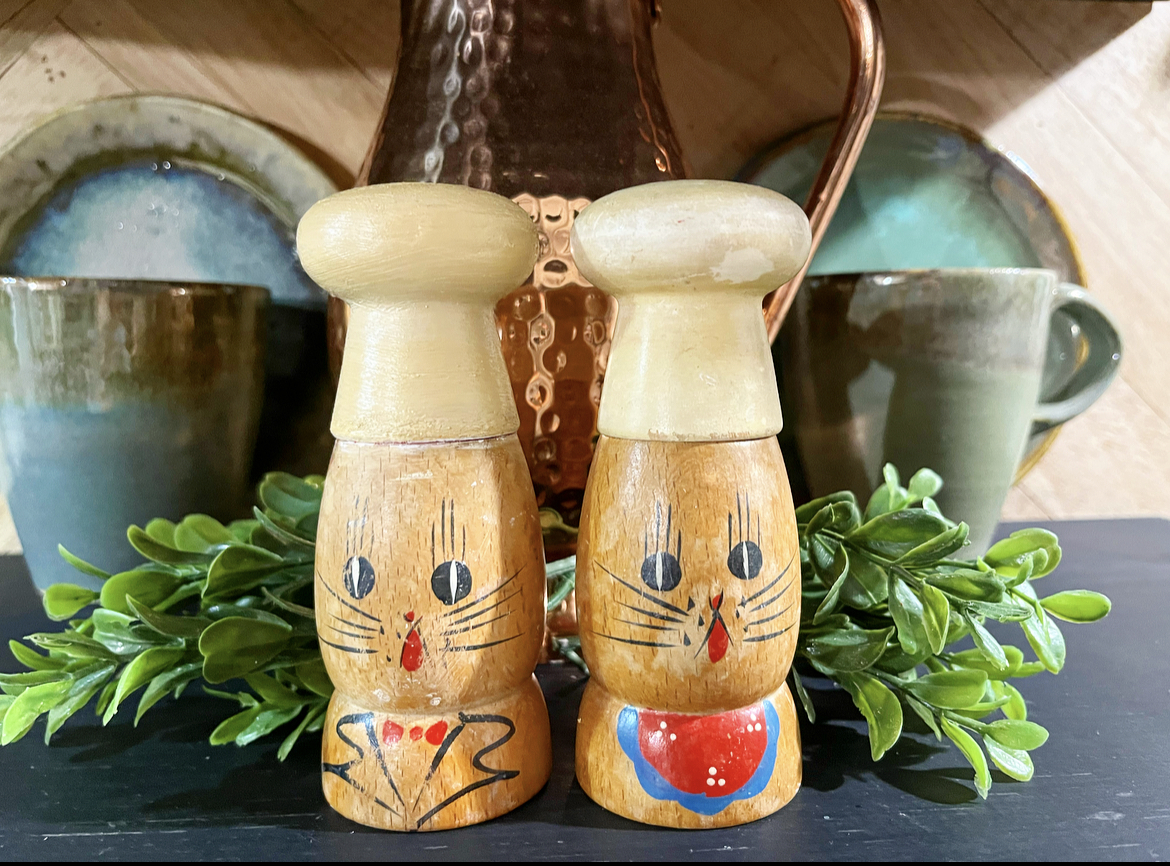
Here is the final result! I think I got pretty close to the color of the salt shaker’s top! Now my Vintage Bunny Salt and Pepper Shakers are ready to be apart of my spring decor!

641D7CFA-E994-4BA9-9E8F-486209F5B068

Head on over and checkout the other sweet bloggers to see what they’ve come up with for their Spring DIY’s!

Terrie from Decorating & More with Tip

BF2FE635-0E6E-4D20-9018-D9357061EF63

Gail from Purple Hues and Me

CB1EE02A-8A24-4B2F-B136-FA0A0A248825

Denise from Hoots Hack

1ED08DDF-1755-42CD-8835-EBEFCB7058A6

Tammy from Patina and Paint

55F720C0-2EFF-4222-B86D-3D4E79F11989

Hannah from Baggott Farmhouse

B35920A8-8658-430A-9F30-0D620513E162

I hope y’all have enjoyed our Spring DIY Hop! I can’t wait to check out all of the beautiful spring DIY’s!

21874697-BBAF-4982-9947-3E847DC5FC4F

DIY Baking Soda Paint Ornaments

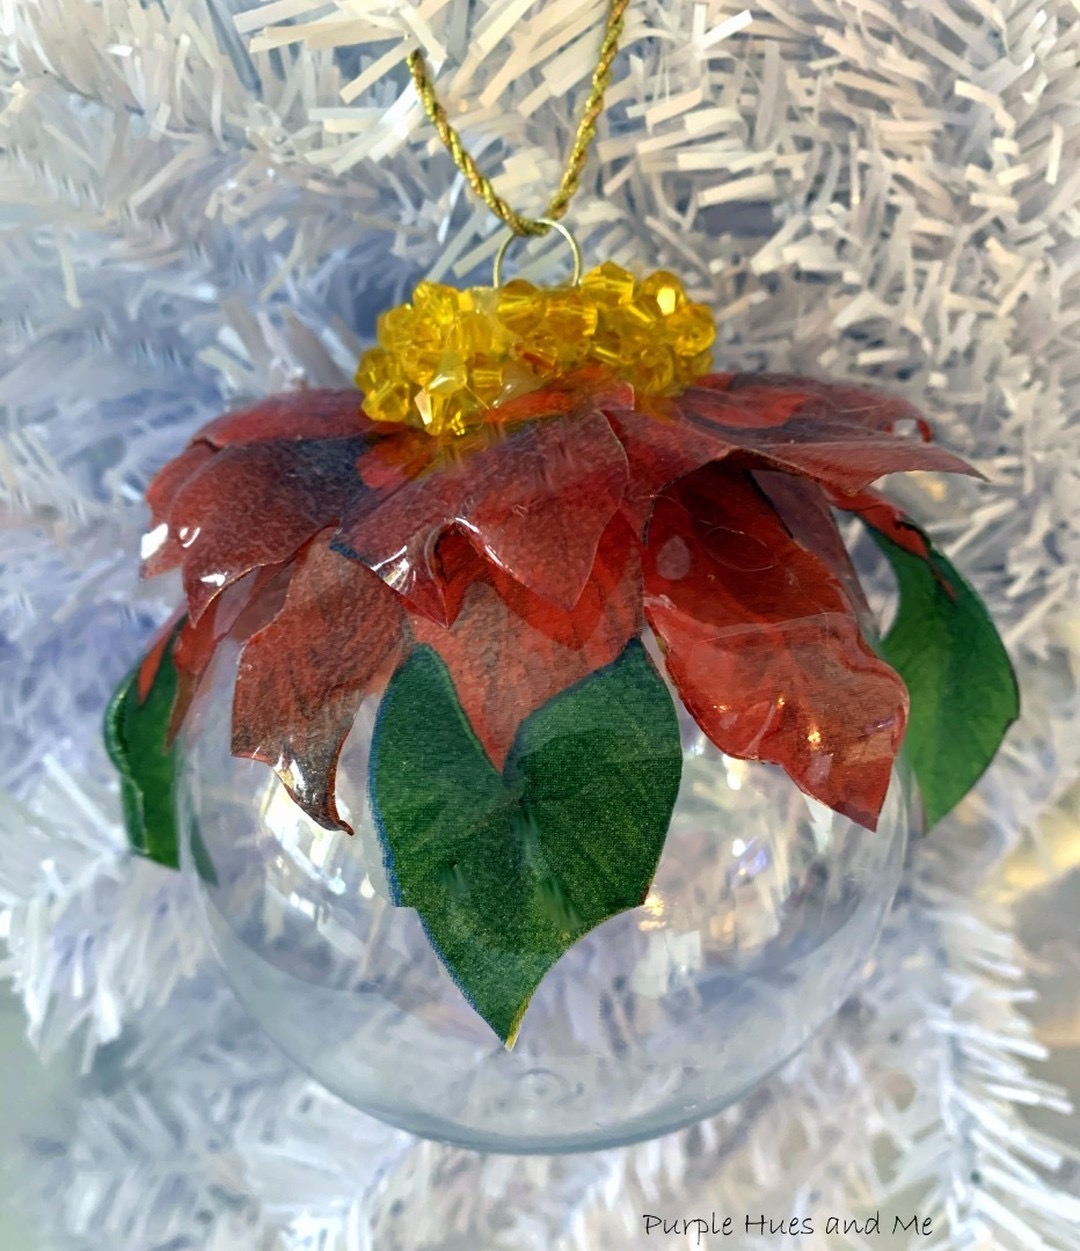
Today, I’m hosting a fun DIY Ornament Challenge! Don’t forget to check out the other bloggers, at the end of my blog!!

DIY Christmas Ornaments have commenced! It is something I look forward to every year and I think I may just make this an annual Christmas tradition on my blog!

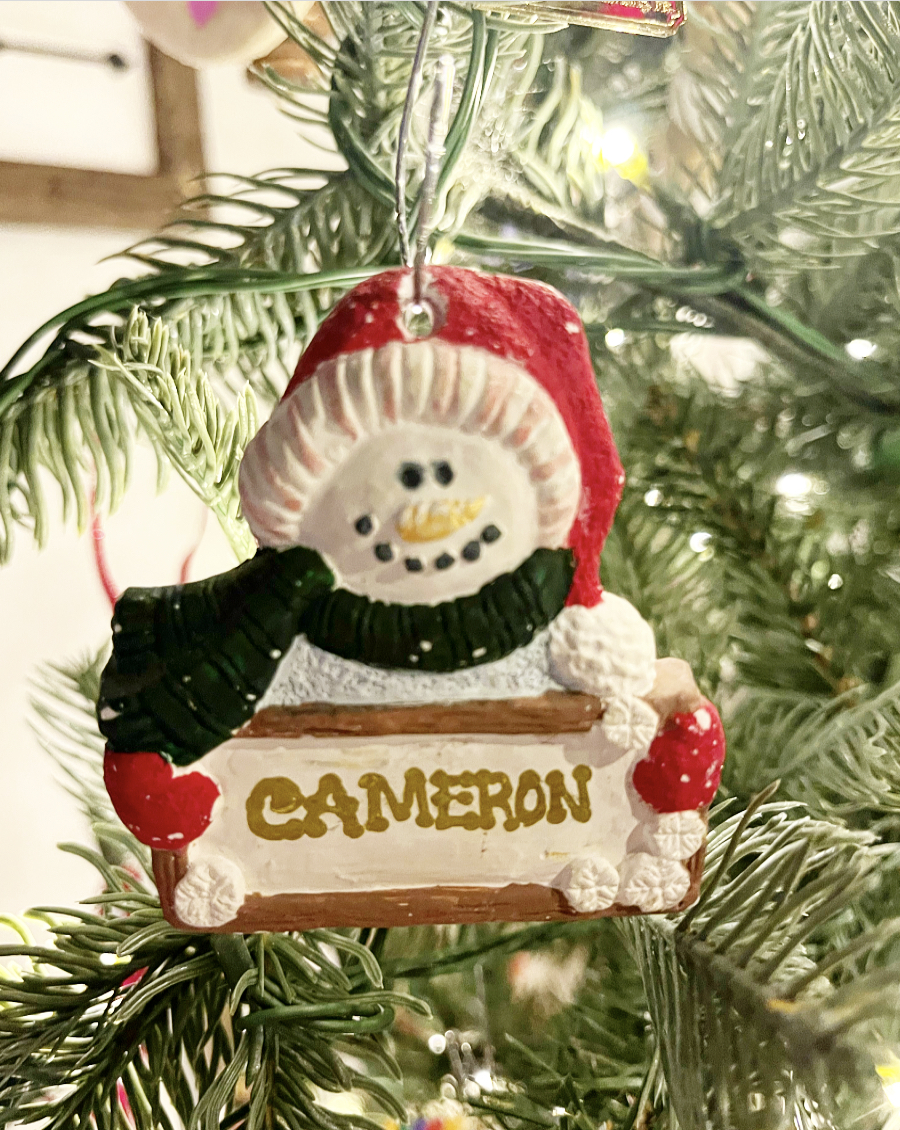
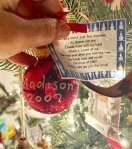
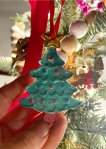
Over the years, I have made DIY ornaments, almost every Christmas! Sharing my first DIY ornament below as a child and also sharing my DIY ornaments that I’ve made throughout the years with all four of my daughters.

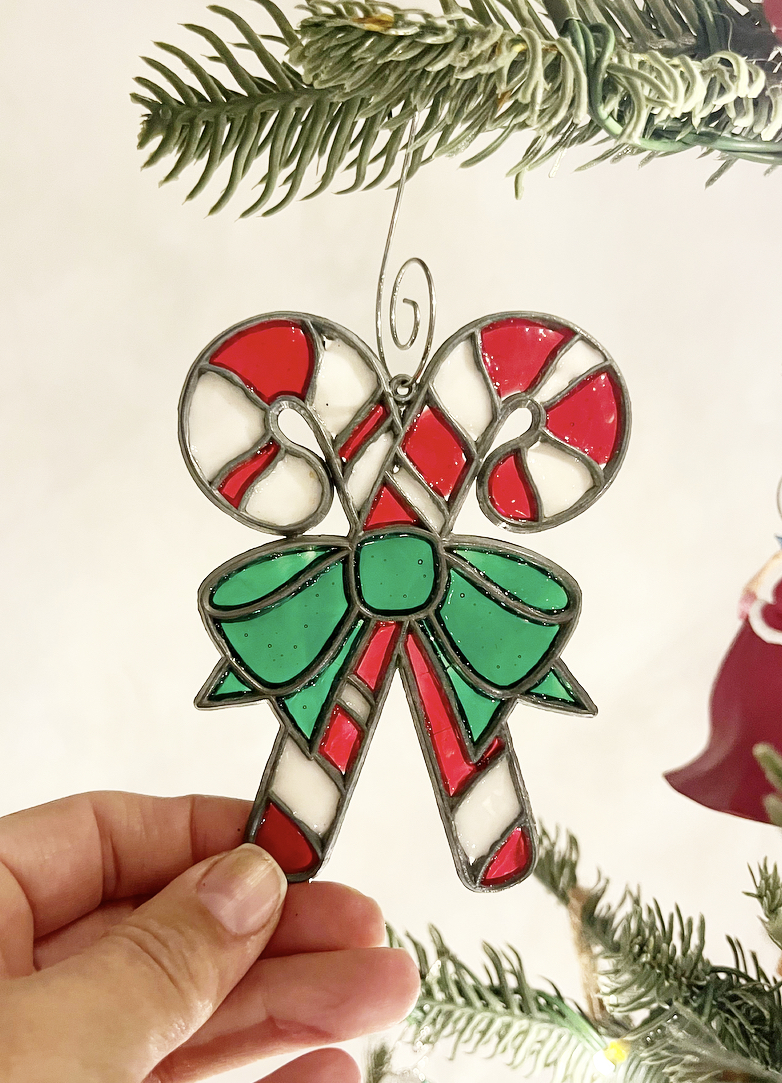
I think my love of diy actually started with my mom. I always remember opening her linen closet and just looking at all of her DIY craft supplies! One year for my birthday, I had a few friends over and we made DIY stained glass ornaments. Still hang those two ornaments on my tree, every year.

I started making ornaments to be frugal in the first years of our marriage. I enjoyed it so much, I continued almost every year, for the past 25 Christmases!

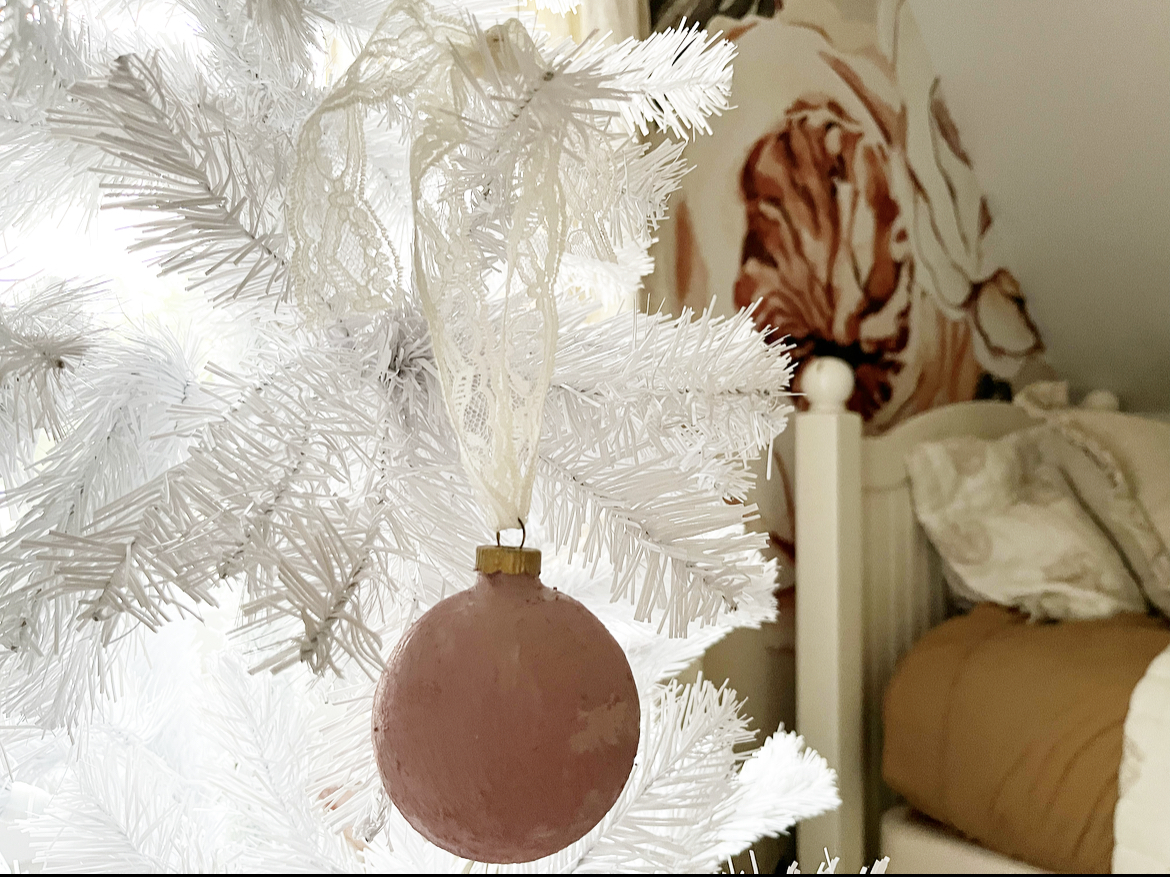
This year, I decided that my youngest two daughter’s Christmas tree ornaments needed to coordinate with their room more, so…I decided to test a couple ornaments with my diy baking soda paint!

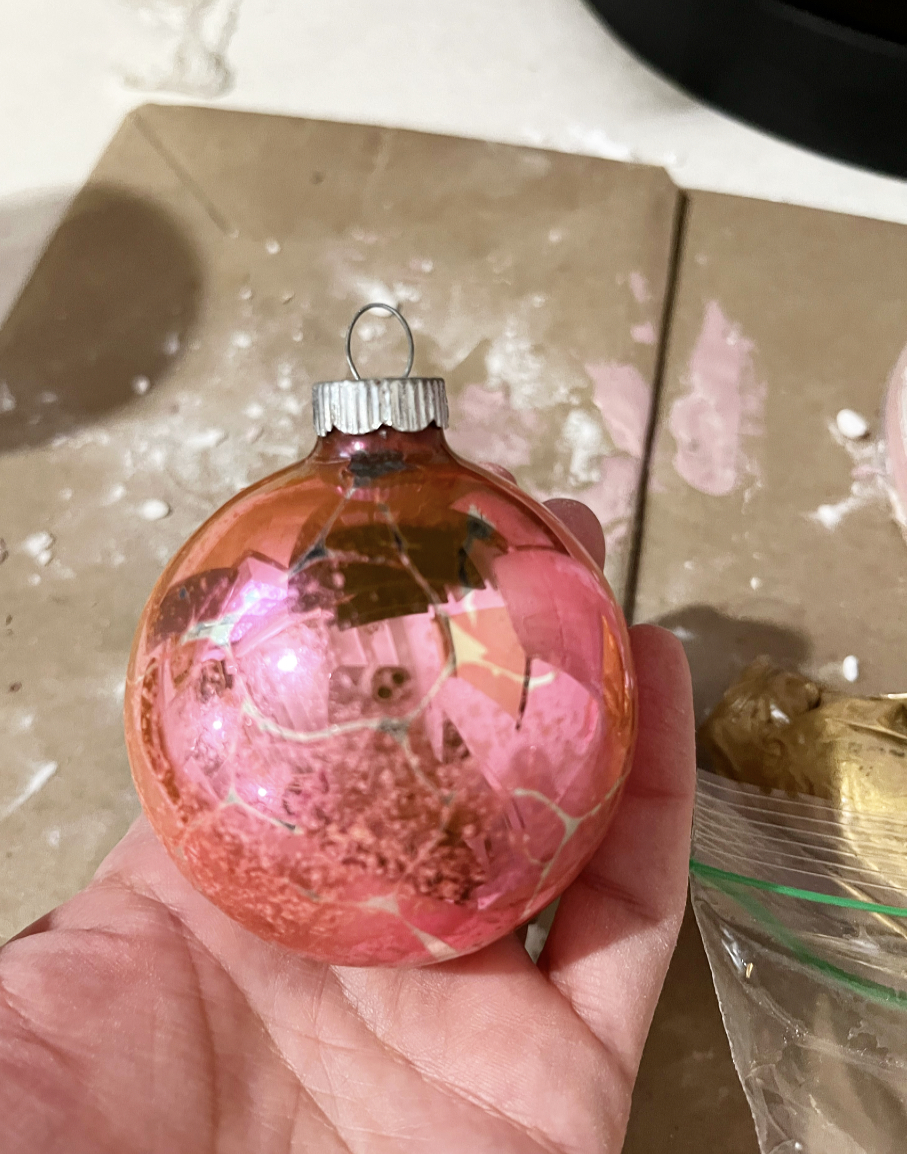
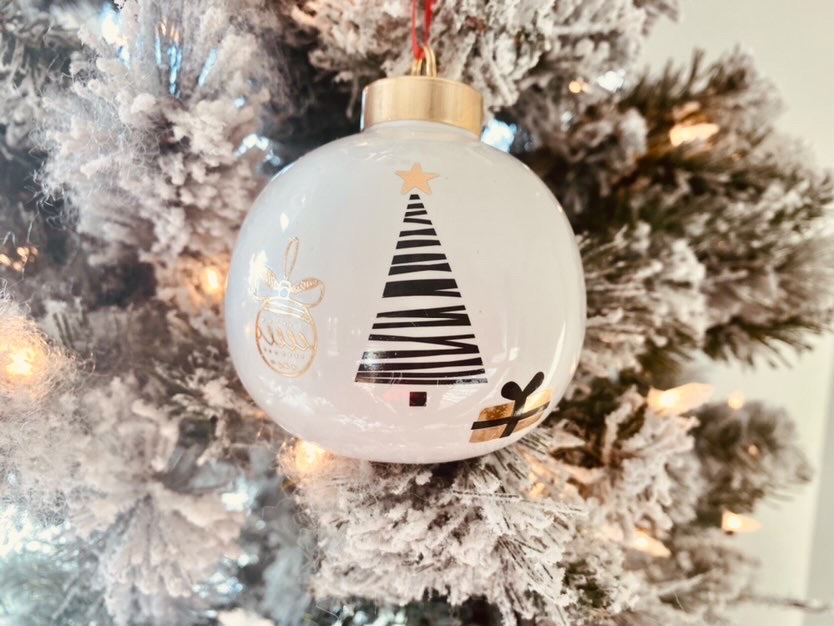
I started off with some vintage ornaments that I purchased from my friend, Sarah, who owns a small shop, Sweet Cards Shop.

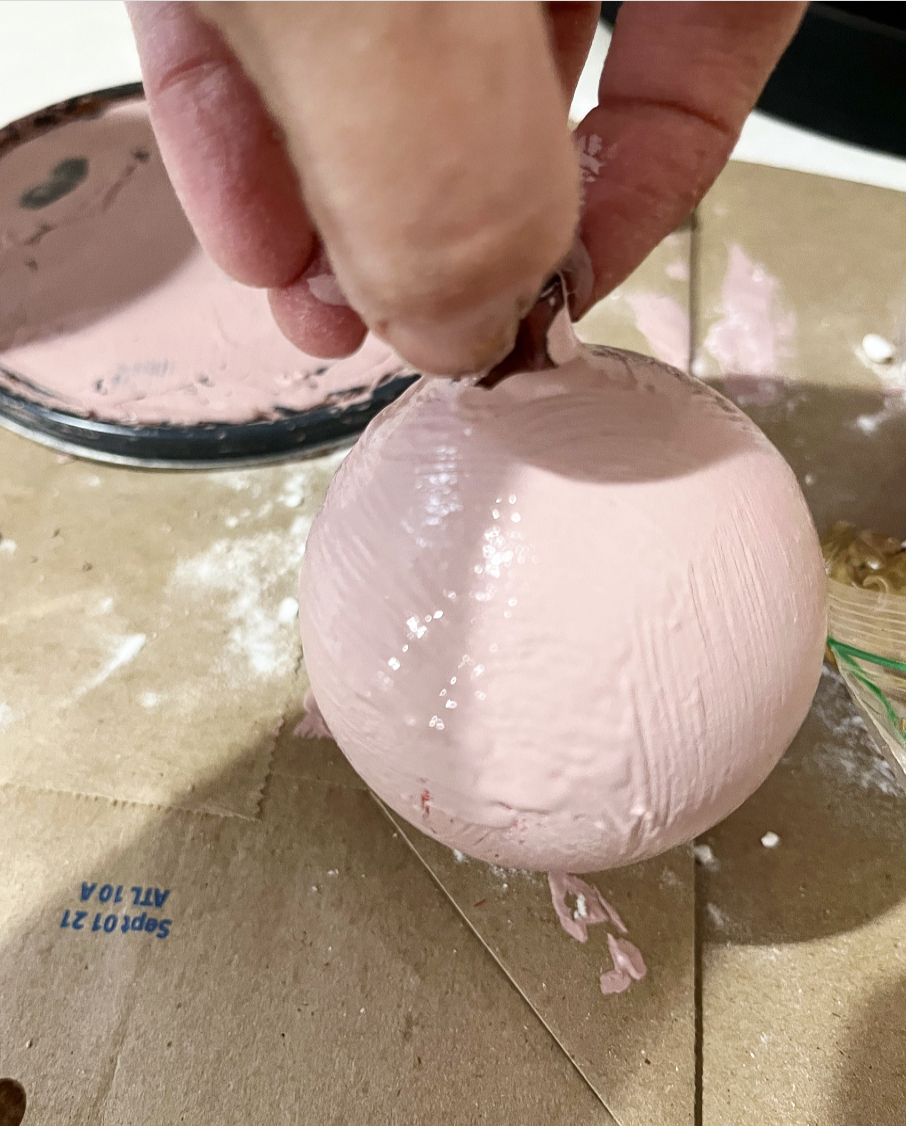
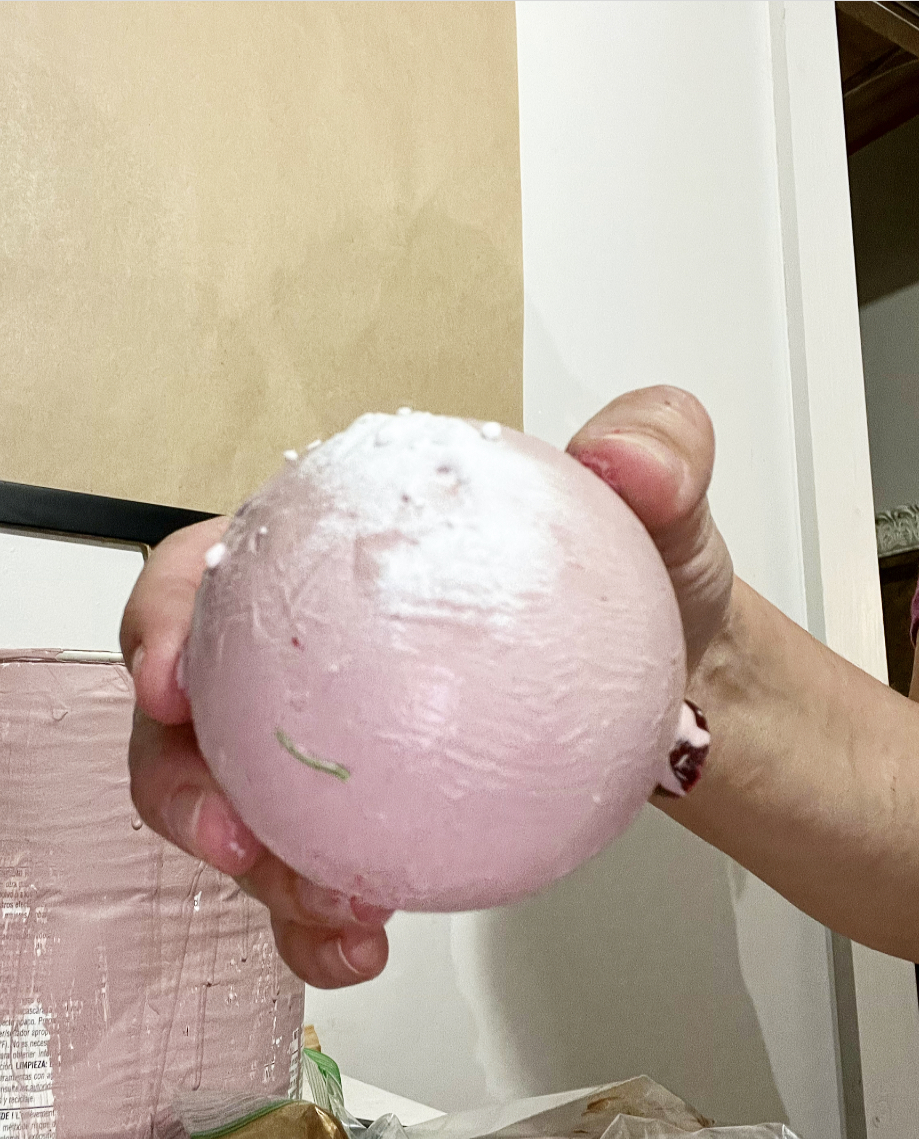
I decided to use Sherwin Williams Orchid to paint on the ornaments as the base coat.

Next, while the ornament was still wet, I added baking soda, sprinkling it on and kind of tapping the paint brush around with the baking soda. If the bright pink started showing through, I just dabbed on a bit more paint! If it doesn’t look good, just wipe it off and try again!

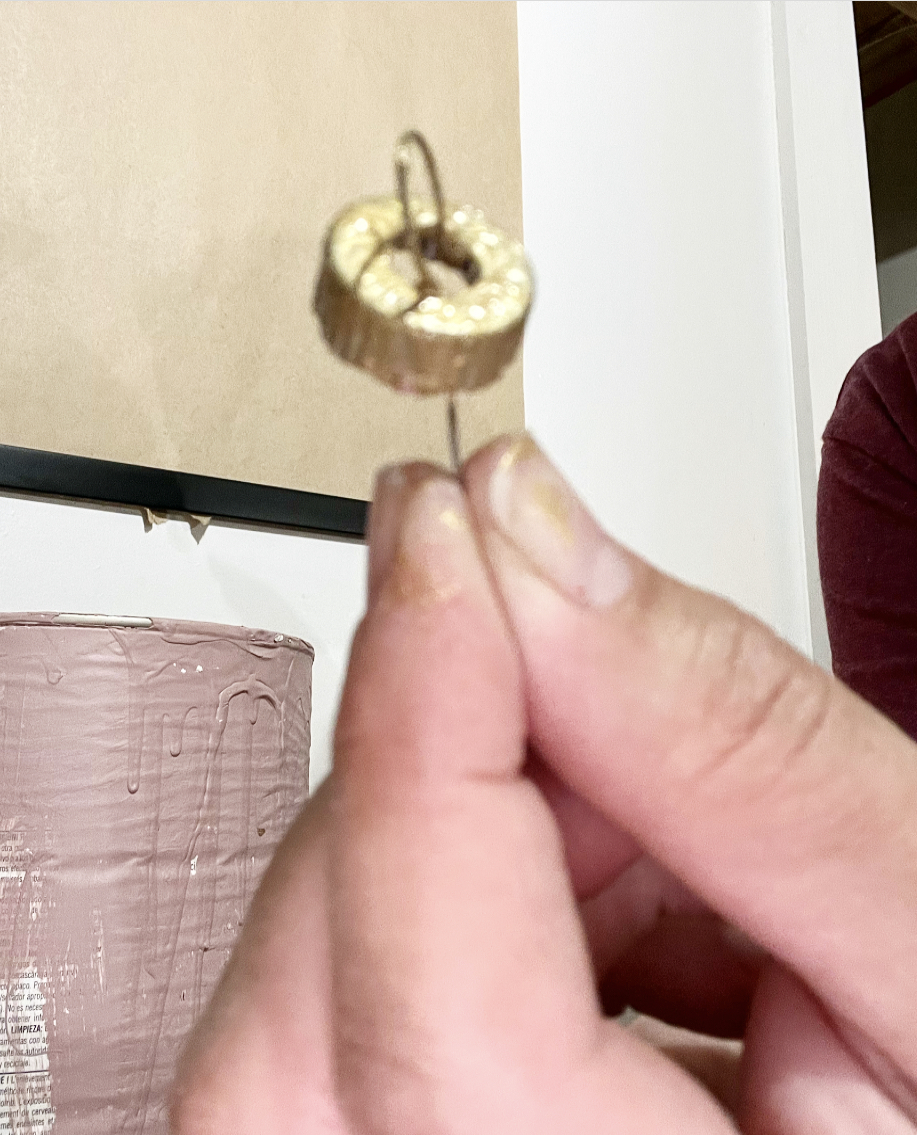
Next, I used some leftover gold craft paint, that I had left over from our Barndominium Dollhouse, to paint the ornament cap.

Hang with a vintage ribbon like me or a velvet ribbon would be pretty too! So simple and fun to add to your Christmas tree this year! Customize your color, based on the colors you are using for Christmas this year! I bet you have left over paint that you can use too! I chose this color because I wanted it to coordinate with their room!

I hope y’all enjoyed our DIY Ornament Challenge this year! Please check out my blogging friends to see the Christmas ornaments they have created to share with y’all!

DC25F582-AAFC-4917-A82F-0D8FC30ECE80

Gail from Purple Hues and Me

Jemma from At Home with Jemma

8D252360-A765-412E-9E01-421C1421D925

Denise from Hootshack

Creative Ways to Gift Wrap for Christmas

{“This blog post is sponsored by Charleston Wrap. It reflects my personal views and opinions on the products.”}

Today, I am hosting, Creative Ways to Gift Wrap, along with three other bloggers! Creative holiday gift wrap is a great way to add your own personal touch to show the recipient that you care!

My gift wrap of choice is brown craft paper, along with Charleston Wrap!

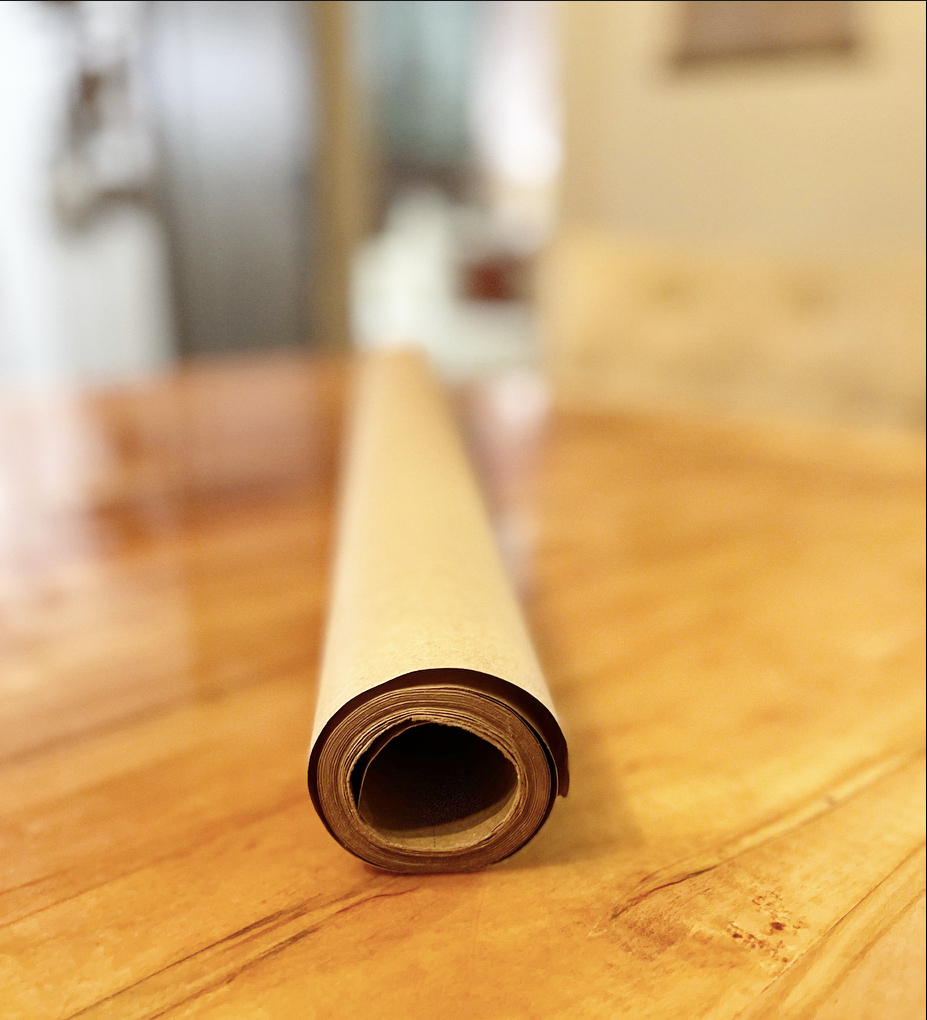
I am going to start with the brown craft paper. I actually have used brown craft paper, off and on over the years. When my oldest two were younger (now they are both married) and I was trying to find a more frugal way to gift wrap, I remember finding brown craft paper, at a craft store, in a huge roll!

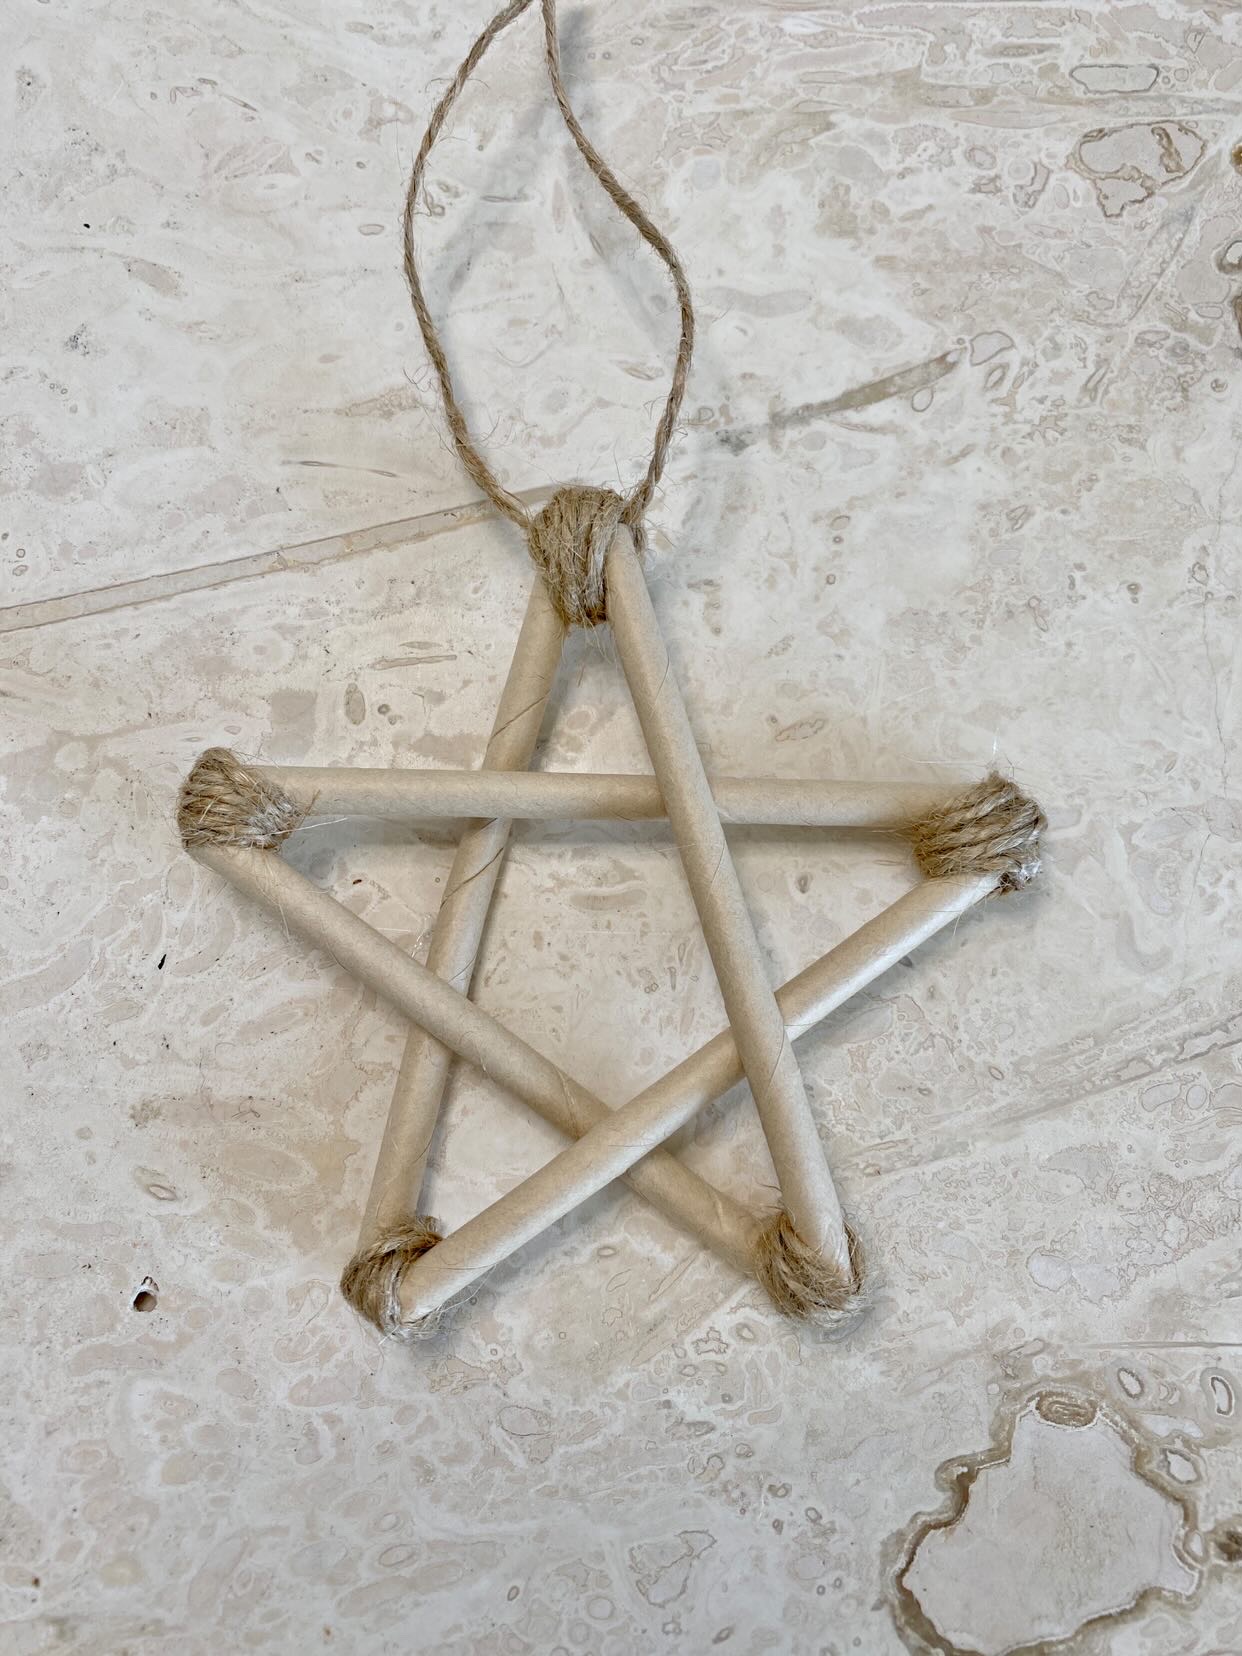
This year, I am loving a more simplified home and the brown craft paper is perfect for simple! I love adding natural elements to my gift wrap, like dried oranges, greenery and jute! It’s also fun to add candy canes for the kids & handmade gift tags.

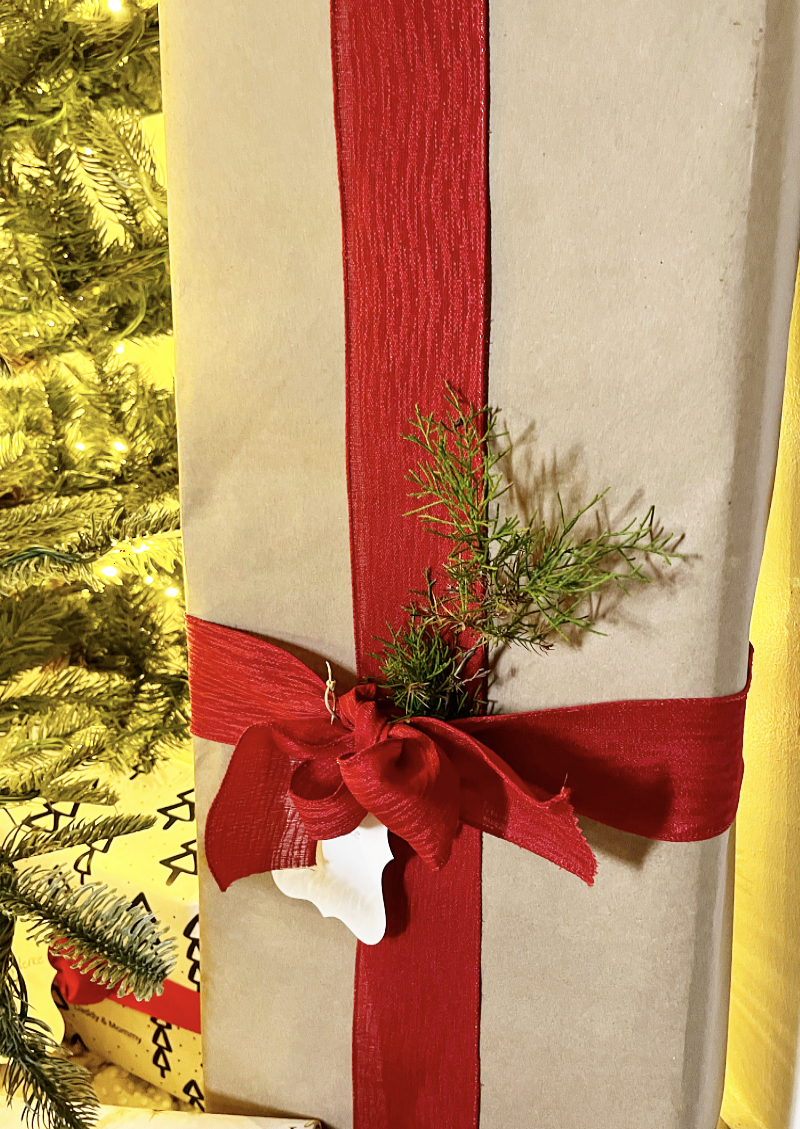
I decided to add red ribbon to the brown craft paper, along with some tree clippings of a cypress tree from our yard.

C1BCA0DD-0C0B-4BAC-BEB7-2E976487F3EA

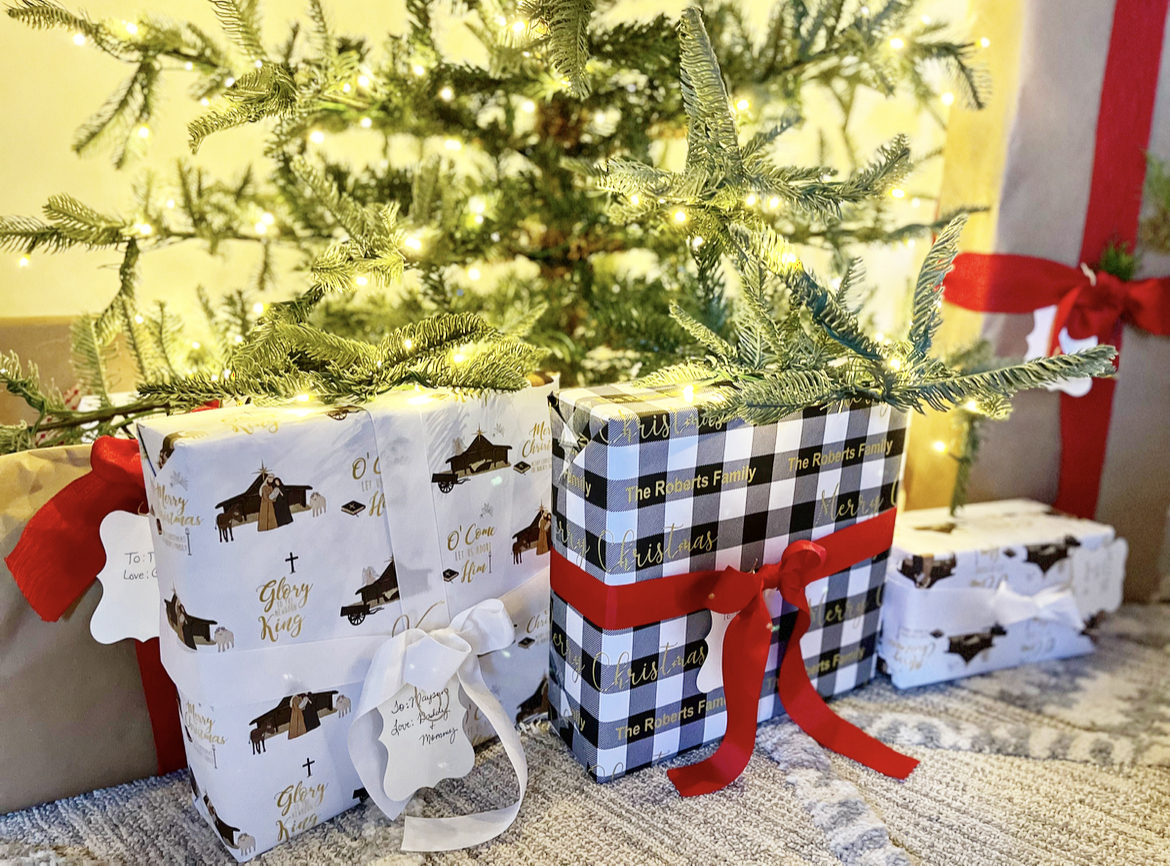
I decided reached out to the most beautiful gift wrapping shop, Charleston Wrap. I received so many beautiful wrapping papers and they even have personalized gift wrap and tags!! Don’t forget your ribbon because they’ve got you covered!

D9792F89-0499-4B46-B12B-BBDA027A4E93

I got the cutest personalized wrap for our grandbaby, that says “Love, Poppie & MeMe”, along with several others! I paired their wrapping paper with several of their grosgrain ribbons which compliments the gift wrap, beautifully. We are gifting one follower on IG, a chance to win $100 from Charleston Wrap. Check it out HERE.

1C5EDD81-E536-44B4-BF9C-03AC27C02D7B

I hope I have inspired y’all for the upcoming Christmas season! Head on over and check out the other bloggers to see what they’ve come up with to Creative Ways to Gift Wrap for Christmas!

At Home With Jemma

Purple Hues and Me

Baggott Farmhouse

Barndominium DIY Flooring

99859B31-0917-4D8B-82EA-ED031B09FB1B

{“This blog post is sponsored by Select Surfaces and reflects my personal views and opinions on the products.”}

E69B14A6-C1A2-453F-898C-B3C9CD1B06B7

Flooring is the largest scale of surface in your home and picking the best type of flooring for your space depends on your budget, lifestyle and personal preference.

2E7B38A7-3A14-4DC7-A616-0842C9119D6C

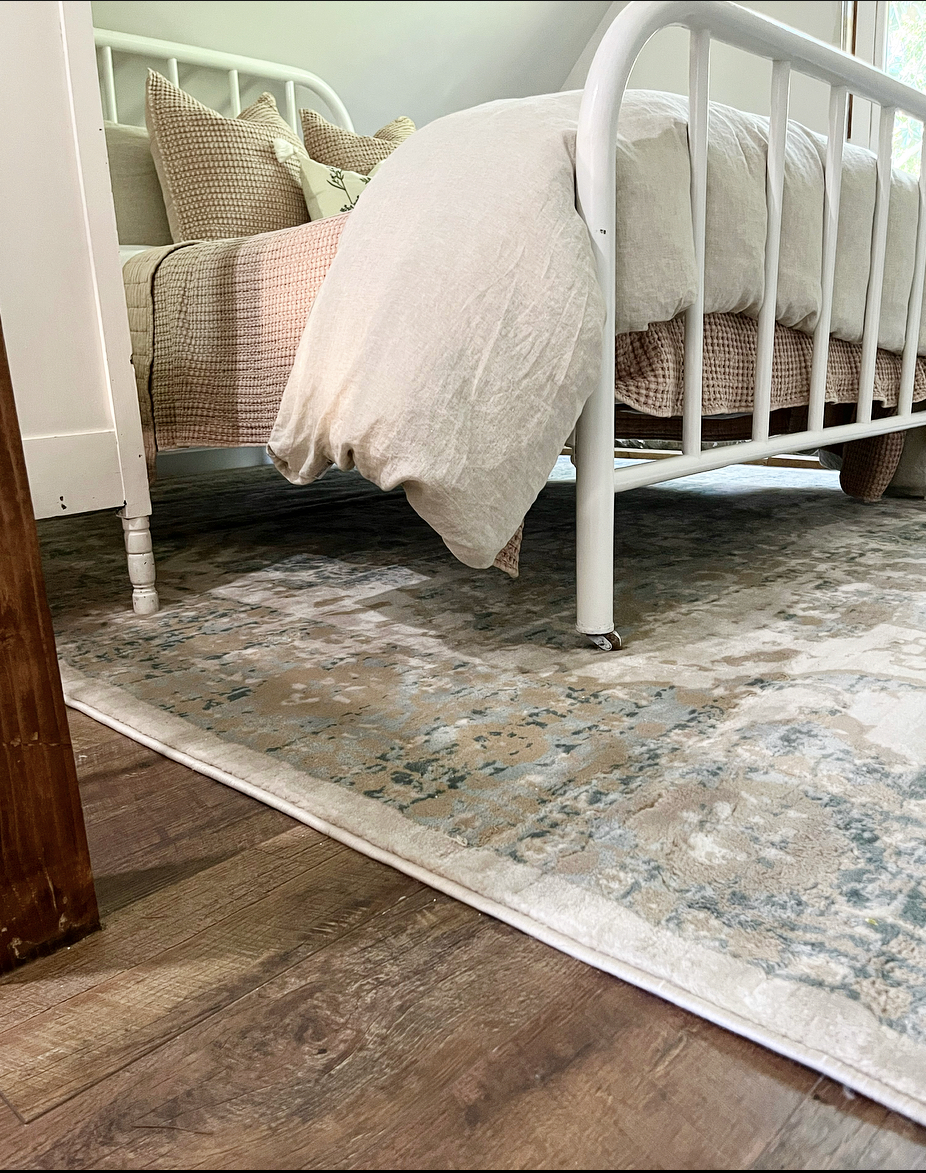
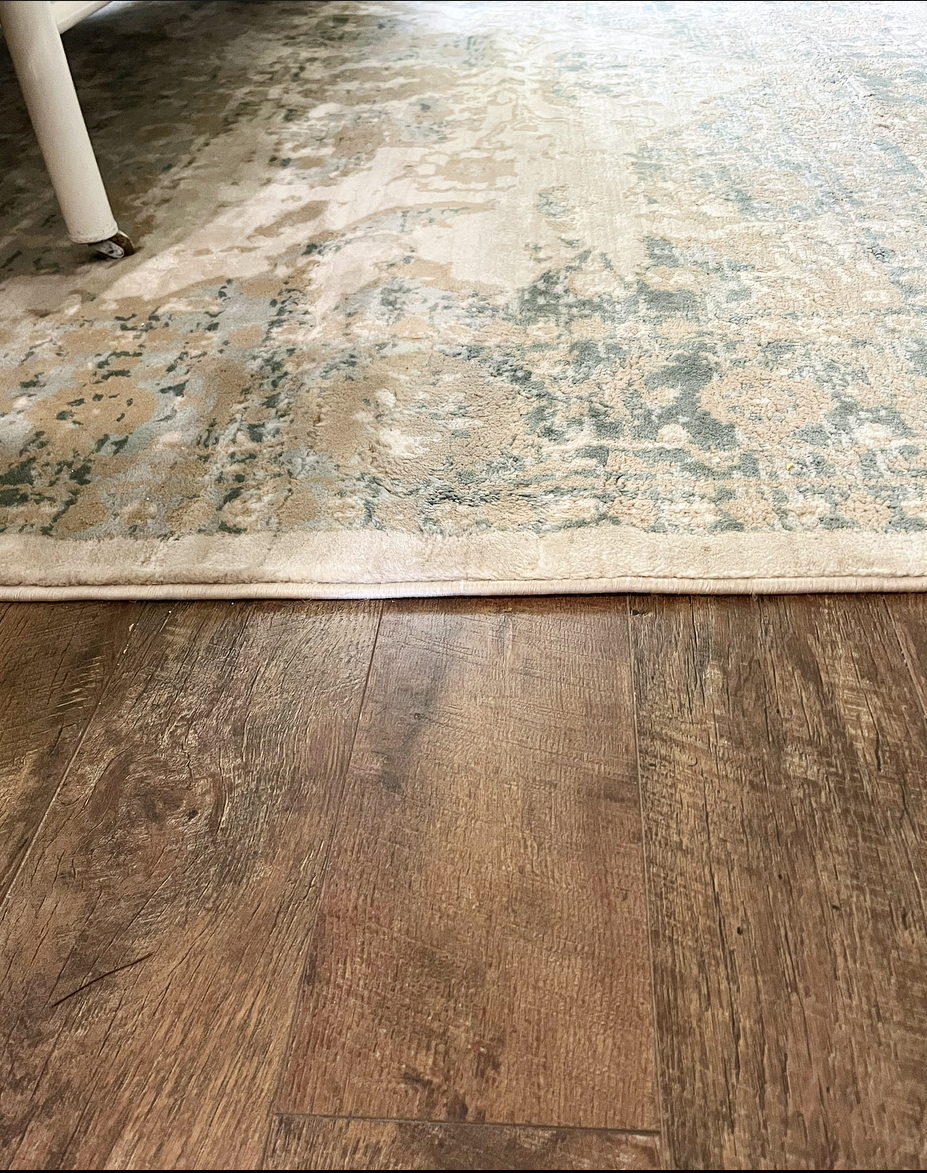
When we decided to self-build our barndominimum, we knew we wanted a quality flooring that could withstand the test of time! We loved the look of wood and wanted a product that was durable-with kids, pets and everyday life messes!  

There are so many choices when it comes to flooring: concrete, ceramic tile, hardwood, vinyl, engineered wood, laminate and more!

3DC8A318-90CB-4202-927A-67CA5E86F723

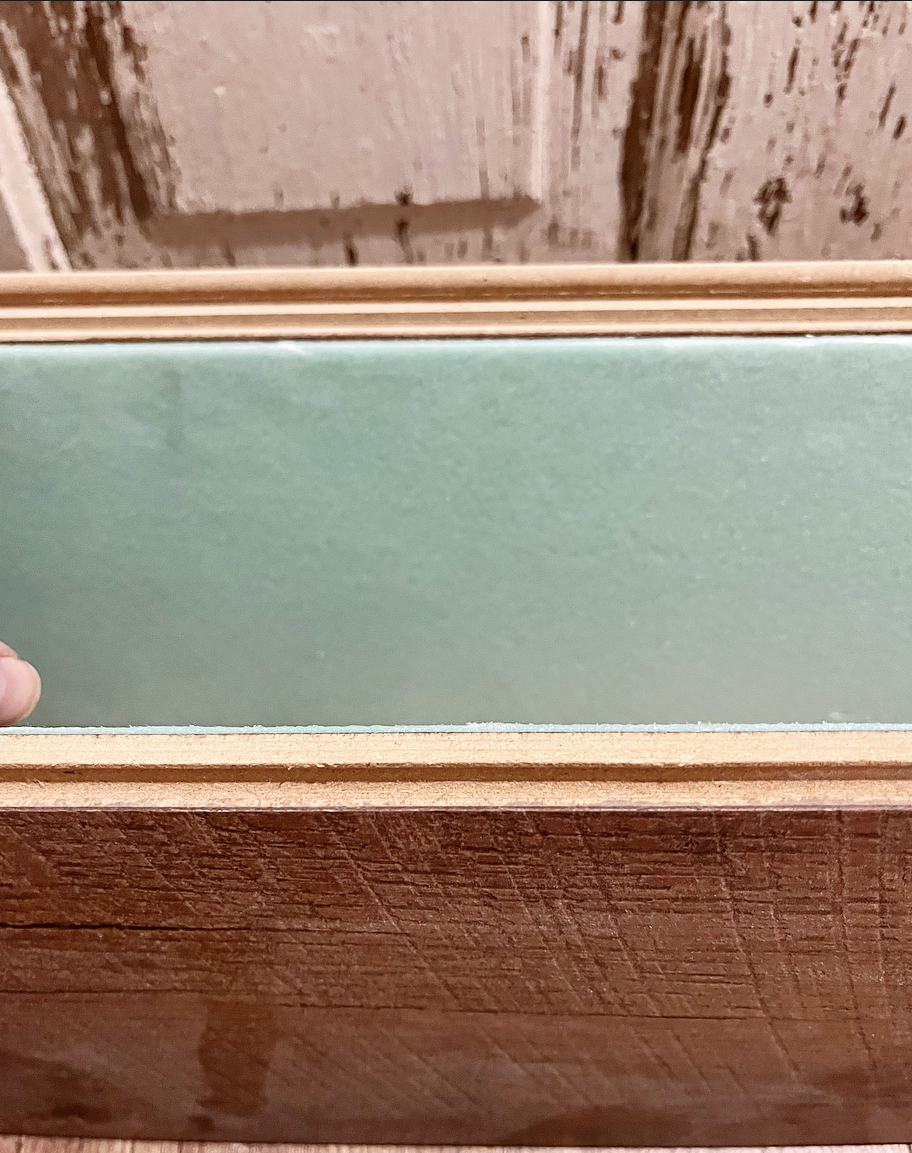
When we saw the Spill Defense Collection of flooring from Select Surfaces, at Sam’s Club, we were sold! The laminate planks in the Spill Defense Collection have a tighter seal, than regular laminates, making it spill resistant for up to 24 hours!! Perfect for families with kids and pets! The laminate planks also are low VOC’s and responsibly sourced from certified forests. REENGUARD Gold Certified to ensure healthy indoor air quality  Perfect for our family! We try to live as chemical free as we can!

3E1EE048-A9BC-4EA4-A54C-6F8F2E49B5C1

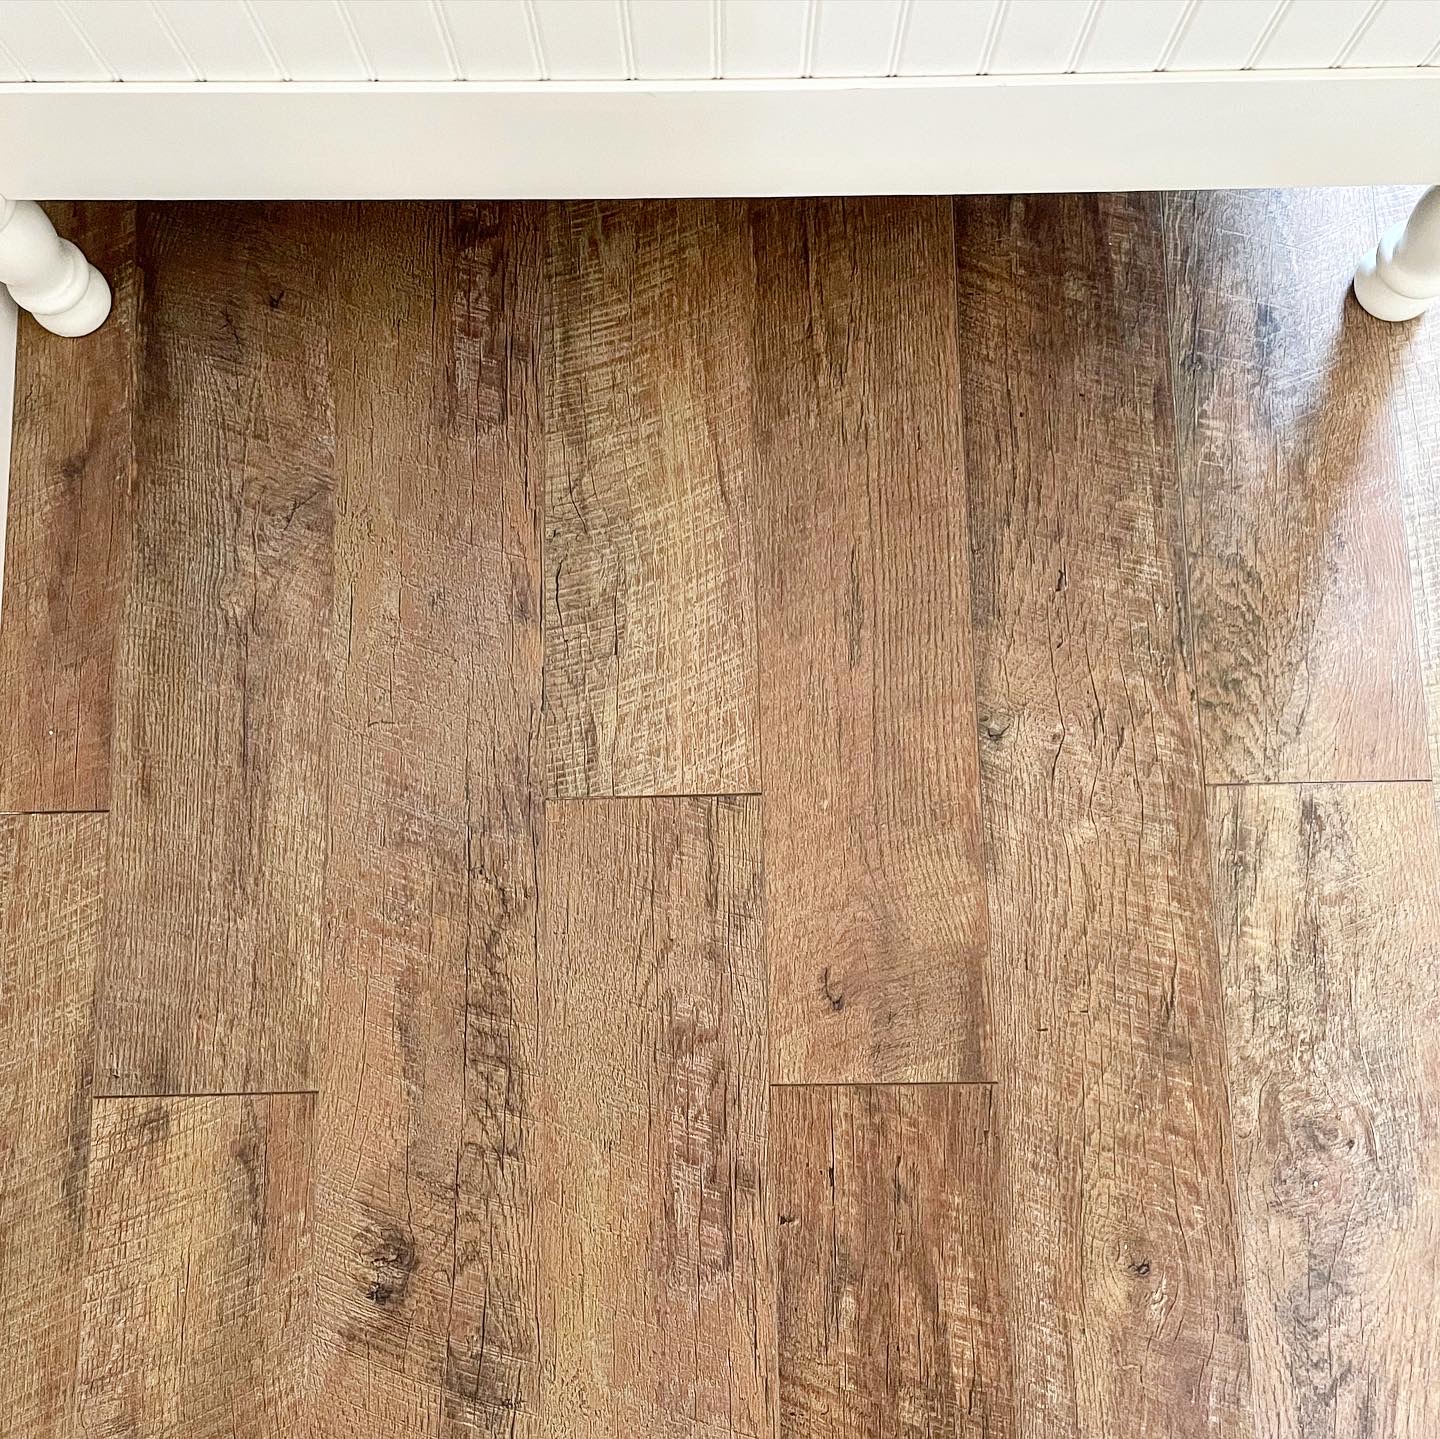
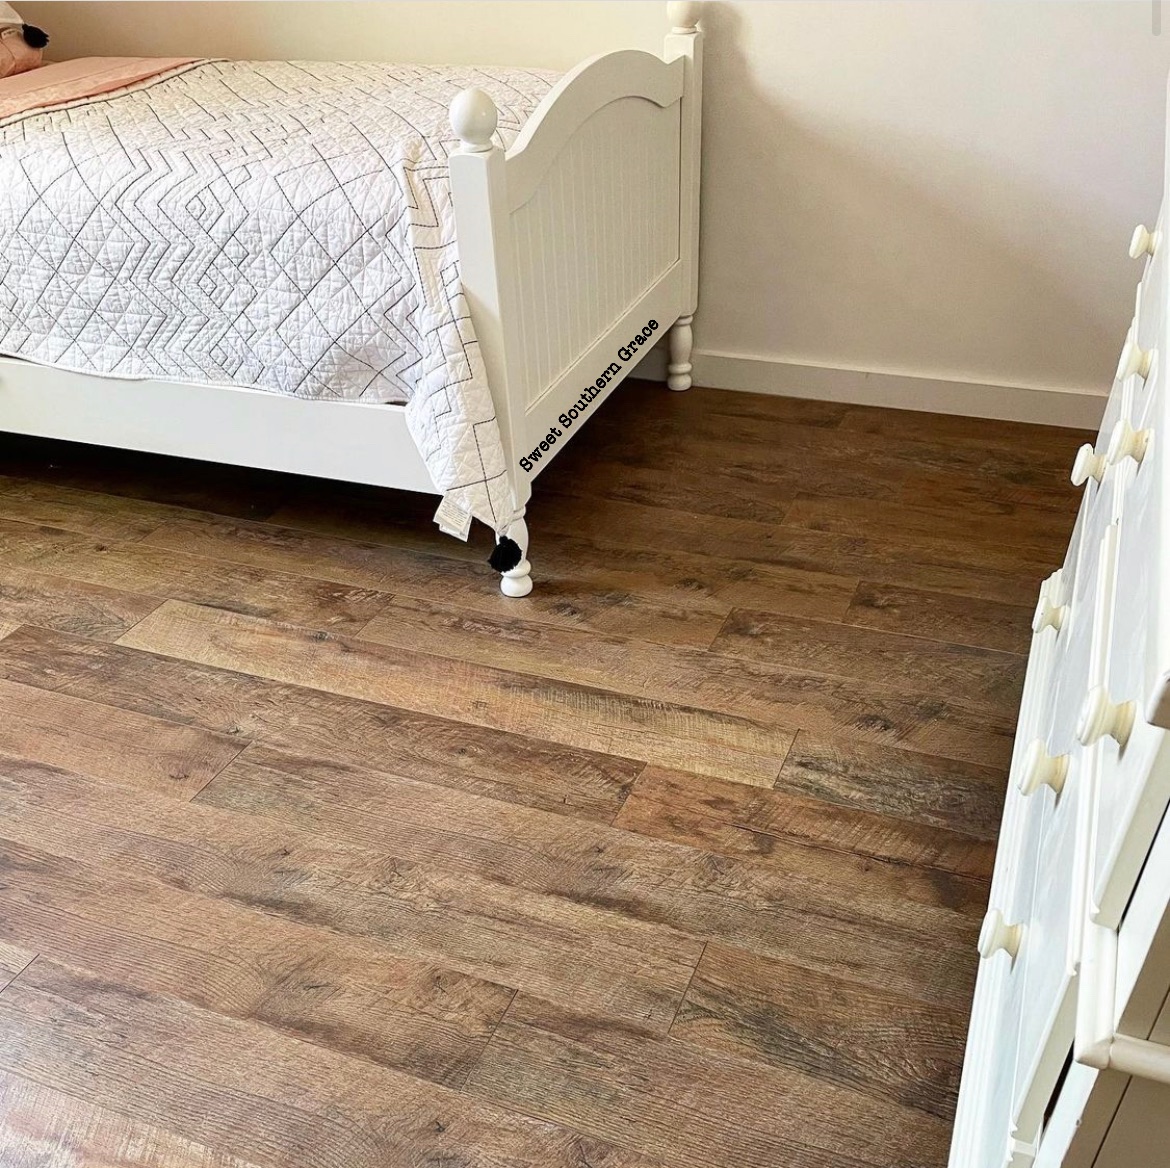
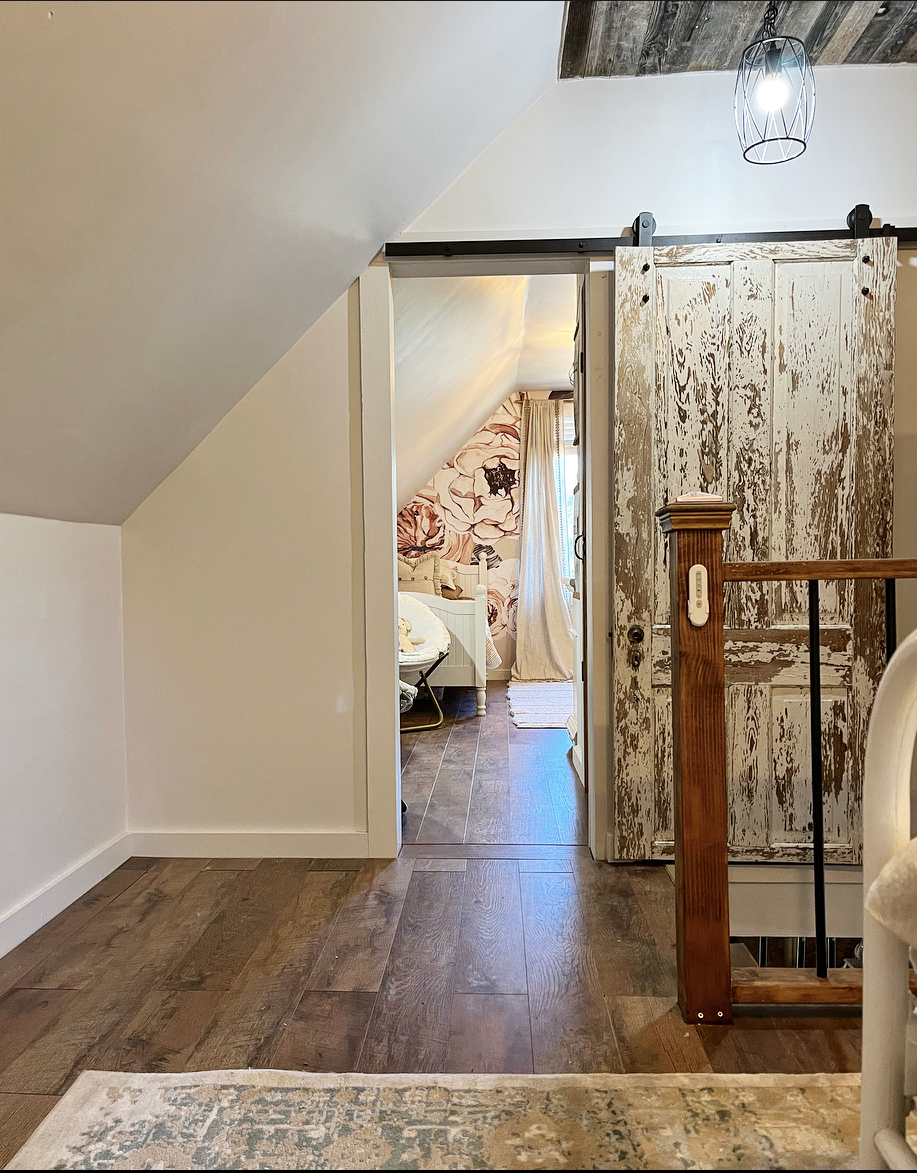
The color choices are all beautiful which means there is something for everyone’s style! Our whole family fell in love with the Barnwood color!! Barnwood is a medium-toned wood color, with natural looking shade variations for an authentic barnwood look. Each plank also has natural looking texture and realistic saw marks that further lend to the authentic barnwood look. Everyone that visits our home, loves the flooring and asks if its real barn wood!

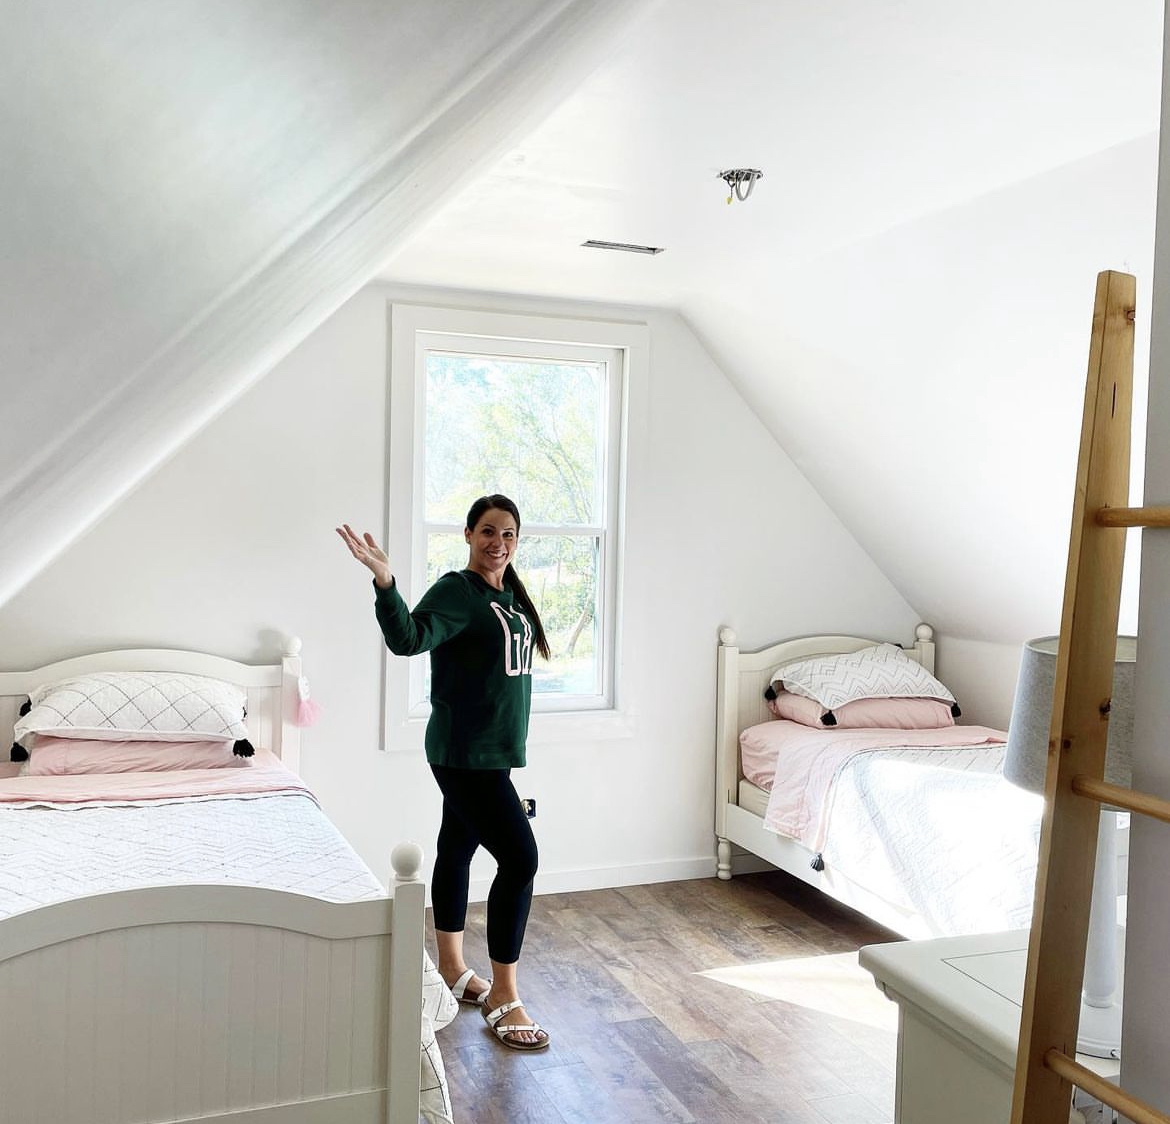
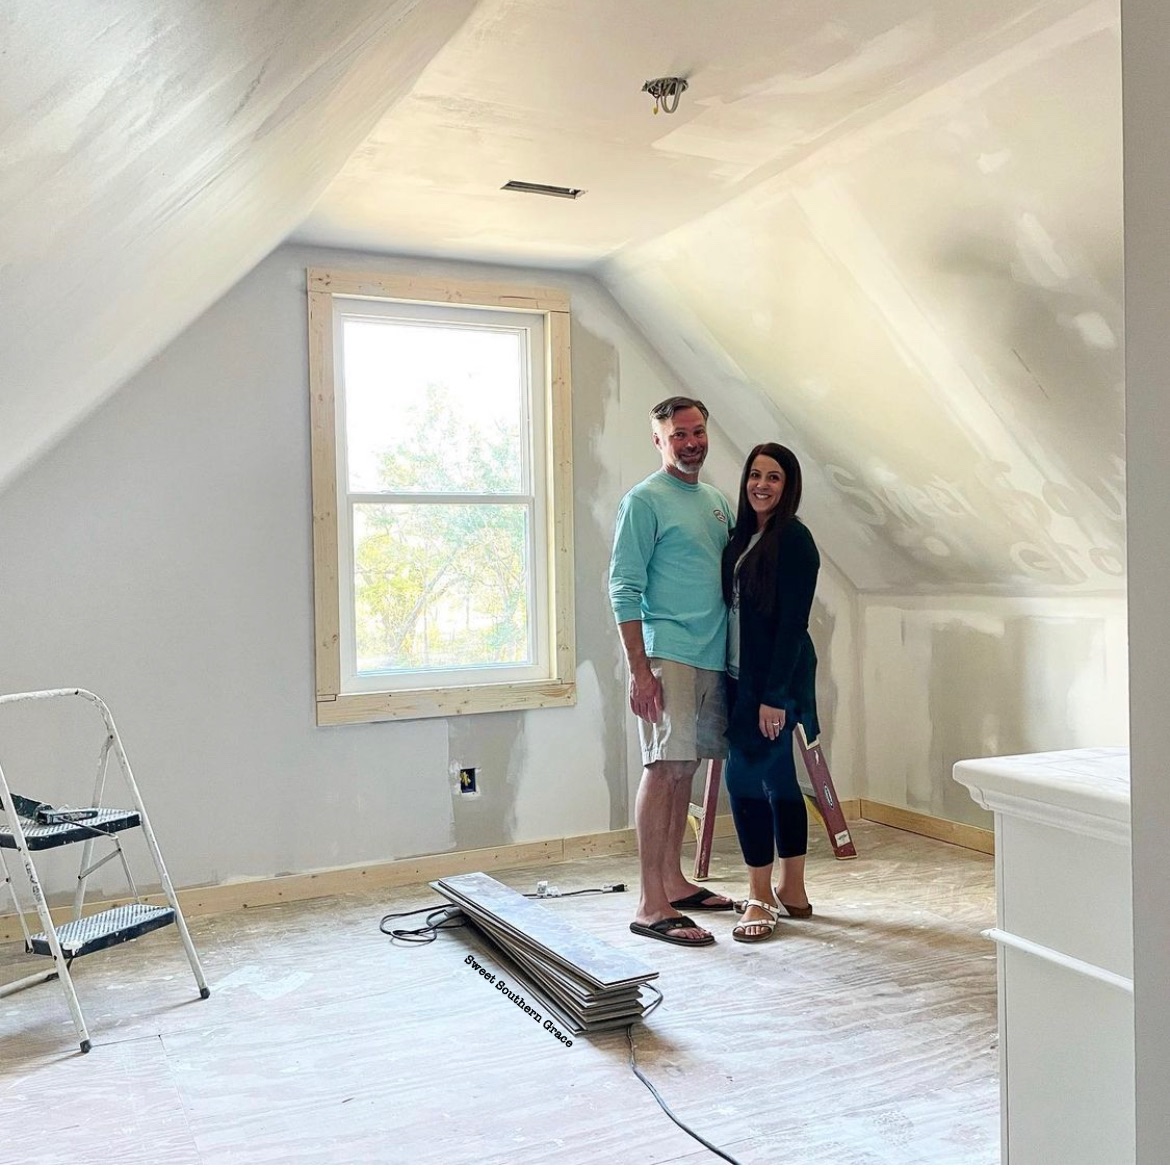
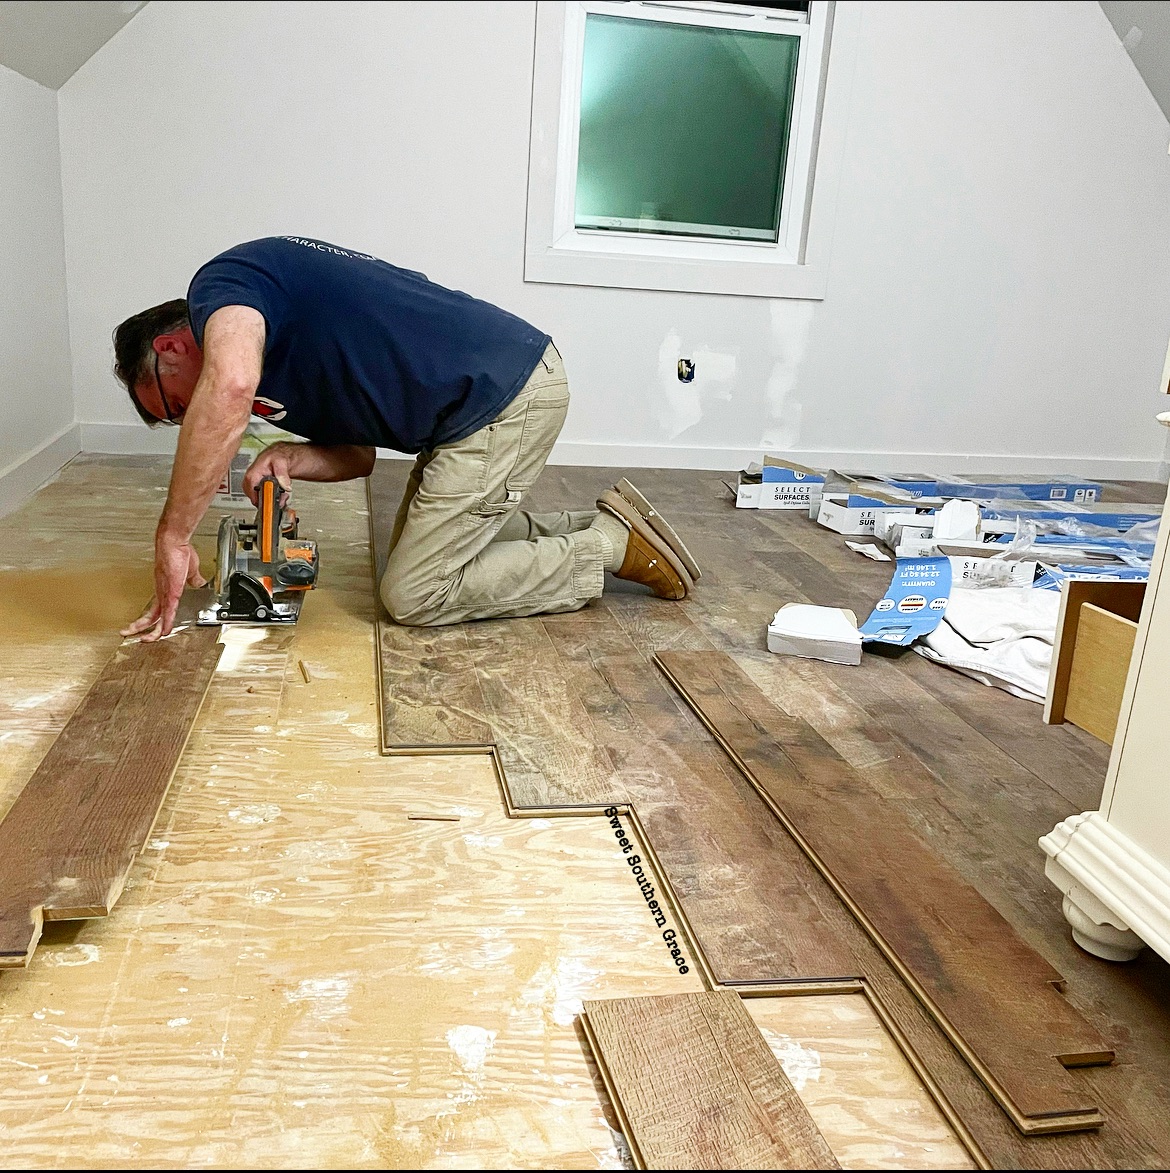
Before

E4C03B27-DD2E-4E3E-AC68-C0FB6486BB29

Before installing, we checked out the installation guide which is available on the Select Surface website Installation is SUPER easy!


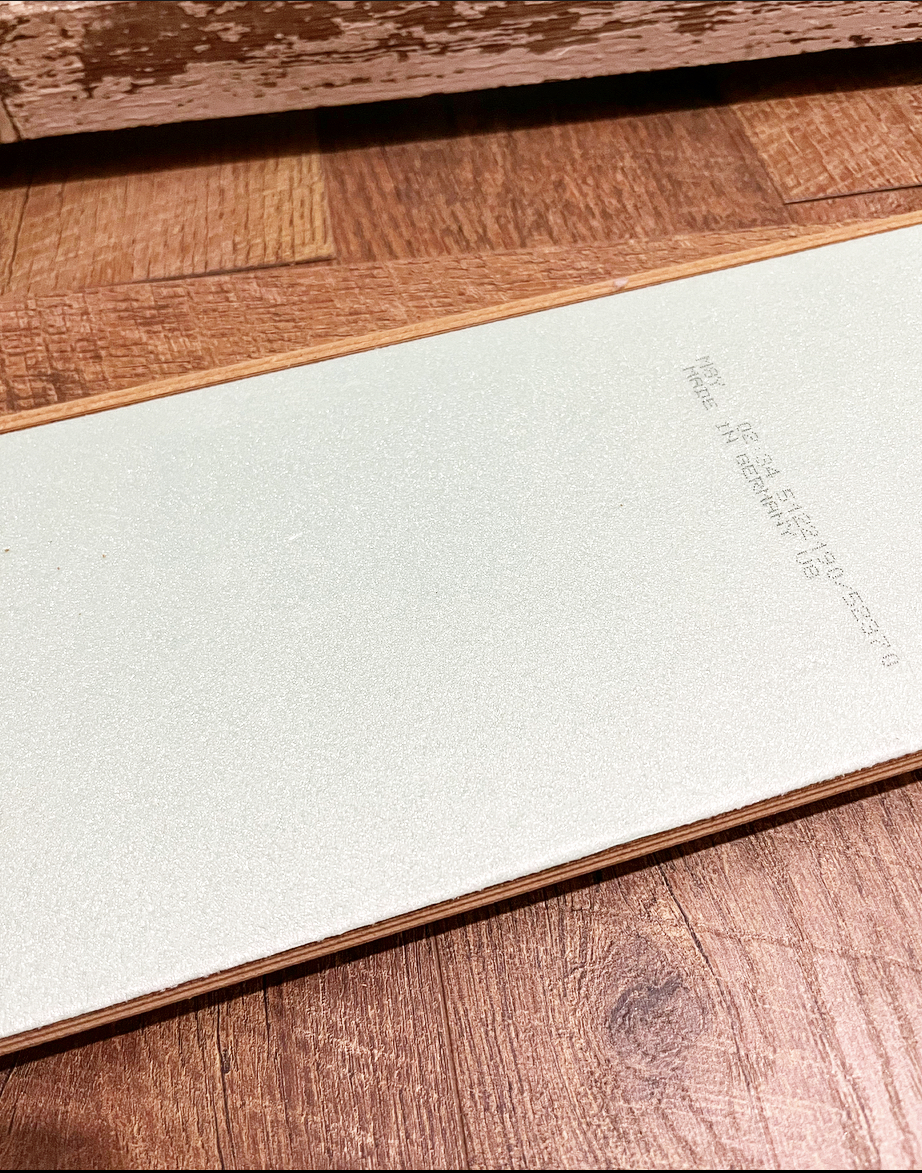
Each plank comes with the foam backer attached- which means one less thing to install! Select Surface Flooring has an easy to install Speedloc system- no special tools needed to install it.

Just line up the tongue and groove portions and click, jiggle-wiggle into place. All you need to do is make cuts as needed to fit your space.

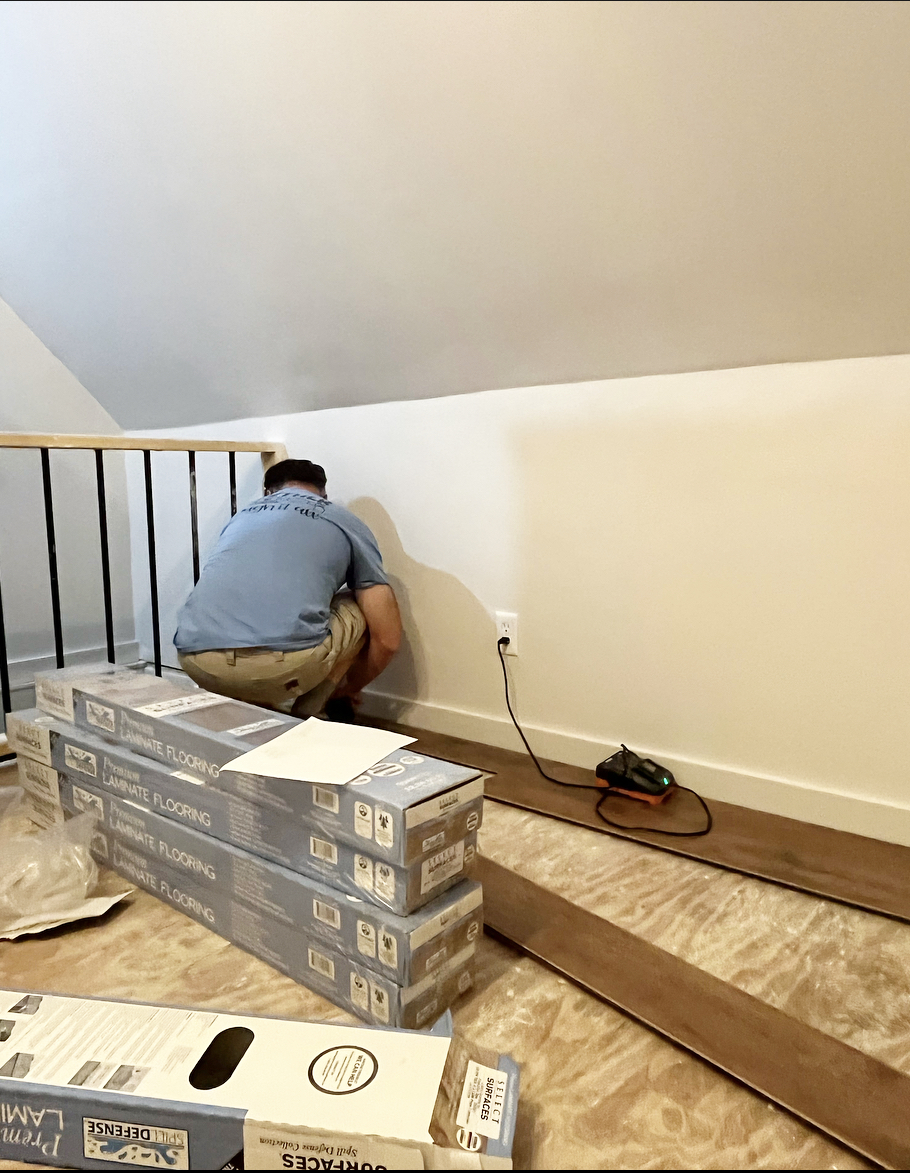
During

B6E6CE78-6C5E-40DA-B53C-F98AB539379F

For the installation in our barndominium, we followed the steps below.

  • • Cleaned sub-flooring .
  • • Added baseboards .
  • • Painted & caulked baseboards.
  • • Install flooring per manufacturer’s instructions.
  • •Installed transition strips.

A7928990-284A-4A49-A95F-00A45AD07326

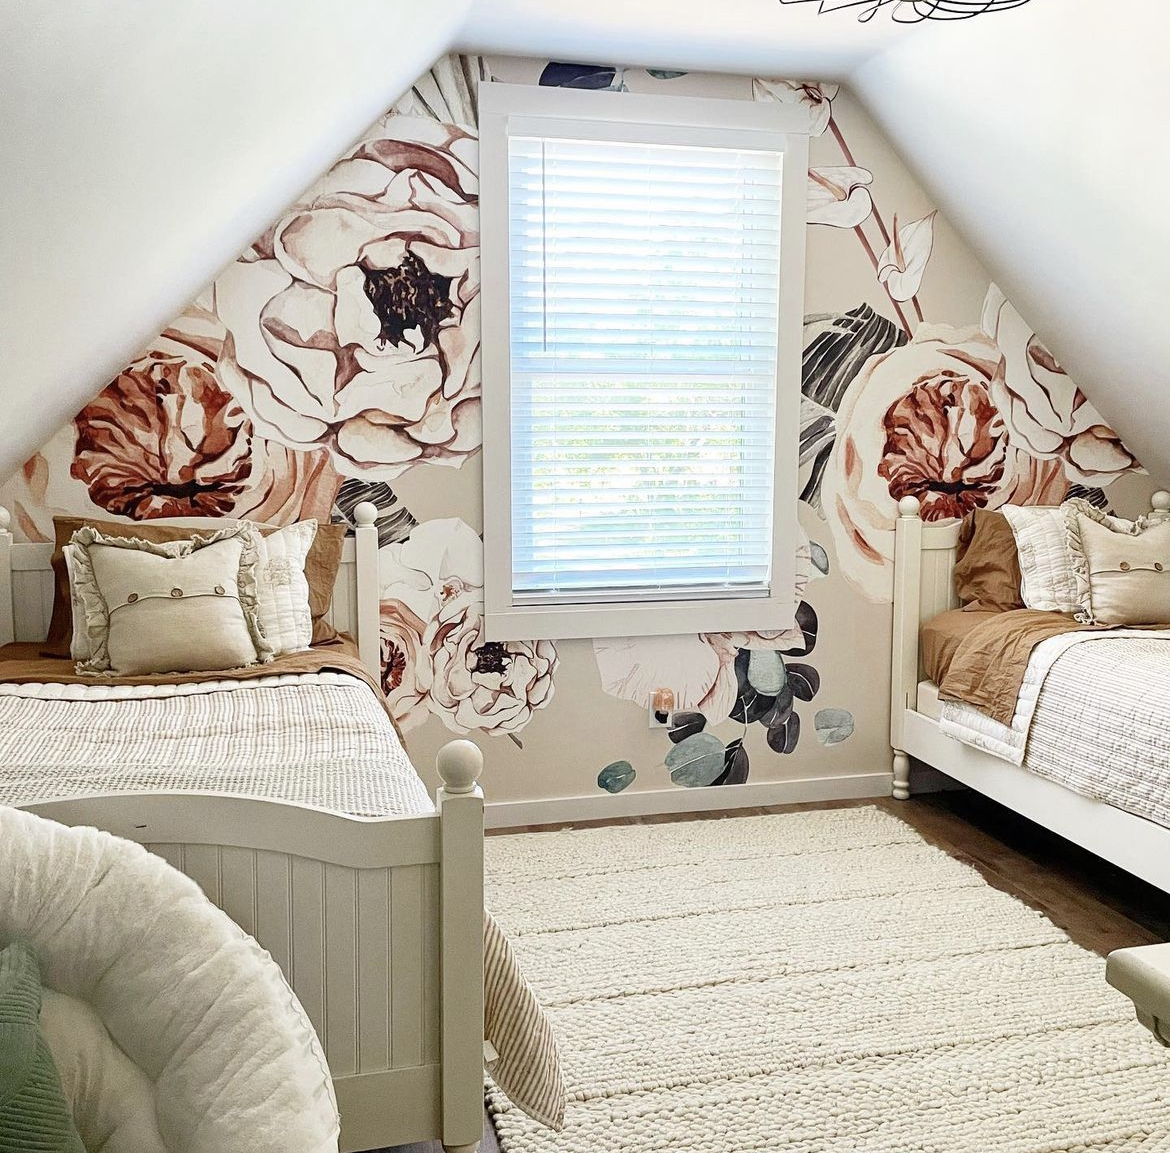
After

C08CE252-992E-41E0-86F9-0B95B7465EB6

The Spill Defense Collection is easy, breezy to clean too! You can use a Norwex mop or a vacuum with a soft bristle brush attachment or a broom!

3DC8A318-90CB-4202-927A-67CA5E86F723

Select Surfaces has beautiful flooring with a warranty to stand behind their product! The Spill Defense Collection comes with a limited lifetime warranty for residential use.

It’s designed to resist fading from sunlight and UV rays. It also will resist moisture for up to 24 hours and is designed to not stain or wear through. The seams are also designed to not unlock under normal use conditions. I was surprised at how hard it is to scratch the flooring so it’s super durable for our family!

D033B16F-9C5C-4700-BF0F-AAFF36CF6611

If you’ve been wanting to update your flooring in your home and are looking for a durable, spill resistant, easy to install flooring, be sure to check out the beautiful selection from Select Surfaces Flooring! Available at your local Sam’s Club!

5DFF0CDC-BBA4-47DE-846B-9F5198CF954B

As always, if y’all have any questions , please reach out! Come follow me on Instagram! We are self building and diy-ing on the daily!

C50E3318-D4DF-4C1C-85AB-9E50C886F933

Pottery Barn Terracotta Pumpkin Dupe

Let’s take this Hobby Lobby pumpkin and turn it into a Pottery Barn terracotta pumpkin dupe! You see, I loved the look of these large terracotta pumpkins. I found from Pottery Barn, but they were $89. There was just no way I was going to pay that much per pumpkin, so I figured I’d DIY it myself!

18F3C796-10C5-488C-BA09-3093EF9E5036

FALL DIY BLOG HOP

Our sweet friend Terrie from Decorating More with Tip decided to take a break from our blog hops, so I decided to jump right in and host! I thought it would be fun to create a fall DIY with several of my blogging buddies. 

18874A84-C1B3-4F91-A219-835314FA8B5F

Supplies

• Faux Pumpkin

• Air Dry Clay 

• Flour 

• Brown, Orange & White Craft Paint

• Paint Brush

First, I decided to use some of my  inexpensive  faux pumpkins from Hobby Lobby. I have had my pumpkins for a few years but linked some that are comparable above.

99E3F907-7F96-4795-B7E1-F9D7E70D2485

The first item on my agenda was to carve out eyes, a nose and a mouth for my pumpkin. I drew on an eyes, nose and mouth, so it was easy to carve out with a knife.

EE8043E2-6999-4390-9E9A-9A3660D11FDE

Next, painted the whole pumpkin, including the stem, with the brown, white and orange craft paint. 

4F7A4BD8-154B-4B06-8C9F-C367486F21B4

I mixed the colors until I achieved the color! 

624F3548-3039-40E2-96C4-6B6462DA06B4

Next, I sprinkled flour all over my pumpkin while it was still wet by sort of dry brushing it on. 

6E0D176F-AA23-4653-9C41-40B1516DE617

Next, I used air drying modeling clay to extend the pumpkin stem, making it a more whimsical type of pumpkin.

46D9F491-85E5-4374-8486-D3291A0058B1

When the clay is dry, it’s time to paint!

1AA0B787-1D8D-40C1-A1C6-570713057E16

I painted the air dry clay stem, the same color as the pumpkin.

3EC7F7A6-2256-470E-A4DE-3F00C25B3A30

Finished! Time to style your new terracotta pumpkins around your house! It’s honestly such an easy DIY! I’m so glad I didn’t spend $89 on the originals, and instead created this Pottery Barn terracotta pumpkin dupe!

I also painted a pumpkin and made it into a floral dupe!

18F3C796-10C5-488C-BA09-3093EF9E5036


Please be sure to check out my other blogging buddies to see what they’ve come up with for our Fall DIY Blog Hop!

4B37314F-389E-4ED9-9183-20132FD97BB8

 Jodi-The House House Blog

07E396DC-BF21-46F0-80AF-3B8151A198D0

Gail-Purple Hues and Me 

101417CE-3361-448B-BA60-D56FBBF952BF

Hannah-Baggott Farmhouse

I hope y’all have enjoyed our Fall DIY Blog Hop! I enjoyed hosting and hope y’all will come back again! Happy Fall Y’all! 🍁🥧🎃

66992111-8F98-4AD5-926B-56468469AC71

DIY Better Homes and Gardens Marble End Table Dupe: How to Create a Modern Marble End Table for under $50

“ This post may contain affiliate links, meaning I receive commissions for purchases made through those links, at no cost to you, through Amazon Associates program or Home Depot.”

F9A3B8FD-A4D0-4F08-B908-2E2CB0414D5E

Anyone else love a good dupe?? This DIY Marble End Table is so easy to make and costs under $50 by reusing items you already have on hand! The Better Homes and Gardens version is priced at $100 plus!! Check out our IG Reel, pinned on IG!

😱

That’s over a $50 savings!! We’ll show you how we created this dupe in about a weekend! My top tip is always use or reuse what you have on hand!

2A39E627-8FF3-44D6-A81A-1F8481333872

Six sweet bloggers have challenged ourselves to a DIY High End Dupe!! Be sure to check out each blogger at the end! Hosted by the very sweet and talented Terrie from Decorate and More with Tip!

What You’ll Need

  1. Round cut piece of quarter inch plywood. Our tabletop was a salvaged piece of wood from our daughters outgrown table/chairs set.
  2. 2×2 for the legs-We reused the table legs on the table. –
  3. Paint-We used white paint on hand from SW in Ibis White and SW Iron Ore.
  4. Stain-We used Minwax Seni Transparent in Red Oak, which we already had on hand.
  5. Wax-We used Minwax Grain Highlighting, which we already had on hand.
  6. Resin Kit-Linked in Amazon Store!
  7. Feather & Stick
  8. Paint Brush
  9. Sponge or old t-shirt.
  10. Spray bottle with water.
  11. Screws/Screw Driver
  12. Saw
  13. Sander/Sand Paper
Continue reading “DIY Better Homes and Gardens Marble End Table Dupe: How to Create a Modern Marble End Table for under $50”

How To Create a Modern Wood Feature Wall for $50

“ This post may contain affiliate links, meaning I receive commissions for purchases made through those links, at no cost to you, through Amazon Associates program, Free Form Paint Brush or Home Depot.”

Teaming up with several blogging buddies for a DIY Home Improvement Challenge. our host is my sweet friend Terrie, from Decorating and More with Tip!

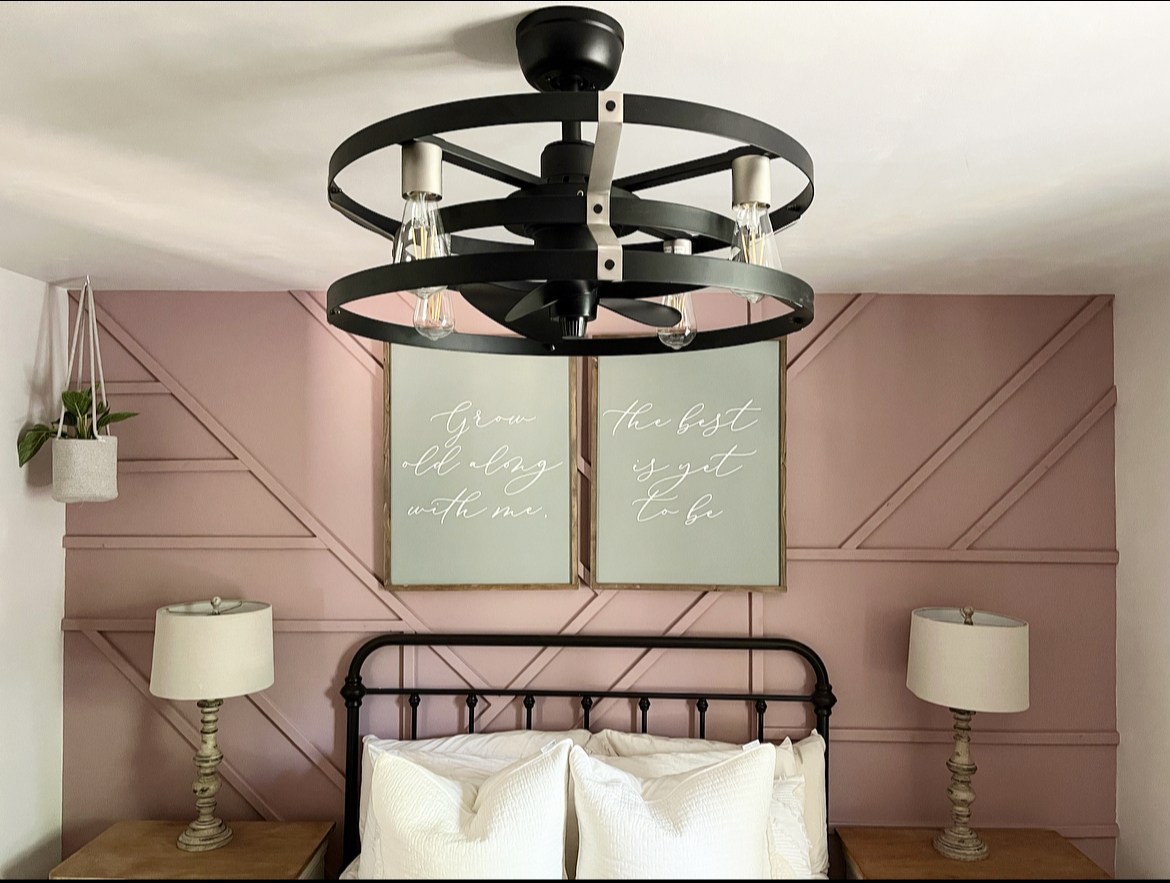
I have had plenty of time to think about design elements for our barndominium master bedroom! I toyed with the idea of a geometric wood wall but I was unsure! After talking with a couple of my interior design buddies, I decided to just go for it!!

4C6841D0-C164-4E01-AF2A-26F41EB6F598

Materials

490000BC-DF79-45F1-97A2-BFC9F484D5E1

Paint 

After we installed the trim, we painted the accent wall. This will save time once the accent wall is installed. 

We painted the wall Orchid by Sherwin Williams in an eggshell finish. We use Free Form Paint Brushes. You can use SWEETSOUTHERN15 for 15% off!

Time to Install the Geometric Wall

Stick with 45 and 90-degree angles! we only used 20 furring boards! We spent less than $50 on this wall!

5E395B96-DBFE-4A00-BE8A-9877D1480B40

We decided to start with the right hand side of the wall. Honestly, we decided to just hold boards up at different angles, with various spacing ,to see what looked right. Next we leveled and nailed as we placed the boards on the wall!

B572751C-F5AC-49DE-BE67-257818BE00B1

Once we got into a groove, the install went really fast and ended up being a really fun project. It took us a couple nights because we ran out of boards! it could easily be done in a day to complete!

BD79943A-9E4E-42FF-BC91-8D6B80D7C54F

Time to Caulk 

Time to caulk the seams and wood putty the nail holes!

EBF643DC-F0C6-4639-B041-1ECD8606148E

I caulked along the seams where the boards meet the wall, using two tubes of tubes of caulk. 

DDF643E4-0DCF-4AE2-B5E3-DB0AD54BEB76

I also sanded a few of my boards as they were rough! And once the caulk is dry….

F85FFEAB-0FE3-4640-AA4A-BA69AFB3DC46

This part of the project gets a little tedious because you have to apply the rest of the paint with a brush!

80EBB05F-7EB9-476A-9DF8-0C0623F654E5

Make sure you get into every nook and cranny. I used a craft brush in the really tight spots where my boards met with an adjacent wall or the trim. You’ll definitely want to brush on two coats. 

Once your paint is dry, you’re done! Now you can style your room and enjoy!

E5A4572E-9379-41B2-82BC-B05D53061106

I hope you have enjoyed this project with us! Check out my other blogging buddies to see what DIY Home Improvement Project they have come up with for their homes to share with ya‘ll!

                  Terrie Decorating and  More With Tip

Tammy Patina and Paint

Teresa Through the Vintage Door

Shae Sweet Southern Grace

4C6841D0-C164-4E01-AF2A-26F41EB6F598

DIY Dollhouse Kitchen Backsplash

I am excited to share about a project that is near and dear to our family’s hearts. When our #3 daughter was turning 2 years old, my husband and I designed and built a wood kitchen set for her!

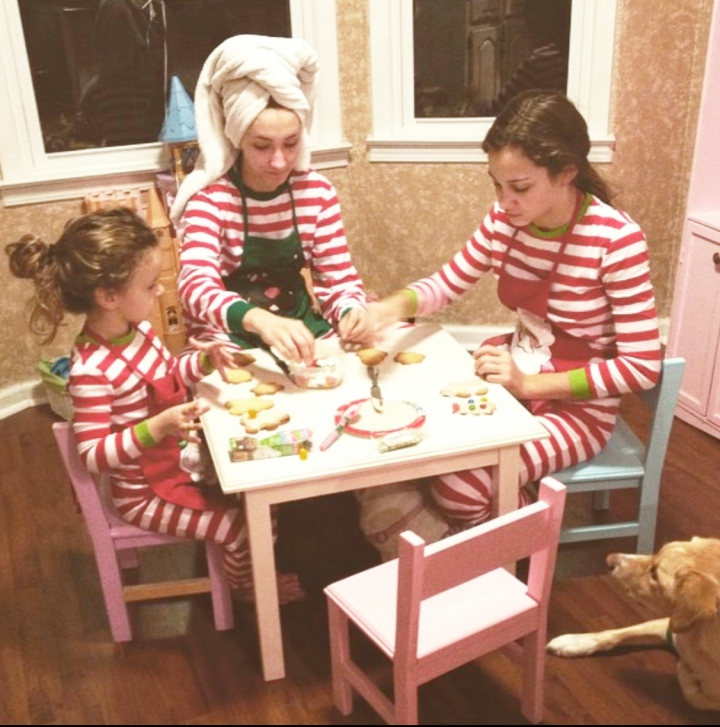
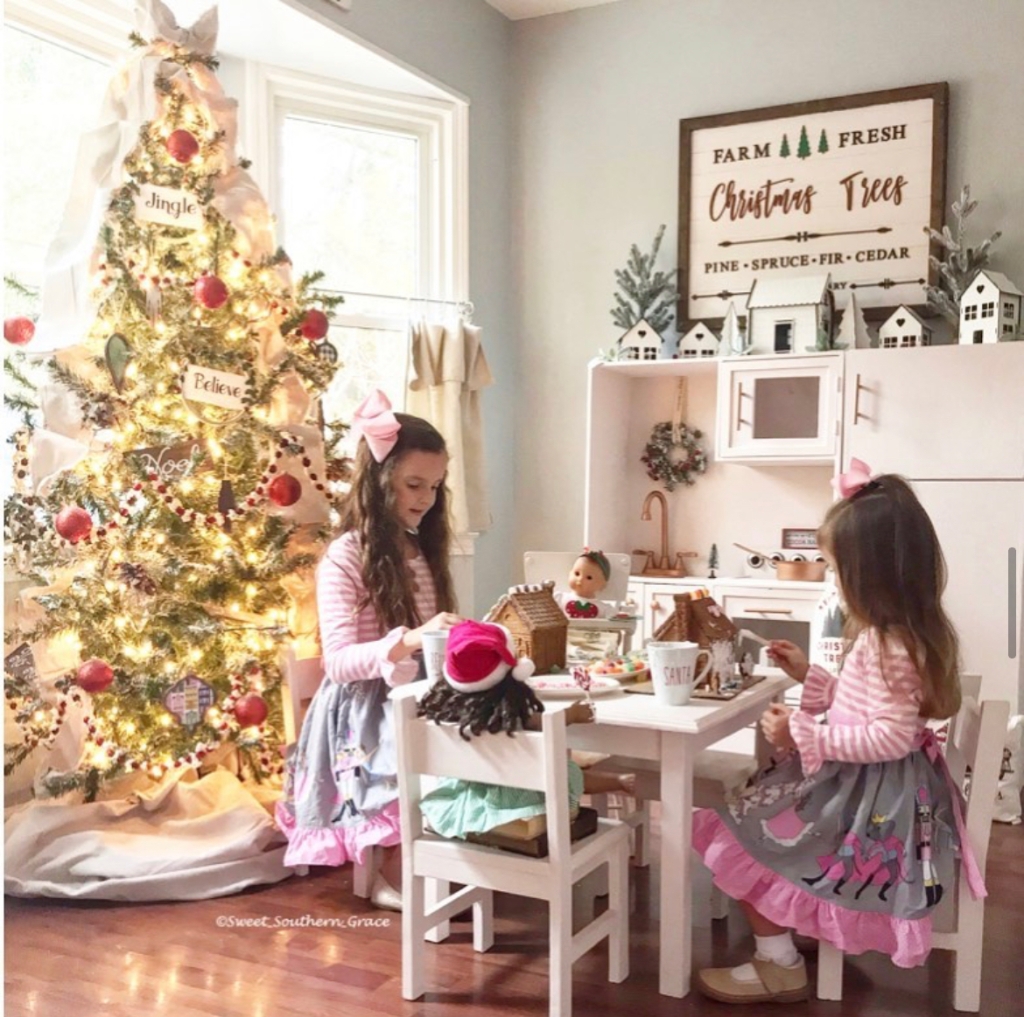
This is our number one, two and three daughters decorating cookies for Santa! When we built the kitchen set (far right), we also build a table and chairs set too. This photo is circa 2014.

When their baby sister came along…

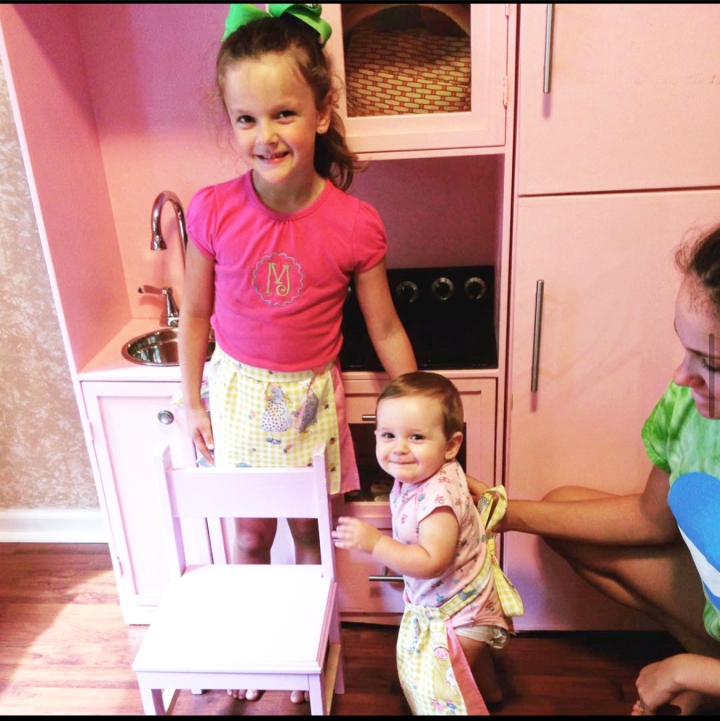
Photo is circa early 2016!

…and we couldn’t wait until our youngest two were able to enjoy playing with it together! We have had this in our home for the past 8 plus years! Plus, all of their cousins have enjoyed coming over to visit and play with it too! How special!

I chalk painted the kitchen set and table/chairs set in white! Photo is circa 2018.

DB7C189D-A806-4E63-A7DC-7BACDFCADCA3

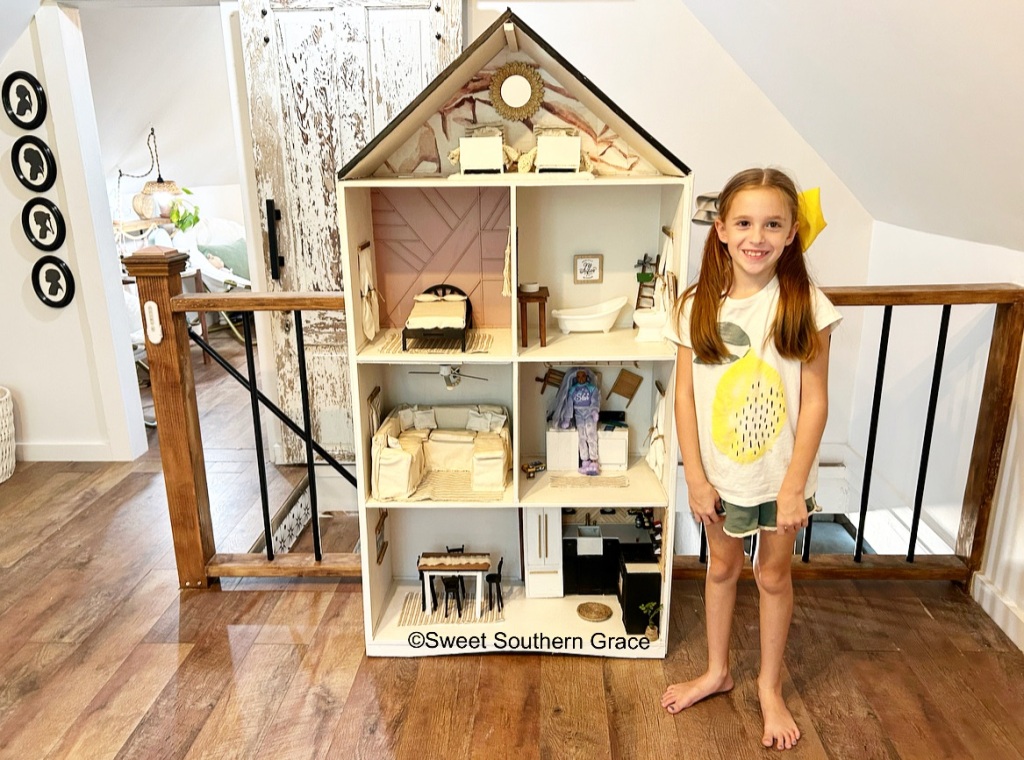
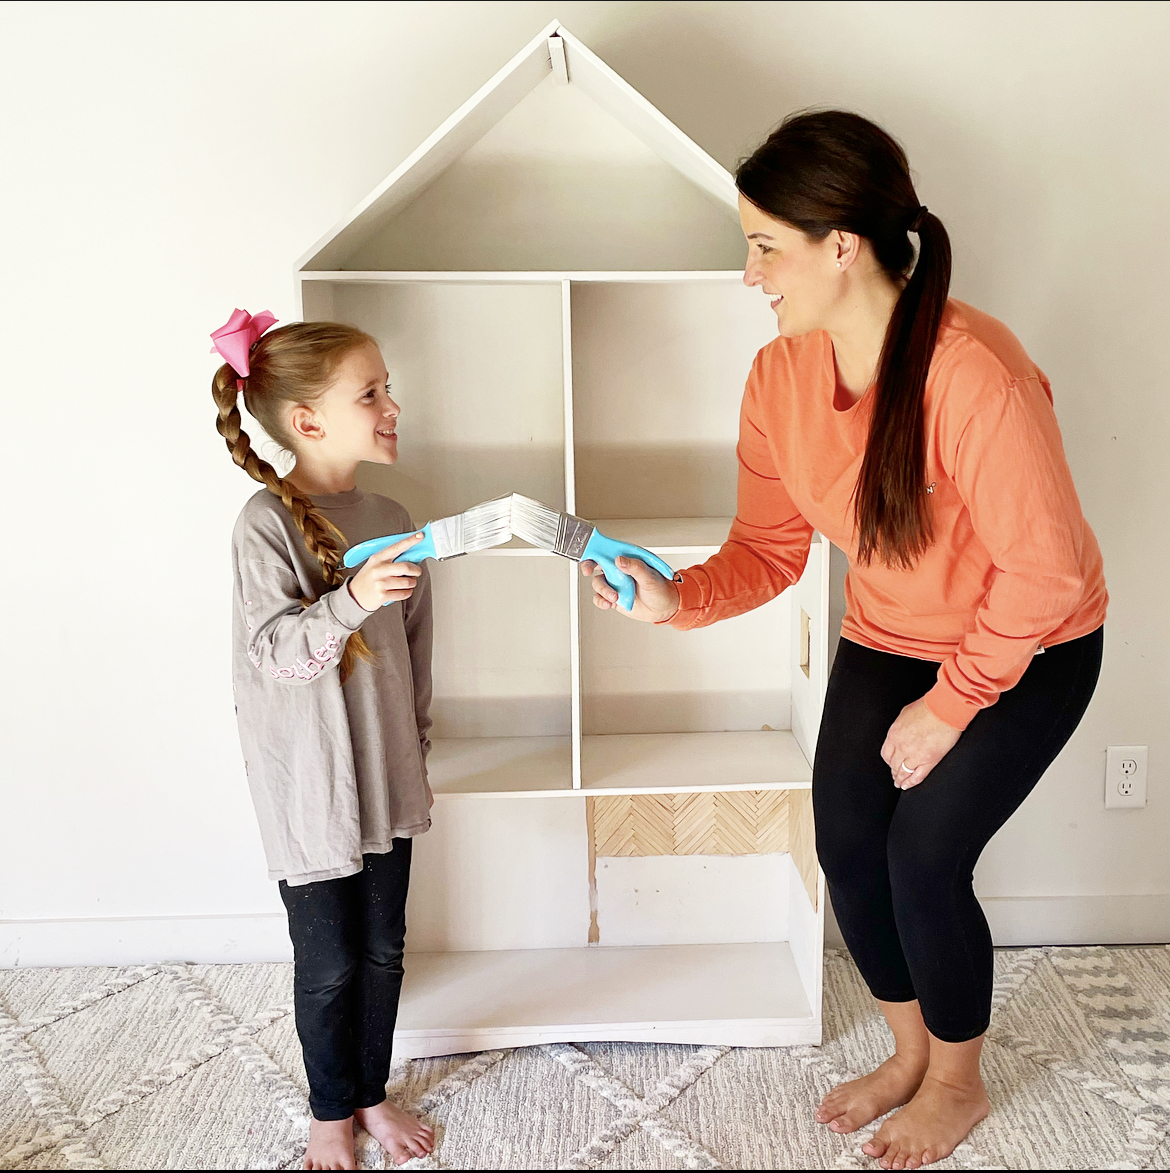
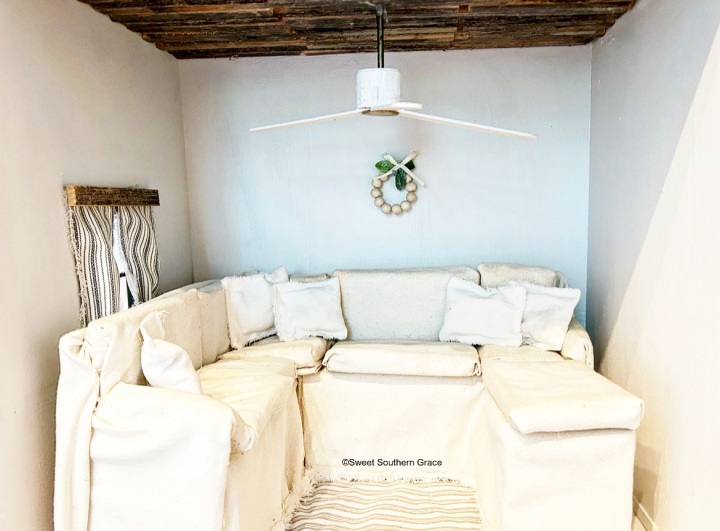
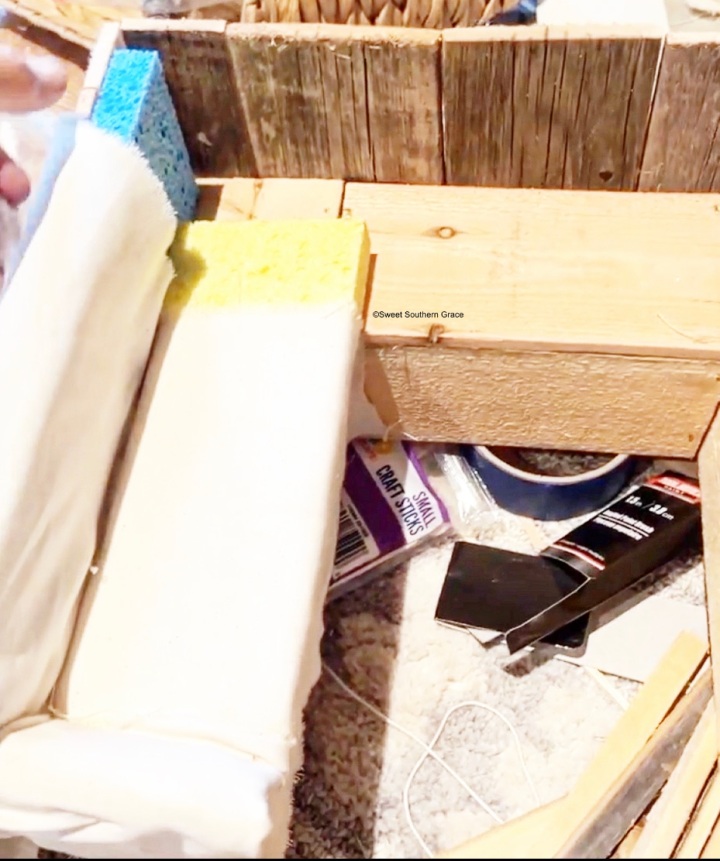
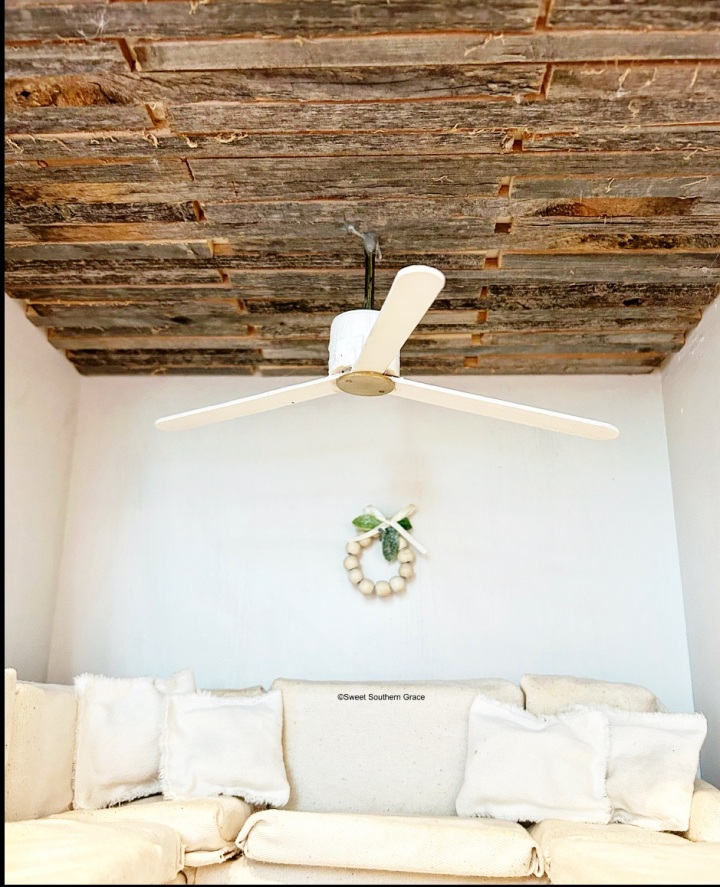
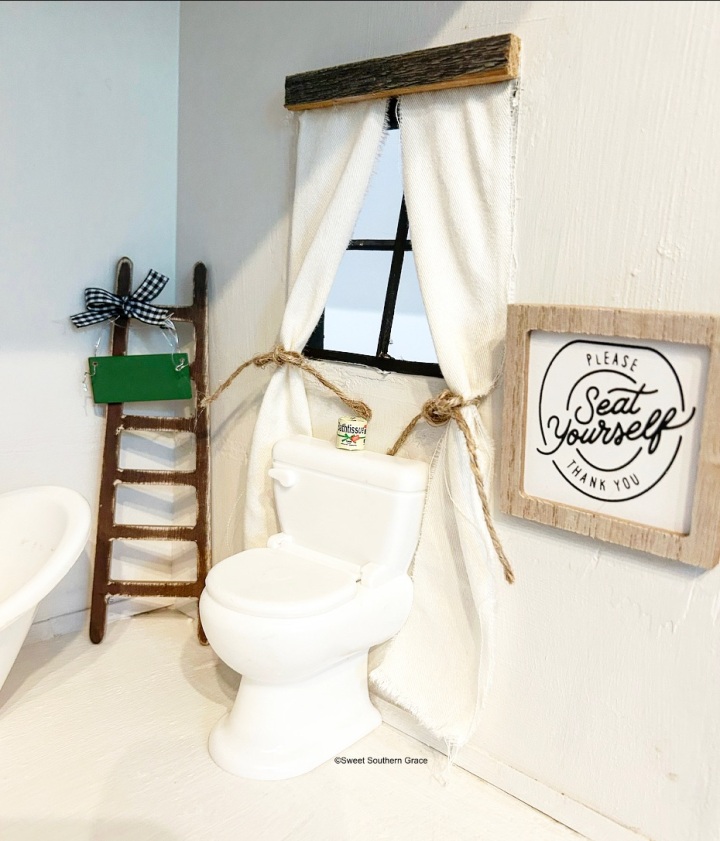
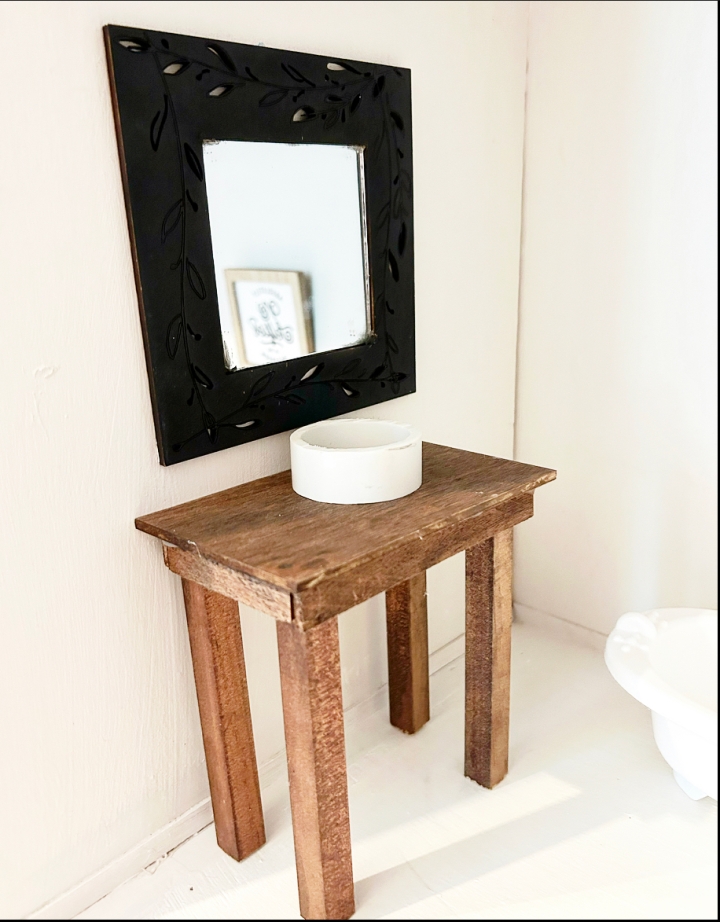
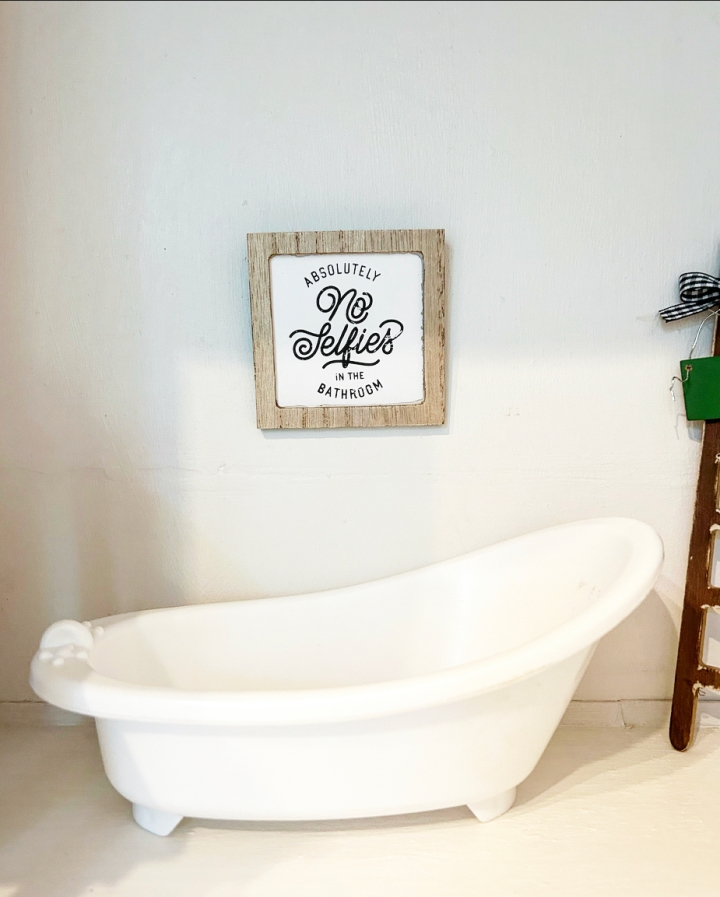
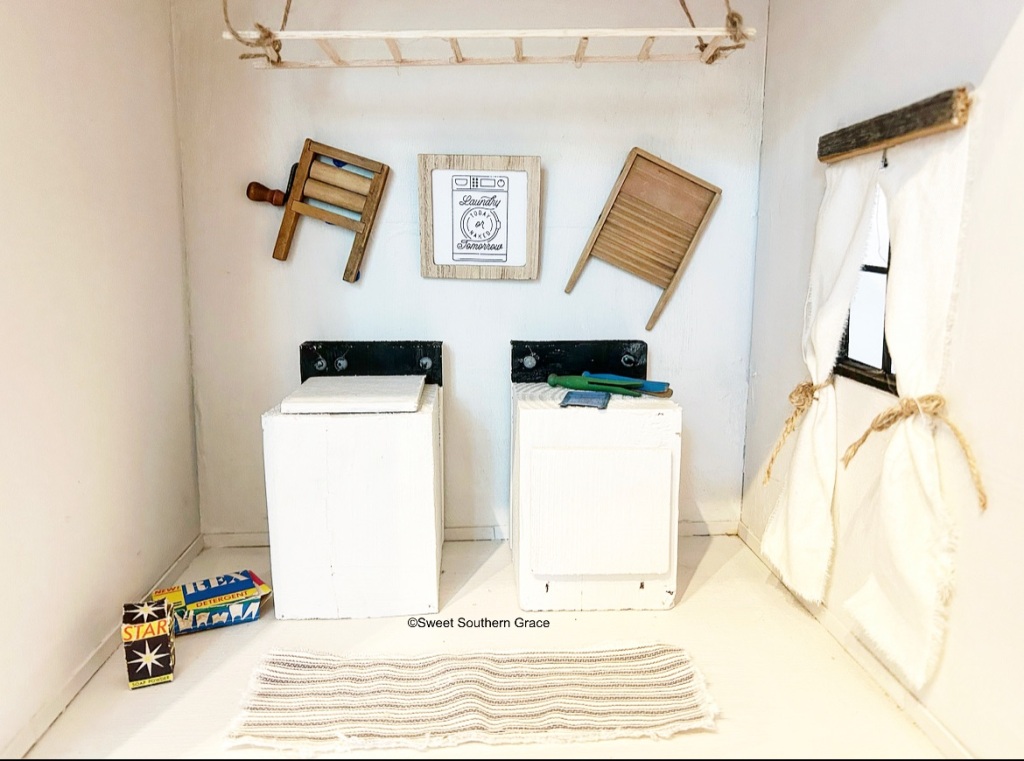
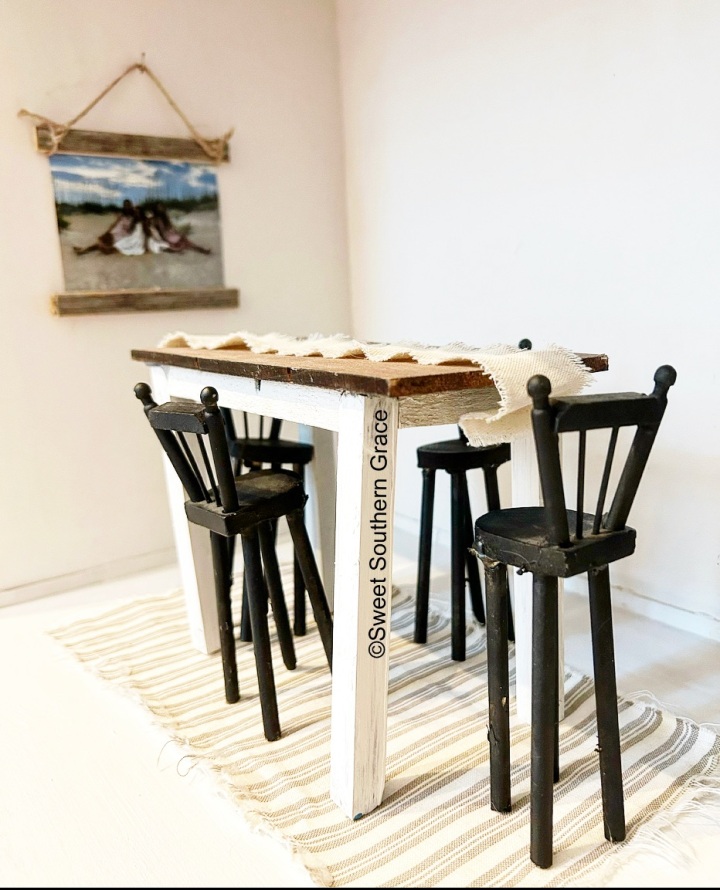
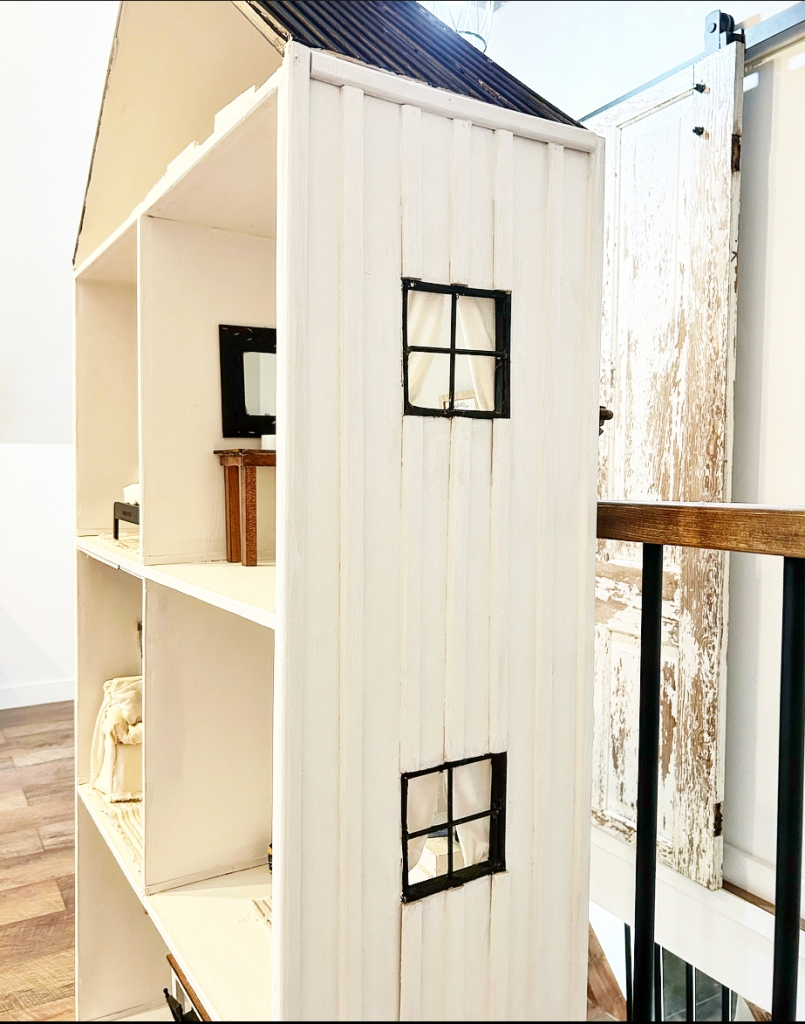
Now that the kitchen set has been outgrown, I wanted to repurpose it into something that would be enjoyed for a few more years to come! I thought it would be cool to turn the kitchen set into a Barbie ”Bardominium” Doll House. The first if it’s kind, I believe. Fitting for our family, as we’ve been building our barndominium for the past year and a half!

DIY Challenge with Glue

I’ve teamed up with my sweet friend (host) Terrie from Decorating & More with Tip, plus several other blogging buddies! Our goal is to do a diy type of project with any kind of glue. Challenge accepted! My glue of choice is hot glue!

Doll House Kitchen Backsplash 

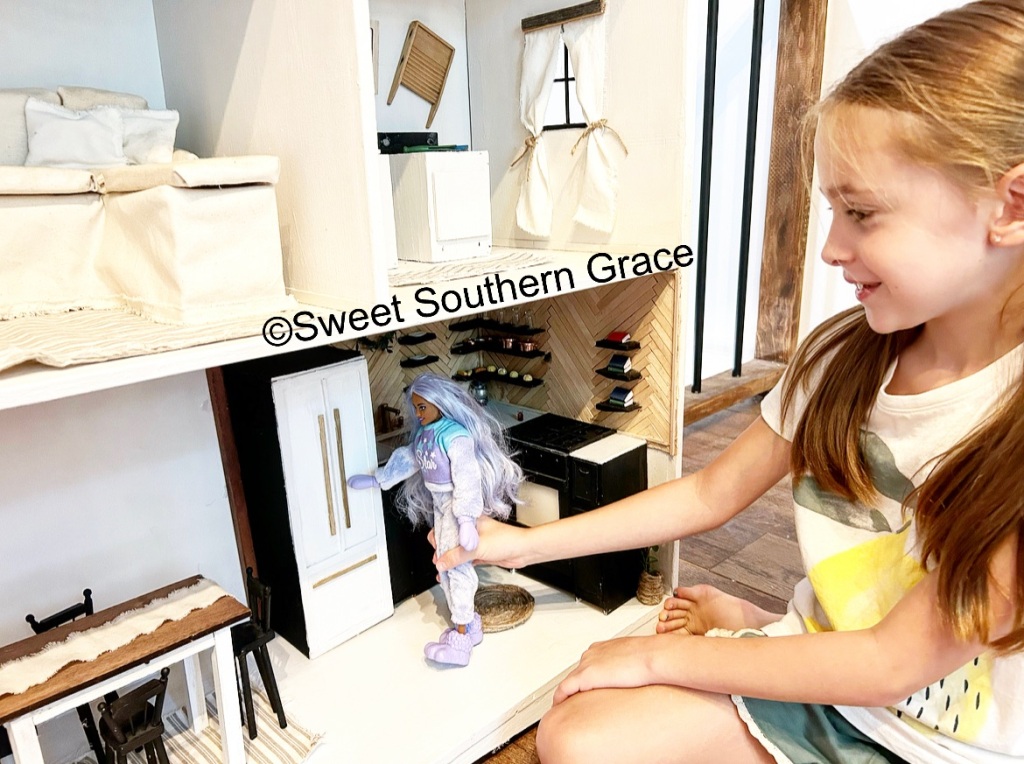
After we reconfigured the kitchen set into a dollhouse, I knew I wanted to ask my youngest daughter, what she wanted in her dollhouse. Definitely a kitchen, bedroom and bathroom. Ok. Those are attainable.

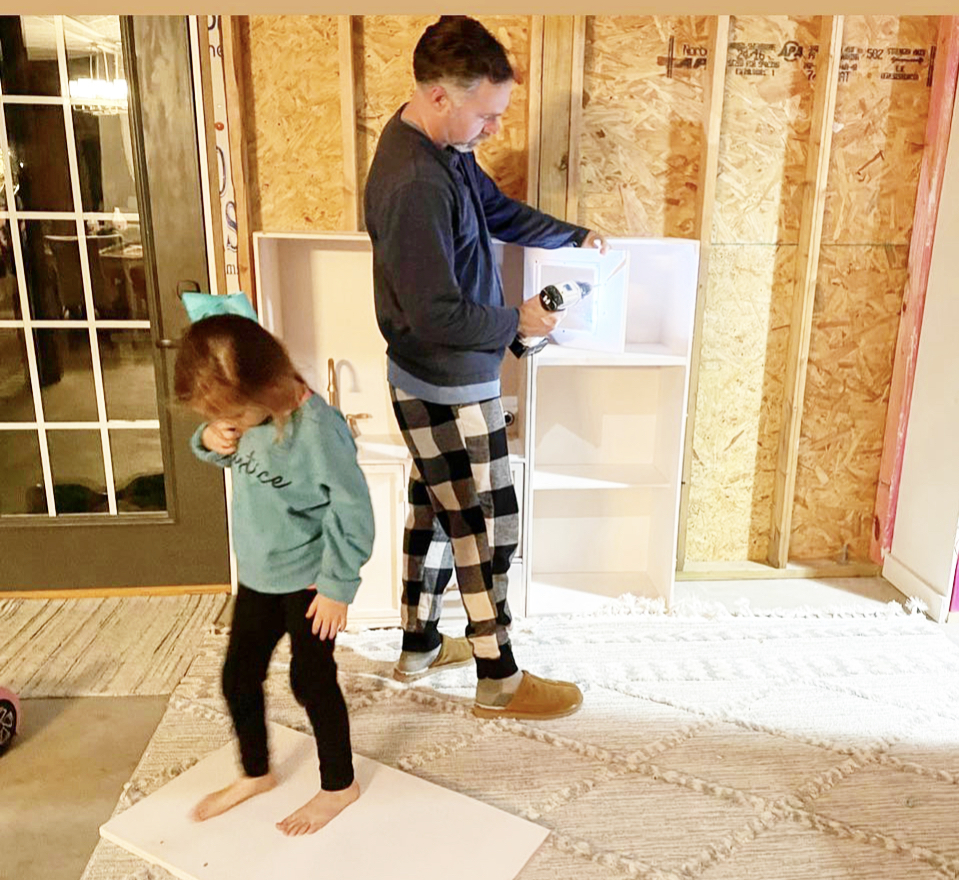
This is during the demolition process of the kitchen set!

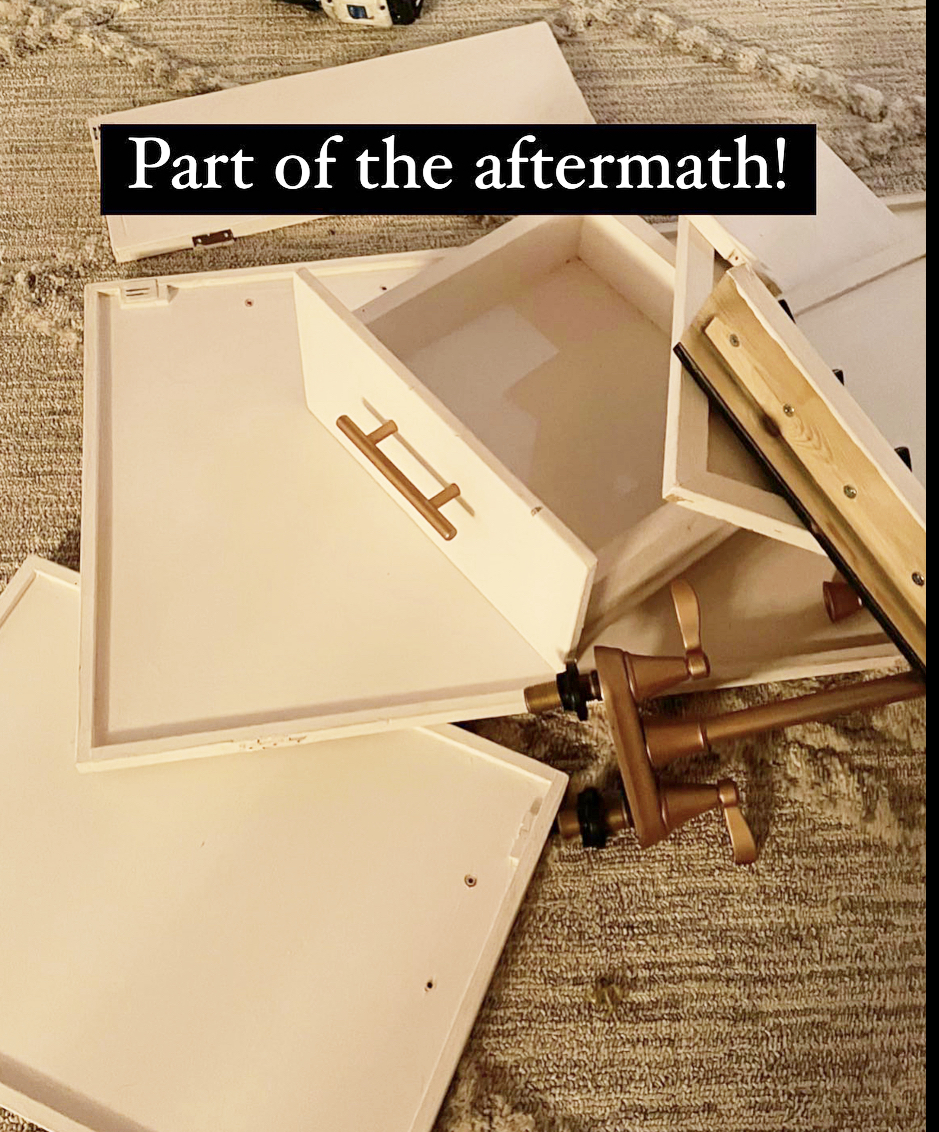
And this is part of the after. We salvaged every piece that we thought we could repurpose in some way.  

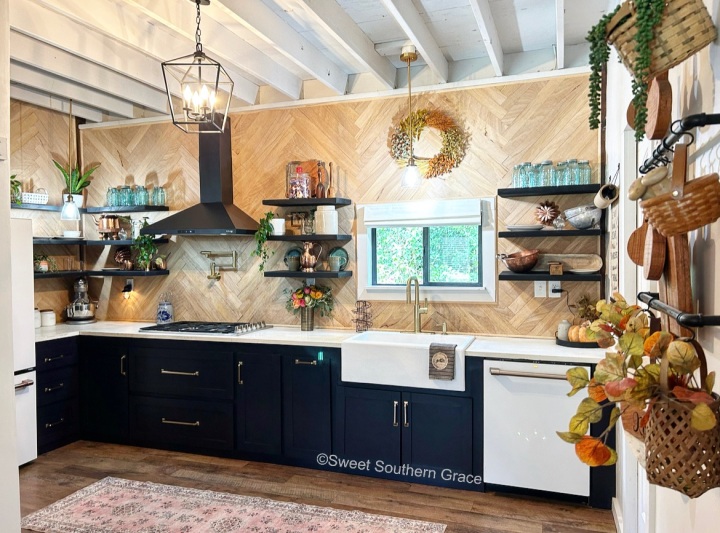
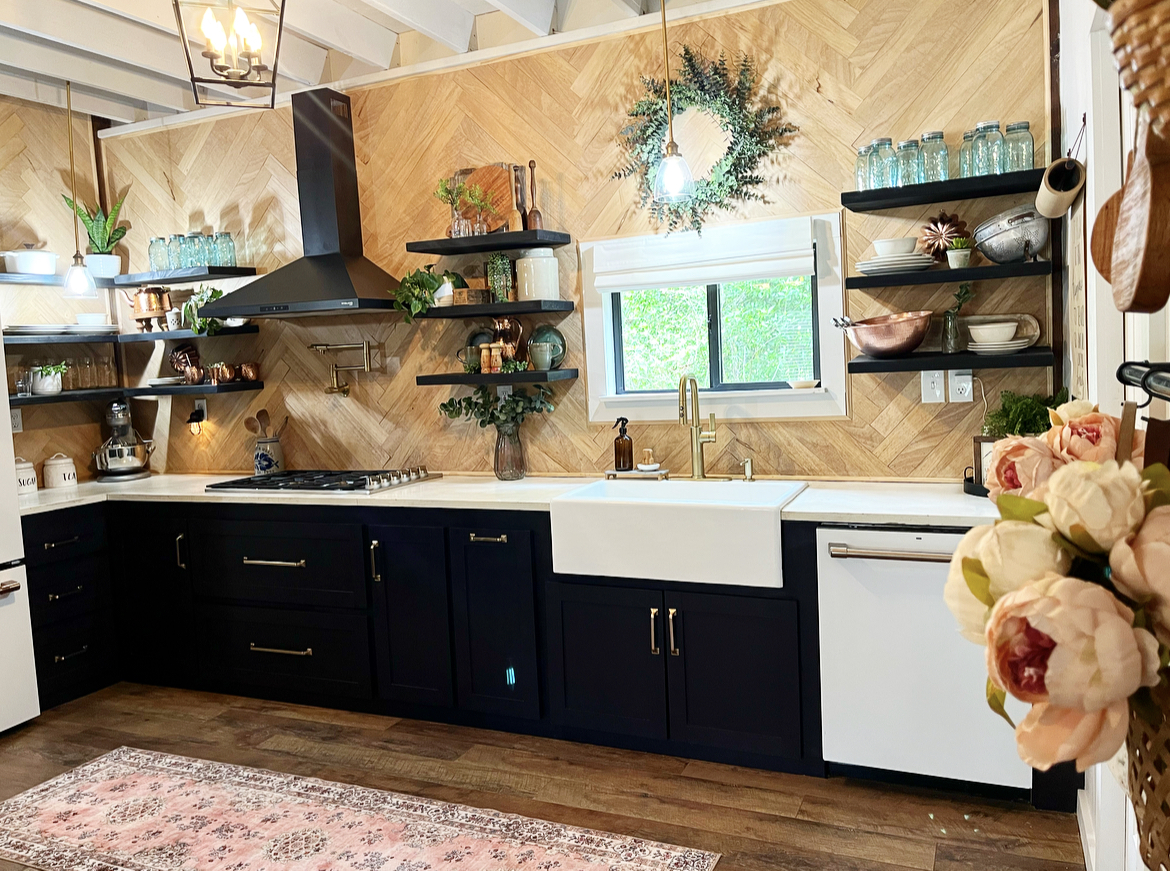
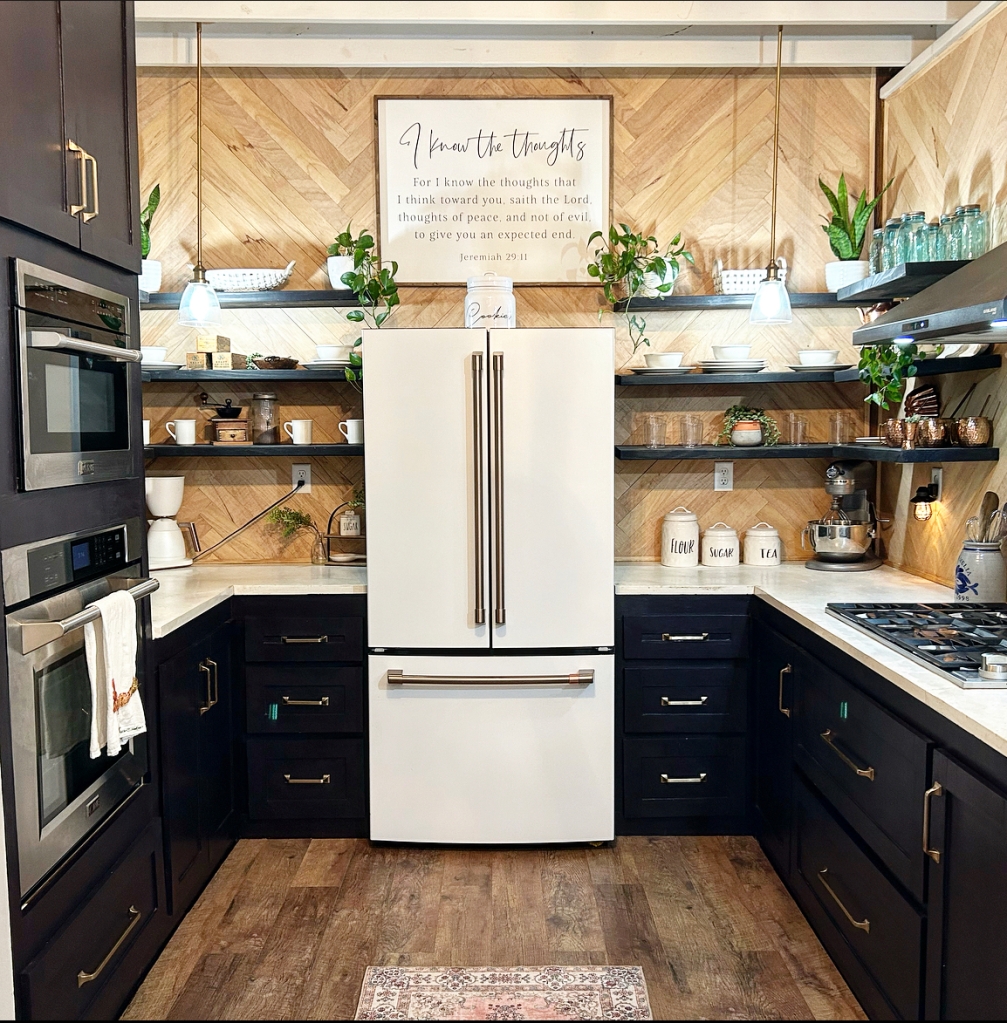
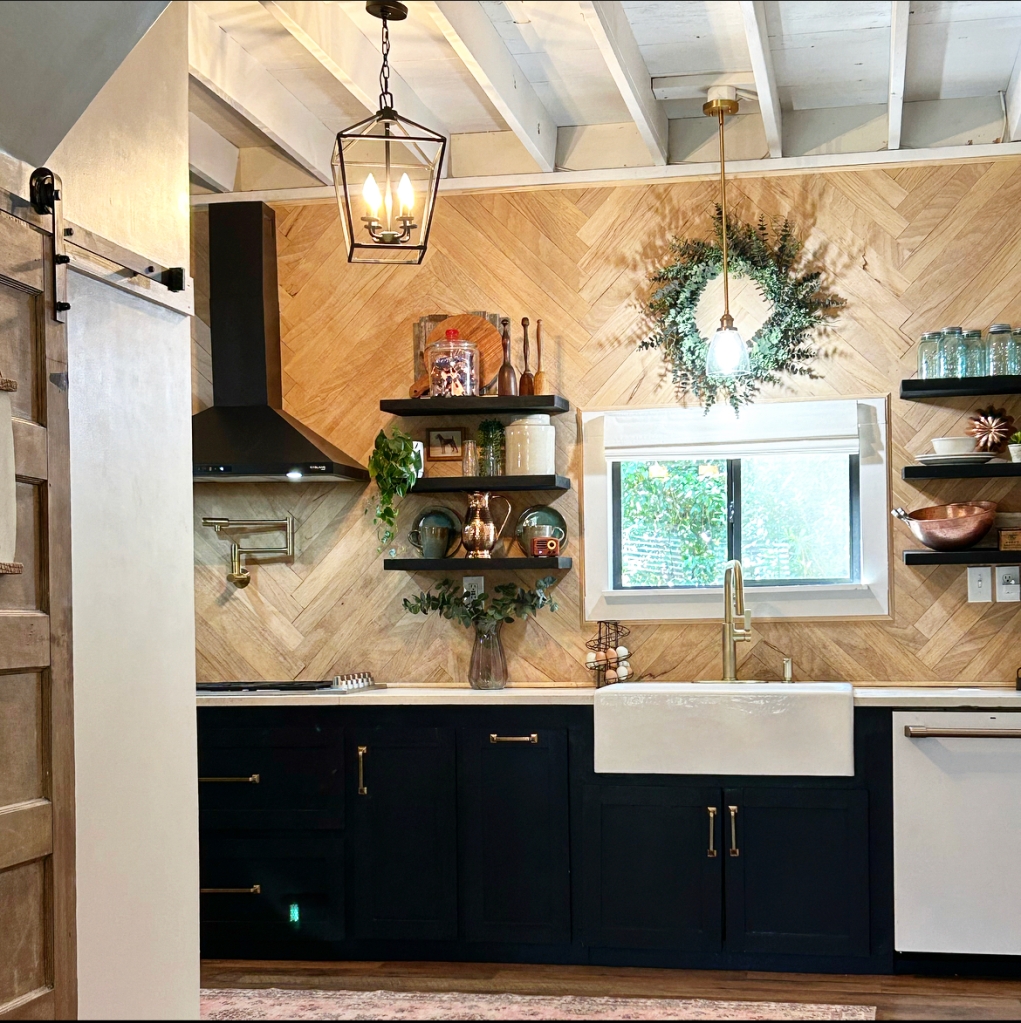
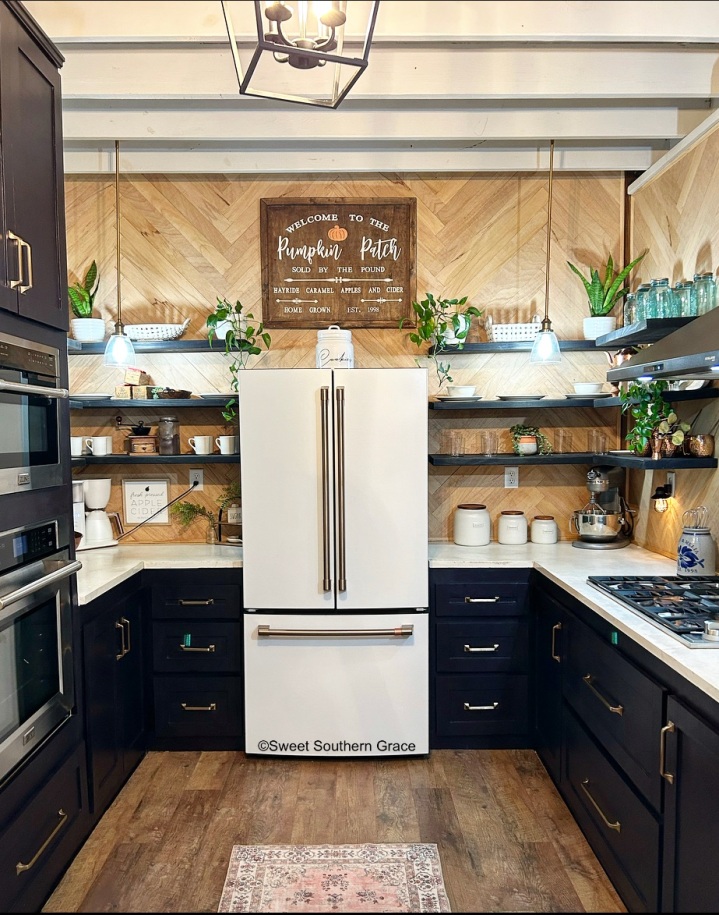
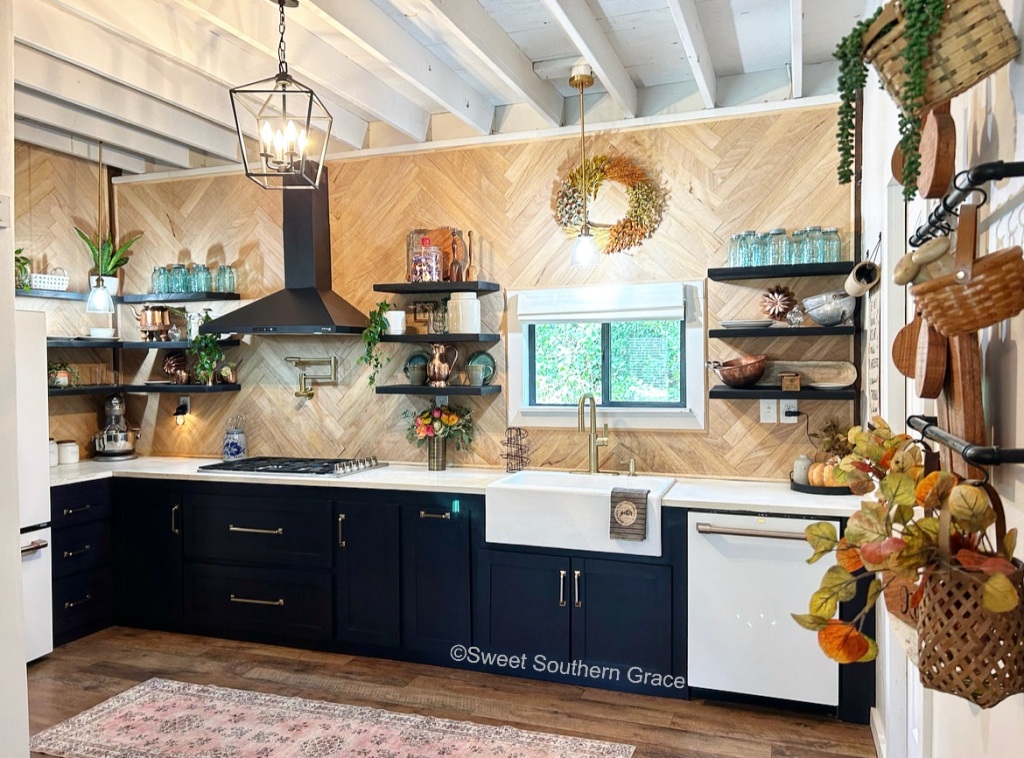
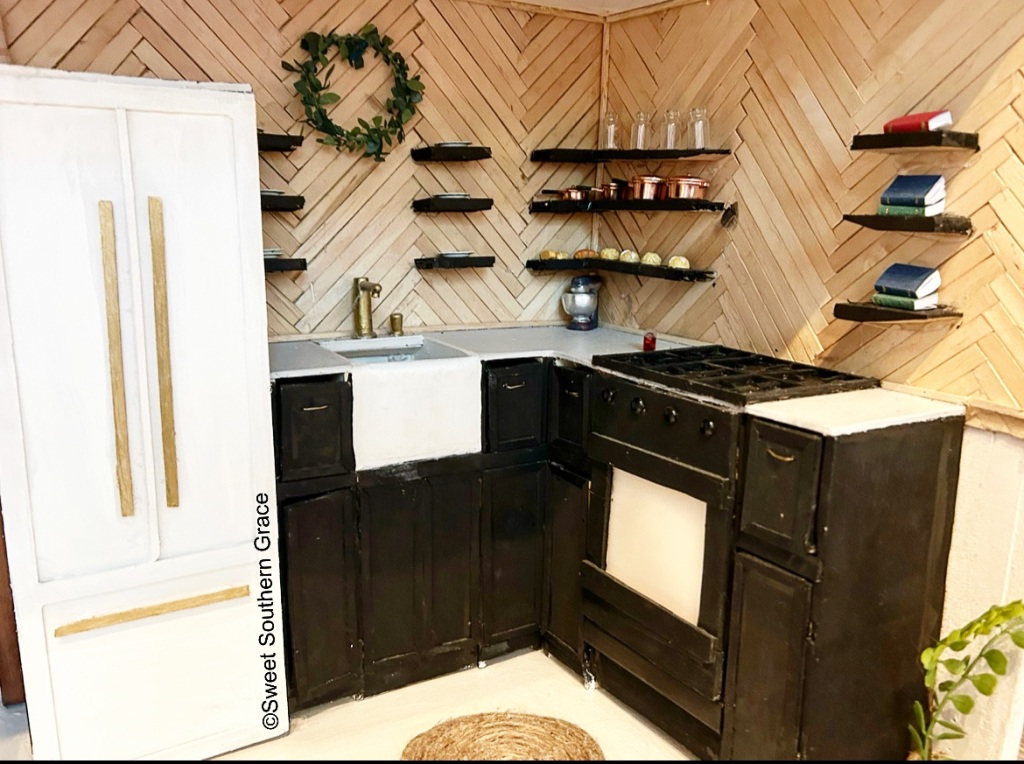
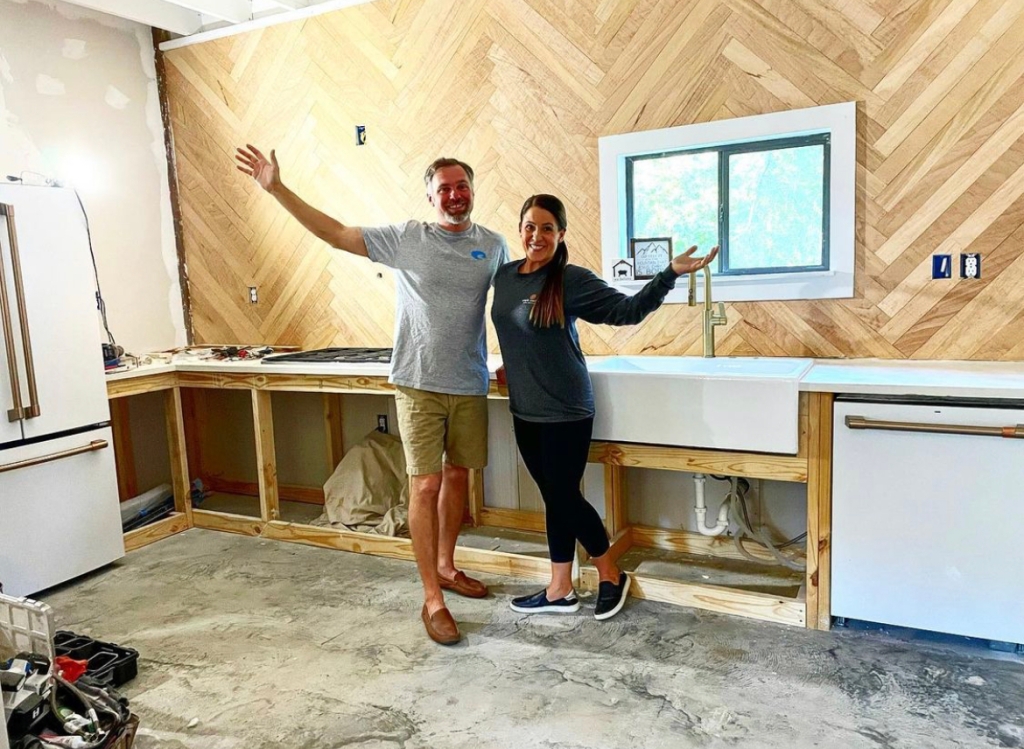
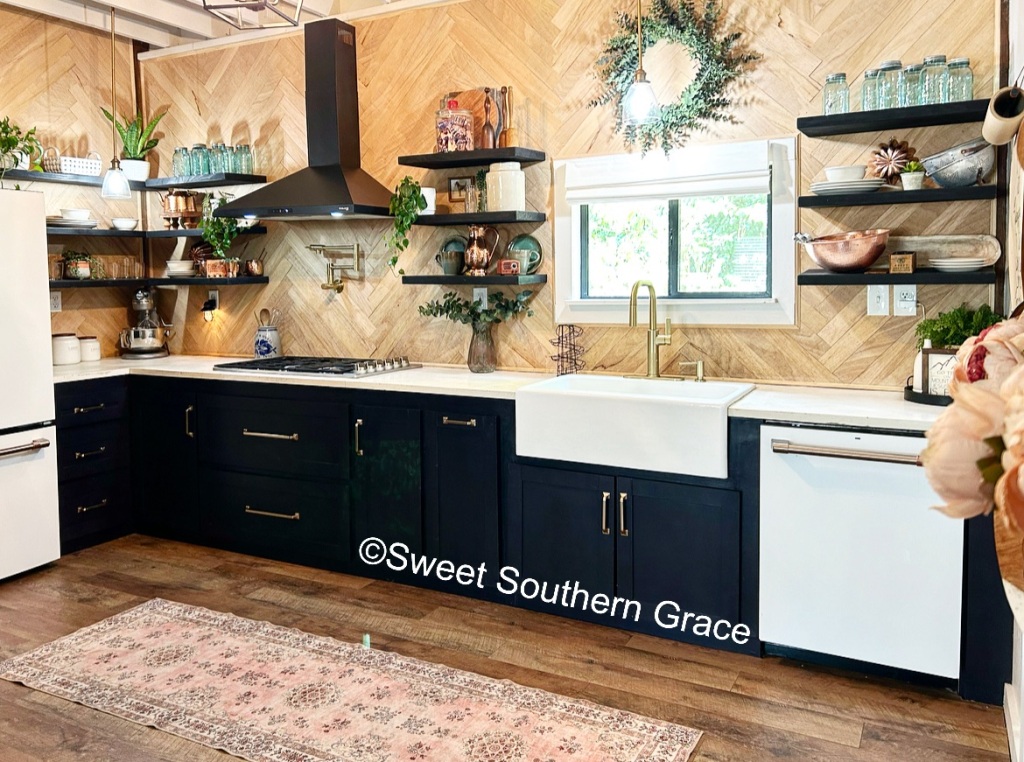
As I dove into all things dollhouse related-scale sizes of Barbie furniture, how to make little accessories, wood for building, ext, I thought about popsicle sticks for the backsplash in the doll house kitchen. Wait. Let me back up for a minute. If your new here, we did a wood herringbone backsplash for our barndominium kitchen. Check out our IG post here. Naturally we needed that in our dollhouse too, right?! 

Dollhouse Plans

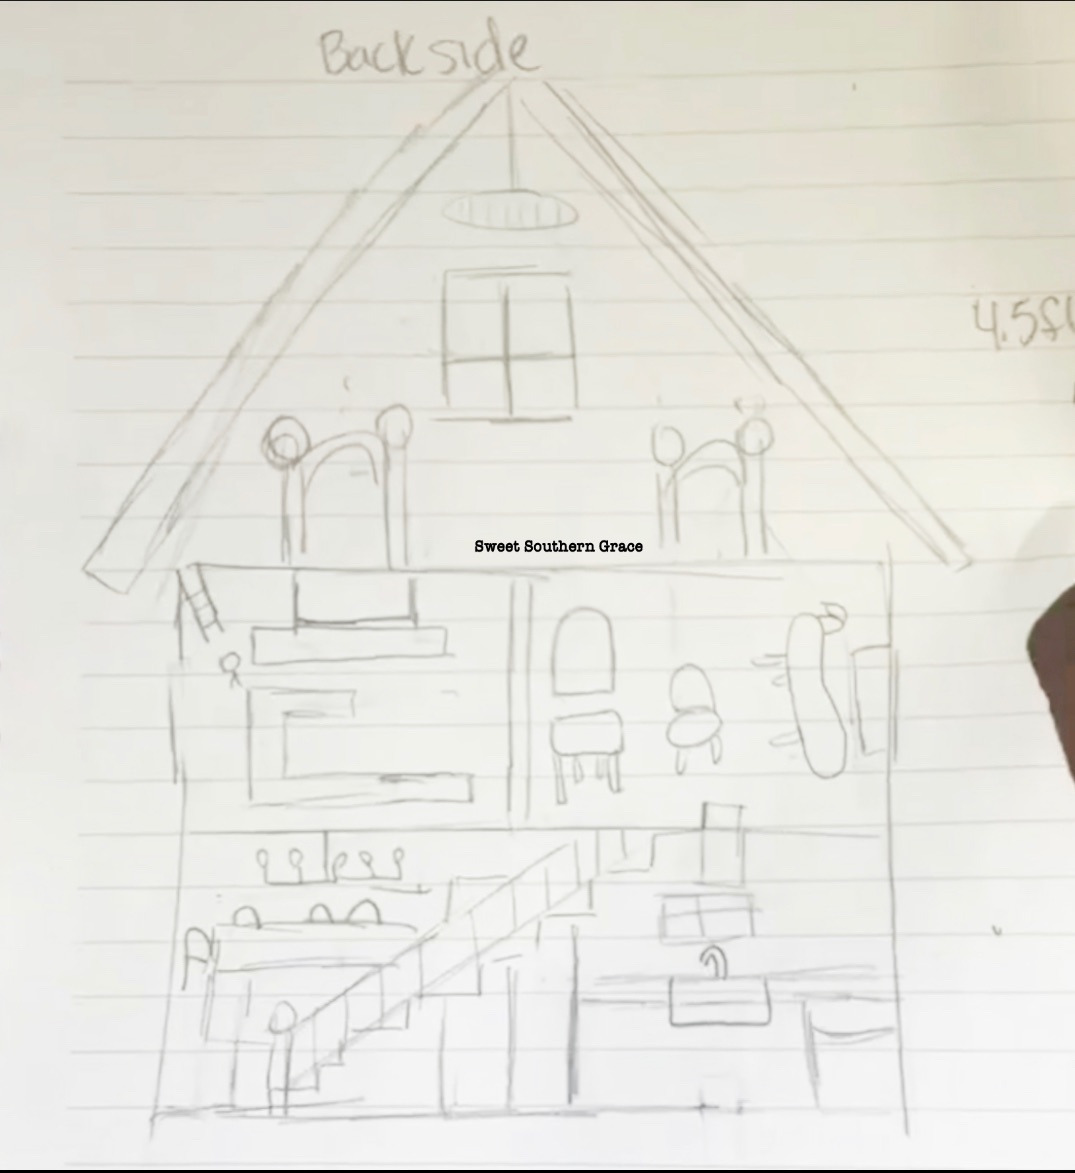
I always roughly draw up plans for whatever project I’m working on. Here is my drawings for the front and back of the dollhouse. Also, keep in mind, this is our version of a Barbie Dreamhouse, “Barndominium Addition” and made to look like our barndominium. 

Front of the Dollhouse Rough Drawing.

Back of the Dollhouse Rough Drawing.

Dollhouse After

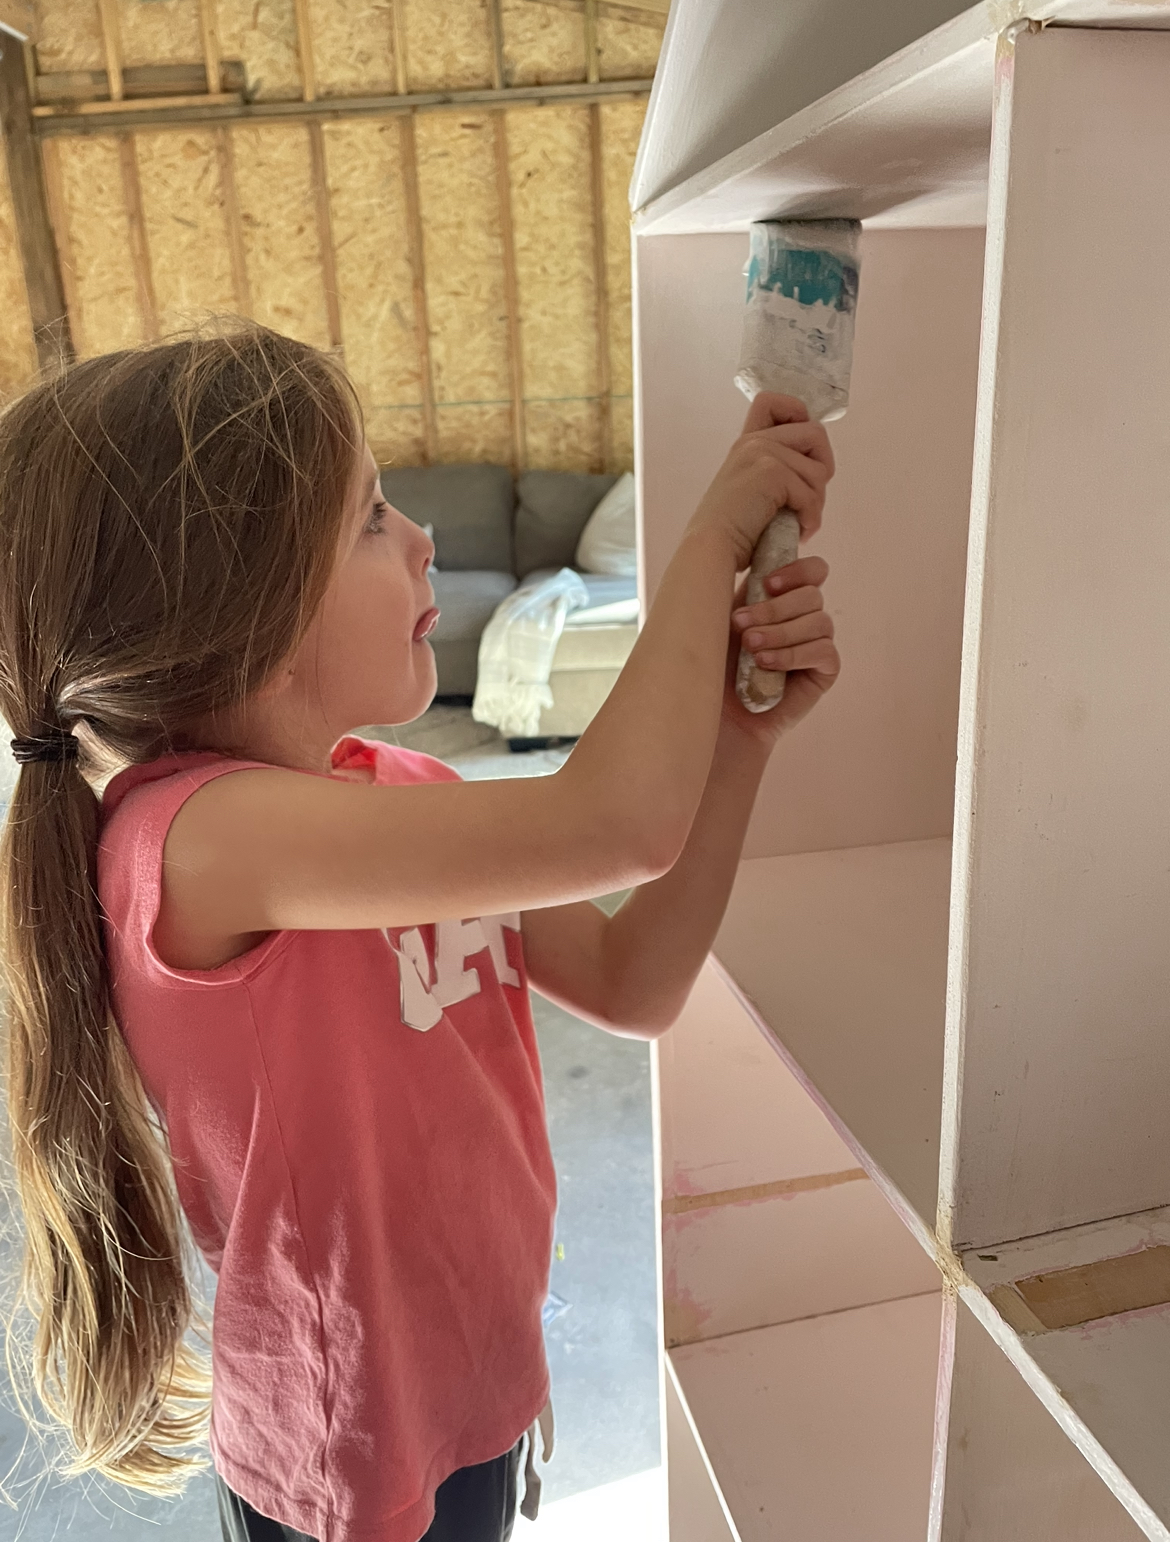
This is the dollhouse after we rebuilt it from the girl’s kitchen set. This is with almost two coats of paint! I had a great helper! Our youngest babe!

Supplies needed:

• Hot Glue Sticks

• Hot Glue Gun

• Wooden Popsicle Sticks

• Scissors 

Herringbone Pattern Backsplash

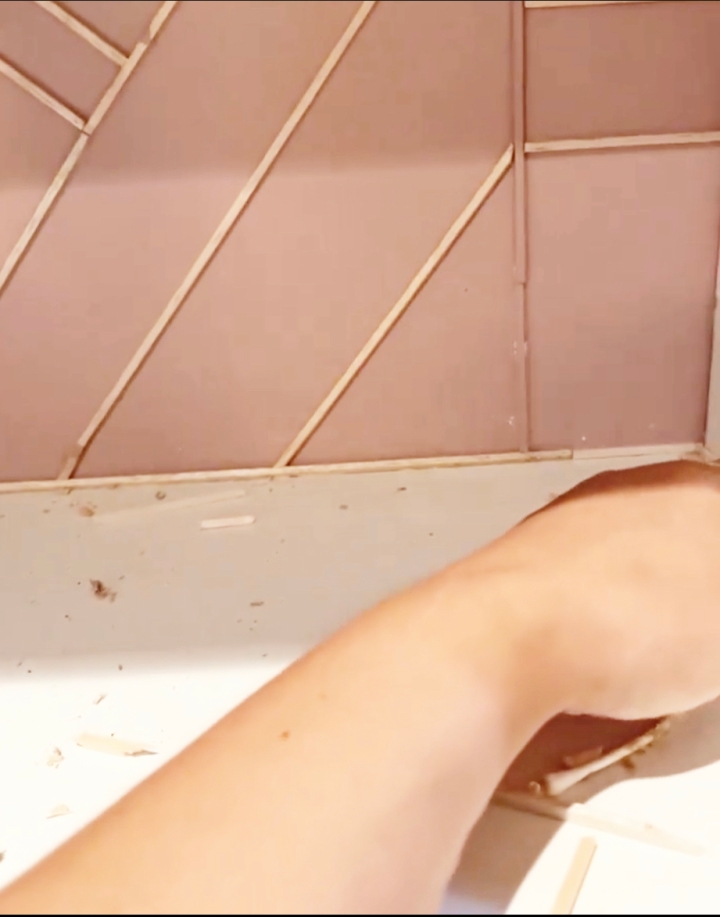
The task may seem daunting but it is achievable! We used the herringbone pattern backsplash in our kitchen as a reference! The herringbone pattern started at the bottom edge of where the dollhouse countertop will go and continued making it’s pattern,  all the way to the top. Then continued until both kitchen walls had been completed! 

Photo from welshdesignstudio.com. 

Measure 

Basically, whatever size herringbone design you decide to make,  which in our diagram is represented by the letter ‘W’, make your cuts based on the size of your space.

This is my very rough drawing.

It’s basically a math equation based on height and width. The dollhouse was a little different than our actual kitchen backsplash. Check out welshdesignstudio.com to follow their mathematical equation!

Cut

I suggest cutting your pieces in sections, in case of any mistakes that are made. There will be some as it was a learning curve until I figured out that we could easily do a herringbone pattern if I made a math equation from the size of the space for the herringbone pattern. It’s kind of like simple algebra!

Stain, Paint and Protect 

Stain or paint your wood. Since this was a dollhouse, we decided to leave the wood bare. Our kitchen backsplash in our home has two coats of poly in clear matte.

Lay Out Pieces

I suggest laying out your pieces first, which will help insure less mistakes! Trust me, we made some with the kitchen wall! 

Add Wood

Now we are ready to add the wood to the space! Herringbone is such a beautiful, classic pattern to add to any home or dollhouse in our case!

If you don’t succeed, try, try again!

I tried three different options for the dollhouse kitchen backsplash before the third one worked! First was to draw on shiplap with a pencil then trace with a black permanent marker. Second, I tried horizontal shiplap. Finally my oldest daughter suggested the original idea I had had, which was to make the herringbone patterned shiplap. I finally agreed we should at least try it and it worked to our liking!

Finishing Thoughts

It’s really not to hard and the impact is amazing! We still have a ways to go with our dollhouse as it’s been a learning curve for me! I am so glad we went with the herringbone pattern!

Dollhouse Completion

The best way to follow along on the completion of the dollhouse is on IG, which I will link below!

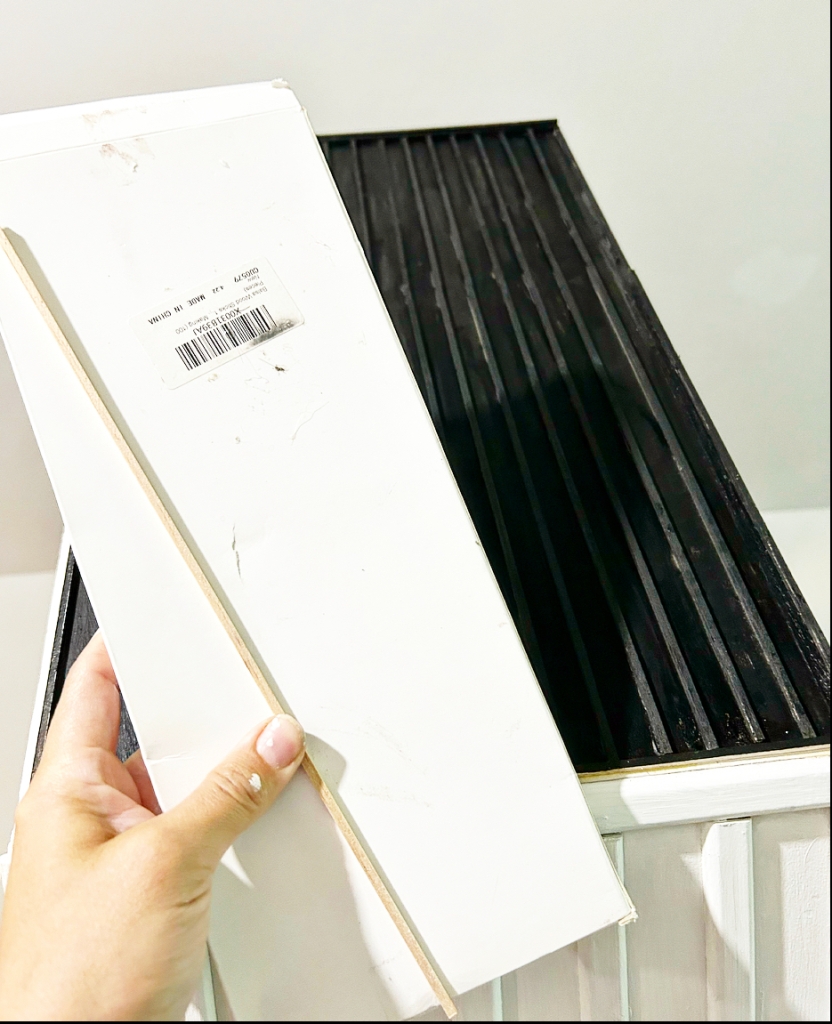
I finally have figured out that balsa wood is the best for dollhouses! I am going to add the window trim and board and batten next! Then I will build the kitchen cabinets! It’s a process but I will make sure to blog about all things related to the dollhouse build as things become finished!

I hope you have enjoyed being here! I would love for you to follow along with us on IG for our dollhouse build and for our self built barndominium as well!

Please take some time and check out the other ladies in our blog  to see what they’ve created with glue! 

DECORATE AND MORE WITH TIP
THE HOUSE HOUSE
PURPLE HUES AND ME 
SWEET SOUTHERN GRACE
PATINA AND PAINT

Barndominium Custom Built Work and Homeschooling Station

I am excited to share how we built our barndominium desk with ya’ll today! It’s budget friendly too at under $90!!

I’ve teamed up with my sweet friend (host) Terrie from Decorating & More with Tip plus several other blogging buddies! Our goal is to each turn something from Trash to Treasure!

C8DE8E5E-401E-49D1-A612-DE01D2E29A7A

Background of Our Barndominium Build


Most of ya’ll know that we have been building our barndominium, the past few months! Check out the blog here.

91034C8B-0484-4DFC-9BE8-2A41F4B437FE

We basically started with a piece of land that literally was littered with trash and have built our home with own hands! The photo below is where my husband was clearing our land of trees, trash and junk cars.

1D891982-66CC-4542-AA99-44B16004A517

We also had to rent several dumpsters to throw away the large amount of trash! The photo below is dumpster number 2.

D40837D8-BD8D-42A8-B221-1BD7CFA1B9B4

Curating Spaces For Our Barndominium Home

Since tax season has rolled around, I knew that I would need a space to work on our taxes, instead of sitting on the concrete floor. I have not had a desk since our move and had been teaching/working at my dining room table! Our youngest two girls needed a space for schoolwork!

A855ECC8-1739-43BF-9D7F-79F38528ABFEOur Vision Coming to Life

I have had this vision of what I wanted this space to look like for the past several months. I enjoy roughly sketching out designs for our home. I want to make sure that every single inch of our almost 1,700 square foot barndominium, to be useful and curated to our family’s specific needs.

Supplies needed:

~2-2x12x12 foot boards

~3-Quarter inch pipes

~3-Quarter inch floor/wall flange  

~Stain- Minwax Semi-Transparent Red Oak (on hand)

~1.5 inch wood screws  (on hand)

BFFCC0CB-45FD-4DFD-9260-EFB96C4F0446

Assembling the Desk

The first item on our agenda was sanding down the wood on all sides. My husband also had to trim one of the boards, as it was uneven.  Next we counter-screwed the boards together.  

E671E5CD-9D78-42CE-A4DE-D4FF6A81EDE1

After the boards were counter screwed, we applied a light coat of the stain on either side.  

DB83488C-D30A-4AE5-814B-4F899ED6E5E1

Next up was installing the quarter inch pipes and wall flanges to the wall. Measure how far apart you want your “brackets” to be and mark with a pencil.

F7668B5D-06B8-4E72-95B0-CF1D9D59F7C2

Add your 1.5 inch screws to the studs in the quarter inch pipes and your done! Place your desk top on the “brackets” that you’ve installed! Done!

Styling our Work Space

A94A9E6B-7760-49ED-B707-BC1C225DA709

We still have a check list of items to finish. I need three barn lights to go over each desk area. I also need to build two bottom cabinets for either side of my desk area, which will hold my printer/computer on one side then files/desk items on the other side.

C8DE8E5E-401E-49D1-A612-DE01D2E29A7A

I’ve bought three white mid century chairs, along with a couple cork boards for the girls wall sides. The middle desk area is mine and I’ve added a vintage crib spring for my memo board. 

DB64C006-4F06-47F5-BDAF-9CC57D761774

 I am also adding pipe “brackets” to the wall with metal galvanized baskets to hold pencils, crayons, markers and color pencils.  I am loving how it is looking and can’t wait to update y’all with a finished look soon-probably on IG, so be sure to be following along with us on IG as we finish up with this project plus more on our barndominium build! 

168E6791-9308-4116-958C-32994C59467A


I would love for you to check out my other blogging buddies below and see what item they found from Trash to Treasure! You will never be disappointed with these ladies!

C50E3318-D4DF-4C1C-85AB-9E50C886F933

70004071-4825-4445-BB35-3B2FD5FBC917


Decorate and More with Tip

Bluesky at Home

The House House

Purple Hues and Me

Sweet Southern Grace

Baggott Farmhouse

Patina and Paint

The House on Silverado

Pallet and Pantry

Cloches and Lavender


What is a Barndominium? A Guide to Building, Costs, Plus Everything You Need To Know

EB01456E-7C4C-4C47-9BD5-36CED0CA5D65

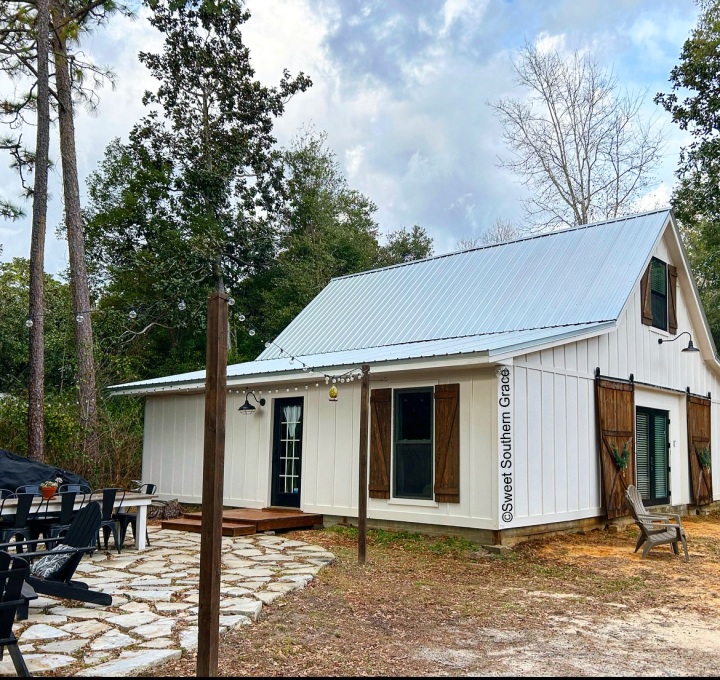
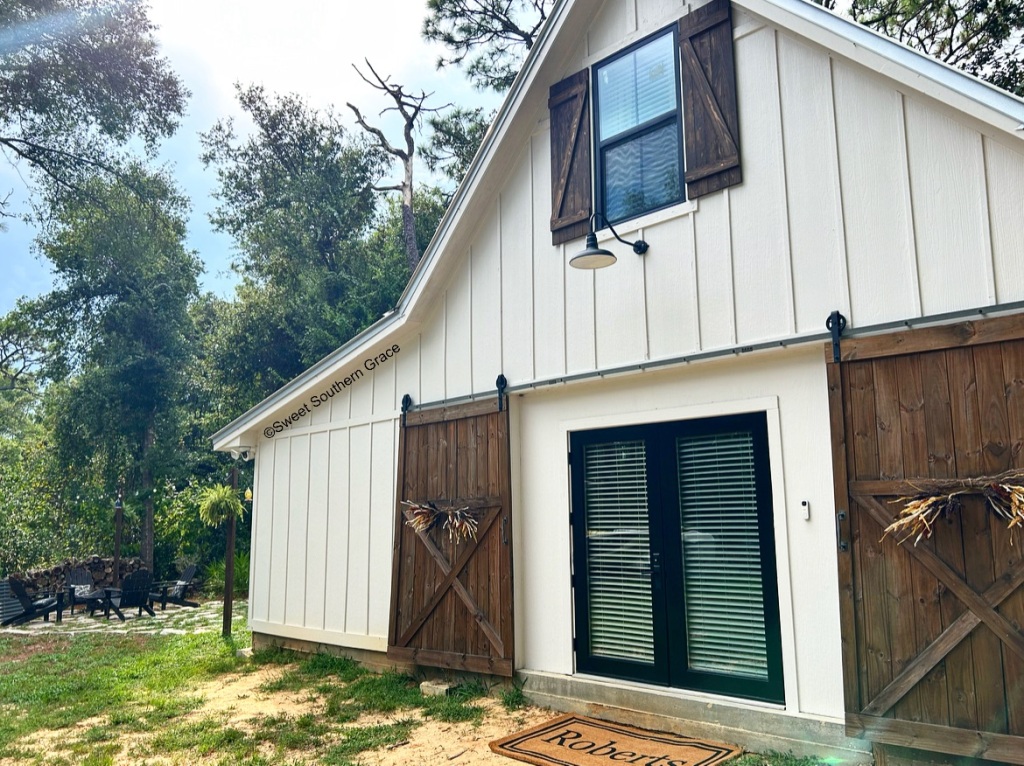
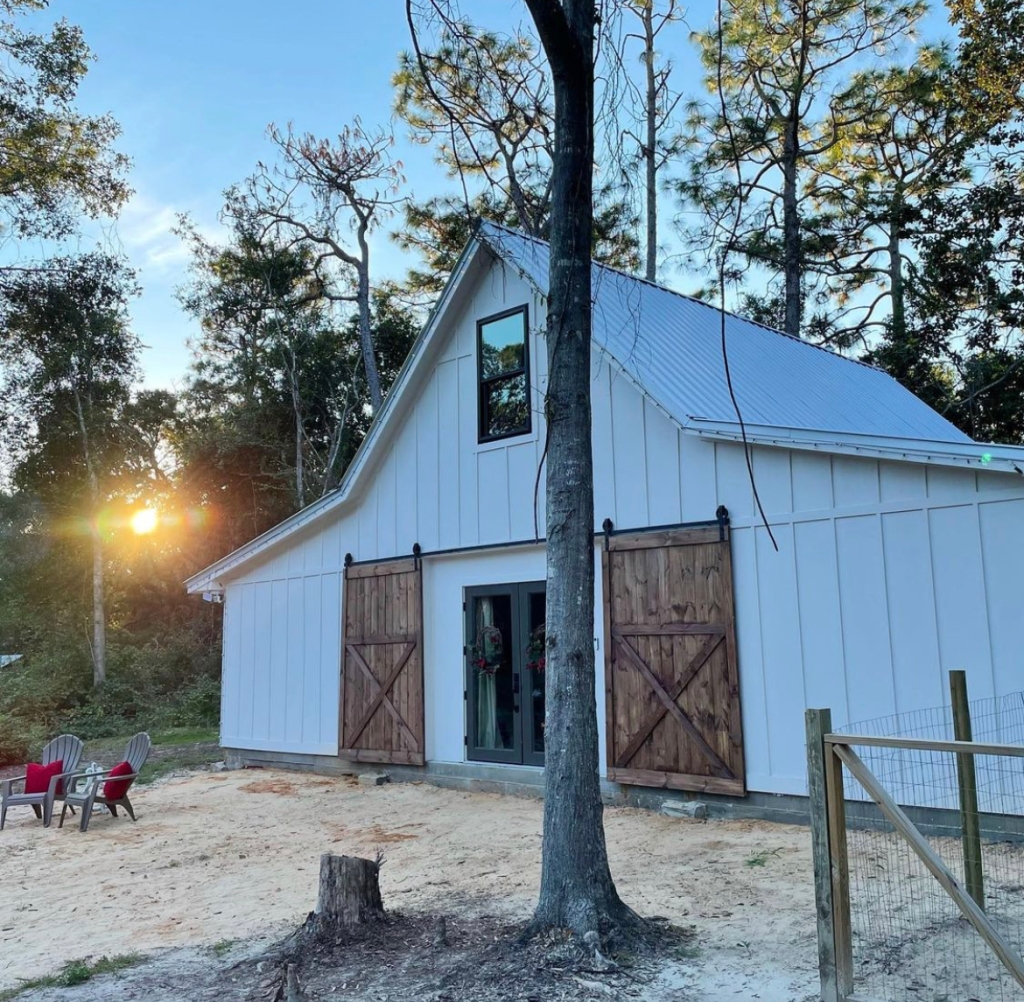
Summer of 2020, my husband asked me if i wanted to build a barndominium? A barndo-what? I am sure all of our friends and family thought we were a little crazy, as we took on such a huge project, with just myself, my husband and our oldest adult daughter.

9372B455-5008-41BF-85F0-0048EE354167

As we embarked on this barndominium journey, we began meeting people that were curious about doing the same! The further we got into our build, the more people we began meeting that were building barndominium’s, thus the barndominium pandemonium.

91034C8B-0484-4DFC-9BE8-2A41F4B437FE

Our family is finally finishing up on the last details of our barndominium. Projected finish date is summer of 2022. The burning question is, ”What is a barndominium?”.

What is a Barndominium?

Barndominiums are usually metal buildings that have an inside living quarter, which are very affordable, energy-efficient and low maintenance homes.

Barndominium’s can also be barn-to-home conversions, also called barndo’s. There is also an increasing number of ground up construction Barndominium’s like ours! Lots of Barndominium’s have an attached workshop/garage as well!

Many barndominium homes  feature  stained concrete floors, energy-efficient windows, engineered concrete slabs, spray foam insulation, efficient plumbing and high ceilings.

The sleek farmhouse design style has exploded in popularity and the barndominium helps you get that farmhouse look on the exterior, not just the interior. On the other end of the spectrum, other farmhouses are heavy on the rustic, countryside look.

What is a barndominium without a great room? Most feature an expansive, open-concept living room with high vaulted ceilings. Almost all barndominiums have a rectangular foundation, allowing the barndominium floor plan to be customized to your exact liking.

Barndominium Building-How long does it take to build?

Barndominiums take approximately 3-6 months to construct but construction time depends on size, customization and if you build on your own versus hiring a builder. We chose to be our own contractor and build our barndominium, ourselves! It took us about a month and a half to frame! Check out our framing video here! Our time frame from start of foundation pour to finish date is approximately 13 months. 

Barndominium Cost

How much does it cost to build a barndominium? Let’s break down a list of costs, associated with building a barndominium. 

Factors that go into the cost of a barndominium include:

* Location

*Size

*Custom Features

*Construction material pricing (fluctuation with pricing)

*Labor 

*Quality of materials being used

Barndominium’s have the option to purchase barndominium kits, which include components of walls, roof, ect.  We looked into buying a kit, but the cost was higher in comparison to buying them on our own.  The pricing of materials have fluctuated tremendously in 2021. As a result, construction pricing has been harder to predict as it is continously changing.

Below is a general price range for each component of a barndominium:

Kit $20,000-$90,000

Structural Engineer-$1,500-3,000- You will need a structural engineer to draw up your plans if you don’t buy a kit.

Land Clearing-$1,500-$20,000-Save money by renting tractors to clear the land on your own.

Labor for assembling-$30,000-$60,000-Save money by diy!

Insulation-$1,500-$3,000

Foundation-$5,000-$10,000

Roofing-$2200-$6,000

Siding-$2200-$5,500

Sewer-$1,200-$3,000

Electrical-$1,500-$15,000

Plumbing-$1,500-$5,000

HVAC-$5,000-$10,000

Permits-prices vary depending on location.

12646702-B46F-45CF-8459-EDB5D893297F

Our barndominium build was built 90% by my husband, myself and our oldest daughter (my best friend).

41399480-EB48-4171-B335-56DC01AFA04F

We did decide to pay for a local company to do the labor for our concrete. You can check out our concrete pour here.

9C00148E-0CE7-45F5-B8BA-0AD5BBAABB9B

We also had my Dad, my Father-In-Law to help with a few projects. My brother also helped when we put the roof on.

798FDC0C-FAC7-4B73-A6AA-7AE04D618A7A

Our oldest adult daughter has also helped throughout our build. She is so strong and is able to help her Daddy lift heavier items! We are so grateful for all of her hard work! We also can not fail to mention the hot meals, prayers and just fellowship from my Sister-In-Law, (my brother’s wife) plus countless other family and friends that kept us in their thoughts, prayers and offered a listening ear, during our build!

0C45C147-CBFD-49CA-A006-16BD3831DC21

Tips for Building your Barndominium-How have we been able to save money with our build? 

61502060-AB1A-43C2-B1BB-BCB9B54FC79F

Research, Research, Research!

Researching  is key and the golden ticket, in building and saving money! We did not buy a barndominium kit because it was cheaper for us to buy materials on our own instead of the kit. My husband even drew up our barndominium plans himself then I took it to a structural engineer to draw up the structural design plan! 

7F21DC8D-CE3F-4CC4-9F86-5E2DFA857597

Shop Local Habitat for Humanity 

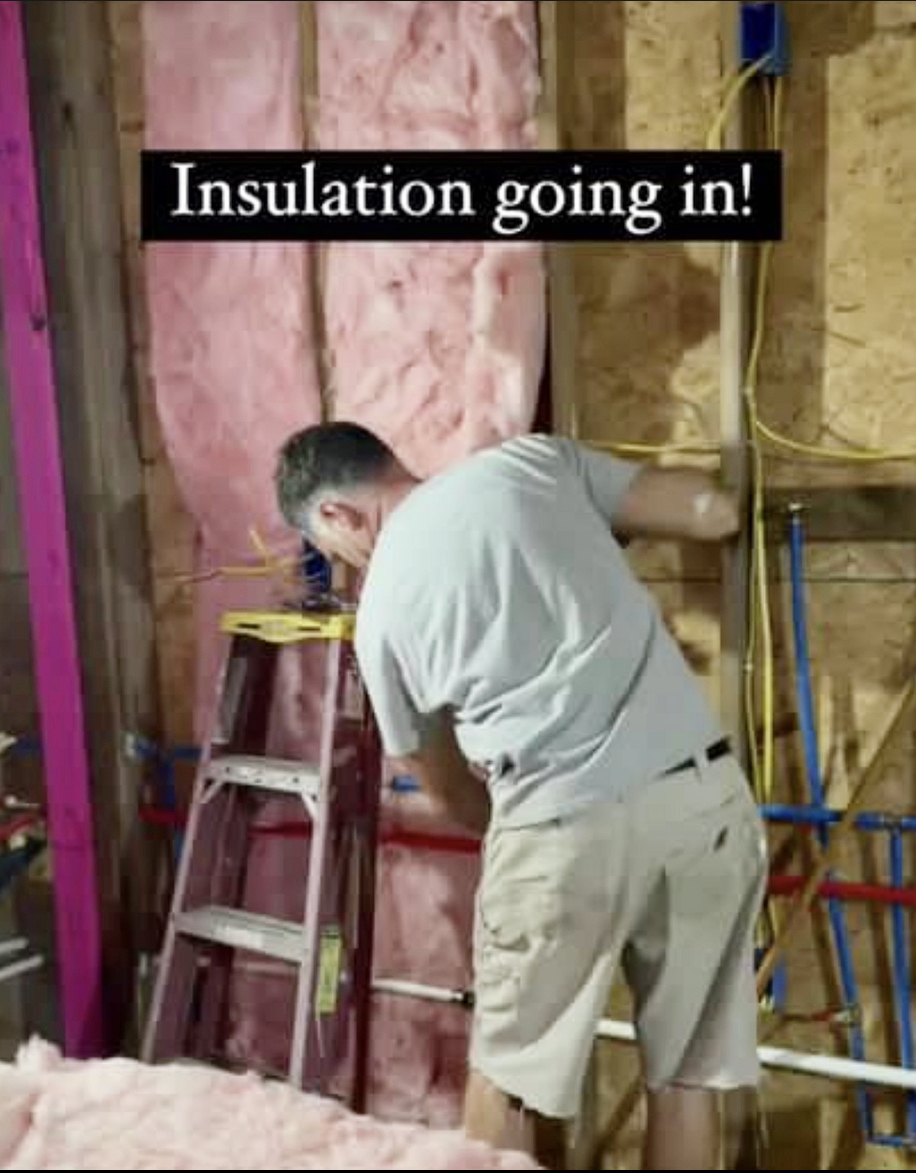
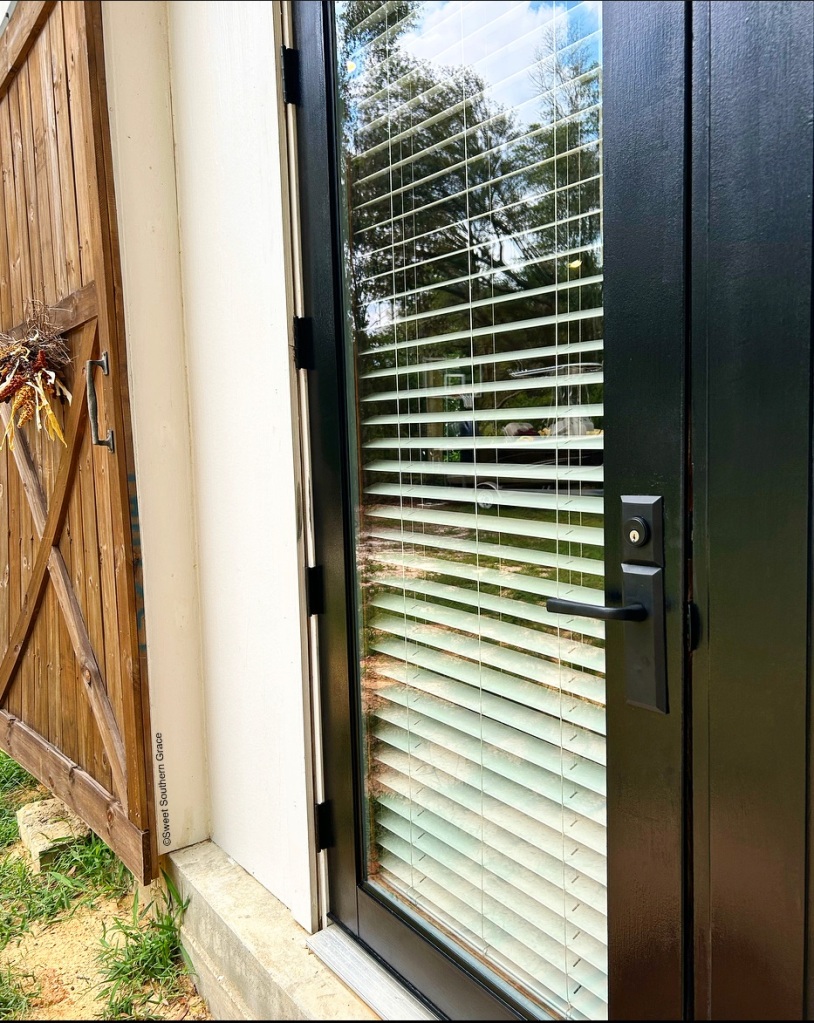
We shopped at local Habitat for Humanity and found windows, doors, insulation, nails and dry wall. Some of the items were new and some gently used! We saved over 5k just on windows and doors! Currently we saved over 1k on insulation! We found dry wall for $7 a sheet! That’s over a 50% savings!! Try looking for local discount stores that sell building supplies at a discount. We were  willing to drive a distance to find materials that were cheaper! Check out our reel on how we saved at our local Habitat for Humanity! Buying used windows and doors needed our own touch, like our paint colors and door stains! It was easy, see?! 

0A137985-54E2-4185-AFAC-ABB6C7770817

DIY as much as you can!

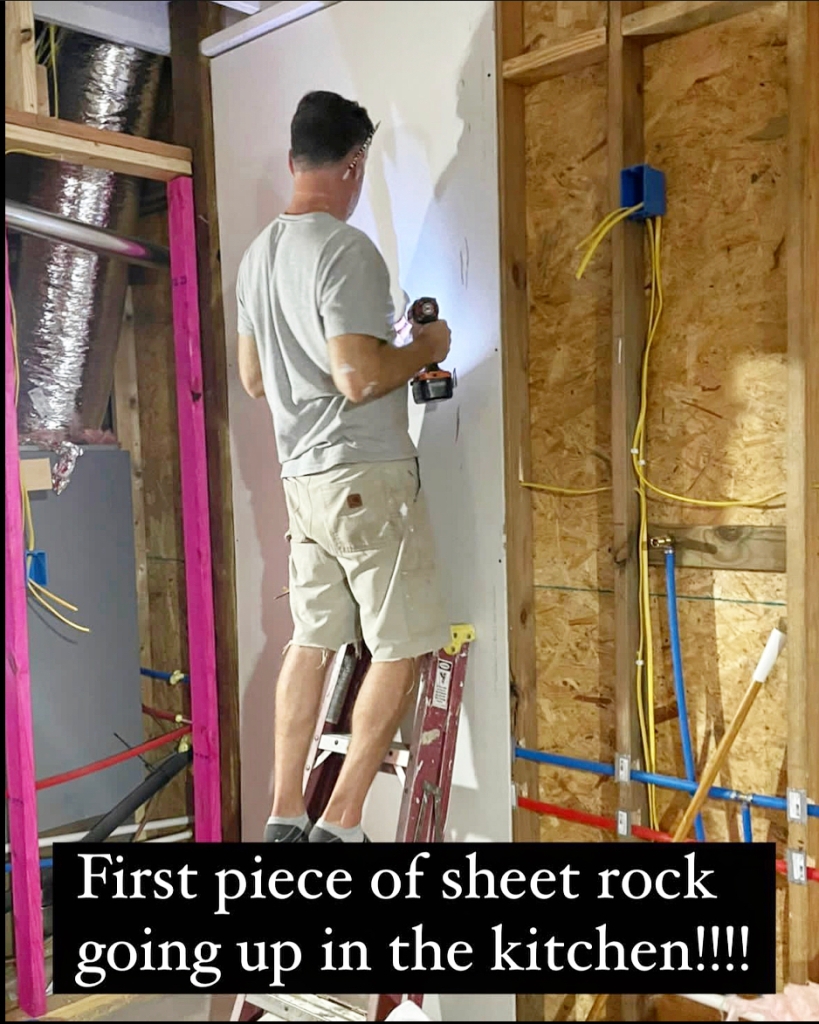
Learning to have a lot of patience during this progress, you can diy the majority of your build! Be willing to learn a new trade! Don’t say you can’t because you can learn a new skill! I have learned to build barn doors, frame a wall and more! Be patient! If you don’t know how to dry wall, learn! If you can’t install a kitchen faucet, learn! 

F5AE52D0-96E6-462B-ADA5-8FBEE9E888F1

With diy-ing almost everything ourselves, plus with me being an influencer ( I got around $20k in collaborations), we estimated that we’ve saved over $50k on our build! Check out one of our collaborations here

6478D690-0E3E-4AD6-8906-3384EBCC909A

Ask For Help

Don’t be afraid to ask for help! Family and friends are willing to help! I think my Dad could always sense when we were getting to the point of being overwhelmed with everything. There are certain points when he would ask if we needed his help. The roof was a huge one!

4CF23F37-44DC-4753-8D6A-7888D406760D

We still have projects to finish inside and even the outside of our barndominium. We even have four friends that are willing to drive hours away and come help with projects here this spring!! It is truly God ordained!

BDAD449E-5995-4A49-84AB-883A2181BF84

What have we learned?

We have learned that if you put your mind to something, that you can do it! We have learned a whole heck of a lot of humility, compassion and perseverance. When we wanted to give up, we turned to God. We we wanted to throw everything out of our non-existent windows, we gave it to Him! When we thought our purpose was one way, God had other plans and we stopped, allowed Him to carry out His plan for our family. 

91034C8B-0484-4DFC-9BE8-2A41F4B437FE

When it seems like your drowning and the project seems so massive, I promise, you will look back and be glad that you did it! If we can answer any questions, please reach out! 
4D857094-CBC6-4919-9B81-93A7014452D6