
I am excited to share about a project that is near and dear to our family’s hearts. When our #3 daughter was turning 2 years old, my husband and I designed and built a wood kitchen set for her!
This is our number one, two and three daughters decorating cookies for Santa! When we built the kitchen set (far right), we also build a table and chairs set too. This photo is circa 2014.

When their baby sister came along…
Photo is circa early 2016!

…and we couldn’t wait until our youngest two were able to enjoy playing with it together! We have had this in our home for the past 8 plus years! Plus, all of their cousins have enjoyed coming over to visit and play with it too! How special!
I chalk painted the kitchen set and table/chairs set in white! Photo is circa 2018.

Now that the kitchen set has been outgrown, I wanted to repurpose it into something that would be enjoyed for a few more years to come! I thought it would be cool to turn the kitchen set into a Barbie ”Bardominium” Doll House. The first if it’s kind, I believe. Fitting for our family, as we’ve been building our barndominium for the past year and a half!

DIY Challenge with Glue
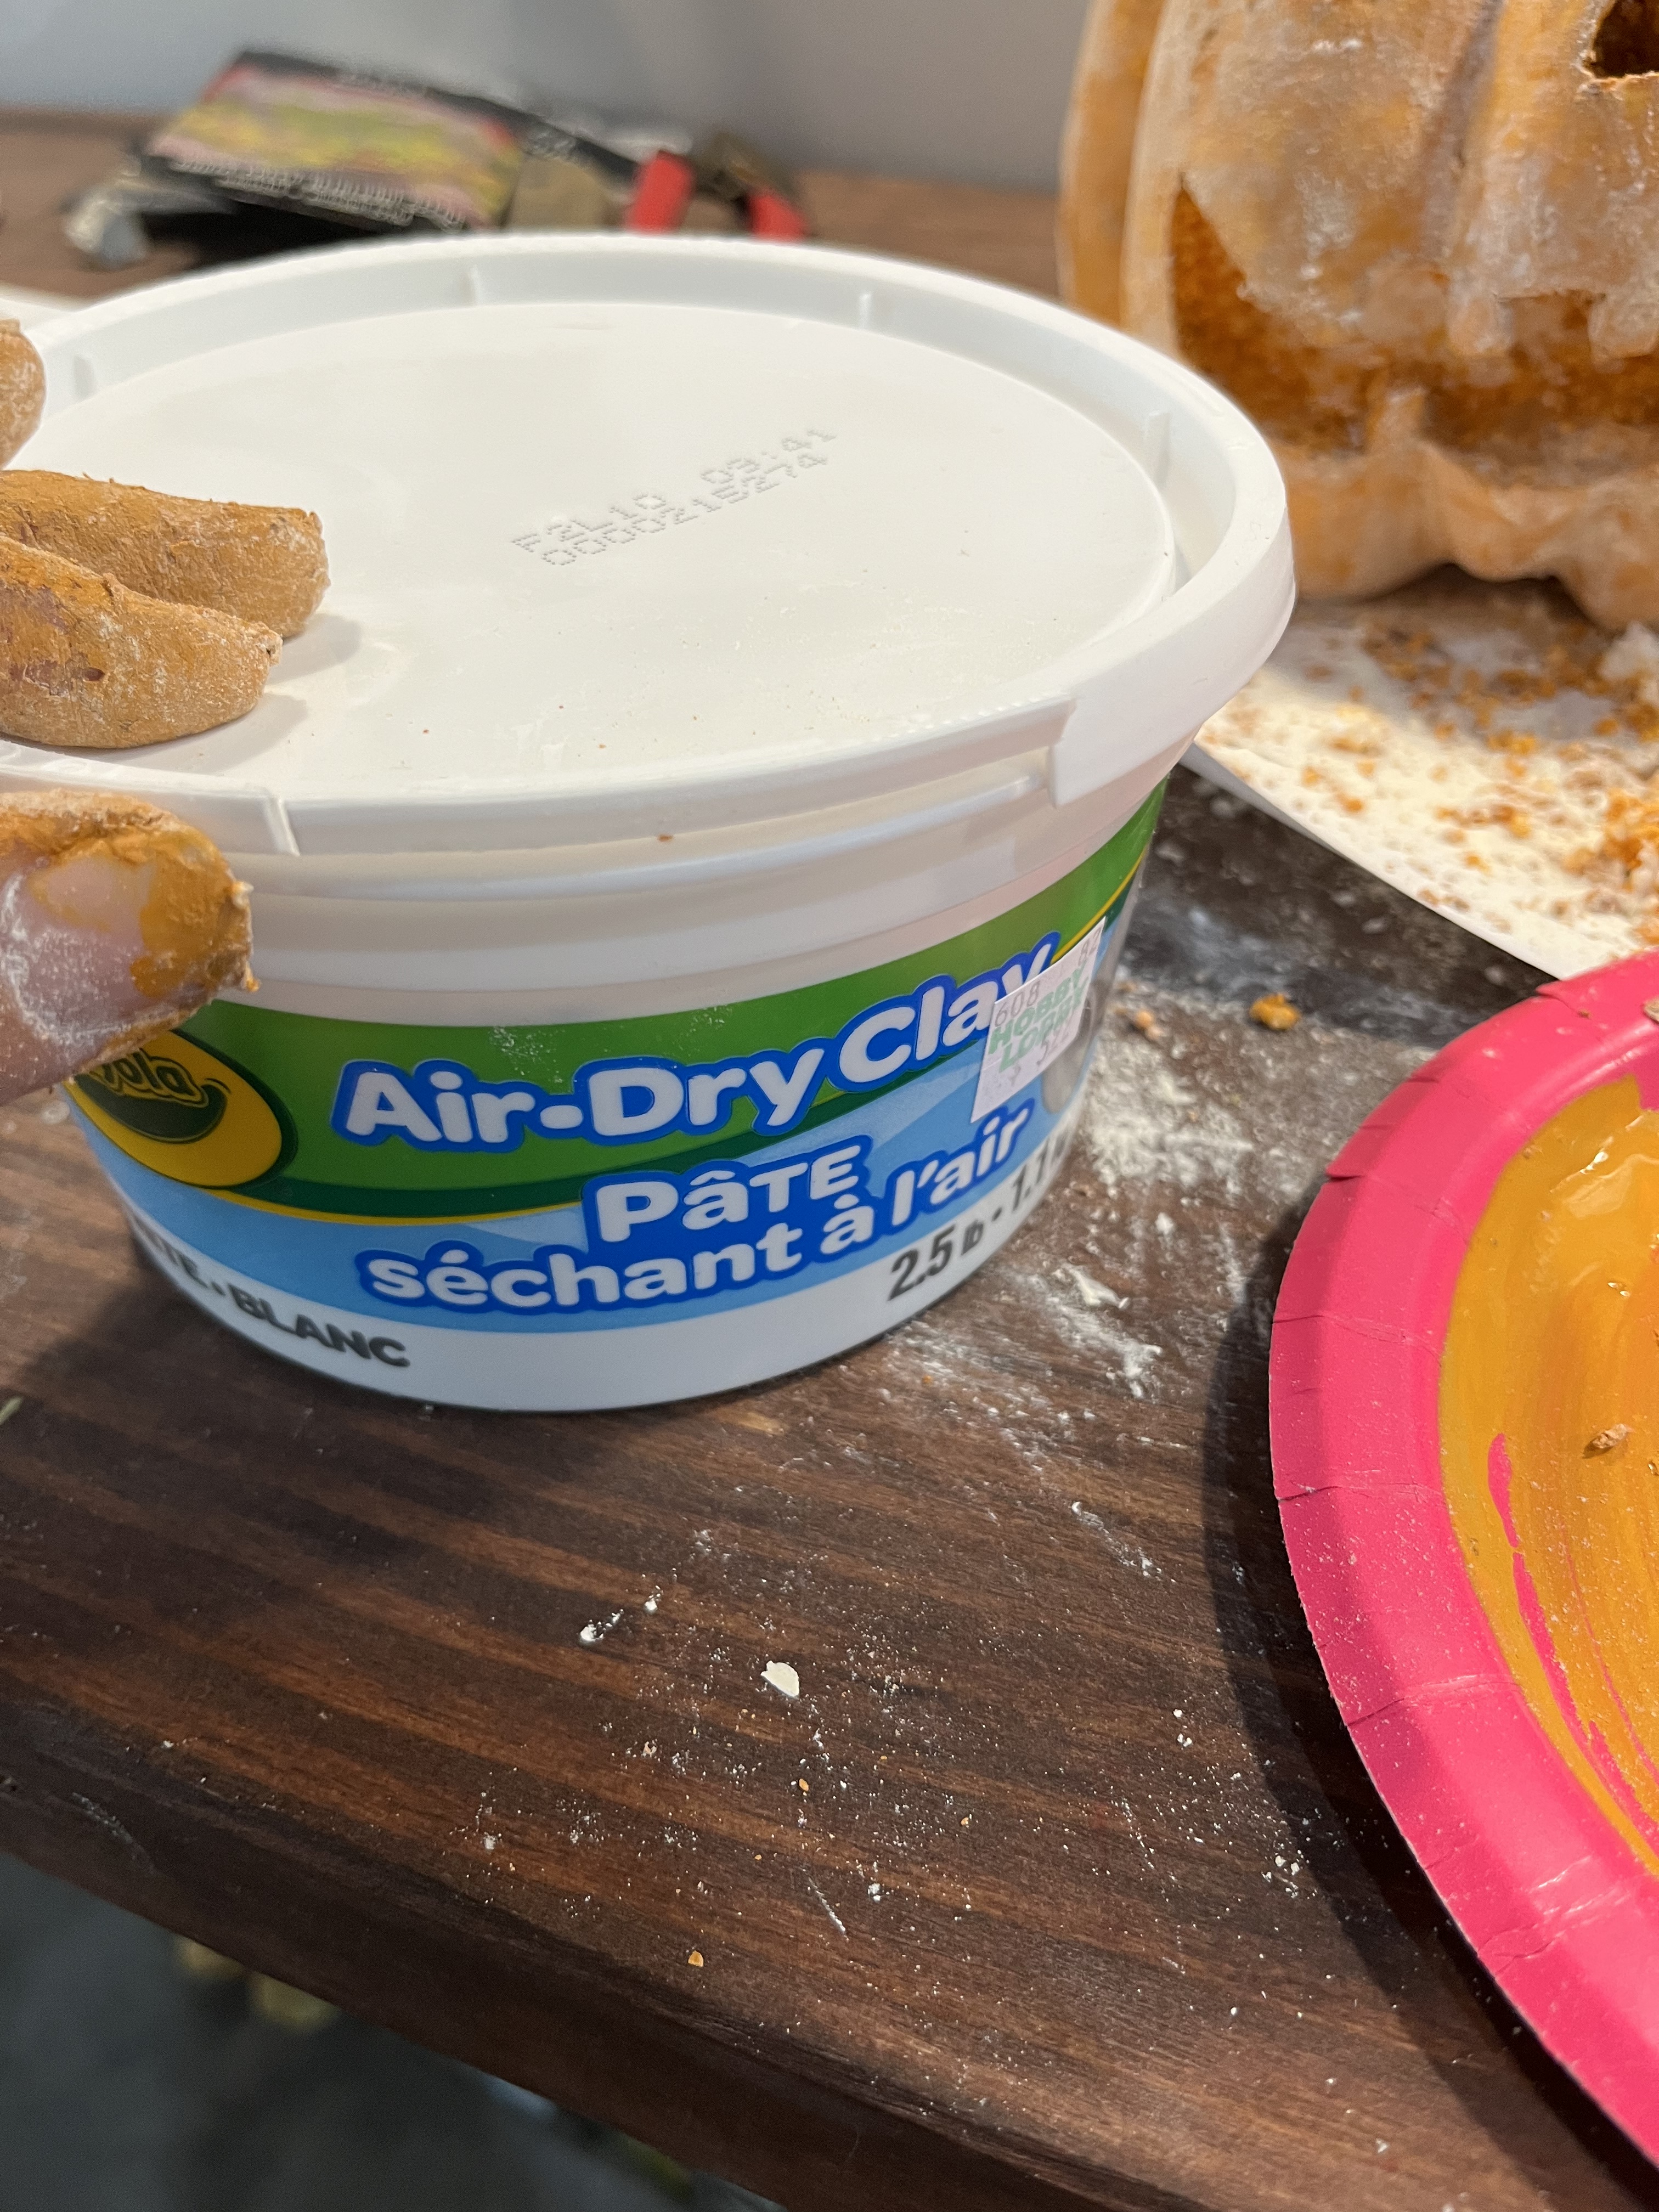
I’ve teamed up with my sweet friend (host) Terrie from Decorating & More with Tip, plus several other blogging buddies! Our goal is to do a diy type of project with any kind of glue. Challenge accepted! My glue of choice is hot glue!

Doll House Kitchen Backsplash
After we reconfigured the kitchen set into a dollhouse, I knew I wanted to ask my youngest daughter, what she wanted in her dollhouse. Definitely a kitchen, bedroom and bathroom. Ok. Those are attainable.
This is during the demolition process of the kitchen set!
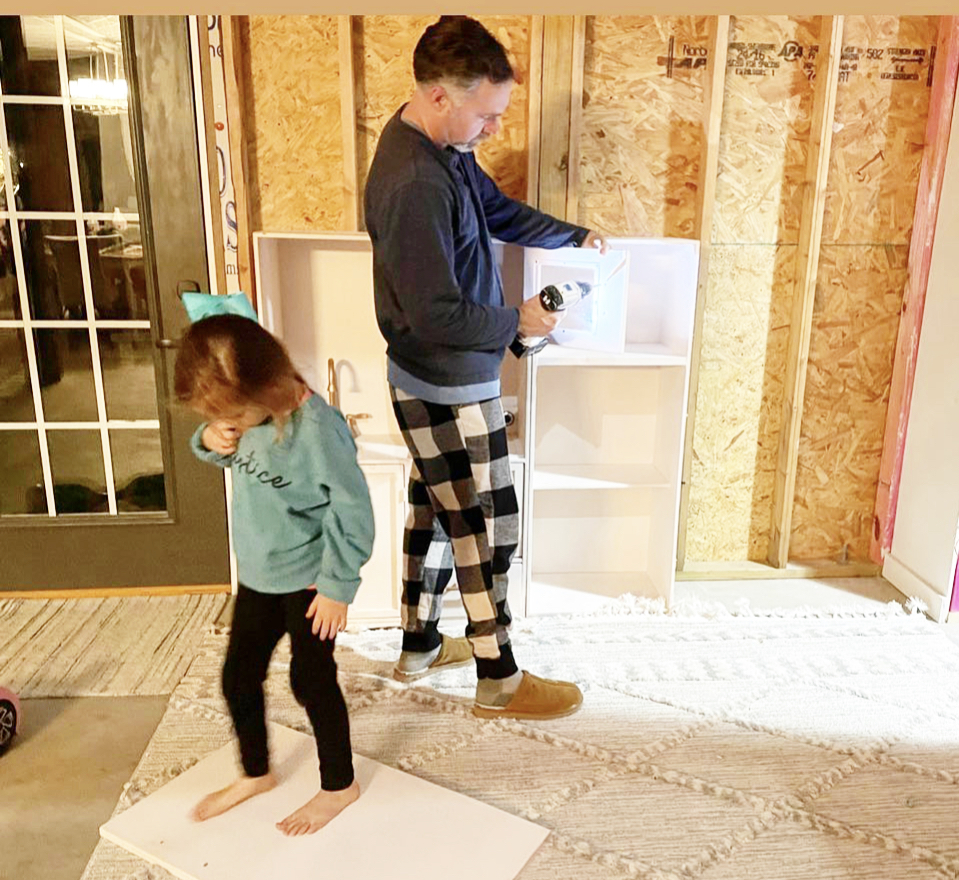
And this is part of the after. We salvaged every piece that we thought we could repurpose in some way.


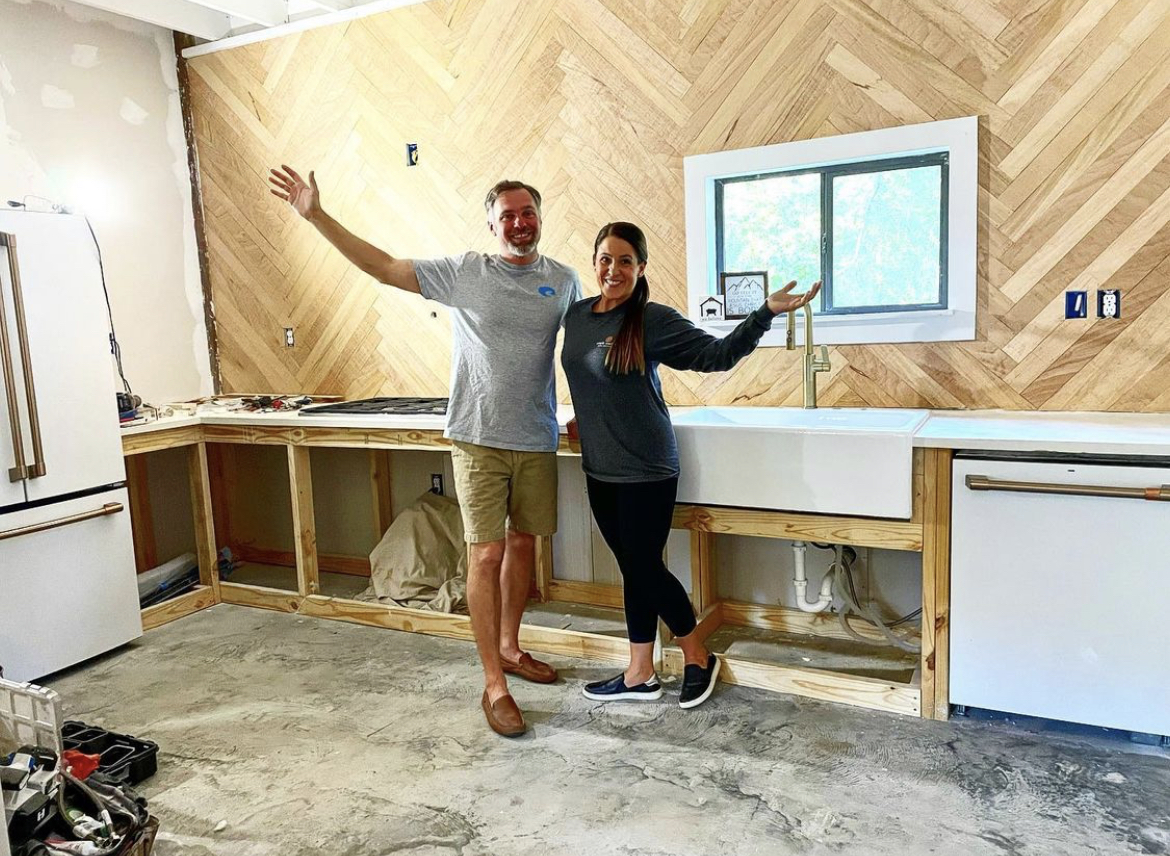
As I dove into all things dollhouse related-scale sizes of Barbie furniture, how to make little accessories, wood for building, ext, I thought about popsicle sticks for the backsplash in the doll house kitchen. Wait. Let me back up for a minute. If your new here, we did a wood herringbone backsplash for our barndominium kitchen. Check out our IG post here. Naturally we needed that in our dollhouse too, right?!
Dollhouse Plans
I always roughly draw up plans for whatever project I’m working on. Here is my drawings for the front and back of the dollhouse. Also, keep in mind, this is our version of a Barbie Dreamhouse, “Barndominium Addition” and made to look like our barndominium.

Front of the Dollhouse Rough Drawing.

Back of the Dollhouse Rough Drawing.

Dollhouse After
This is the dollhouse after we rebuilt it from the girl’s kitchen set. This is with almost two coats of paint! I had a great helper! Our youngest babe!

Supplies needed:
• Hot Glue Sticks
• Hot Glue Gun
• Wooden Popsicle Sticks
• Scissors
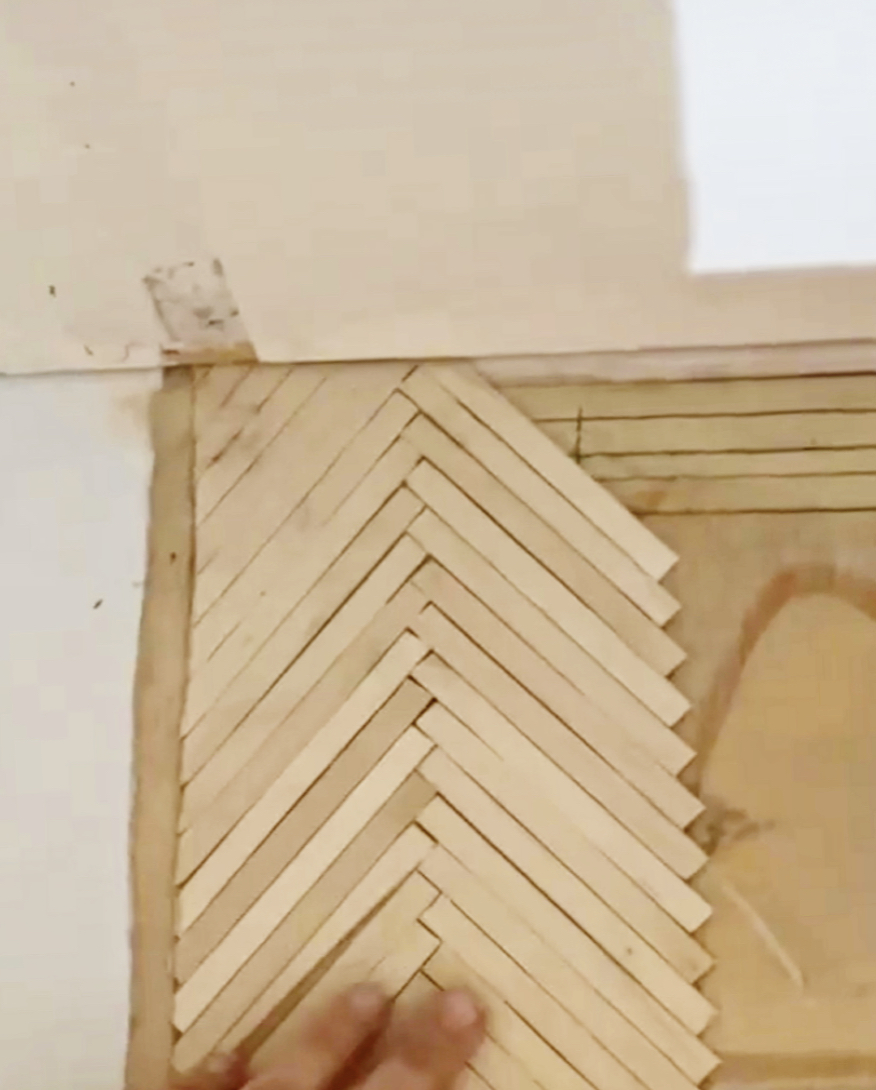
Herringbone Pattern Backsplash
The task may seem daunting but it is achievable! We used the herringbone pattern backsplash in our kitchen as a reference! The herringbone pattern started at the bottom edge of where the dollhouse countertop will go and continued making it’s pattern, all the way to the top. Then continued until both kitchen walls had been completed!
Photo from welshdesignstudio.com.

Measure
Basically, whatever size herringbone design you decide to make, which in our diagram is represented by the letter ‘W’, make your cuts based on the size of your space.
This is my very rough drawing.
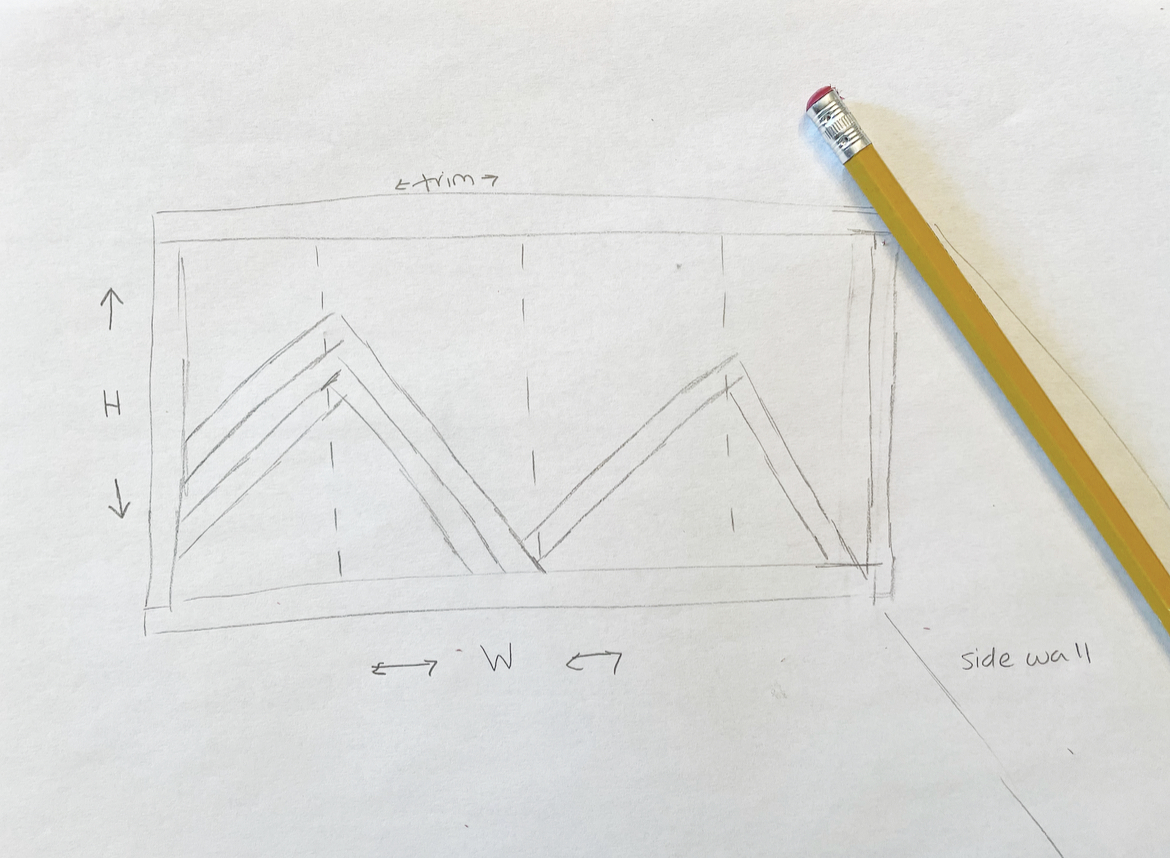
It’s basically a math equation based on height and width. The dollhouse was a little different than our actual kitchen backsplash. Check out welshdesignstudio.com to follow their mathematical equation!
Cut
I suggest cutting your pieces in sections, in case of any mistakes that are made. There will be some as it was a learning curve until I figured out that we could easily do a herringbone pattern if I made a math equation from the size of the space for the herringbone pattern. It’s kind of like simple algebra!
Stain, Paint and Protect
Stain or paint your wood. Since this was a dollhouse, we decided to leave the wood bare. Our kitchen backsplash in our home has two coats of poly in clear matte.
Lay Out Pieces
I suggest laying out your pieces first, which will help insure less mistakes! Trust me, we made some with the kitchen wall!

Add Wood
Now we are ready to add the wood to the space! Herringbone is such a beautiful, classic pattern to add to any home or dollhouse in our case!
If you don’t succeed, try, try again!
I tried three different options for the dollhouse kitchen backsplash before the third one worked! First was to draw on shiplap with a pencil then trace with a black permanent marker. Second, I tried horizontal shiplap. Finally my oldest daughter suggested the original idea I had had, which was to make the herringbone patterned shiplap. I finally agreed we should at least try it and it worked to our liking!
Finishing Thoughts
It’s really not to hard and the impact is amazing! We still have a ways to go with our dollhouse as it’s been a learning curve for me! I am so glad we went with the herringbone pattern!

Dollhouse Completion
The best way to follow along on the completion of the dollhouse is on IG, which I will link below!
I finally have figured out that balsa wood is the best for dollhouses! I am going to add the window trim and board and batten next! Then I will build the kitchen cabinets! It’s a process but I will make sure to blog about all things related to the dollhouse build as things become finished!
I hope you have enjoyed being here! I would love for you to follow along with us on IG for our dollhouse build and for our self built barndominium as well!
Please take some time and check out the other ladies in our blog to see what they’ve created with glue!


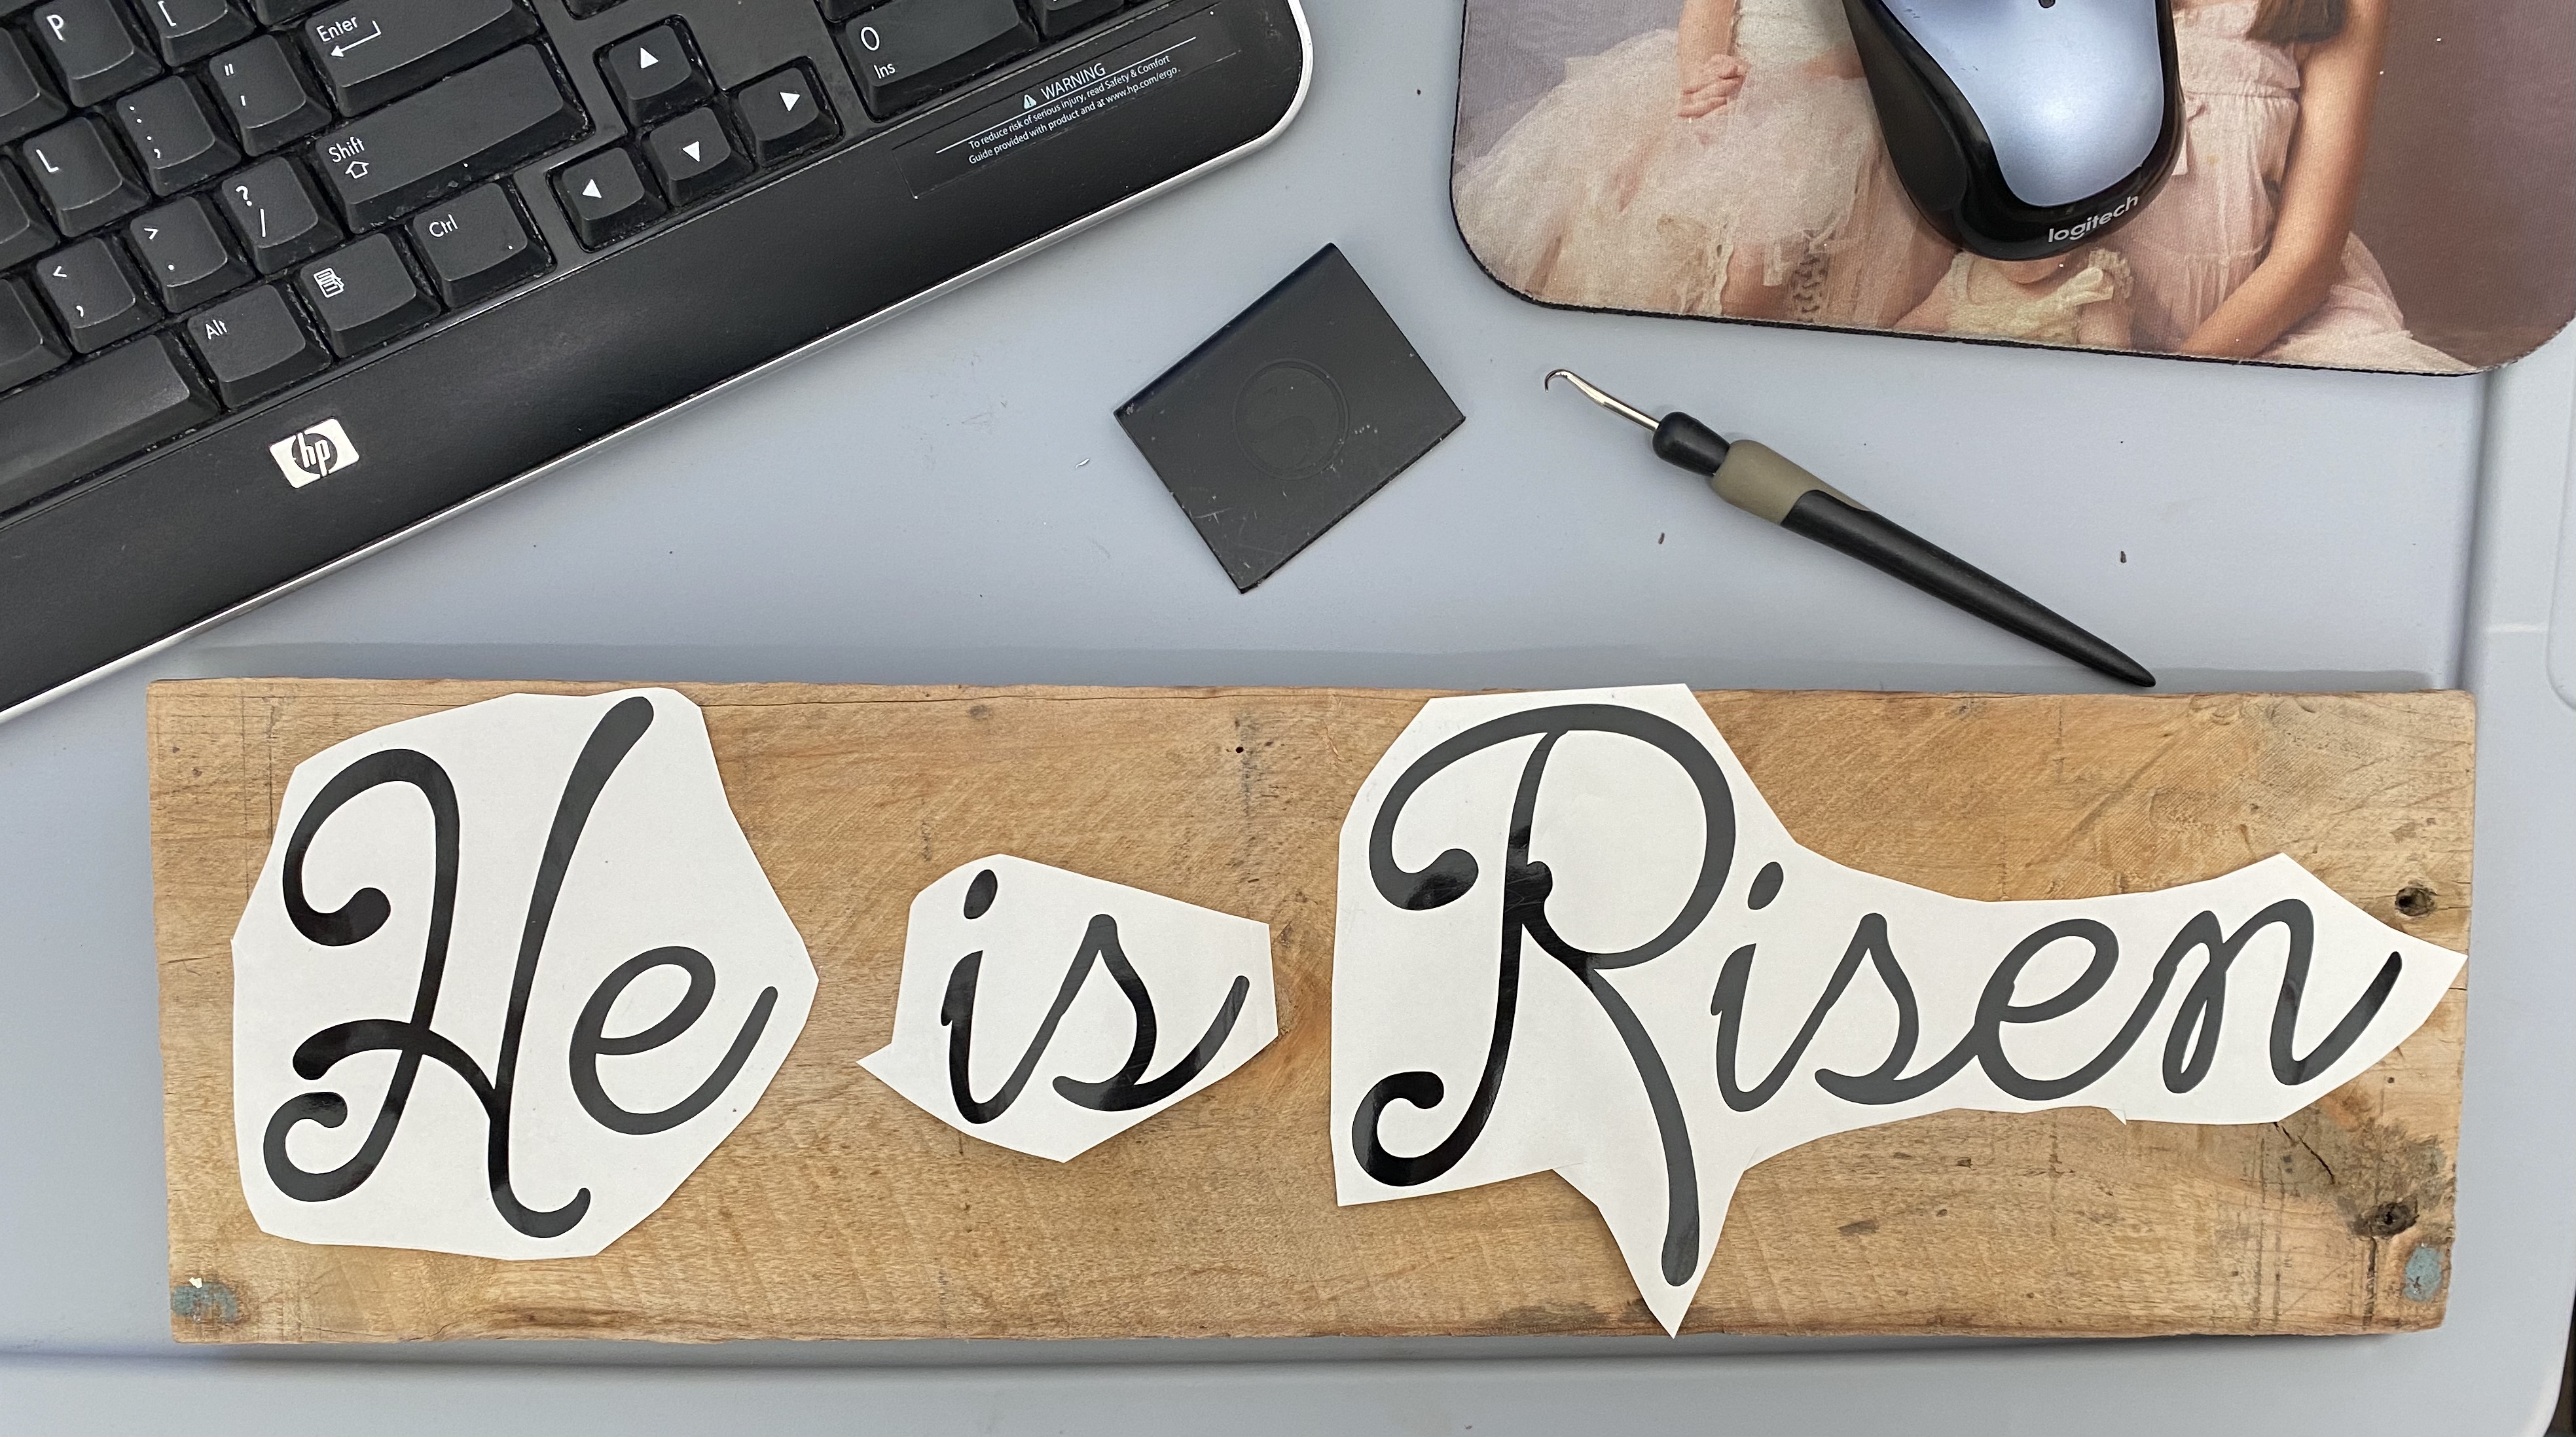
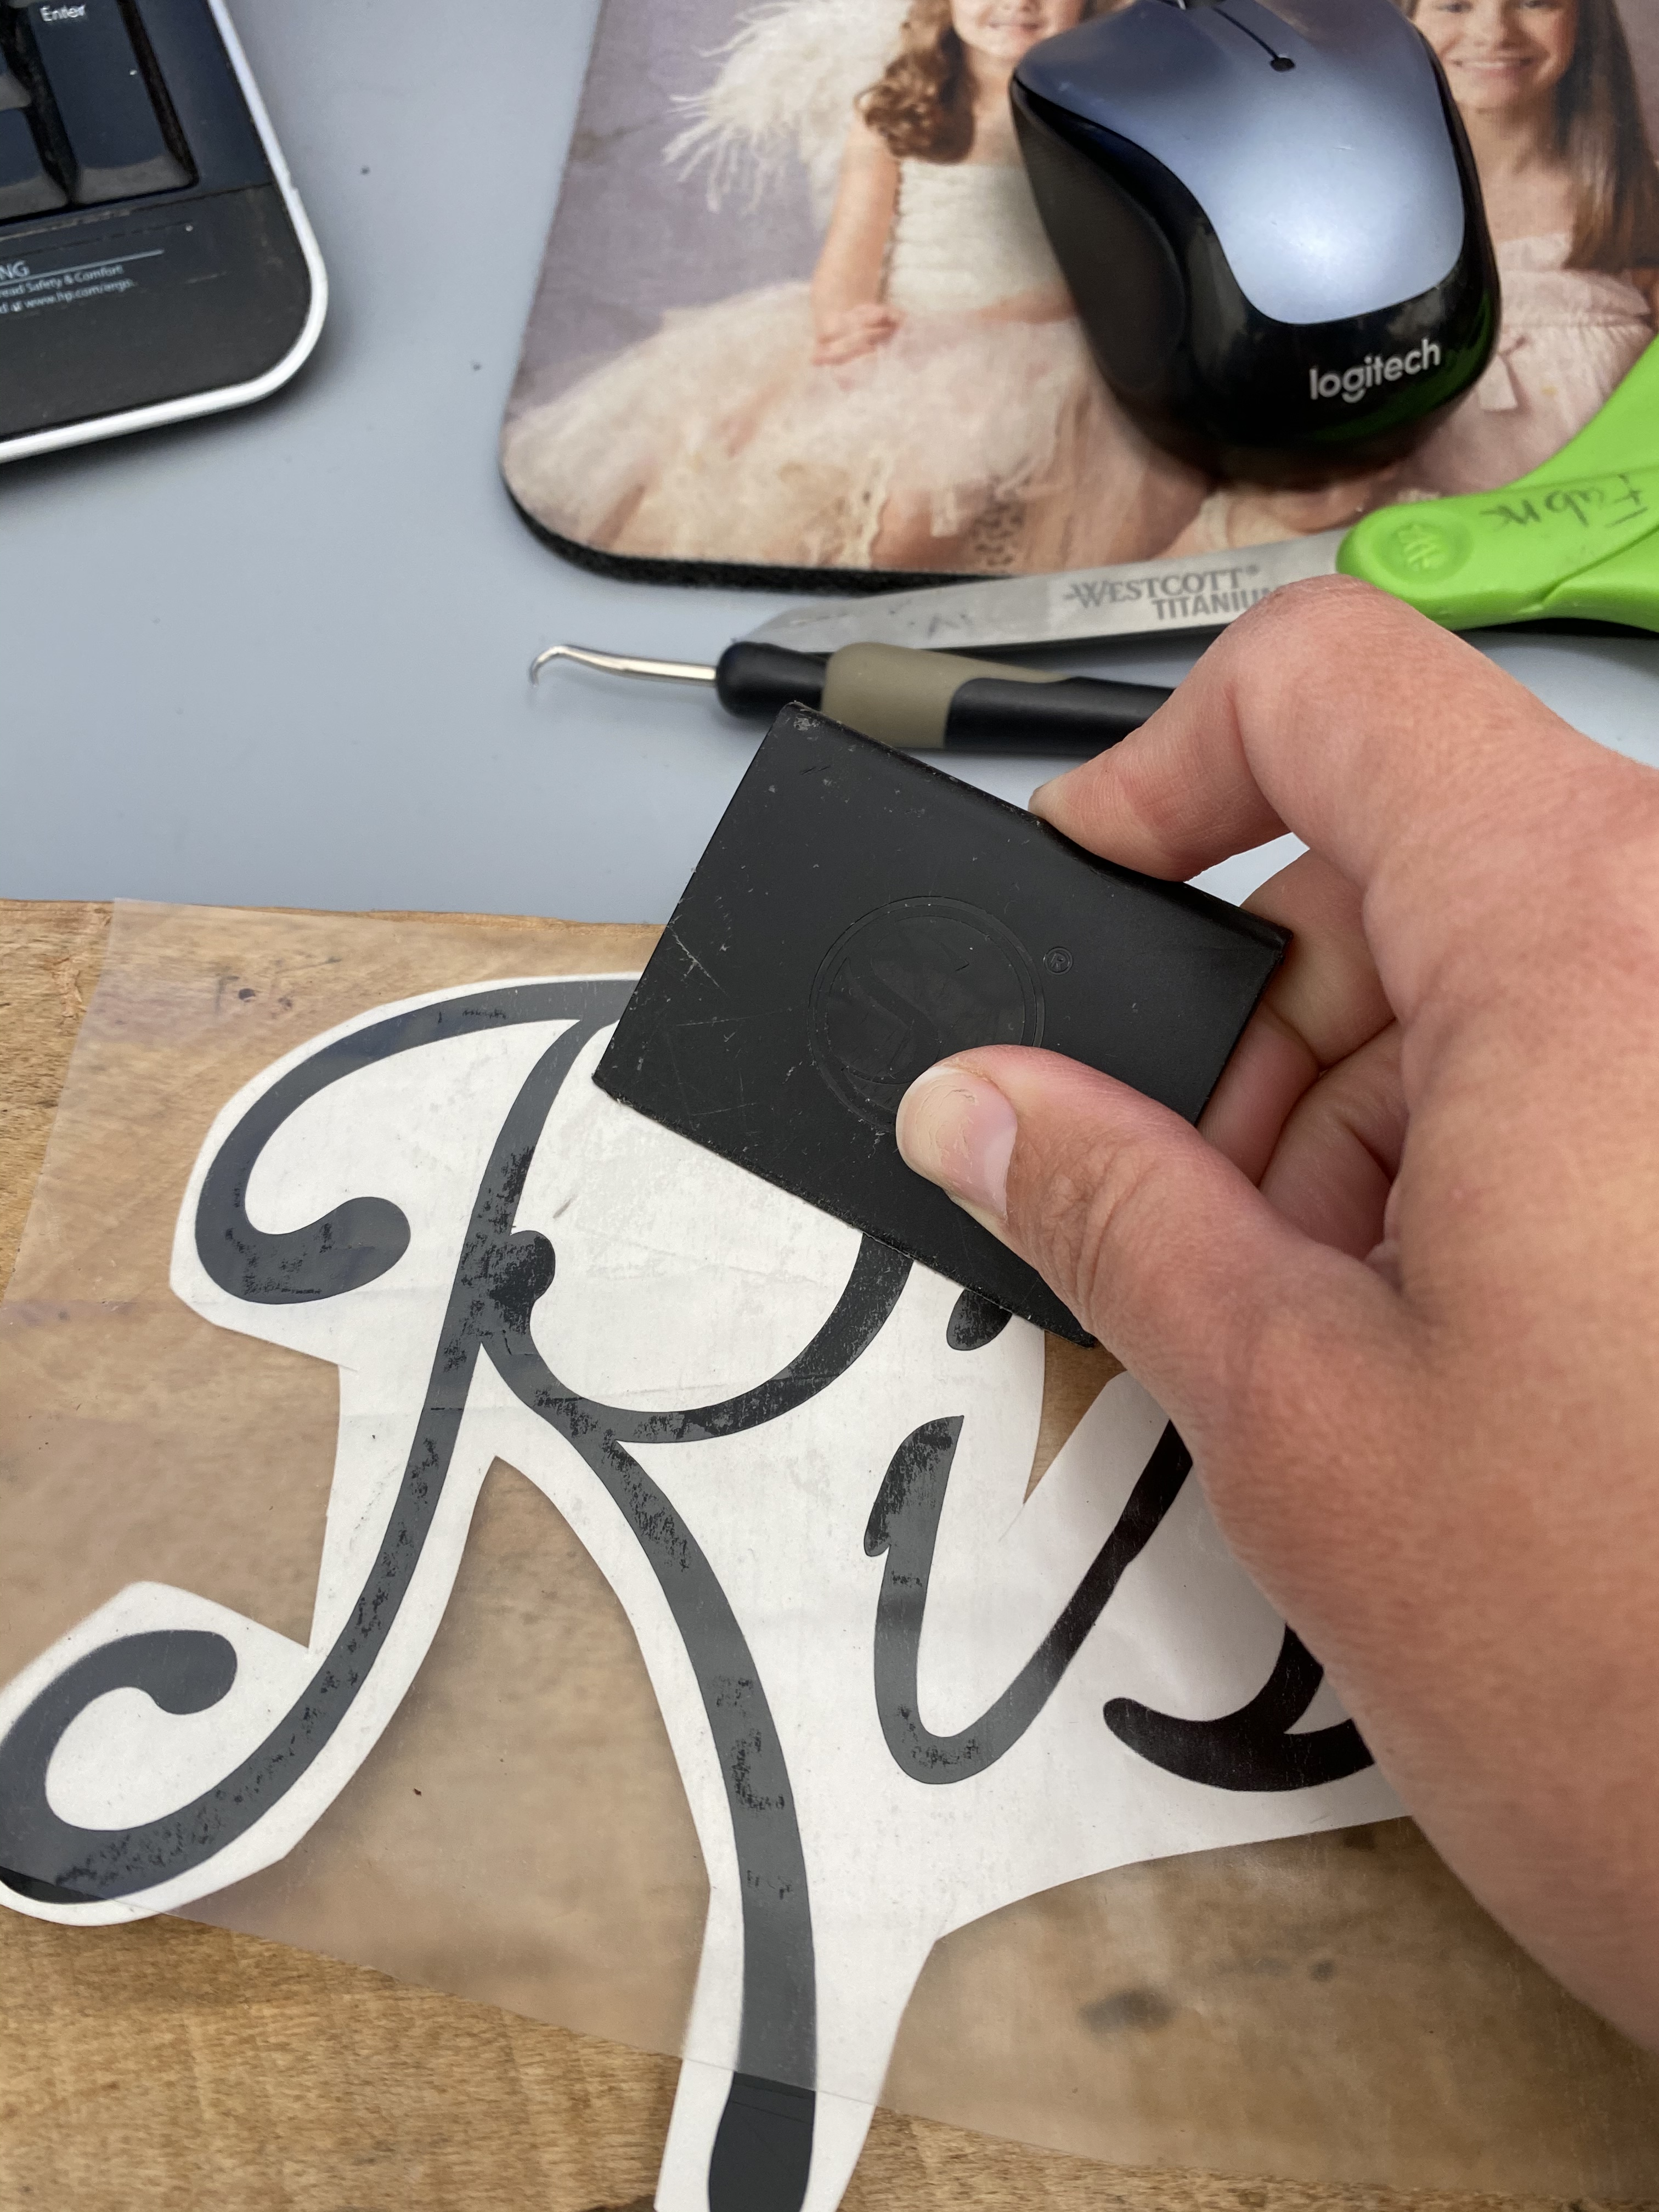
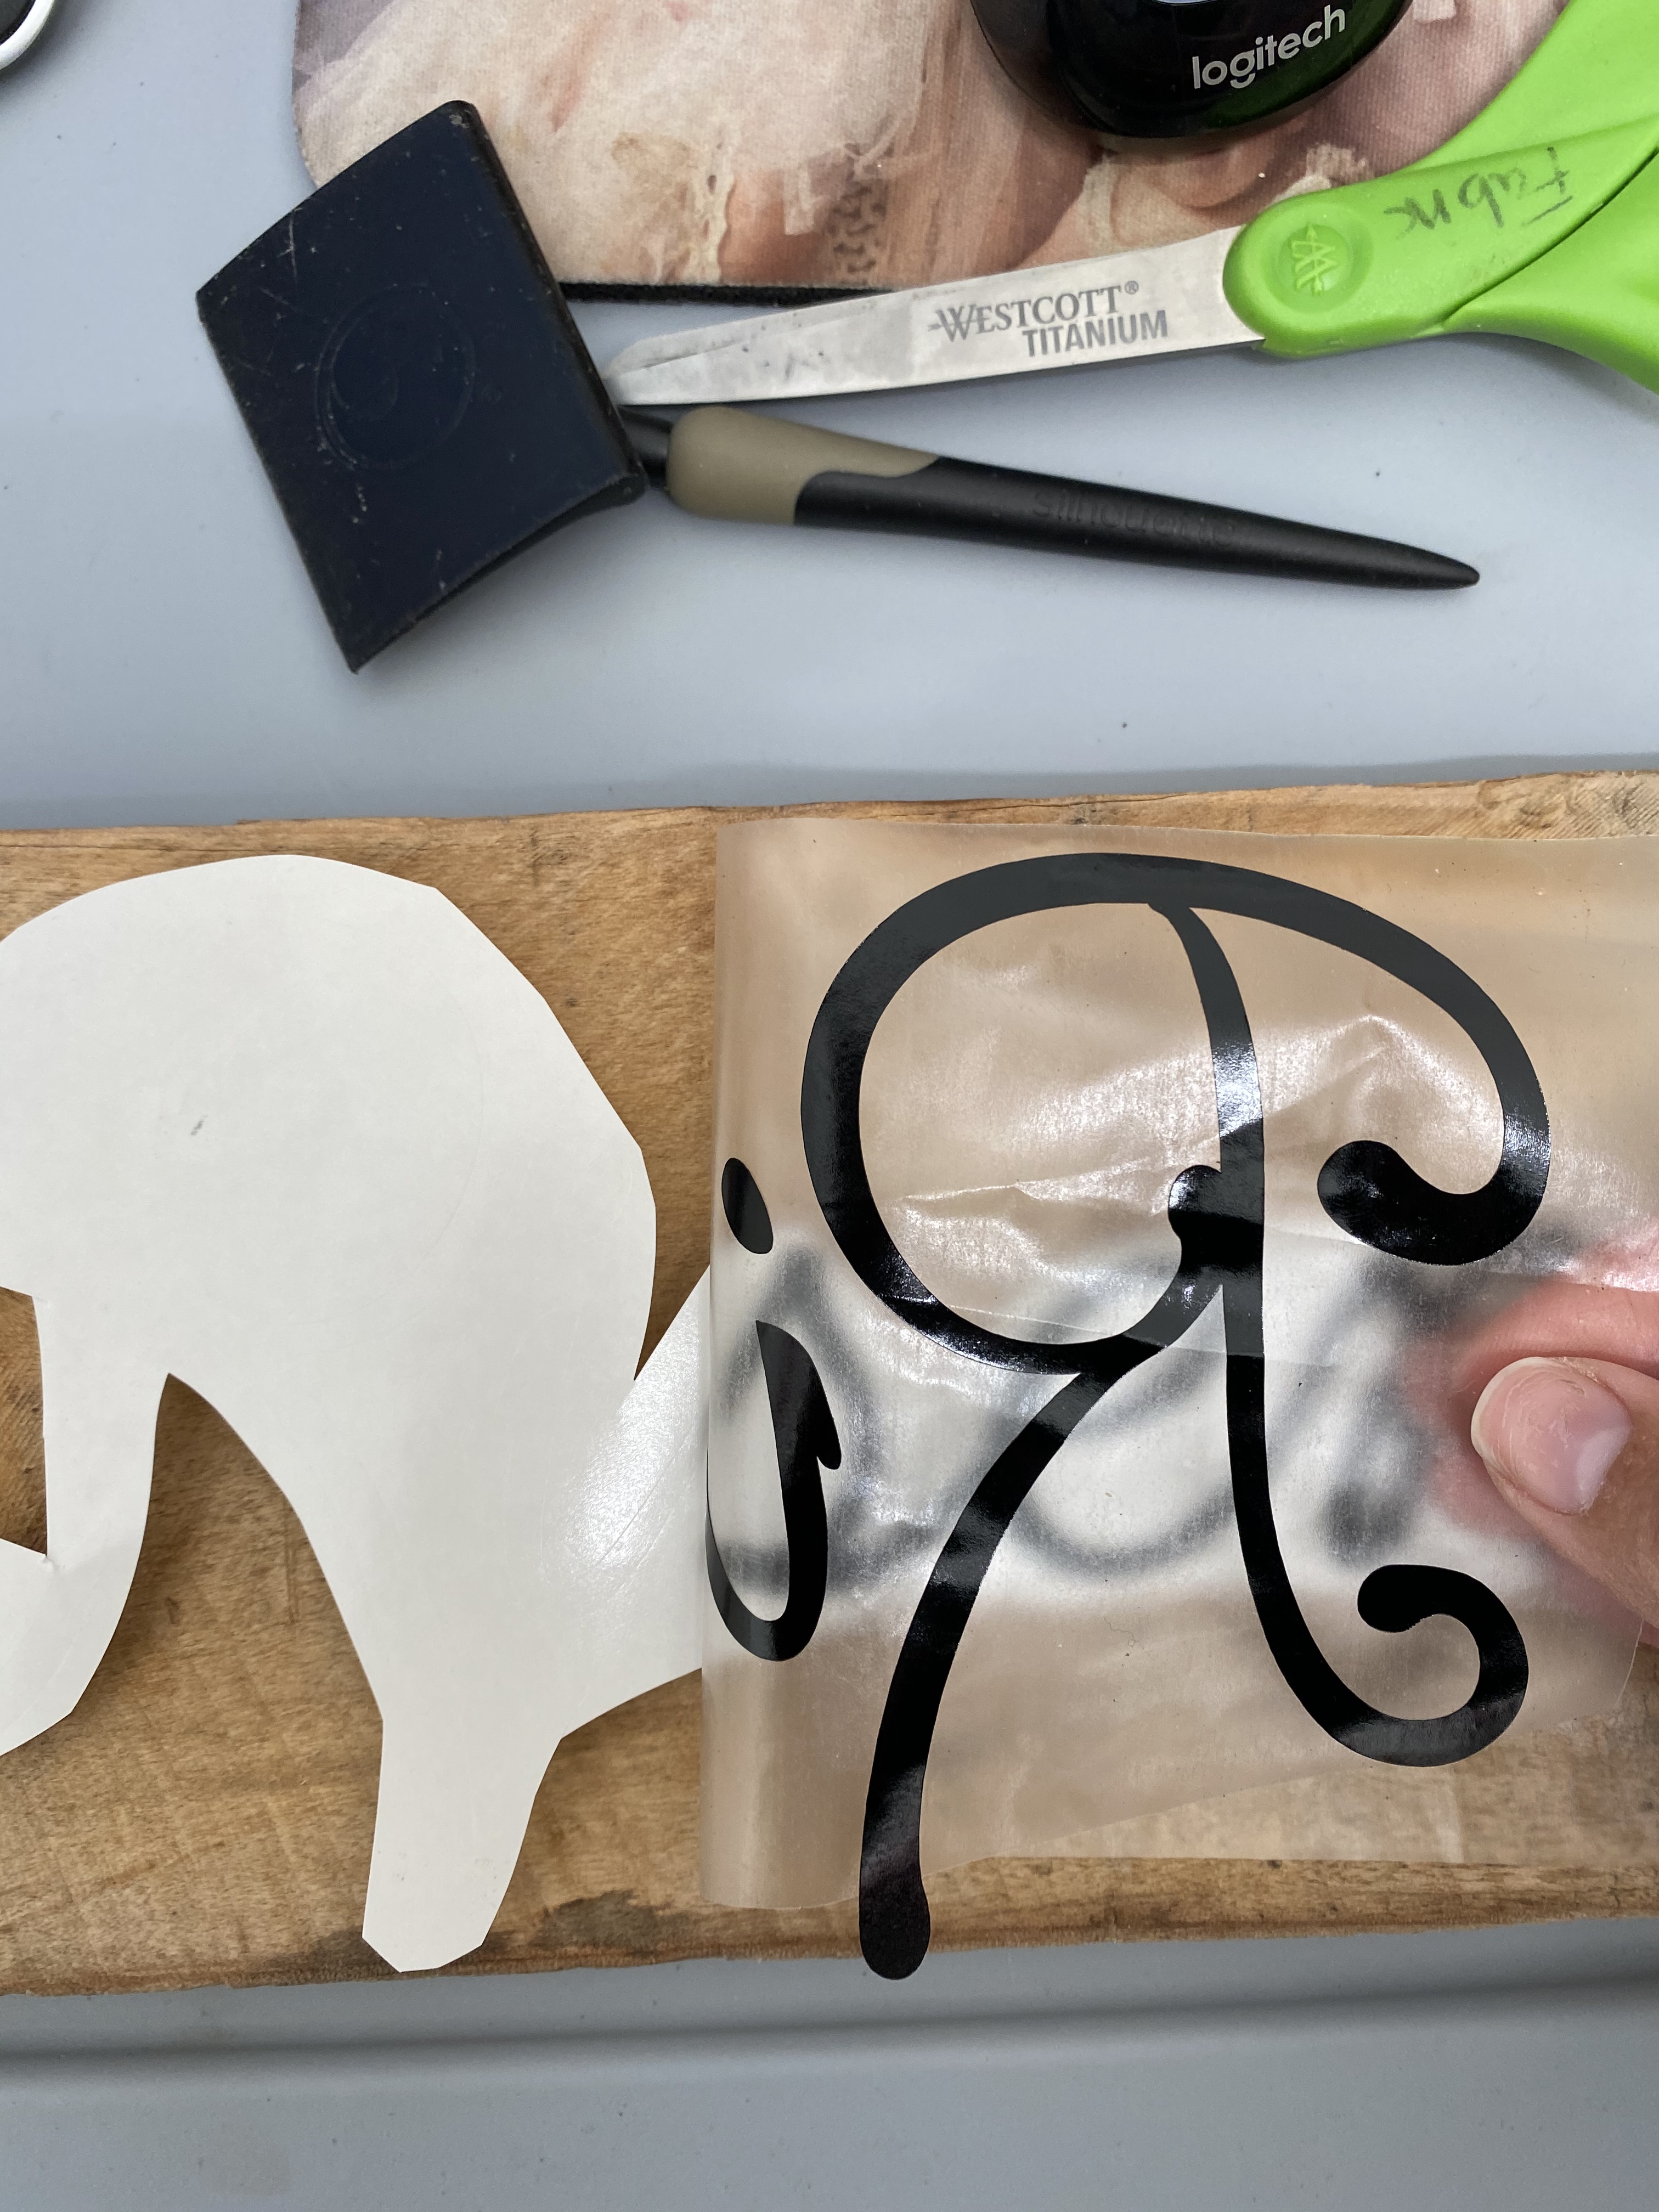
 I decided I could use the back of this sign for a different sign. The first vinyl design did not work out due to the size and file of the vinyl design. I realized this AFTER designing the entire design.


You must be logged in to post a comment.