Today I am teaming up with a multitude of fabulous bloggers to share a Spring Upcycle DIY! My friend Terrie from Decorating and More with Tip , heads up our group and the rules were as follows: The Spring Upcycle DIY must be something spring related and we need to upcycle something we already had on hand at home!

Challenge Accepted
Challenge accepted? Well, may be. I actually failed. Twice to be exact. I think I have a good excuse though and I did rise above it! We have literally everything we own in storage! I have very little to work with so I had to be super creative!
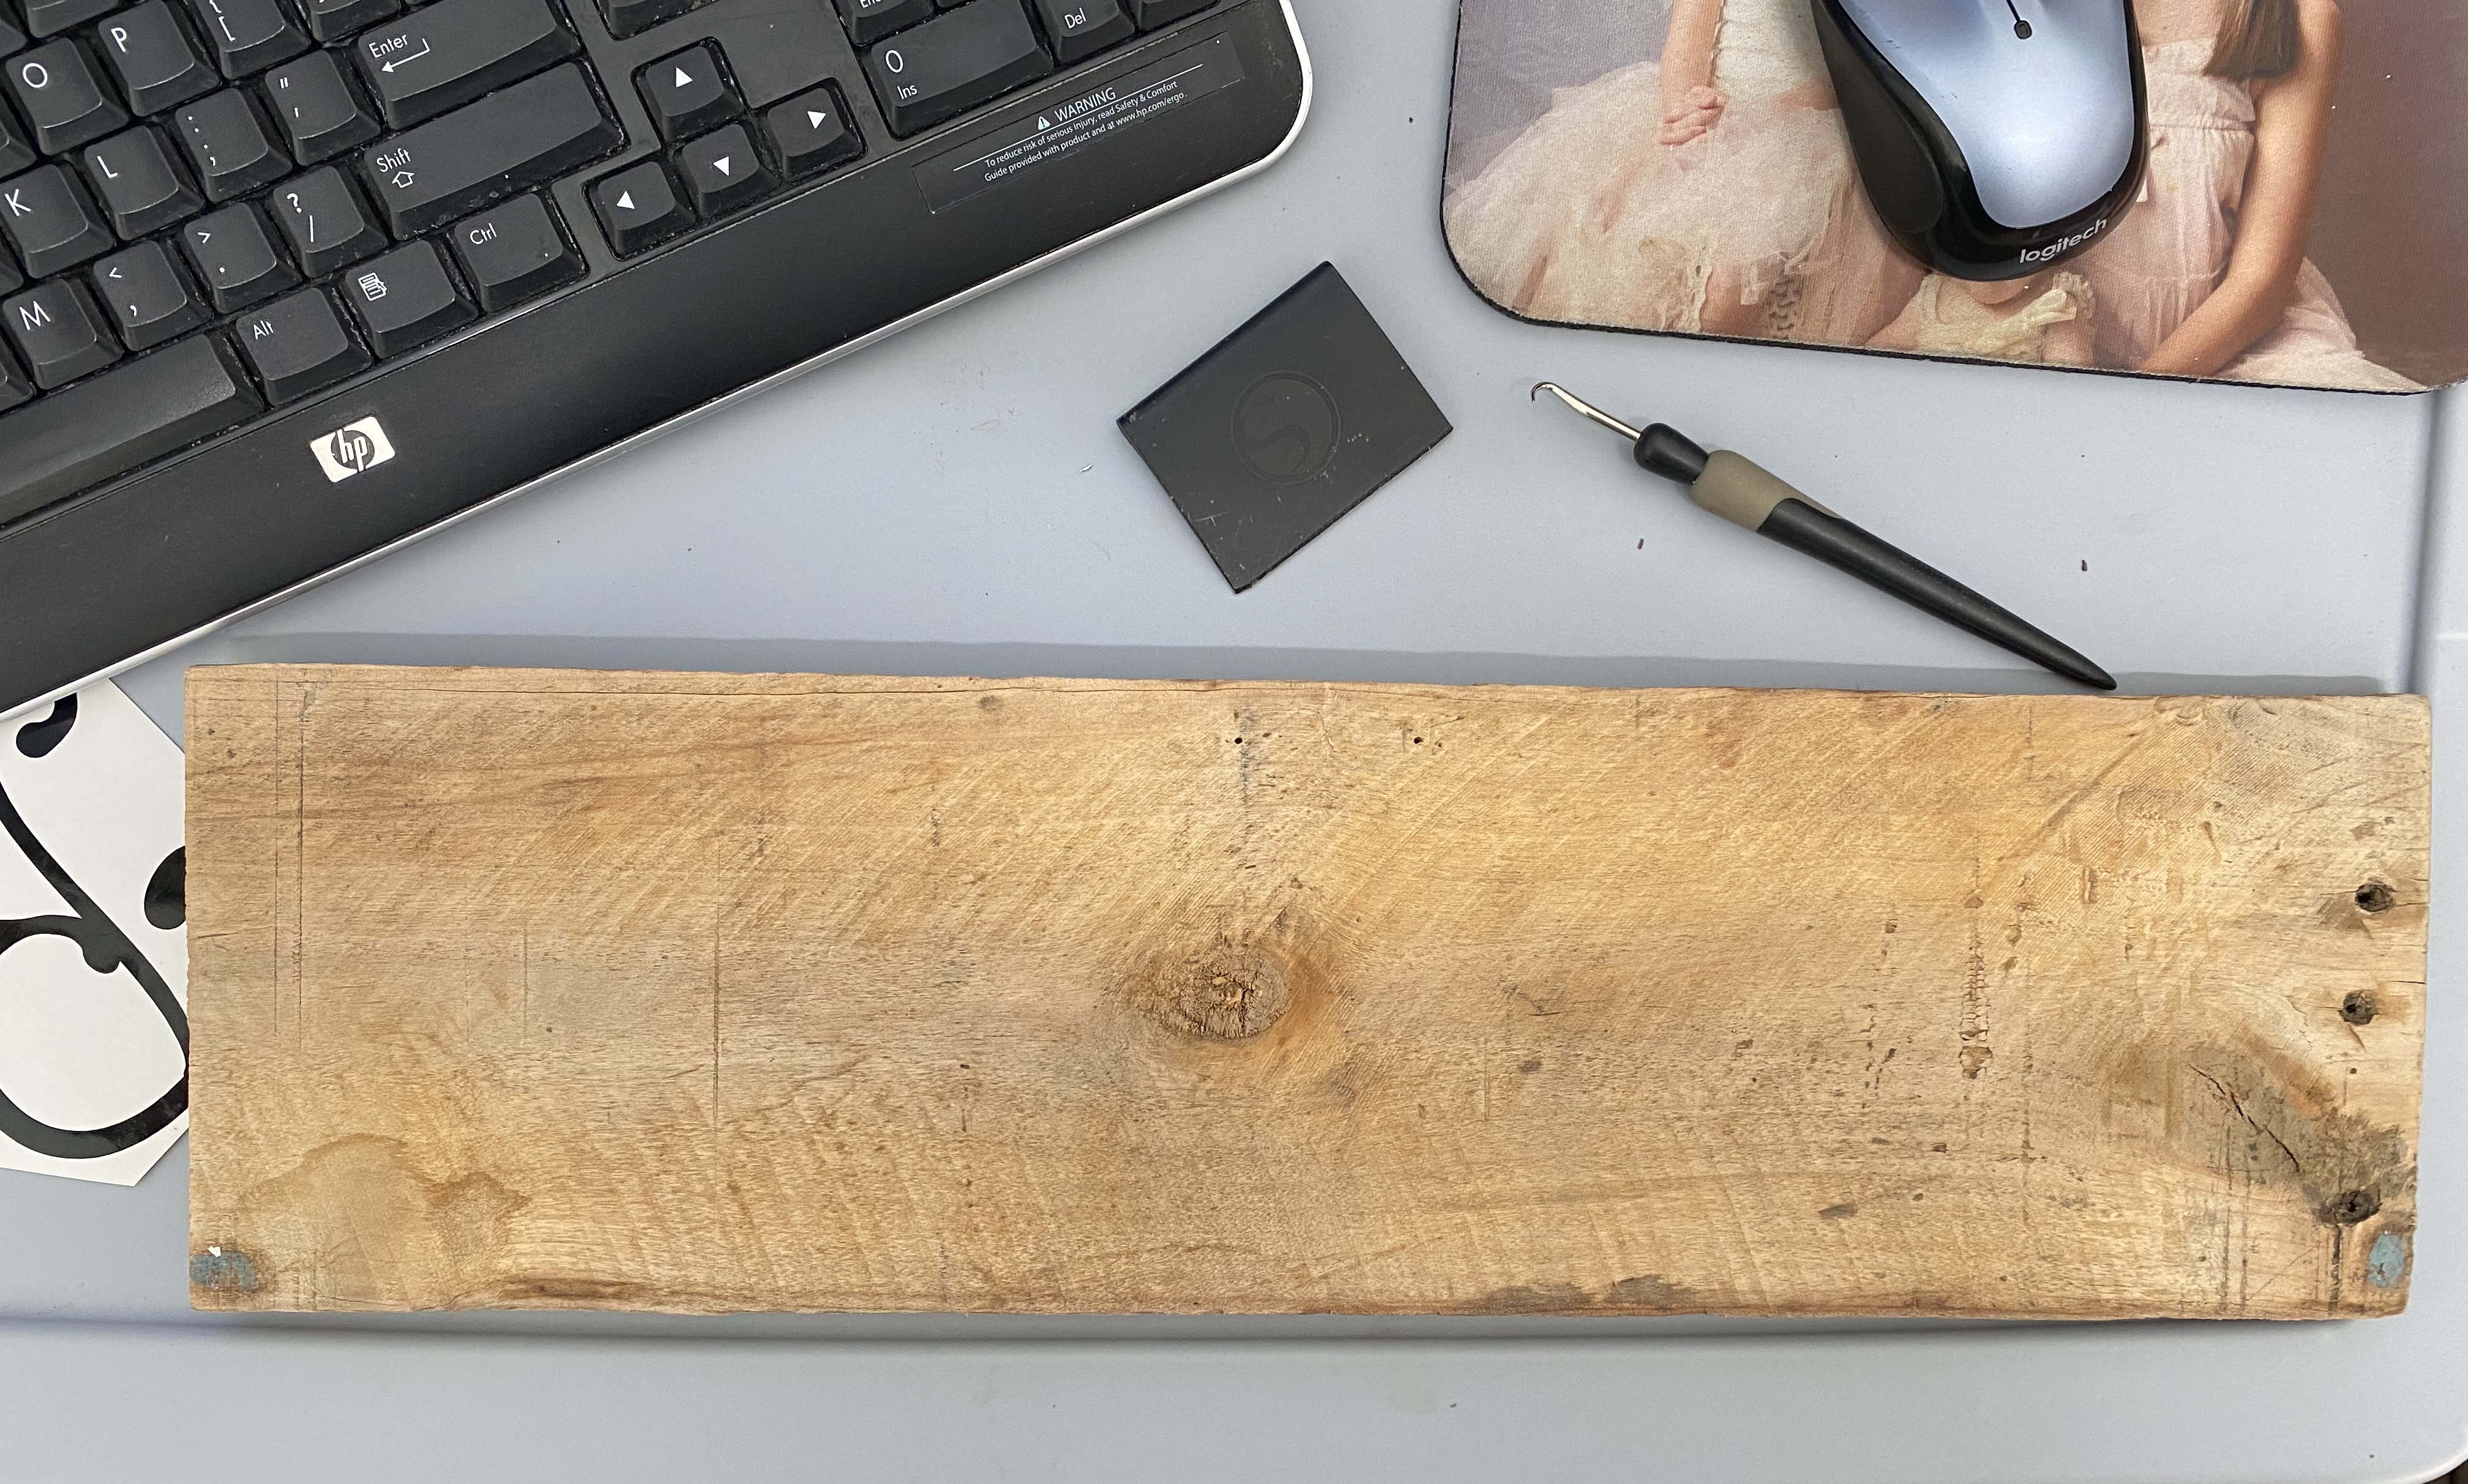
Wood Sign
I first decided I would have my husband cut me a piece of aged wood that we found on our new property. I planned to paint a garden sign for our new garden but it has been raining here for the past couple of days and the wood was still wet. Since the wood stayed damp, I could not paint on the wood. Next, I decided to do a vinyl design on a sign that I had in my camper, which is our current home, as we build our forever home!
 I decided I could use the back of this sign for a different sign. The first vinyl design did not work out due to the size and file of the vinyl design. I realized this AFTER designing the entire design.
Easter Wood Sign with Silhouette
Next, I decided to go a more simpler route and just do vinyl wording for Easter.
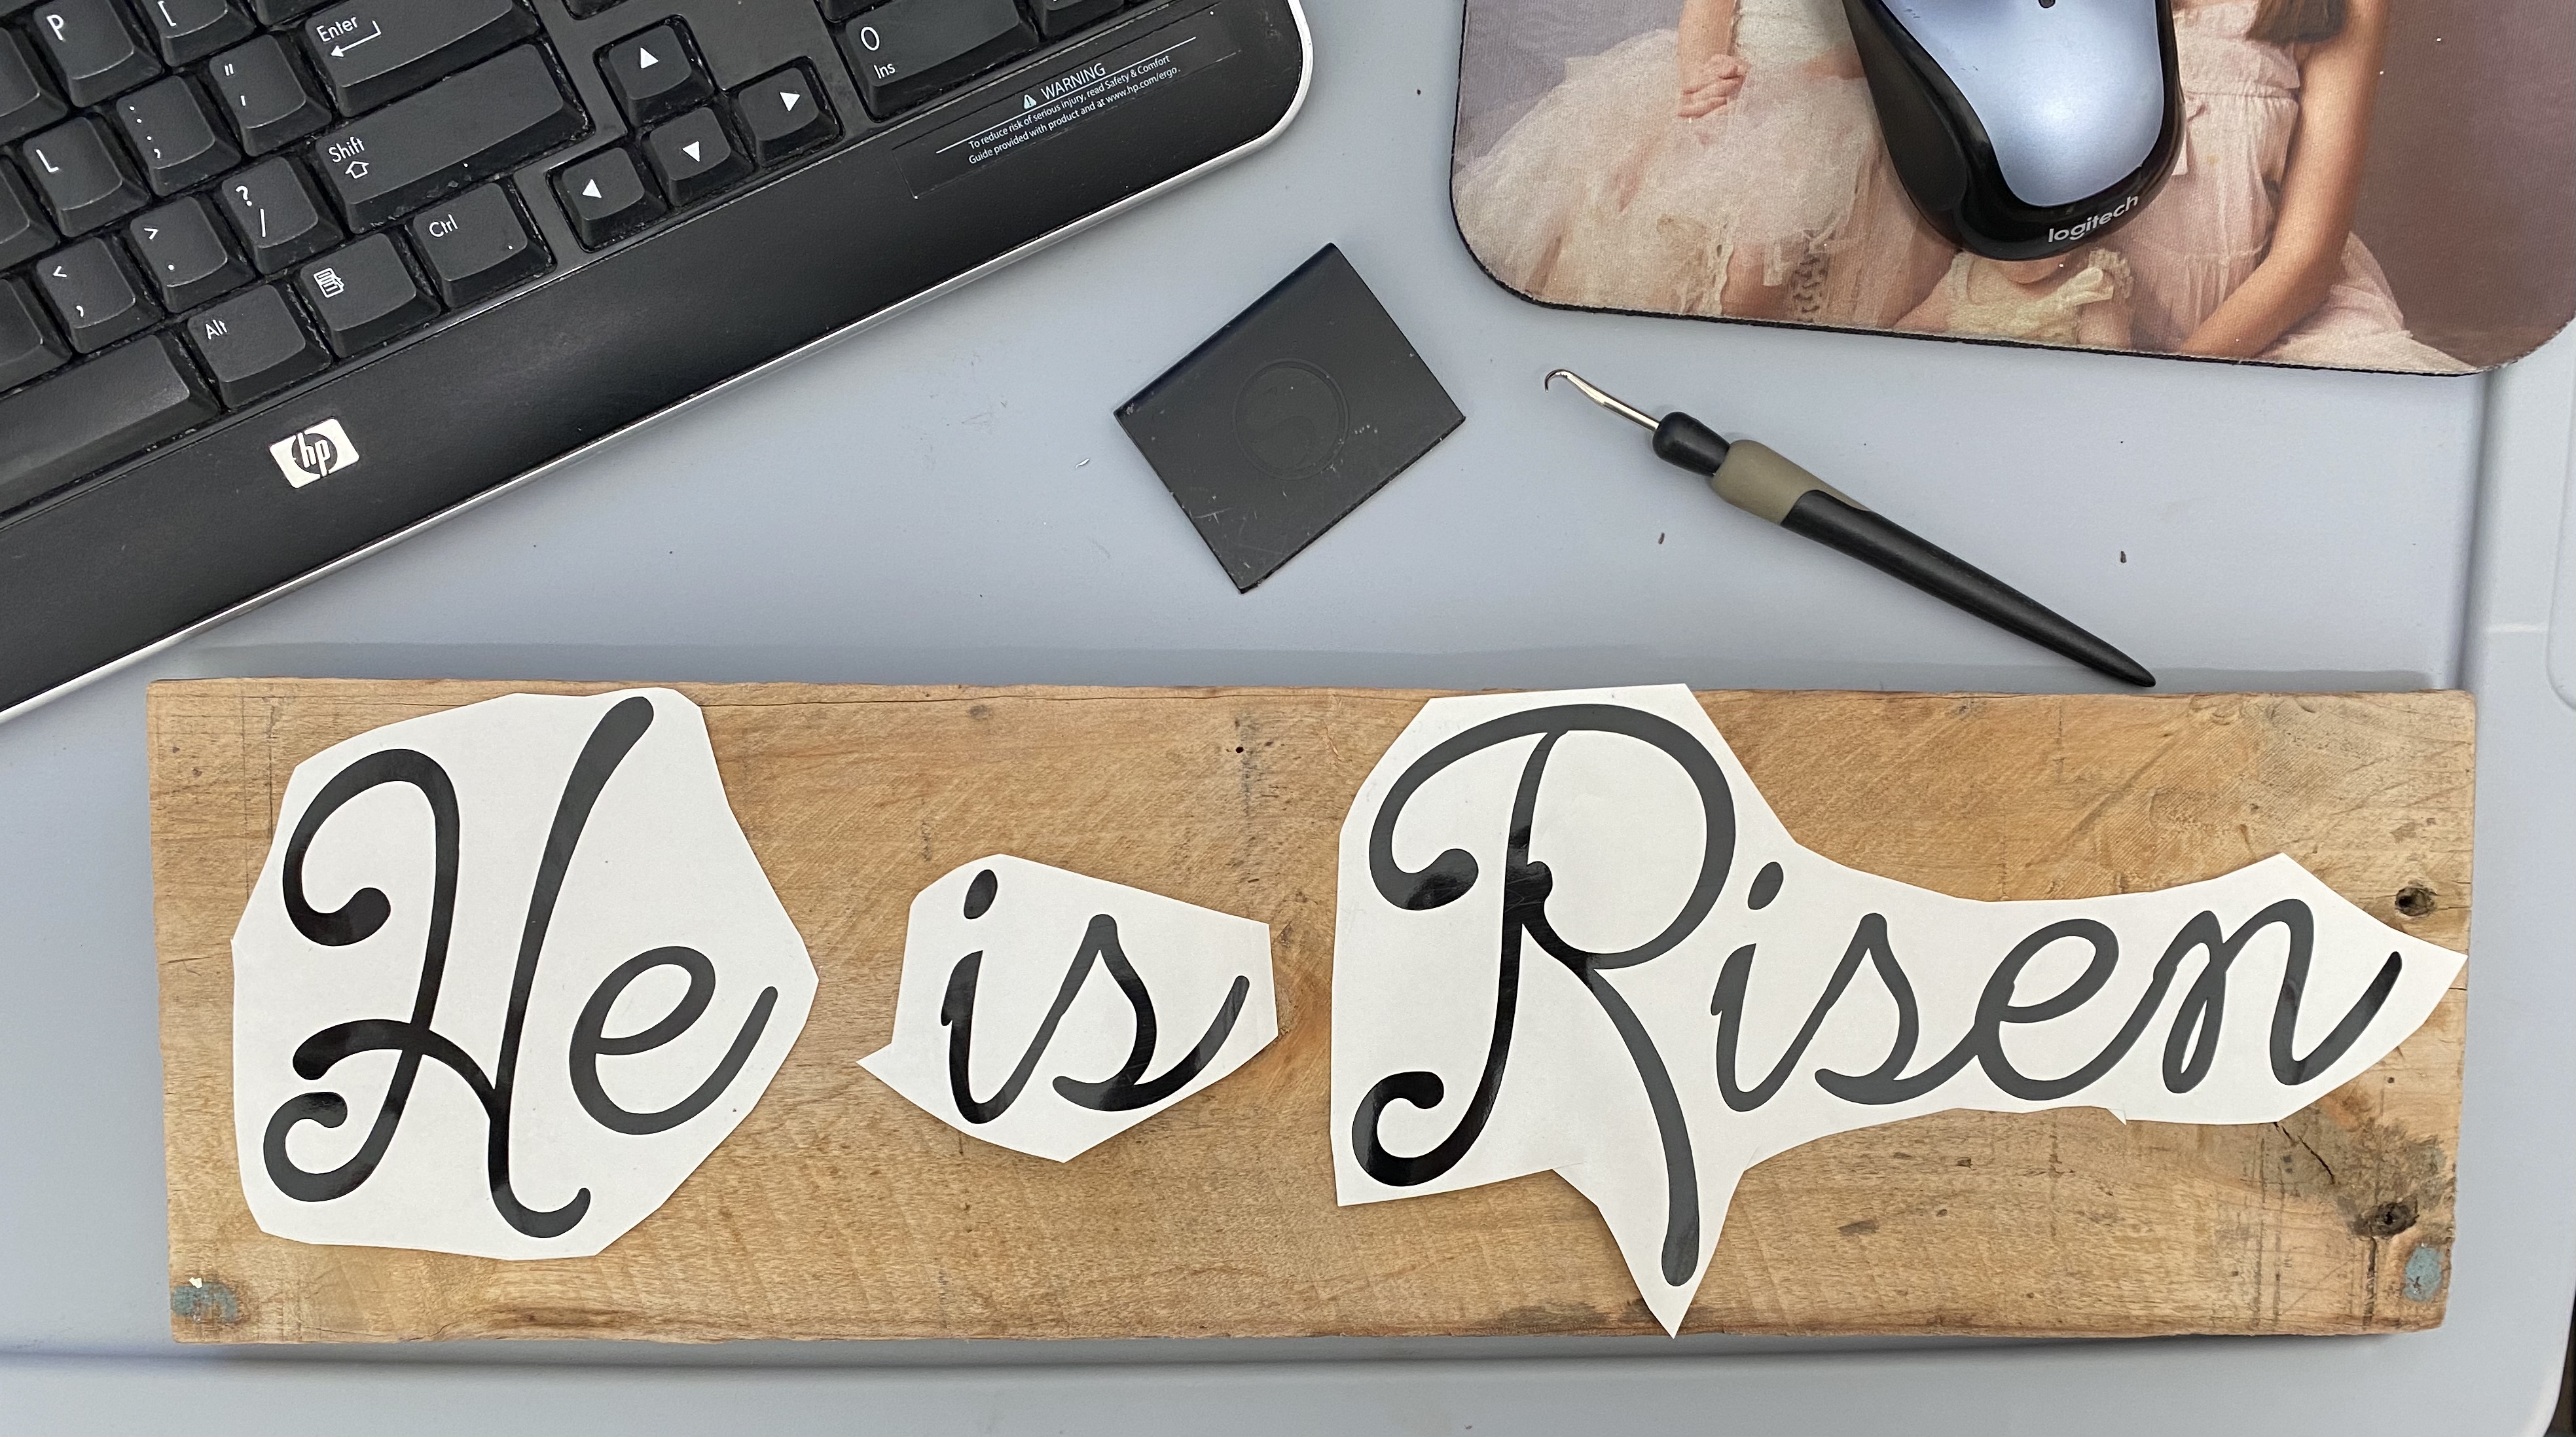
I decided on “He is Risen” for the saying for my sign. I went to my Silhoutte program and grabbed a font from my Silhouette library and manipulated it a bit, to size.
I measured the wood and decided to go with 17×4.5 for the size of the vinyl letters, since my wood sign is 19×5. After printing the vinyl words, “He is Risen”, I removed the negative vinyl, which we call weeding, in the vinyl world. I also cut out each word and placed it on the wood for placement before I added the vinyl to my wood sign.
A little bit of history of the wood: The wood iteself is actually wormed antique wood from a barn and it is over 100 yeaars old! It is a pretty cool piece of history! We have made many things from this wood like framed mirrors, shelves and more!
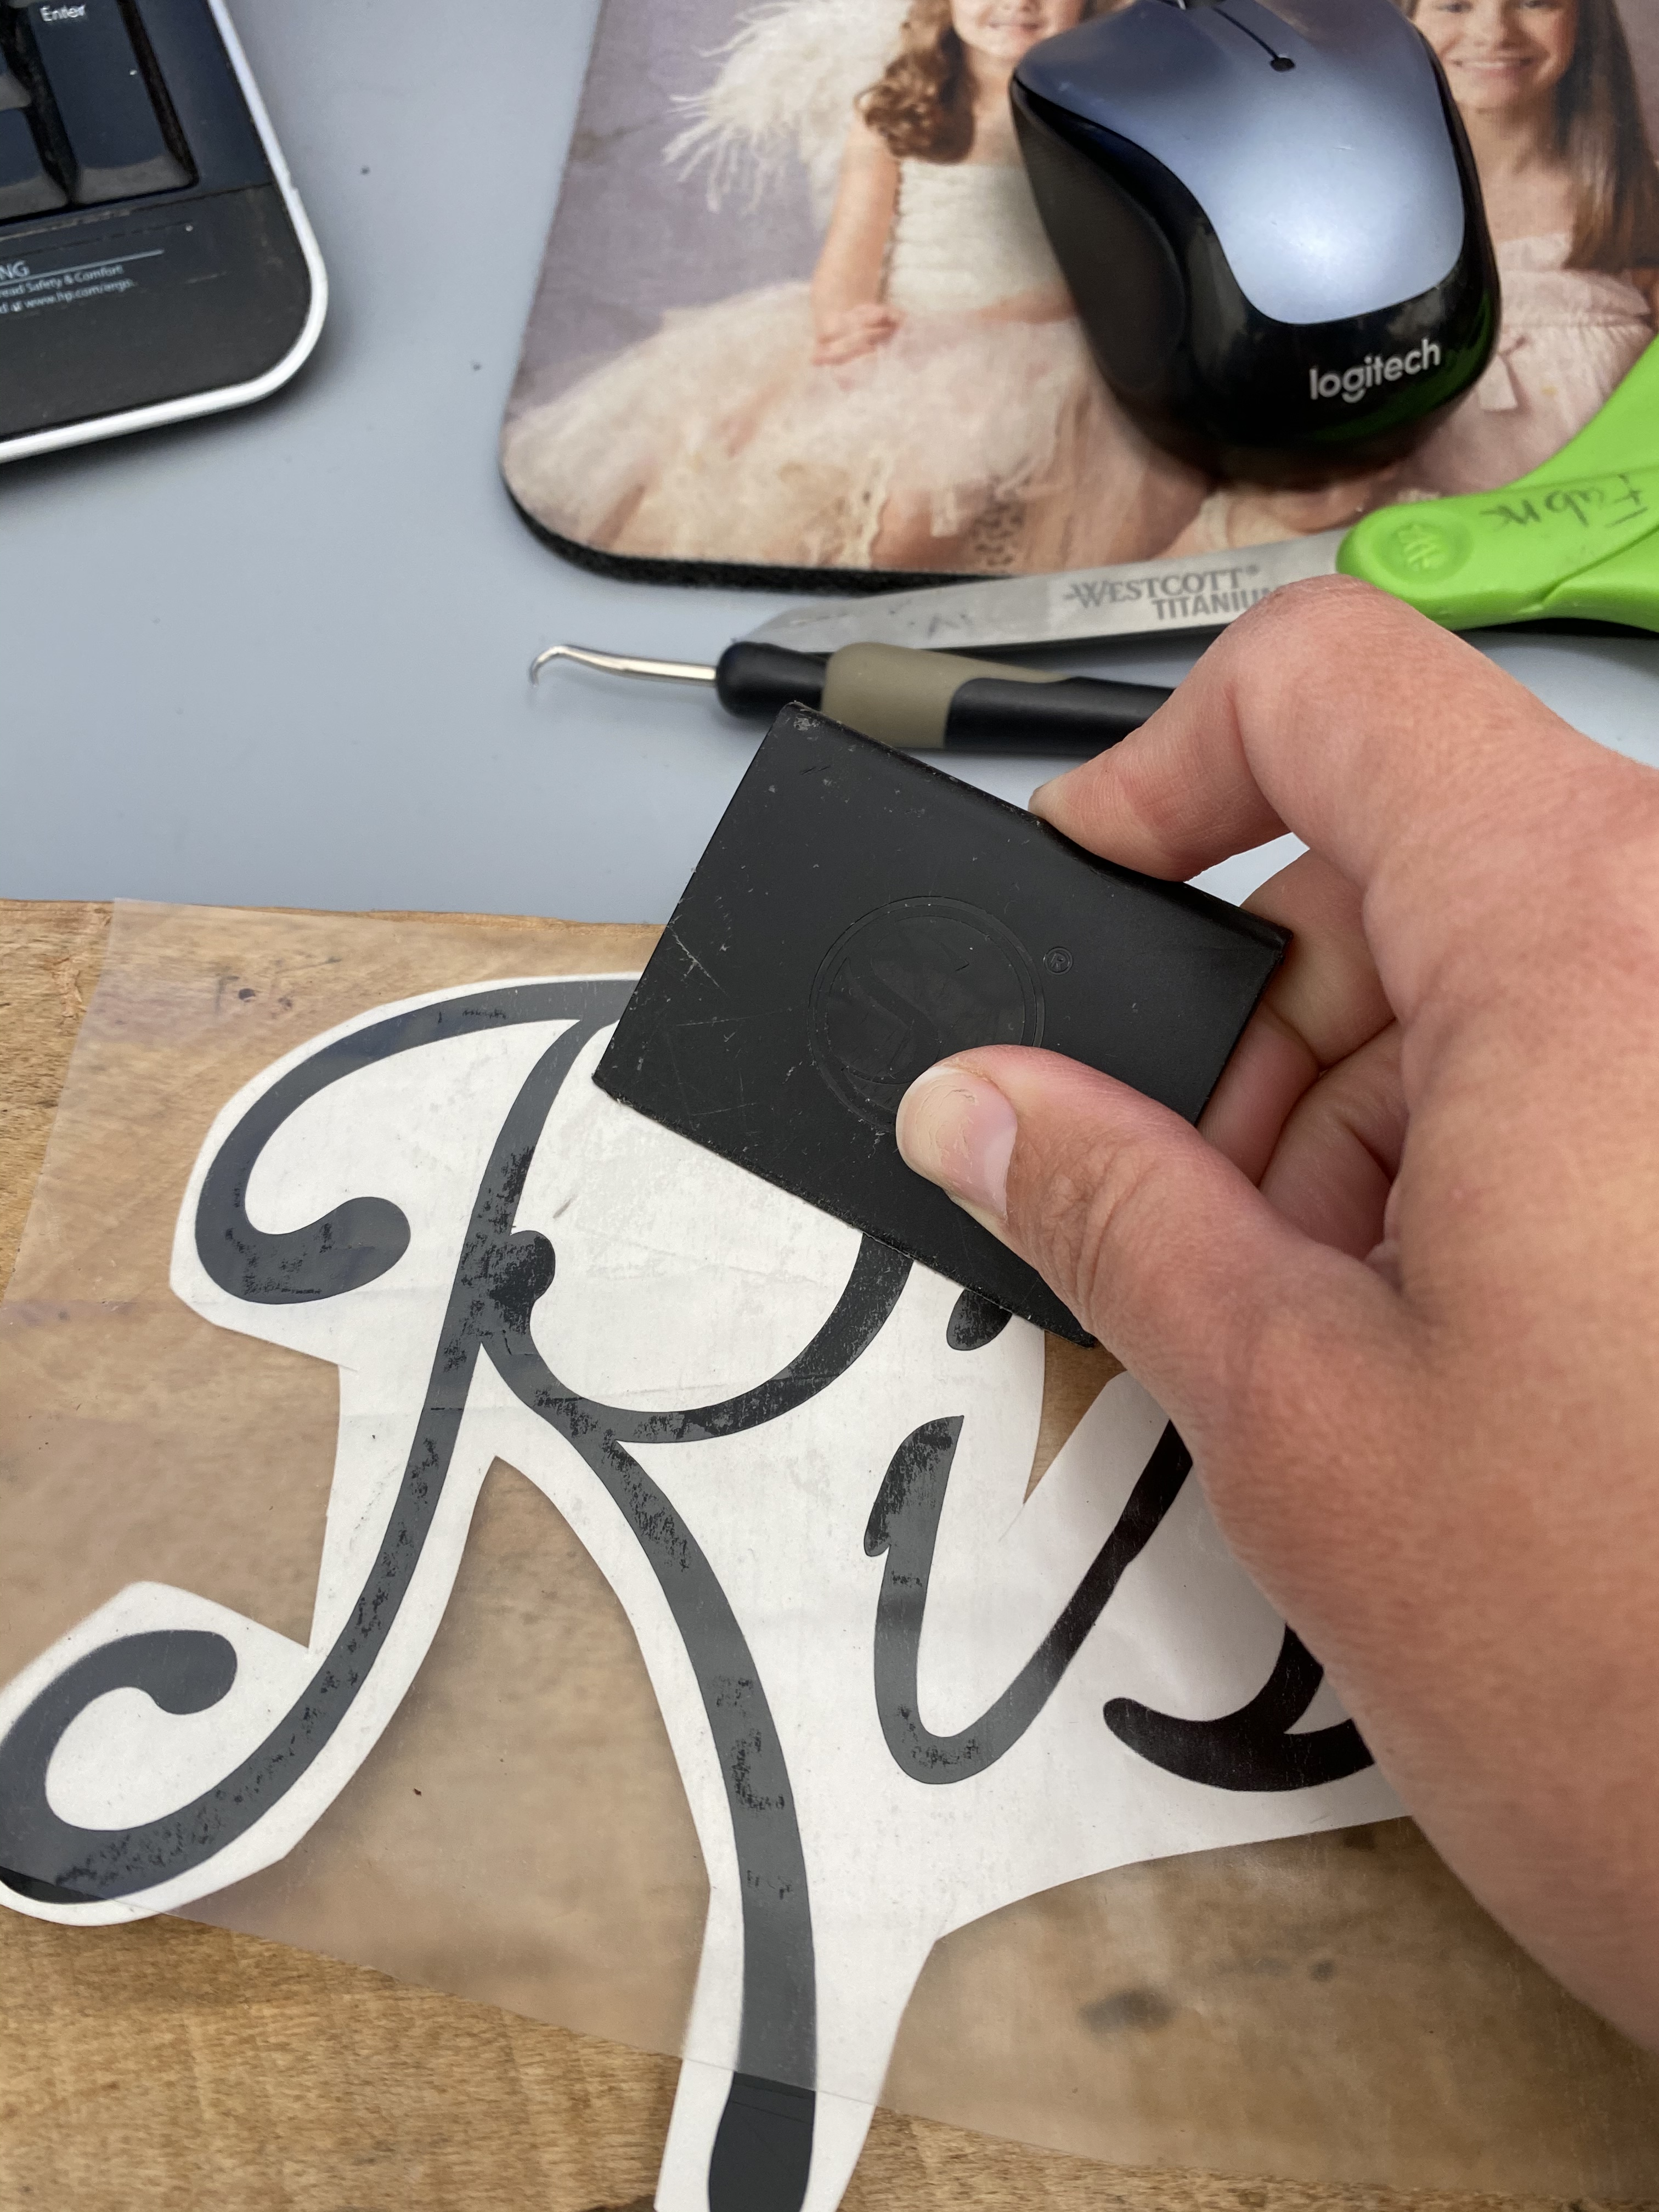
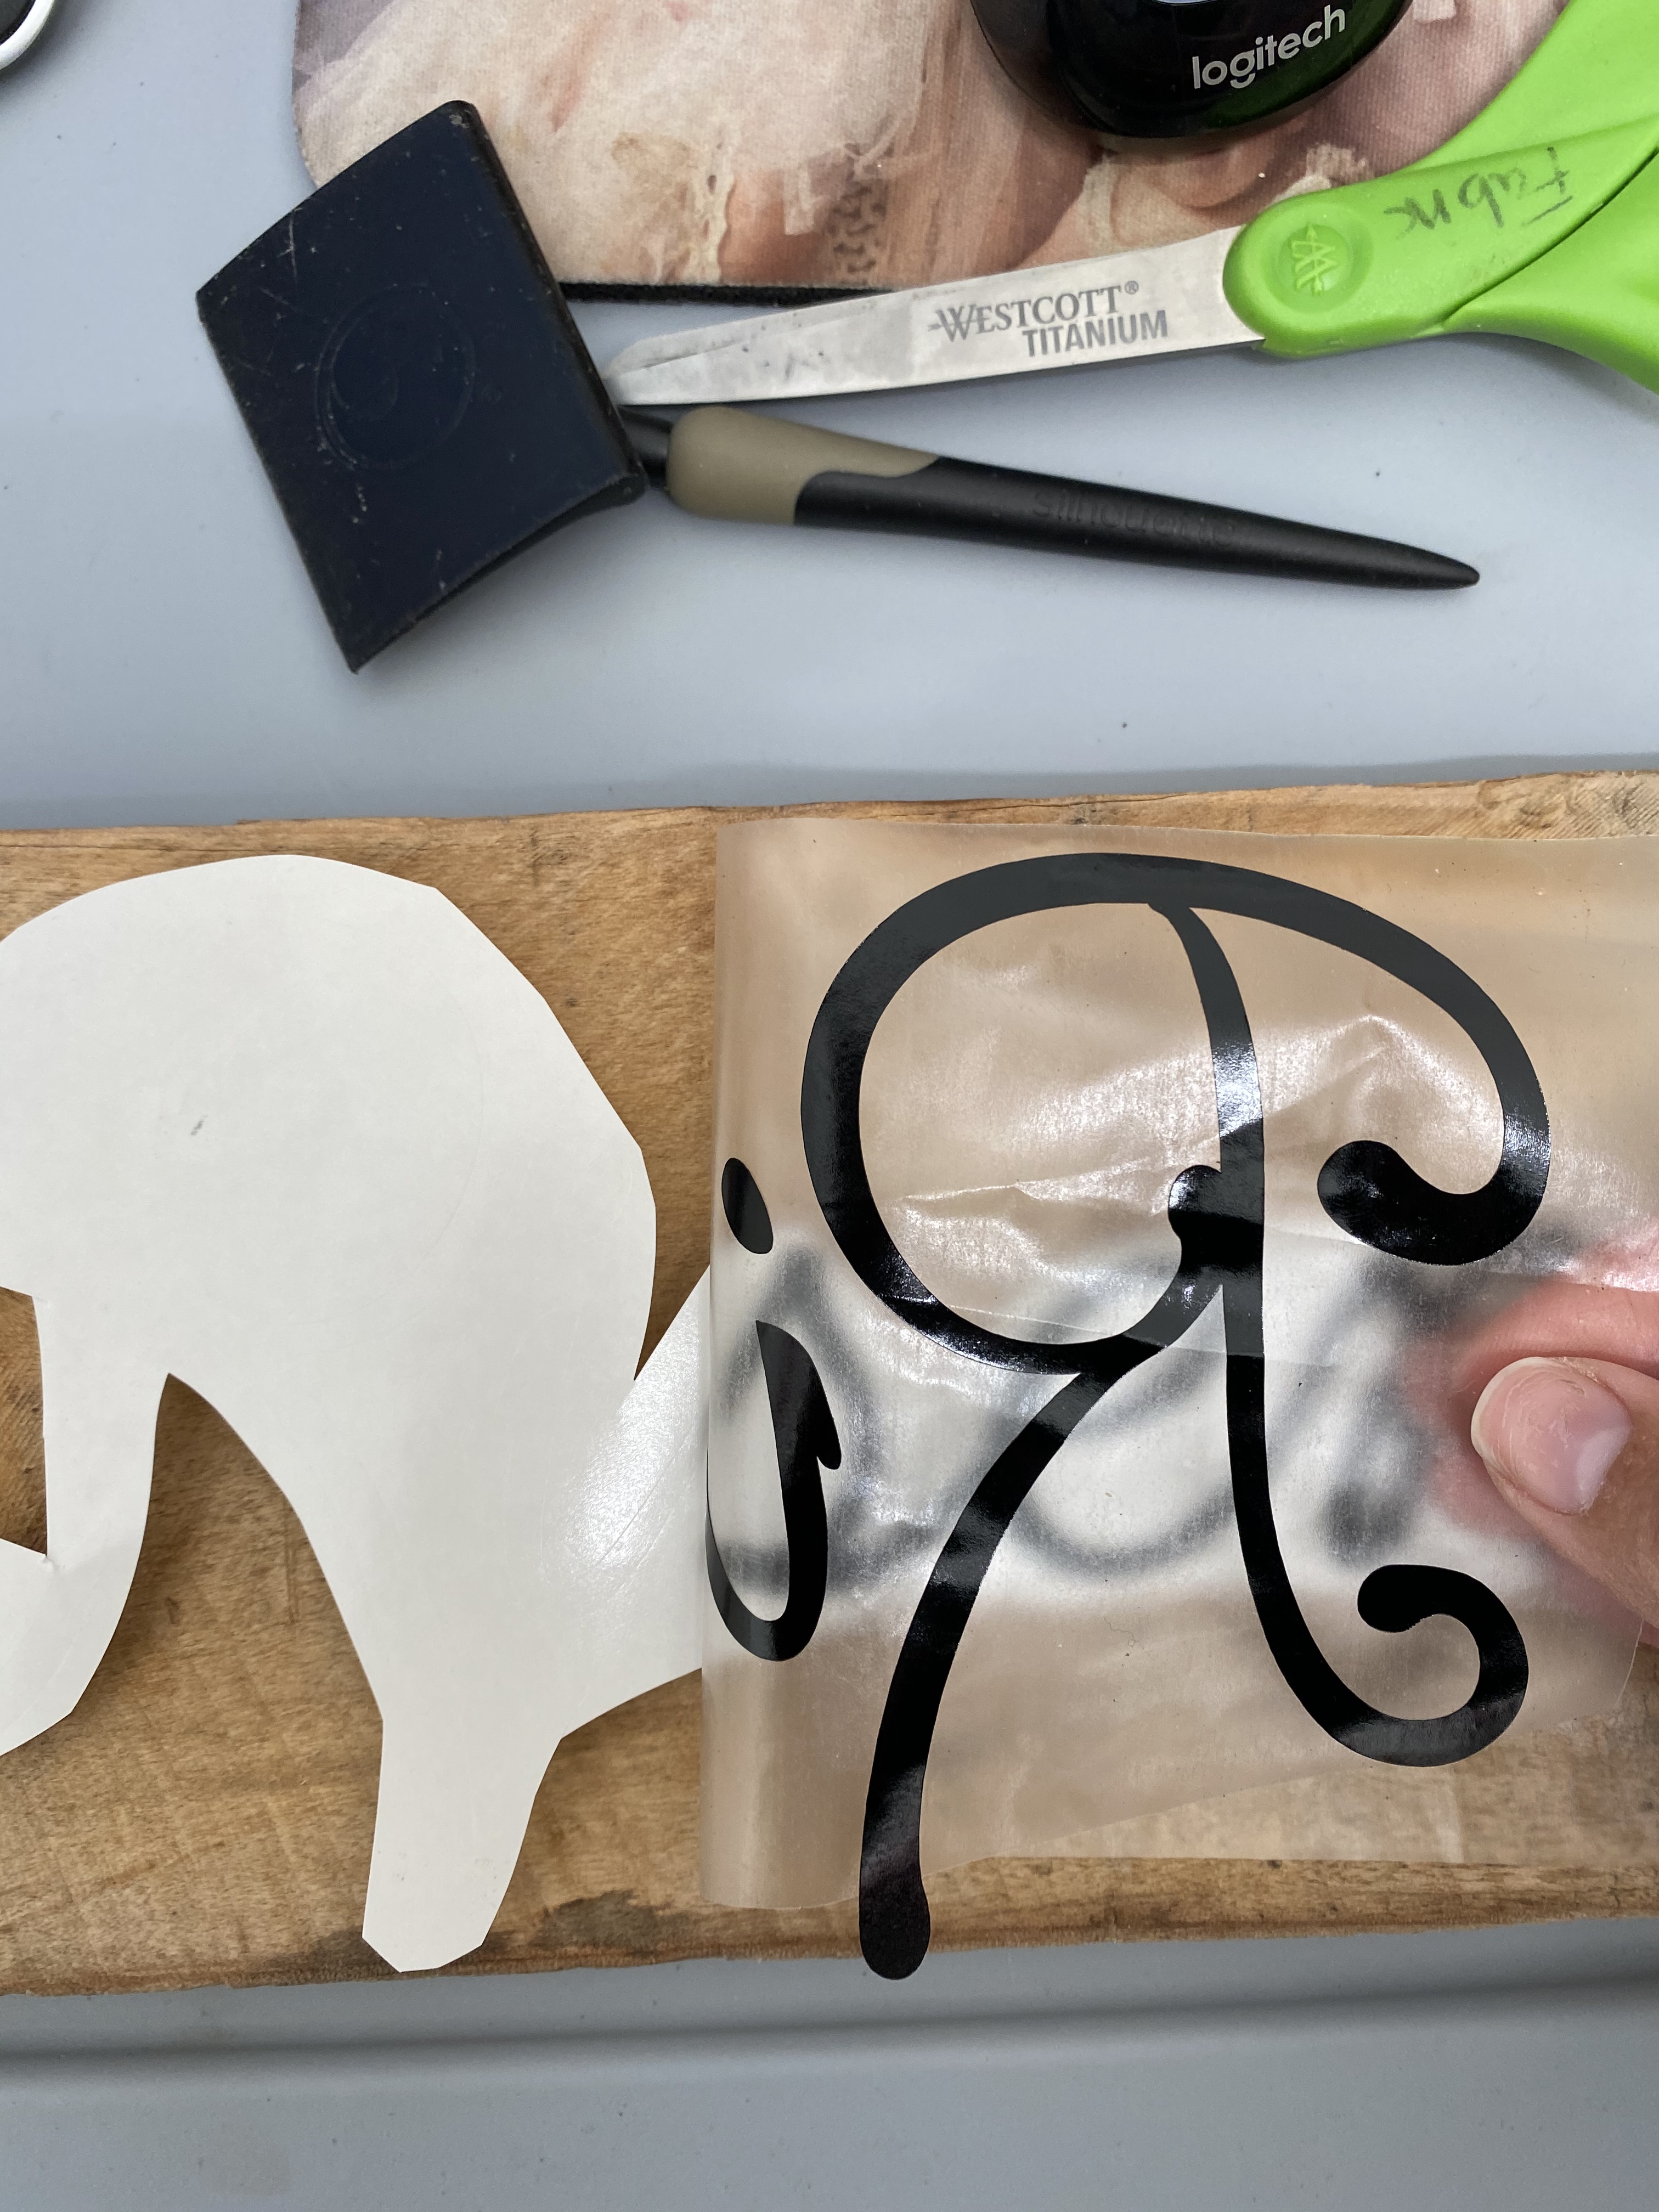
I added transfer contact paper, made sure the vinyl adhered, then carefully peeled the vinyl from the contact paper.
Next, I placed the word “Risen” on the sign first, noting that I wanted the “n” to be about a half inch from the very end of the wood sign. I measured about a half inch from the first and last letter

After adding the word “Risen”, I added the word “He”. I added “is” last and made sure it measured equal on spacing at about an inch from the words “He” and “Risen”.

Final Thoughts
Overall, a simple and quick project that cost me $0 since I had everything I needed on hand! I have stories on my Instagram account that you can see a bit more details! I hope you will take the time to check out what my friend’s have come up with for their Spring Upcycle!
Love~Shae


DECORATE AND MORE WITH TIP | Blessings by me | JUNK TO GEMS | CLOCHES AND LAVENDER


PATINA AND PAINT | PALLET AND PANTRY | B4 & AFTERS | PURPLE HUES AND ME


You must be logged in to post a comment.