DIY BOHO SOLAR LIGHTS

DIY BOHO SOLAR LIGHTS

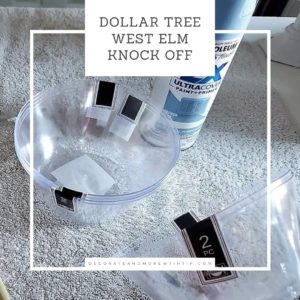
I am so excited to team up with several of my blogging buddies for a Solar Light Challenge! My sweet friend, Terrie from Decorating and More with Tip heads us up! Did you come here from my friend, Liberty’s blog? I am loving what she came up with for our challenge!!


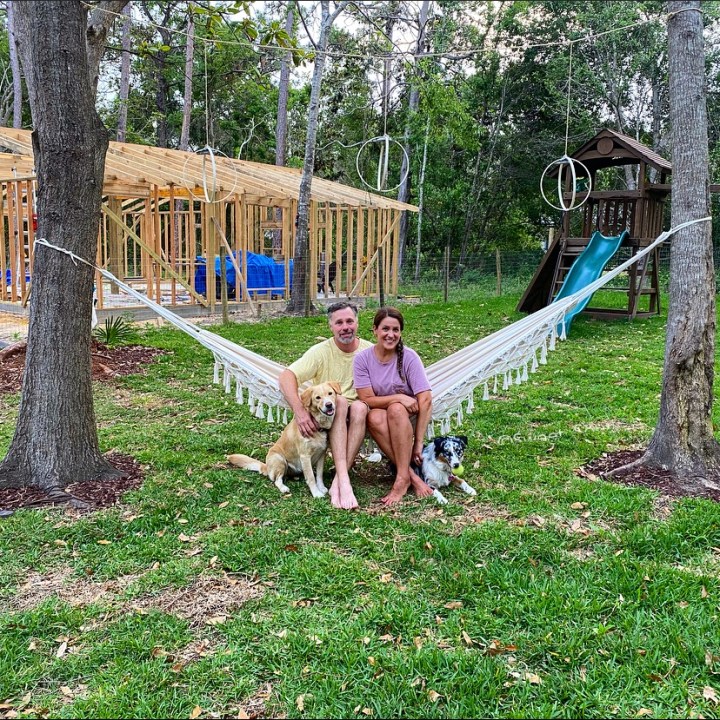
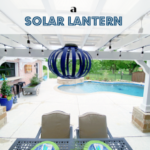
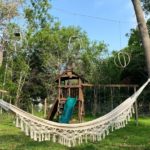
I knew I wanted to make some kind of outdoor light to hang outside above our boho hammock! I came up with the idea of a boho solar light to fit the bill!

CHALLENGE ACCEPTED

The rules were as follows: The rules were that we had to make a indoor or outdoor item with solar lights! Plus we needed to keep it budget friendly! Challenge accepted!
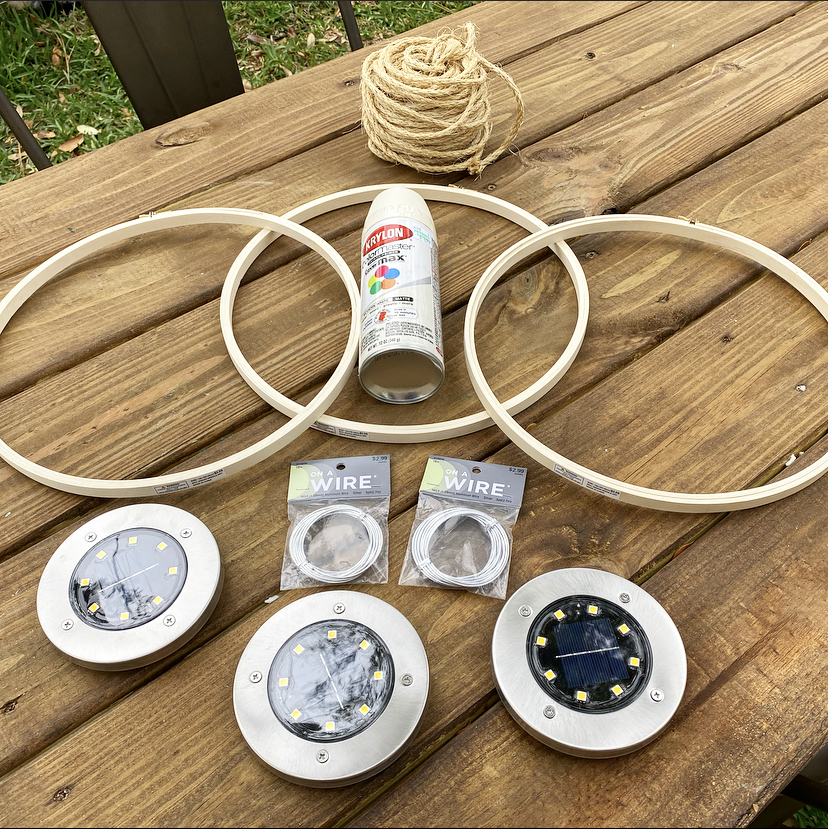
368DB247-6763-4324-8C36-2ECFC26DF6C1

SUPPLIES

Wood Embroidery Hoops 12 inches 

Spray Paint

Wire 

Twine 

Rope

Small Screws 

Drill

E9D6A0AF-9204-4FD9-9620-F631F7BEBE55

LET’S GET TO WORK

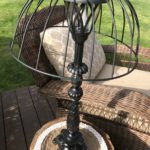
Head on over to my instagram and you can watch my reel of how my husband and I diy’ed our solar light fixtures! First, spray painted my embroidery hoops, leaving them to dry for about ten minutes. 

2710980C-0BE7-49D5-AA2D-1043B4B1E975Next, my husband drilled two holes into the sides of each of the solar lights so that we could insert the wire through to tie onto our embroidery hoops.

DAE3EDDE-3F86-4EA4-9F69-91276F0B6360Next, we drilled a small hole for a screw to insert  into the bottom of the light fixture for stability on the two pieces

Next we threaded the wire through the holes of the solar light and wrapped the light around the light fixture, several times, making sure it was secured well.

The next step is to hang the boho solar lights in your outdoor space!

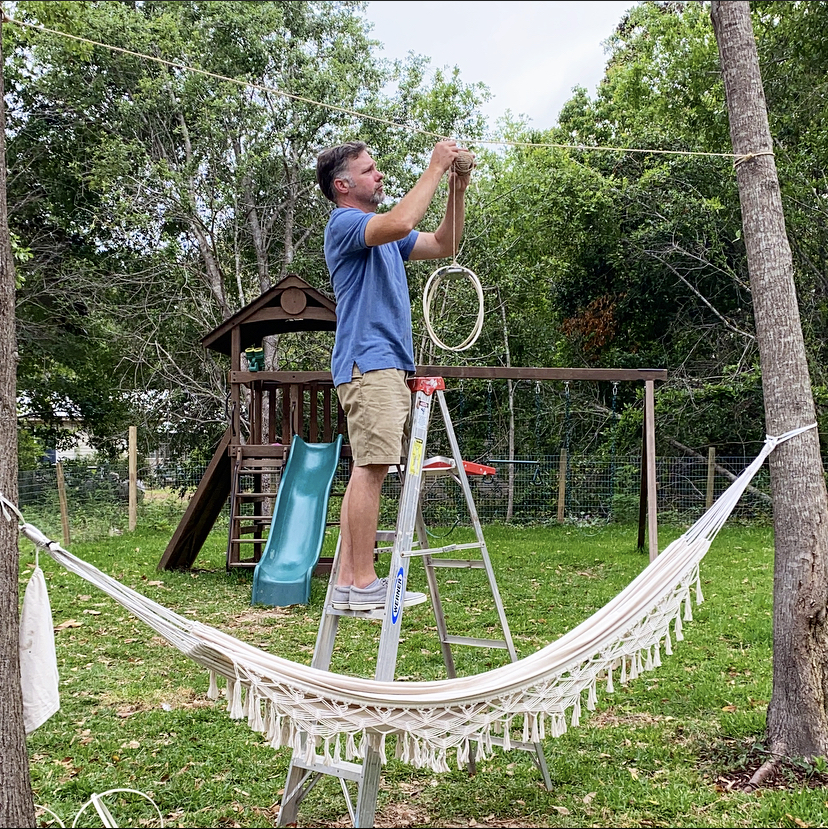
It sure does help to have a husband who enjoys helping out his wife with small projects!

This was a one hour, easy, budget friendly project that we enjoyed doing together on a Sunday afternoon. We took a much needed break from building our barndominium! We spent a total of a whopping $15 on all three lights, since I had some items already on hand!

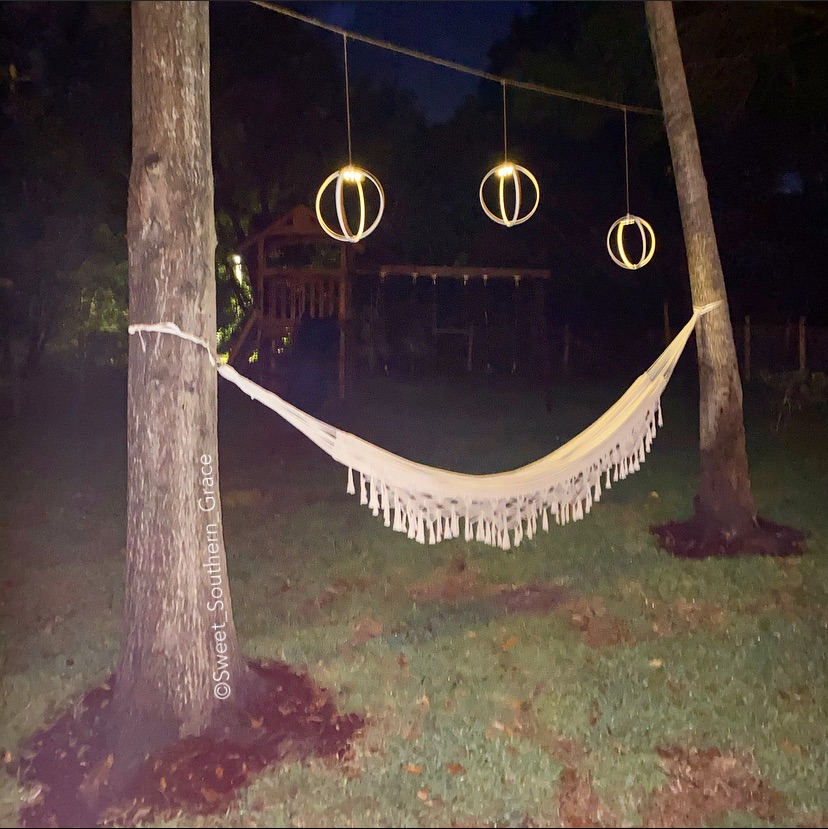
Our whole family loves this little space! The girls love the boho solar lights and the ambiance it adds to our new backyard!

I would love for you to check out my friends to see what they have come up with for their project as well! I know you won’t be disappointed! My friend Kelli’s project turned out amazing!! Don’t miss it!

❤️~Shae

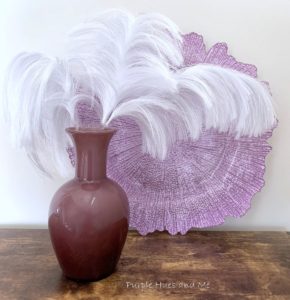
DECORATEANDMOREWITHTIP | PURPLEHUESANDME | PATINAANDPAINT | THEHOUSEHOUSE

PAULASHANDMADESPACE | B4ANDAFTERS | SWEETSOUTHERNGRACE | KSOLYMPICNEST

DIY KNOCK OFF LIGHT FIXTURE

I am so excited to team up with several of my blogging buddies for a DIY Knock Off Challenge! My sweet friend, Terrie from Decorating and More with Tip heads us up! The rules were that we had to find a higher end piece and share how we could make our own and on a budget!

B687DBF6-E614-4454-8C3F-410AADBFD99C

CHALLENGE ACCEPTED

The rules were as follows: We needed to find a piece we loved and be willing to create a similar piece plus make it budget friendly! Challenge accepted! 

611BF37C-BB3B-448E-865B-4AEB07E0B8C2

HOME DEPOT LIGHT FIXTURE

Home Depot had this beautiful light fixture, the Windsor 5 Light Antique White Chandelier; however, we did not want to spend $160 on a light fixture that would be outside , hanging in the weather. This light fixture was our inspiration for what we sorta-kinda had invisioned in our minds. 

OUTDOOR “LIGHTING” FOR OUR NEW SPACE

My husband had a fabulous idea to hang a light fixture from this old live oak tree that sits over our new outdoor dining space! Thrift shopping we had to go! And ya don’t have to pull my hand to go! We decided to use one of our Saturday morning’s to go thrifting for this light fixture, instead of working on our pole barn. Heck, we even NEEDED a break from working on our pole barn!  

30511F57-5364-4218-9E2D-948AAEF4501B

THRIFTING WE GO

The first couple of places we went thrifting, we couldn’t find the exact light fixture that we had envisioned in our heads… on the third thrift store, we found a light fixture that we thought might work but it was a little to small for the space.

E0DFEC5B-919D-41B6-89B4-0261DEDE9F11

We decided to stop at one last thrift shop and we hit the jackpot! We found this light fixture and although I would love it to be a bit larger, we thought it would work for now! At $19, it was definitely a great buy!

D4CDDE5F-FFBC-421F-BD94-18BAA3D15F2C

HOME DEPOT & TARGET FOR SUPPLIES

Next, we headed to Home Depot for supplies! I used Rustoleum White Spray Paint in a Hammered finish.  This is my favorite brand of spray paint, evenly coats, no drips when used correctly and under $6!

3167BFDF-581C-4967-A451-0B860A22C031

TARGET SUPPLIES

I grabbed a 12 count tapered candlesticks from Target for $3.00!

D0F96955-CB2D-40C7-BCF7-4A98A80AFE89

LET’S GET TO WORK

Head on over to my instagram and you can watch my reel of how I diy’ed our thrifted light fixture! First, I removed the glass globes. Next, I applied two coats of spray paint on all sides, leaving a couple hours drying time, in between.

AD3F9CD3-CF1E-4352-9791-3C3E3E4FA5BD

Super easy! I just love how it turned out! The hammered finish gives it a rustic farmhouse feel to our outdoor space! 

17AF99E9-A5A8-4BA3-BC5C-BF90B71A5892

I spent $28 total on our diy light fixture! I hope that y’all have found some budget friendly inspiration here and that you will hop on over to the other ladies! I know you will love their DIY Knock Off’s, as well! Head on over to my friend Cindy’s blog at Cloches and Lavender for her DIY!  

6ED9F875-7C4A-4BF9-AFA2-E1F348015B6E

❤️~Shae

12CC25C0-F0FA-401A-8088-8B9488AB9048

Decorate and More with Tip | Sweet Southern Grace

Cloches and Lavender | Purple Hues and Me

B4 and Afters | Patina and Paint

Blue Sky at Home