DIY OUTDOOR TABLE for $70

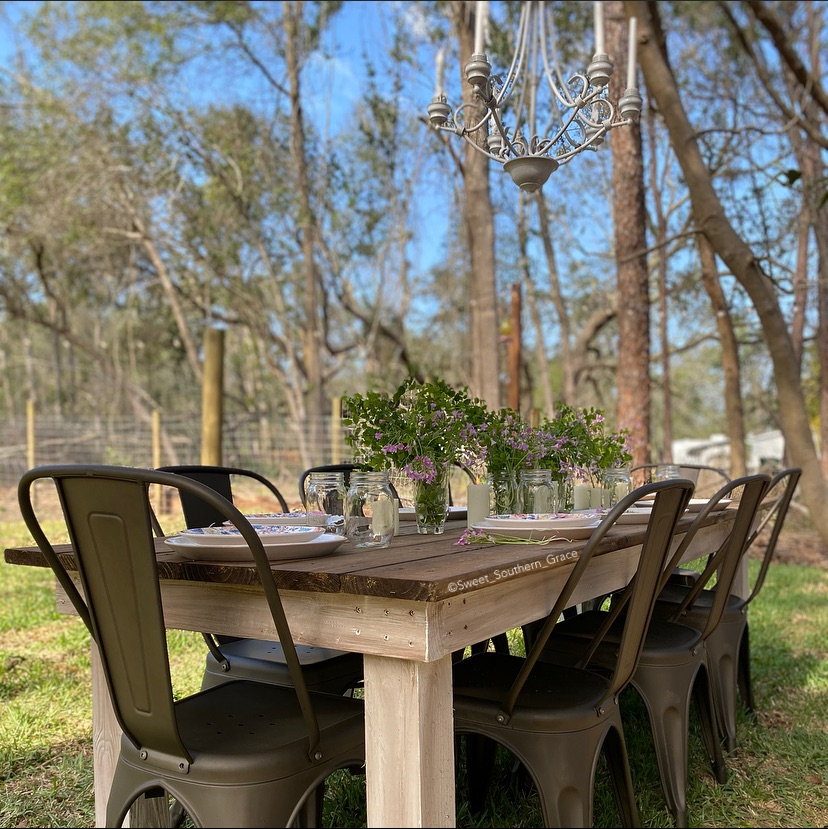
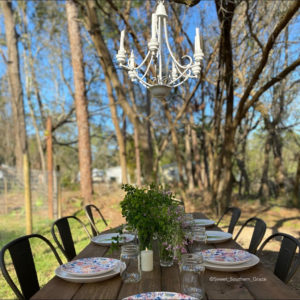
Today I wanted to share how my husband and I made our simple farmhouse diy outdoor table for our new outdoor space! We recently moved so we are starting over from scratch on all of our outdoor spaces!

We needed this outdoor table on our new property! It’s easier than you think to create an outdoor table!

SUPPLIES:

1-4x4x12 for the legs-$18

6-1x6x8’s deck boards for the top-$33

3-2x4x10’s for the frame-$14

2.5 inch exterior screws-$5-Had on hand.

Gloves-$5-Hadon hand.

Paper Towels-$1-Had on hand.

Paint and Stain-$20-Had on hand.

INSTRUCTIONS:

Cut your 3-2x4x10’s to make into the table frame.

Lay out your six, 1x6x8’s on top of two scrap pieces of wood and begin making your table frame, making sure to attract with screws.

Cut your 4x4x12 into four legs and attach with screws to your frame.

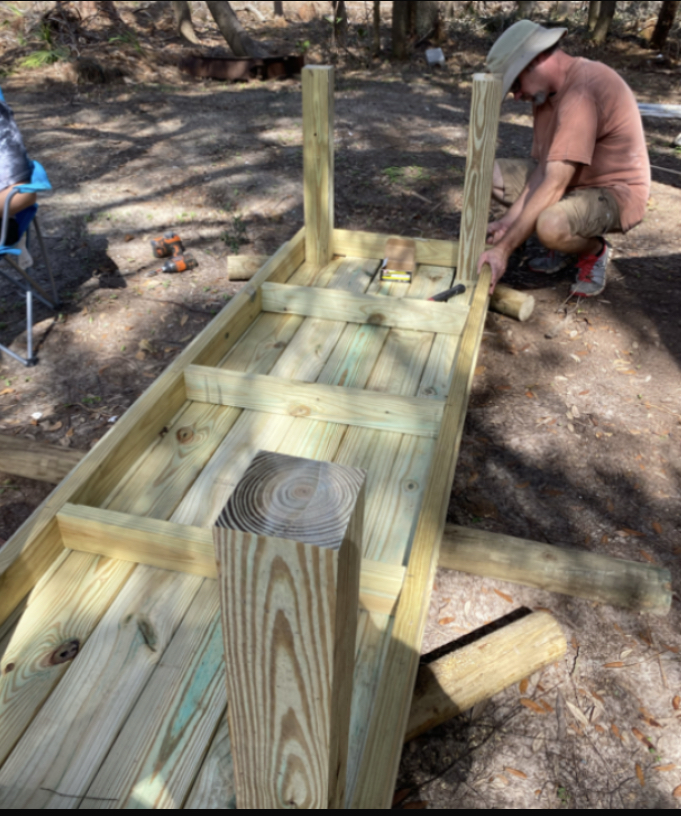
Flip over your table frame and add the 1×6’s to the top and screw into your frame.

Stain-I used Minwax Red Oak in Semi-Transparent.

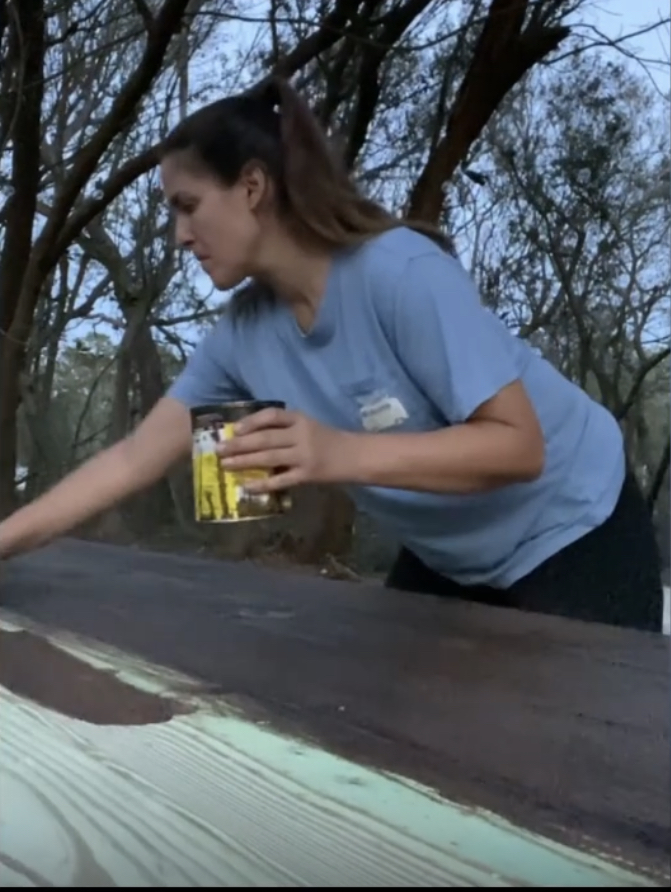
I did one very light coat of stain. Paint-I used Sherwin Willians Eider White. While the paint was still wet, I immediately went over it with stain.

Paint-I used Sherwin Willians Eider White. While the paint was still wet, I immediately went over it with stain.

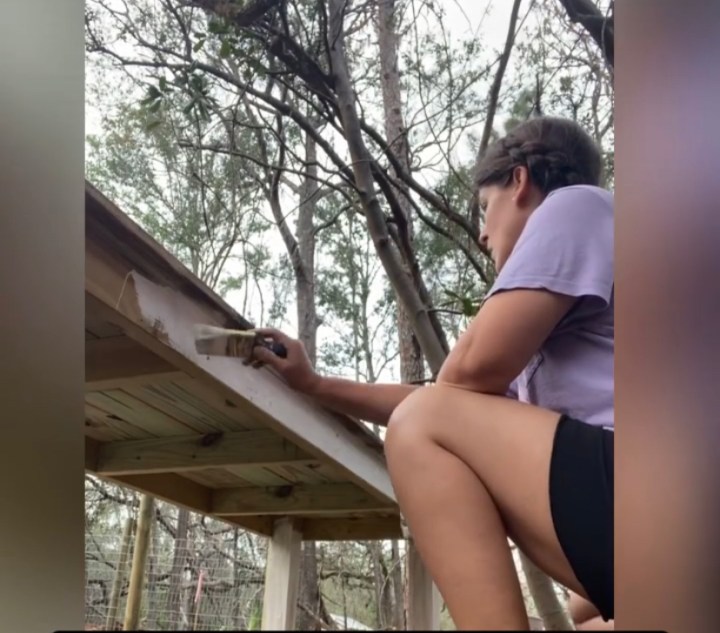
While the paint was still wet, I immediately went over it with a light amount of stain.

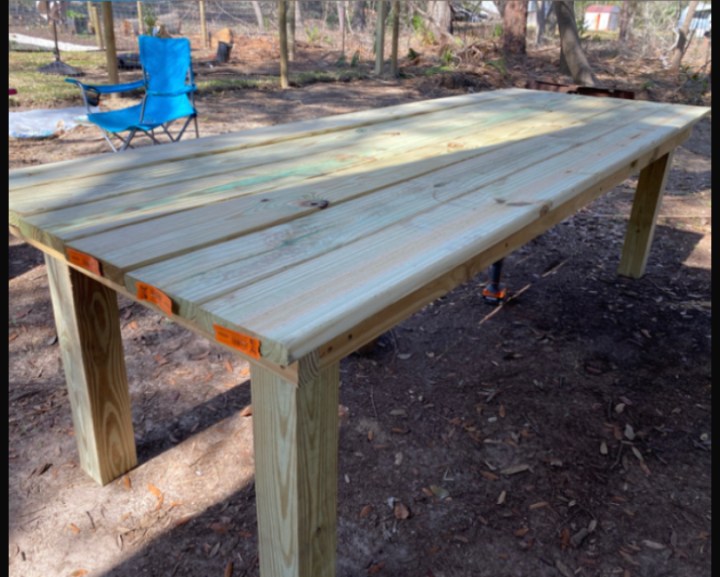
And your done! Easy, peasy, lemon squeezy!! We love having our outdoor table for dining options and especially since we are coastal living now, its warmer here for about ten out of twelve months!

While we are currently living in our RV on our property as we build our barndominium and eventually our forever home, this table is our dining table for now!

I hope ya’ll have enjoyed this DIY Outdoor Table! Please reach out if you have any questions.

Love~Shae


DIY KNOCK OFF LIGHT FIXTURE

I am so excited to team up with several of my blogging buddies for a DIY Knock Off Challenge! My sweet friend, Terrie from Decorating and More with Tip heads us up! The rules were that we had to find a higher end piece and share how we could make our own and on a budget!

B687DBF6-E614-4454-8C3F-410AADBFD99C

CHALLENGE ACCEPTED

The rules were as follows: We needed to find a piece we loved and be willing to create a similar piece plus make it budget friendly! Challenge accepted! 

611BF37C-BB3B-448E-865B-4AEB07E0B8C2

HOME DEPOT LIGHT FIXTURE

Home Depot had this beautiful light fixture, the Windsor 5 Light Antique White Chandelier; however, we did not want to spend $160 on a light fixture that would be outside , hanging in the weather. This light fixture was our inspiration for what we sorta-kinda had invisioned in our minds. 

OUTDOOR “LIGHTING” FOR OUR NEW SPACE

My husband had a fabulous idea to hang a light fixture from this old live oak tree that sits over our new outdoor dining space! Thrift shopping we had to go! And ya don’t have to pull my hand to go! We decided to use one of our Saturday morning’s to go thrifting for this light fixture, instead of working on our pole barn. Heck, we even NEEDED a break from working on our pole barn!  

30511F57-5364-4218-9E2D-948AAEF4501B

THRIFTING WE GO

The first couple of places we went thrifting, we couldn’t find the exact light fixture that we had envisioned in our heads… on the third thrift store, we found a light fixture that we thought might work but it was a little to small for the space.

E0DFEC5B-919D-41B6-89B4-0261DEDE9F11

We decided to stop at one last thrift shop and we hit the jackpot! We found this light fixture and although I would love it to be a bit larger, we thought it would work for now! At $19, it was definitely a great buy!

D4CDDE5F-FFBC-421F-BD94-18BAA3D15F2C

HOME DEPOT & TARGET FOR SUPPLIES

Next, we headed to Home Depot for supplies! I used Rustoleum White Spray Paint in a Hammered finish.  This is my favorite brand of spray paint, evenly coats, no drips when used correctly and under $6!

3167BFDF-581C-4967-A451-0B860A22C031

TARGET SUPPLIES

I grabbed a 12 count tapered candlesticks from Target for $3.00!

D0F96955-CB2D-40C7-BCF7-4A98A80AFE89

LET’S GET TO WORK

Head on over to my instagram and you can watch my reel of how I diy’ed our thrifted light fixture! First, I removed the glass globes. Next, I applied two coats of spray paint on all sides, leaving a couple hours drying time, in between.

AD3F9CD3-CF1E-4352-9791-3C3E3E4FA5BD

Super easy! I just love how it turned out! The hammered finish gives it a rustic farmhouse feel to our outdoor space! 

17AF99E9-A5A8-4BA3-BC5C-BF90B71A5892

I spent $28 total on our diy light fixture! I hope that y’all have found some budget friendly inspiration here and that you will hop on over to the other ladies! I know you will love their DIY Knock Off’s, as well! Head on over to my friend Cindy’s blog at Cloches and Lavender for her DIY!  

6ED9F875-7C4A-4BF9-AFA2-E1F348015B6E

❤️~Shae

12CC25C0-F0FA-401A-8088-8B9488AB9048

Decorate and More with Tip | Sweet Southern Grace

Cloches and Lavender | Purple Hues and Me

B4 and Afters | Patina and Paint

Blue Sky at Home