{“This blog post contains paid and sponsored content. It reflects my personal views and opinions on the products.”}
Only Time Will Tell
If you follow us on IG stories, you have probably already caught a glimpse of our finished barndominium dollhouse! And if you know us well enough, we take awhile to finish a project like this one. 🤷🏻♀️ I can say our longevity in this project is partly because we are still building our barndominium. Without further ado, we are so excited to share our DIY Barbie Barndominium Doll House!!

Back Story
The photo below is circa Christmas 2014. Baby number 4 was on the way and you can see a peek of the pink kitchen on your right of the photo.

Back in 2012, we designed and built this kitchen set for our number 3 daughter for Christmas.
The photo below is circa 2015.

It has been carried down to her little sister and it has also been a favorite of all of our nieces, growing up!

The photo above is after I chalk painted the kitchen set and matching table/chairs. This is circa 2018.
A Gift From Our Hearts
I’ve learned that over the years, it has been really meaningful for us, as parents, to spend time, planning and working on a gift for our children. Something that comes from our hearts.
So…the idea came to mind, to turn our daughters kitchen set, along with the matching table/chairs set, into a Barbie Barndominium Doll House!! And best of all?! It was going to look just like our barndominium that we’ve self-built! I was so excited that I was like a kid in a candy shop! I couldn’t wait to see the whole thing come together!
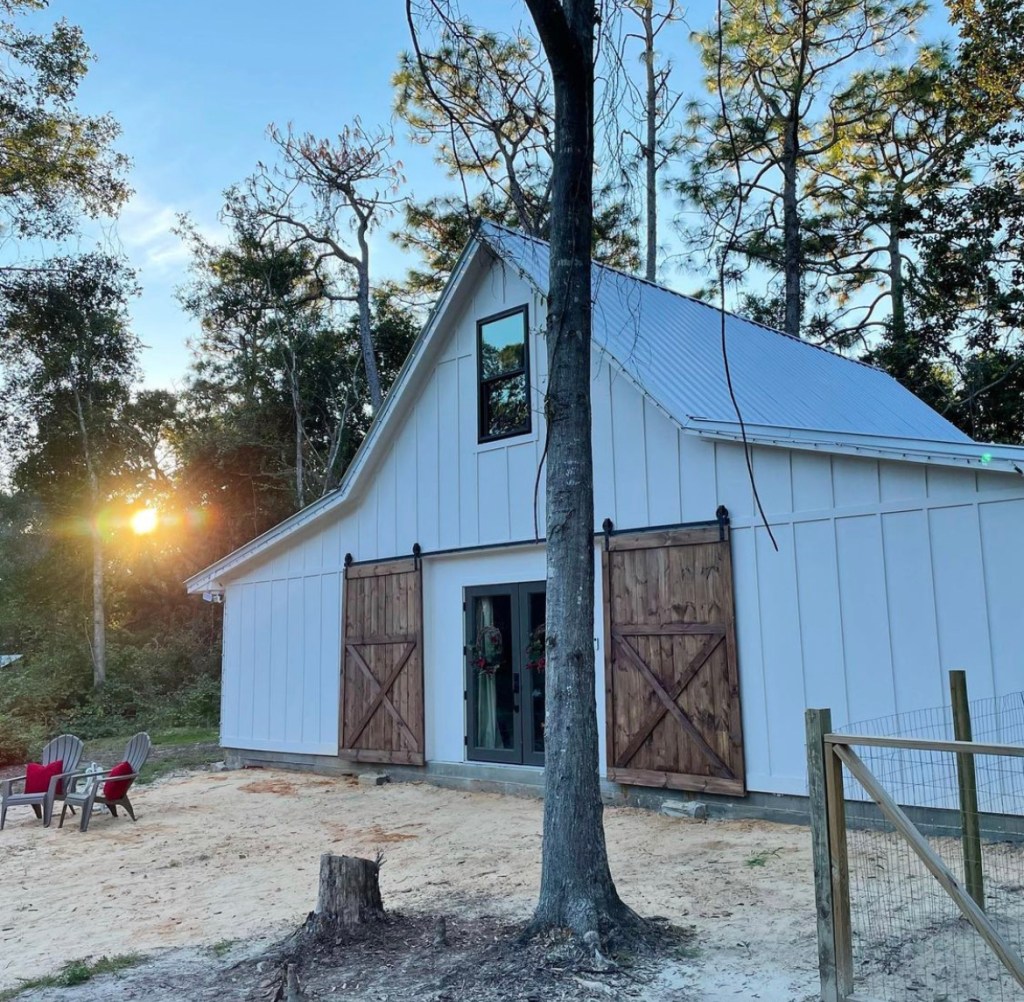
The photo below is Christmas 2021. We had just moved into the barndo! It looks a lot different now!
Over the last couple of years, our youngest daughter has loved Barbie dolls. We first gave her, our oldest three daughter’s Barbie dolls. She enjoyed playing with them so much that she began collecting Barbie’s of her own! I am so grateful it was a family effort!
Doll House Sketch
This is my first drawing of the dollhouse. As we built it, it became slightly different!

The first step was to design the basic build of the dollhouse. I spent a long time searching all the different blogs of how to diy a dollhouse. I chose to do a simple, 4-foot tall house with six rooms and a loft bedroom.
Dissembling Kitchen Set

The next step to disassemble the kitchen set carefully, so we could repurpose the wood for the dollhouse!

Design Time
Next, I began designing and decorating each room. We wanted to keep everything similar to the interior of our barndominium.
Below is the dollhouse during the painting process. Circa January 2022.

After painting a base coat of white, on the inside and outside, it was time to start on the first room! I thought it would be best to start with the hardest room first-the kitchen feature wall, first on the list. Circa March 2022.

As I began designing and decorating each room, I knew we wanted to keep everything similar to the interior of our barndominium.
Kitchen
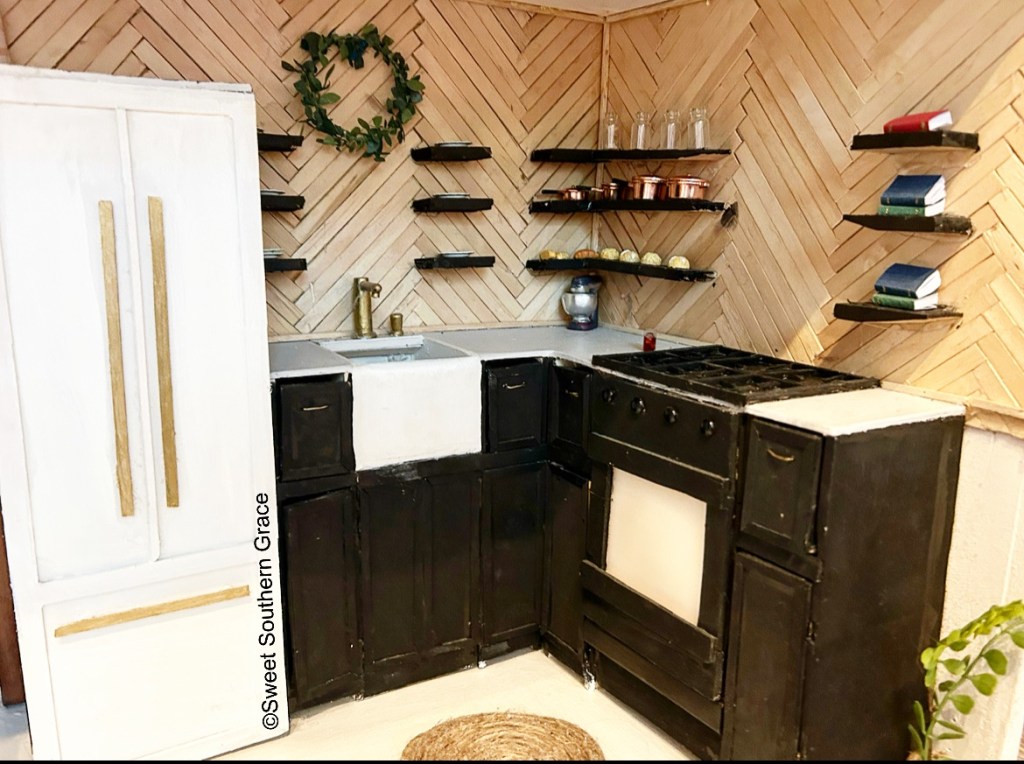
My oldest (adult) daughter was kind enough to add the herringbone shiplap, in the kitchen, for the backsplash! She did a remarkable job!! Thank you baby! It looks just like the one in our house!
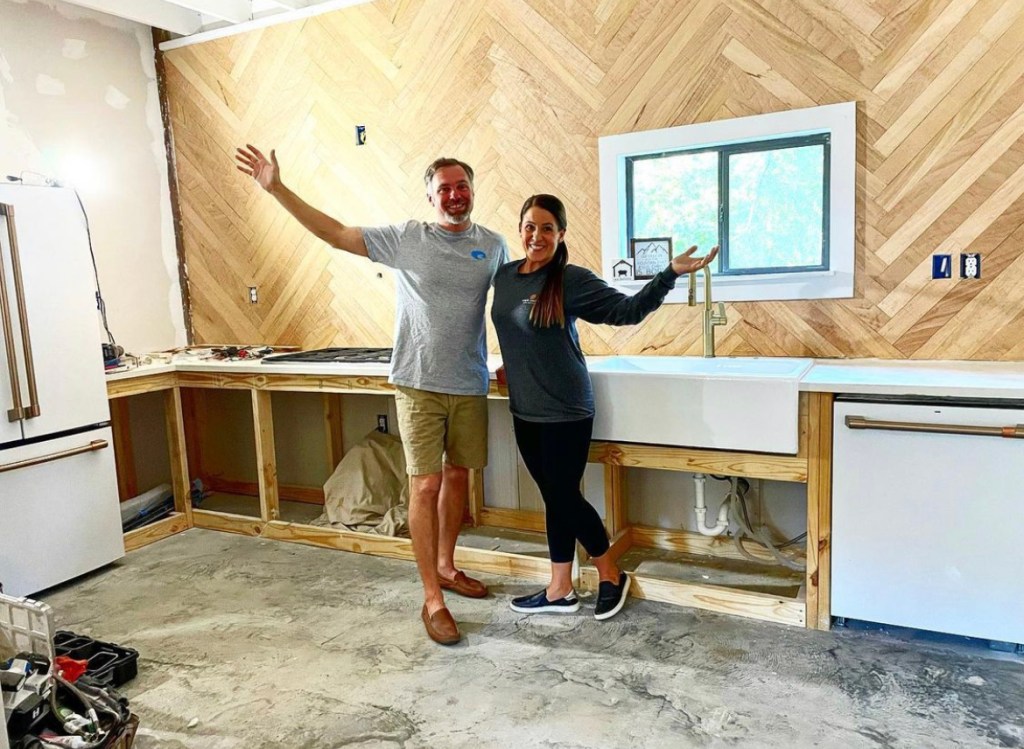
Below is when Wes and I had just finished the feature wall in our kitchen, here in the barndo! Circa Fall 2021.
The photo below is a current photo of our barndo kitchen! Circa August 2023.

We used popsicle sticks and cut off the round edges for the wood feature wall. You can check out that blog of how to diy here.
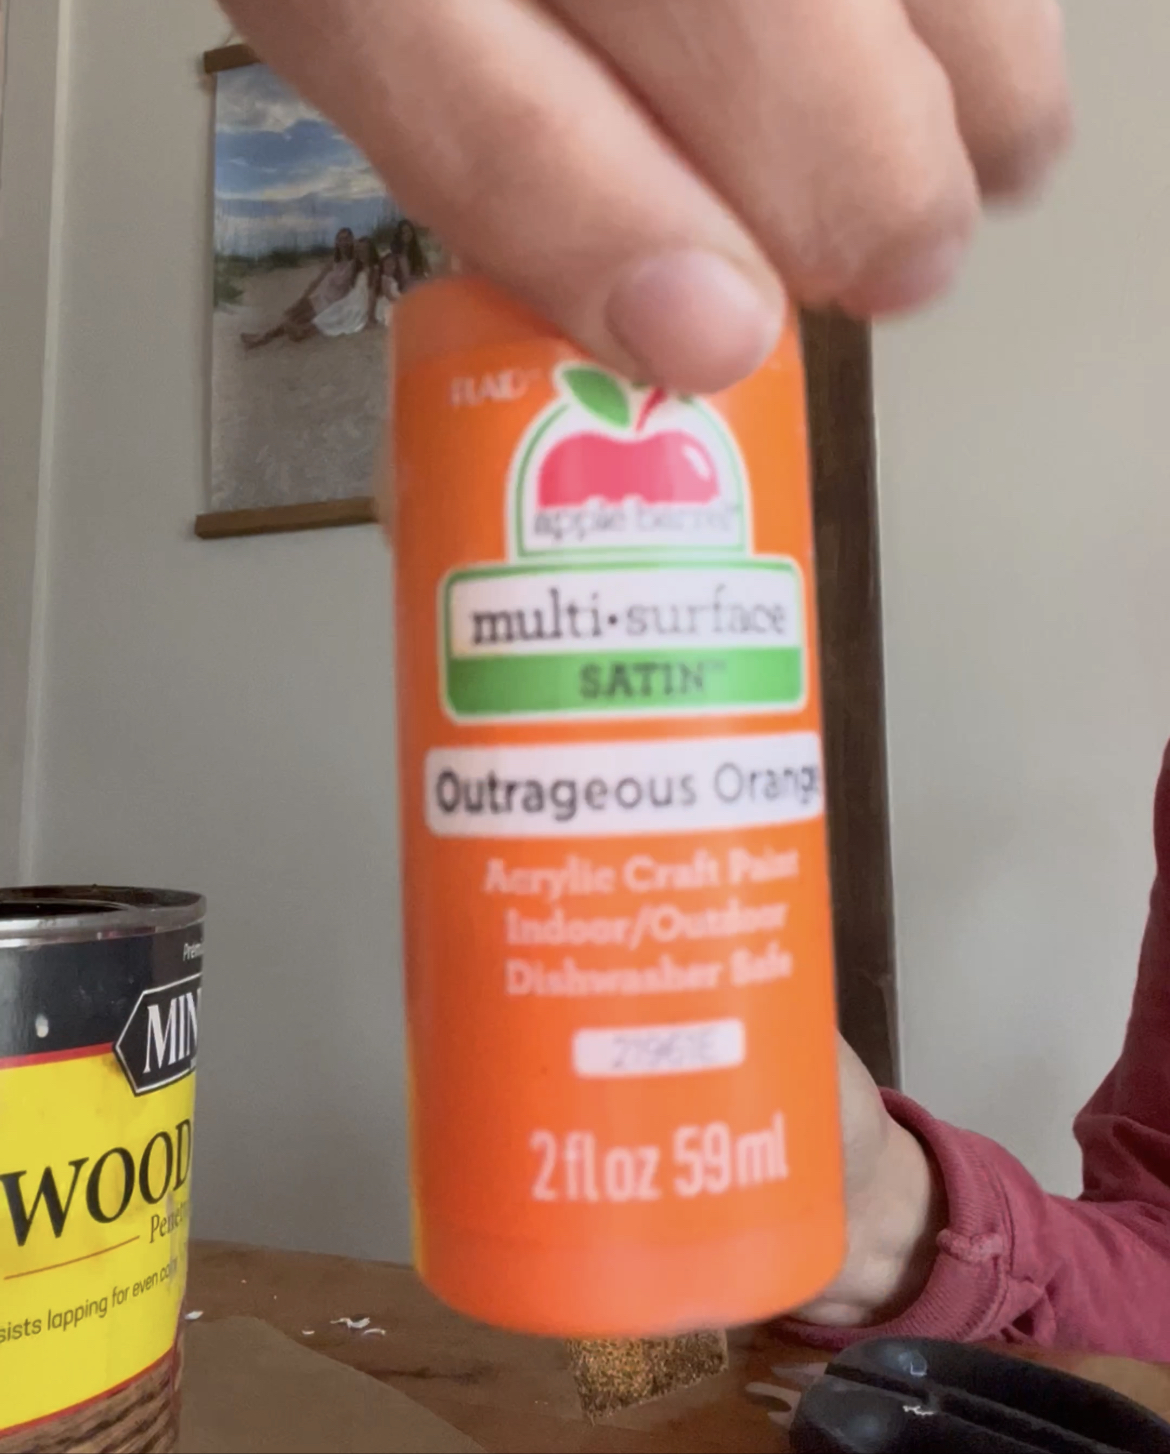
Next, my oldest daughter began working on the lower kitchen cabinets. She used thin sheets of craft wood from Hobby Lobby, that she cut with a knife. She even made an oven, stove top, farmhouse sink and fridge! Painted it all with leftover house paint! I did buy gold craft paint to use, as well.
Master Bedroom
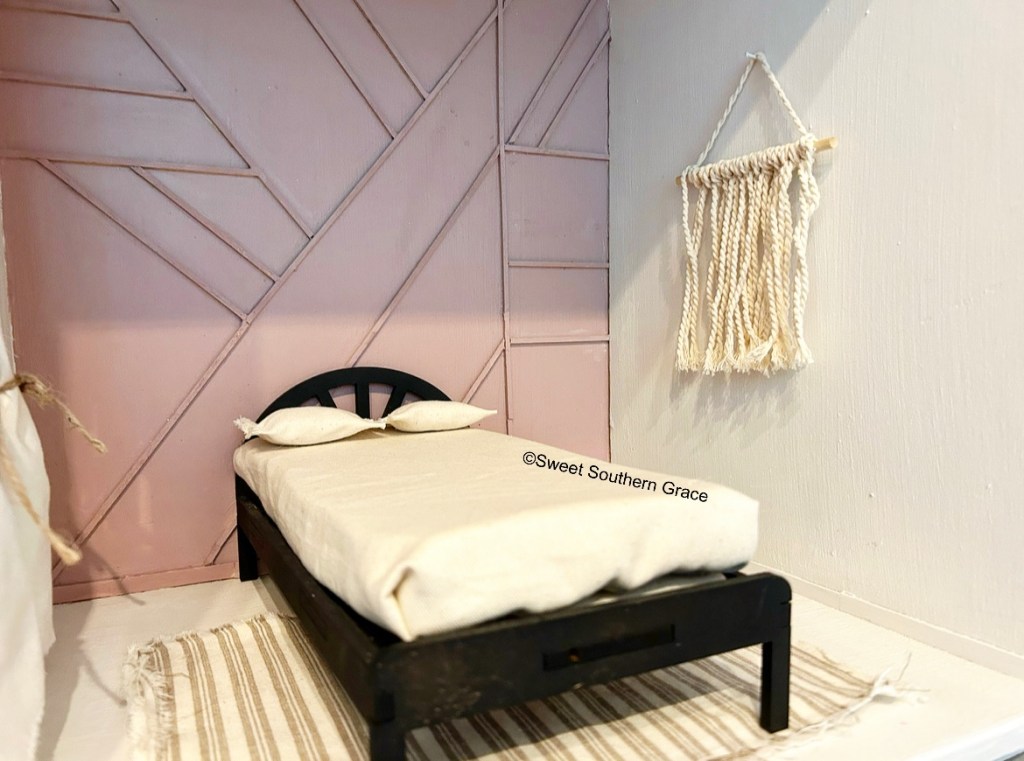
Next, I began working on the master bedroom wood geometric feature wall! First, I made a “boho” wall hanging, just like the one in our master bedroom!

It was super simple to use balsa wood! Easy to cut and I glued on with wood glue! Painted with left overpaint from the master bedroom.

The bed is from Mountain Grove Timber. It comes unfinished and easy to assemble. I spray painted ours black, to match ours in our master retreat.
Loft

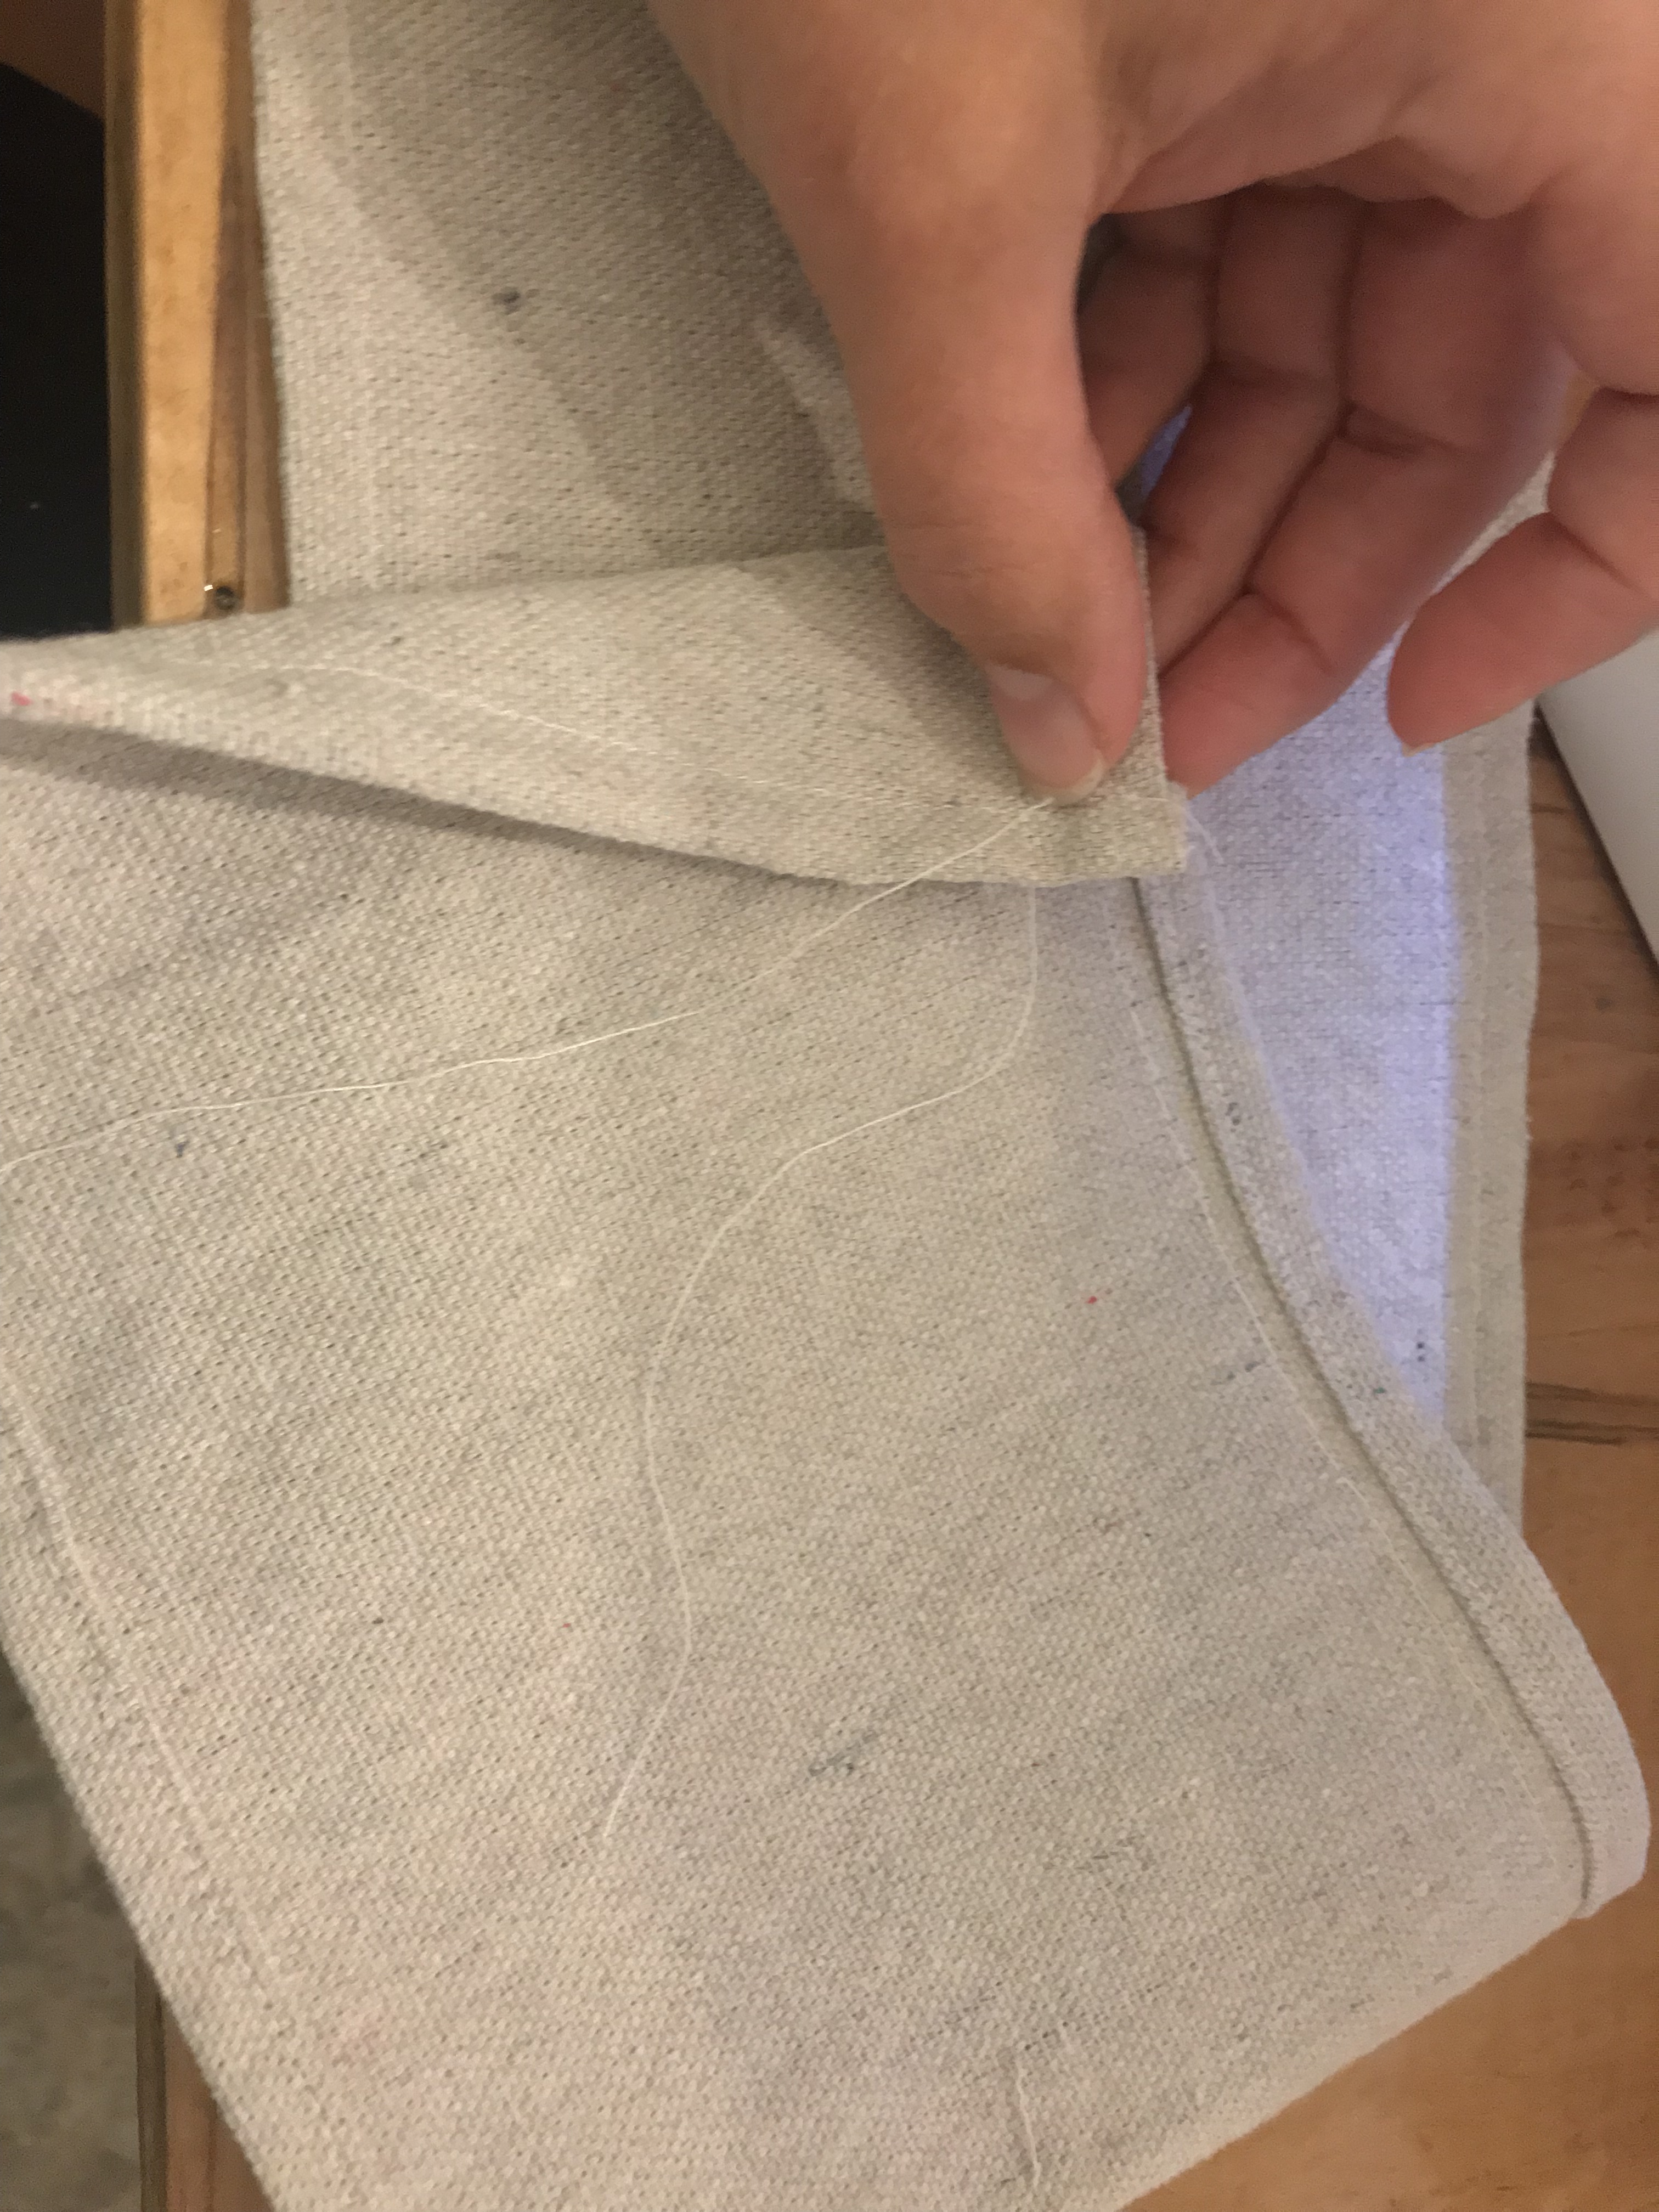
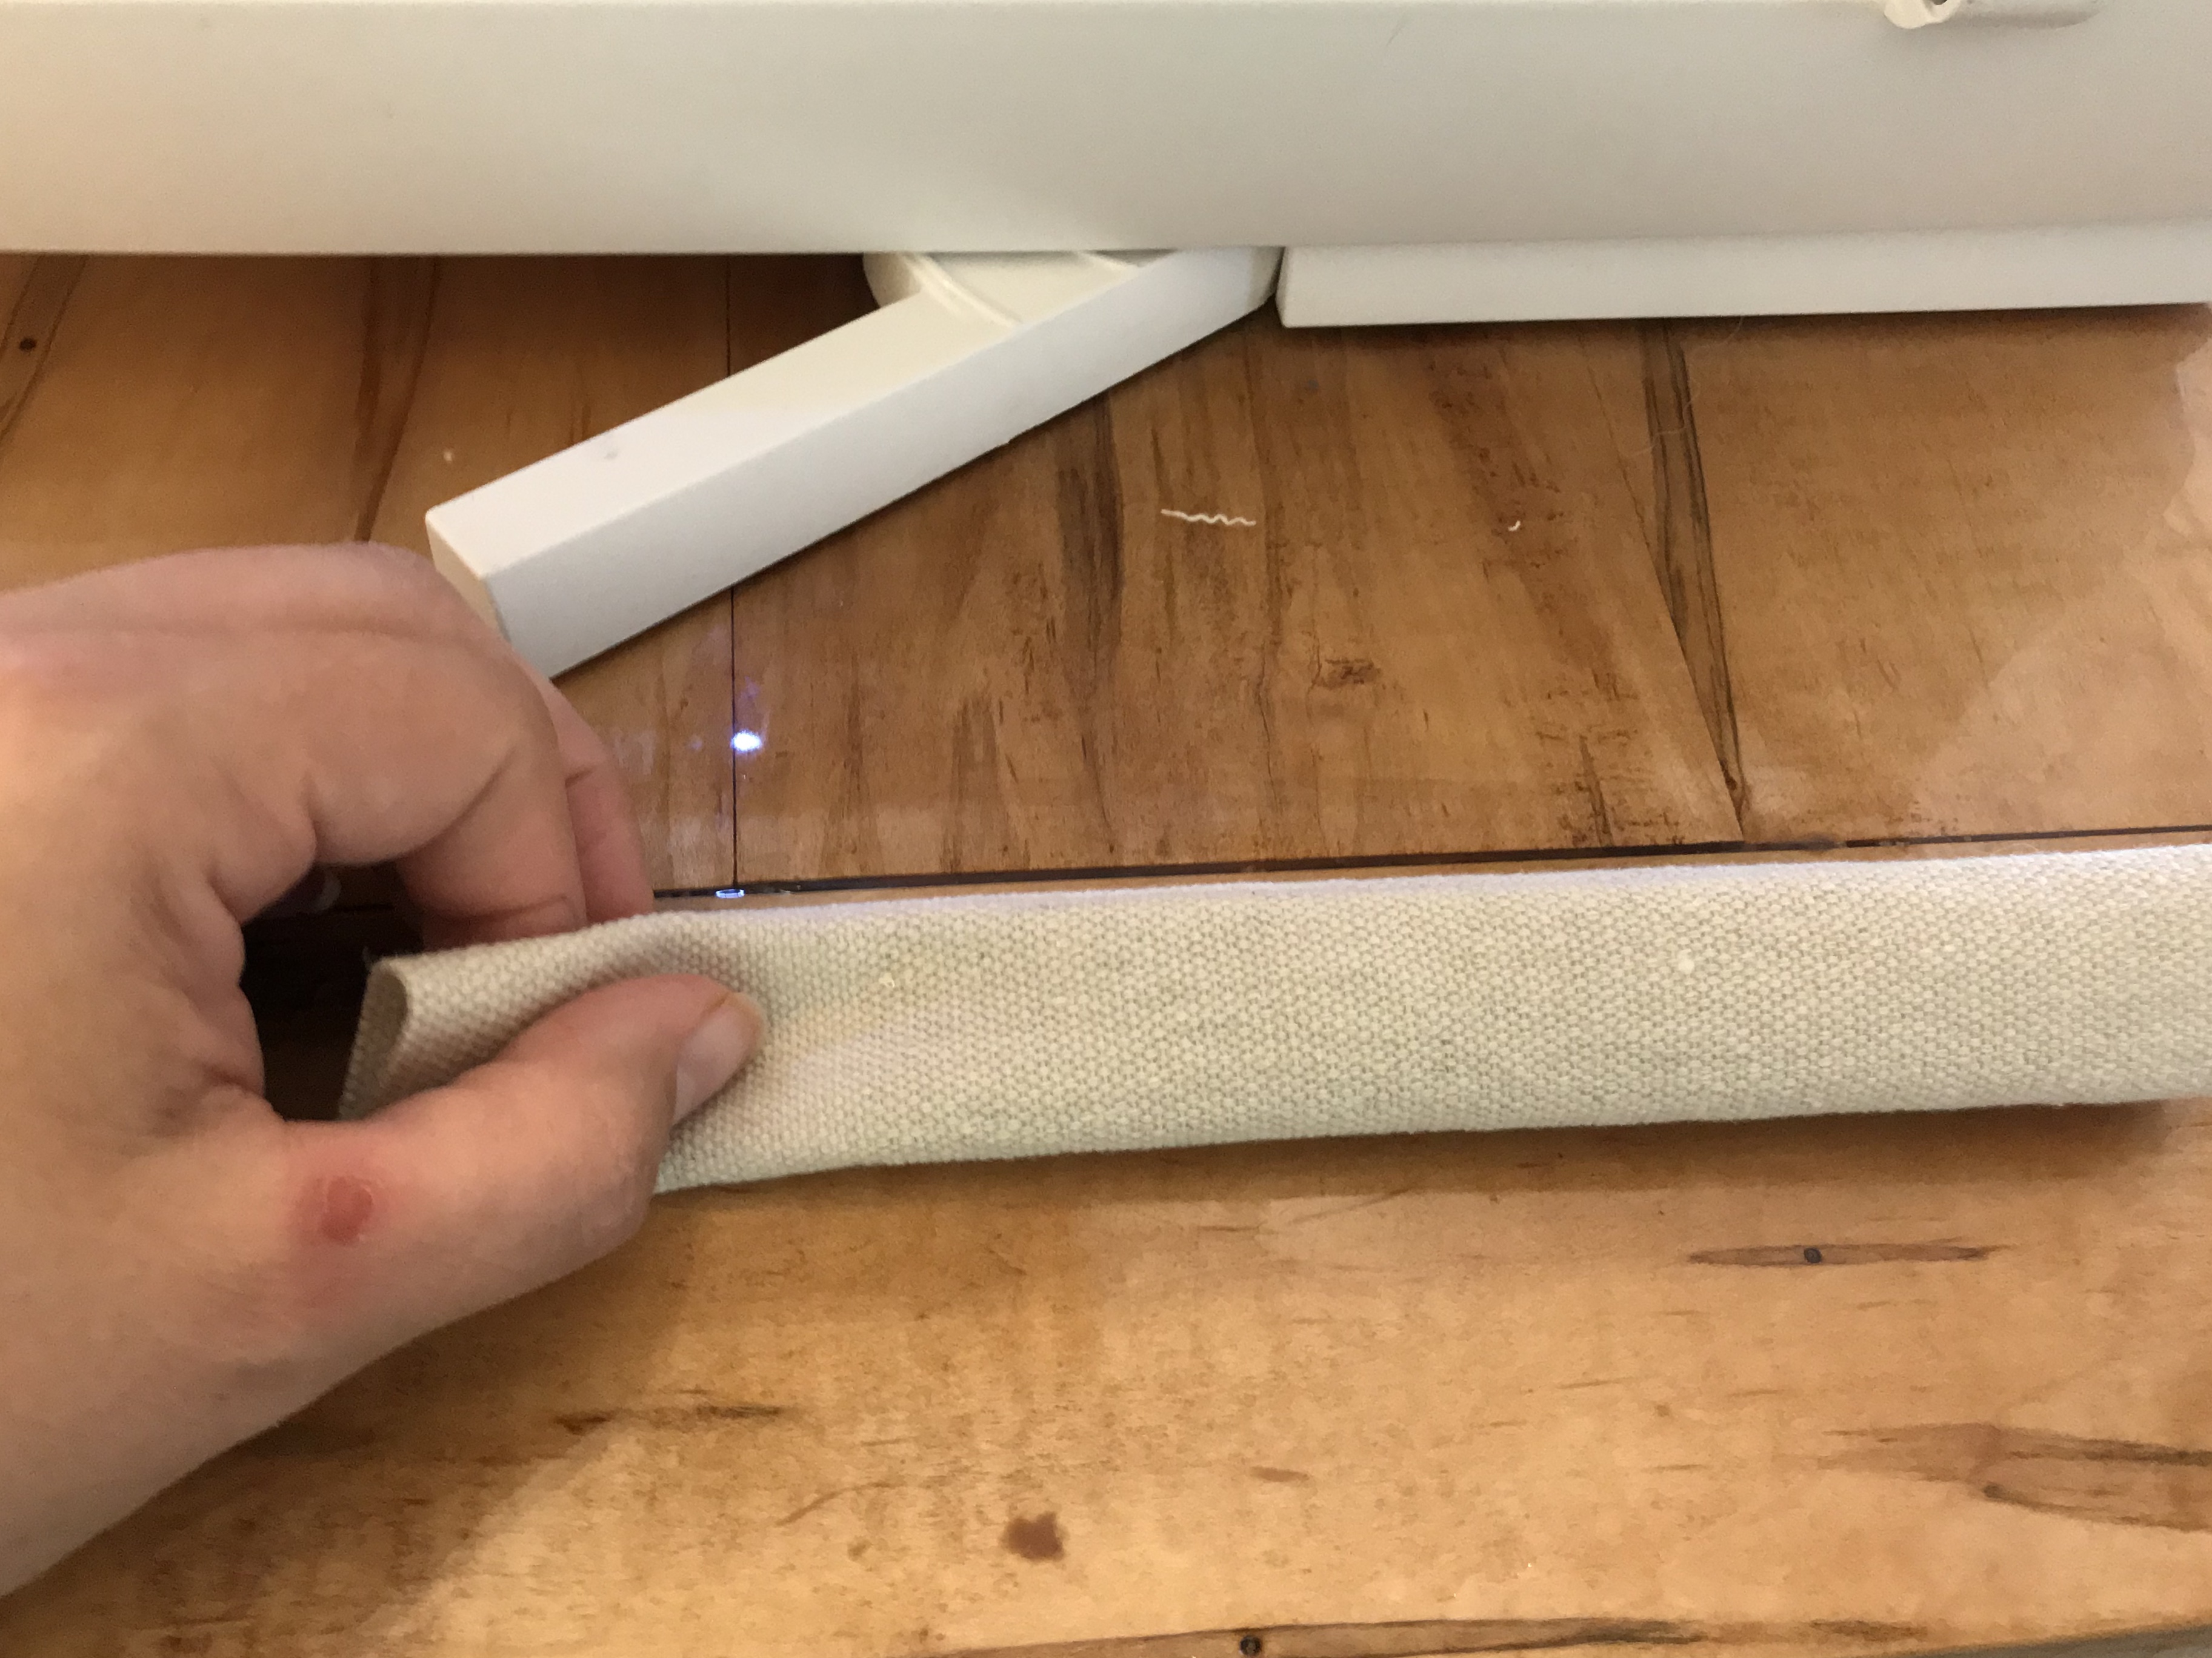
For the upstairs “loft” bedroom, I added a feature wall with leftover wallpaper from the girls room. The doll beds are repurposed from left over wood & mirror are from Melinda Lundberg’s shop, Mountain Grove Timber. She has so many beautiful wood pieces in her shop! The rug is a piece of fabric that I bought from Hobby Lobby. I made all of the bedding, mattress and pillows from a piece of fabric from Hobby Lobby. I also used drop cloth fabric for some of the bedding, curtains, pillow, sofa slip cover and table runner. I bought a piece of foam from Hobby Lobby and cut pillows and mattresses with it.
Living Room
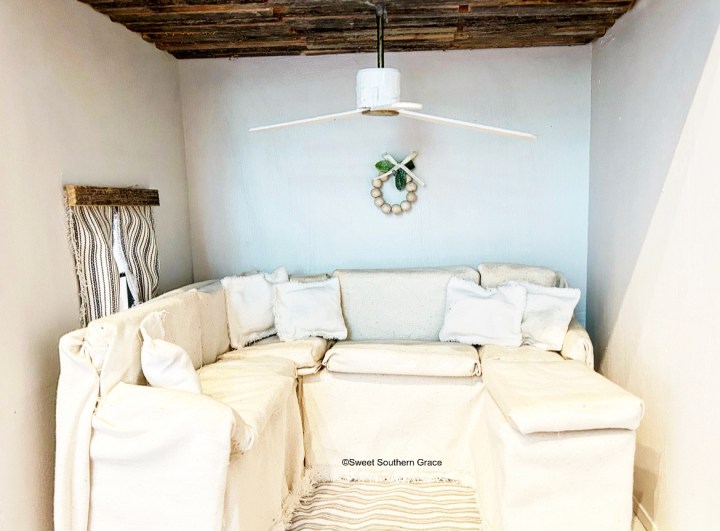
I asked my husband to make a L-shaped sofa like ours from scrap wood.
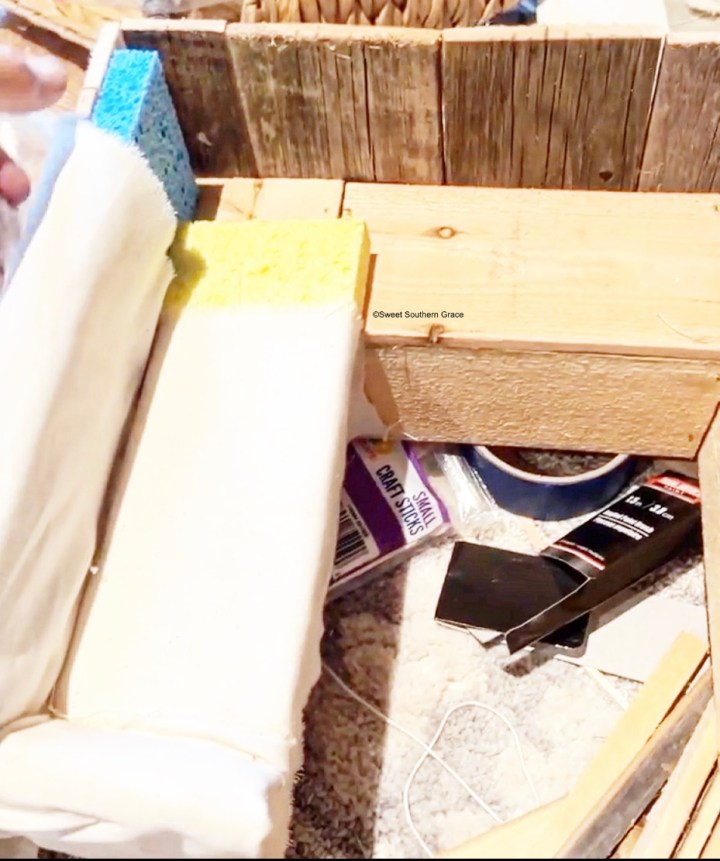
I made all of the cushions, slip covers and pillows from drop cloth fabric, sponges and furniture foam.

The ceiling in the living room is made to match the ceiling in our living room from Barnwood USA. They carry reclaimed barn wood products! We had a couple left over pieces, so I cut them, then hot glued, to the doll house living room ceiling. I made the ceiling fan from a craft paint top and popscycle sticks then used hot glue to stick all of it together. Hot glued straight to the ceiling, to “hang”!
Bathroom
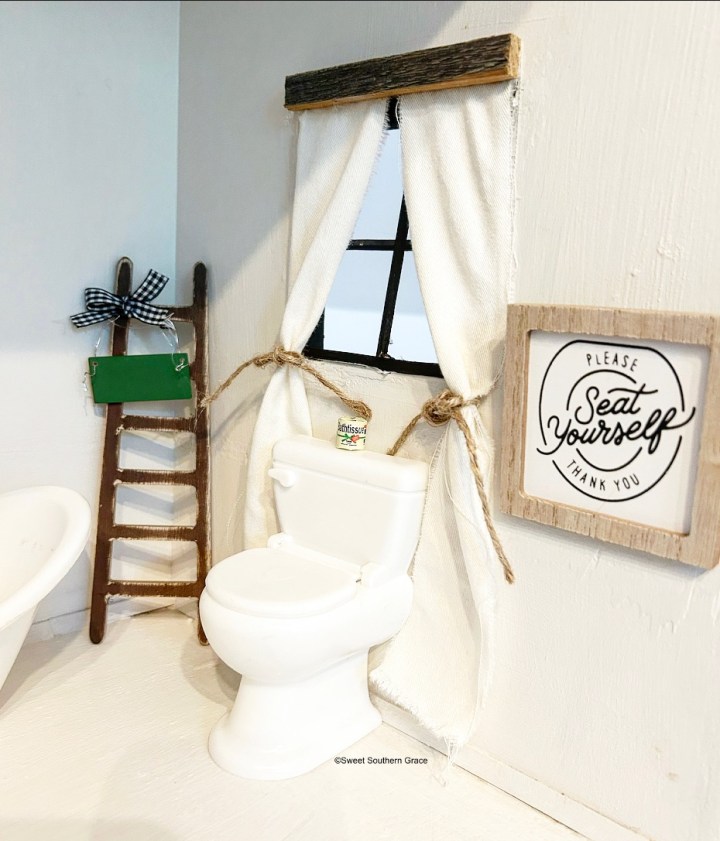
For the bathroom, I kept it simple, for now. I found the toilet from the Dollar Tree. I found the signs and blanket ladder from Hobby Lobby, at Christmas-time. I made the curtains from drop cloth, twine and barn wood by hot glueing in all the right places.

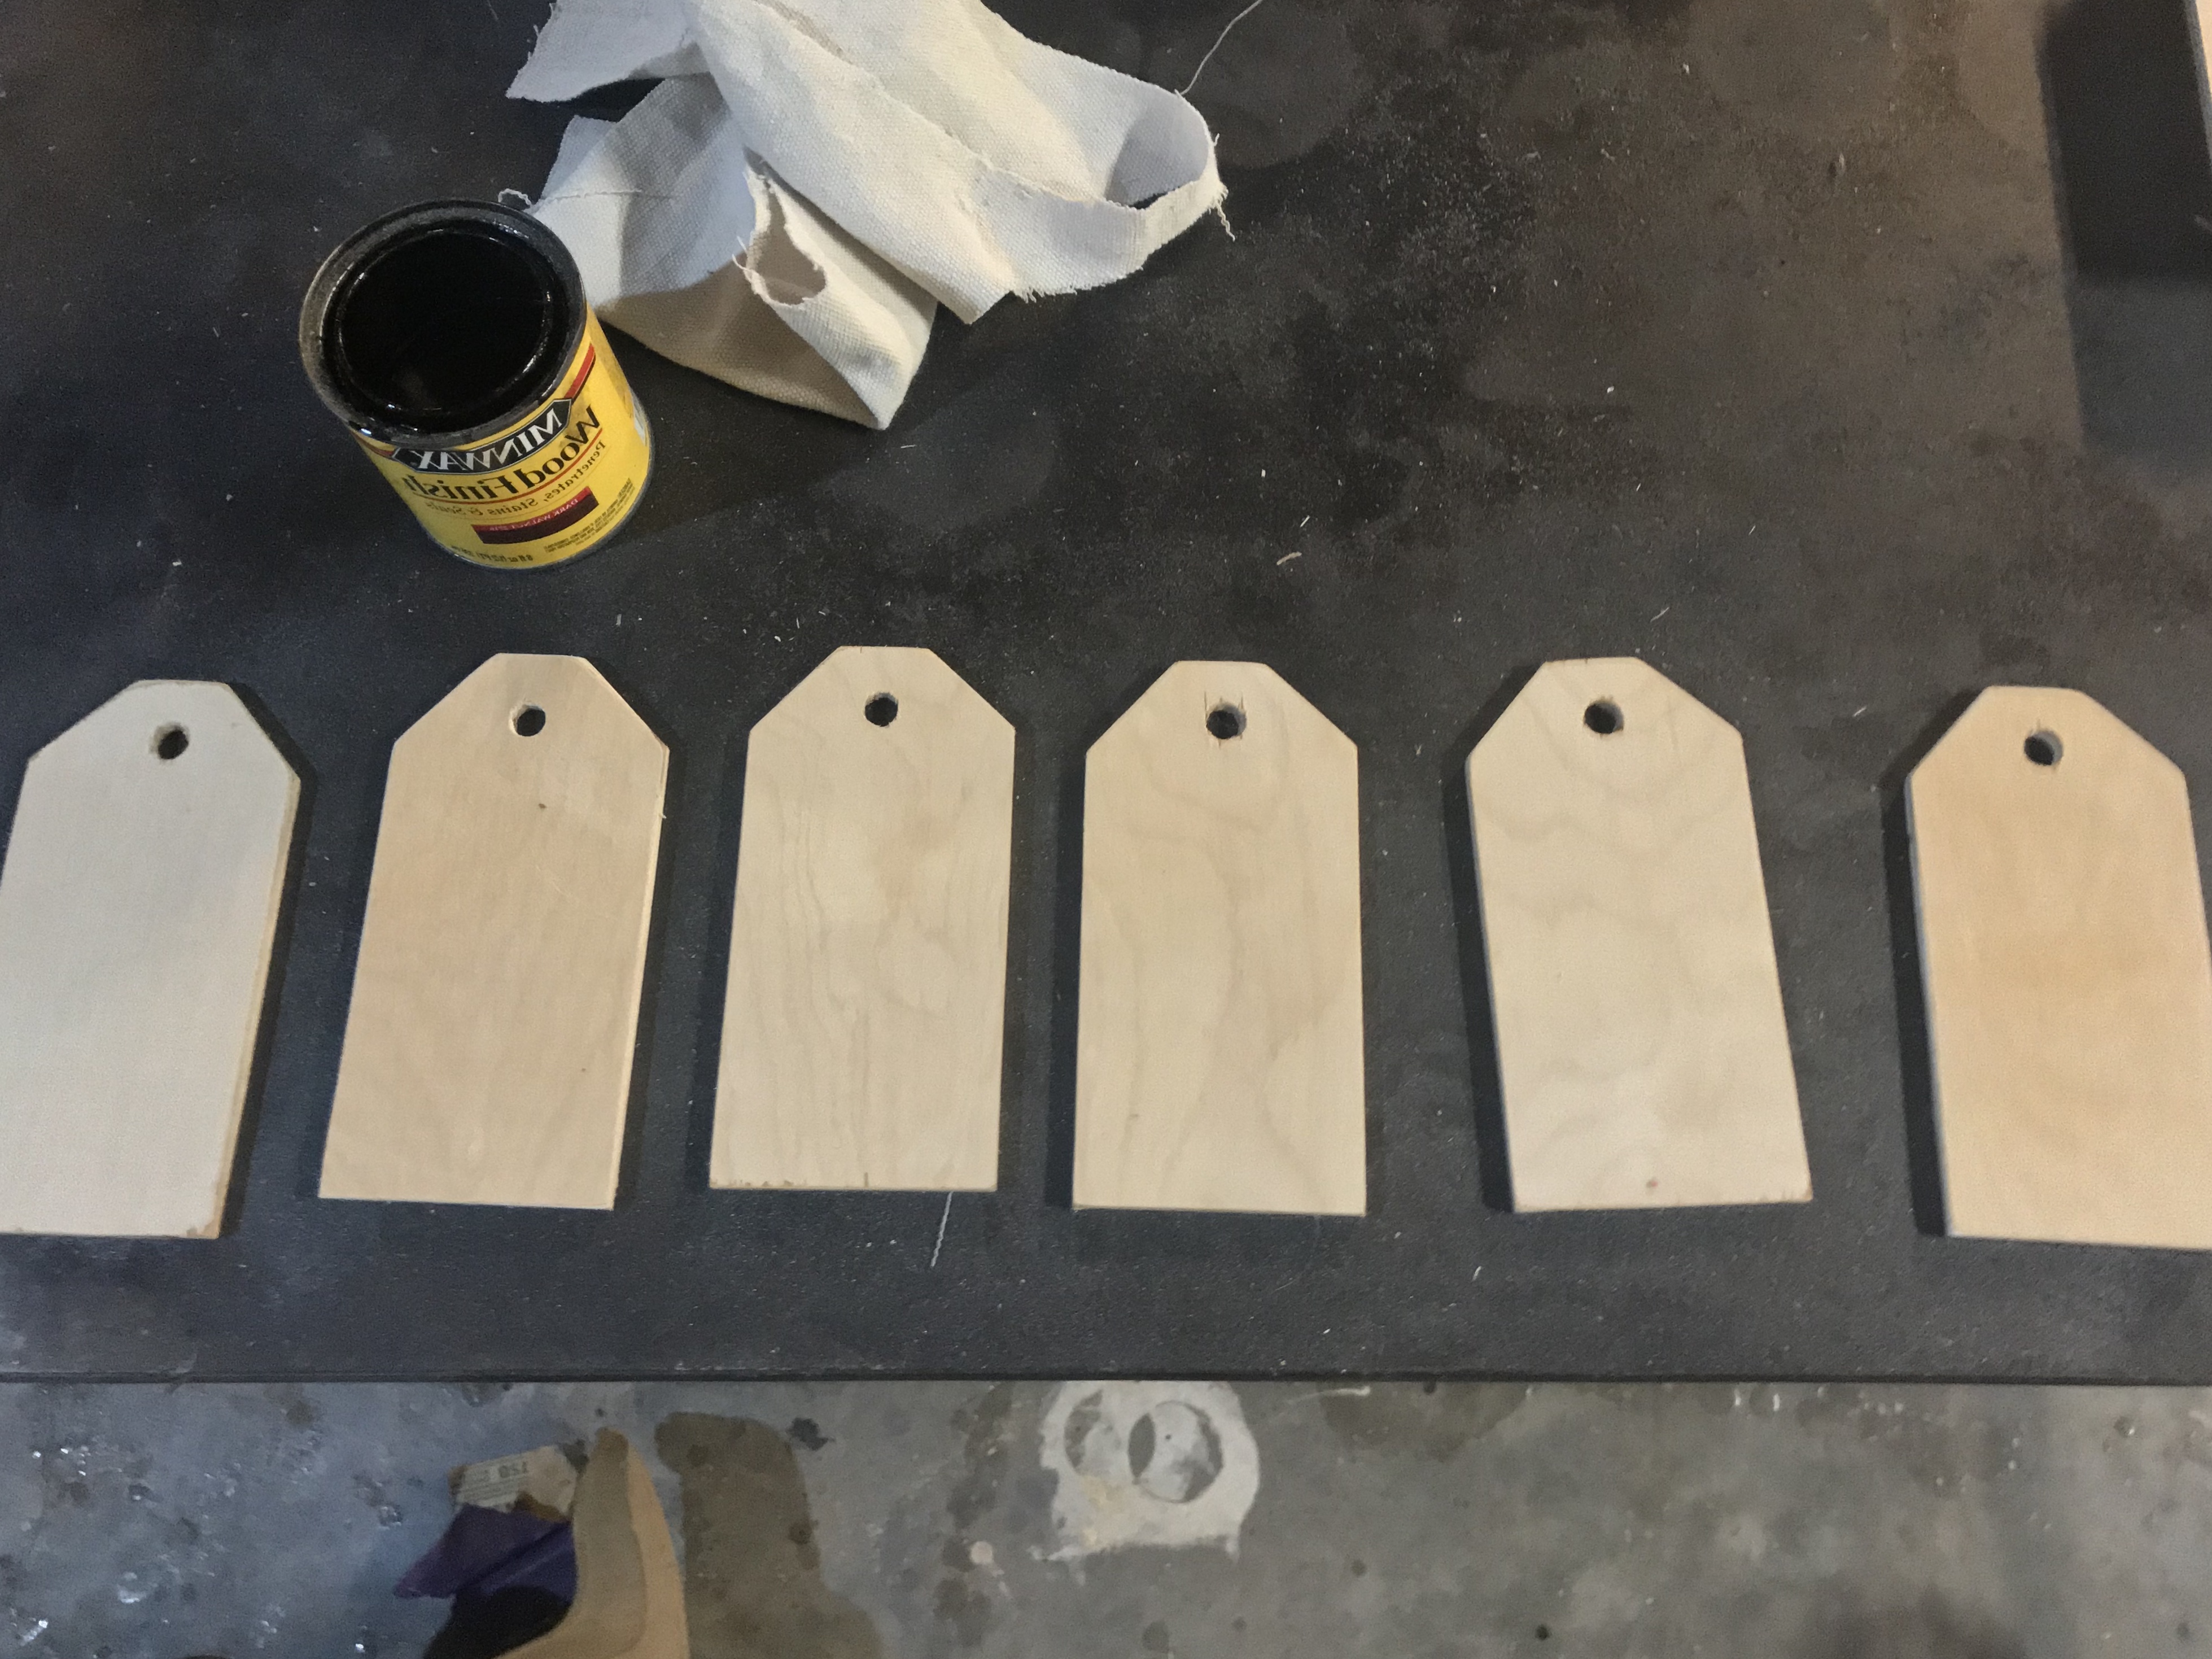
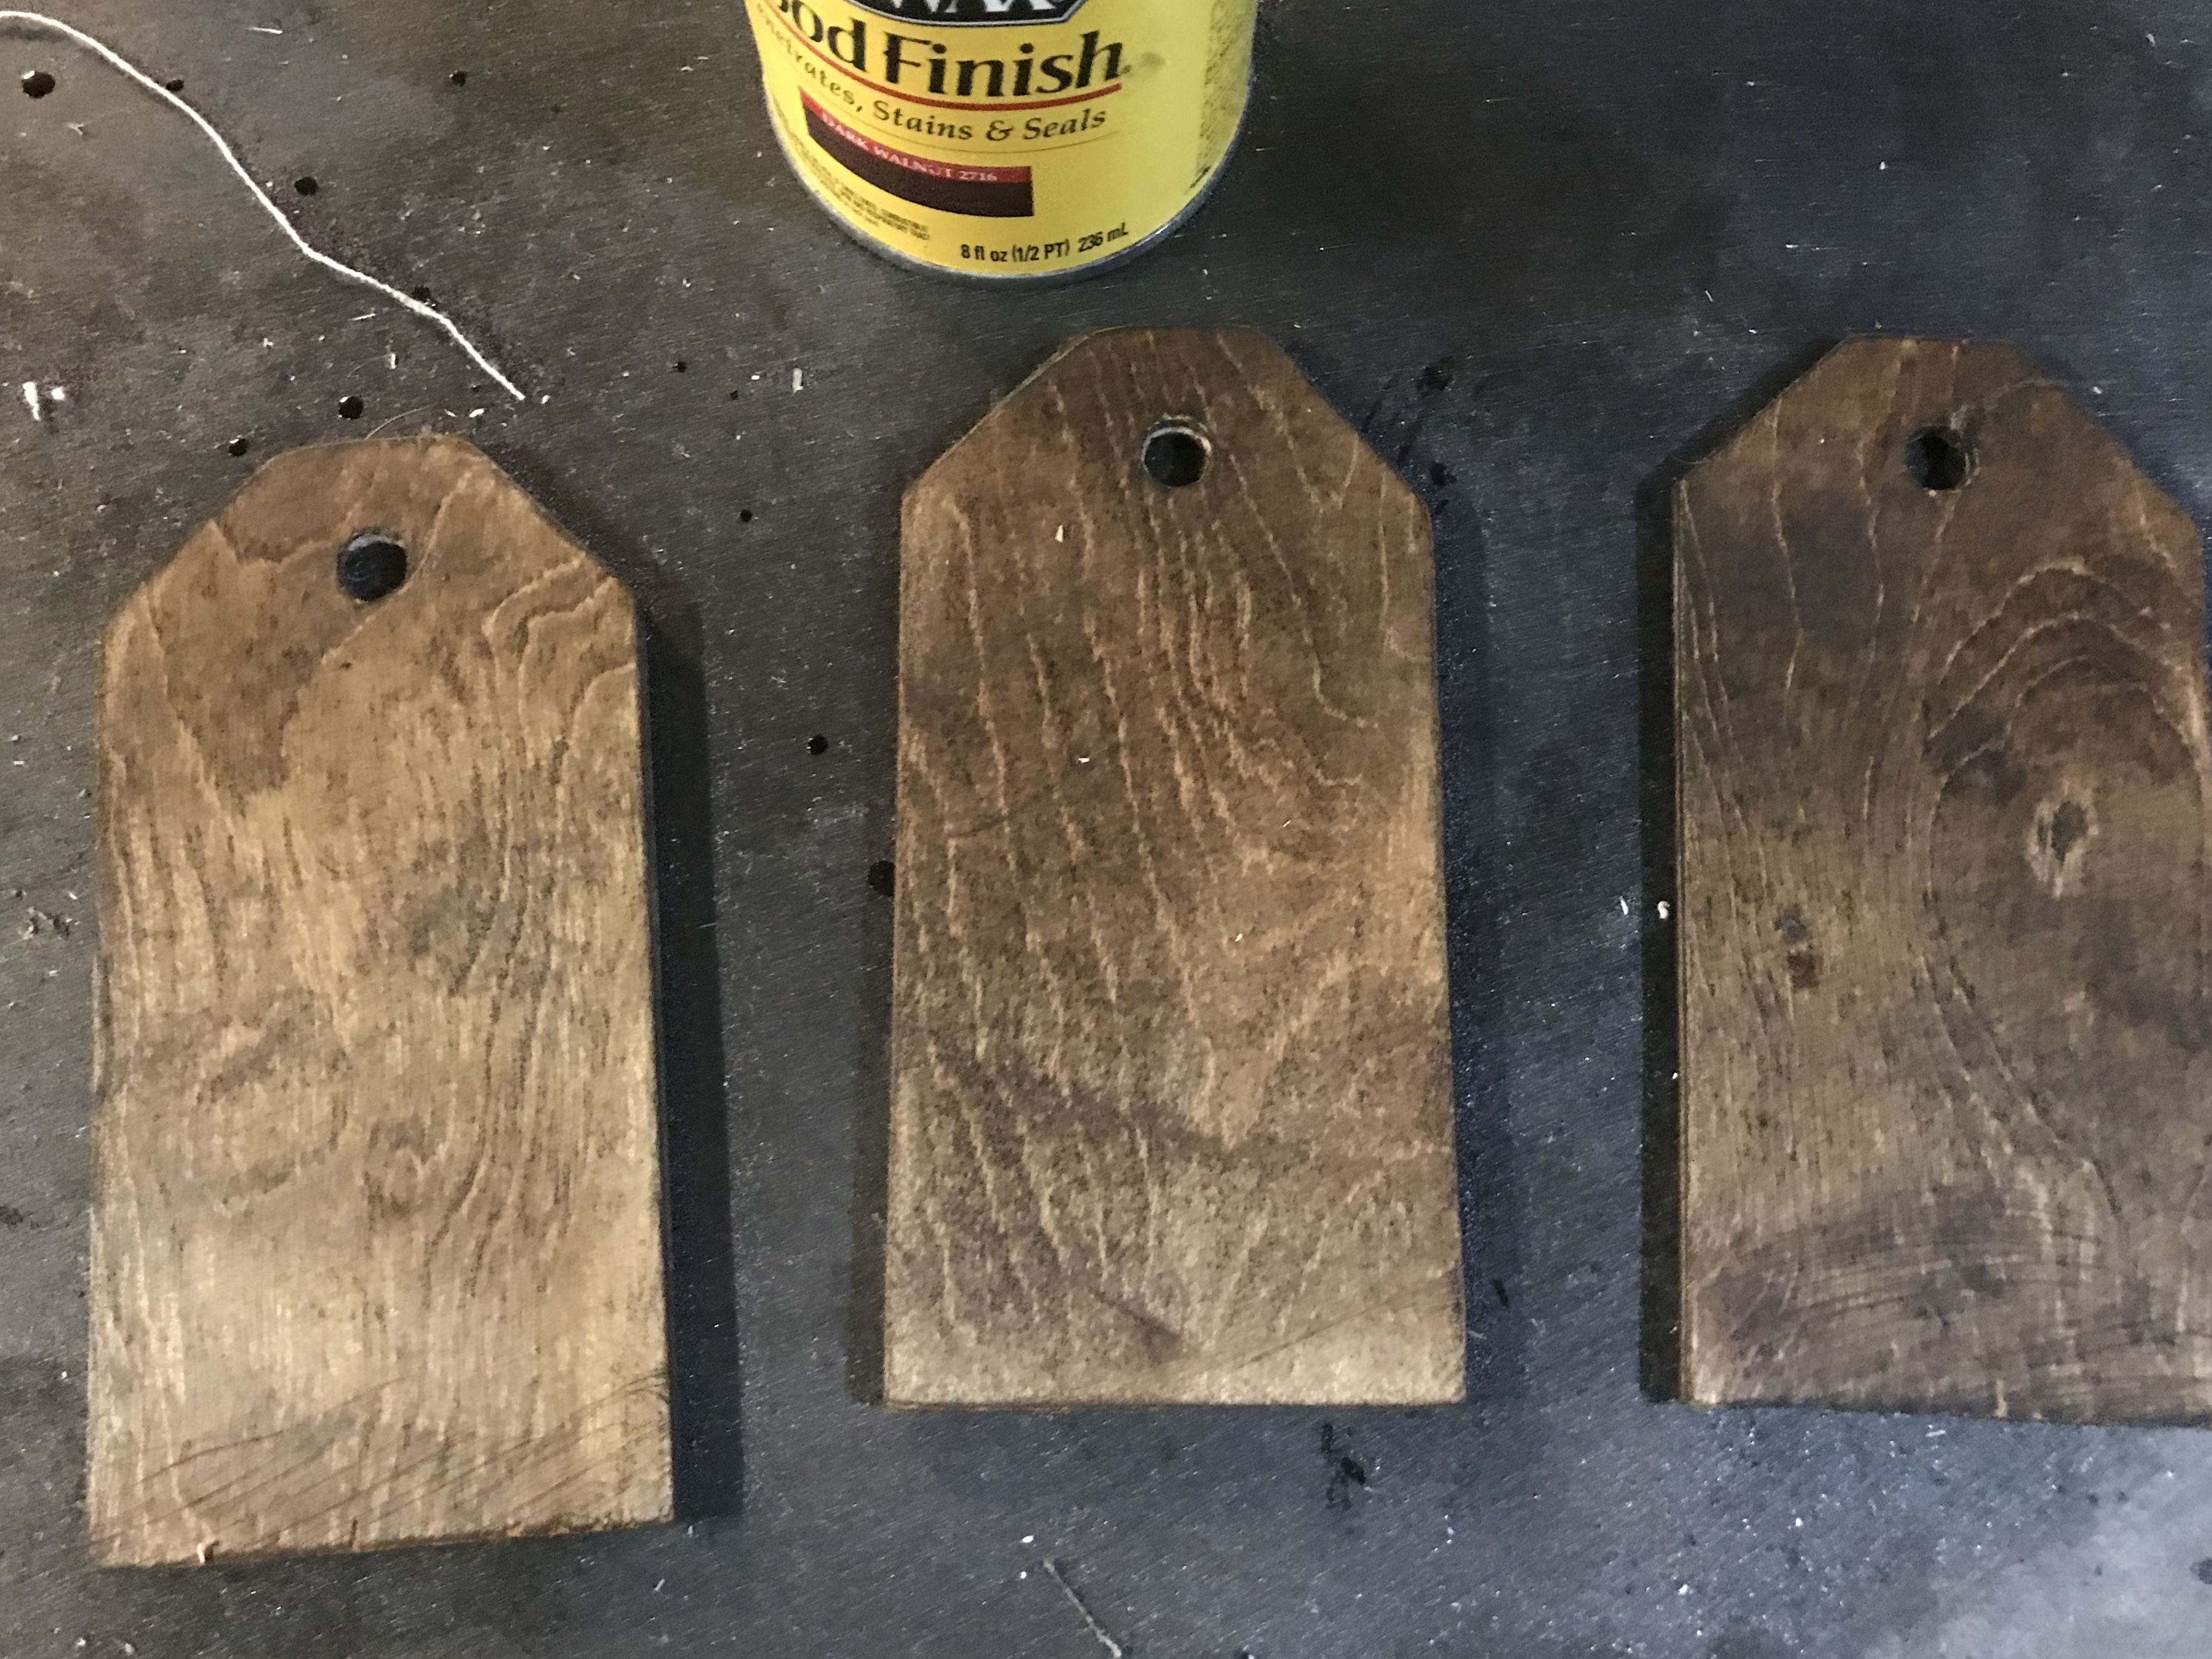
We built a vanity from balsa wood from Hobby Lobby, then I hot glued everything together, then stained! We added a cut piece of a plumbing pipe, for now, as the sink. The mirror is from Mountain Grove Timber. It came unfinished and I spray painted it black!

I bought the tub from Target. The tub came as a Barbie Doll set.
Laundry Room

I asked my husband to cut me a couple pieces of 2×4’s to Barbie sized washer and dryer. I added “doors” with a cut small piece of barn wood then painted everything to match our Speed Queens! I found the vintage doll laundry items while antiquing with three of my daughters in Waco, TX at Cameron’s Trading. It makes a wonderful addition, if your headed to Magnolia. You can read all about that blog, here.
Dining Room

I asked my husband to cut a dining room table from a piece of extra wood that I had leftover from Mountain Grove Timber. I used small pieces of scrap wood for the table legs. I painted and stained the pieces then hot glued together. I found the chairs from Hobby Lobby but took out the legs and added my own balsa wood legs. Gave them a quick, spray paint in black! I printed a photo of all four of our girls and made a “frame” from the left over barn wood and “hung” with twine and a mini nail. It looks just like the photo in our dining room! You can peep my IG for all the photos! I even added a barndominium “beam” in our dining room and kitchen area of the doll house.
Exterior Siding, Roof and Windows

The “siding” is just this wood from Home Depot. I nailed these pieces into the doll house.

The roof “shingles” are just these pieces of wood from Amazon. The windows are also made from this wood. I painted the exterior with leftover paint from the build, here in our barndo.

Conclusion
I really enjoyed being able to repurpose and create a doll house, with the kitchen set and table/chairs set that we built over ten years ago! I want to thank my daughters for all of their help in creating this doll house and making all of our Barbie dreams, come to life! We hope that our family will get use out of this doll house for years to come! If you have any questions, please feel free to reach out! You can find all of my videos under my highlights tab on IG! You will find out how we transformed this kitchen set into the first ever, Barbie Barndo!


You must be logged in to post a comment.