Some of Life’s Greatest Treasures

Some of Life’s Greatest Treasures

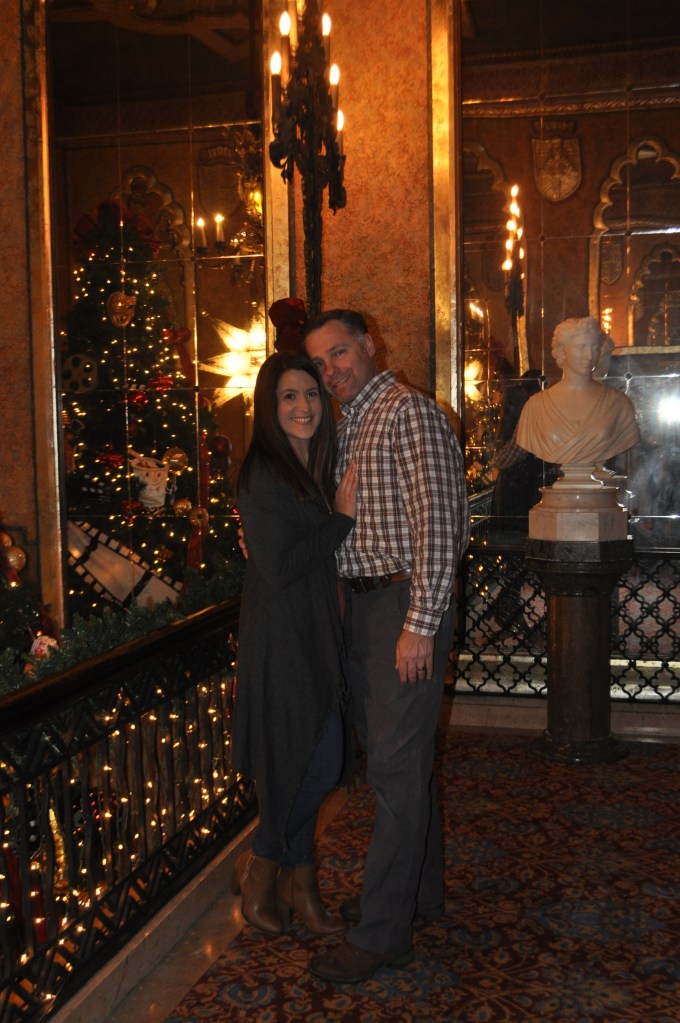
I think when a Grandparent gives you something they value, it is one of the most greatest treasures in life! The picture above is my husband’s Paw-Paw & Big Grandma. I believe they were dating in this pic, soon to be married! Aren’t they a stunning couple! I think back on the time that I knew Big Grandma (never met his Paw-Paw because he passed before we married) and I think she had a good life with lots of family surrounding her. That was one thing about her is that she loved her family and she loved helping anyone when they needed help!  Right around mine and my husband’s first anniversary, we had our first daughter and anytime Big Grandma came to visit, she would always bring diapers! She knew how expensive those things were and babies are expensive! It was like she just knew when we always needed something and that’s just how she was! I remember the first time she had a stroke and I really thought we would loose her. I was so scared that when I spoke with her on the phone, I started crying and told her how much I loved her. We had her for many more years before she passed. I will never forget telling her that we would be naming our 4th daughter after her….her eyes just sparkled and she said “Really?” I told her “Yes!” and boy was she proud! It wasn’t long after that, just two months, before she passed away. She never got to meet our little Jewell but I know she is looking down and smiling at our rainbow baby!

23FD3852-D021-48CE-963F-E45828783CB6

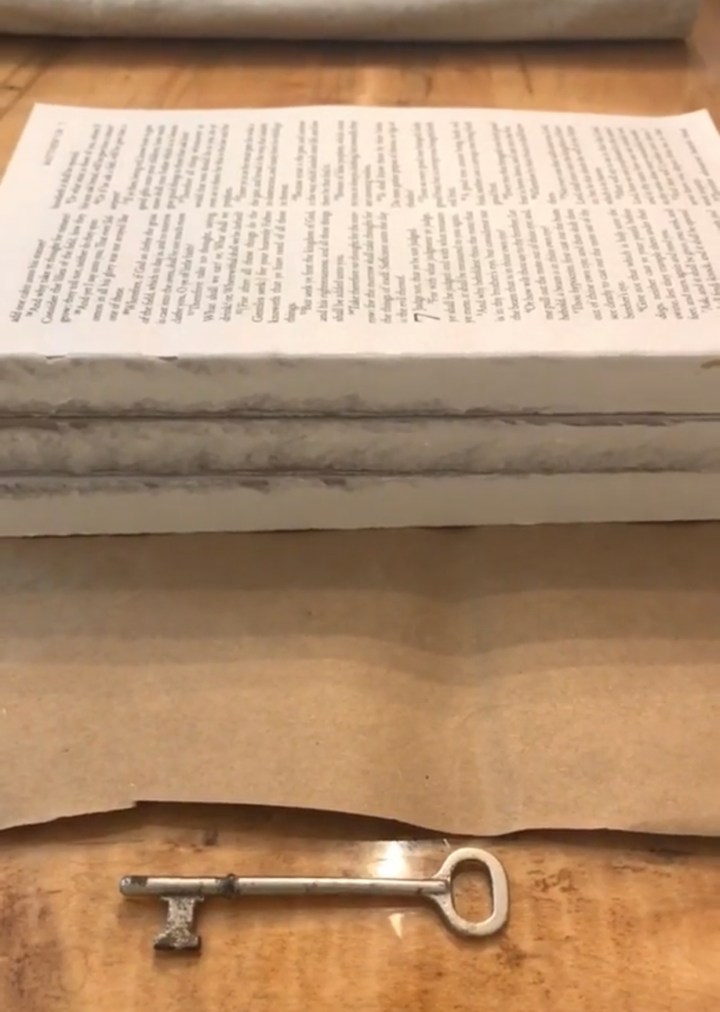
This antique milking stool was my husband’s Big Grandma’s.  He said she didn’t have many possessions as a child, but I wonder if this stool served as many purpose’s, in her childhood and as she grew up. I have explained in my last blog that we acquired a antique key from her home, when we were cleaning it out, as we were getting ready to renovate it. The stool was also an item that we picked out that day because Big Grandma wanted us to have it. Our oldest two daughter’s were small at the time so we decided the stool would make a great “time out” stool or we could use it to stand on, when we couldn’t reach things in the pantry! We’ve had it in our home for at least 15 years now and I love thinking back to that day, when we came home with all of our treasure’s from Big G’s house.

Here’s a little throw back pic of our two youngest daughter’s on their first trip to Disney World!

27F691F3-4672-47CF-B790-1404CE14FDF0

Please check out my blogging friends to see what they have found on their thrift store, estate sale, yard sale or family heirloom searches!

Love~Shae

2DBE7694-9826-4B57-835F-A9502E253447

https://decorateandmorewithtip.com/my-thrift-store-louver-door/

ECFA6F44-A918-47F6-947F-8ED25A1D9BCB

Thrifted Treasure ~ July

6F085B2F-DC0D-4551-8C14-8FC252FB30CE

https://throughavintagedoor.com/2019:07/10/July-thrift-store-find/

FEE4FFB5-C804-480F-AFB5-302F8629B5D5

https://decorateandmorewithtip.com/my-thrift-store-louver-door/

13E9C848-8796-4AA9-8F64-9202663619BF

Vintage Washboard – July Thrift Challenge


Farmhouse Word Stacked Books

Farmhouse Word Stacked Books

When my friend Terrie from Decorate & More with Tip asked me if I would like to join a blog challenge for word stacked books, of course I would agree!! My first thought was that I would love to make a set of these books for my sister-in-love, who just built a new home with her husband, last year. We had not given them a house warming gift, so I thought this would be perfect!

4143331E-A0A9-4E9B-BCF3-8999D84836C6

A little bit of family history with this key. This key was found by our oldest two daughter’s when they were little in their Grandmother’s home. She is my husband’s Grandmother, whom we called Big Grandma & who is our youngest daughter’s namesake. We were cleaning out her home, getting ready to renovate it and we were allowed to take things from her home that we thought we would like to have. One of the girls found this key and I’ve had it in my jewelry box now for around 14 or 15 years.. not knowing really what to do with it, but I knew one day an idea would come and I could have a way to honor this key, per say. I am not sure what this key went to or any significance behind it. I am thinking it went to…maybe an armoire or hope chest.

86D74D28-73F9-46F5-807D-E9E171BC2935

I headed to our local Dollar Tree for the books. When I make a set of these books, I like to tear off the front and back covers of each book, along with several pages as well.

AF5EC47B-9C48-4694-A073-9880E98FB506

I used my homemade DIY chalk paint recipe that you can find on our youtube channel. I did a light layer of paint on the spine of each book. I did not saturate my paint brush with paint, but I didn’t dry brush it either. I wanted some of the spine to show through. I did a heavier paint layer in between each book, to help adhere to each other, acting as “glue”. On the top and bottom of the book set, I painted a light layer so that some of the wording would show through.

EE56EDFC-B001-483F-B1EE-DFCA9240B345

After the books are dry, I grabbed my stamps and black ink that I purchased from Hobby Lobby. Don’t forget to purchase when they have those for 50% off or use your 40% coupon.

CD7C3317-422D-4631-BEFF-5636A9BBAC01

I decided I wanted to stamp the words, “Home Sweet Home”, onto the spine of the books. I thought it was a fitting saying for a house warming gift.

CB1582A4-03DB-4B5C-ACAB-3D7EC9AC5D9E

After my stamped letters where dried, I headed to my ribbon stash and I used this light khaki colored ribbon from Hobby Lobby and added the twine.

5063B44F-1F8F-454F-A497-750D7F9A7420

I decided to tie the ribbon, a little off centered and incorporate the key with the ribbon. After I tied the ribbon, I made sure to heat seal the edges of the ribbon.

E4B37E0D-5855-40E7-94F6-E66375F75E9A

I can’t wait to give this set of stacked books to my sister-in-love. I hope she can find a place in her home for it and every time she looks at it, she thinks of their Big Grandma.

464F0F10-8FCC-4B5B-87F3-86C7B7ABA1CB

Please check out all of my friend’s and how they made their own diy stacked books! We are a diverse group with many talents! I know you will not be disappointed!

Love, Shae

Terrie over at Decorate and More with Tip
Kelli over at Olympic Nest
Patti over at Pandora’s Box
Jessica over at Jessica B Simmons
Sheri over at Sheri Martin Interiors
Dani over at The Taborhood
Danya over at Just Another Farmhouse
Teresa over at Through a Vintage Door
Hollie over at Heyitshod
Shae over at Sweet Southern Grace
Dori over at This Full Life of 5

How to Decorate with Books in Your Home Decor

DIY Flower Market Sign

12C063AB-0040-4AFA-BC7D-7568CBF88A90

I have been planning for months to make a mini flower market display in our entry way. I asked my husband to make the sign double sided and around 30×20 in size. He cut a sheet of plywood, in the size I needed, for the front and back of the sign. For the trim, he used a 1×1 pine board.

E60F79A1-550E-4BBA-B09C-8FF4452171CD

I painted the inside of the sign with Rust-Oleum Chalk Board Paint in School House Green. It reminds me of the color of the chalk board from when I was in school!

D224BCB0-2ED2-4D65-972E-3D36702D9E66

Next, I applied a white wash to soften the green up, just a bit. My technique for the white wash is to add a little water and a tad bit of paint. I use a rag and swipe over the paint in a rainbow pattern!

E6EFD7AB-988A-4E5D-80E1-0079BD814B55

For the wording on my sign, I purchased a file from the Silhouette Store called Fresh Flower Market. I cut, weeded and applied the design to my sign.

898C91BF-4576-4848-BF29-01412A27C8A6

This is a simple diy and I love how it turned out! I have even used the sign on my front porch for décor!

Happy Spring y’all! Love~Shae

C403ADE0-1C1D-4A31-A021-B59739FDBBCE


DIY Chalk Painted Furniture

F13B026E-1399-46D7-9E85-1F726F8A64DB

Have you been searching for the perfect diy chalk paint recipe? I have a tried and true recipe right here! The best thing is it is very budget friendly for under $45!! Last week, I decided that one of our daughter’s furniture could use a face lift, per say. After all, this furniture is a good 15 years old. We have moved a few times and it had a few dings in various spots. Those natural “dings” on the furniture would be perfect for chalk painting! I could sing chalk paint praises, all day long! It is the most hardiest paint that I have ever used! I absolutely love it!

CHALK PAINT RECIPE:

1 c Latex Sherwin Williams Ibis White

1/2 c Baking Soda

1 tbsp. water

E4F8F42D-E982-4674-BB9A-0D74A9FBF240

DIRECTIONS:

Mix 1 c paint and 1/2 c baking soda very well with a plastic fork, until you see no lumps. Then your going to mix the water until incorporated well and there are no lumps.

I use a  Wooster Paint Brush  from Home Depot. You do not want to use a cheap paint brush because you will be left with bristles in your paint and lots of brush strokes. I can not stress this enough!

The very first thing you are going to want to do is clean your piece very well with a damp cloth. Next is lightly sanding your piece. The reason is so that it gives the chalk paint a little something to grab onto. After sanding, clean your piece really well with a damp cloth again.

66DA7EB3-3BB9-4DB2-8582-5F599B0A5BCC

As you can see in the pic above, this was before cleaning and sanding, it definitely needed to be cleaned.

When you begin painting, paint in the direction of the grain of the wood. So, if your wood grain is horizontal, you are going to paint, horizontally. If the direction of the grain of your wood is vertical, you will be painting vertically.

EA066D35-11BB-4379-9E24-3D78596C8A1B

When you are painting a long piece of furniture, like a dresser, I like to have one long paint stroke, at a time. I will start at the top and go all the way down and continue until the entire top piece is finished. Chalk paint dries really quickly, so you will need to work fast. When you have the entire piece painted with one coat, the paint should be dry within a couple hours, you can lightly sand over the first coat. You are going to be sanding in the direction of the grain of the wood. I use 120 grit sand paper for sanding.  I like to lightly sand in between coats because it will lessen the chance of having a lot of brush strokes. After each sanding, wipe down your piece with a lint free cloth.  Most pieces are going to need three coats of chalk paint, depending on how much coverage you are wanting for your piece. I always do three coats, with light sanding in between and wiping with a clean dry cloth.

225C7CFE-1D53-4714-9429-4B53C8926C3B

In the above picture, I wanted to point out that sometimes when you are lightly sanding in between coats, that your piece may automatically start to kind of distress itself. That is ok, so don’t let it worry you. After you have painted all three coats with lightly sanding in between, you are now ready to distress your piece. I don’t like super heavy distressing, so my distressing is somewhere in between light to medium distressed. To distress, you are just going to take your sand paper and lightly sand in the areas of your piece, as to where it would naturally wear.

Now you are ready for your wax! Waxing provides a wonderful layer of protection for your chalk painted furniture. I always use two coats of Martha Stewart Vintage Clear Wax  from Michael’s. It is under $10 with a coupon. Depending on the amount of items you are painting, will determine how much wax you will need. I needed two bottles of wax plus a little bit of another bottle. I painted six pieces of furniture. A bed with headboard and footboard, dresser with mirror, side table, desk and chair.  I think it is best to use a lint free cloth with your wax. You do not want to have any dust or hair that can get trapped in the wax, as you are applying or as it is drying. To apply the wax, grab a quarter sized amount and begin waxing in a circular motion until you’ve waxed your entire piece. Allow the wax to dry for several hours and apply a second coat. Once the wax dries, I allow 4-6 weeks for the paint to cure before setting any heavy items on my chalk painted furniture.

332A9732-CEC5-476D-9F44-FB8222185208

E4739214-A91B-4E2D-95A0-29B963E2E062

A6D4CF41-DD75-470A-927C-D1CFC1D155BBYou can also check out our You Tube Channel for a more detailed video of how to make your own chalk paint and painting your furniture piece.

Much love~ Shae

Milk Glass Collection

1337DB83-BCAE-472C-B1C2-075FCA494E3F

I fell in love with milk glass a couple years ago, thus the beginning of a new found collection! I originally began collecting milk glass so I could show it off in a corner cabinet that I am dreaming of! We have plans to build one soon! For now, I enjoy decorating with milk glass throughout my home. Everything you see pictured in the first pic, I actually purchased at an estate sale for $15!! It was a steal!

AAE81633-FA74-4D3C-A9AD-EC443FEF75A4

Over the weekend, I visited my favorite local antique store, called the Brass Bear Antiques. I was on the hunt for a few items and one of those items was milk glass vases! I did find several milk glass vases! Score! Reasonably priced for $4-$6 a piece!

C91B7154-13F8-4846-A4C1-60377FD491CD

I feel like there are so many different ways to display your milk glass. From a spring tablescape to a corner hutch or on a tray in your kitchen! Add greenery or flowers and you’ve got a gorgeous, simple vignette!

E1662CAF-4163-4063-B99A-44500E650283

Do you ever purchase a antique piece and wonder where it has been? What is the history behind the milk glass? How many owners did it have? Was it given as a special gift to someone for a birthday or a “just because” gift? Do any of ya’ll collect anything that is dear to your heart? Do you have a special antique that was given to you by a family member? You will find many antique pieces, throughout our home. Many of those pieces were given to us by our Grandparents.

XO~Shae

ABOUT ME

Hey y’all! My name is Shae and I grew up in sweet home Alabama! I graduated high school at sixteen and began going to college to study child psychology. (Years later, decided to study to become a pediatric neurosurgeon.) I met my husband at work, so I essentially married my high school sweetheart, at the tender age of seventeen. A year later we had our first daughter and I guess, as they say, the rest is history. We have been married for TWENTY-FIVE years with four daughters, two Son-In-Loves, two grands, two pups and a slew of FARM animals. My husband and I are a powerhouse when it comes to working together on our DIY’S for our home. I love to design and he loves to build! We are currently working on a dream of ours-SELF-BUILDING our barndominium! Currently on year two! Follow us on TikTok or IG link below!

BFDCD94F-6205-4412-8C62-5F04AB5E97AF

MY VISION FOR SWEET SOUTHERN GRACE

My vision for Sweet Southern Grace is a dream of mine, one that I truly love sharing with you! This site will combine so many of my passions. A few of those are faith, family and farmhouse décor. Sweet Southern Grace is a place for me to share to my home, recipes, decorating tips, inspire others, DIY’S and much much more! I am honored that you have taken the time to stop by Sweet Southern Grace. Let me know if I can do anything to help you in any way!

Sweet Southern Grace is on Instagram. Link below.

https://www.instagram.com/sweet_southern_grace/