Last year, February to be exact, we bought a 22 year old pop up camper for $500 on Facebook Marketplace.  We knew this camper was a diamond in the rough! We dreamt of all the family vacations we could take in this little pop up.
FIRST THINGS FIRST-INSPECTION
We took the pop up home and popped it up. We knew initially that it had some water damage and after some research, found out that these types of campers with ABS roofs, leaked.
 The roof leaked because of the weight of the AC unit on top of the roof.
 So right out of the gate, it looked like we needed to find a solution to help the roof not sag, plus we would need to replace the entire roof.

ABS CEILING & ROOF REPAIR
CEILING:
My husband found a solution for the sagging roof and it was going to be by placing two, 2 inch u-channels on the interior of the roof.

We then left the camper popped up on a day when it was raining to make sure it would not leak! It worked! No leaks!
ROOF REPAIR WITH FIBER GLASS:
Next step was to replace the roof. We tore off the ABS roof then replaced it with a fiberglass top and painted it with marine paint. You can find that you tube video HERE . In this picture, you can see two coats of the fiber glass roof material on the roof.

INTERIER REPAIRS-REPAIRING ROTTED WOOD

For the interior, my husband needed to replace several sections of rotted wood. One was the top on the small cabinet by the entryway, part of the floor at the entrance, a section of wood beneath the bed, by the shower plus a small section on the seated area.

PAINTING-INTERIOR
After replacing the wood, it was finally time to paint the entire inside of the camper!

We painted everything, including the ceiling, in Ibis White from Sherwin Williams. We took off all of the cabinet doors to make the painting go a little easier. I decided to spray paint all of the hardware and knobs to save cost.

REPLACING CUSHION COVERS-HOW I SEWED COVERS
Next was making all of the cushion covers for the camper. I decided to use the existing cushions & zippers, since they were in good shape.
 I did use the attachment to my carpet cleaner to clean the cushions and let them dry in the sun. I found all of my fabric on sale at Joanne’s for $50. I used two coupons! I did not have a pattern for the cushions, so I used the existing cushions as my pattern, by laying the fabric on top of the cushions and left about an inch for seam allowance on all sides.

REPLACING OLD MATRESSES
We could not use the old mattresses that came with the camper but we did find some mattresses at a local discount store for $19.99 each! We bought plastic mattresses covers to protect them at Home Depot for $8 each.
REPLACING BEDDING
We purchased our bedding from Beddy’s and they are an absolute dream! Absolutely perfect for campers! Ours is the Modern Gray All Cotton. Beddy’s has given me a coupon code for y’all to use! If you use SSG20 at check out, you can get 20% off your purchase! Thank you Beddy’s!
CURTAIN ALTERNATIVES
We have not replaced our pop up camper curtains with the typical camper curtains.
 We did use a few sheers from Wal-Mart that we attached with double sided adhesive strips, just to give a more “at home” feel to the camper. I bought two sets, as each set came with two.

CAMPER BATHROOM-SHOWER REPAIRS
The shower only needed a cleaning and a new faucet.
 Some of our paint has chipped by the shower area but it’s not a huge deal to us since this is a camper.
 We ordered the new shower faucet from Coleman Pop Up Parts.

REPLACING FLOORS
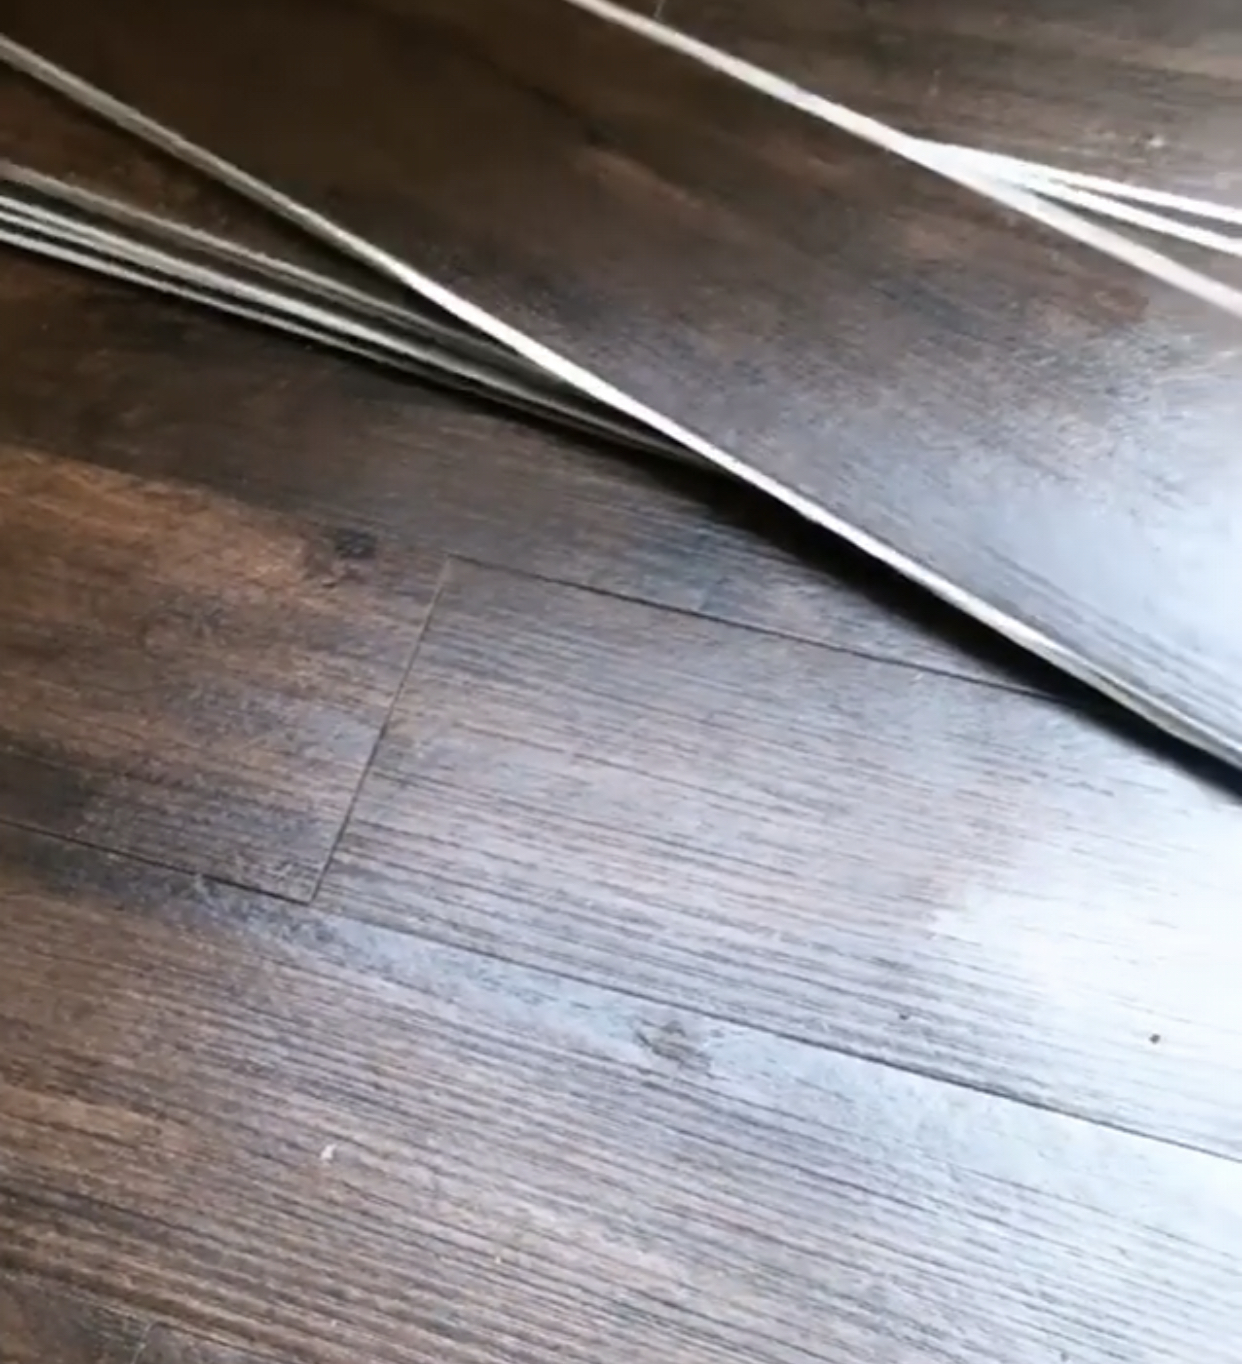 I decided to use stick down floor “hardwood” vinyl “planks”. I even staggered it to make it look like hardwoods. I bought two boxes for $15 each, at a local discount store called Ollie’s.
REPLACING CANVASES
 Our biggest expense in our makeover was new canvases but we felt like it was a must have! We ordered them from Bear Creek Canvas . Their site is so easy to use! All you have to do is select the camper manufacturer, ours is Coleman, select the model year, 1997 for us, select if you want a complete canvas replacement or partial canvas replacement, ours was a complete replacement, then select your camper style, such as a no wing model, 1-4 wing model or a pickupper, ours was a 2-wing model. Once you have all of that selected, it will give you your price for the replacement. Our total was $1,050.00. The customer service was also wonderful!
CHALKBOARD PAINTED MENU BOARD
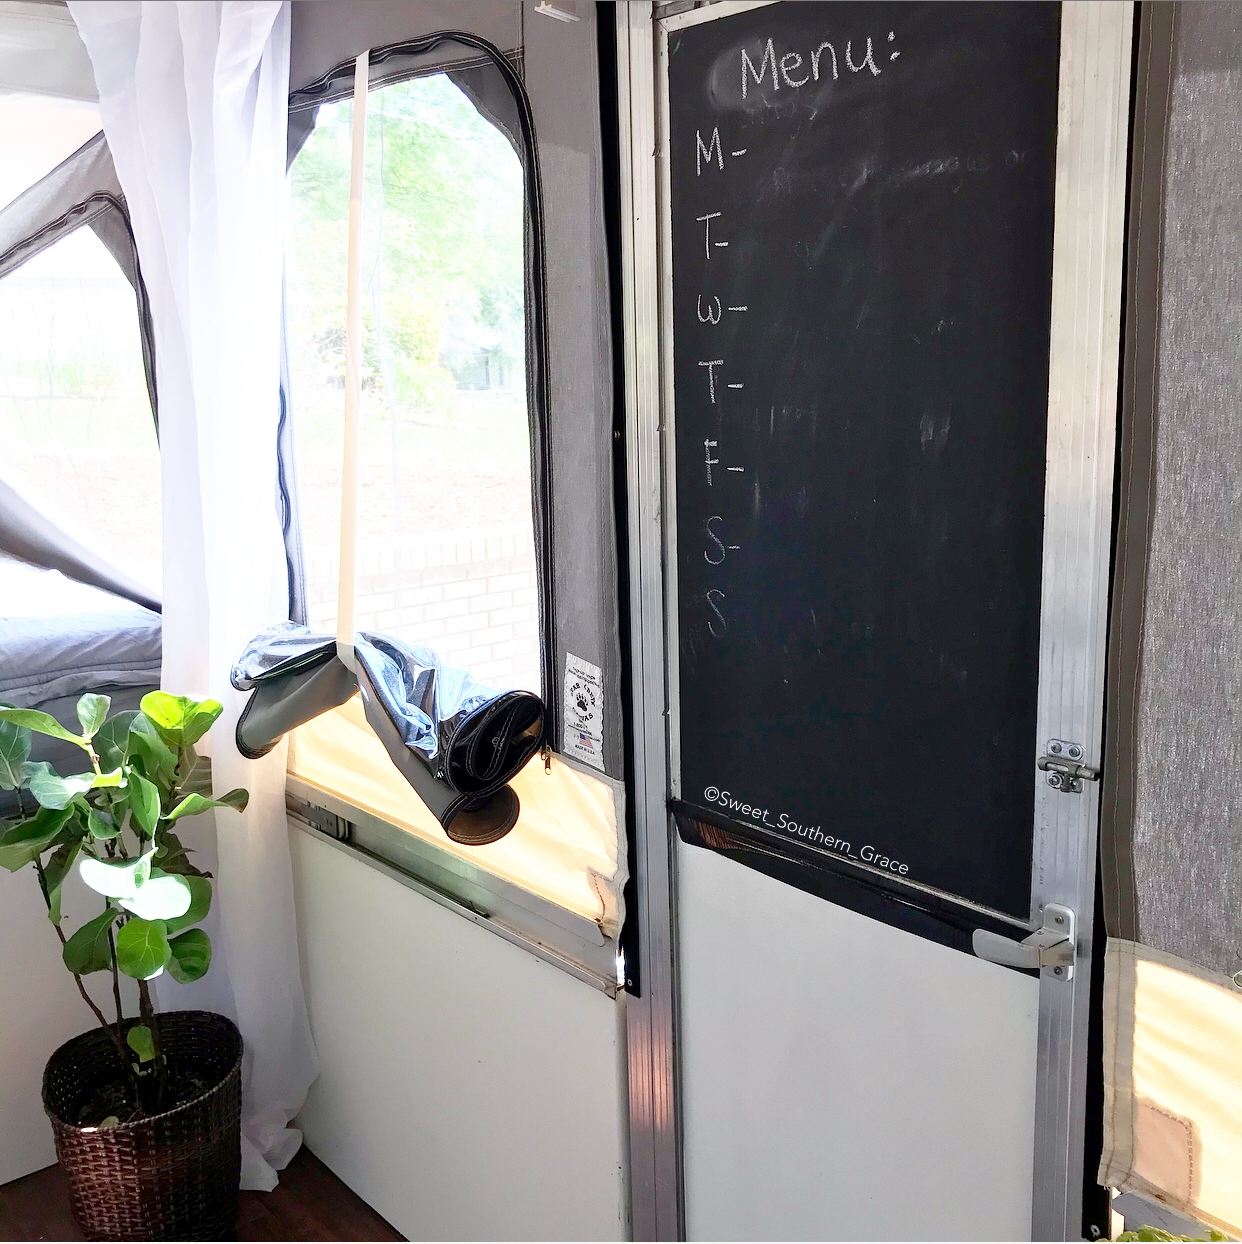 I even painted the inside of the door with half of black chalkboard paint so we could have a menu board. We already had this paint on hand!
PAINTING-EXTERIOR

The exterior also got a paint job from head to toe! We painted the exterior with a marine paint in Repose Gray from Sherwin Williams. (We only use SW for all of our painting needs!) We had lots of helpers that wanted to help remove the old vinyl from the exterior of the camper and help paint!
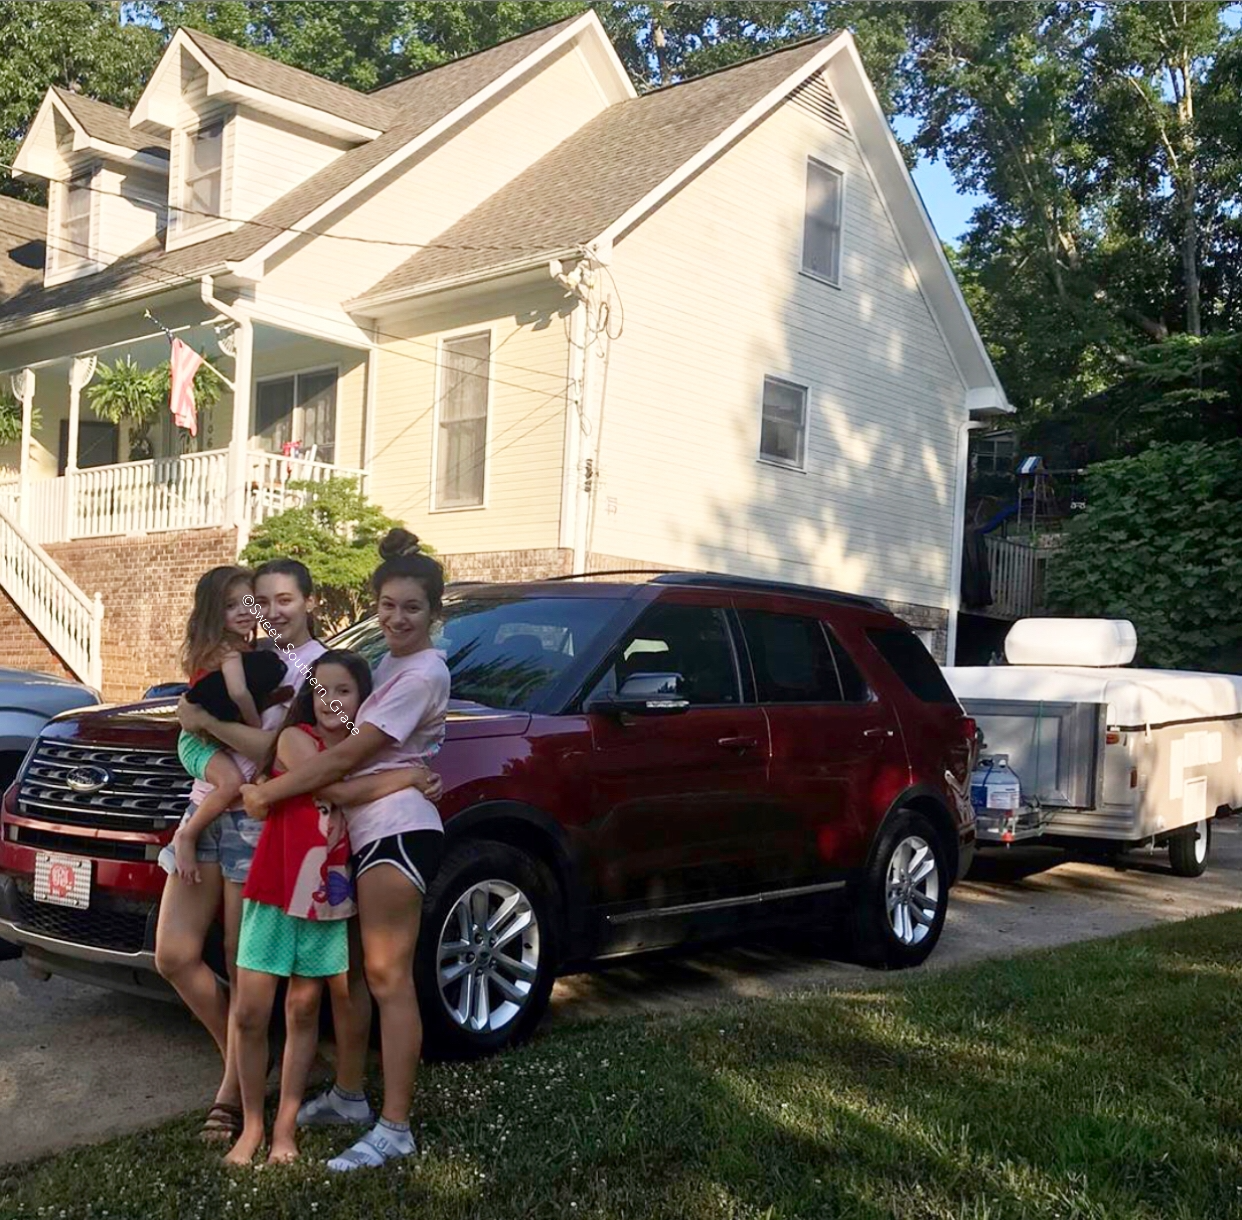
FIRST TRIP
Leaving out for our first trip in the camper!
REPLACING CAMPER TIRES & SPARE TIRE
We also replaced the tires on the pop up and purchased a new spare tire. The old tires were in good shape but we just wanted to make sure we had new tires, since we were driving so far away on our first trip. The best deal we found on tires were at Wal-Mart on sale for $26.99 each.
THE SUNSHINE STATE
Fort De Soto, FL

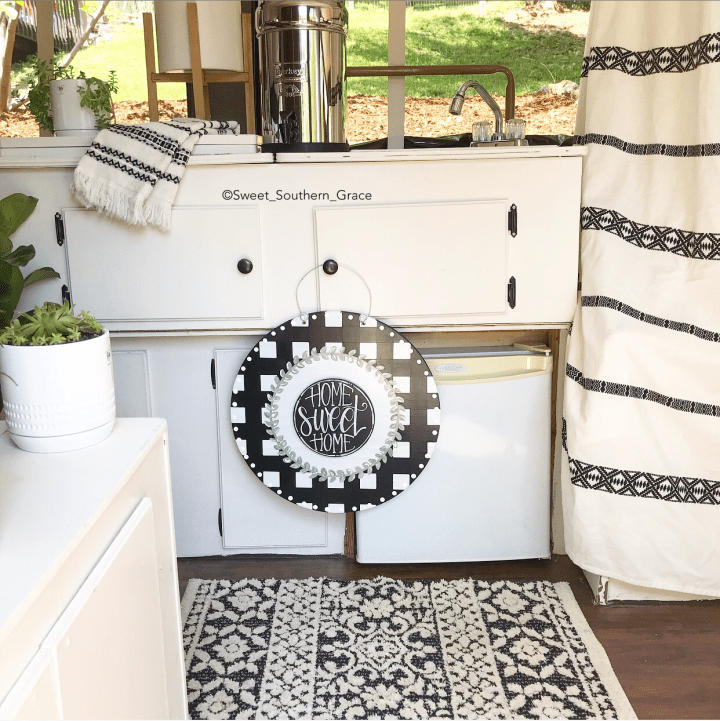
ACCESSORIZE
Most all of our accessories for our pop up came from a local Five and Below store- from our little stool, to the rug, to our outdoor mat.

TROUBLE BEFORE PARADISE
About 3 weeks before our first camping trip, our pop-up would not stay popped up so we had to order a Coleman Wiffle Tree Alternate. We were praying it would come in before our trip and that it would be the only issue and be resolved quickly with this new part! Thank God it worked and in just about 3 days before our trip! We purchased that part from Popuppaarts.com .

TALLY UP
We spent a total of around $2,300 on our pop up makeover. Here is a breakdown of the costs:
$500-Pop Up Purchase Price
$1,050-Canvases
$80-Paint
$45-Mattresses
$60-Wood
$125-U-Channels
$125-Fiberglass Roof
$81-Tires
$20-Shower Faucet
$50-Fabric for Cushions
$30-Vinyl Flooring
$5-Wood Colored Caulk for floors
$144-Wiffle Tree Alternate-Part for lifting camper up
EGMONT KEY, FL
Wesley & I in Egmont Key at the lighthouse.

SUMMARY
It was a lot of work but we are so glad to have little pop up to travel in! Definitely a bucket list item! Our two adult daughters helped us so much and we could not have done it without them! Definitely a family effort! You can read about some of our travels here . If you have any questions, please email me! What is your favorite thing about our renovation of the camper?
❤️-Shae
Beddy’s Bedding COUPON CODE: Use SSG20 at check out for 20% off your purchase! Perfect bedding for a camper, bunk beds or any bed really!!


You must be logged in to post a comment.