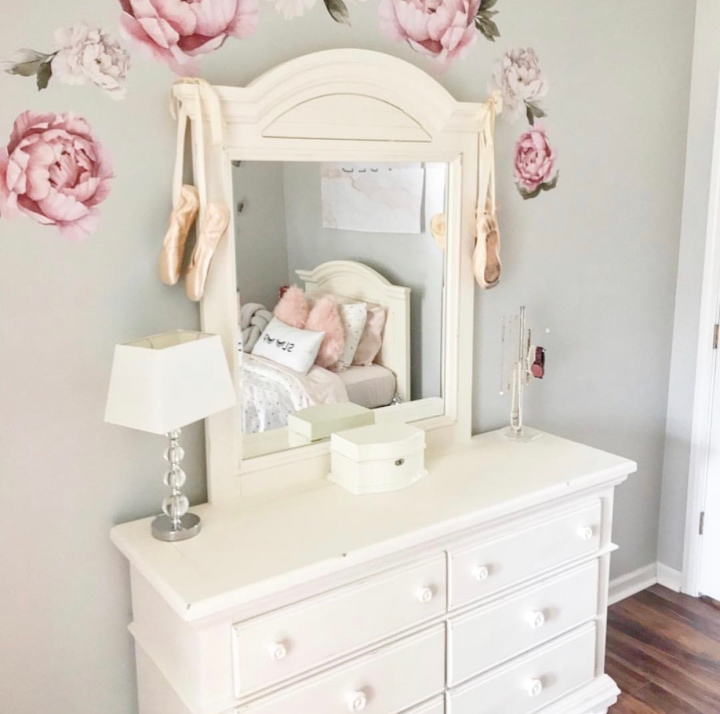
Have you been searching for the perfect diy chalk paint recipe? I have a tried and true recipe right here! The best thing is it is very budget friendly for under $45!! Last week, I decided that one of our daughter’s furniture could use a face lift, per say. After all, this furniture is a good 15 years old. We have moved a few times and it had a few dings in various spots. Those natural “dings” on the furniture would be perfect for chalk painting! I could sing chalk paint praises, all day long! It is the most hardiest paint that I have ever used! I absolutely love it!
CHALK PAINT RECIPE:
1 c Latex Sherwin Williams Ibis White
1/2 c Baking Soda
1 tbsp. water
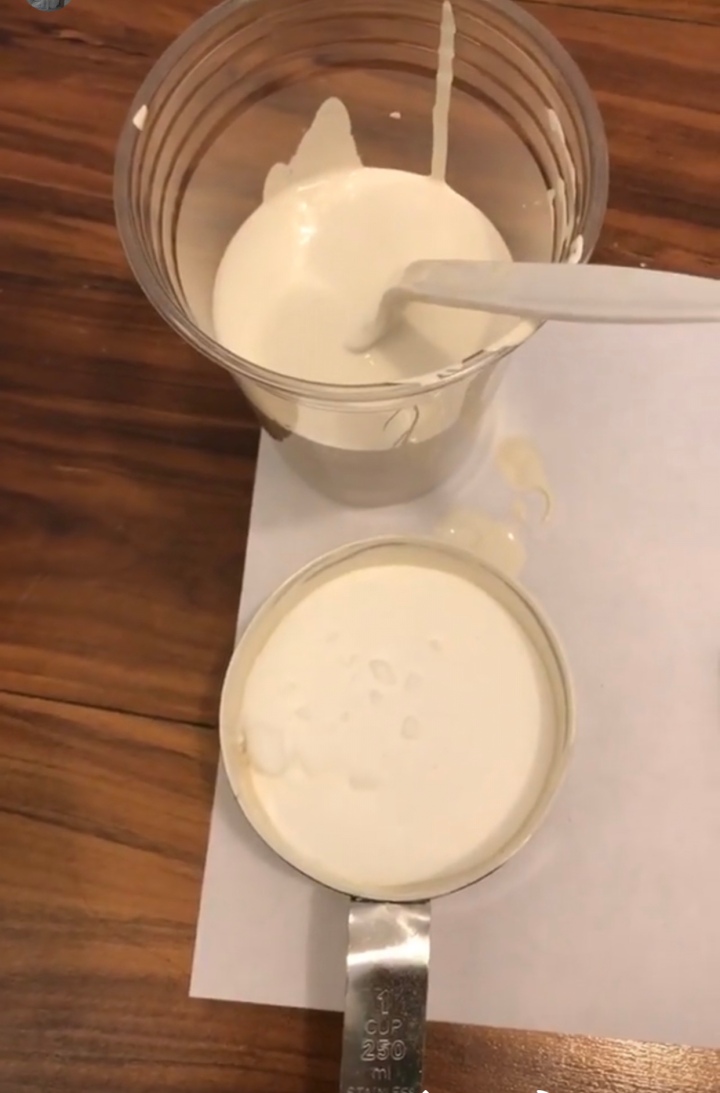
DIRECTIONS:
Mix 1 c paint and 1/2 c baking soda very well with a plastic fork, until you see no lumps. Then your going to mix the water until incorporated well and there are no lumps.
I use a Wooster Paint Brush from Home Depot. You do not want to use a cheap paint brush because you will be left with bristles in your paint and lots of brush strokes. I can not stress this enough!
The very first thing you are going to want to do is clean your piece very well with a damp cloth. Next is lightly sanding your piece. The reason is so that it gives the chalk paint a little something to grab onto. After sanding, clean your piece really well with a damp cloth again.
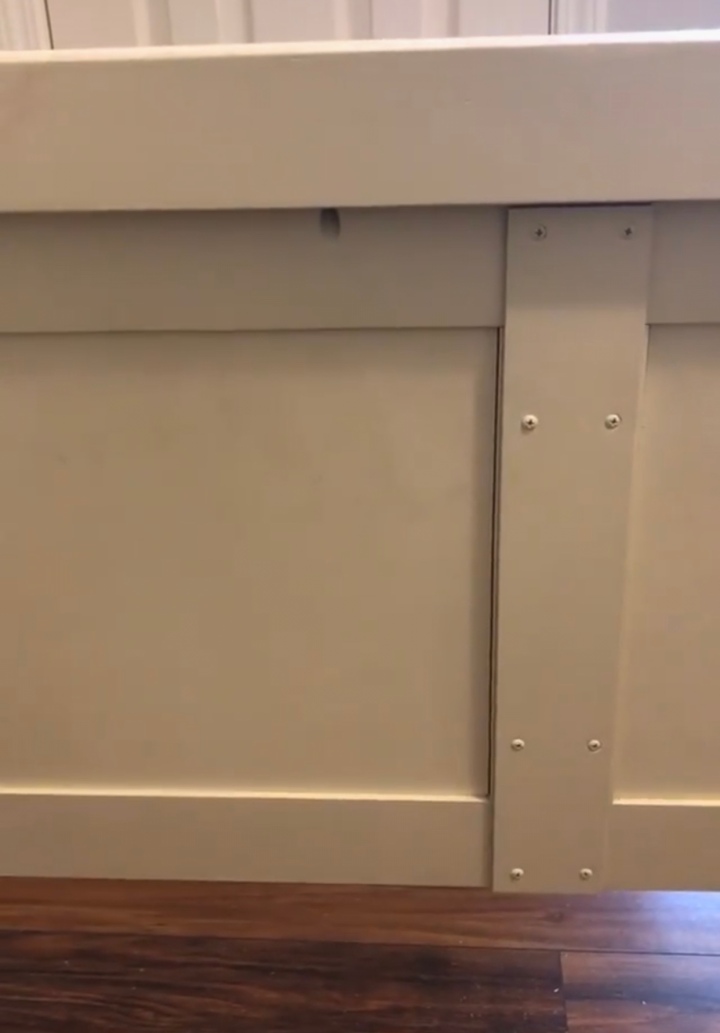
As you can see in the pic above, this was before cleaning and sanding, it definitely needed to be cleaned.
When you begin painting, paint in the direction of the grain of the wood. So, if your wood grain is horizontal, you are going to paint, horizontally. If the direction of the grain of your wood is vertical, you will be painting vertically.
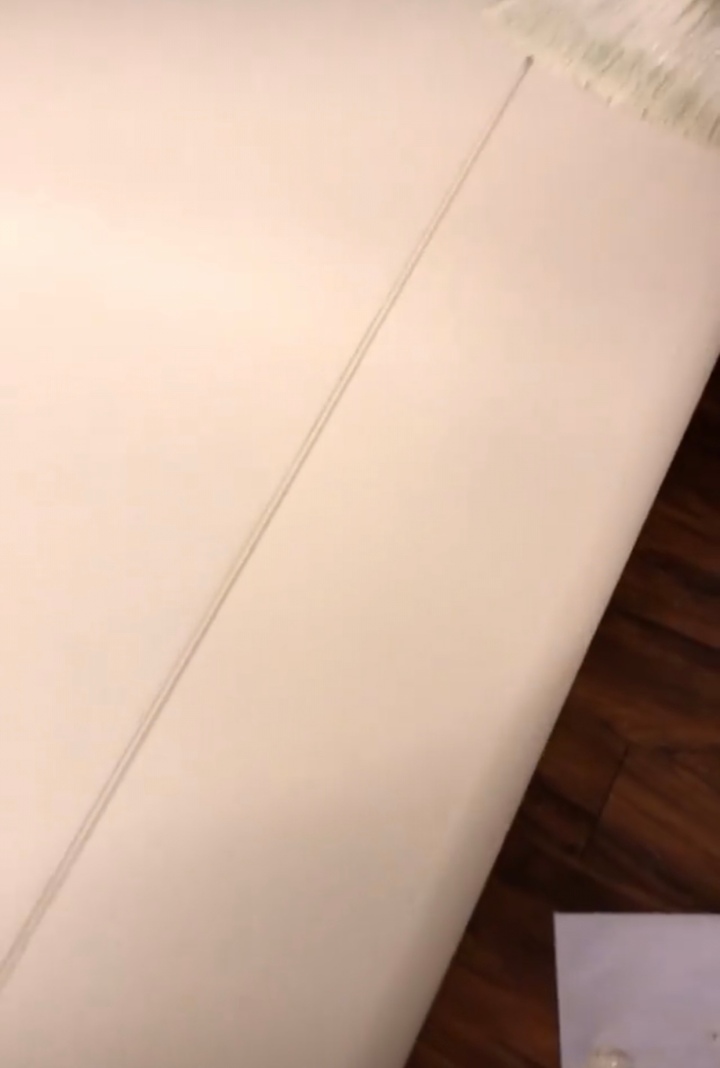
When you are painting a long piece of furniture, like a dresser, I like to have one long paint stroke, at a time. I will start at the top and go all the way down and continue until the entire top piece is finished. Chalk paint dries really quickly, so you will need to work fast. When you have the entire piece painted with one coat, the paint should be dry within a couple hours, you can lightly sand over the first coat. You are going to be sanding in the direction of the grain of the wood. I use 120 grit sand paper for sanding. I like to lightly sand in between coats because it will lessen the chance of having a lot of brush strokes. After each sanding, wipe down your piece with a lint free cloth. Most pieces are going to need three coats of chalk paint, depending on how much coverage you are wanting for your piece. I always do three coats, with light sanding in between and wiping with a clean dry cloth.
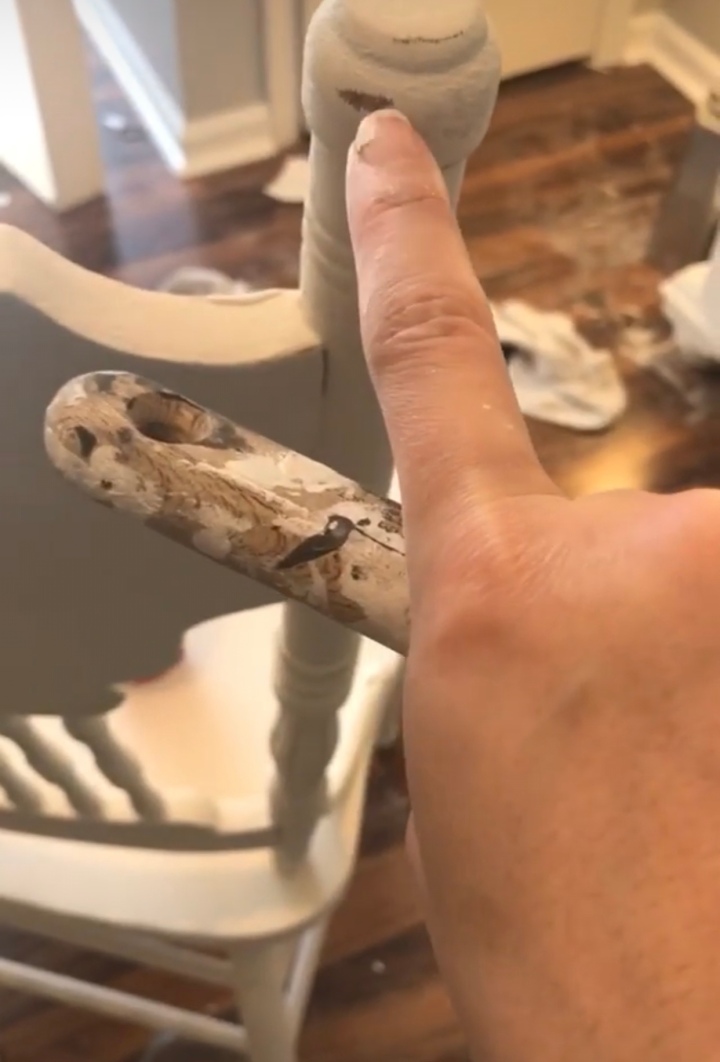
In the above picture, I wanted to point out that sometimes when you are lightly sanding in between coats, that your piece may automatically start to kind of distress itself. That is ok, so don’t let it worry you. After you have painted all three coats with lightly sanding in between, you are now ready to distress your piece. I don’t like super heavy distressing, so my distressing is somewhere in between light to medium distressed. To distress, you are just going to take your sand paper and lightly sand in the areas of your piece, as to where it would naturally wear.
Now you are ready for your wax! Waxing provides a wonderful layer of protection for your chalk painted furniture. I always use two coats of Martha Stewart Vintage Clear Wax from Michael’s. It is under $10 with a coupon. Depending on the amount of items you are painting, will determine how much wax you will need. I needed two bottles of wax plus a little bit of another bottle. I painted six pieces of furniture. A bed with headboard and footboard, dresser with mirror, side table, desk and chair. I think it is best to use a lint free cloth with your wax. You do not want to have any dust or hair that can get trapped in the wax, as you are applying or as it is drying. To apply the wax, grab a quarter sized amount and begin waxing in a circular motion until you’ve waxed your entire piece. Allow the wax to dry for several hours and apply a second coat. Once the wax dries, I allow 4-6 weeks for the paint to cure before setting any heavy items on my chalk painted furniture.
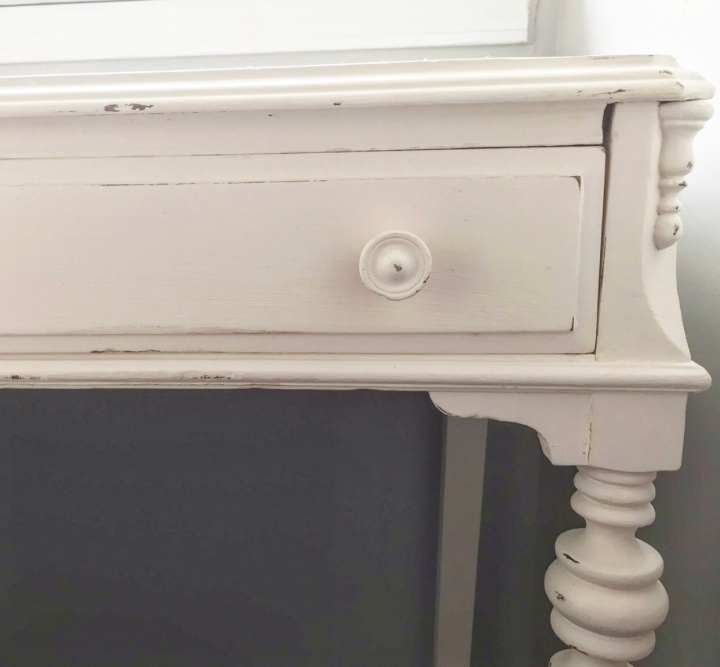
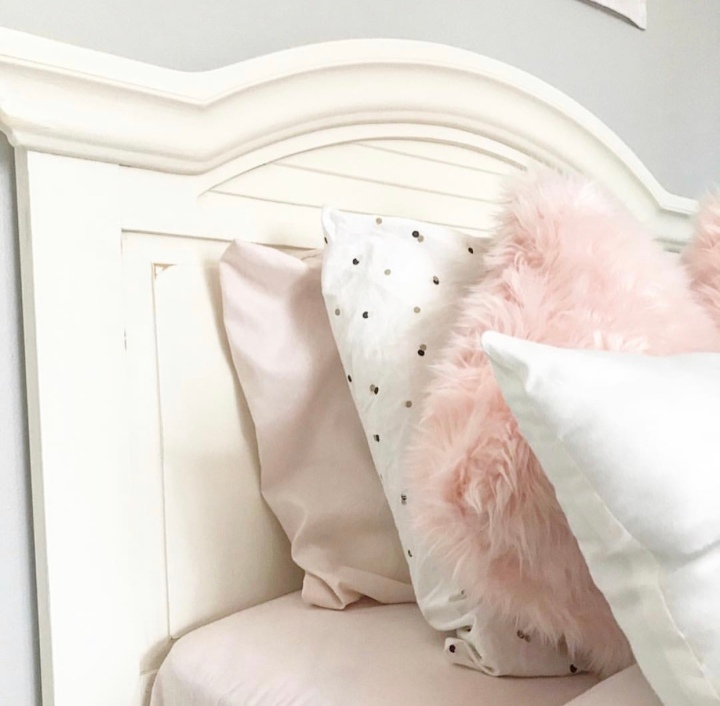
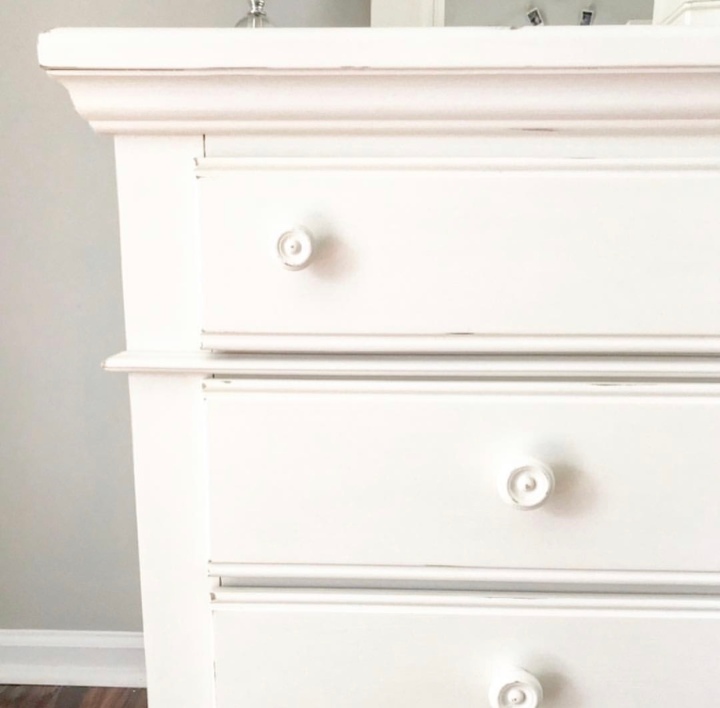 You can also check out our You Tube Channel for a more detailed video of how to make your own chalk paint and painting your furniture piece.
Much love~ Shae





 You can also check out our
You must be logged in to post a comment.