Today I’m hosting a Spring Blog Hop with five other bloggers. We can’t wait to share our spring DIY’s with y’all!
My mom gave me the cutest set of vintage bunny salt and pepper shakers! I believe they were my Mom-Maw’s. I think that the red colored top, stands out, to much for my decor taste, so I decided to paint the pepper shaker’s top to match the color of the salt shaker’s top.
I started out by painting the top white. I just used some left over SW paint in Eider White. I painted two coats.
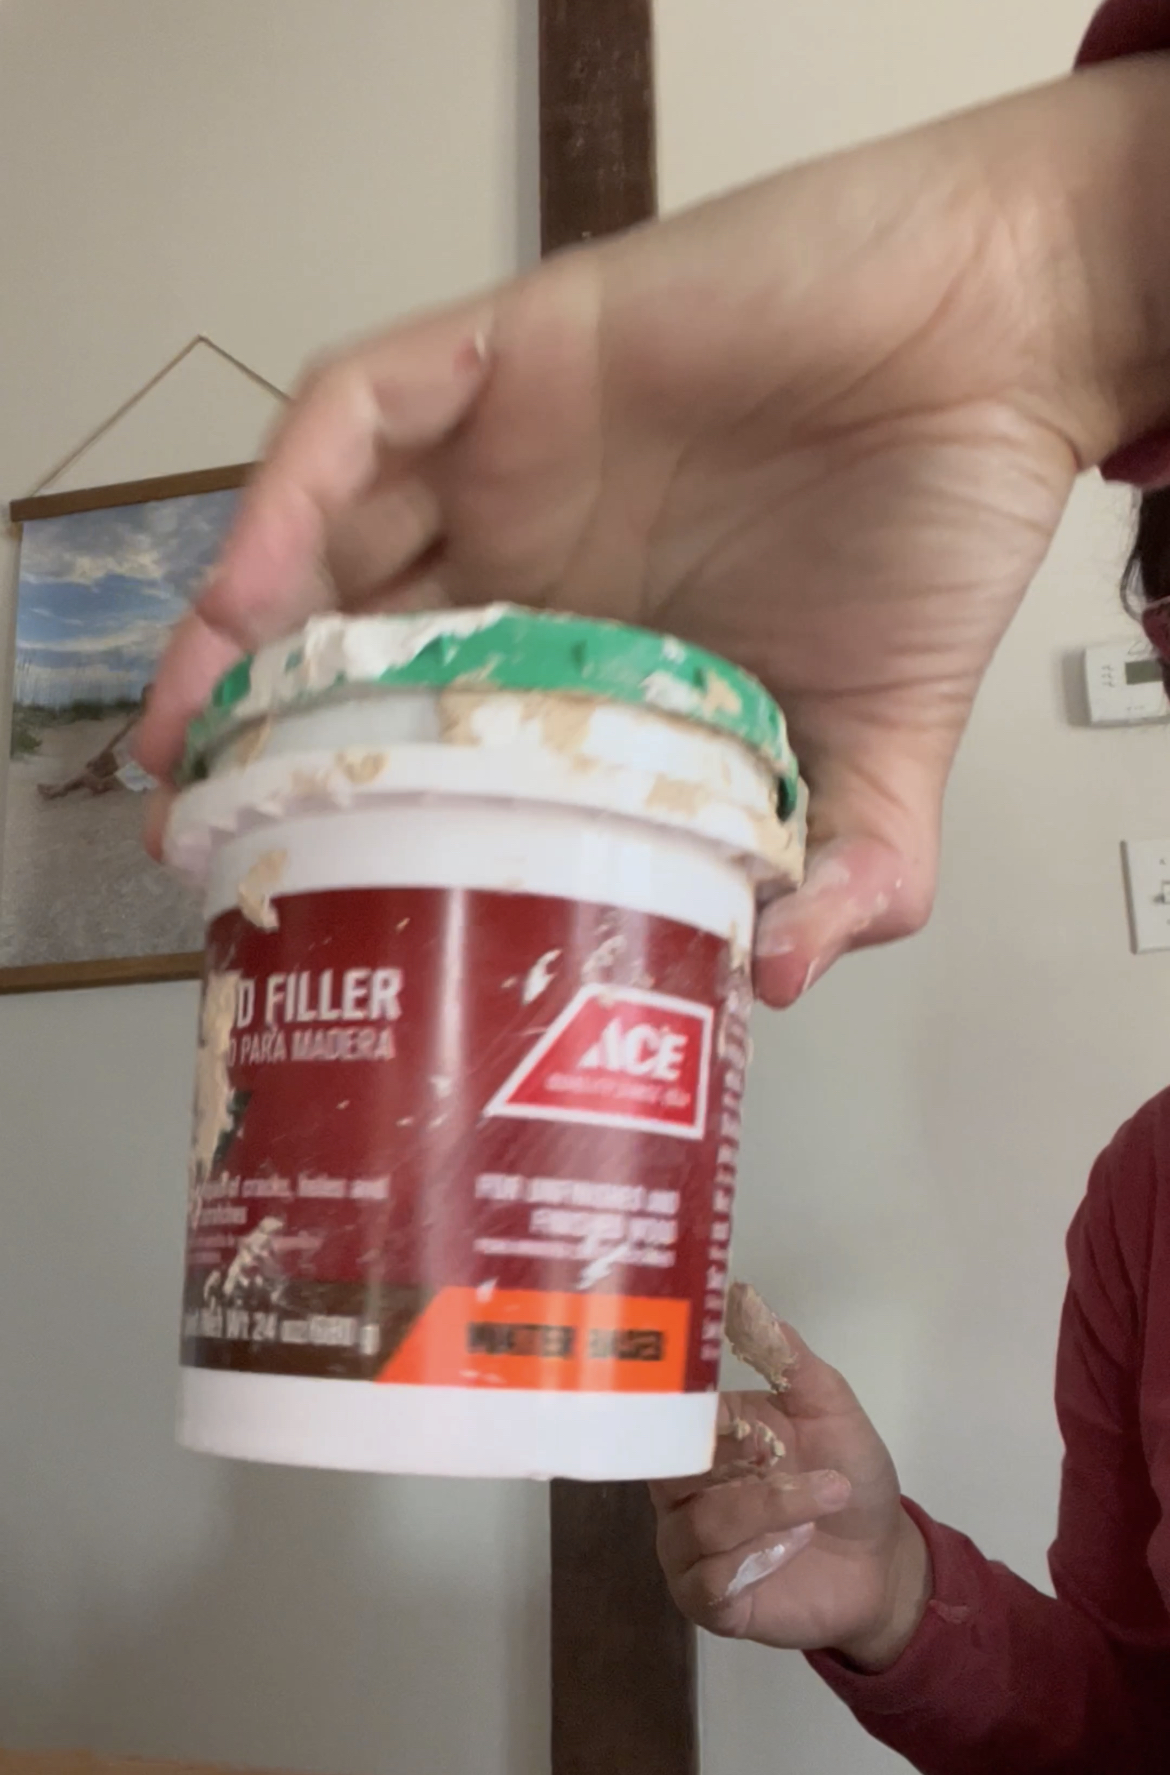
Next I decided to add a light coat of wood filler that I had on hand from the hardware store.
Next, I decided to use a Semi Transparent Minwax Stain in Red Oak on the white paint, while it was still wet.
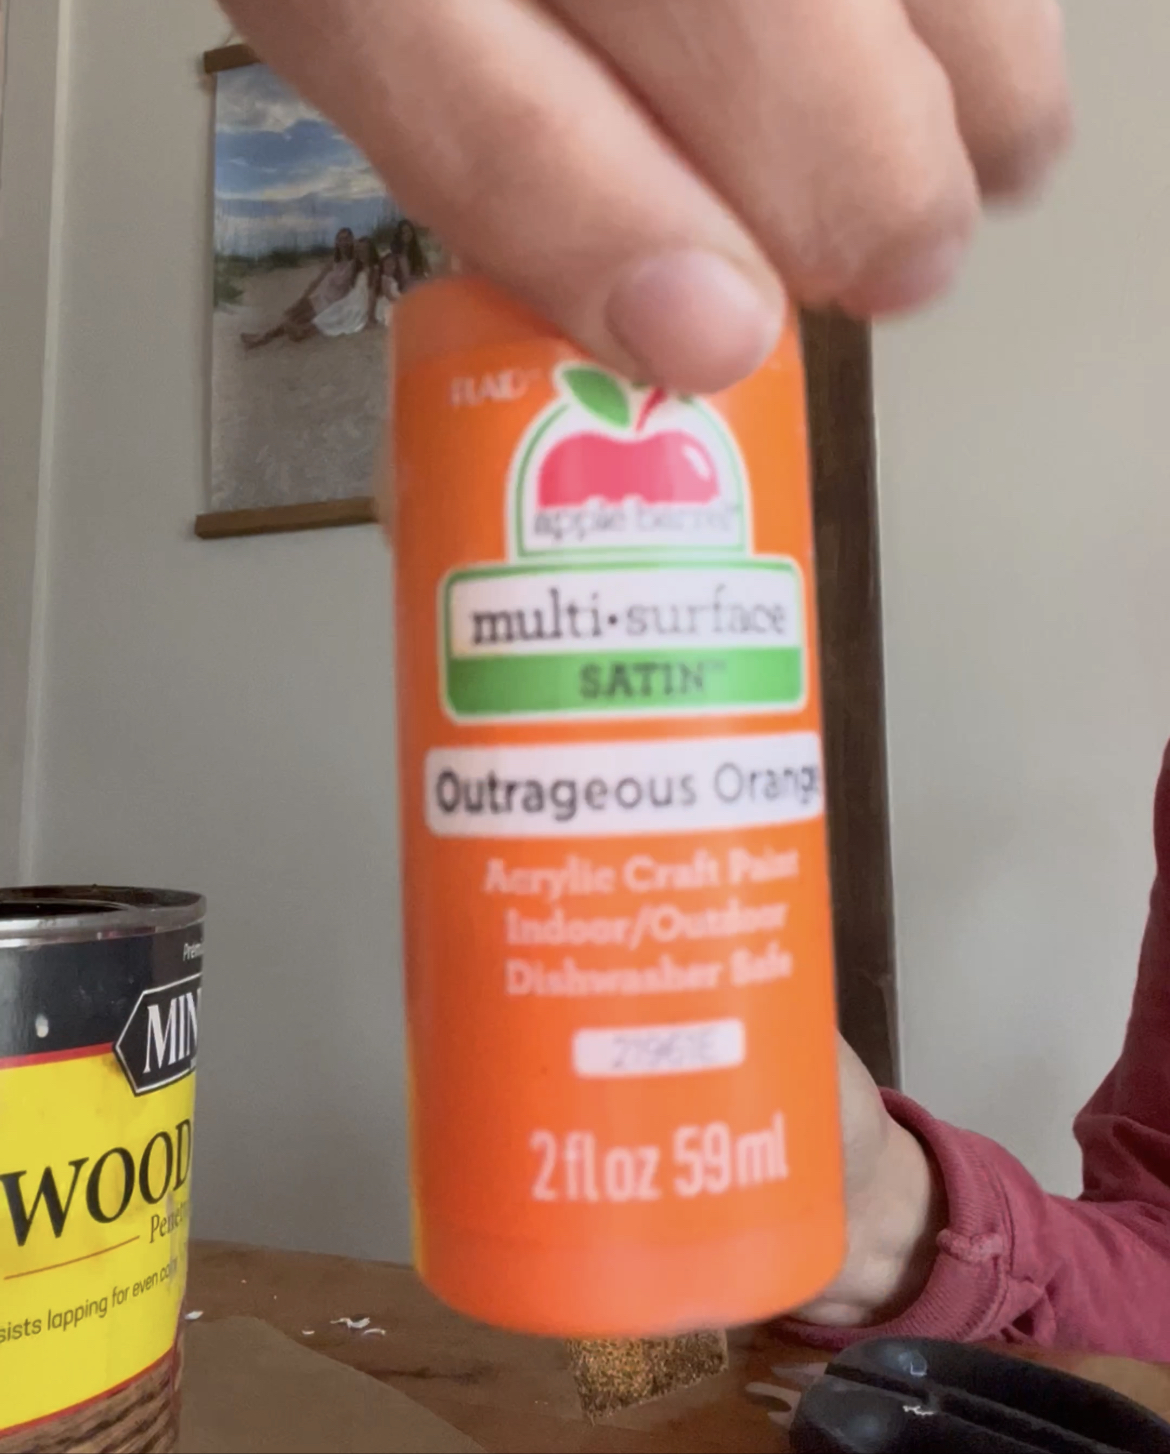
I thought the color needed more of a yellow tone instead of a brown tone, so I added Outrageously Orange craft paint.
I ended up sort of mixing the paint colors and stain together to make the color, while sanding in between coats for an aged look.
Here is the final result! I think I got pretty close to the color of the salt shaker’s top! Now my Vintage Bunny Salt and Pepper Shakers are ready to be apart of my spring decor!
Head on over and checkout the other sweet bloggers to see what they’ve come up with for their Spring DIY’s!
I am so excited to team up with several of my blogging buddies for a DIY Knock Off Challenge! My sweet friend, Terrie from Decorating and More with Tip heads us up! The rules were that we had to find a higher end piece and share how we could make our own and on a budget!
CHALLENGE ACCEPTED
The rules were as follows: We needed to find a piece we loved and be willing to create a similar piece plus make it budget friendly! Challenge accepted!
HOME DEPOT LIGHT FIXTURE
Home Depot had this beautiful light fixture, the Windsor 5 Light Antique White Chandelier; however, we did not want to spend $160 on a light fixture that would be outside , hanging in the weather. This light fixture was our inspiration for what we sorta-kinda had invisioned in our minds.
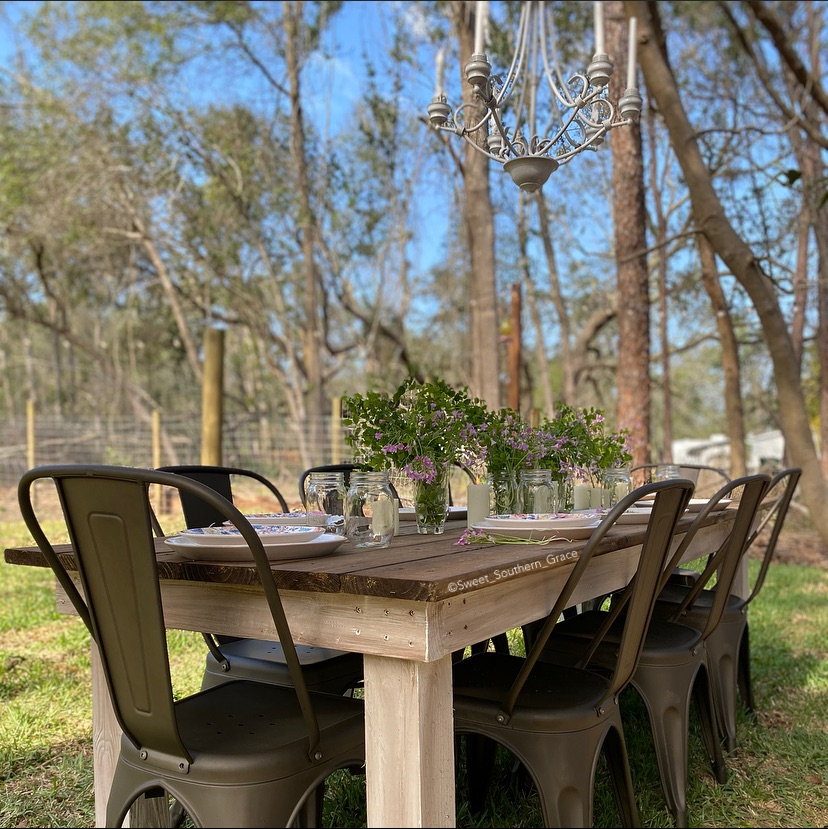
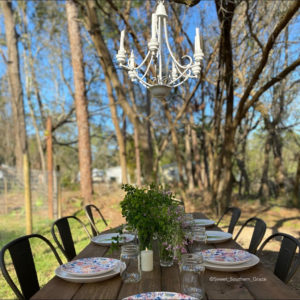
OUTDOOR “LIGHTING” FOR OUR NEW SPACE
My husband had a fabulous idea to hang a light fixture from this old live oak tree that sits over our new outdoor dining space! Thrift shopping we had to go! And ya don’t have to pull my hand to go! We decided to use one of our Saturday morning’s to go thrifting for this light fixture, instead of working on our pole barn. Heck, we even NEEDED a break from working on our pole barn!
THRIFTING WE GO
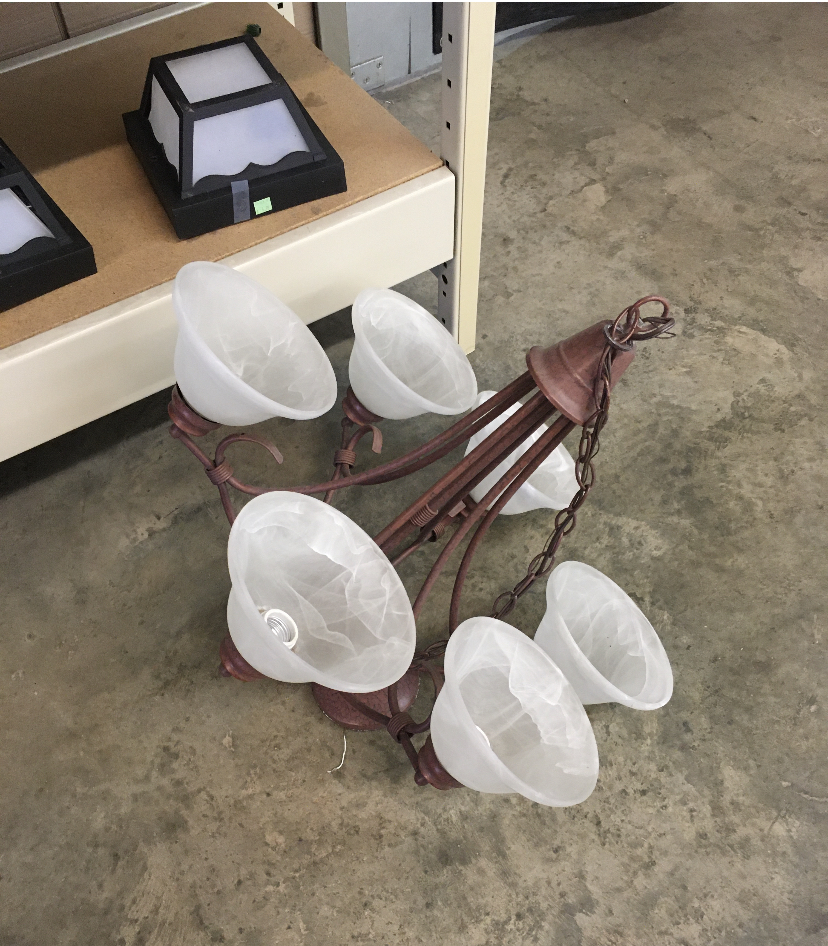
The first couple of places we went thrifting, we couldn’t find the exact light fixture that we had envisioned in our heads… on the third thrift store, we found a light fixture that we thought might work but it was a little to small for the space.
We decided to stop at one last thrift shop and we hit the jackpot! We found this light fixture and although I would love it to be a bit larger, we thought it would work for now! At $19, it was definitely a great buy!
HOME DEPOT & TARGET FOR SUPPLIES
Next, we headed to Home Depot for supplies! I used Rustoleum White Spray Paint in a Hammered finish. This is my favorite brand of spray paint, evenly coats, no drips when used correctly and under $6!
TARGET SUPPLIES
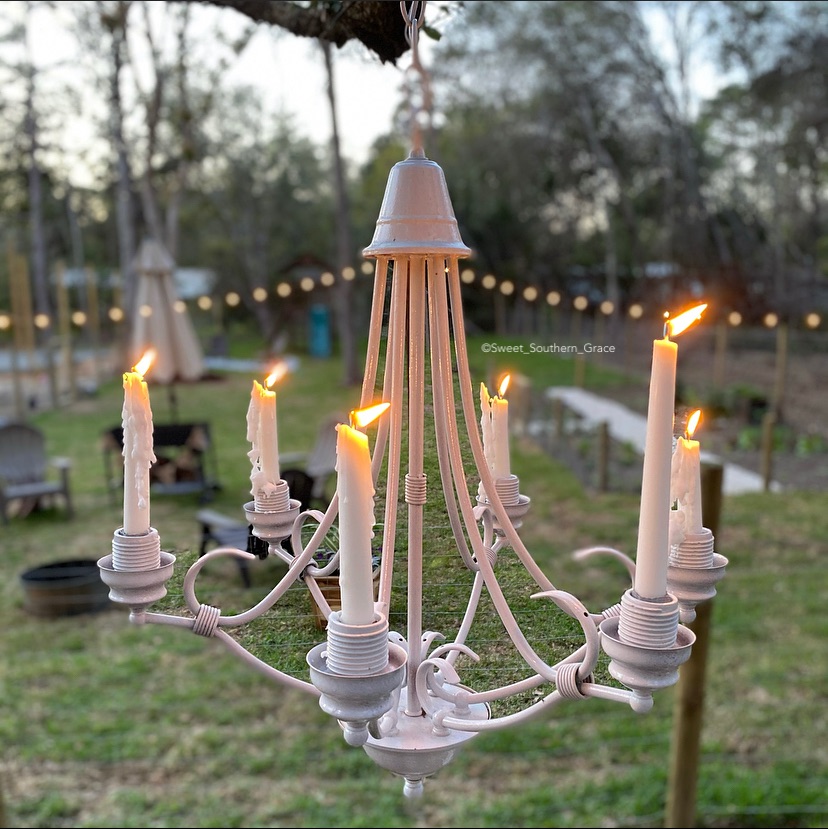
I grabbed a 12 count tapered candlesticks from Target for $3.00!
LET’S GET TO WORK
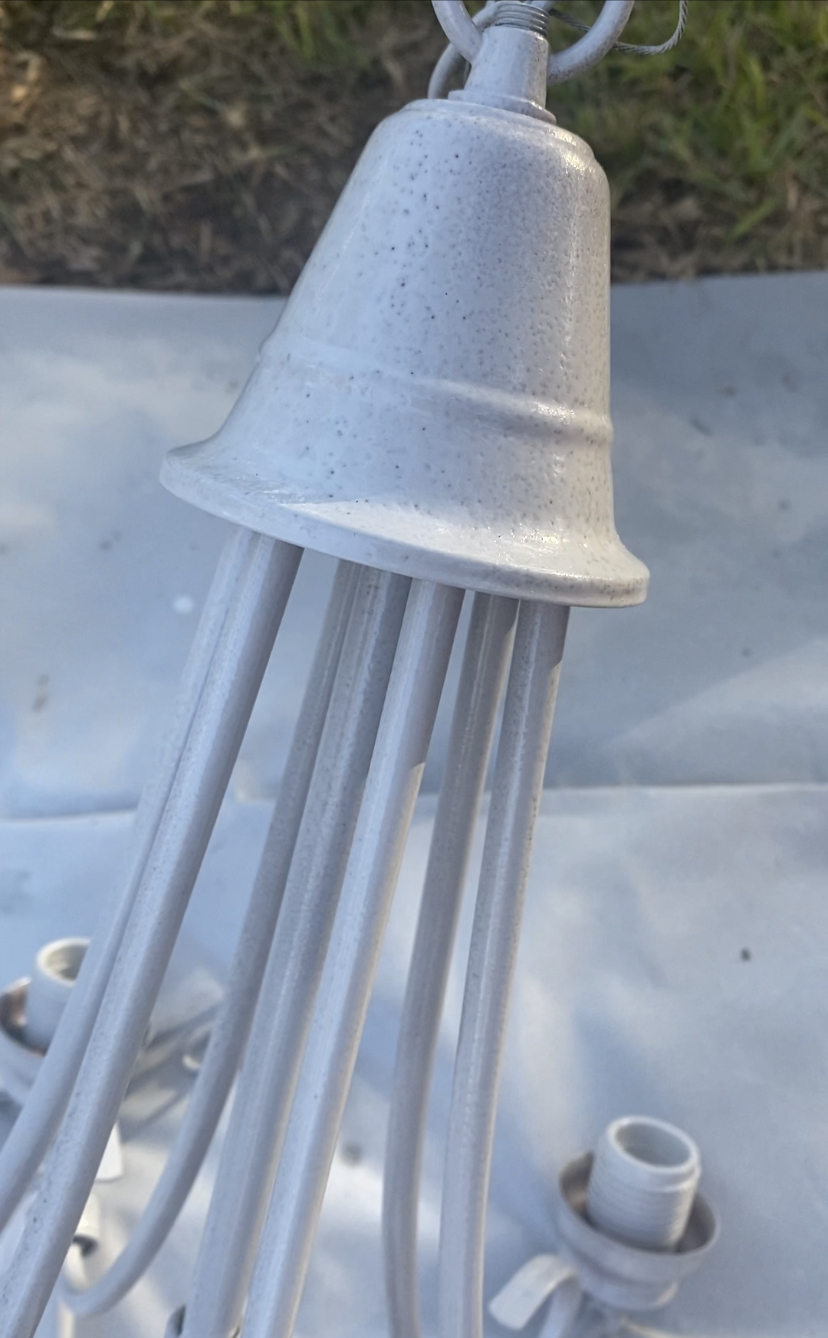
Head on over to my instagram and you can watch my reel of how I diy’ed our thrifted light fixture! First, I removed the glass globes. Next, I applied two coats of spray paint on all sides, leaving a couple hours drying time, in between.
Super easy! I just love how it turned out! The hammered finish gives it a rustic farmhouse feel to our outdoor space!
I spent $28 total on our diy light fixture! I hope that y’all have found some budget friendly inspiration here and that you will hop on over to the other ladies! I know you will love their DIY Knock Off’s, as well! Head on over to my friend Cindy’s blog at Cloches and Lavender for her DIY!
When my friend Terrie from Decorate & More with Tip asked me if I would like to join a blog challenge for word stacked books, of course I would agree!! My first thought was that I would love to make a set of these books for my sister-in-love, who just built a new home with her husband, last year. We had not given them a house warming gift, so I thought this would be perfect!
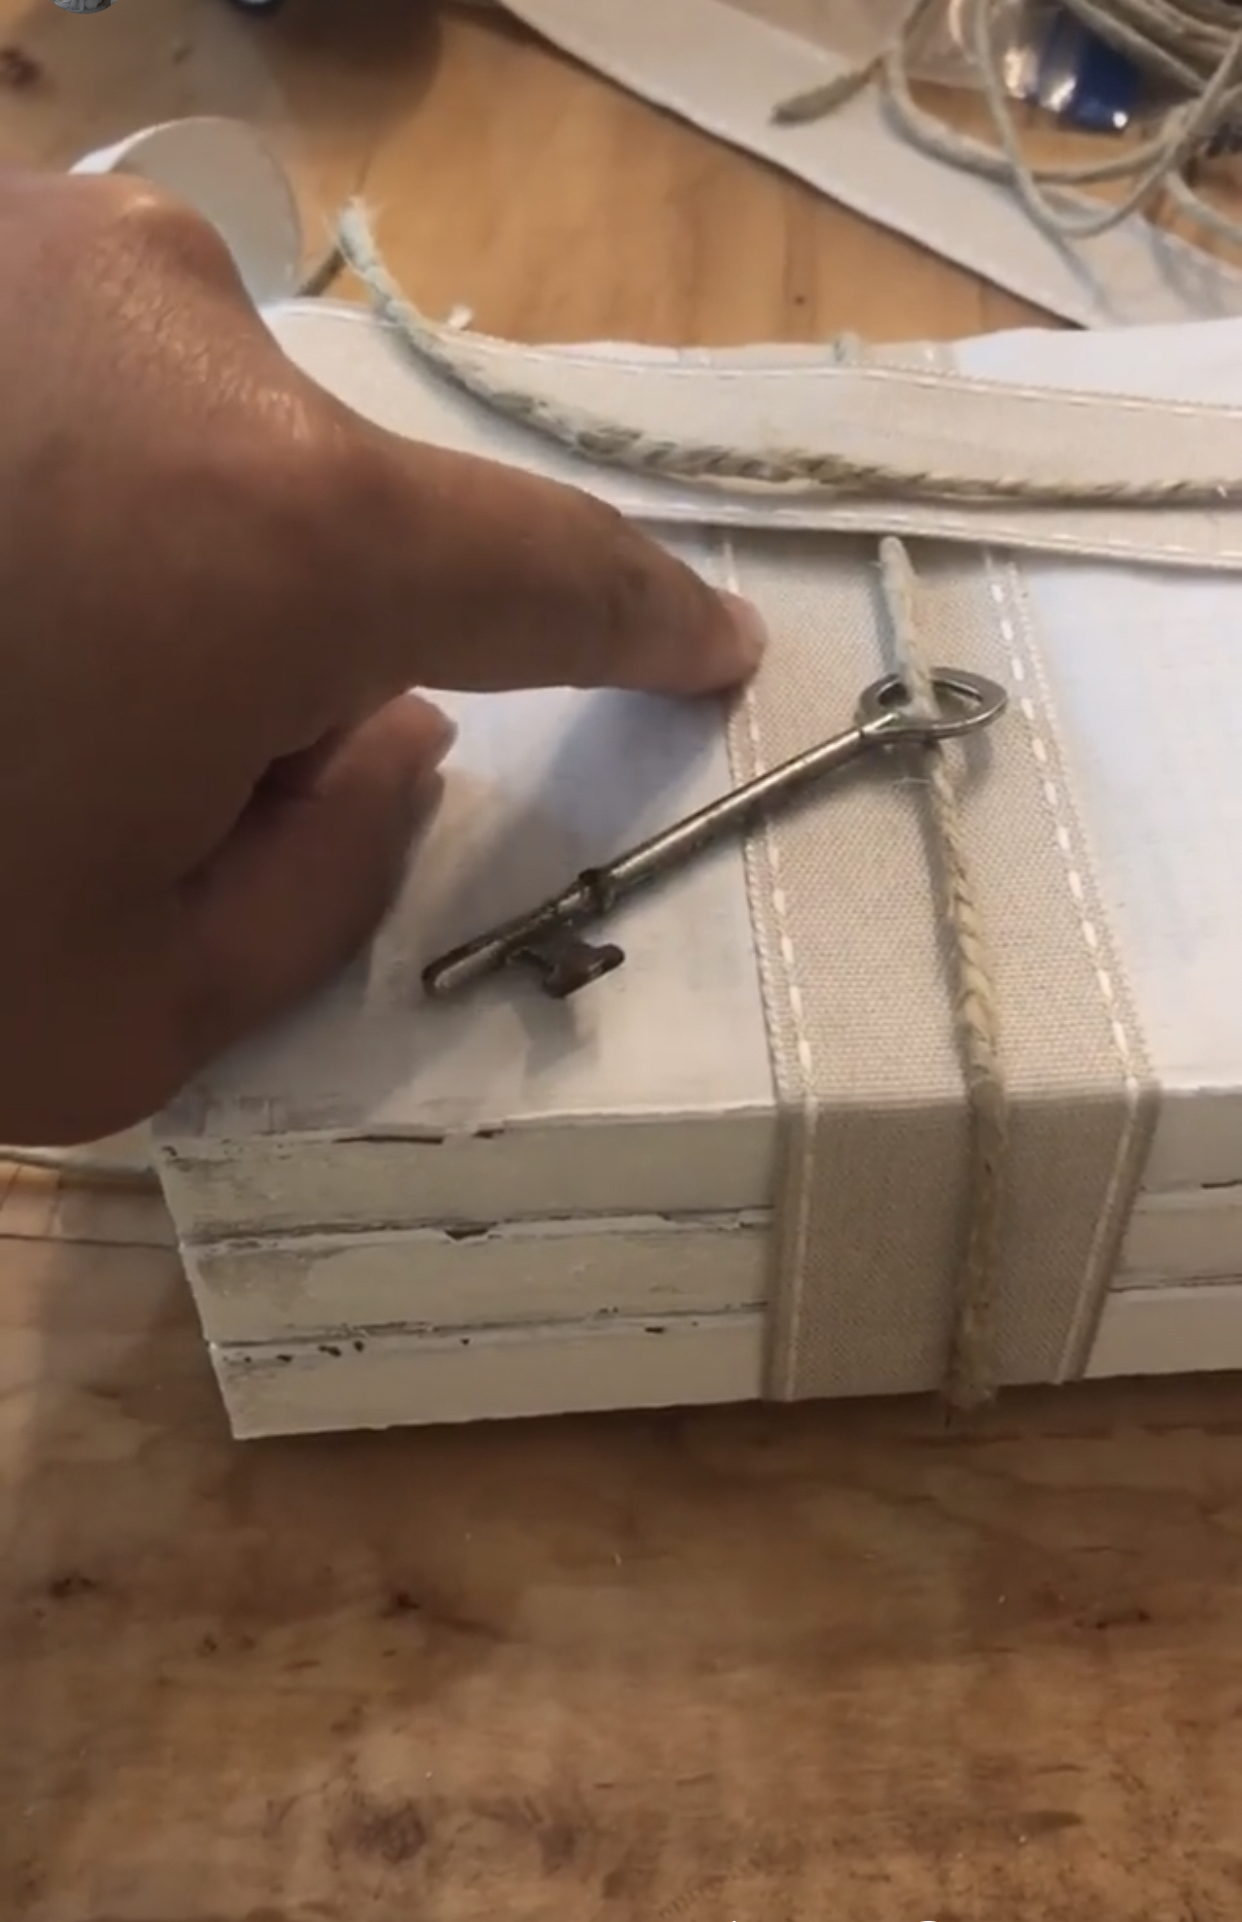
A little bit of family history with this key. This key was found by our oldest two daughter’s when they were little in their Grandmother’s home. She is my husband’s Grandmother, whom we called Big Grandma & who is our youngest daughter’s namesake. We were cleaning out her home, getting ready to renovate it and we were allowed to take things from her home that we thought we would like to have. One of the girls found this key and I’ve had it in my jewelry box now for around 14 or 15 years.. not knowing really what to do with it, but I knew one day an idea would come and I could have a way to honor this key, per say. I am not sure what this key went to or any significance behind it. I am thinking it went to…maybe an armoire or hope chest.
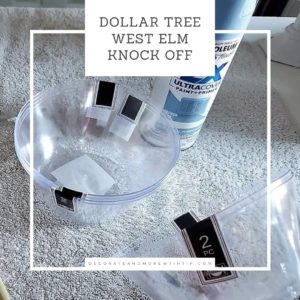
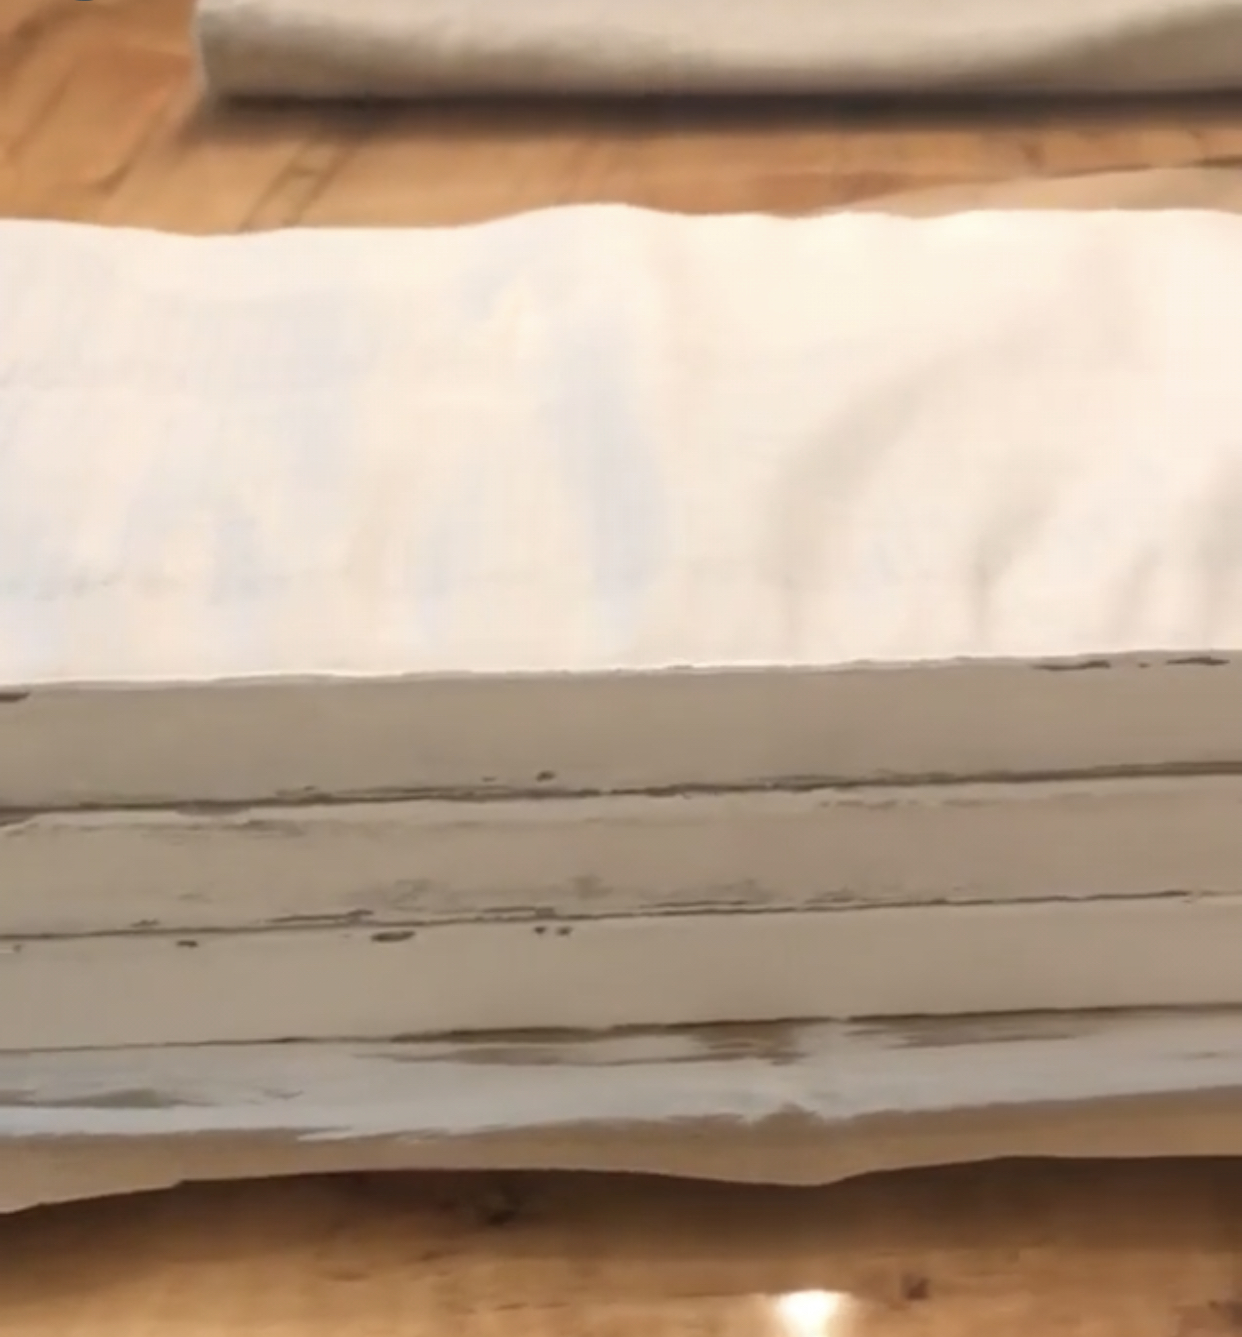
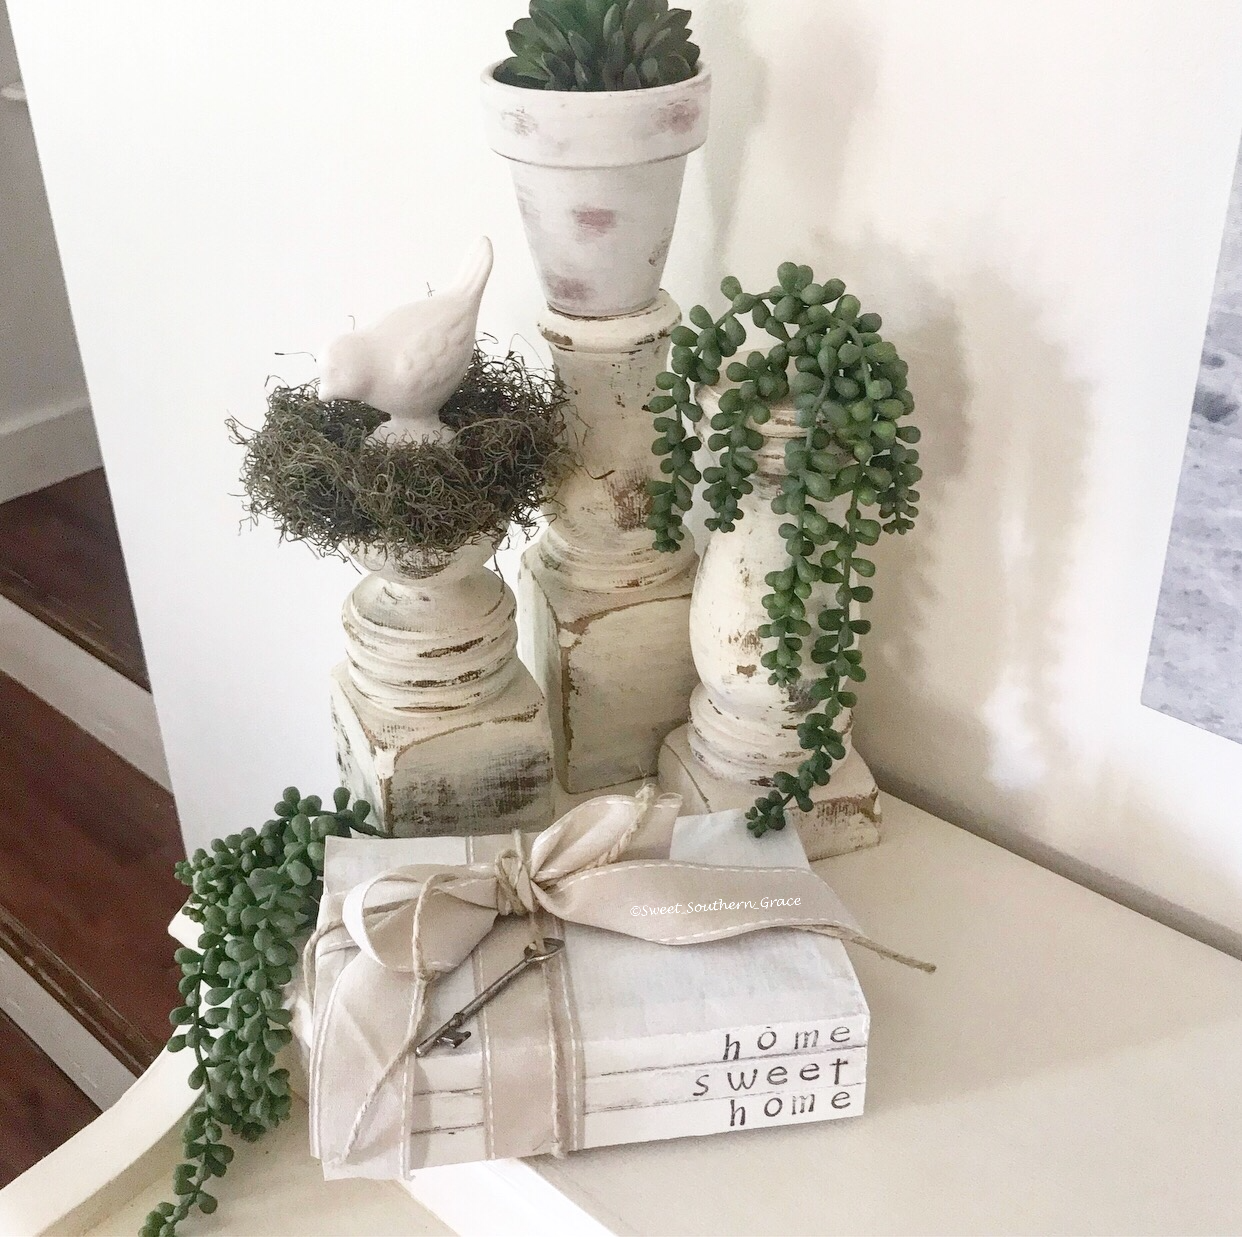
I headed to our local Dollar Tree for the books. When I make a set of these books, I like to tear off the front and back covers of each book, along with several pages as well.
I used my homemade DIY chalk paint recipe that you can find on our youtube channel. I did a light layer of paint on the spine of each book. I did not saturate my paint brush with paint, but I didn’t dry brush it either. I wanted some of the spine to show through. I did a heavier paint layer in between each book, to help adhere to each other, acting as “glue”. On the top and bottom of the book set, I painted a light layer so that some of the wording would show through.
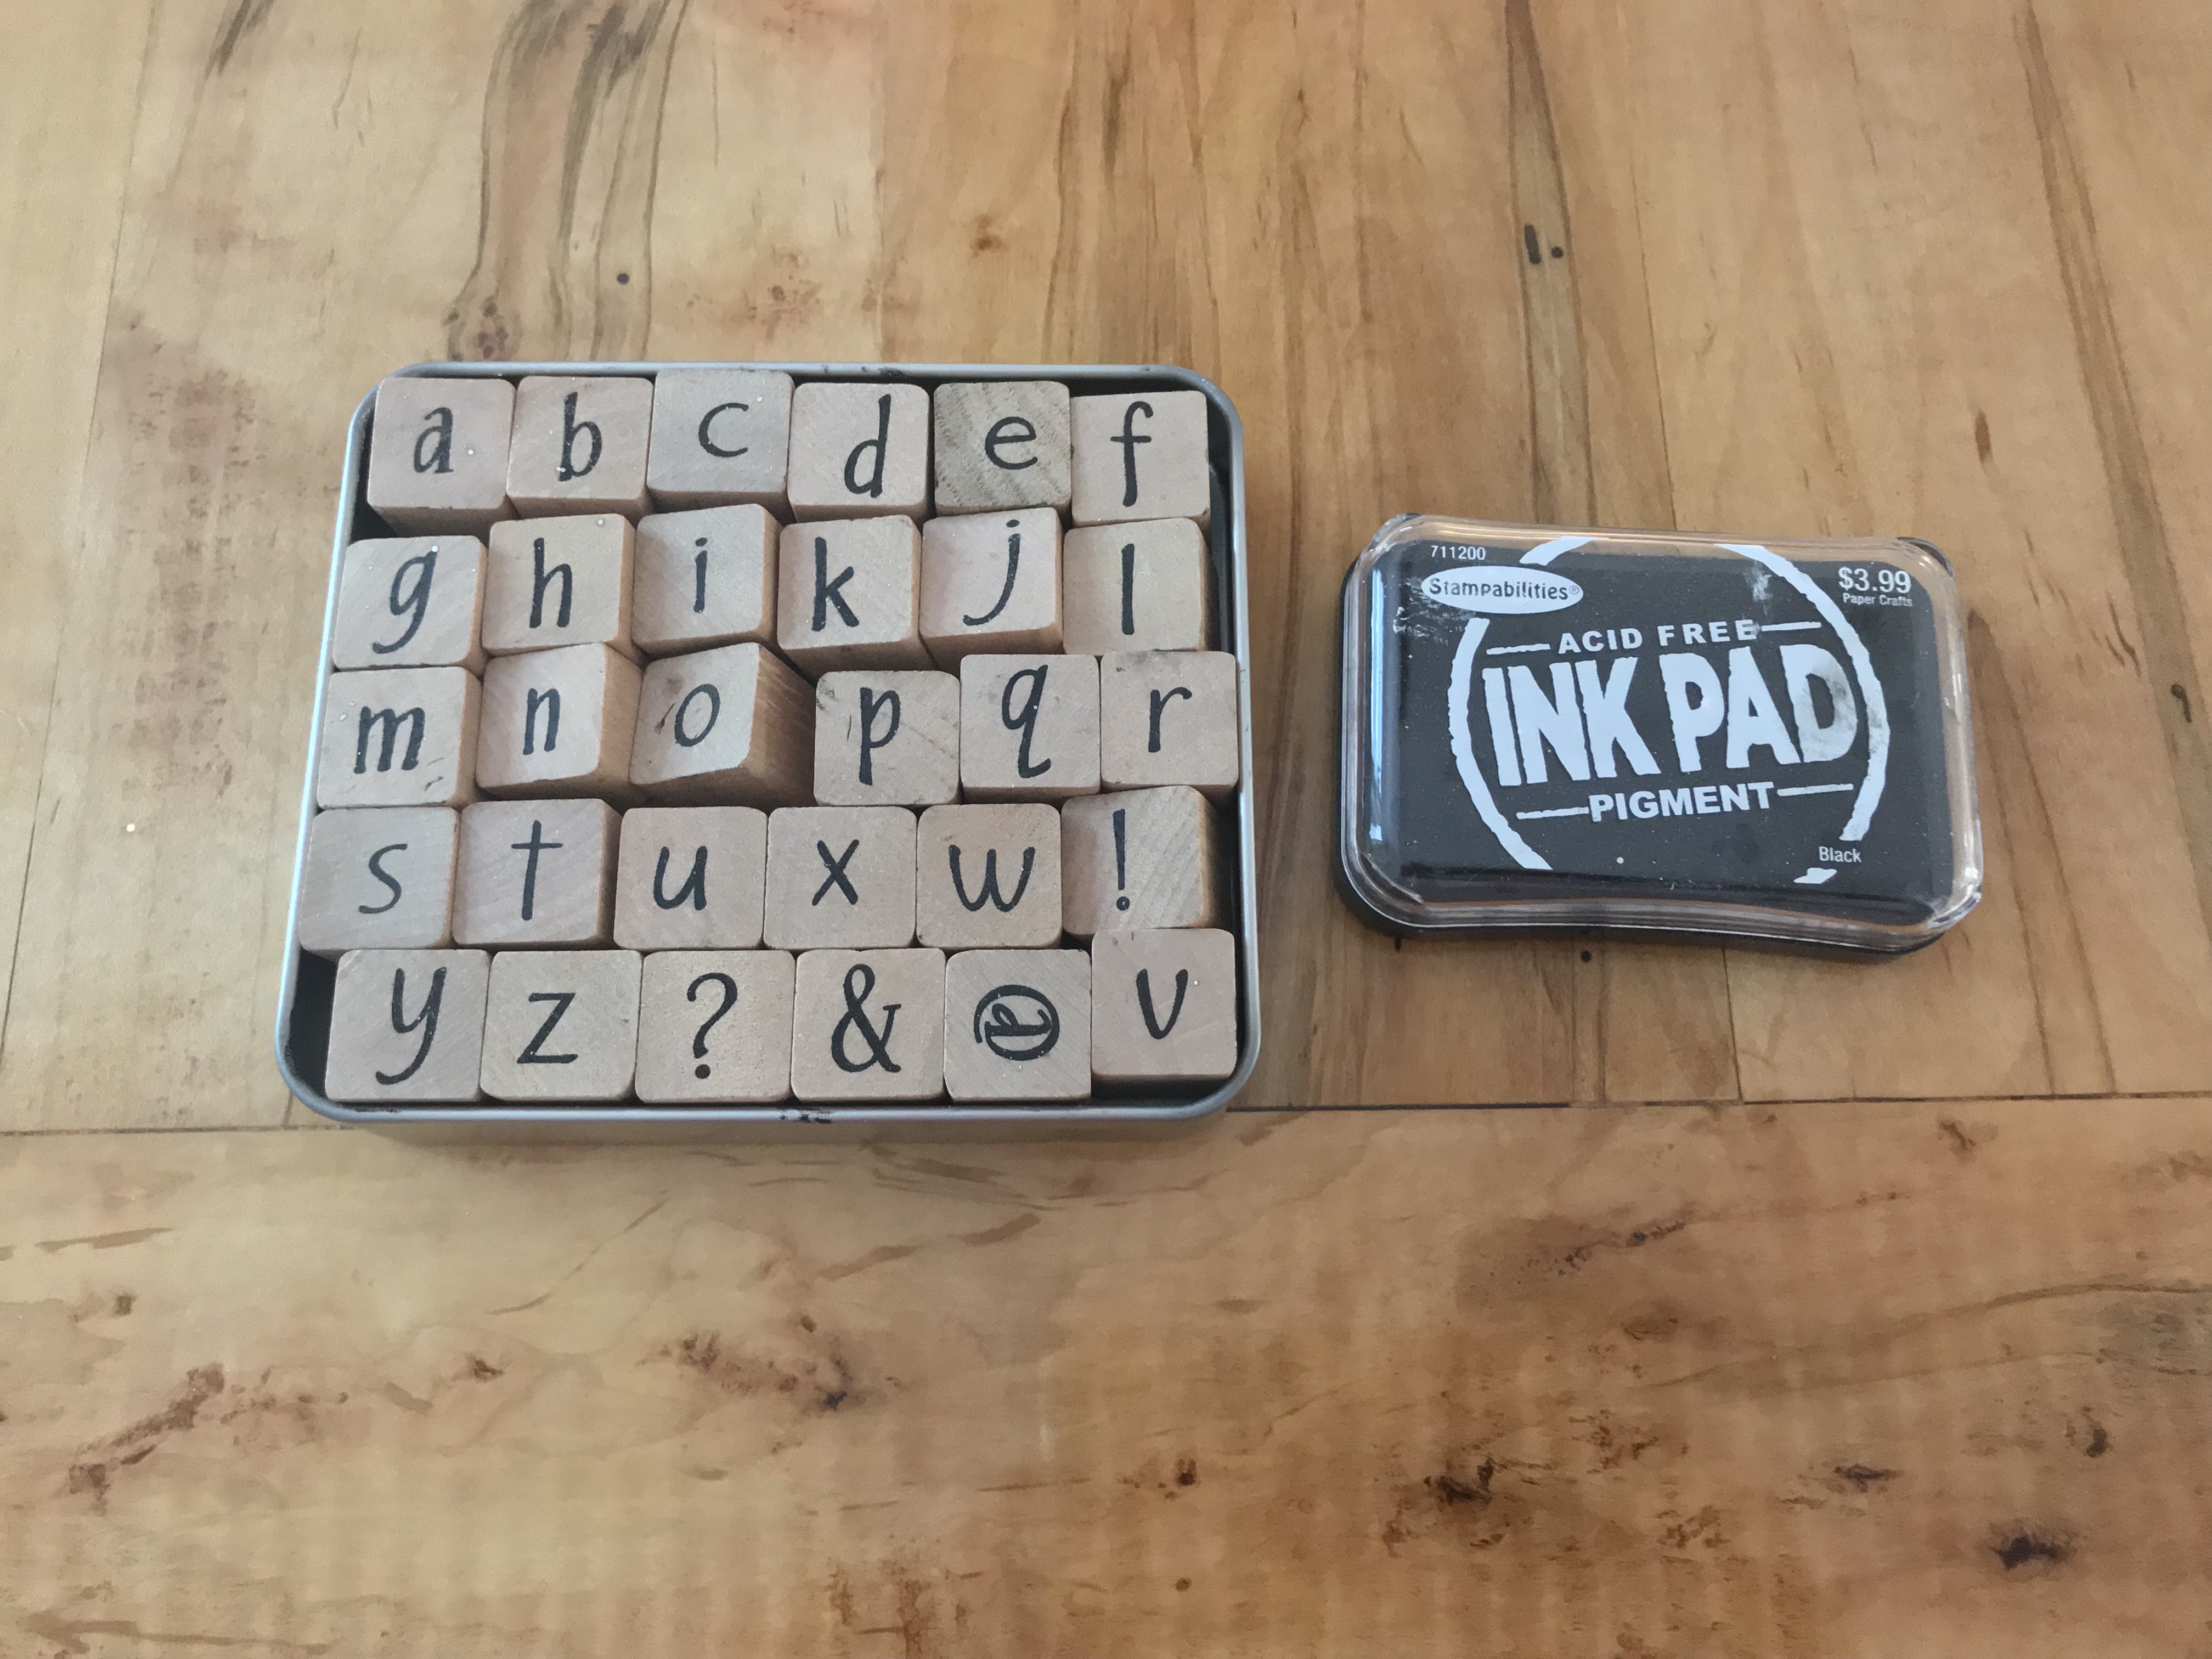
After the books are dry, I grabbed my stamps and black ink that I purchased from Hobby Lobby. Don’t forget to purchase when they have those for 50% off or use your 40% coupon.
I decided I wanted to stamp the words, “Home Sweet Home”, onto the spine of the books. I thought it was a fitting saying for a house warming gift.
After my stamped letters where dried, I headed to my ribbon stash and I used this light khaki colored ribbon from Hobby Lobby and added the twine.
I decided to tie the ribbon, a little off centered and incorporate the key with the ribbon. After I tied the ribbon, I made sure to heat seal the edges of the ribbon.
I can’t wait to give this set of stacked books to my sister-in-love. I hope she can find a place in her home for it and every time she looks at it, she thinks of their Big Grandma.
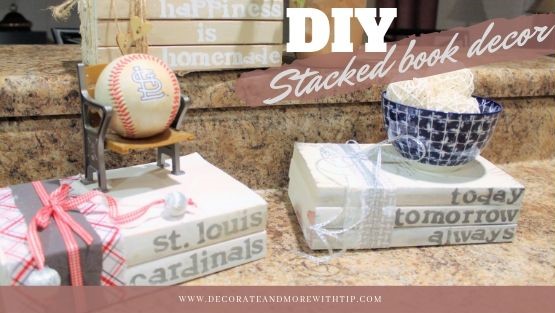
Please check out all of my friend’s and how they made their own diy stacked books! We are a diverse group with many talents! I know you will not be disappointed!


You must be logged in to post a comment.