
(This post contains sponsored links from the White Wolf Lodge, Air-E-All Media and Oz Fest. All thoughts, views and opinions are my own.)
Looking for the perfect North Carolina mountain getaway?
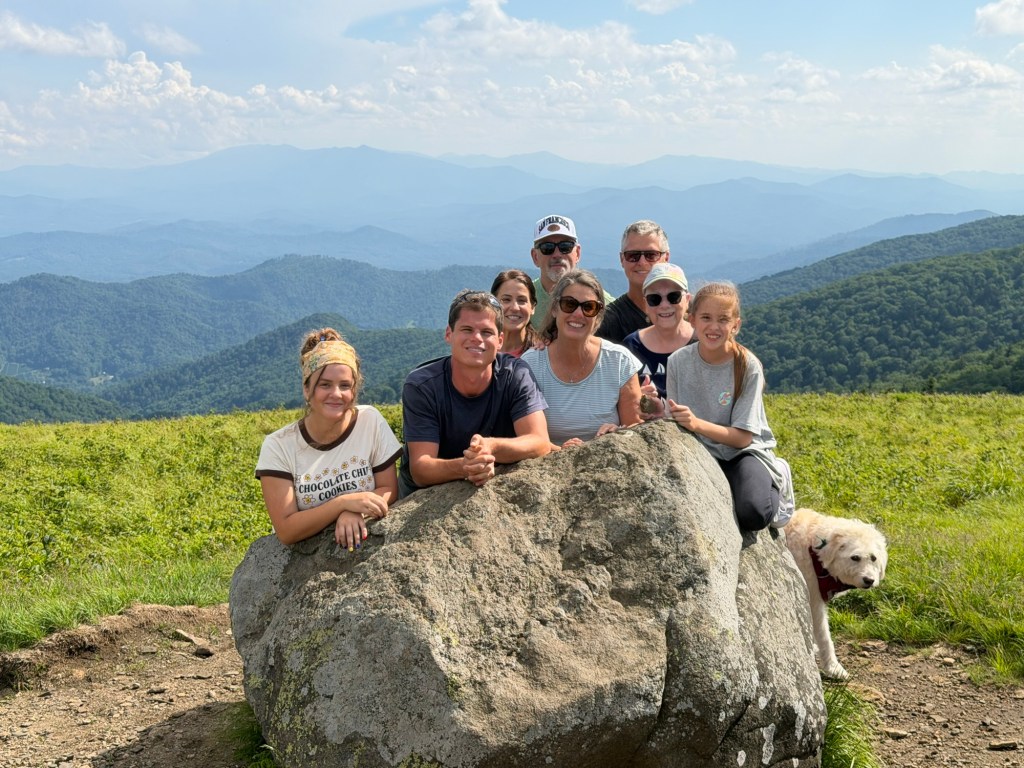
Nestled in North Carolina’s Blue Ridge Mountains, Beech Mountain, Banner Elk, and Blowing Rock offer a unique blend of breathtaking scenery, mountain-town charm, and outdoor adventure. Watch my reel on IG of our NC adventure!
Grab my personalized guide and map to discover the destinations, hidden gems, and memorable experiences that made this High Country getaway so unforgettable.

Lodging: White Wolf Lodge, Our Home Base in the Mountains
White Wolf Lodge served as the perfect home base for exploring the surrounding area. We stayed at White Wolf Lodge’s Cozy Cabin.
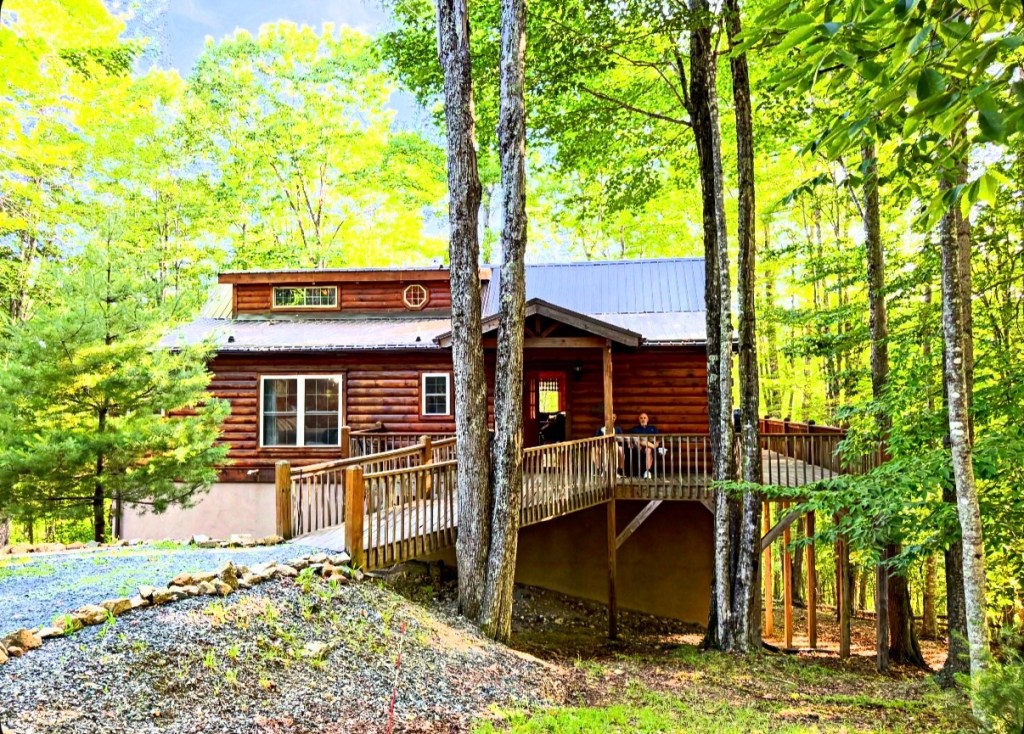
Nestled in Beech Mountain, the Cozy Cabin offered everything we were looking for—a peaceful setting, beautiful views, and plenty of space to relax after long days of adventure.

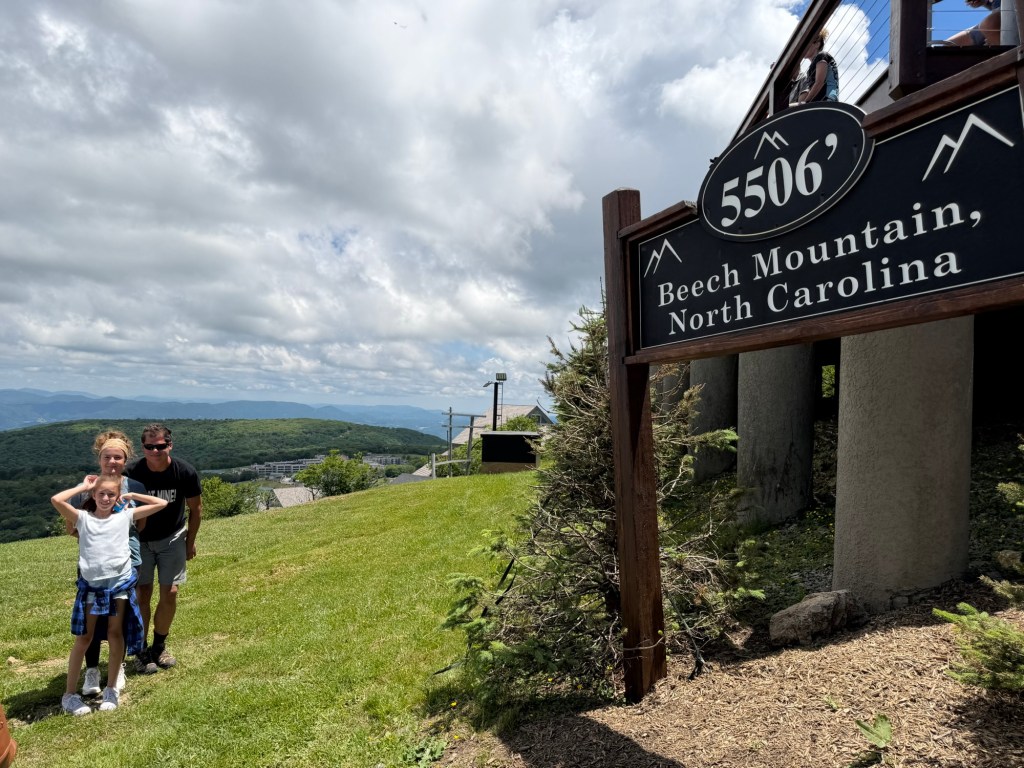
Beech Mountain
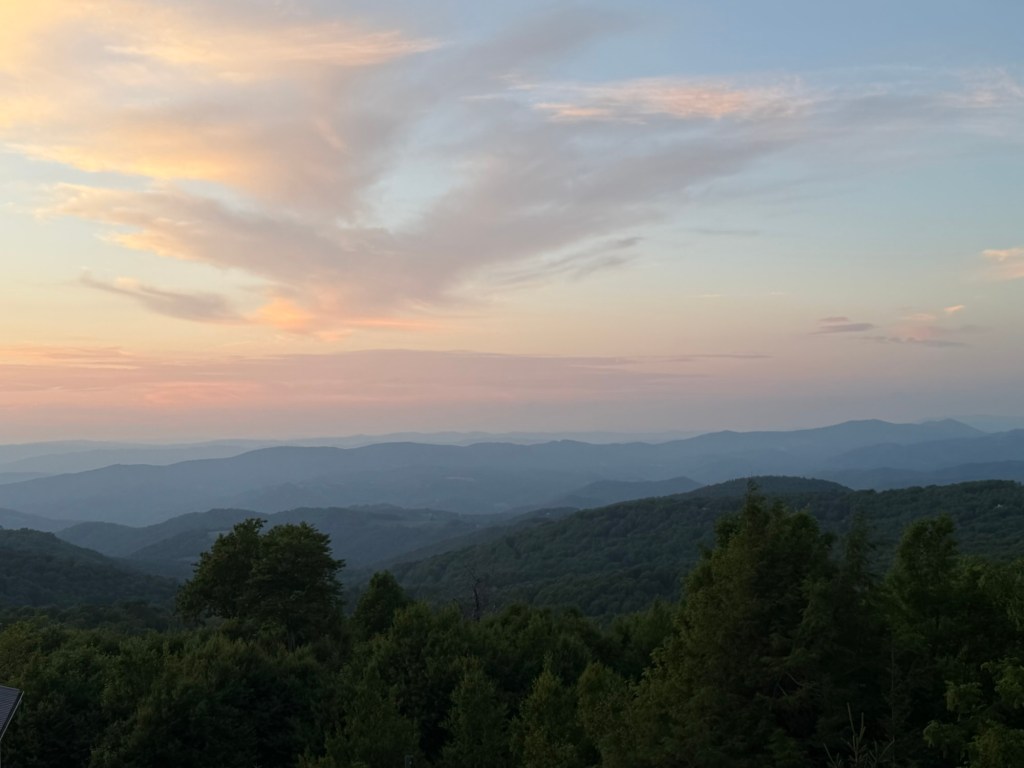
Mornings started with coffee overlooking the mountains, at White Wolf Lodge’s Cozy Cabin, while evenings were spent unwinding and enjoying the cooler mountain air.
One of the things we loved most about White Wolf Lodge was its convenient location on Beech Mountain.
It allowed us to easily explore Beech Mountain, Banner Elk, Blowing Rock, and many of the area’s most popular attractions, while still feeling tucked away from the hustle and bustle.

Exploring Beech Mountain
Exploring Beech Mountain is the perfect mix of adventure and breathtaking scenery. From scenic chairlift rides and mountain biking to gem mining and unforgettable Blue Ridge Mountain views, there’s something for every age to enjoy.
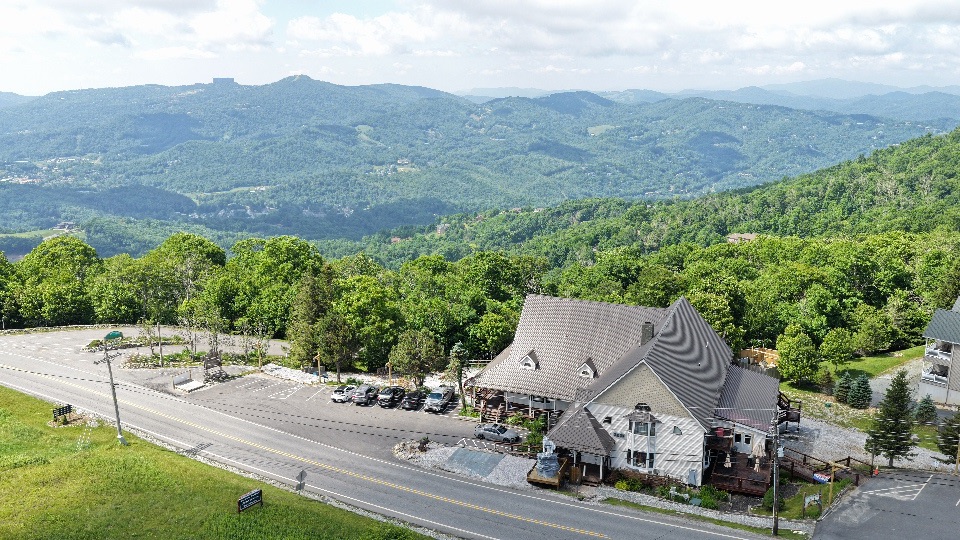
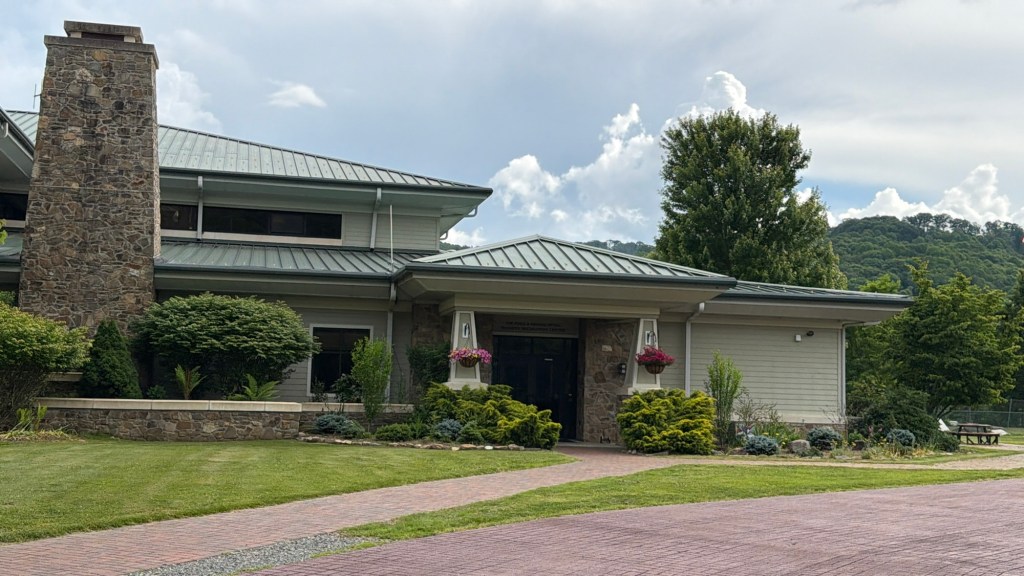
White Wolf Lodge Restaurant:
Holy Smokes Barbecue
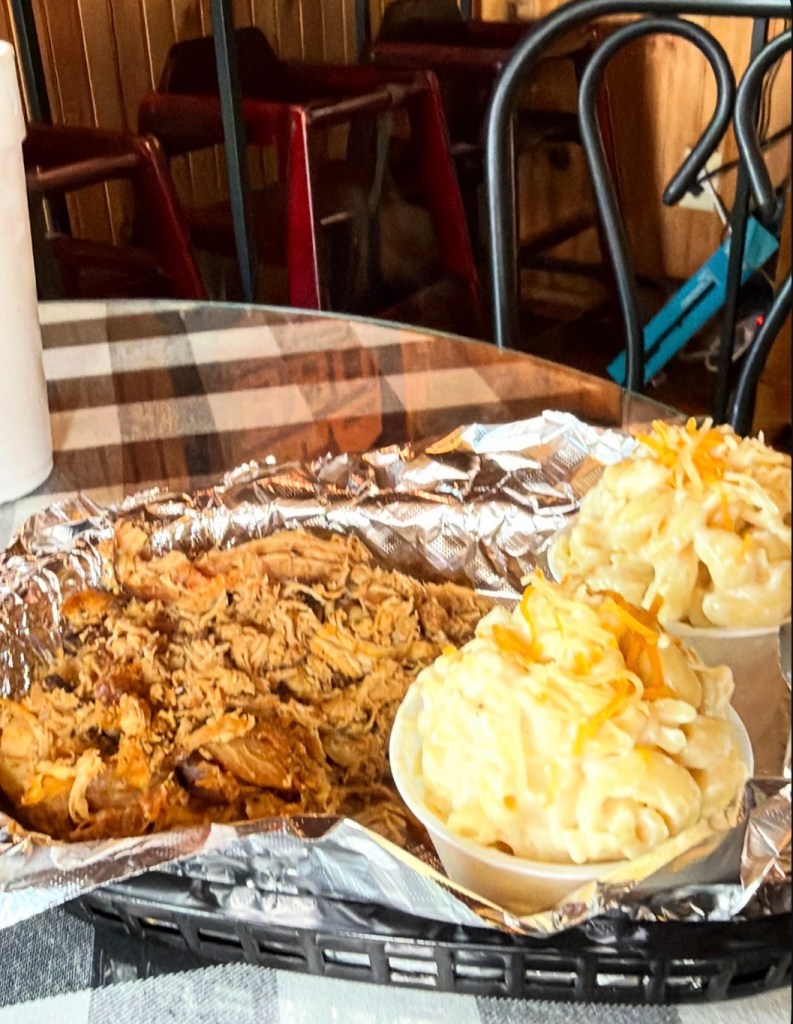
Our favorite lunch spot was Holy Smokes Barbecue, along with our favorite spot for our office meetings! Ha! Pulled pork and their mac and cheese definitely hit the spot daily.
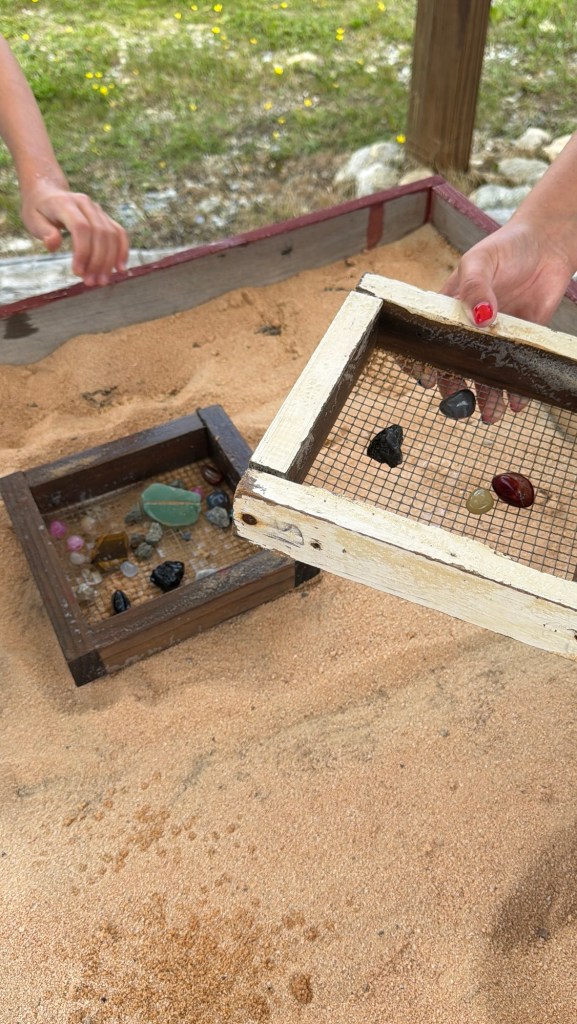
White Wolf Lodge Gem Mine
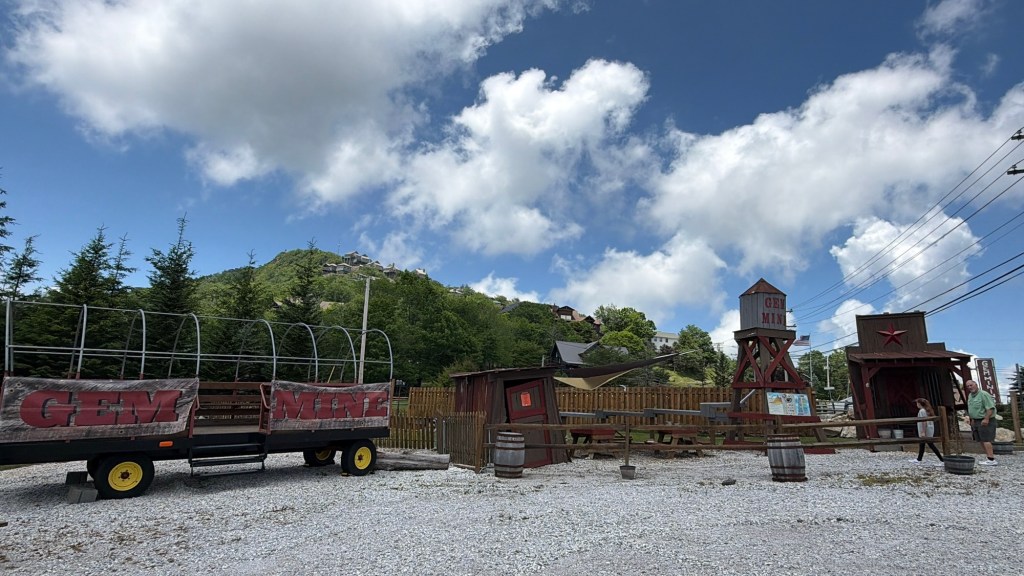
Family Fun at White Wolf Lodge’s Gem Mine was one of the highlights for our trip. There’s just something exciting about searching for hidden treasures, and it’s an activity that appeals to both kids and adults alike.

Watching gemstones emerge creates lasting memories and makes for a fun family adventure.
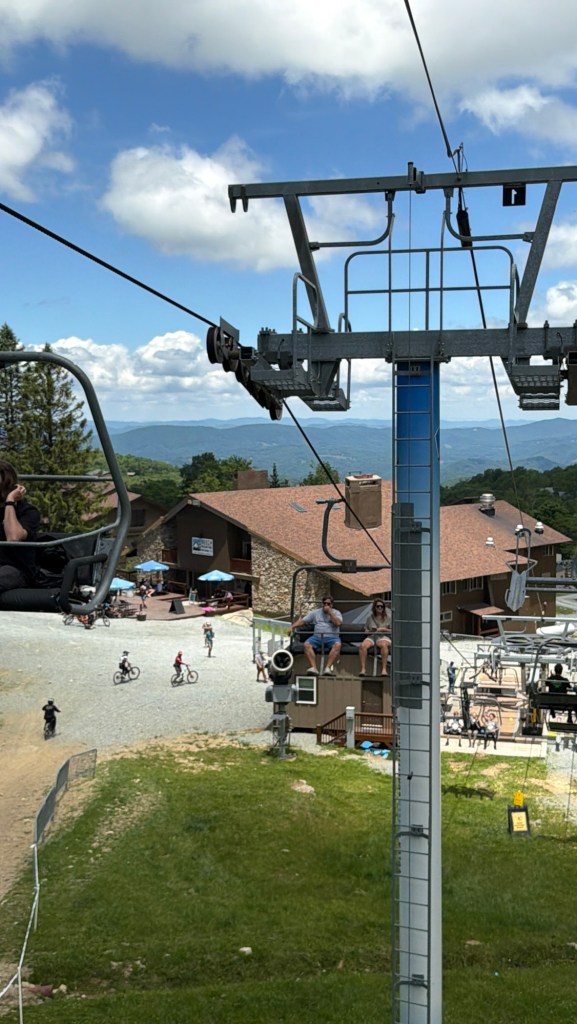
Beech Mountain Resort Ski Resort
Beech Mountain Resort offers year-round adventure, from breathtaking scenic chairlift rides in the summer to thrilling downhill mountain biking trails and winter skiing. Whether you’re taking in the panoramic Blue Ridge Mountain views or watching bikers tackle the slopes, it’s a stop you won’t want to miss.
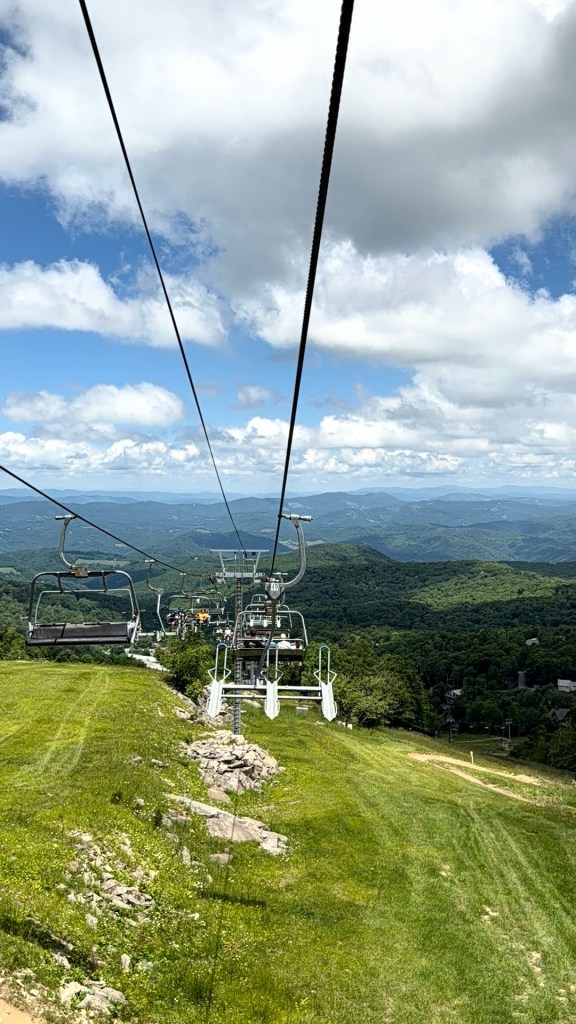
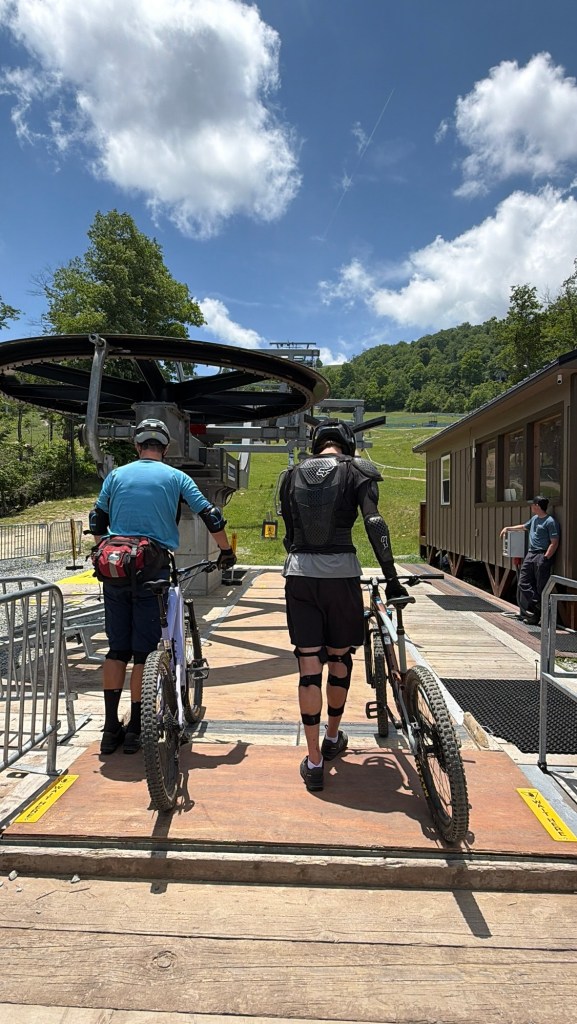
In the summertime, they feature the first lift-assisted bike park in North Carolina, offering mountain biking.
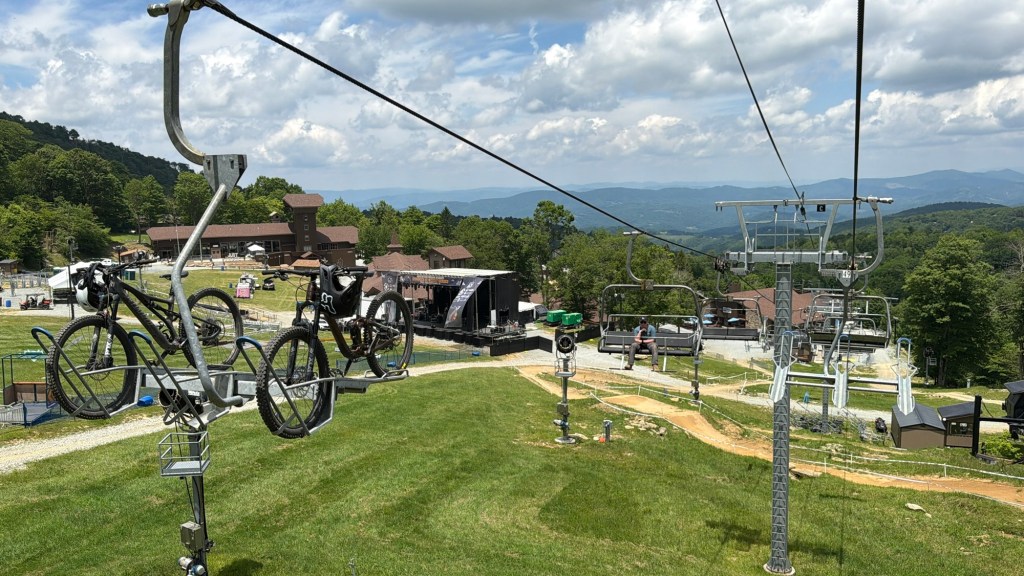
The ride offers a completely different perspective of the area and provides countless opportunities for breathtaking photos. Great bike trails for the mountain bikers!

Fred’s General Store
We also enjoyed exploring the charming mountain community, stopping by Fred’s General Mercantile, a local favorite that has become a tradition for many visitors.

From souvenirs and snacks to mountain essentials, Fred’s truly feels like part of the Beech Mountain experience.
Buckeye Rec Center
For recreation and family fun, the Buckeye Recreation Center offers activities for all ages and is a great place to spend an afternoon.
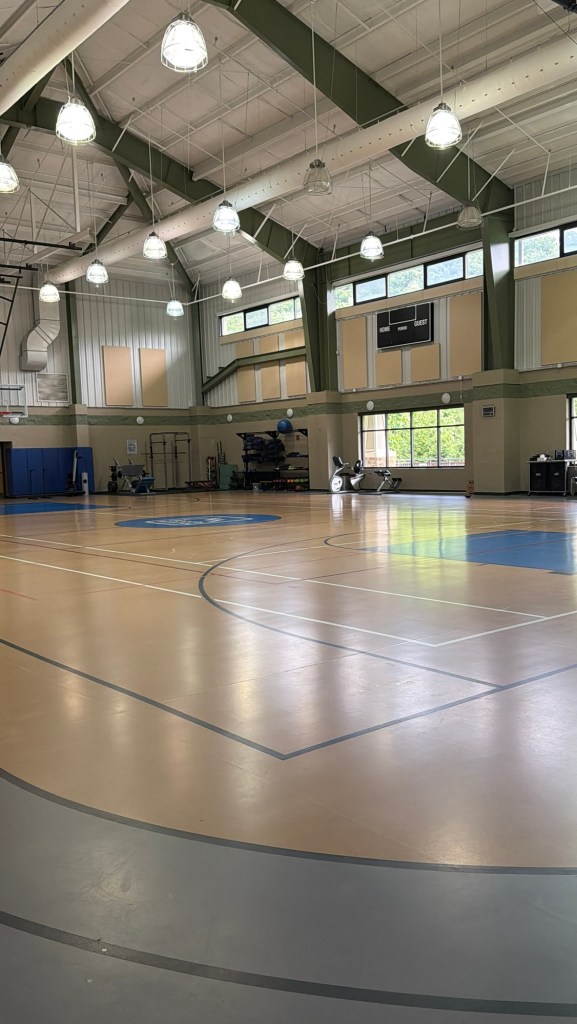
The rec center features a fitness room, basketball and pickleball courts, an indoor walking track, fitness classes, a children’s play area, and outdoor amenities including tennis courts, a playground, picnic areas, lake with fishing gear and scenic walking trails. It’s a fun option for anyone!

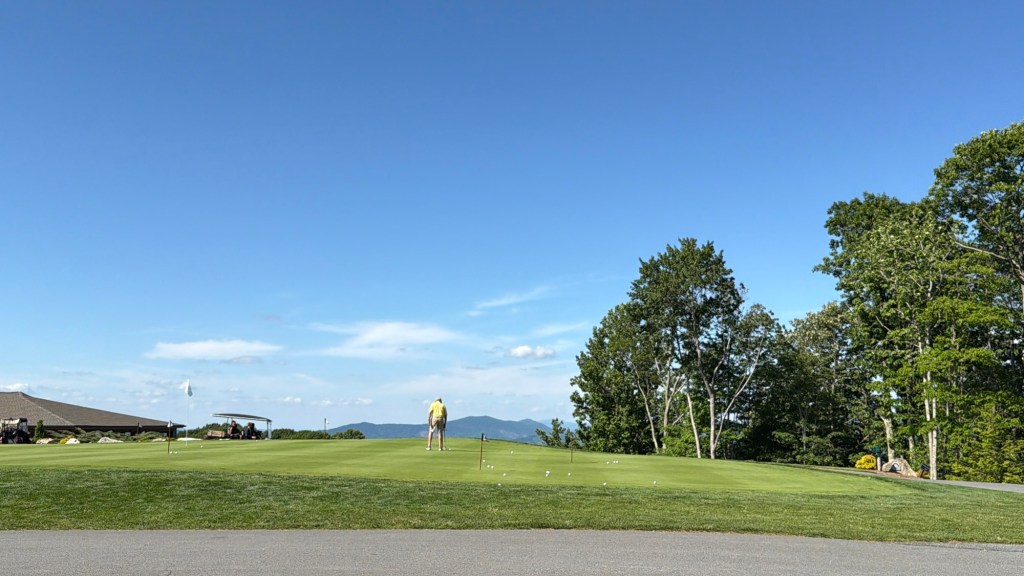
Beech Mountain Country Club
Golf enthusiasts may also enjoy visiting Beech Mountain Club, where members and guests can enjoy one of the area’s most scenic mountain golf experiences.
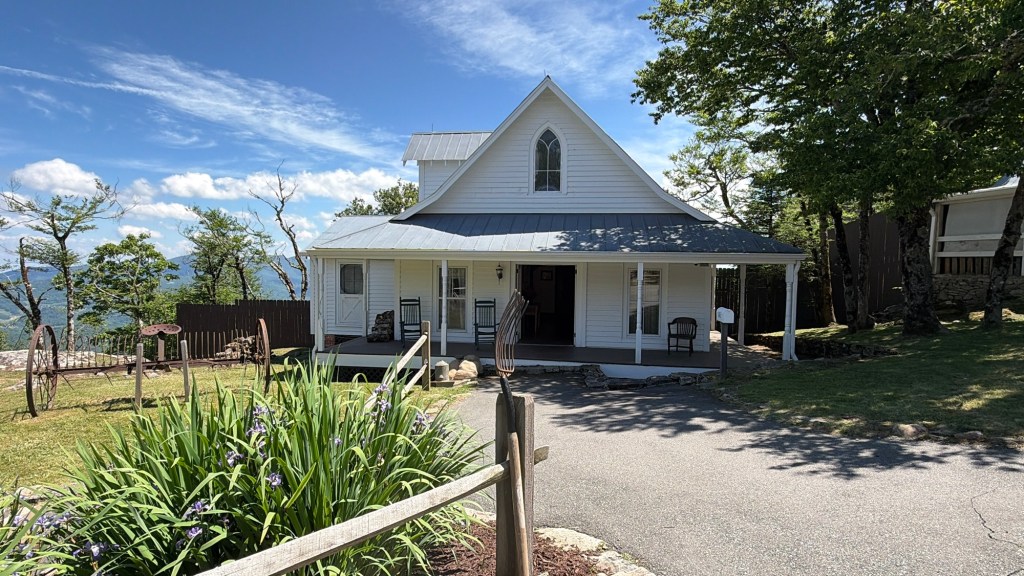
Land of Oz
A Magical Afternoon at Land of Oz
One of the most unique experiences of our trip was attending the Land of Oz event on Beech Mountain.
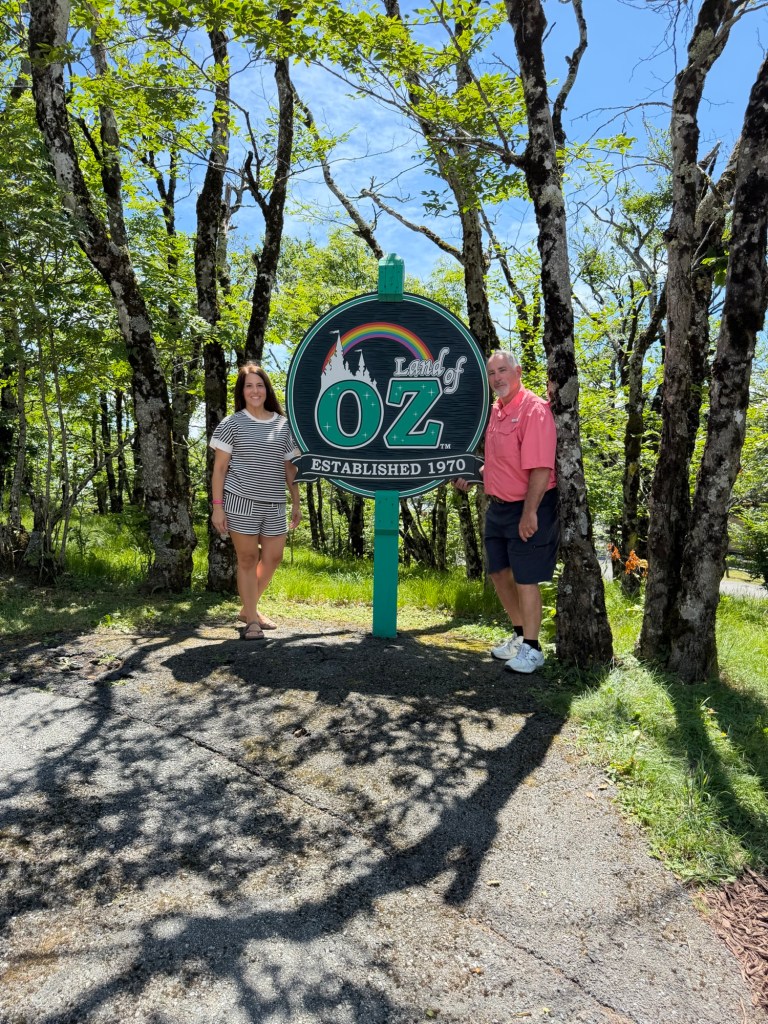
Stepping into the world of Dorothy, Toto, and the Yellow Brick Road felt like walking into a childhood memory.

The mountain setting adds even more magic to the experience, making it a favorite attraction for both children and adults.
Whether you’re attending Autumn at Oz or one of their special themed events, it’s truly a one-of-a-kind experience that has become a beloved tradition in the mountains of North Carolina. Visit for Oz Fest in September! Tickets are on sale now!
Banner Elk Adventures
Banner Elk offers the perfect combination of mountain charm, tranquil shopping, outdoor adventure, and relaxing dining.
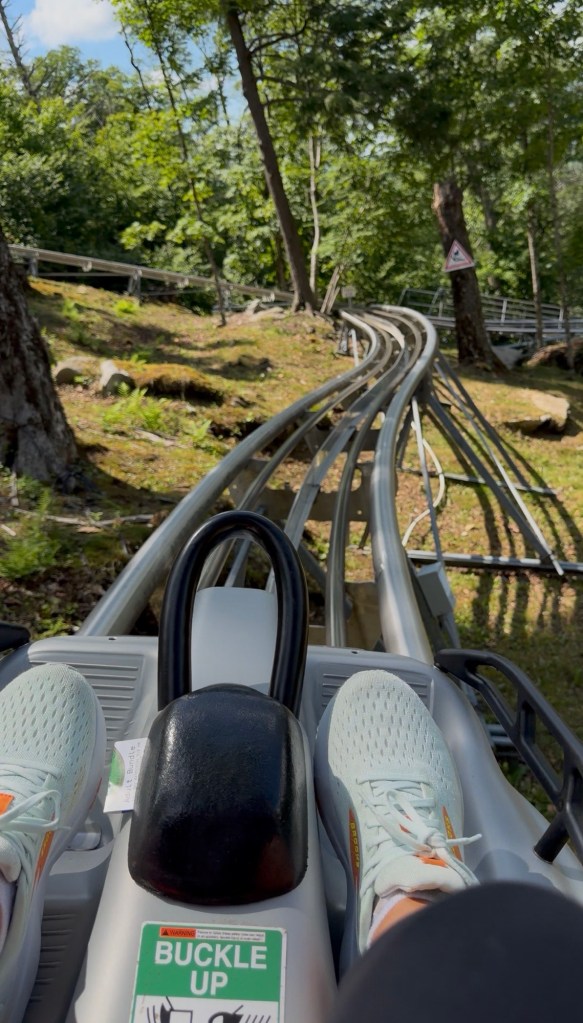
One of our favorite stops was Wilderness Run Alpine Coaster. This thrilling ride allows you to control your own speed as you wind through the beautiful mountain landscape. It’s an experience the whole family can enjoy and one we’ll definitely do again.
Banner Elk Winery
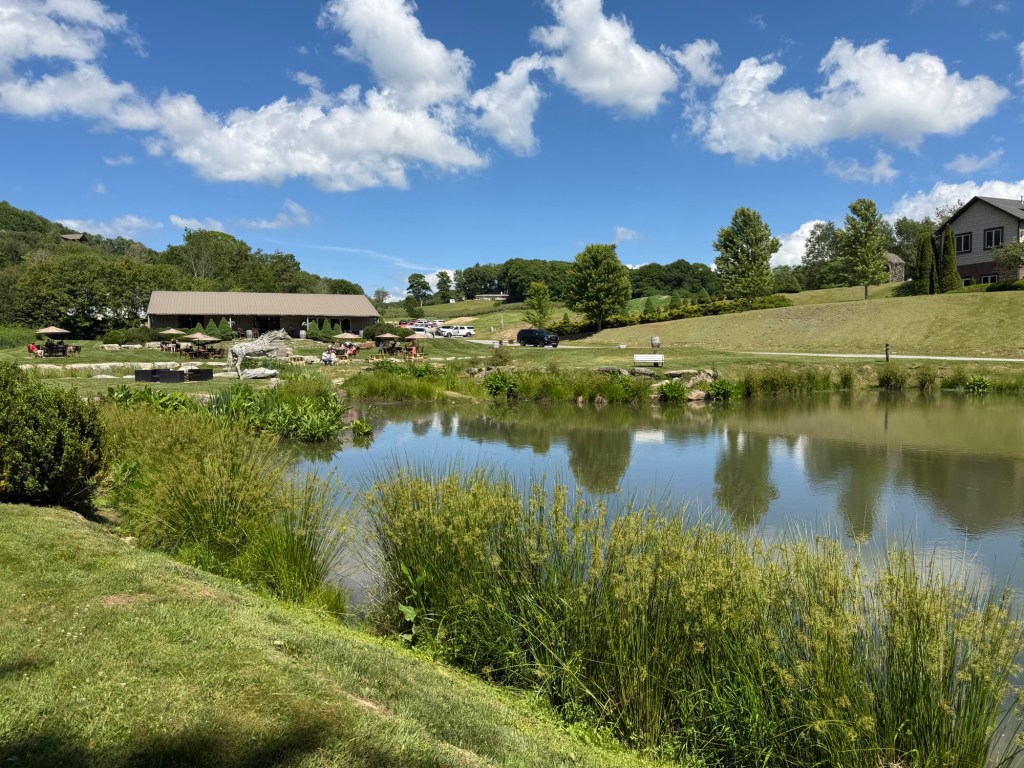
We also spent time exploring a local winery in the area. The High Country is home to several beautiful vineyards where you can relax, enjoy mountain views, and sample local sangria and wine.

The combination of rolling vineyards and mountain scenery creates a truly unforgettable experience.
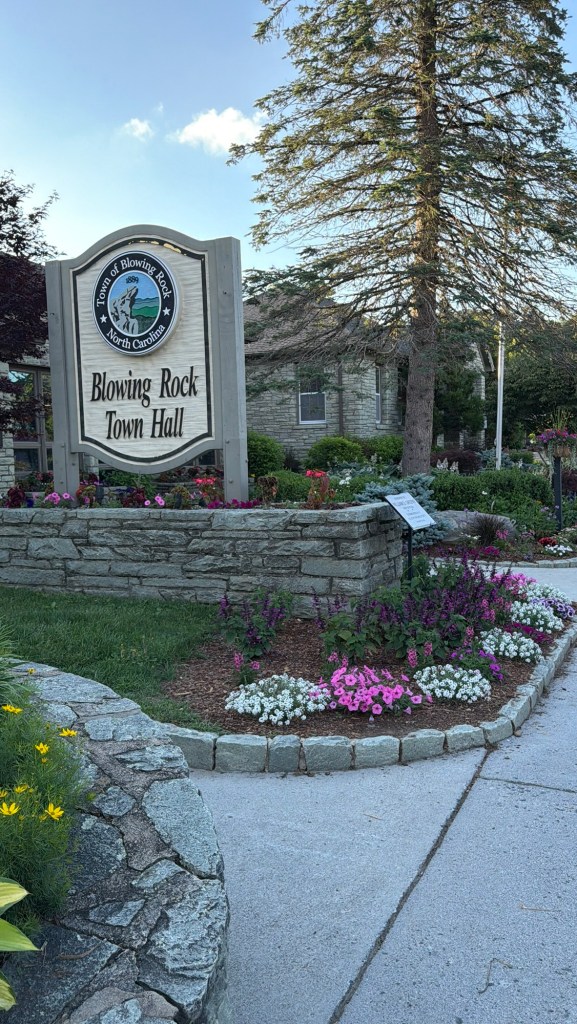
Blowing Rock
Blowing Rock remains one of our favorite mountain towns to visit.
Its charming downtown streets are lined with unique boutiques, specialty shops, galleries, and restaurants.
Whether you’re searching for home décor, gifts, clothing, or local treasures, there’s something around every corner.

The relaxed atmosphere makes it easy to spend an entire afternoon wandering through town and enjoying everything it has to offer.
Some of our favorite stops included:
● The Town Tavern, a popular pub in Blowing Rock known for its casual atmosphere and great food
● Bella’s Italian Restaurant-our Dave pizza place
● Blowing Rock Market, perfect for fresh sandwiches, snacks, and local favorites
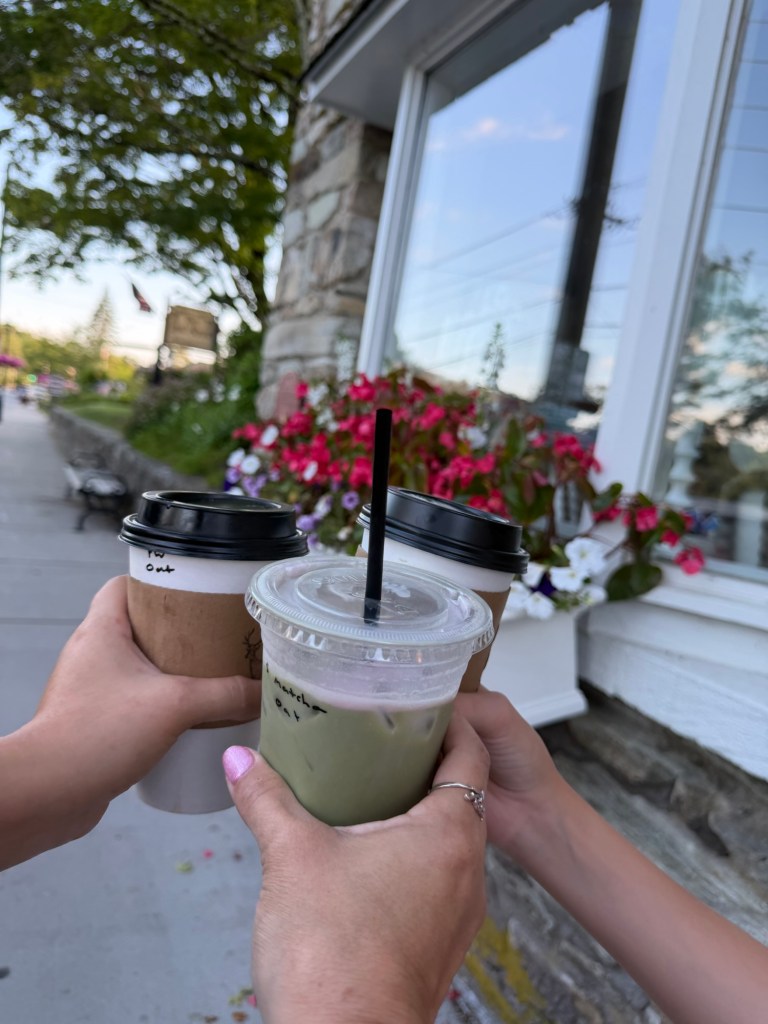
● Blue Deer Coffee-strawberry matcha is sooo delish
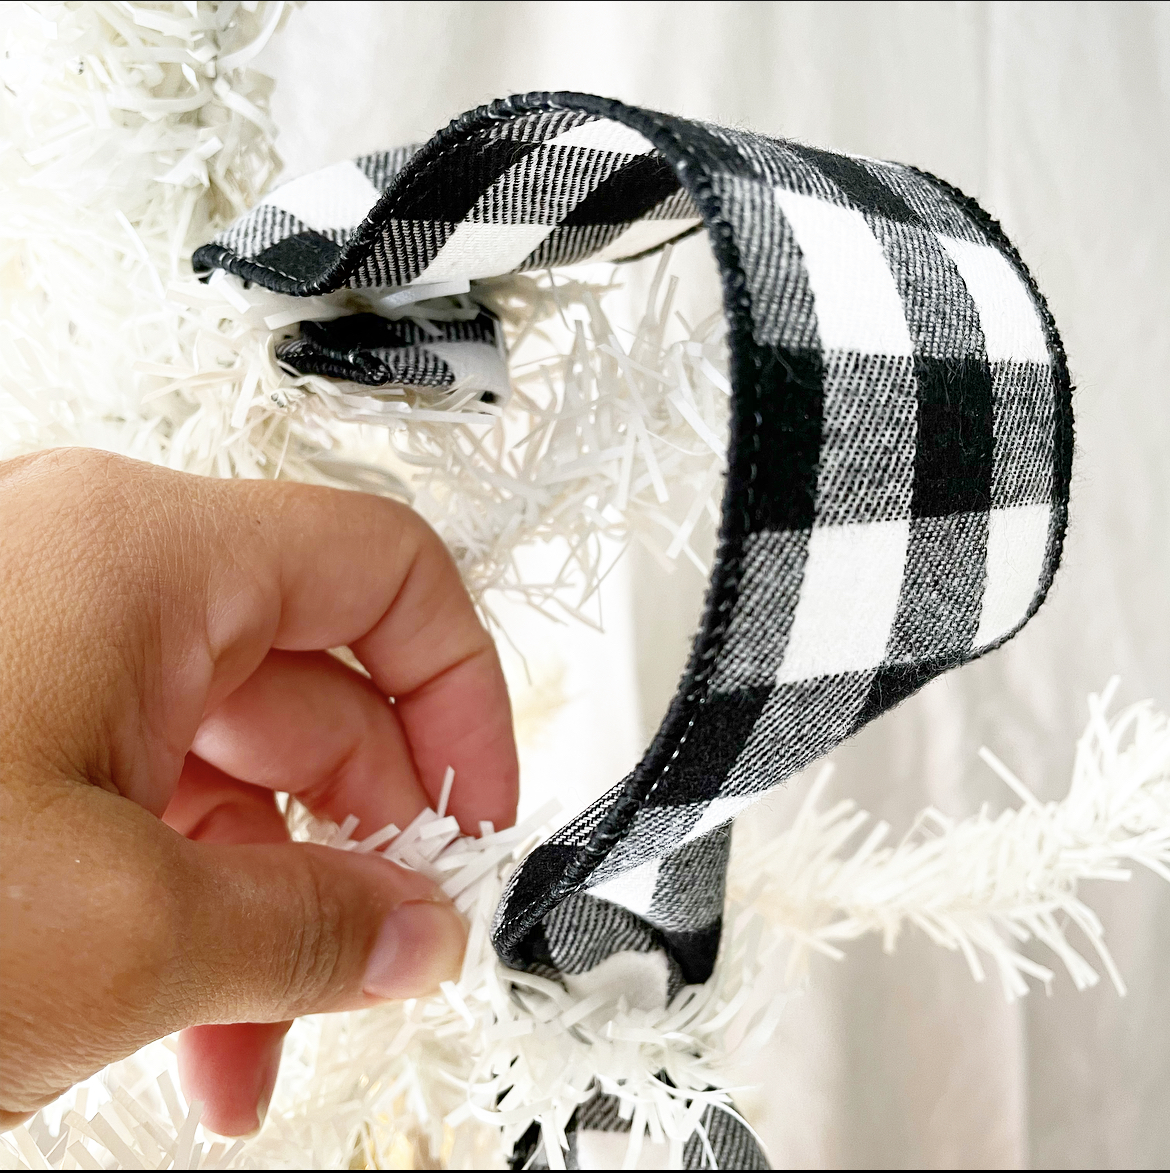
● Last Straw Boutique-my teen found a headband and shirt
Each stop offered its own unique charm and helped make our mountain getaway even more memorable. I really enjoyed getting to go shopping in the shops with my daughters and family. It’s one of the best experiences that I’ll carry with me for a lifetime.
Driving the Blue Ridge Parkway
No visit to North Carolina’s High Country would be complete without spending time on the Blue Ridge Parkway.
Often referred to as “America’s Favorite Drive,” the Blue Ridge Parkway offers some of the most breathtaking scenery in the Southeast.
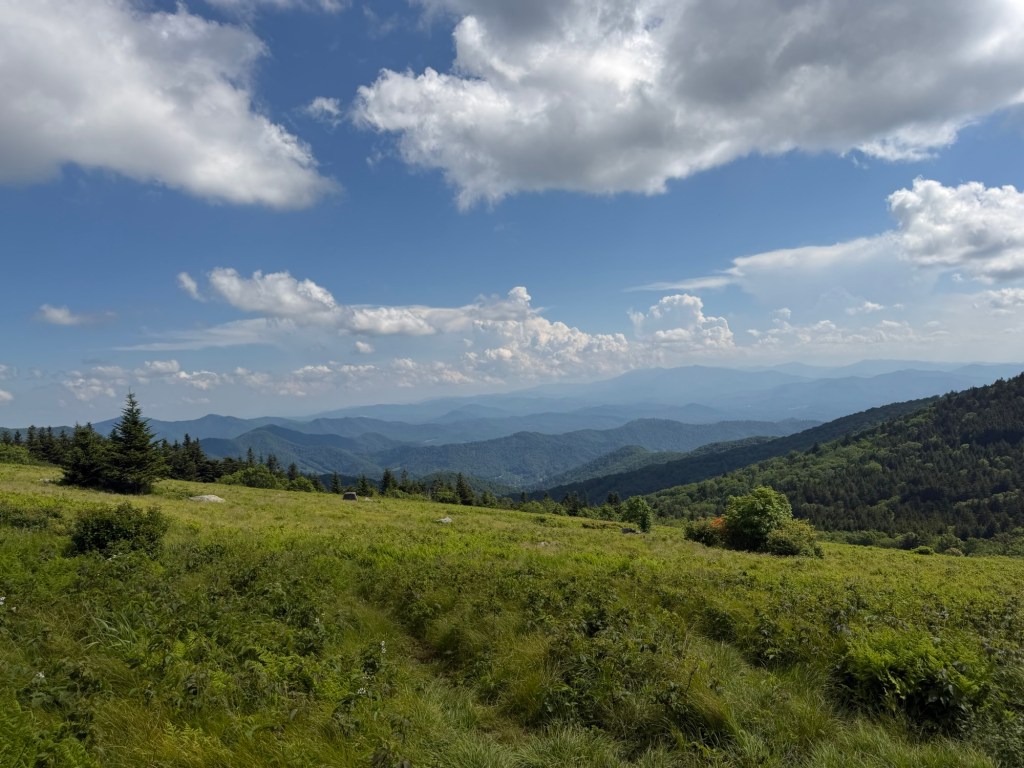
Winding through the Blue Ridge Mountains, the parkway is filled with scenic overlooks, rolling mountain vistas, and countless opportunities to stop and take in the beauty around you.
My first thought was “Wow! God made this beauty for us to enjoy. It is incredible.”
One of our favorite parts of the trip was simply slowing down and enjoying the drive. Around every curve was another incredible view, with layers of mountains stretching endlessly into the distance.
Whether we were stopping for photos, admiring the changing landscape, or simply enjoying the peaceful drive, the Parkway became an experience all its own.

It’s not just a road—it’s a destination. The slower pace encourages you to take your time, soak in the scenery, and appreciate the natural beauty that makes this region of North Carolina so special.

If you’re visiting Beech Mountain, Banner Elk, or Blowing Rock, make sure to set aside time for a drive along the Blue Ridge Parkway. Some of our favorite memories from the trip happened between destinations, simply taking in the views along one of the most scenic drives in America.
Standing on the ridgeline and taking in the endless layers of mountains is one of those moments that reminds you just how beautiful God’s creation truly is.
Why We Love This Area
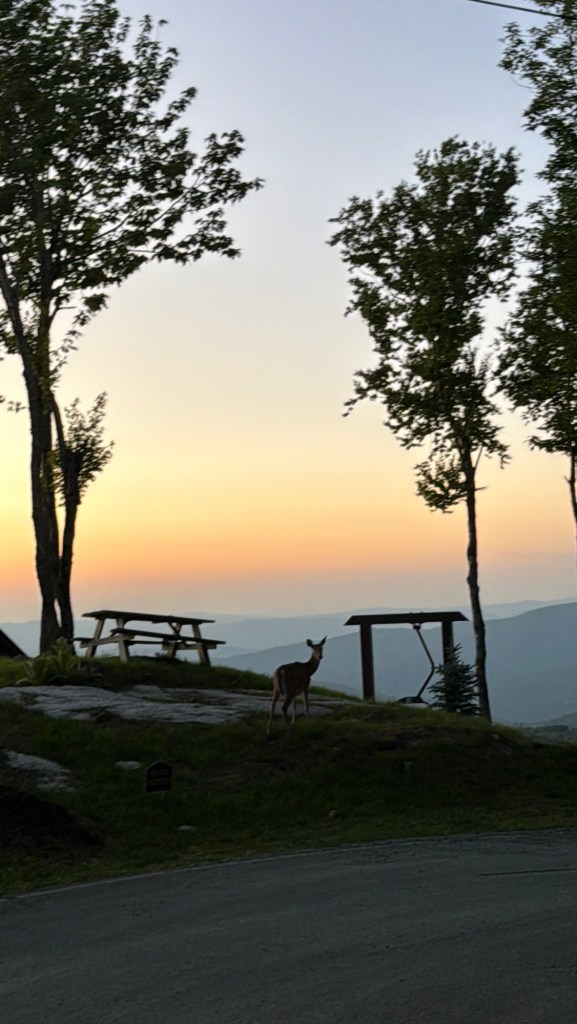
What makes Beech Mountain, Banner Elk, and Blowing Rock so special isn’t just the attractions—it’s the feeling you get while you’re there.
Life slows down. Conversations last longer. Sunsets seem a little more beautiful. The mountain air feels so refreshing, and every winding road seems to lead to another unforgettable view or wildlife. I found peace in the mountains.
Whether you’re looking for outdoor adventure, family activities, shopping, incredible dining, or simply a place to relax and recharge, this corner of North Carolina offers it all.
Our stay at White Wolf Lodge provided the perfect home base for experiencing everything the High Country has to offer, and we’re already looking forward to our next visit.
Until then, we’ll be holding onto the memories, the mountain views, and all the special moments that made this trip one to remember.
✨Special thanks to the Watren Family, Mike & Trish Moore, White Wolf Lodge and Holy Smokes Barbecue.✨


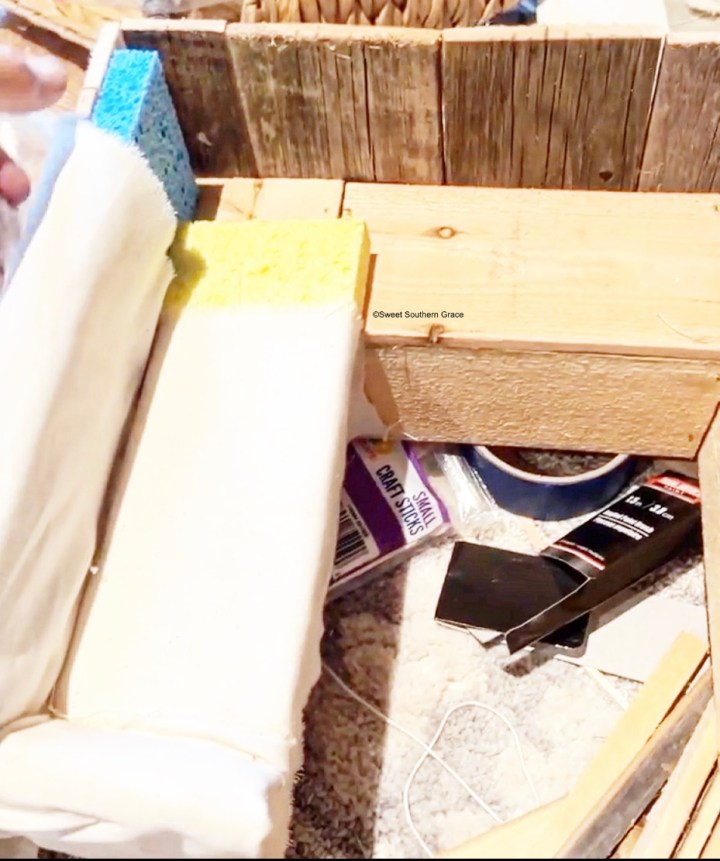
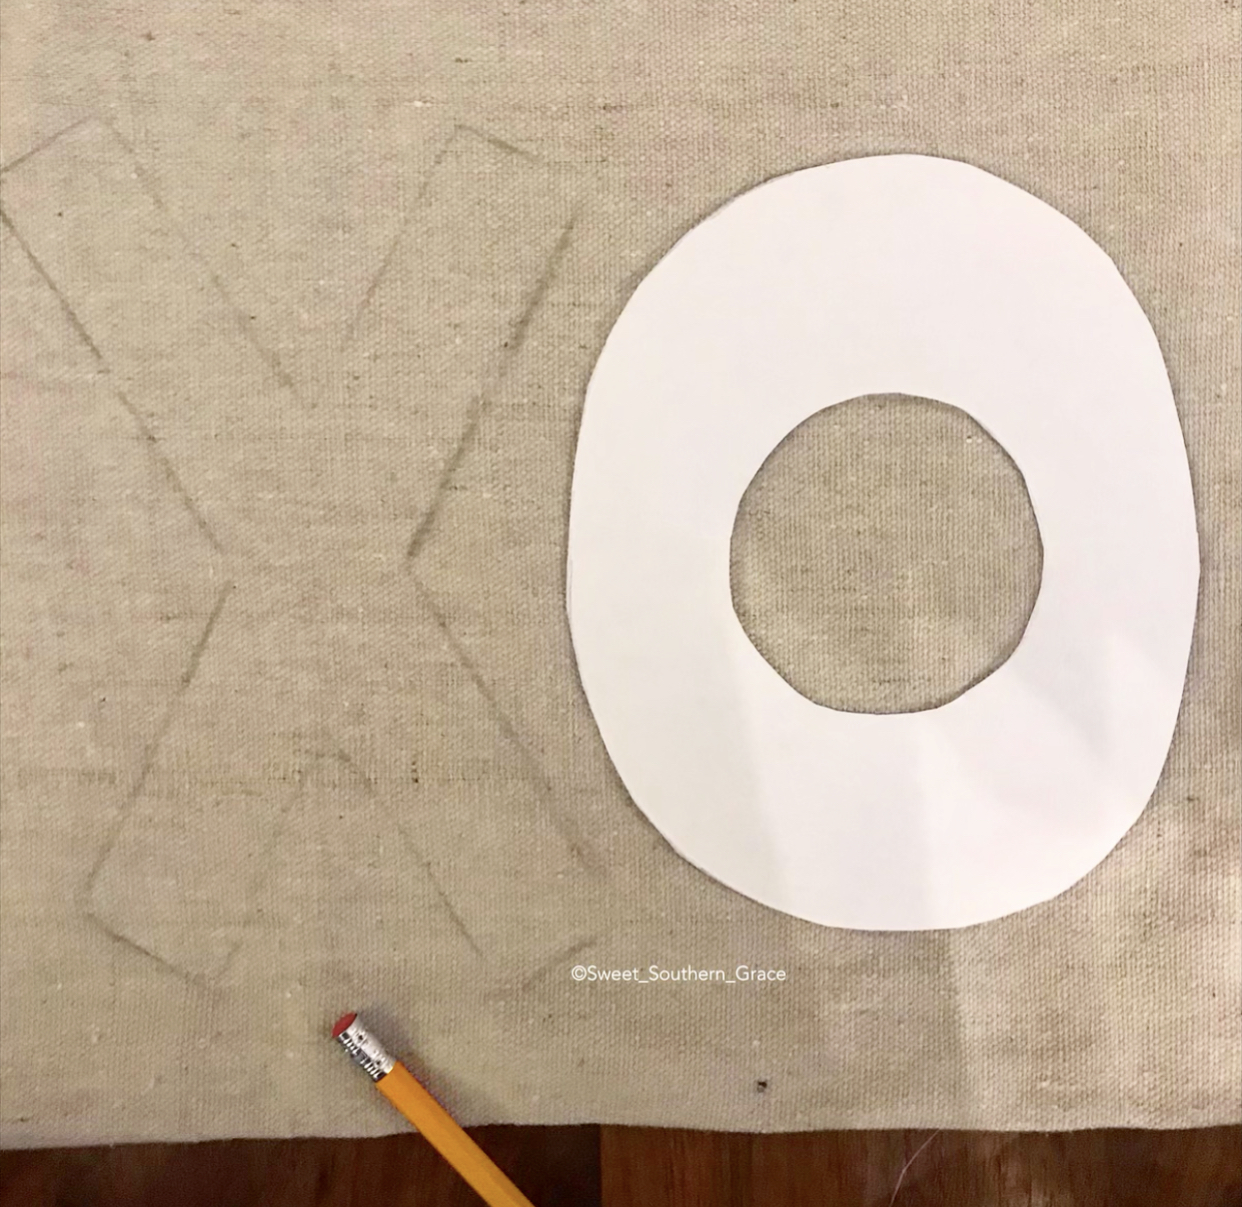
 Step 1-Draw Up Plans


 Today is our monthly blog hop, challenging us to find an item from a thrift shop, estate sale, garage sale, rummage sale, yard sale, antique shop, Craigslist or FB Marketplace. Hosted by Tara from
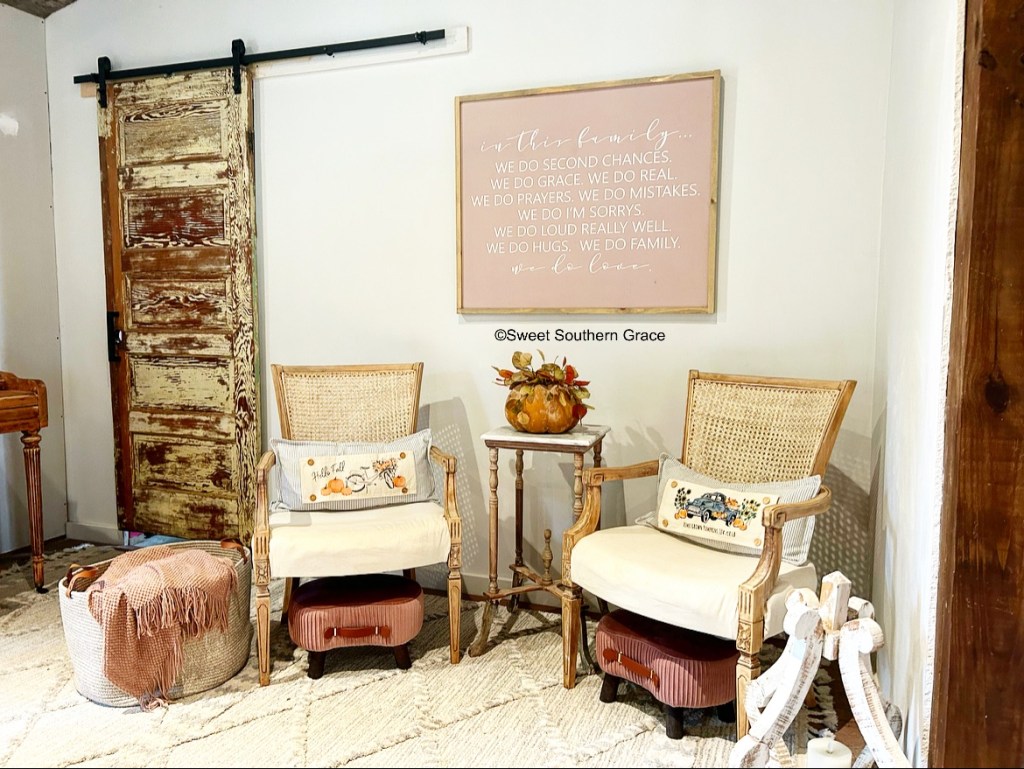
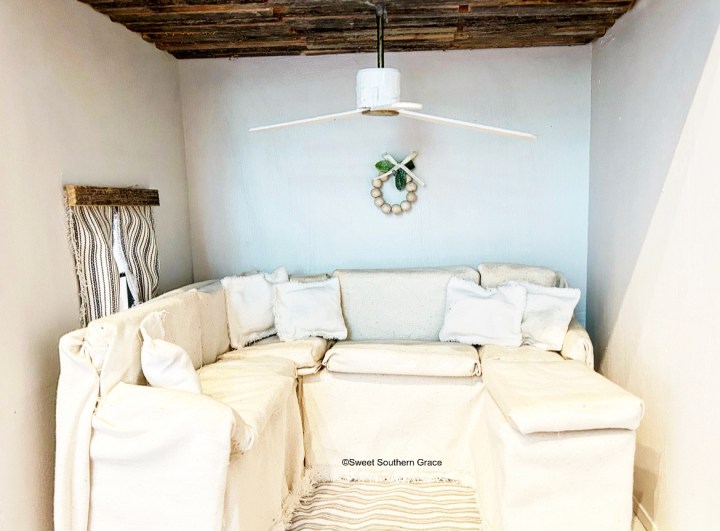
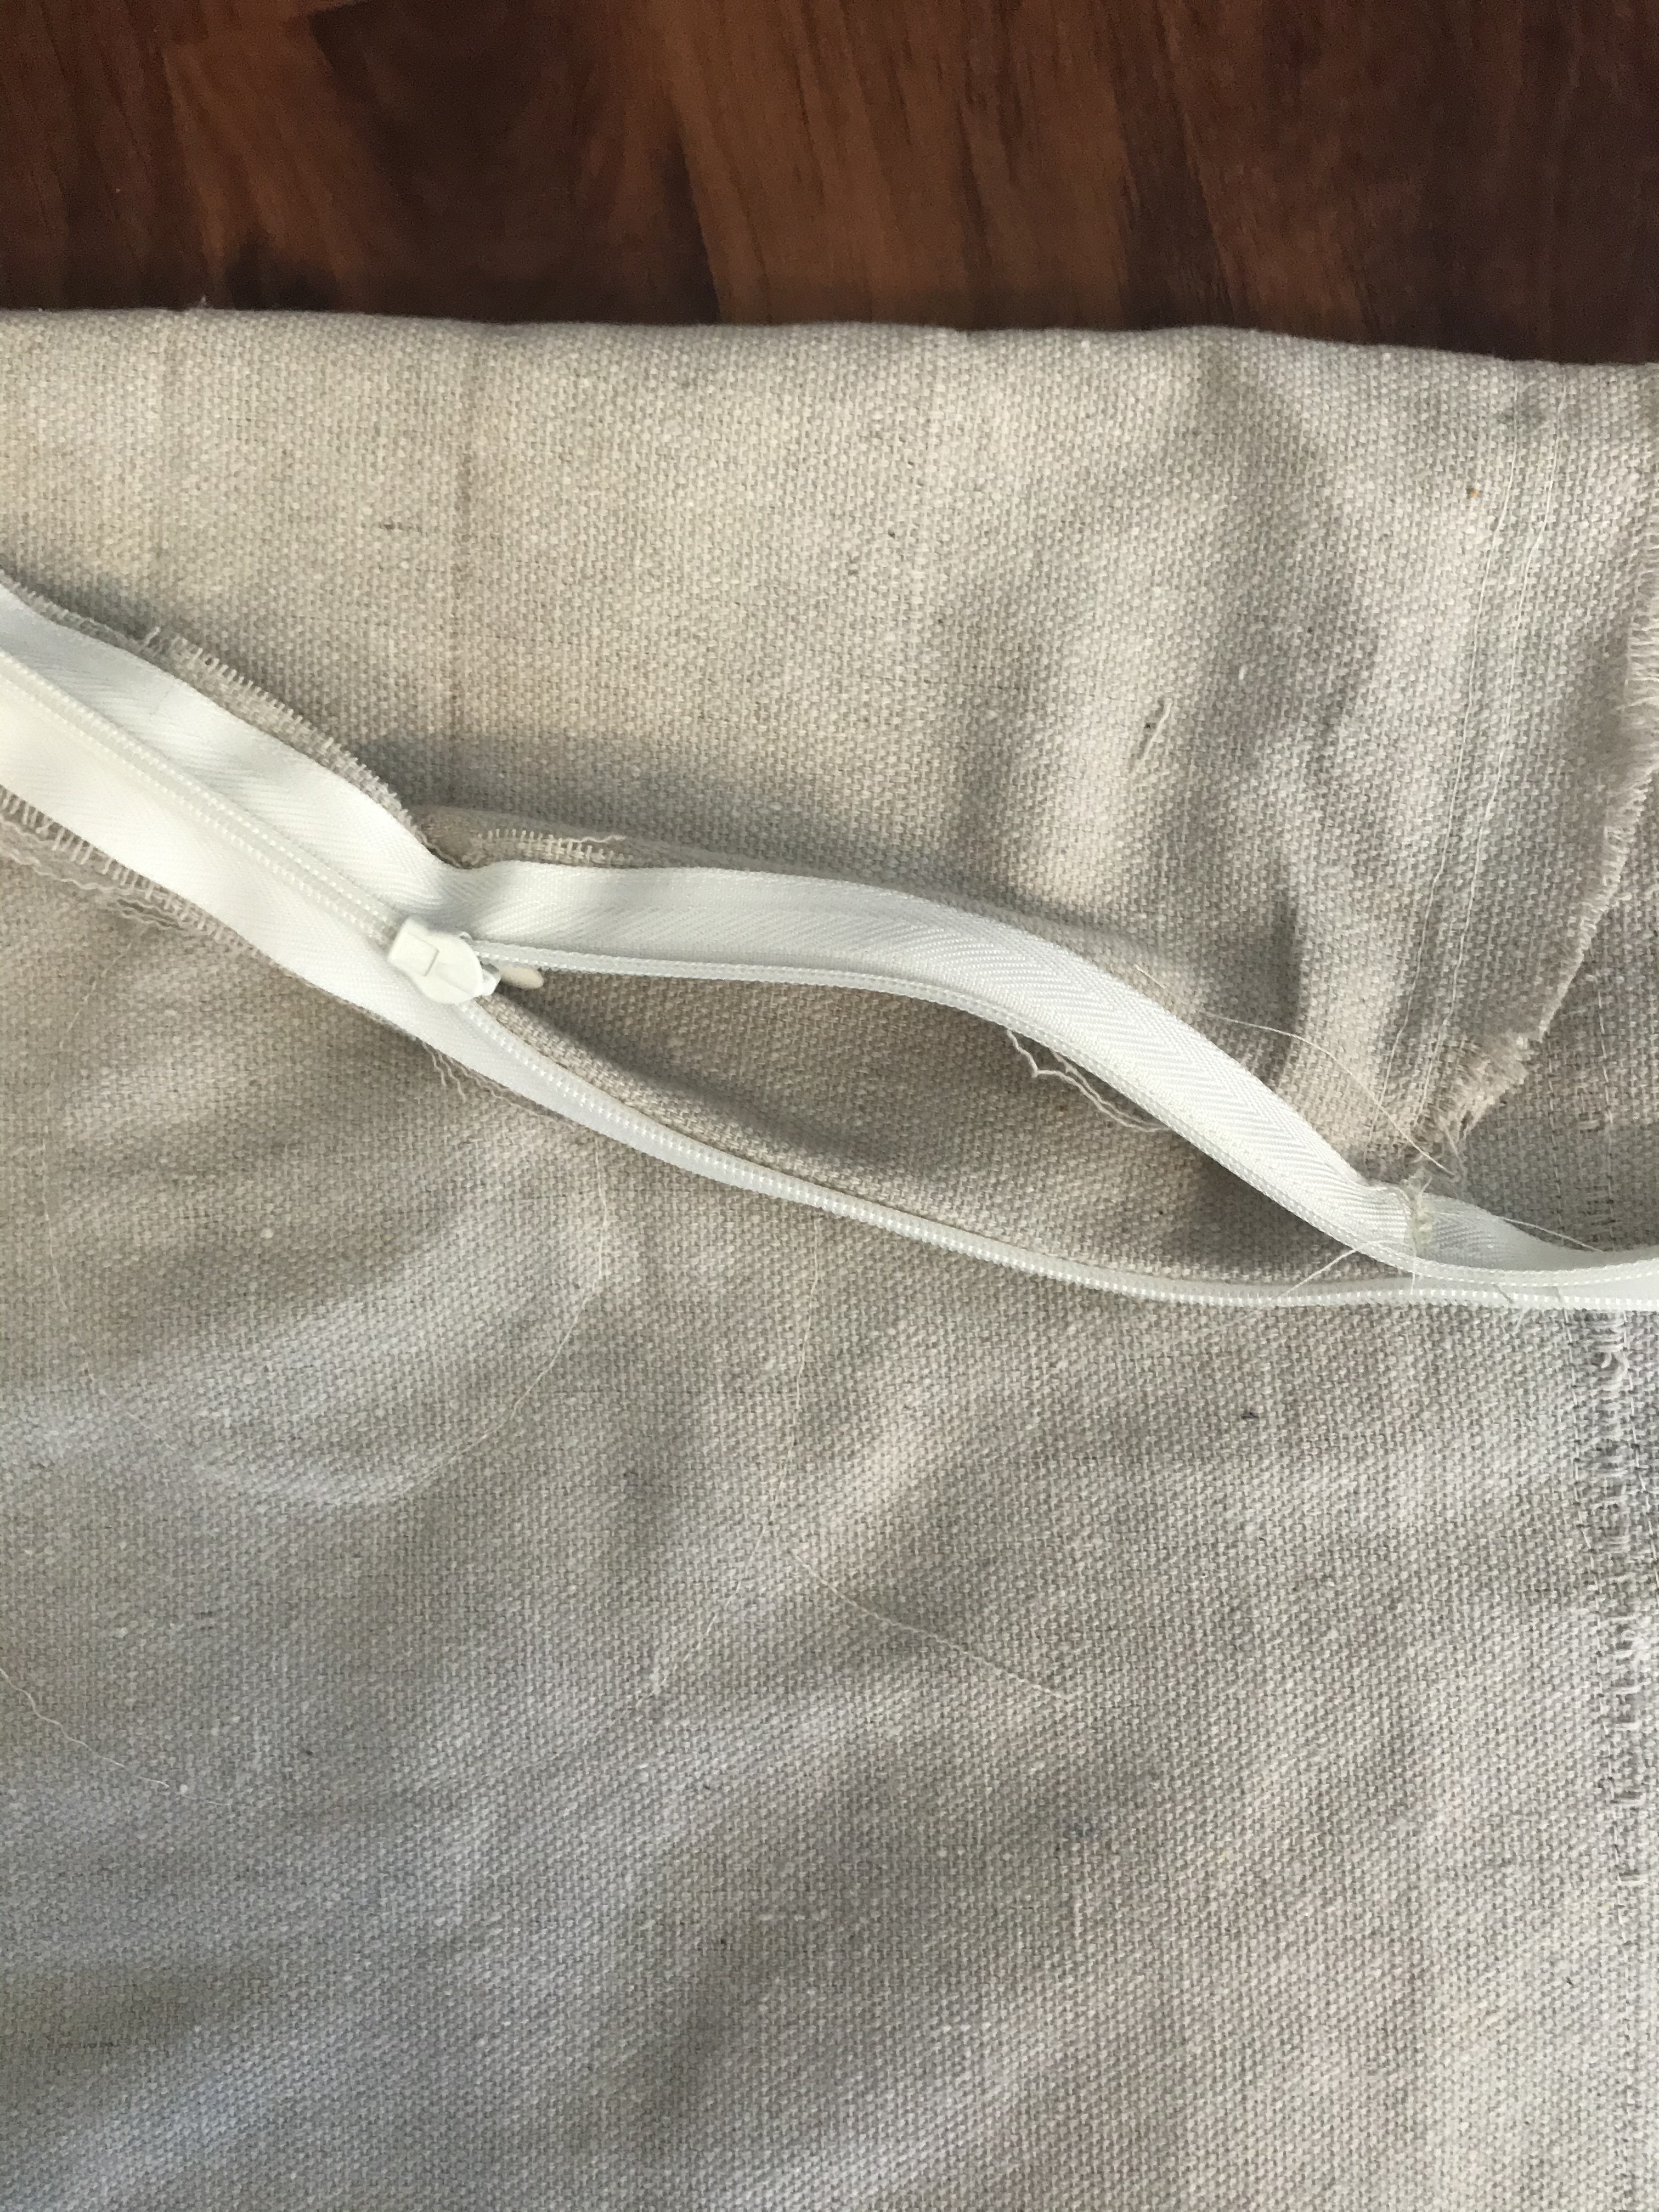
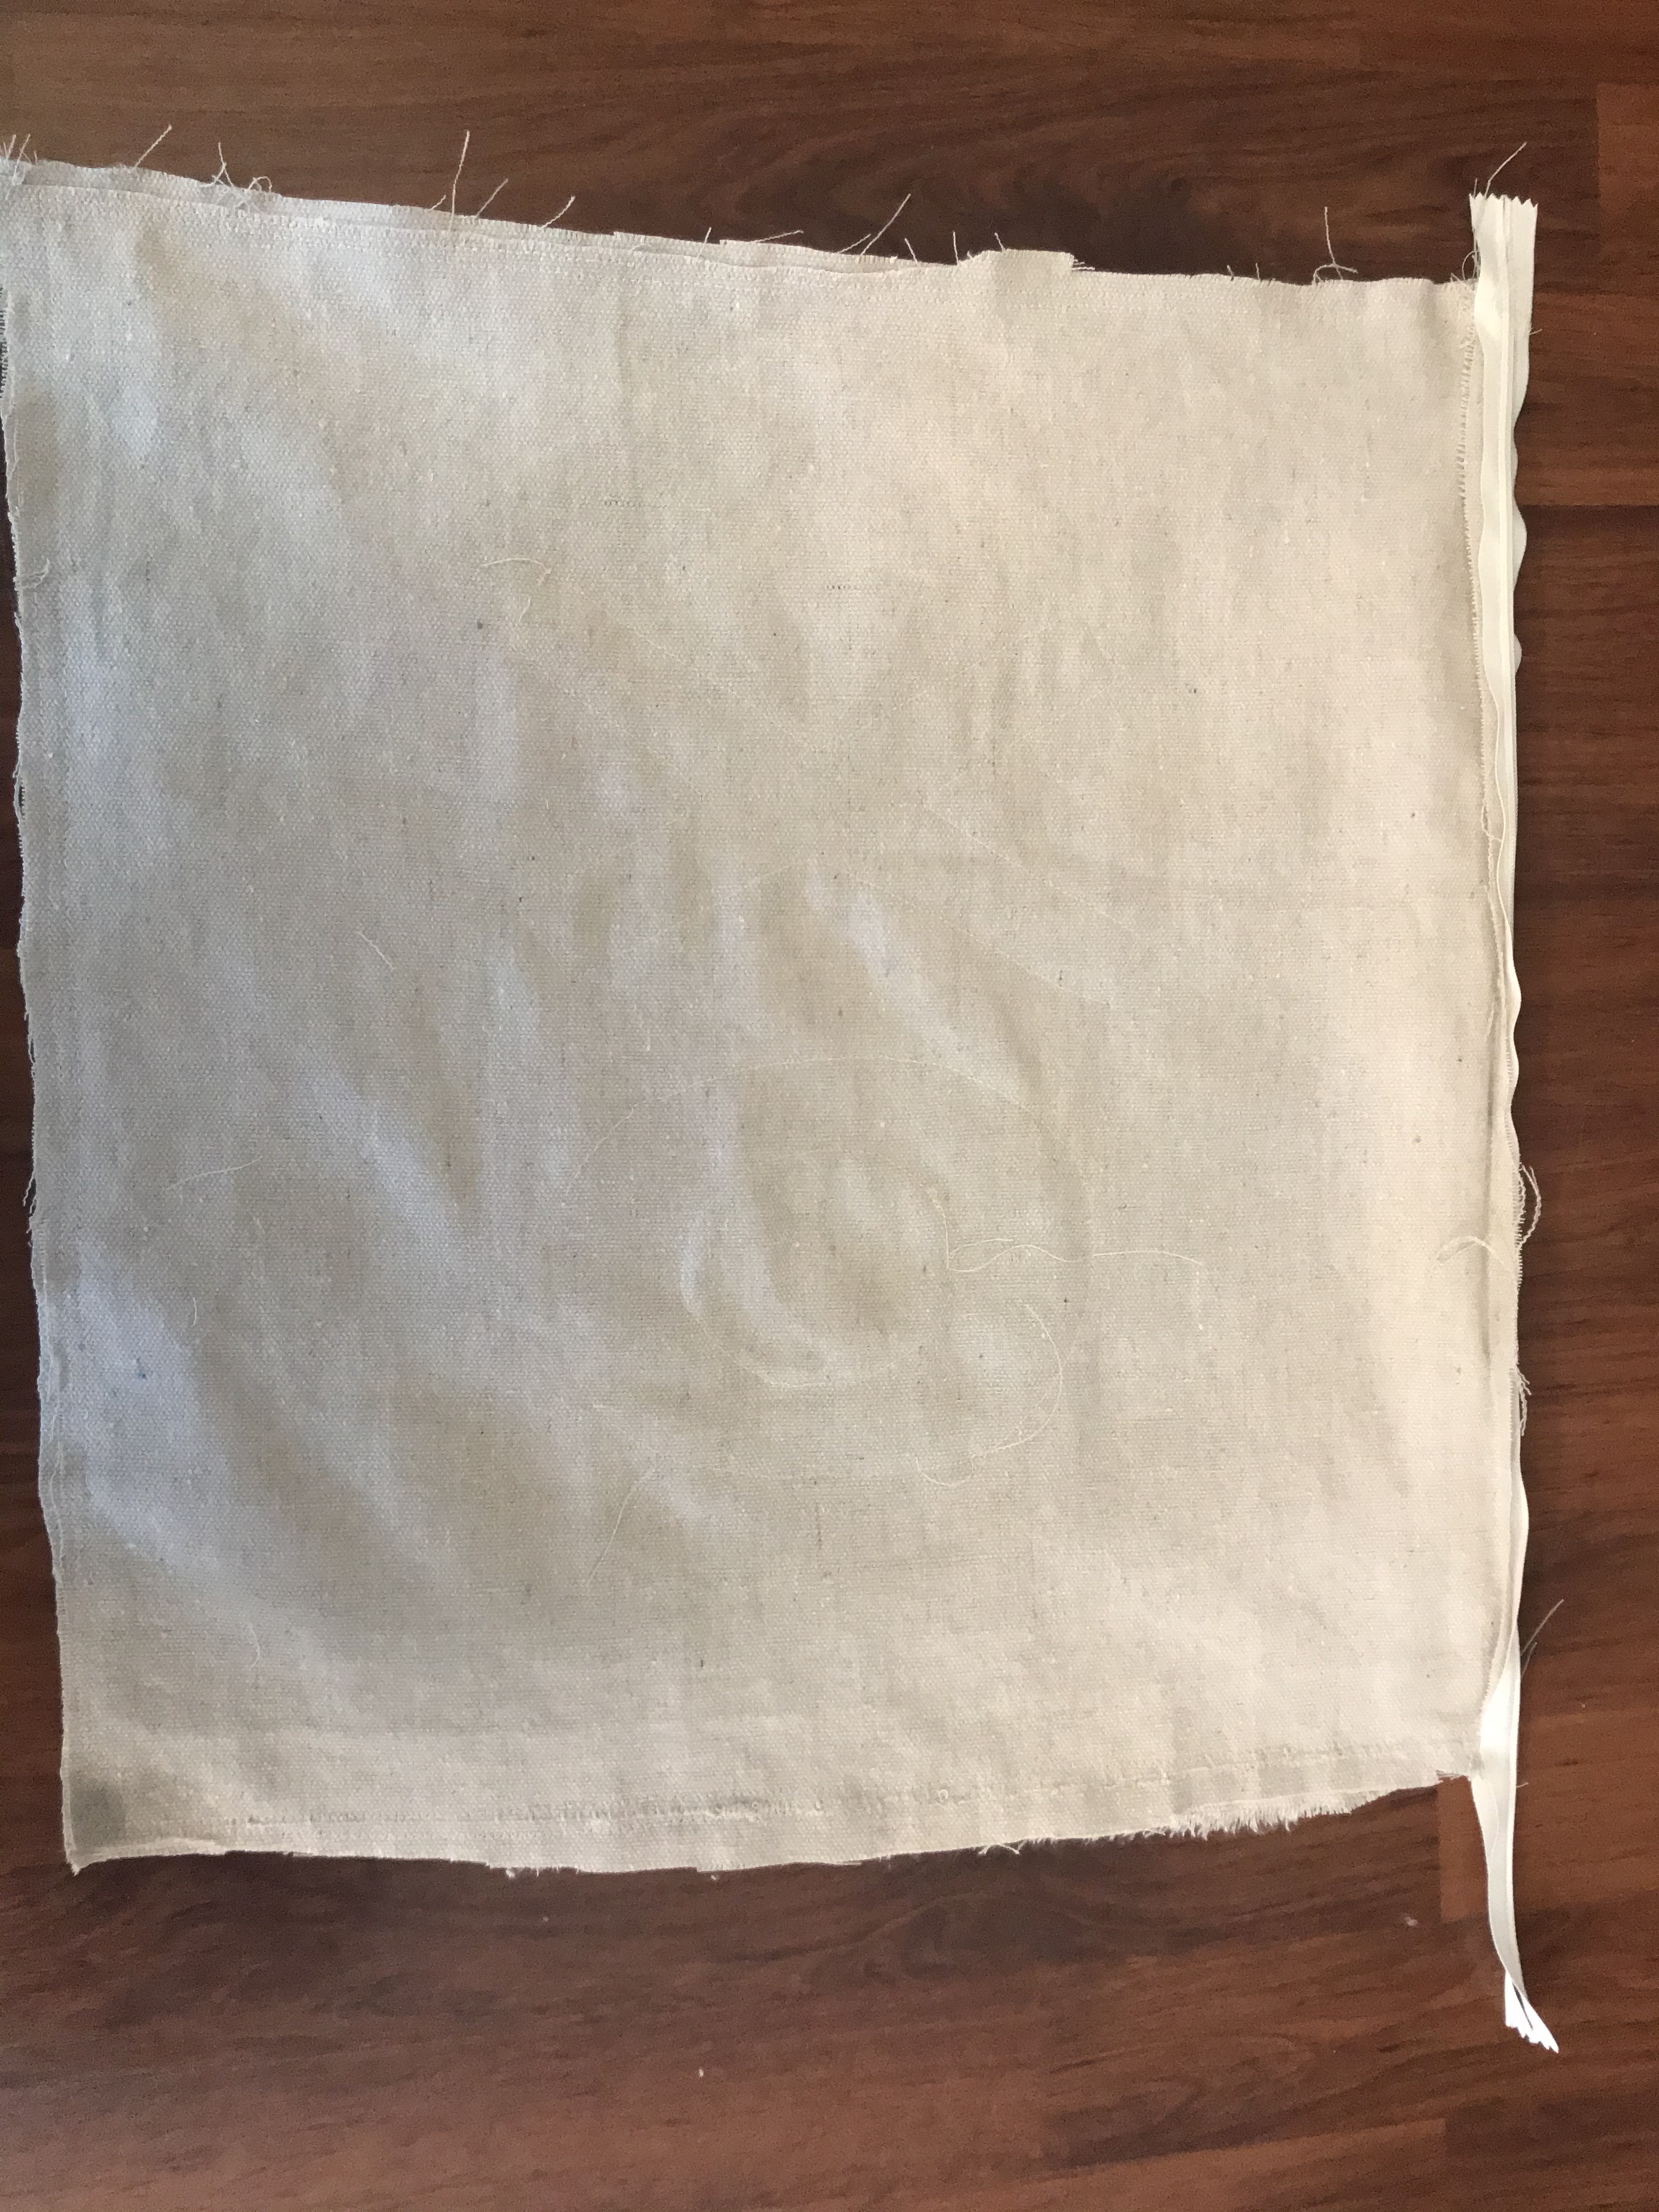
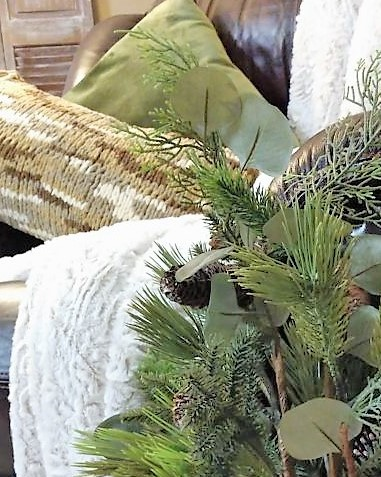
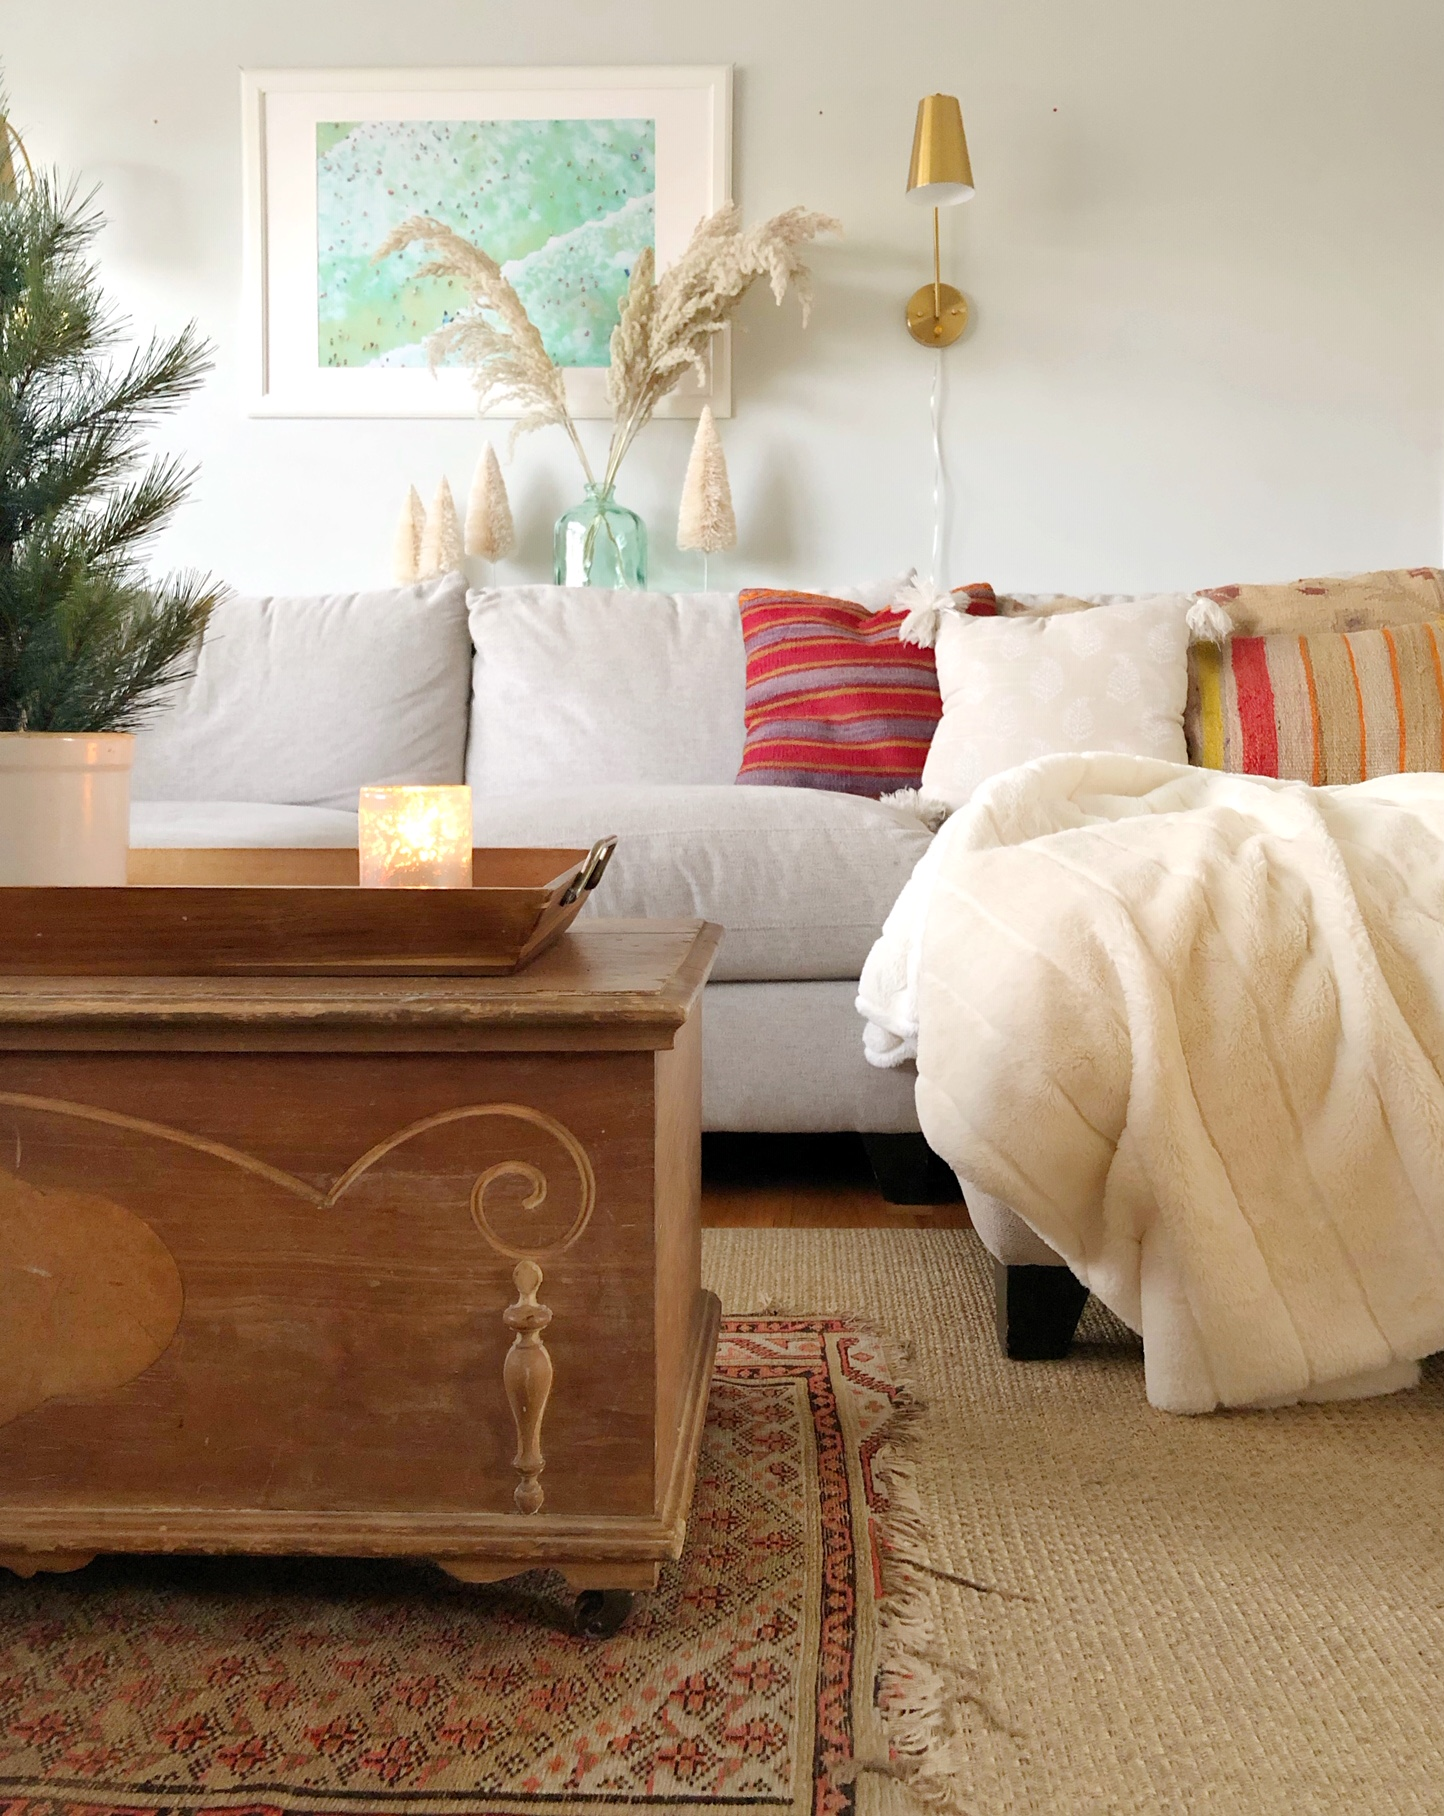
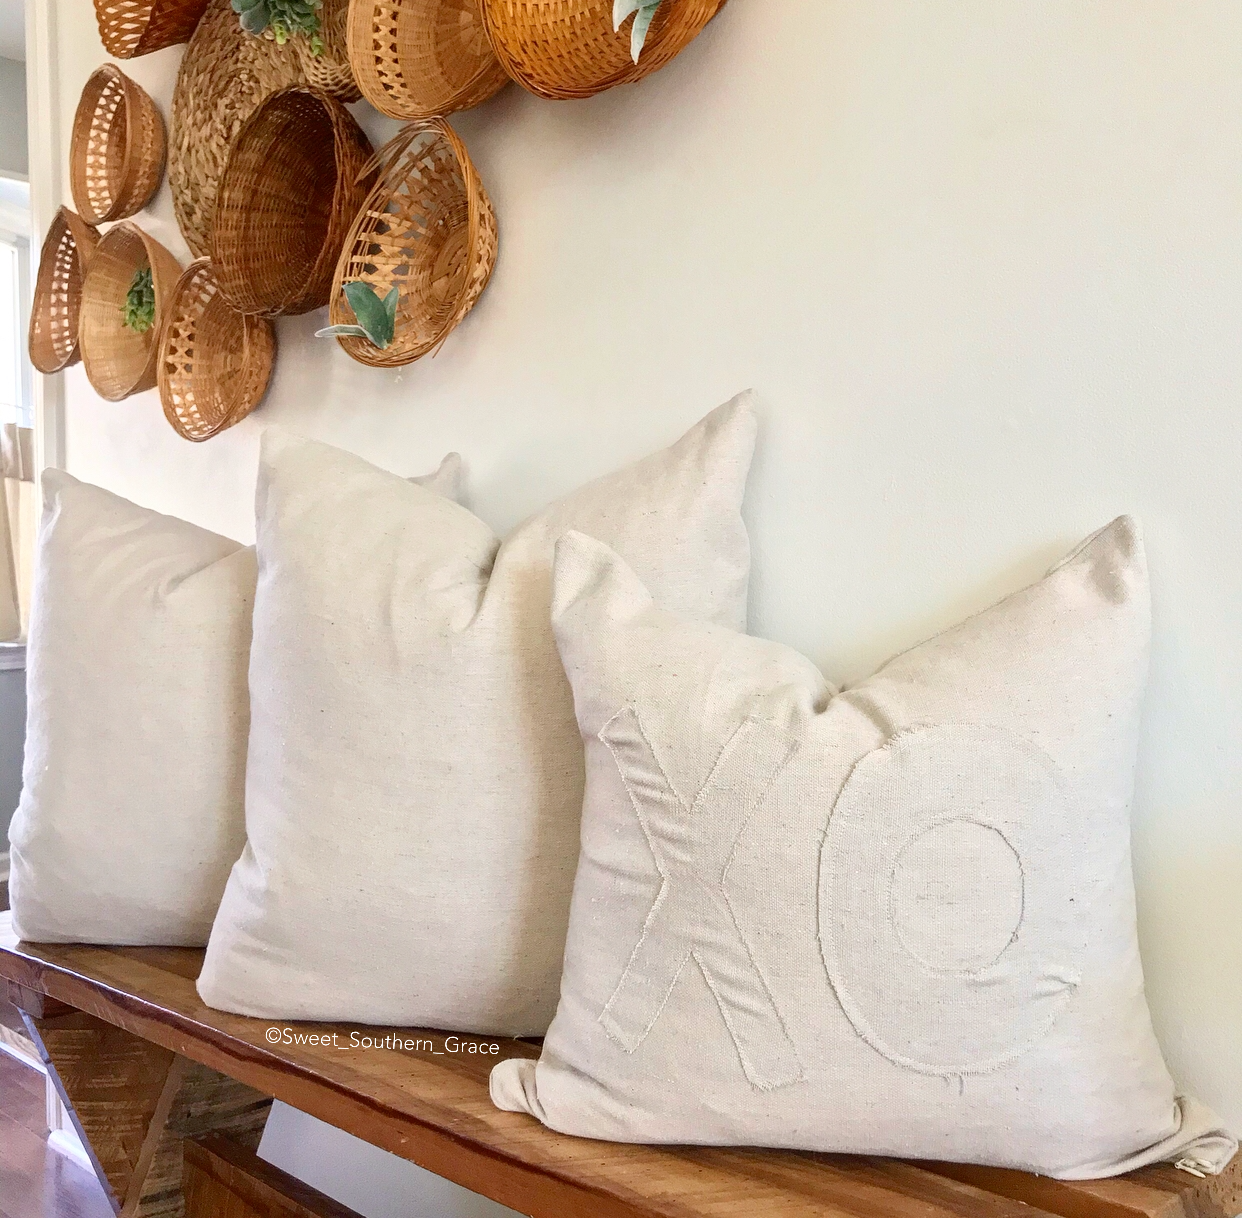 A couple of months ago, I decided to make new pillows for our sectional sofa. The pillows that came with the couch were just not really my style. I definitely needed something more neutral. I immediately knew that canvas painter’s drop cloths would be the fabric that would be super affordable and durable with a large family! I already had a drop cloth on hand from Lowes that was around $12 from that project, so I decided to use it for this project. When I made the new pillows for the couch, I knew I could always accent those pillows with a few seasonal pillows.


You must be logged in to post a comment.