During the summer of 2020, my husband and I decided that we would place our house up for sale and move to the beach! The housing market was booming for homeowners and we decided it would be the best time to sell!

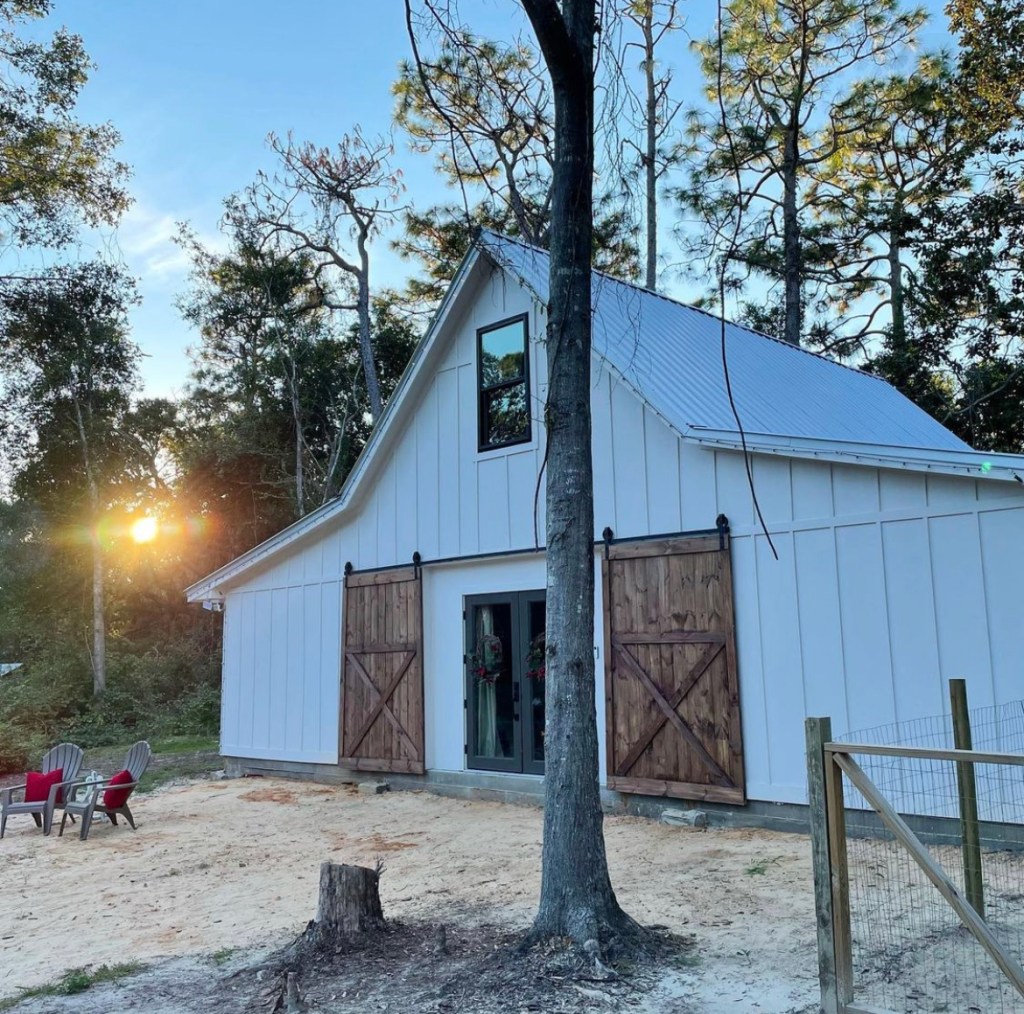
Our home sold within the first week of having it listed and thus began our plan of homeownership via paying cash! We settled on building a pole barn that we would live in temporarily while we built our forever home! The pole barn quickly became our barndominium! We chose to build our barndominium at the size of 30×40!
Researching is Key
Researching is key if you are thinking about undertaking a large project like building your own barndominium. This project has consumed us for months, but it has allowed us to build almost everything ourselves and it has been so worth it! When we would shop for estimates, we shopped until we found a price we liked!
The photo below is the backside of our property and where our barndominium currently sets.

Finding Land
The very first item on our agenda was the land! We knew a quaint little beach town that we wanted to grow old in and began driving around looking at property in July of 2020.
The photo below is the beach across the street from our property!

We began looking up owners of properties in the town from the plot map, to begin writing them, asking them if we could purchase their land. We had found a couple pieces of property, when my Father-In-Law reached out to us, who happened to live in the same quant beach town and asked us if we would like his property. We were shocked and so happy! Thus began our dreams of building a Pole Barn with an attatched Guest Suite.
In this photo, my husband had begun clearing our land. This is about two days into it!

Clearing the Land
Next on the agenda was assessing the property. The property was not in the best shape. In fact, you could hardly see it with all of the overgrown trees.
This is the very first picture that I took of our property. This is the front side of our property.

There was also a older mobile home, a storage building plus seven junk cars that had been setting on the property for years, along with a boat plus a good amount of trash to clean up.
Below in this photo, my husband was removing the last of the junk cars!!! This was car number seven!

We knew we needed to rent a tractor to clear the land and make a driveway. I also wanted to learn how to operate a tractor! I actually wanted to learn about anything that my husband was willing to teach me during this process!

Neither my husband or I had never used a tractor up until this point, but we learned! I think we enjoyed it too!

It was a lot of sweat equity work with taking out trees, pulling them down and across the road and watching my husband drop trees that stood seventy feet in the air!
My parents would always be calling, when they saw our stories on Instagram and say to be careful! We also have our own portable sawmill that we plan to mill our pine and oak trees that we saved for wood countertops for our home.
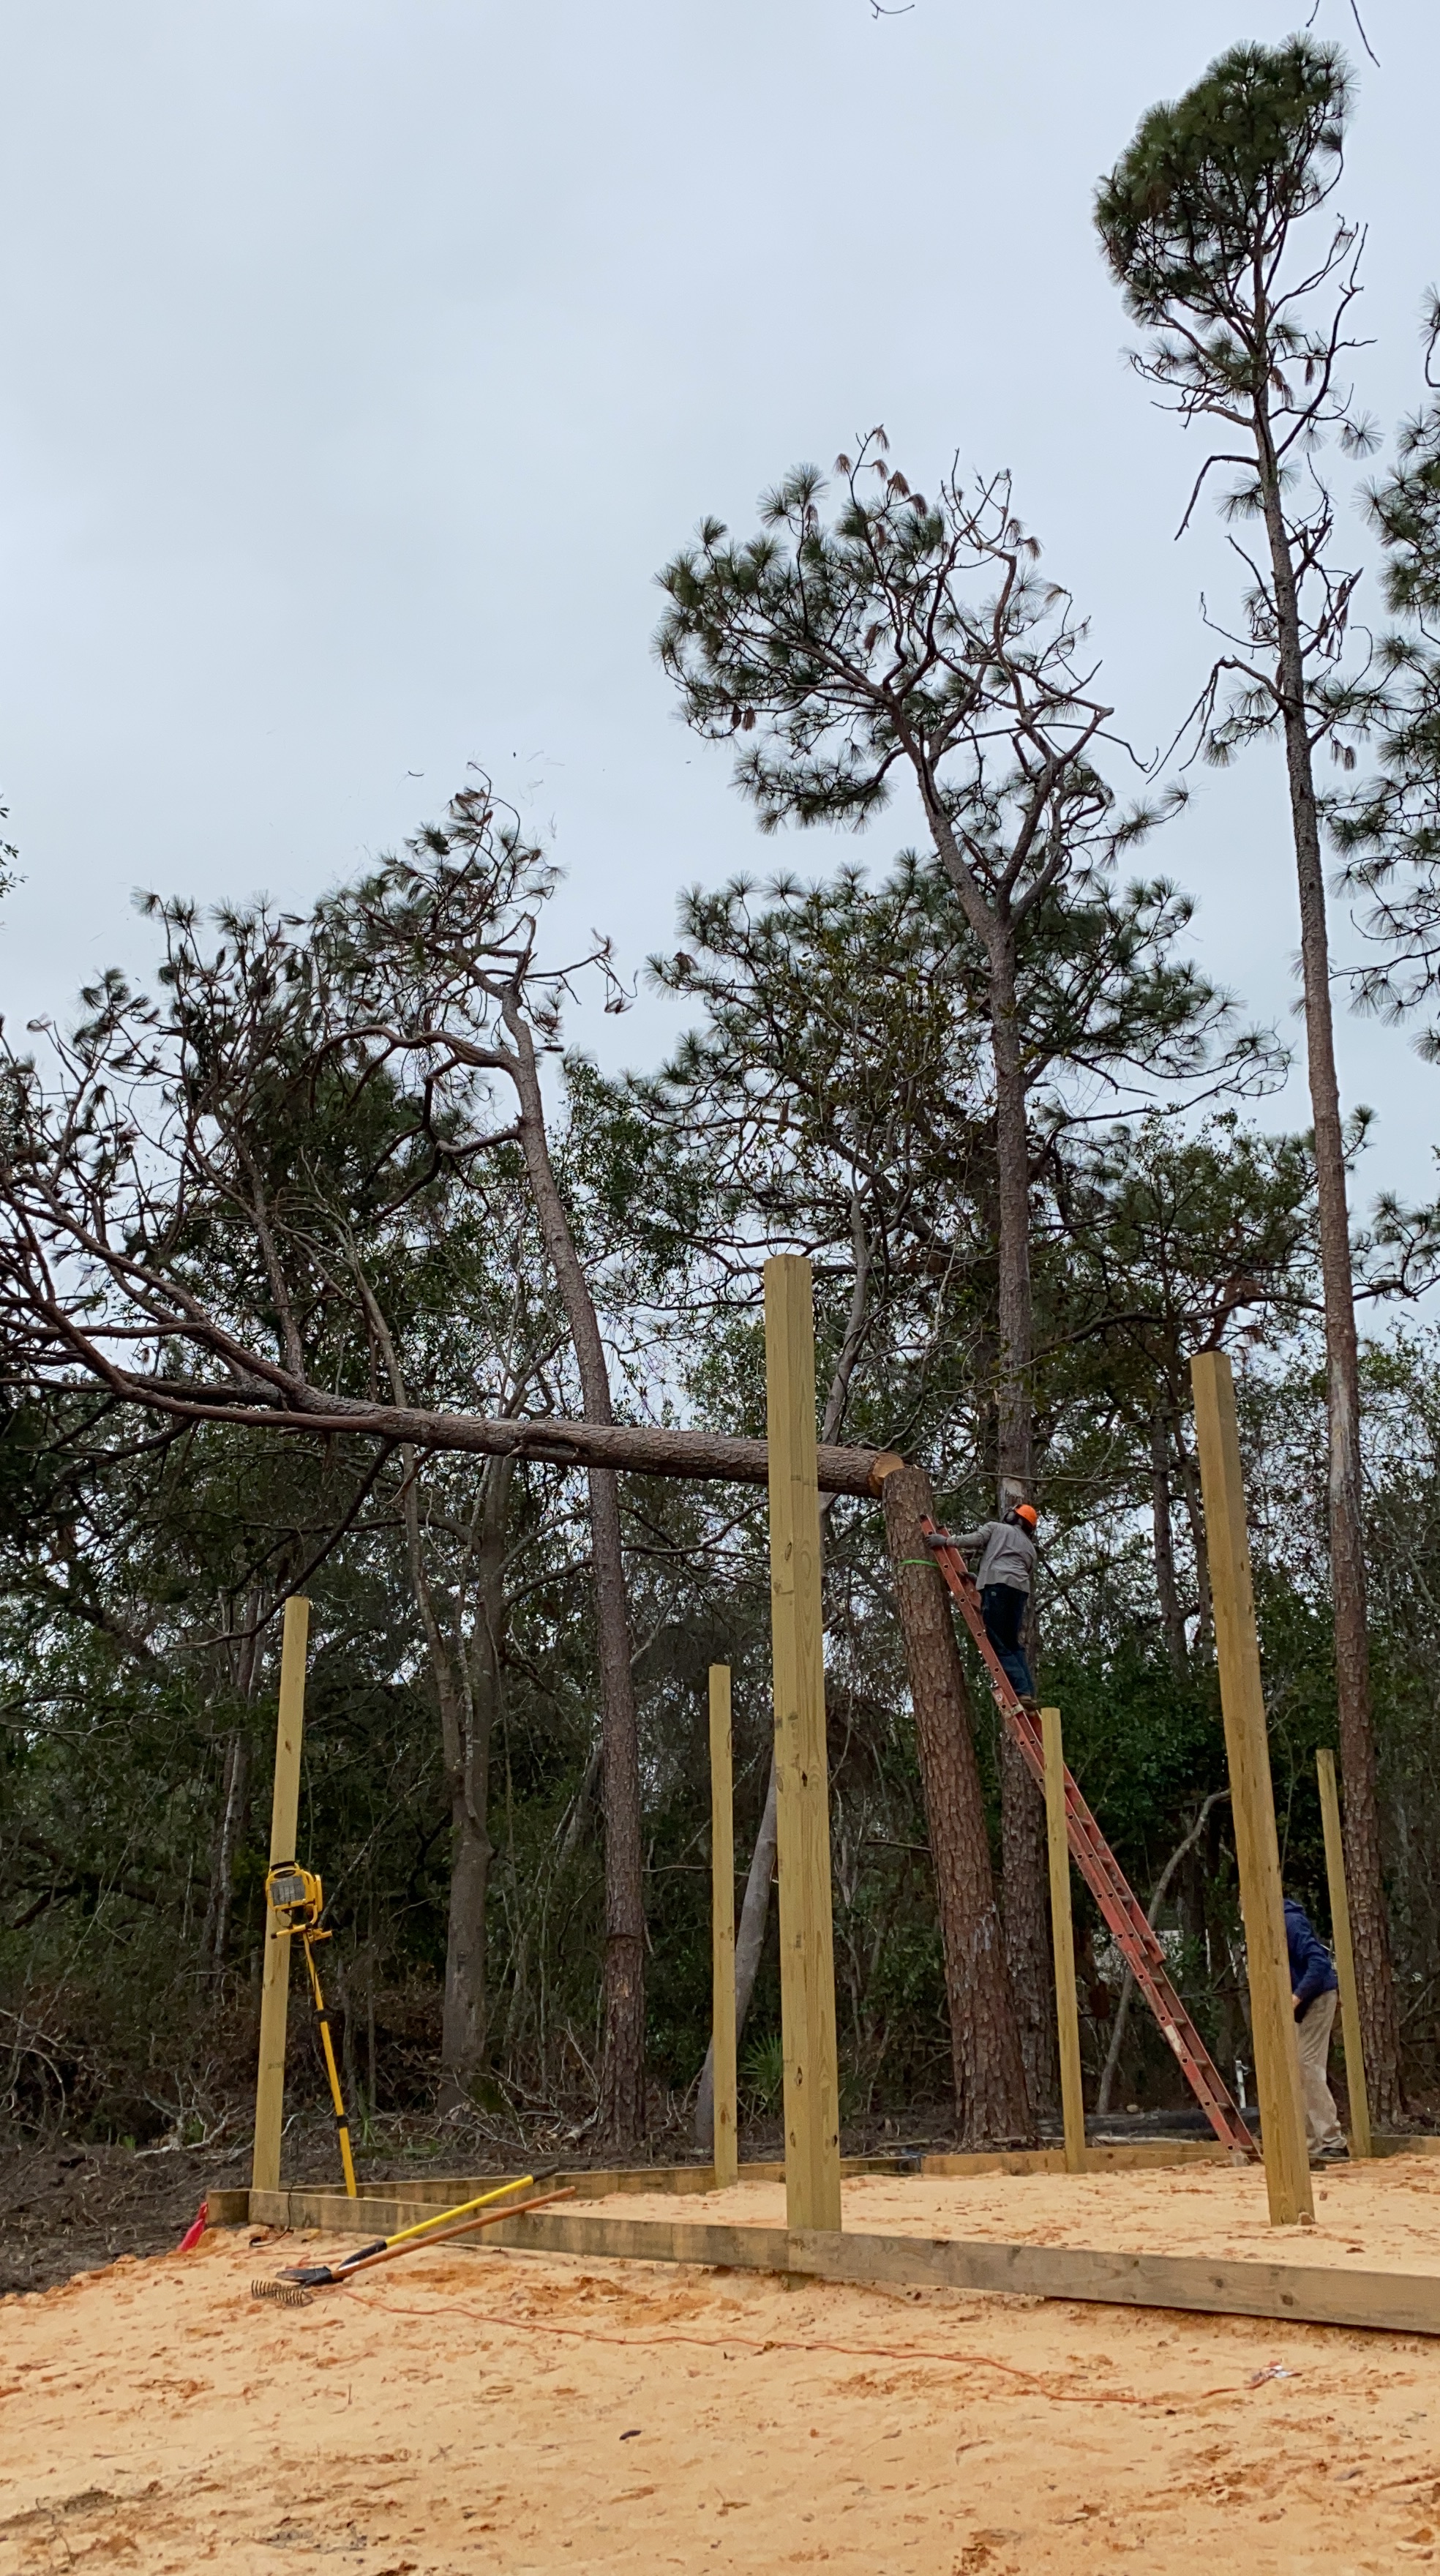
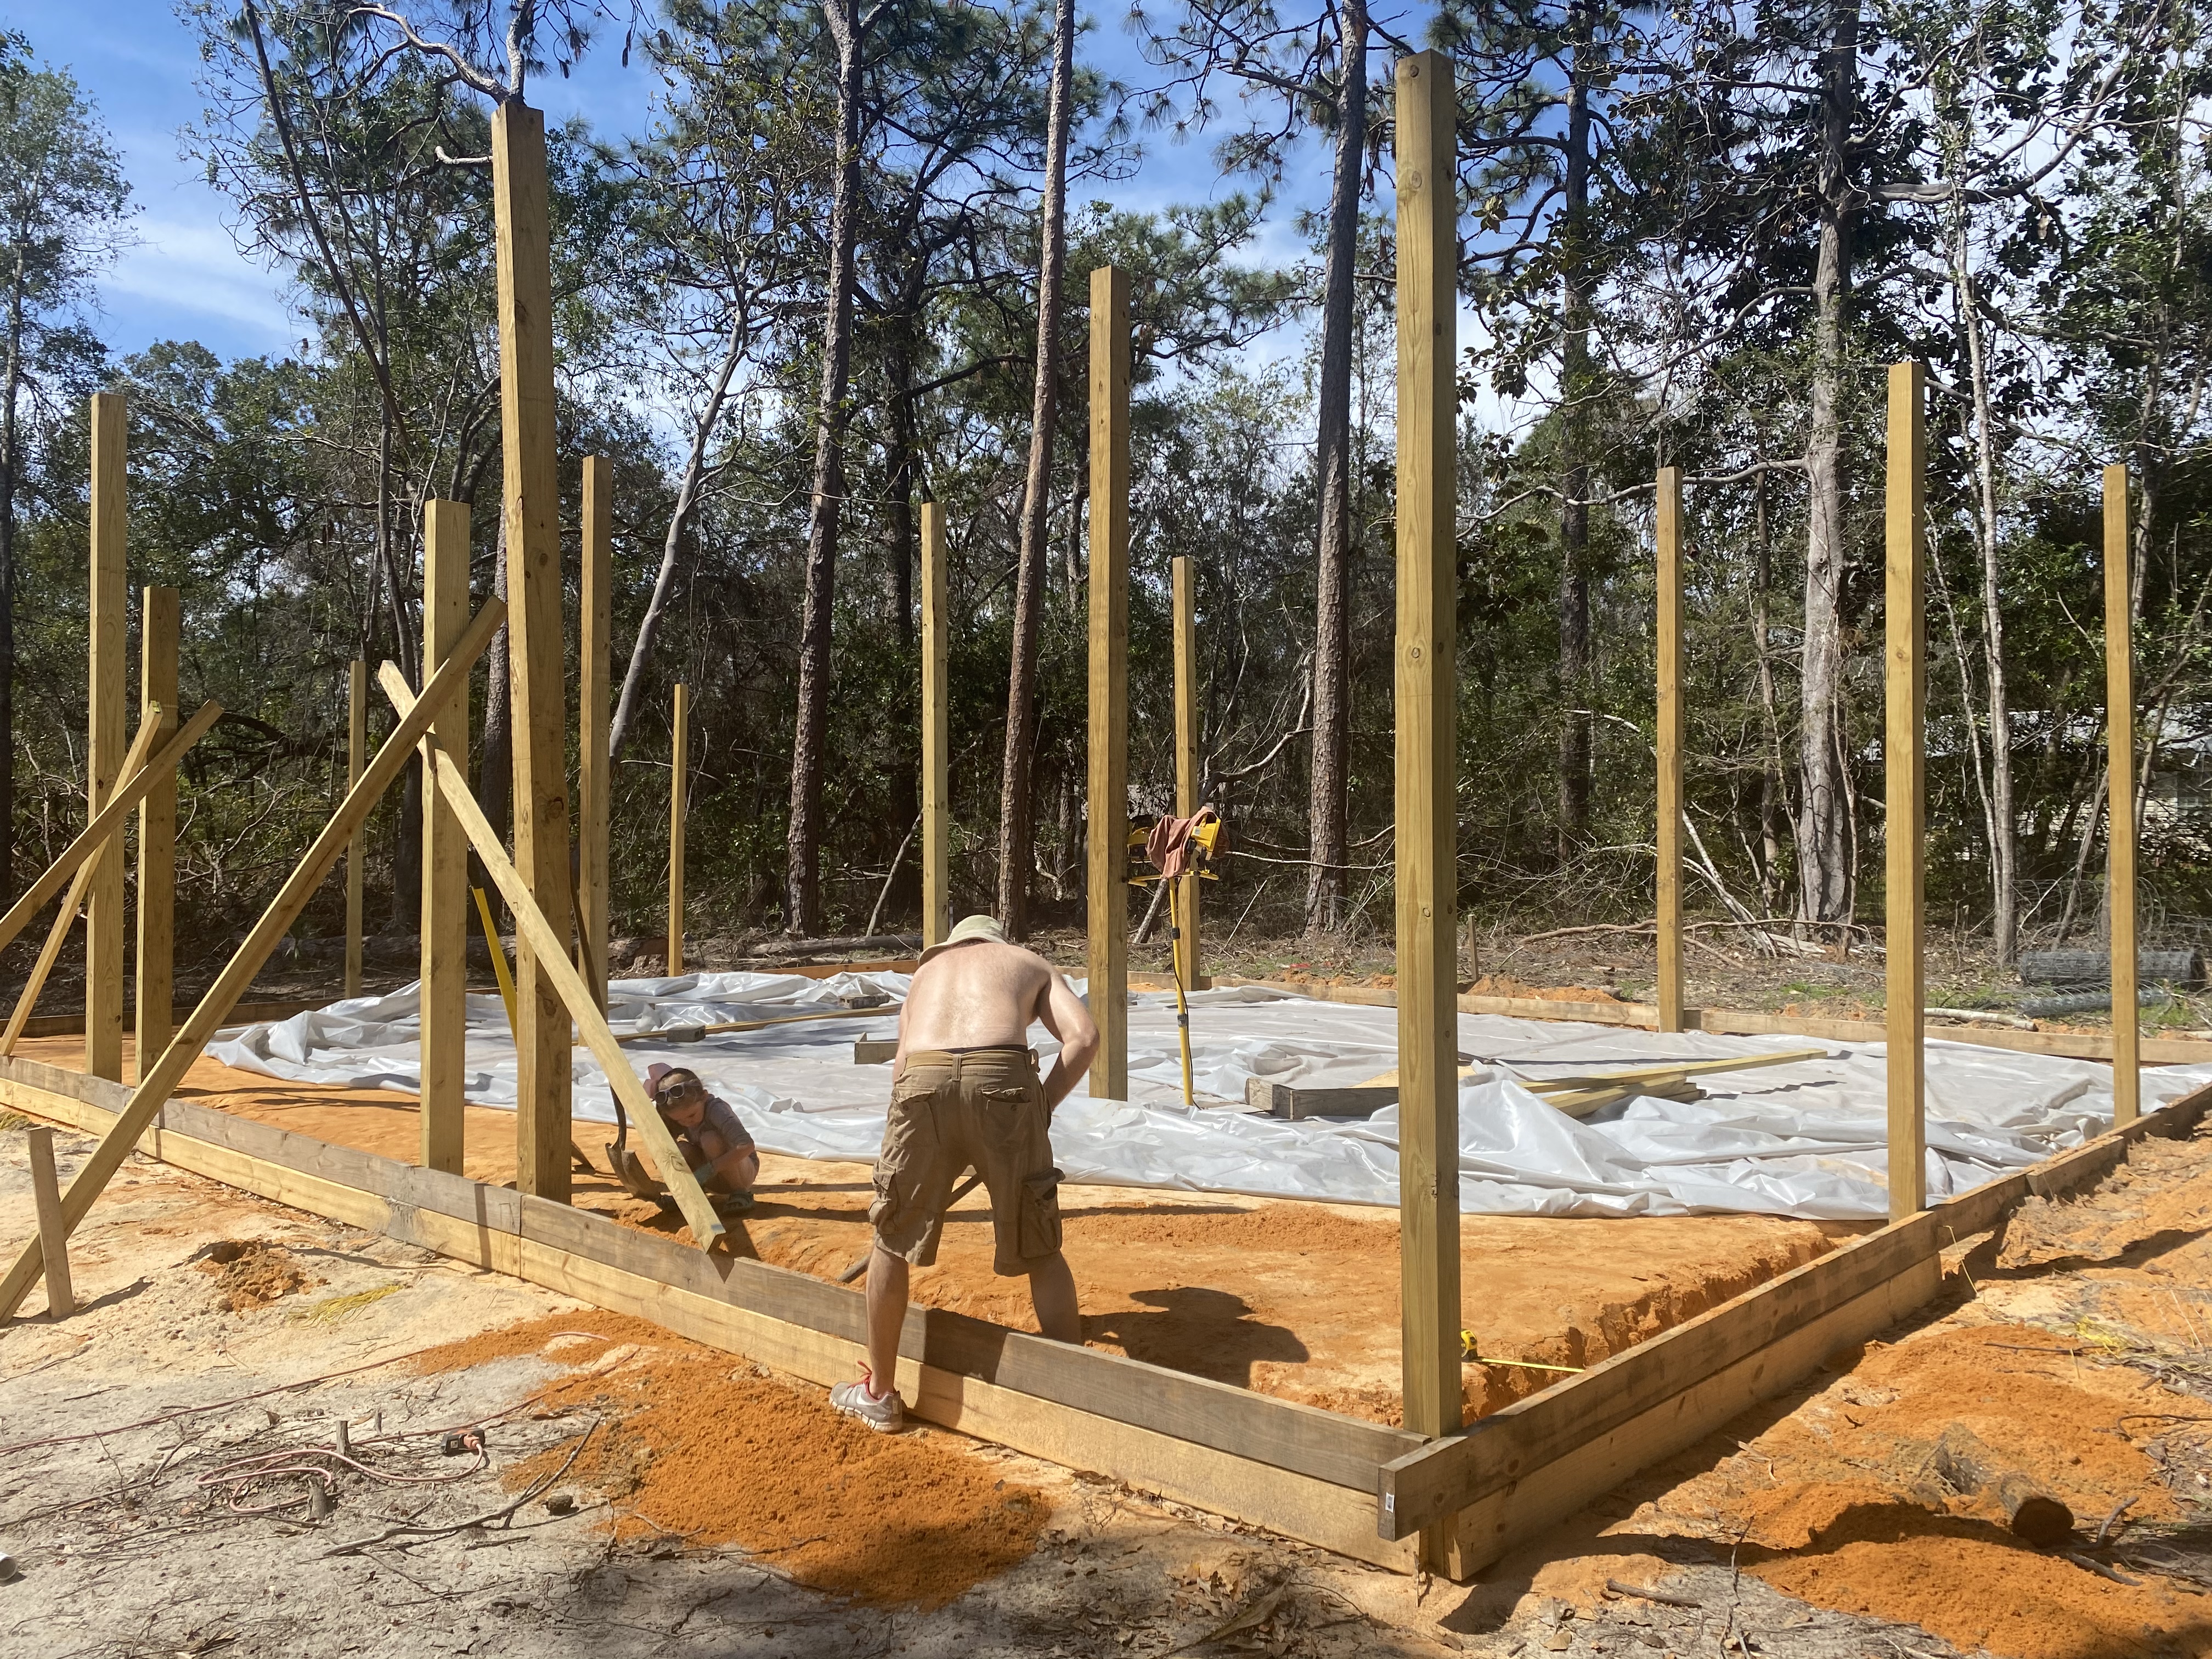
Setting the Posts and Adding Fill Dirt

The first step was setting the posts!


We also purchased two dumpsters of fill dirt from a local company. We rented another smaller tractor to help push the dirt out into the pole barn and help keep it evenly spread.
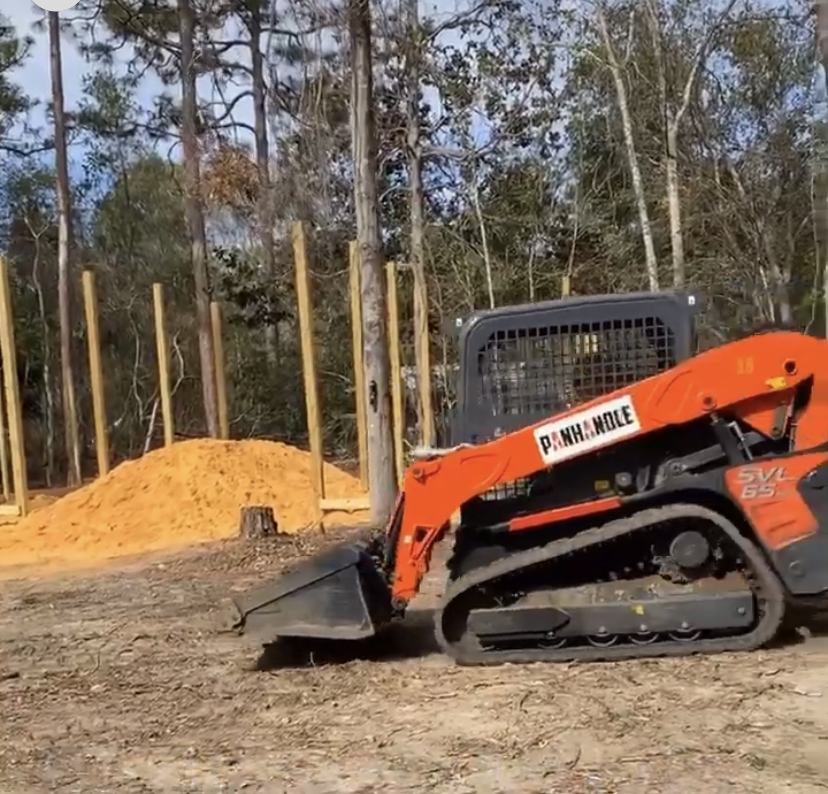
Leveling Out the Dirt and Adding Posts for Barn Doors
The next step was buying a laser to level out the dirt for the pole barn. We wanted to make sure we had the ground level!

We also rented a compactor to compact down the dirt. We also added two posts for the barn doors on the front!
Adding Footers and Rebarb
Next we added a layer of plastic and the footers and rebarb. We also attached concrete wire to the rebarb.


Concrete Pour for the Foundation
We did hire out this job because it was such a large job that we did not think we could handle the amount of work on our own.
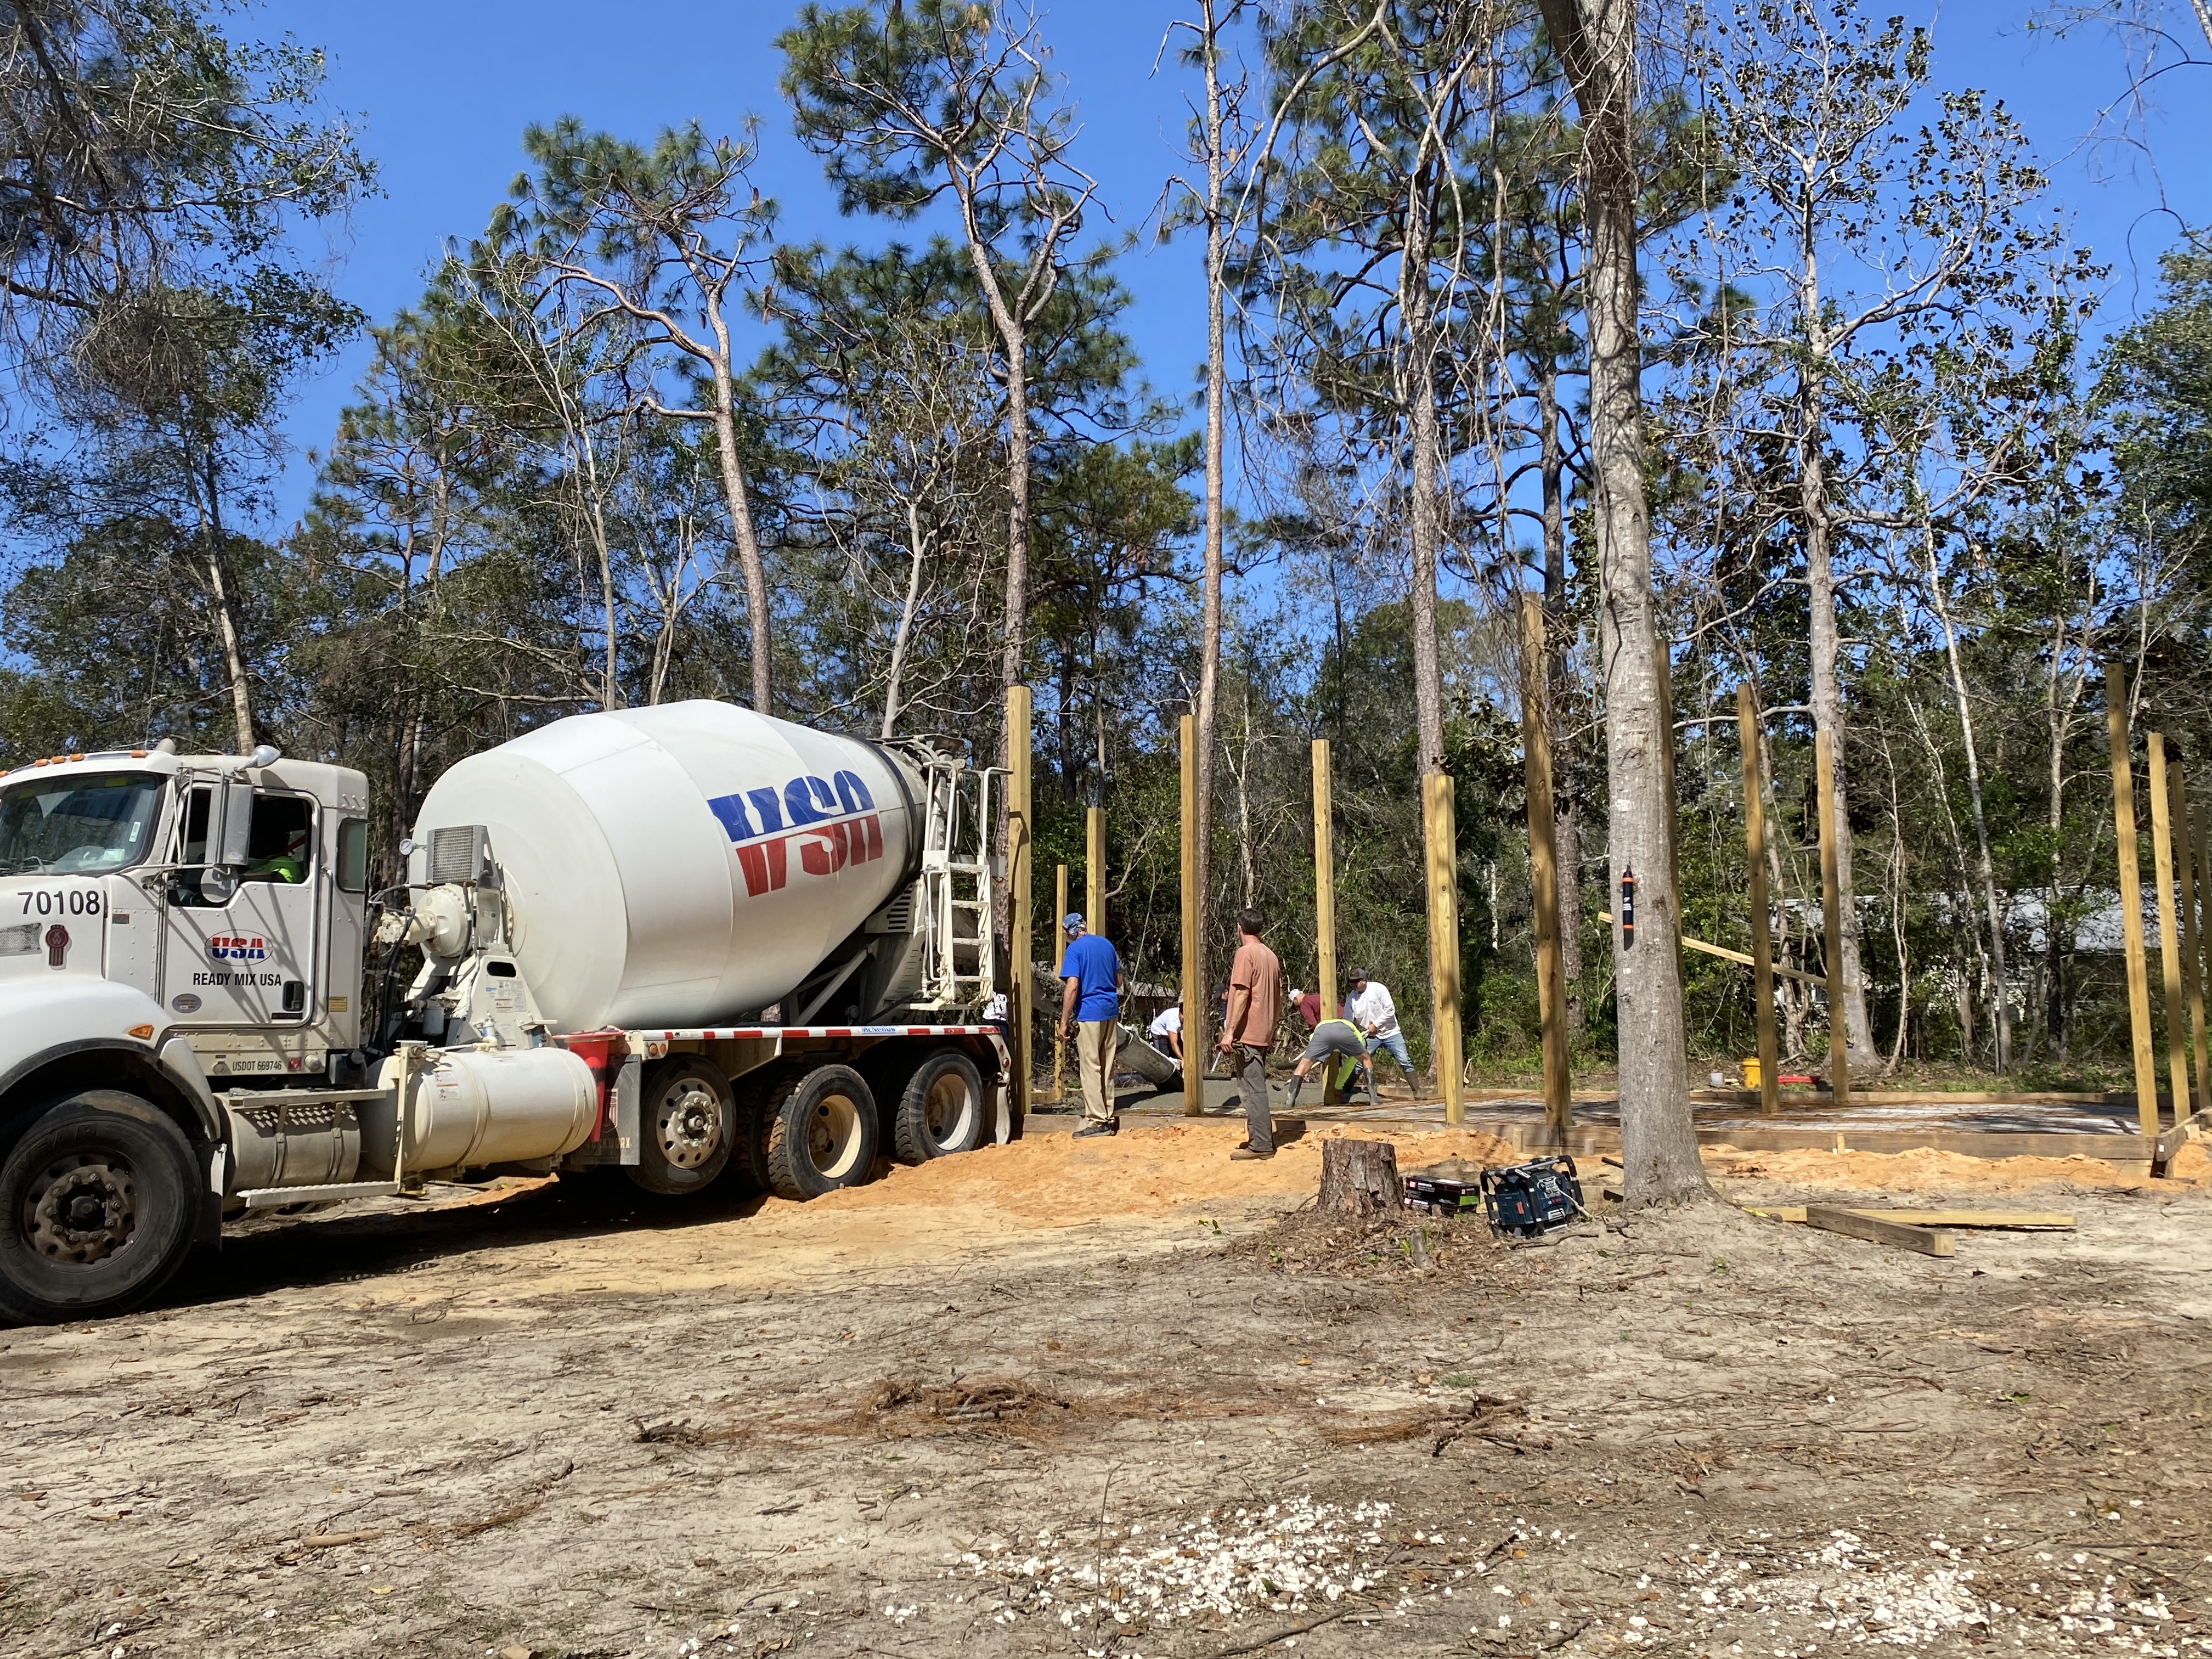
Plus, if you happen to mess up concrete, well, its a hard and expensive job to mess up on!!


So glad we hired this one out! Those concrete guys worked so hard! You can watch the video of our concrete pour here!


Buying Windows and Doors
My husband wanted to go ahead and buy the windows and doors before framing, so he knew the size of the frames that he would need to be making for the pole barn. We went to Habitat for Huminity to find our windows and doors. We scored big and were able to grab almost everything we needed from Habitat for Humanity! Some of the windows and doors were used but some were new! We spent under $500 for all of our windows and doors! Check out our trip to Habitat for Humanity!

Framing the First Floor
Framing the first floor went pretty fast.


We were able to get it all done in about two to three days.

I learned to frame and framed one of the walls on my own! It is always so cool to learn a new trade!
Framing the Second Floor
We second story framing went faster than the first floor. We plan to use the two wings of the barndominium for attic storage and then the middle of the second floor as useable space. My parents came down to help us on a Saturday! Much needed!


Roof
We were able to frame the roof fairly quickly in about two weeks, then added the galvalume roof.


My parents and my brother came to help for the putting the galvalume roof on! It took about two and a half days for the install on the galvalume roof! Not to bad for two old guys (both of our Dad’s) and two middle aged guys (hubs and bro). No pun intended 🤣


My parents and my brother came to help for the putting the galvalume roof on! My mom helped me with cleaning up debris, breaking up a pile of extra concrete and making lunch for our guys! Check out our reel on the installing of the roof!
After Framing and Roofing
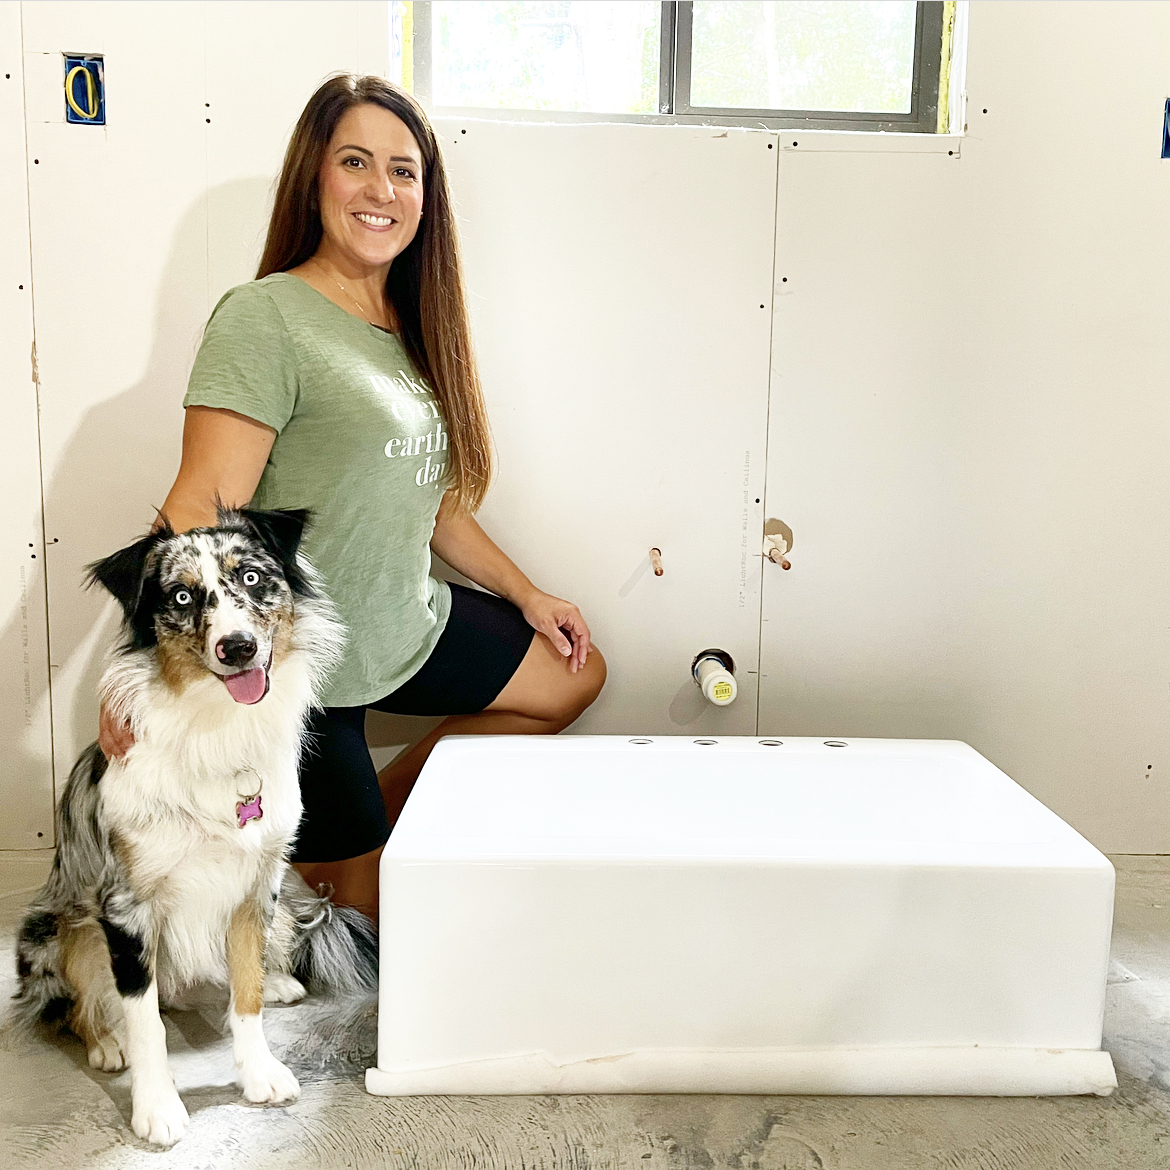
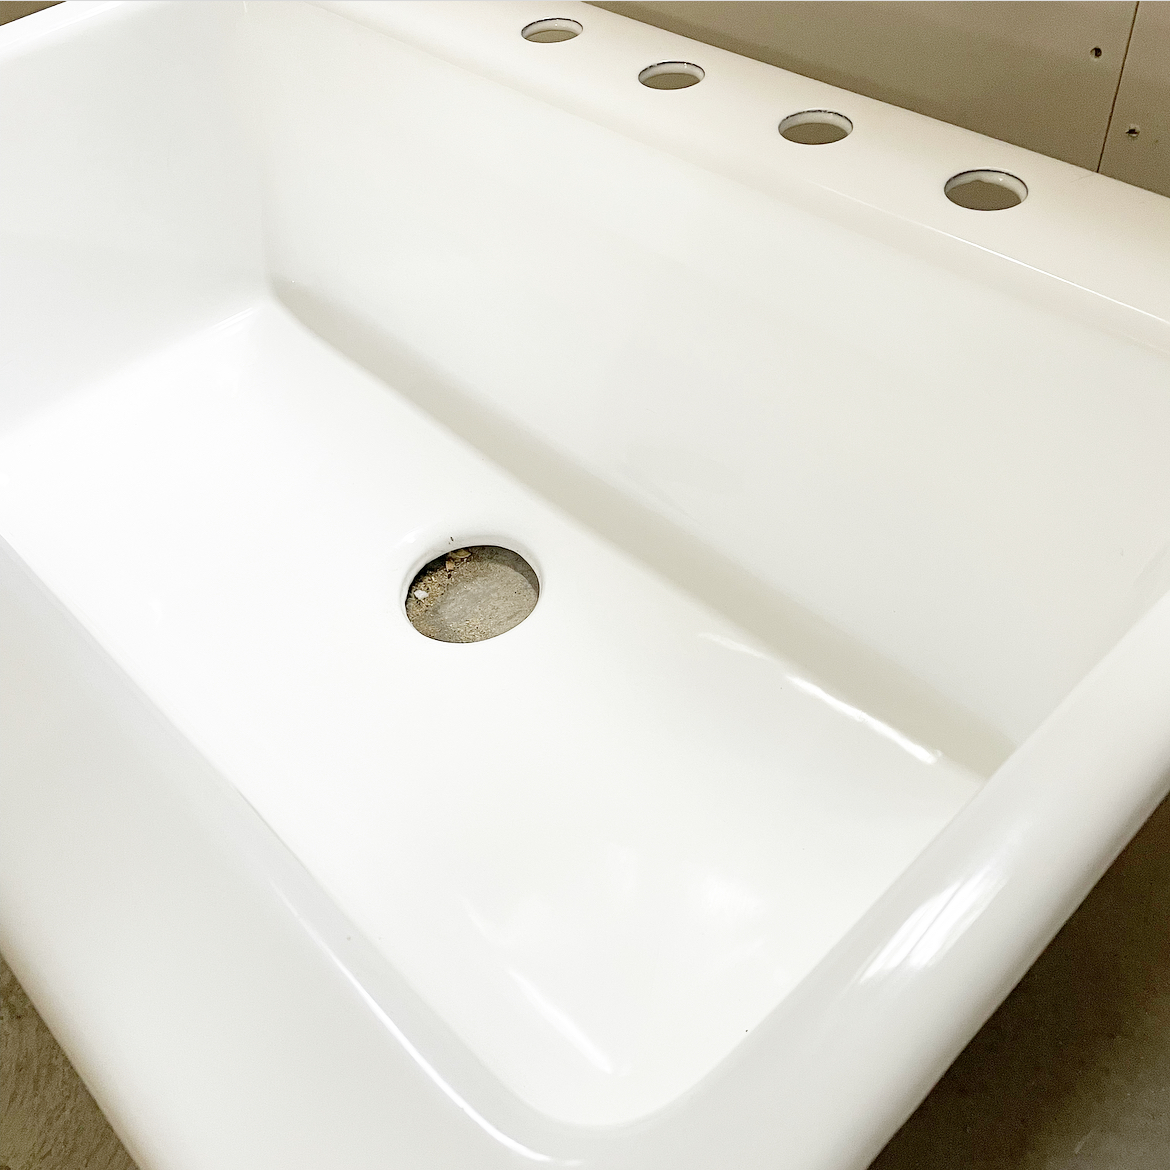
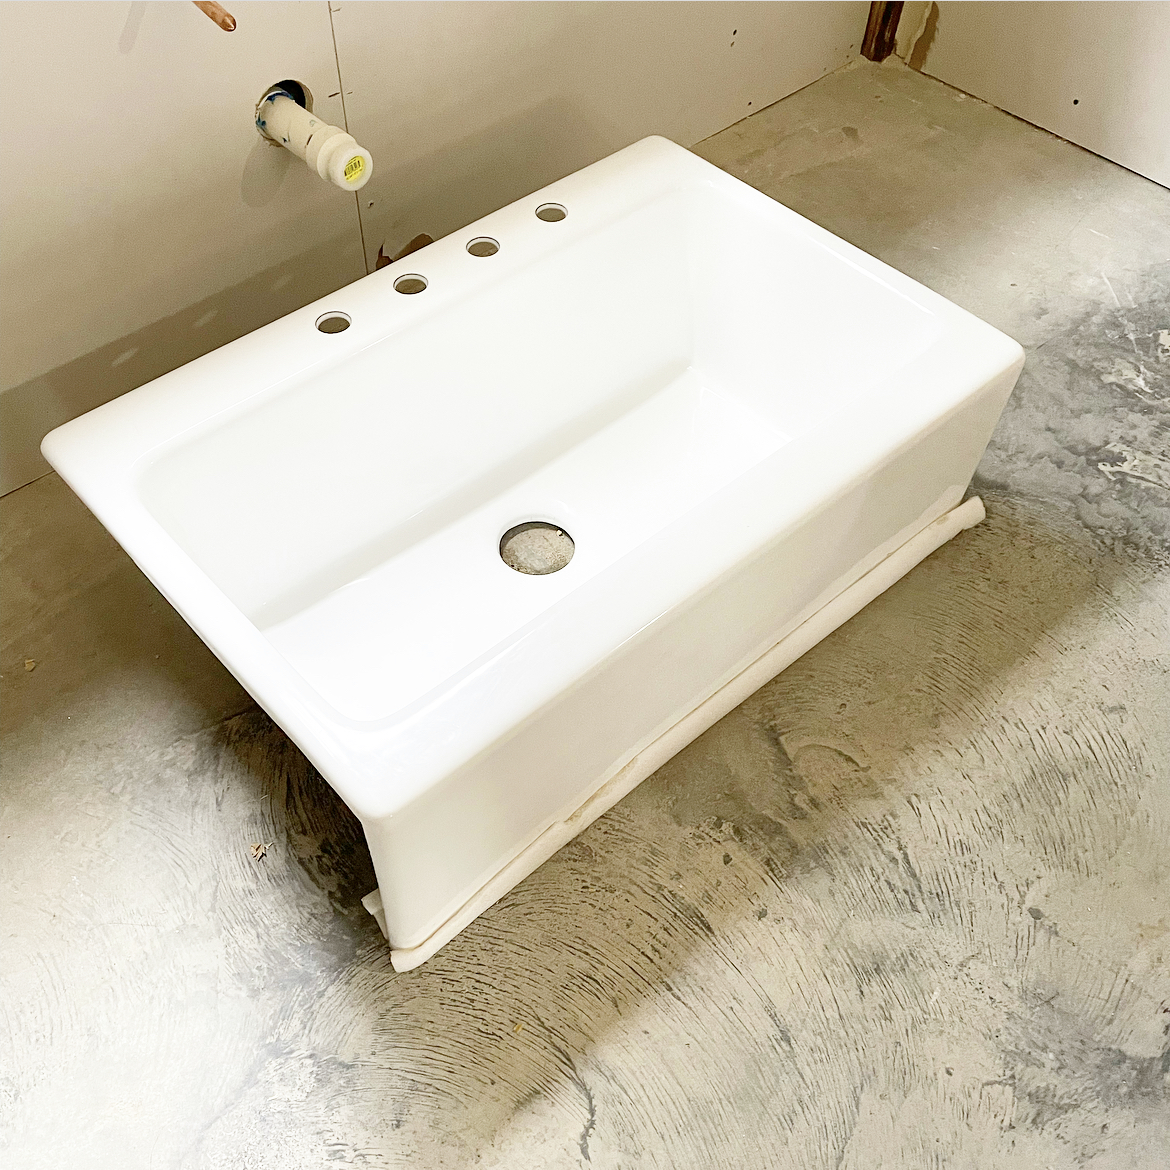
After our barndo was framed, the next few projects were not nearly as overwhelming. My husband had general construction knowledge and we are both hard workers, willing to do whatever it took to bring our temporary home to life!! Anything we were not knowledgeable on, we turned to You Tube, family or friends that were experts in the subject area.
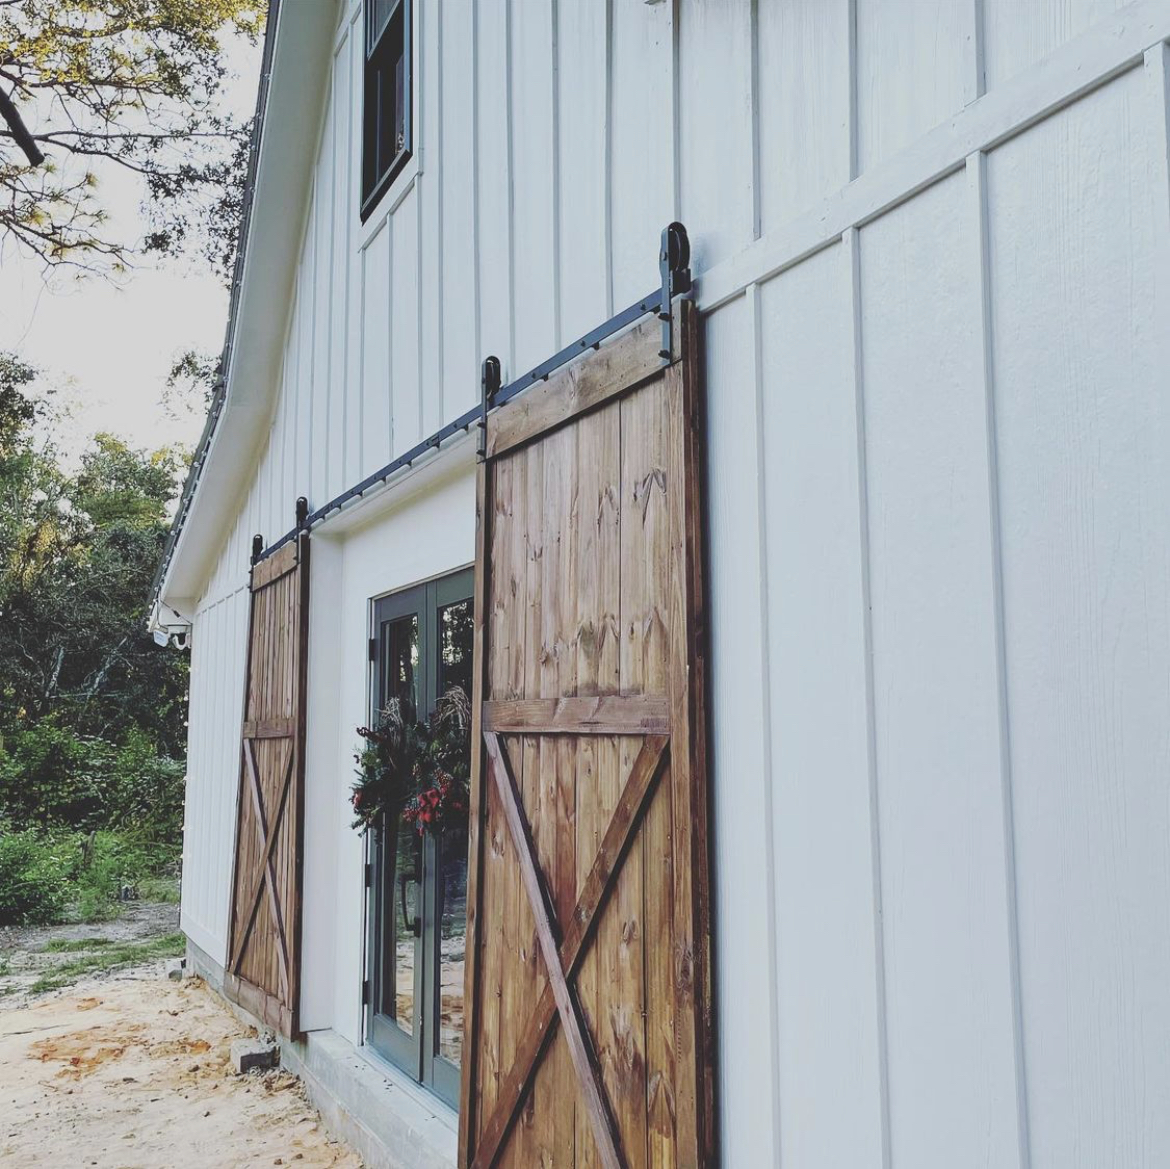
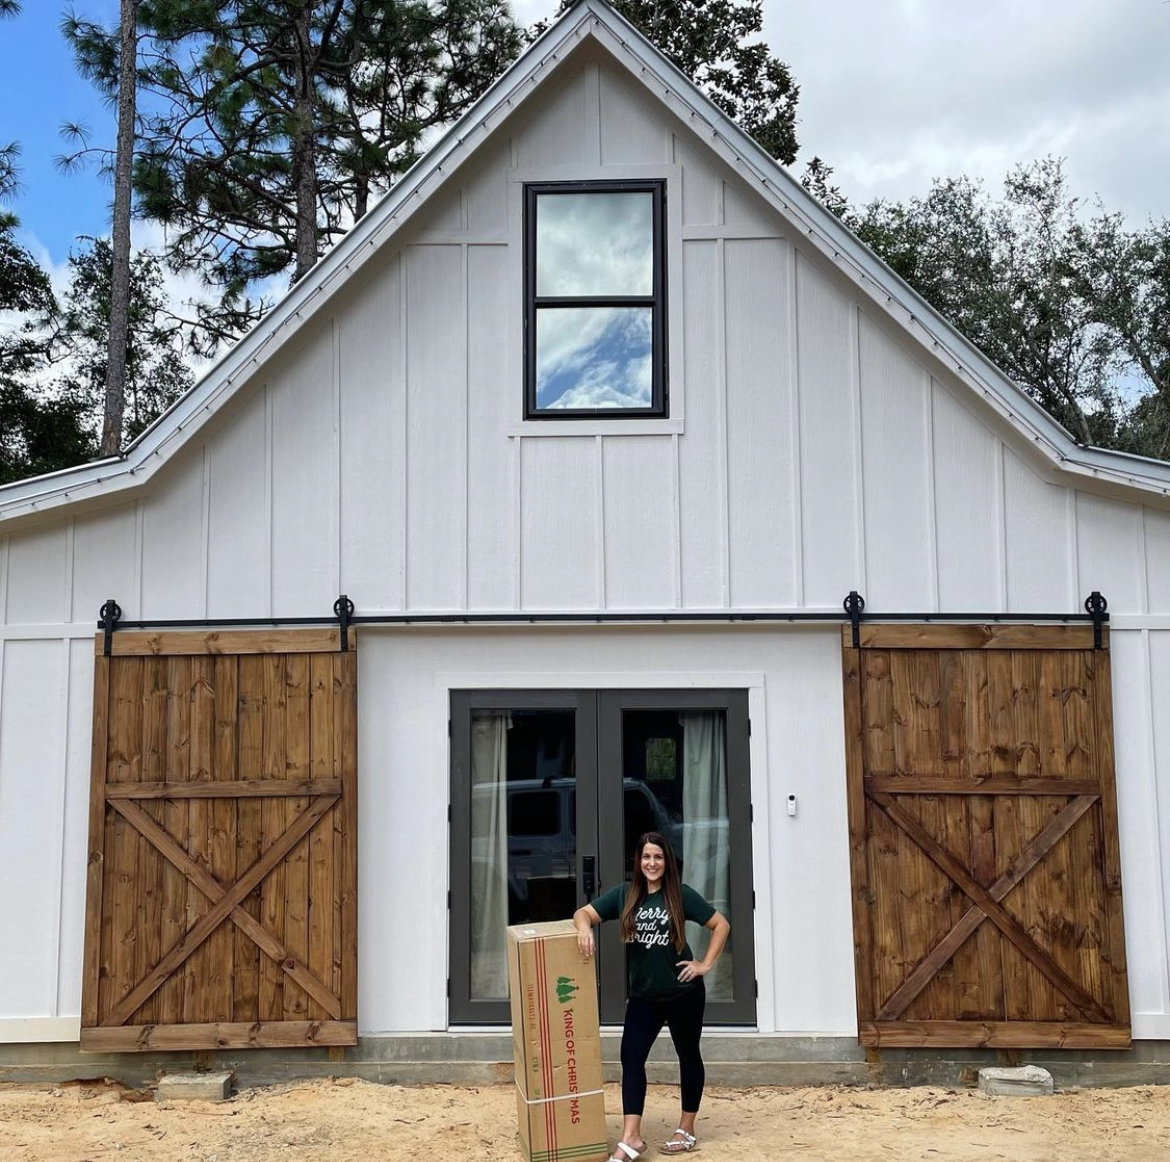
I built the exterior barn doors, myself, with the help of a couple assistants to cut and hold wood! Check out that process here! It is truly amazing what you can learn to do if you have the willingness to learn! You might may some mistakes along the way, but just start over and try again!
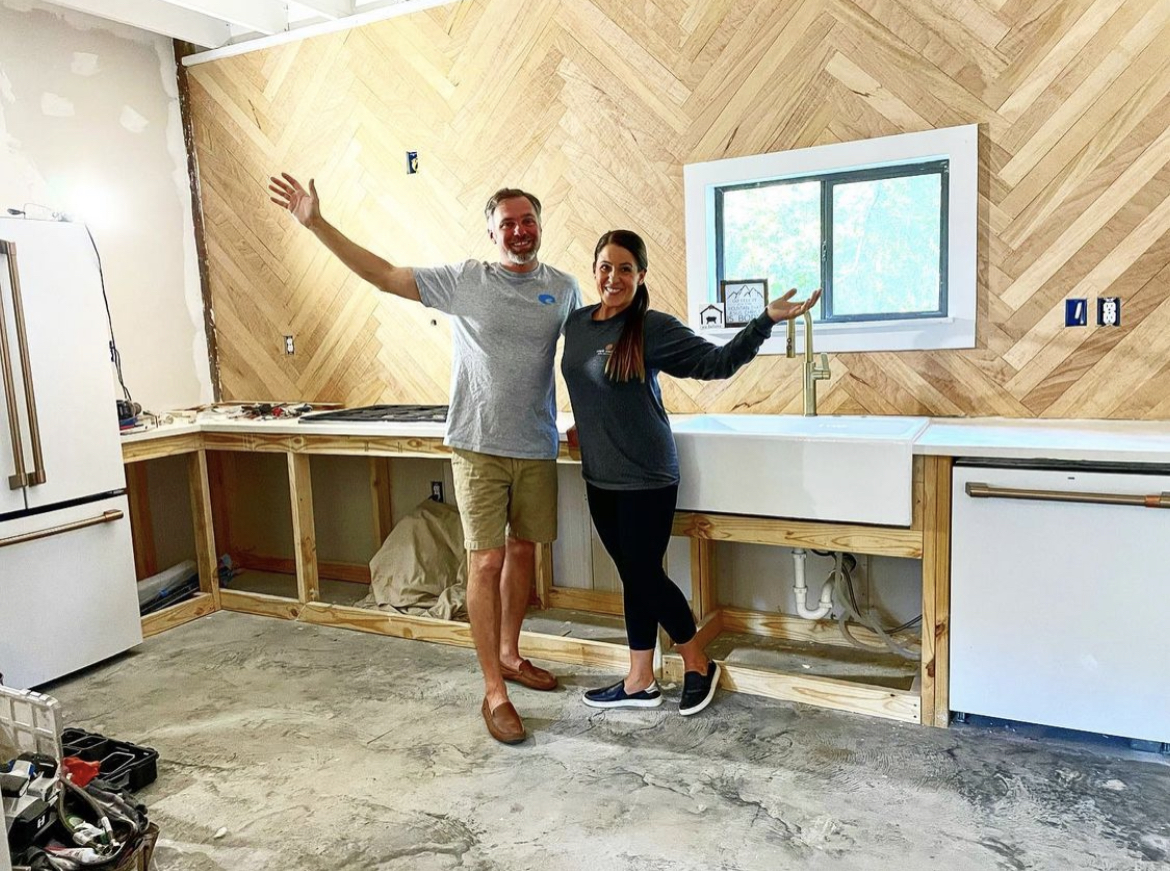
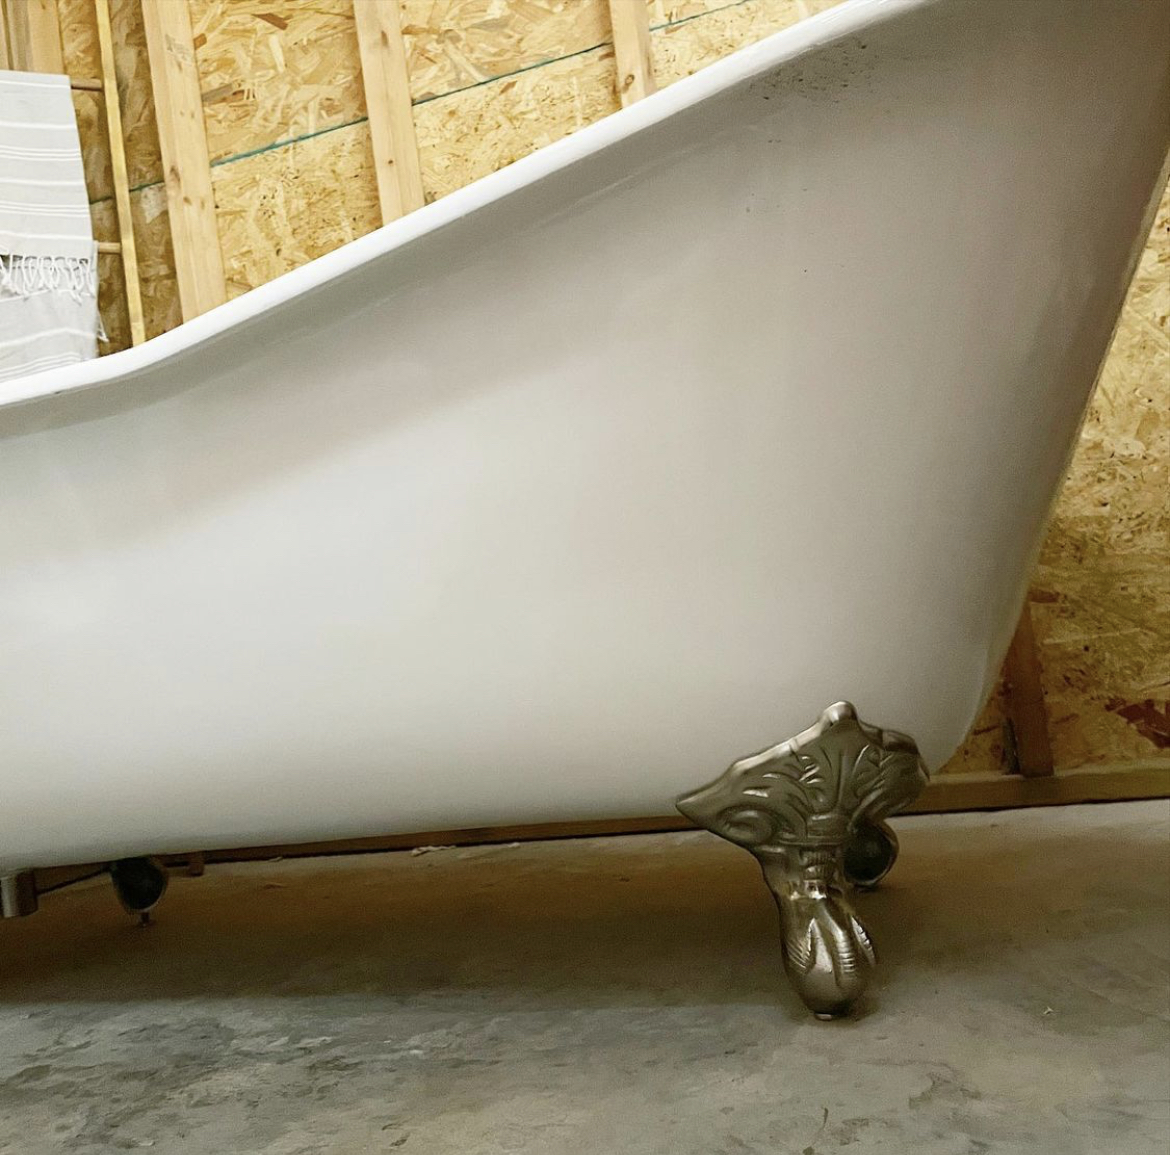
Our plan has been to do as much work that we can do on our own, to keep building costs as low as possible. This is a cash build and we had absolutely no plans to get any type of loan for our barndominium build or our forever home build! Our hope was to get the barndominium dried in and basic items checked off then take time to finish the remaining rooms.
Home Depot Gift Card
We are almost completely done with the building process. Finishing up with sheet rock and paint over the next little bit! Would you like to guess at how much we spent on our Barndominium build? The first person to comment with the correct amount, I wil send you a $100 gift card from Home Depot!
Instagram Collabs
I have been so blessed to have a job that never feels like work to me! I couldn’t be happier as a blogger and a influencer on IG! I am excited to share in a blog post, soon, our barndomium reveal and which companies I collaborated with! Any questions, please don’t hesitate to reach out!
Love~Shae


You must be logged in to post a comment.