
Hey y’all! Have you ever wanted to update your kitchen on a budget with products that don’t break the bank? The hubs and I have recently updated out kitchen with Ardex concrete countertops, a white subway back splash, a white farmhouse sink and chalk painted cabinets. It took about three weeks for all of the renovations.
We started off by replacing our kitchen sink with a white farmhouse sink from Sinkology called the Josephine .

I have had visions of white farmhouse sinks dancing in my head since we purchased our home, 5 years! Isn’t she a stunning sight!!

Next, my husband cut off the backsplash of the existing countertops because we were adding tile.

For the countertops, I used Ardex Feather Finish . Ardex is a self drying cement based finish that you mix with water and has a cake icing-like consistency.
First things first, it is best to remove everything from your cabinets, then apply a clear plastic cover and tape all the edges. Trust me, you will appreciate this later! All of the countertops will need a light sanding to help the Ardex adhere. I used a orbital sander and I also hand sanded in corners where the orbital sanded would not fit. Wipe down with a dampened cloth all your countertops.
To mix the Ardex, I used a plastic 1 gallon bucket and a paddle mixer. The directions for the Ardex is a 2:1 ratio with water. I found that was a little to thick for me and added just a bit more water. I liked it to be about the consistency of icing. I used a 12 in joint knife and a puffy knife for the smaller areas. In some areas like behind the kitchen sink, it was easiest to use my fingers with gloves on to smooth the Ardex out.
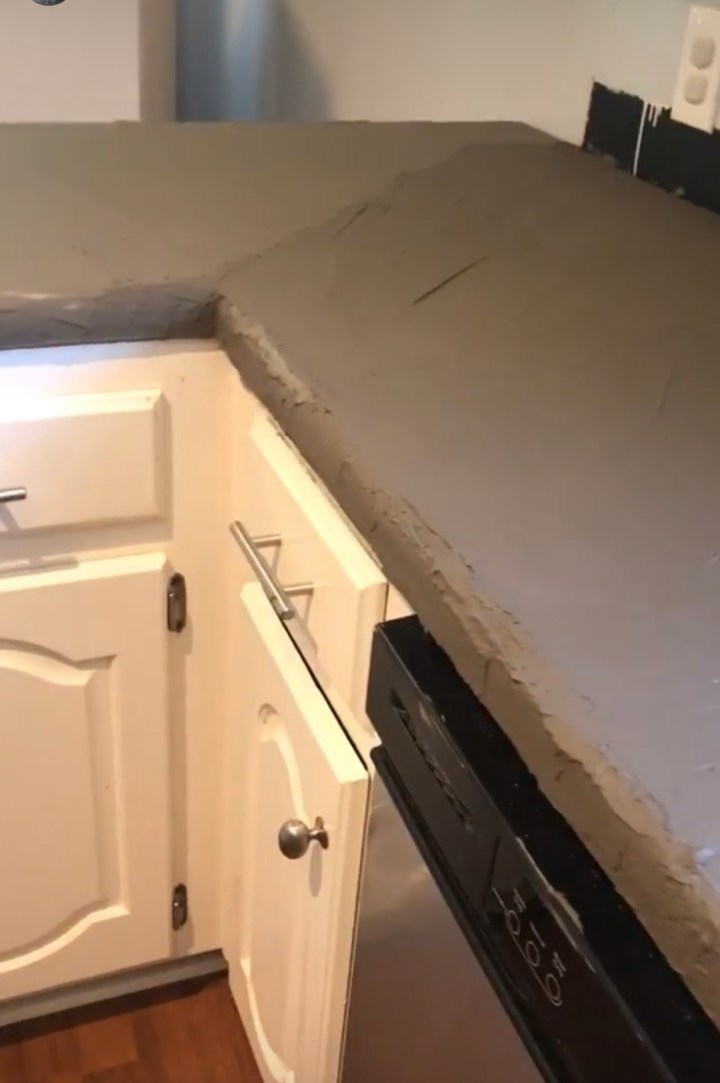
After the first coat of Ardex is applied, it will need to dry for about 24 hours before sanding. Once dry, let the sanding commence! I’m not going to lie, it’s super messy but I promise it is well worth it!! Check out the layer of dust on my arm!

I used an orbital sander because I felt like the finish it gave was smoother than a palm sander.

I can not stress enough to use plastic coverings on everything because if not, you will have a huge mess to clean up like I did! Learn from my mistake!

I sanded all the edges, corners and tight spots with a 60 grit sand paper. Next is to use a shop vac to vacuum all the dust form sanding. I also used a dampened cloth to remove any remaining dust from the countertop. I repeated these steps until I had three layers of Ardex on my countertop. After the countertop has dried for 24 hours, I applied 3 coats of Behr Low Luster Sealer with a paint brush.
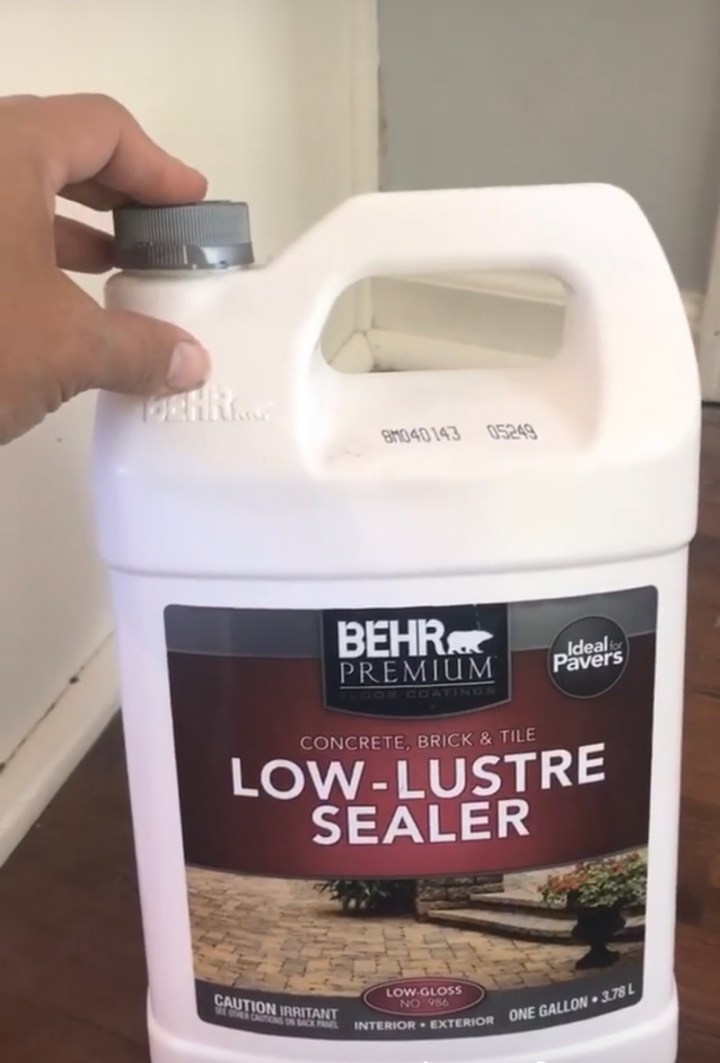
I didn’t want a super shiny finish, so I made sure to purchase one that had very little shine.
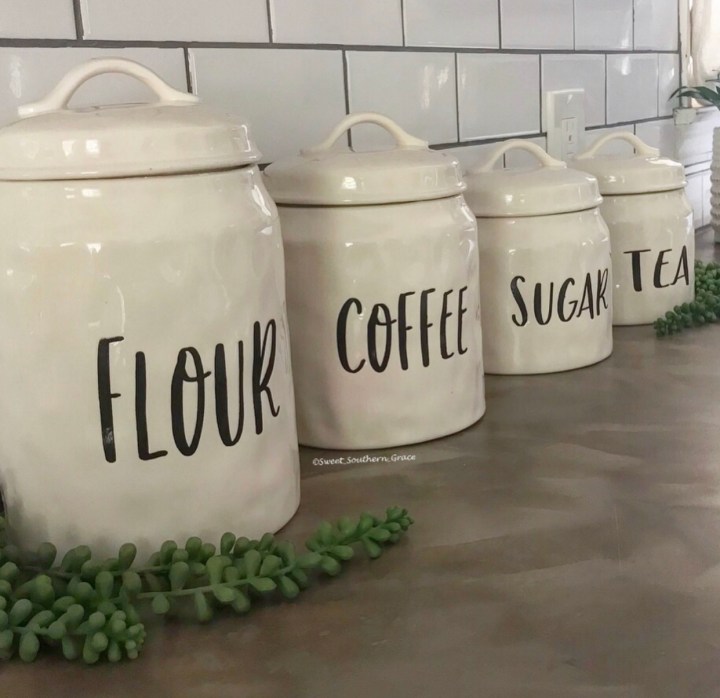
Next up was the subway tile. We purchase our tile from a local tile company called Floor & Decor . They had the absolute best prices on tile! The tile was 15 cents each!!

The tile went pretty quickly in comparison to the countertops! Next up was the grout! We decided to Pearl Gray for the grout color.

The grout and mortar were also purchased from Floor & Decor.
Last but certainly not least was the painting of the kitchen cabinets. This is the 3rd time our cabinets have been painted. I used Ibis White from Sherwin Williams, previously. The interior of our cabinets had never been painted and I had dreams of painting the inside of the cabinets white. I decided to go ahead and tackle the painting of the inside and outside of the cabinets! I decided to use my DIY chalk paint recipe and use the same color Ibis White. I chose chalk paint because of its hardiness and durability!

I am am not going to lie, it was a ton of work and I could not have done it without my two oldest daughters helping me! It took us about 10 days to do it all but I still think it was so worth it! The painted 3 coats on the inside of all the oak cabinets and drawers, since they had never been painted before! In between each coat, I did a light sanding, by hand, so that it would cut down on brush strokes. After each sanding, you will needed to wipe out all the soot with a dampened cloth. Everything that we sanded was by hand only.
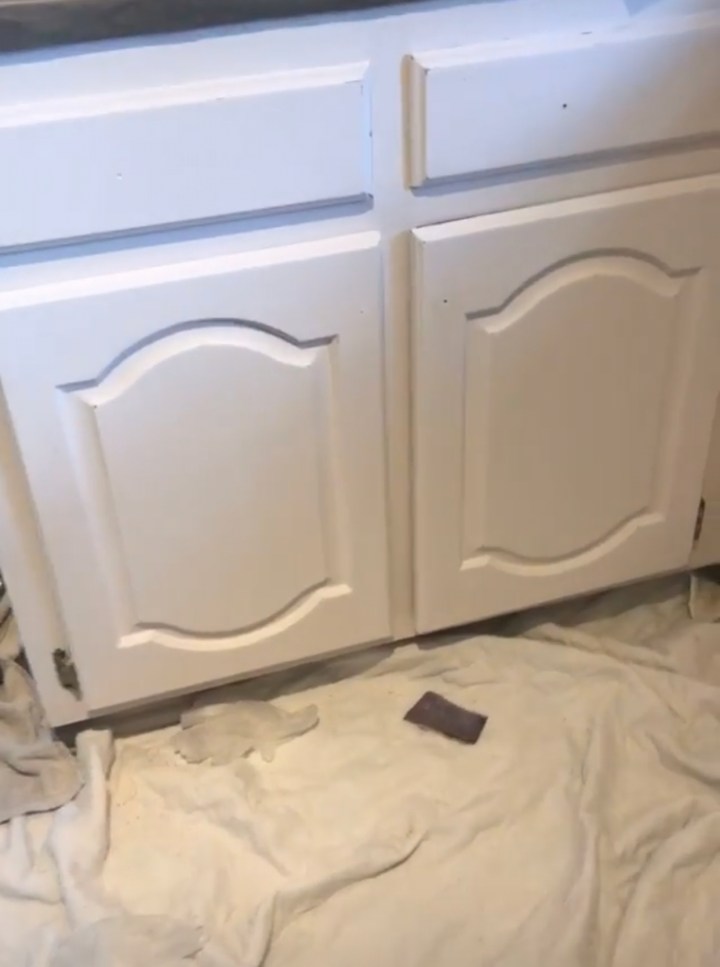
I also lightly distressed all of my cabinets on the inside and outside. When I distress, I like to distress where the item would naturally receive wear.
I also decided to replace the drawer pulls with brushed nickel pulls that I found on Amazon for cheap!

Ok, so I know y’all are wondering what the total cost was on our budget friendly renovation?
Here is a break down of costs:
-Drawer Pulls-$18
-Ardex-$60 (I used 2.5 bags @ $30 each. One bag was leftover from our upstairs bathroom.)
-Tile, Mortar & Grout-$90 (15 cents per tile)
-Paint, Baking Soda-$162 (Sherwin Williams paint plus 12 boxes of baking soda to make chalk paint.)
-White Farmhouse Sink-$399
Total Cost-$730
We are enjoying our kitchen and all of our hard work! You can find many of our projects saved under “highlights” on my IG page or our You Tube account. Follow along with me on IG in stories everyday, as I usually always have some sort of diy going on!
❤️-Shae


You must be logged in to post a comment.