Our family recently embarked on a new adventure together: opening a vintage booth at one of our favorite local antique shops, in Lillian, AL. This is something I’ve dreamed of trying for quite some time, and I’ve got a meeting with my boss today, so I’m a bit nervous to see how they think our first month went! Wes & I already have plans to build modern wood planters, antique wood spindle candle holders & farmhouse tables.

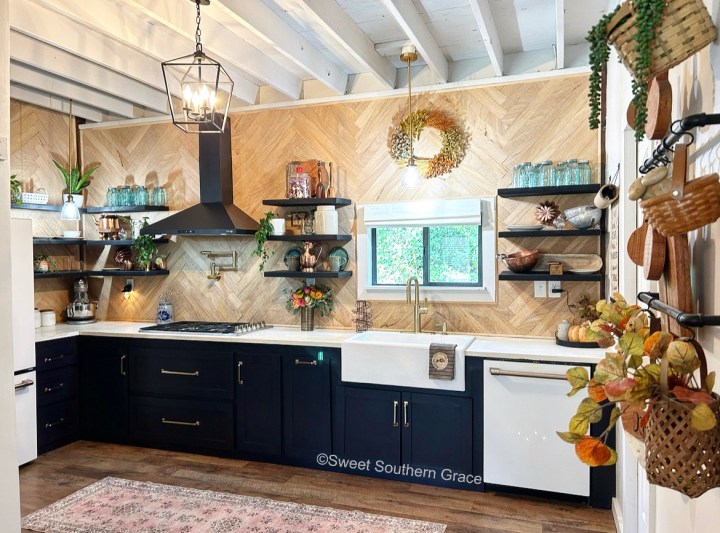
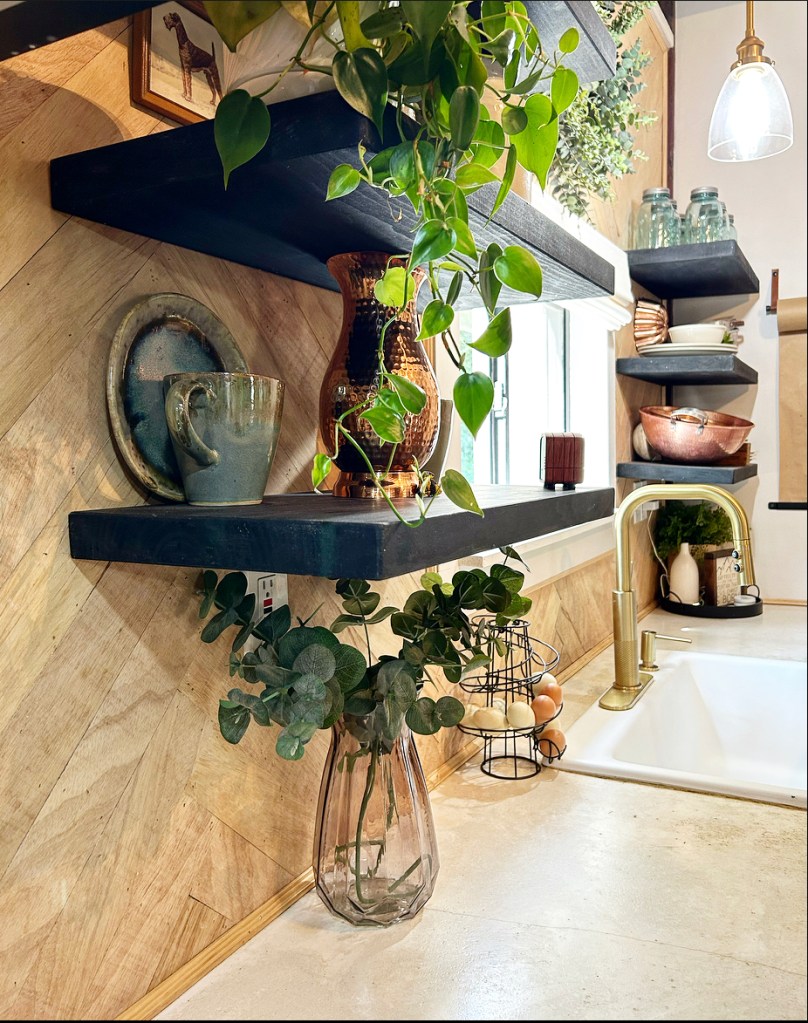
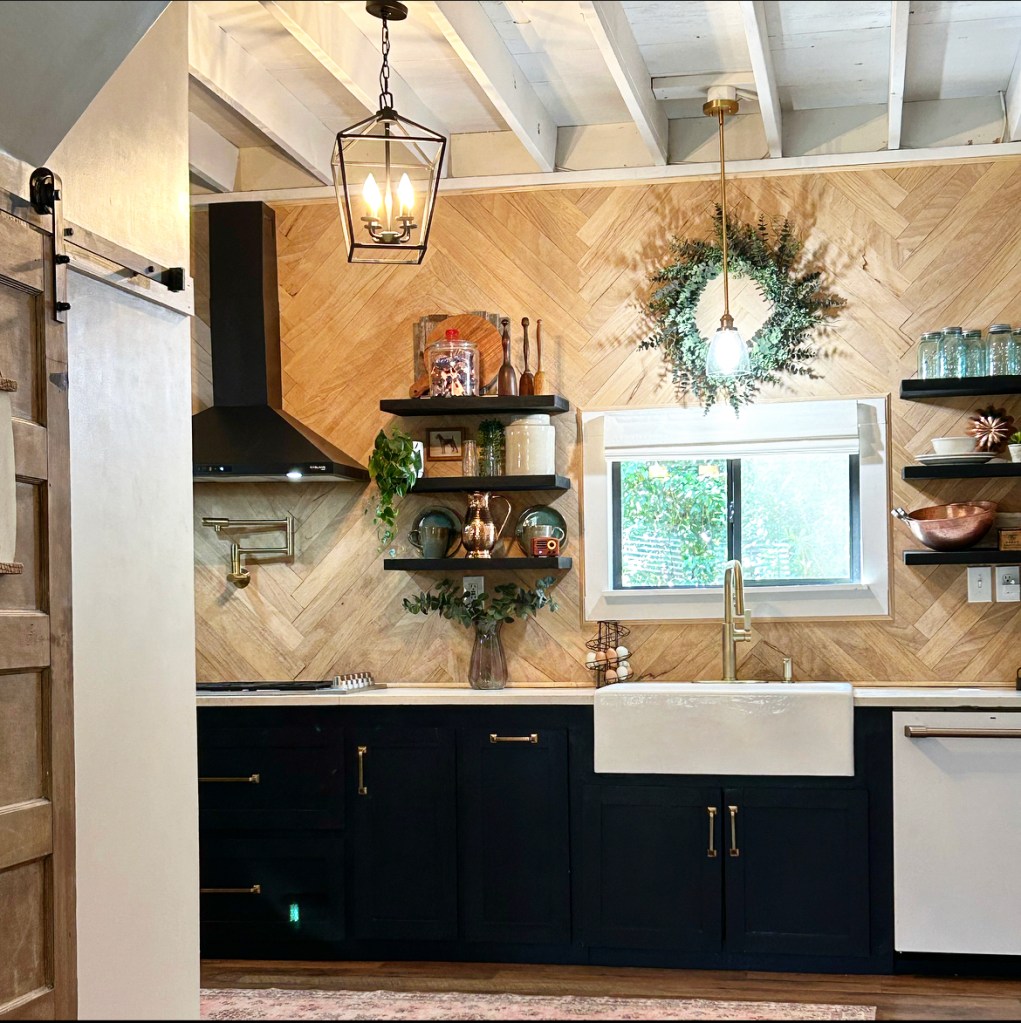
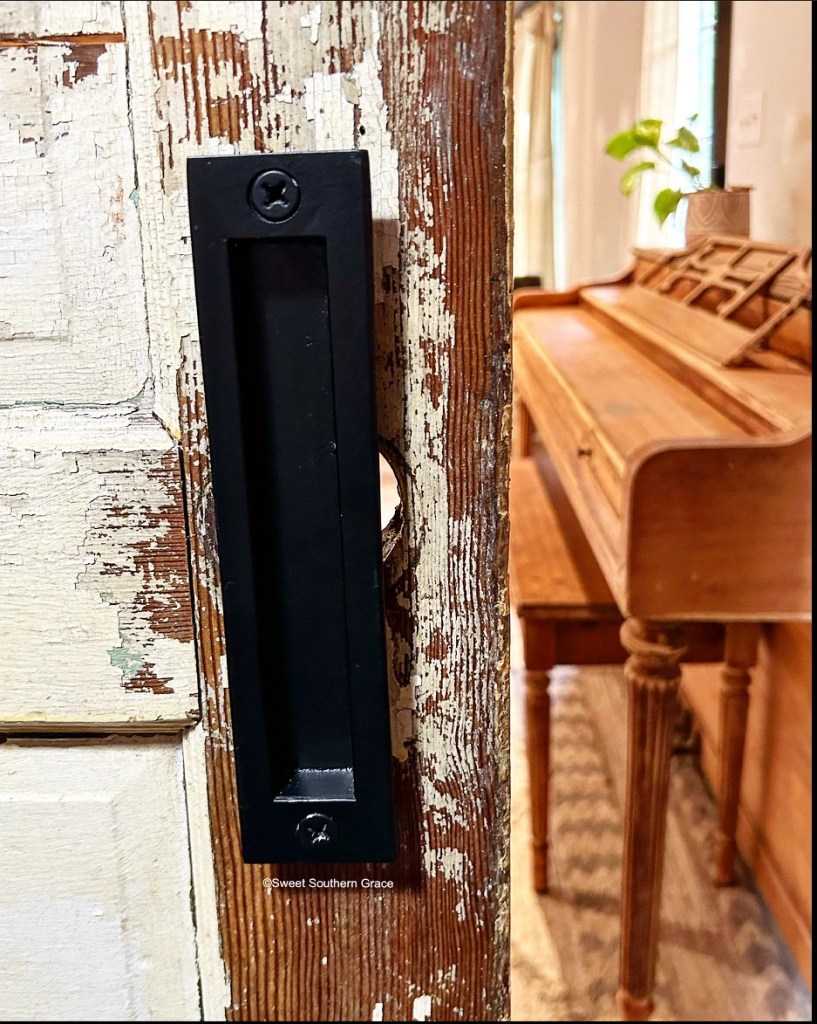
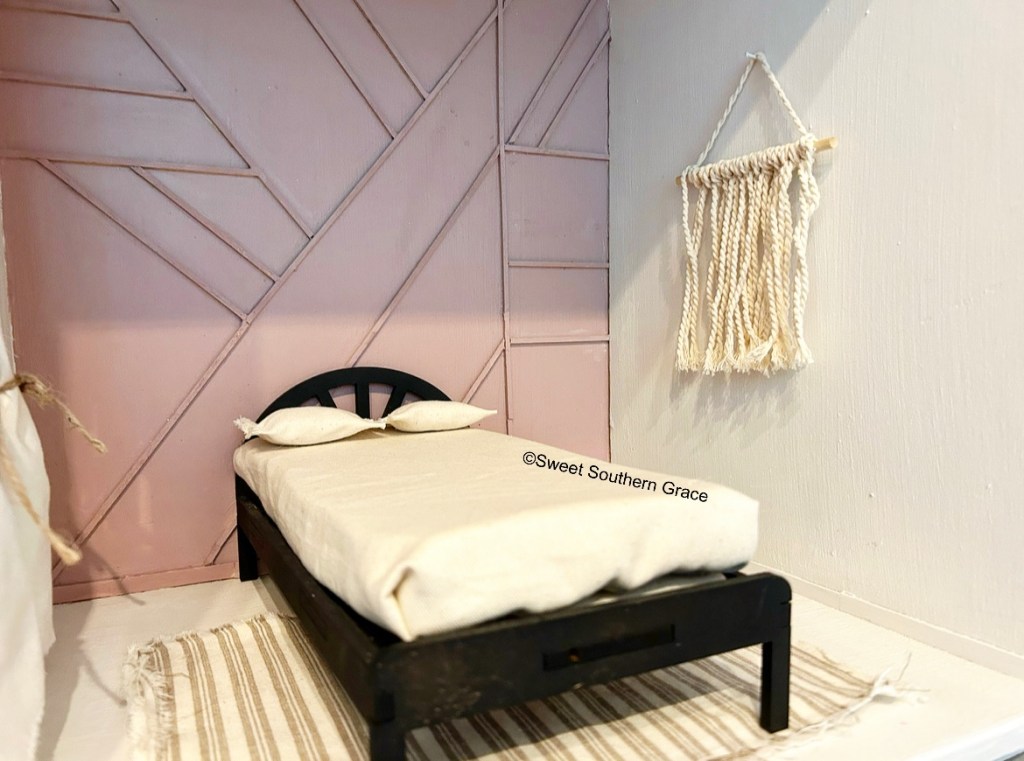
It’s no secret that this gal has a love for all things chippy, & repurposed through antique shopping for my home. Actually, a lot of our vintage pieces throughout our home have great meaning & most have come from our Grandparents and Great-Grandparents. Now the time has come! I’ve come across many vintage treasures that have meaning to me…(we are keeping all of our family antiques) but I’m running out of room! I wanted a place to part with some of my treasures & pickin’ finds (you know, the ones with the really cool history behind them) where I could rest assured they were going to good homes. 😊 I have previously been donating to our local thrift stores.

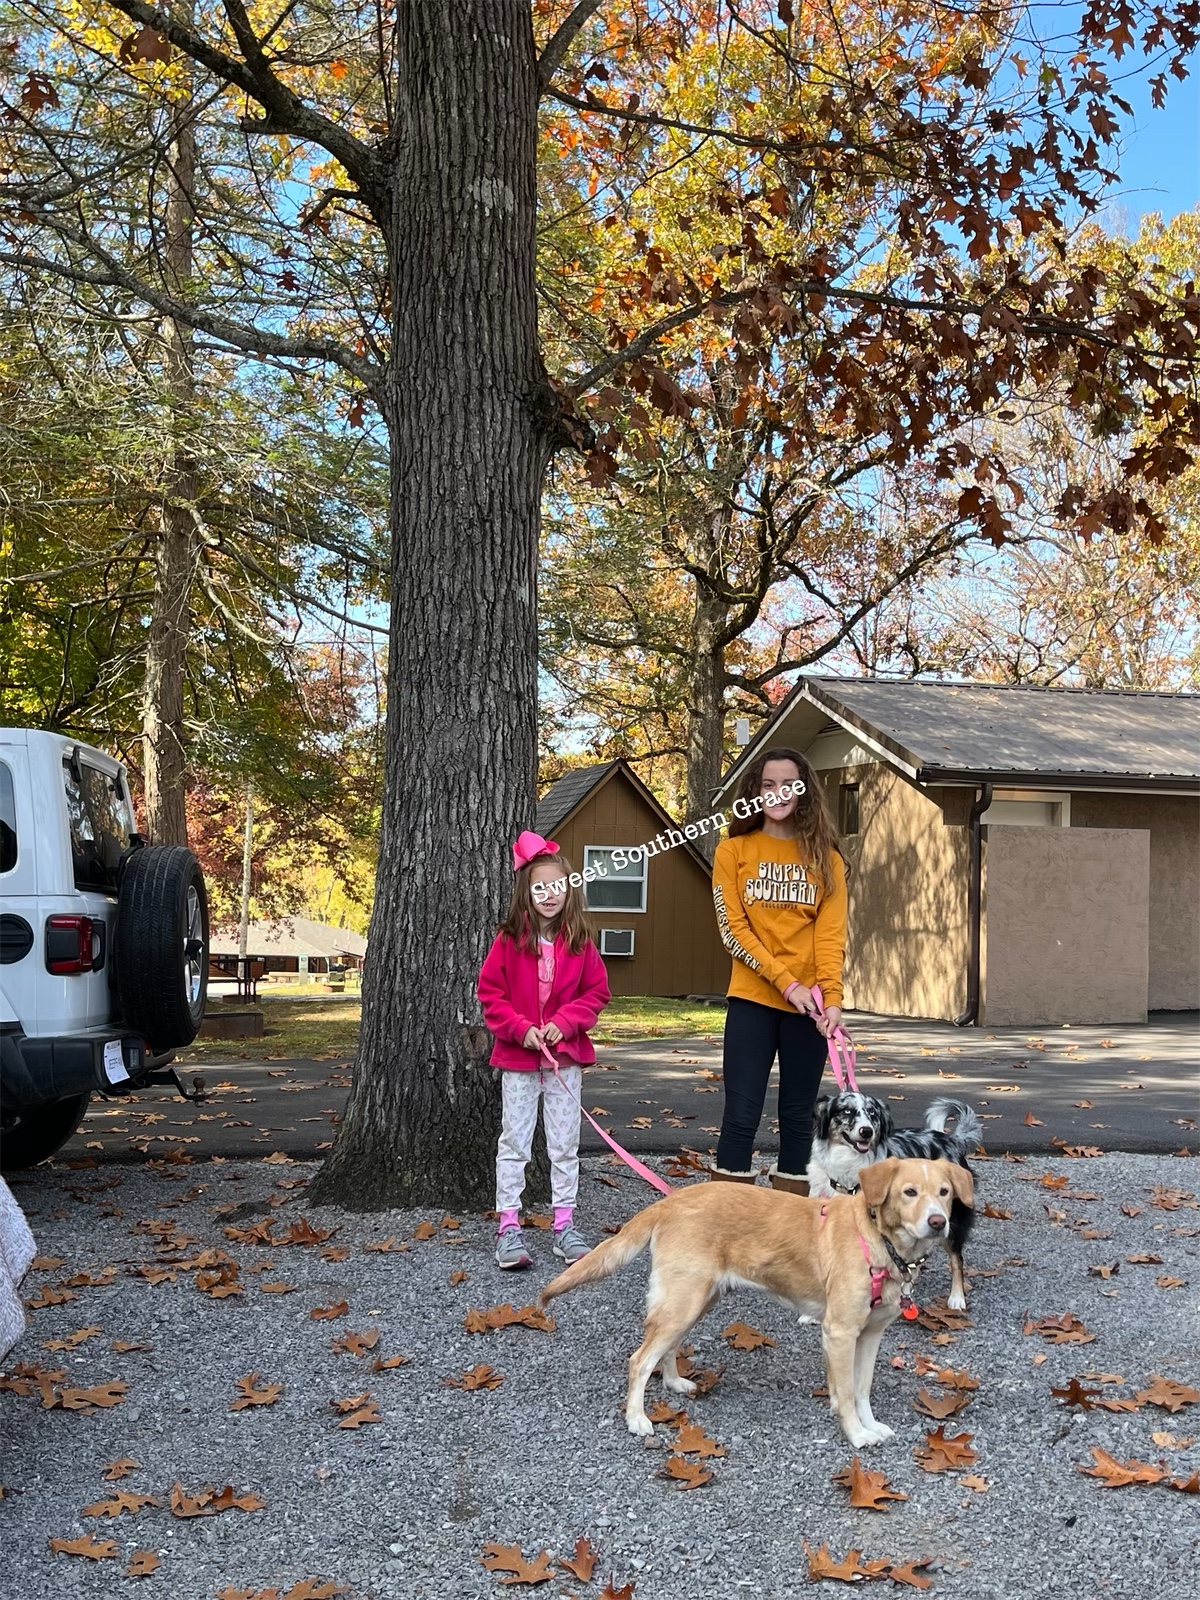
I can’t help but see that God is in this story…Doors opened>>>with the sweetest antique owners, Joe & Wanda, we then obliged the nudge and our family decided to make this a group effort. That has been my favorite part of the whole thing: working as a team with my favorite people! It has opened up so many stories from other family members that had a dream for an antique booth too, like my Father-In-Law & Late Mother-In-Law. Our 2nd oldest child even has an antique booth of her own, with a 20’s something spin to it! My youngest two girls help me with cleaning our antique finds, labeling, tying tags and “styling” pieces in our antique booth. They also love using Ms. Wanda’s vacuum to help keep our antique booth in tip top clean shape! The hubs is a true hero here, hoisting and loading, unloading and hoisting all the goodies for me. Our oldest two (adult) daughters offer kind thoughts, prayers and congratulatory support from afar! Our oldest is coming for the 4th of July and we can not wait for her to see our booth in person!!! Que the high pitched girly scream!!

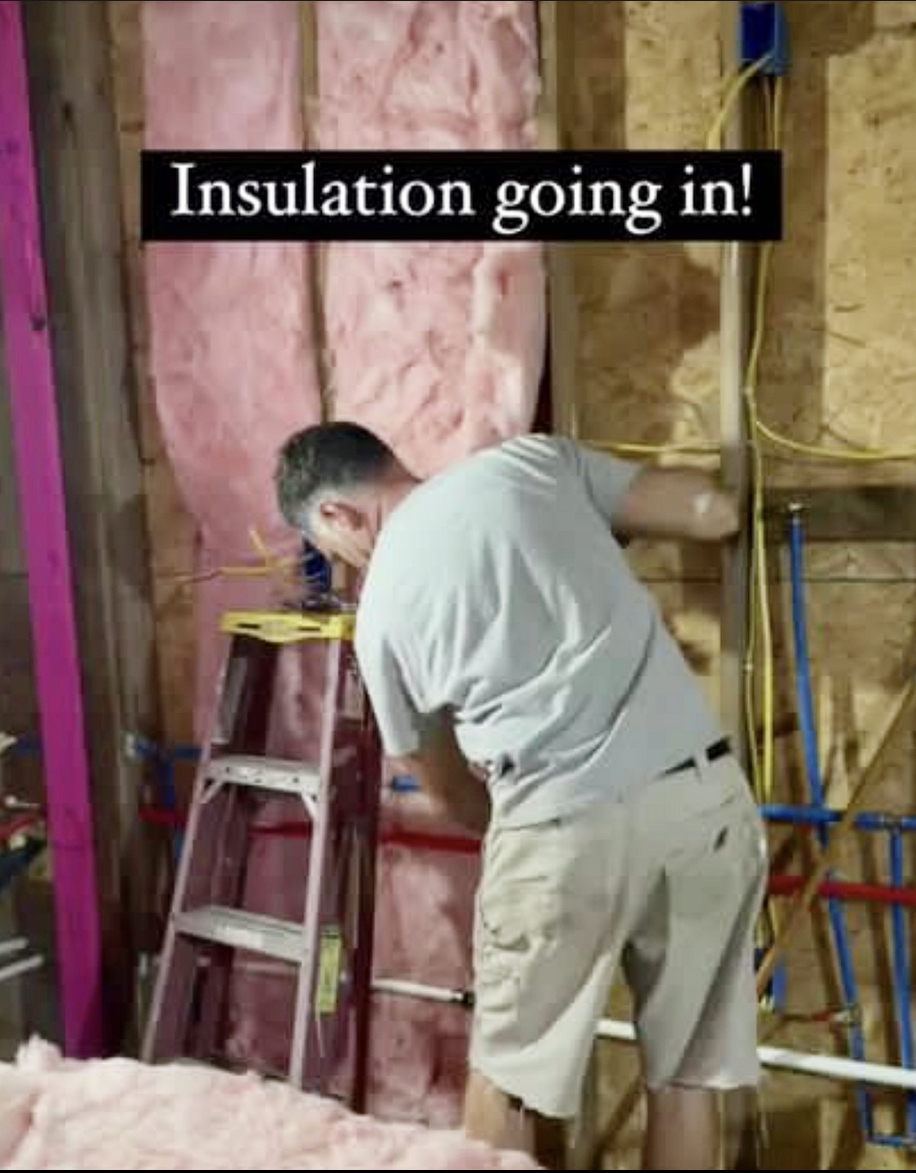
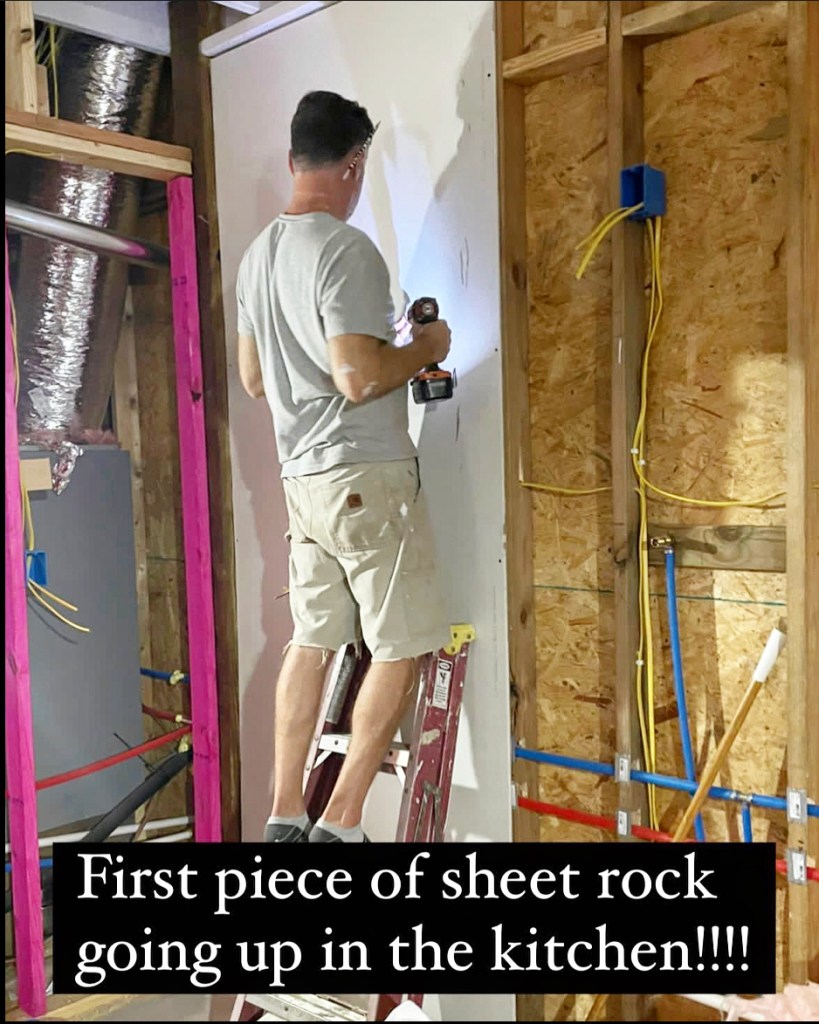
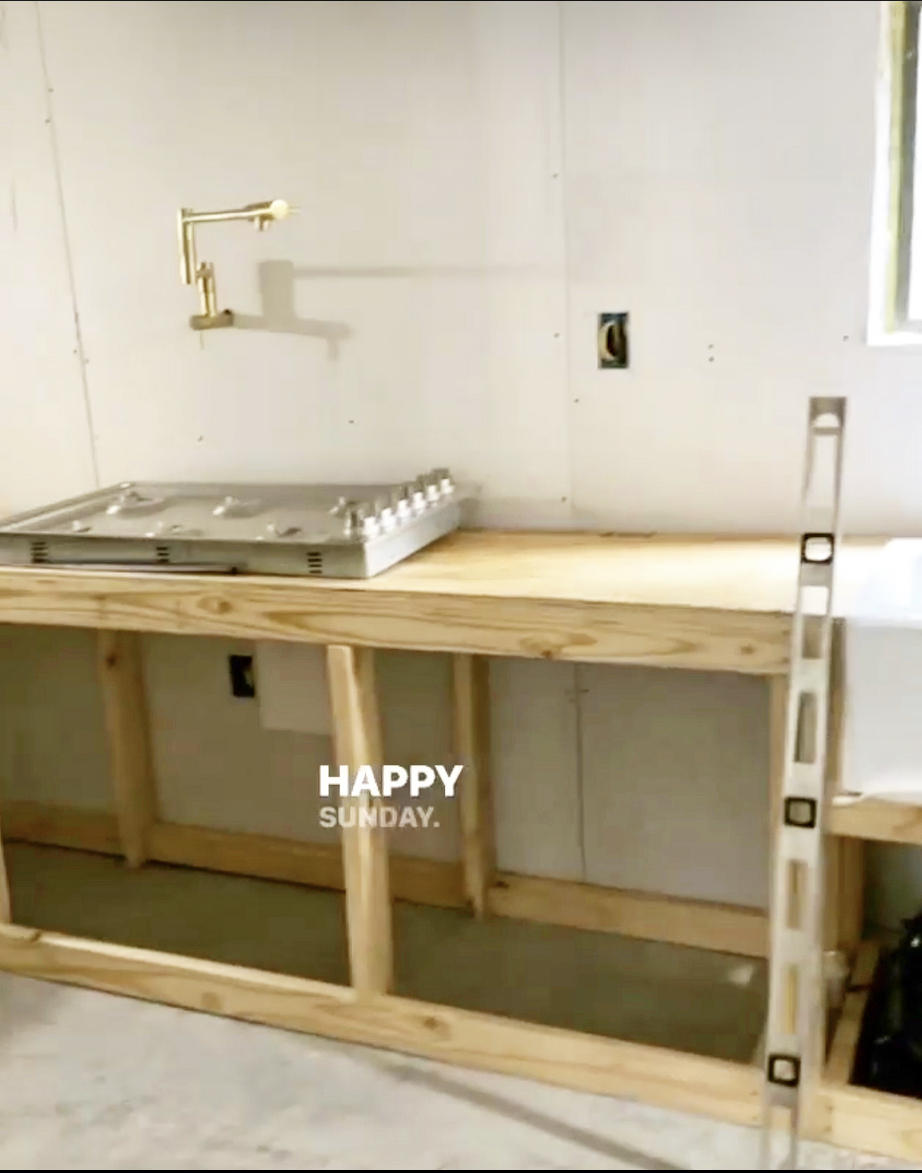
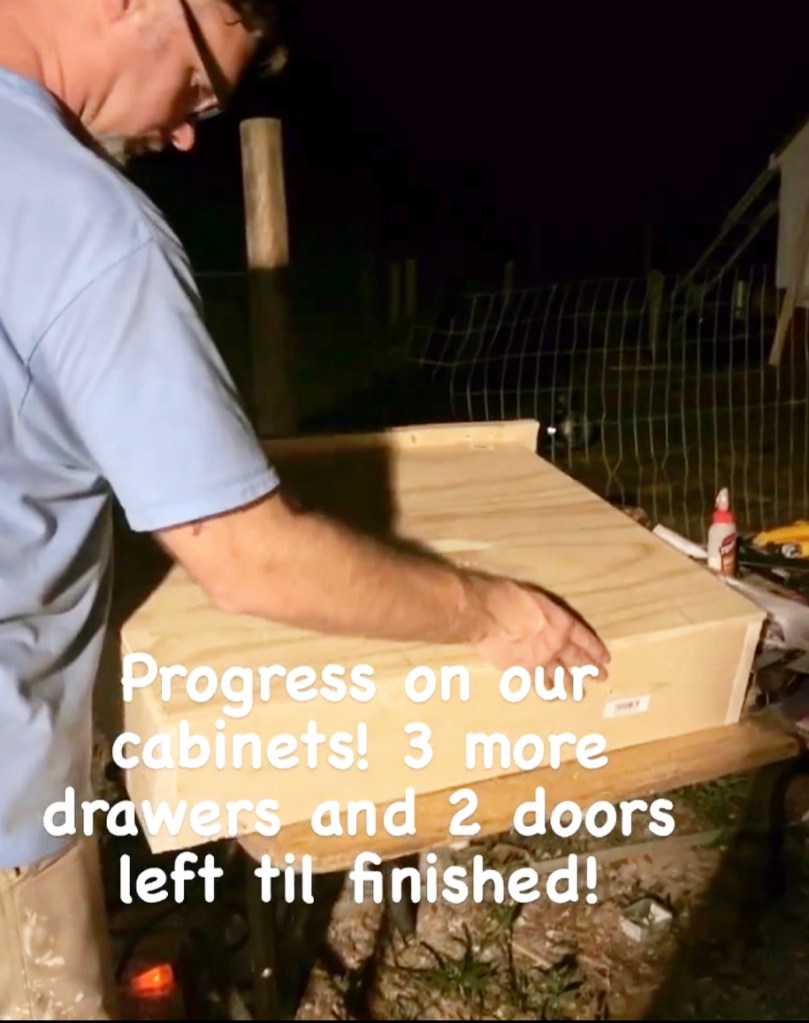
It’s already been so cool to teach our younger two girls by SHOWING them what hard work means. I mean, I know they know what hard work is, as we’ve spend the last three years, self-building our barndo, but this is on different level. They are also learning about how to earn money, being patient while they wait for their own booth contributions to sell, and the value of being part of a family team.

The Sweet Southern Grace Booth has been a whole lot of hard work up front but I truly feel God placed this little moment in our family’s story, and I am excited to continue working as a team with my favorite humans.
If you are ever in the Gulf Coast area, stop by Blue Sky Trading, in Lillian, AL. If you visit the booth or style a piece from the booth in your home, tag me on IG! I’d love to repost and share how you style the treasures in your home! Thank you for stopping by! Oh and stay tuned! Our booth will be getting a farmhouse coastal makeover soon! We will catch y’all up on here!
❤️~Shae


You must be logged in to post a comment.