Barndominium Lighting 

{This post contains sponsored links. The items featured and linked in this post were all provided by Kichler Lighting ; I could receive a small commission if you purchase from one of my links; all opinions and reviews are my own.}

Home Lighting 

Lighting is an essential component to a successful design palate. When designing your barndominium, lighting can be used as a design focal point.

I believe if thoughtfully placed, lighting will transform interior rooms and exterior spaces of your barndominium home. I like to think of lighting as a starting point for design, rather than being left until a last thought.

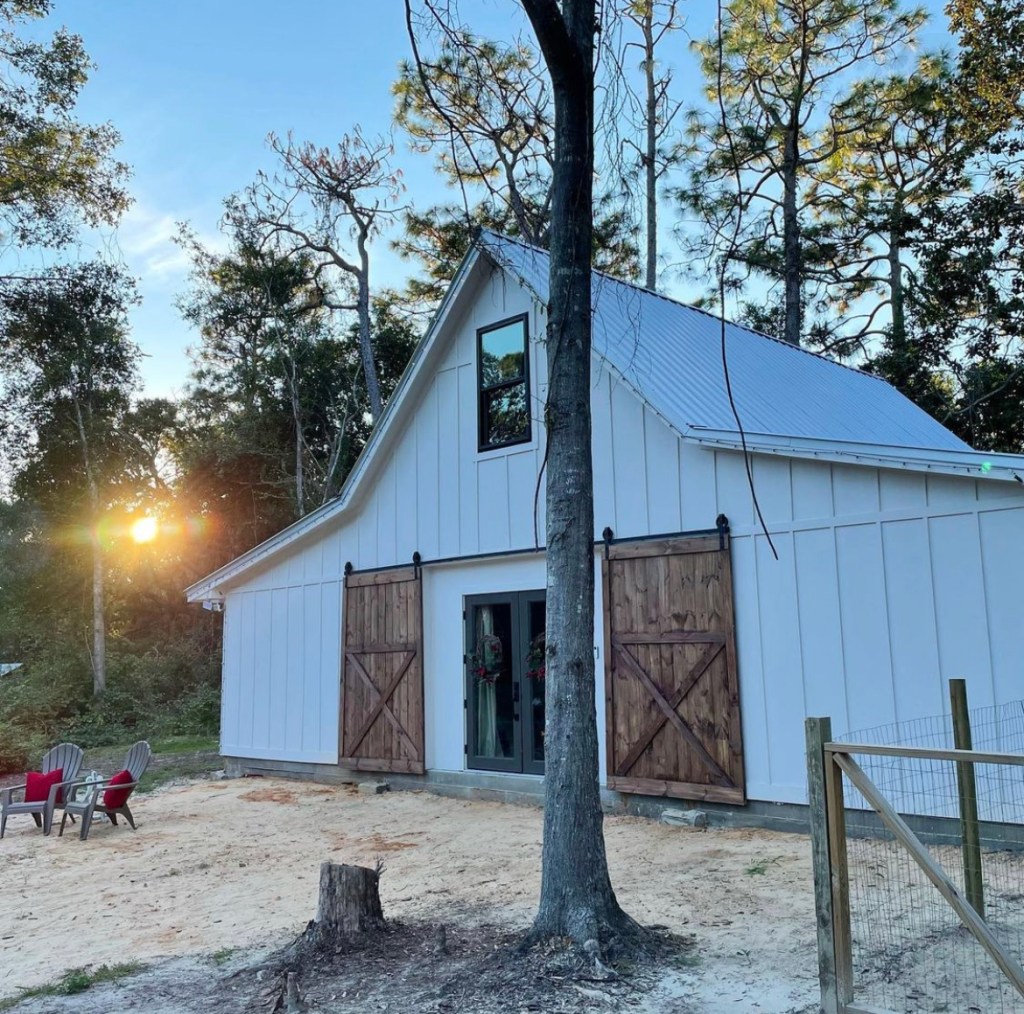
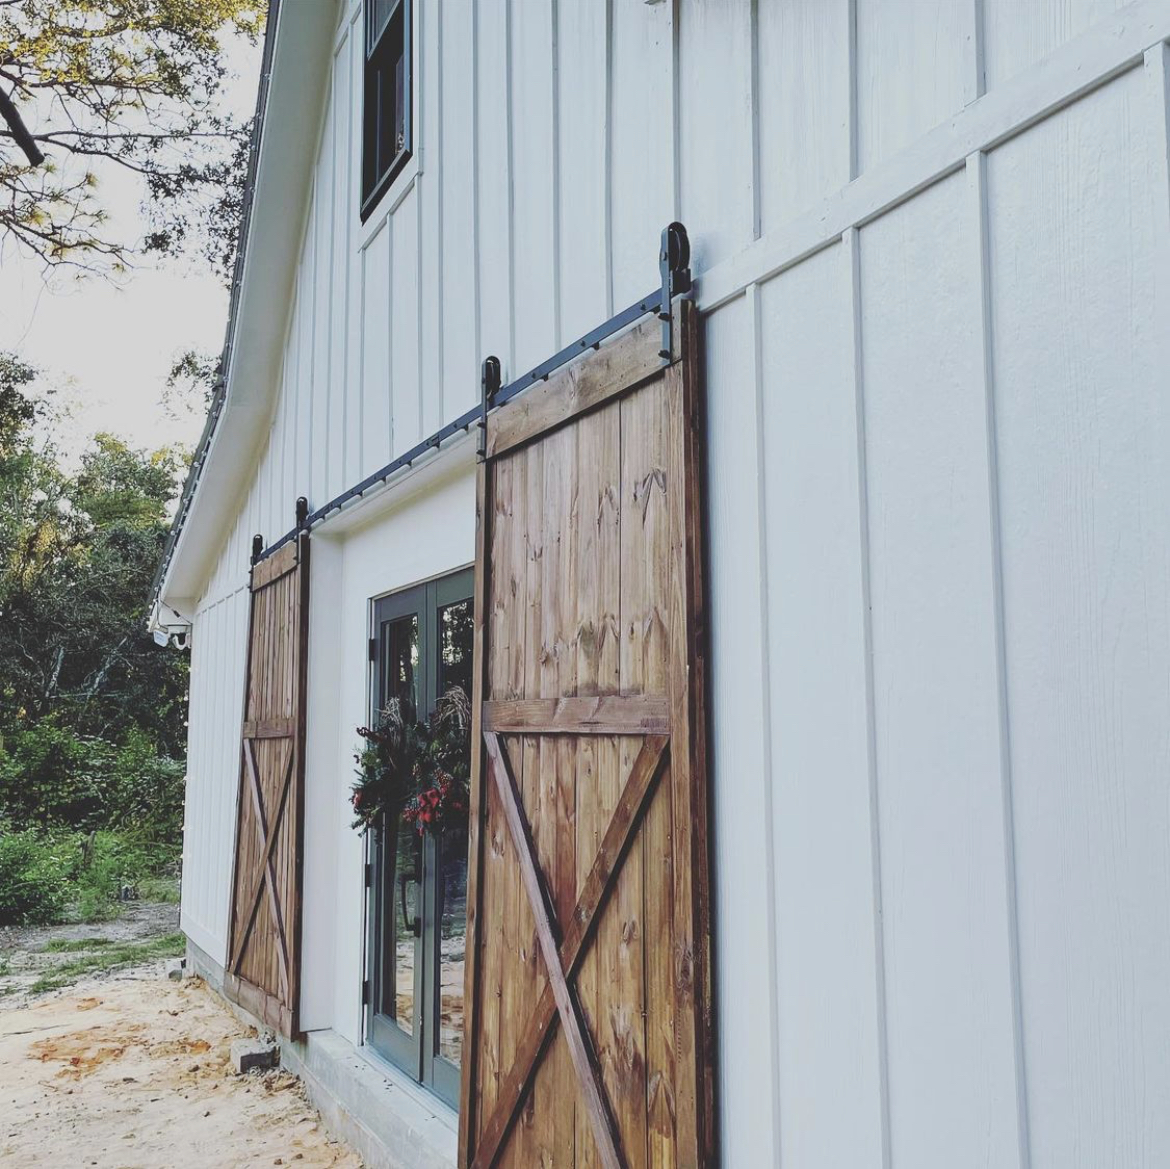
Our Kichler Pier 1 Outdoor Wall Light is the perfect mix of vintage industrial, which blends well with our design of our barndo.

The Pier 1 Outdoor Wall Light has a bright white interior and black matte caged design. The cage is removable. This light provides ambient lighting, which provides an overall illumination to the space. It is perfect for a patio, porch or entryway! 

Industrial Lighting 

What is Industrial?

“Industrial has been transforming over the past few years into a more detailed and refined, aesthetic characterized by more sophisticated finishes. With fine detailed and polished surfaces that owe as much to fine furniture and high end jewelry as they do factories and industry” 
– Greg Martin, Kichler Lighting Creative Director

What Components Make Up Industrial Lighting?

Traditionally, these lights are made of dark-toned steel and wood that are unfinished or distressed. Features can  include clean lines with exposed bulbs, metal and wire cages mixes old world charm.

How to Mix Finishes, Materials and Lighting

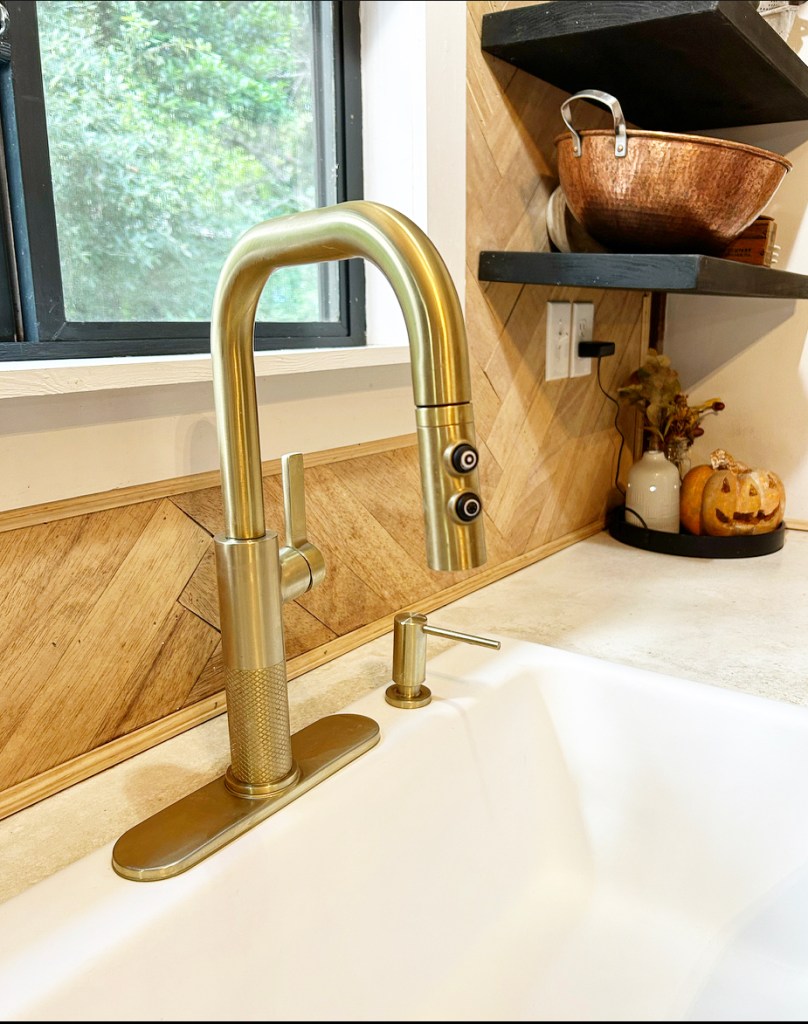
By incorporating different finishes and textures, you can create a warmth and cozy feel to your home. Styles do not need to be matchy in order to open the doors of design. Simply by adding just the right amount of finishes and textures, you can successfully mix modern farmhouse with rustic and refined lighting.

Take for example our master bedroom lighting of choice. We choose to go with Kichler’s Cavelli Ceiling Fan in black matte for an industrial look.

The Cavelli Ceiling Fan makes a statement in our master bedroom. I love the vintage industrial, two-tone finish. A unique ceiling fan with gorgeous  fixture design on the outside with the benefit of a ceiling fan on the inside.

Cavelli is a great size for smaller spaces like our bedroom, reading nooks or gallery kitchens. It can be used for multiple installations in larger living and entertaining areas.

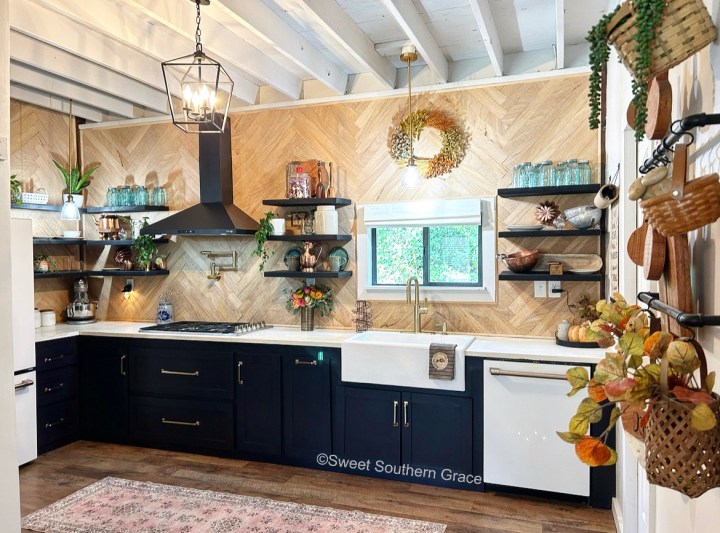
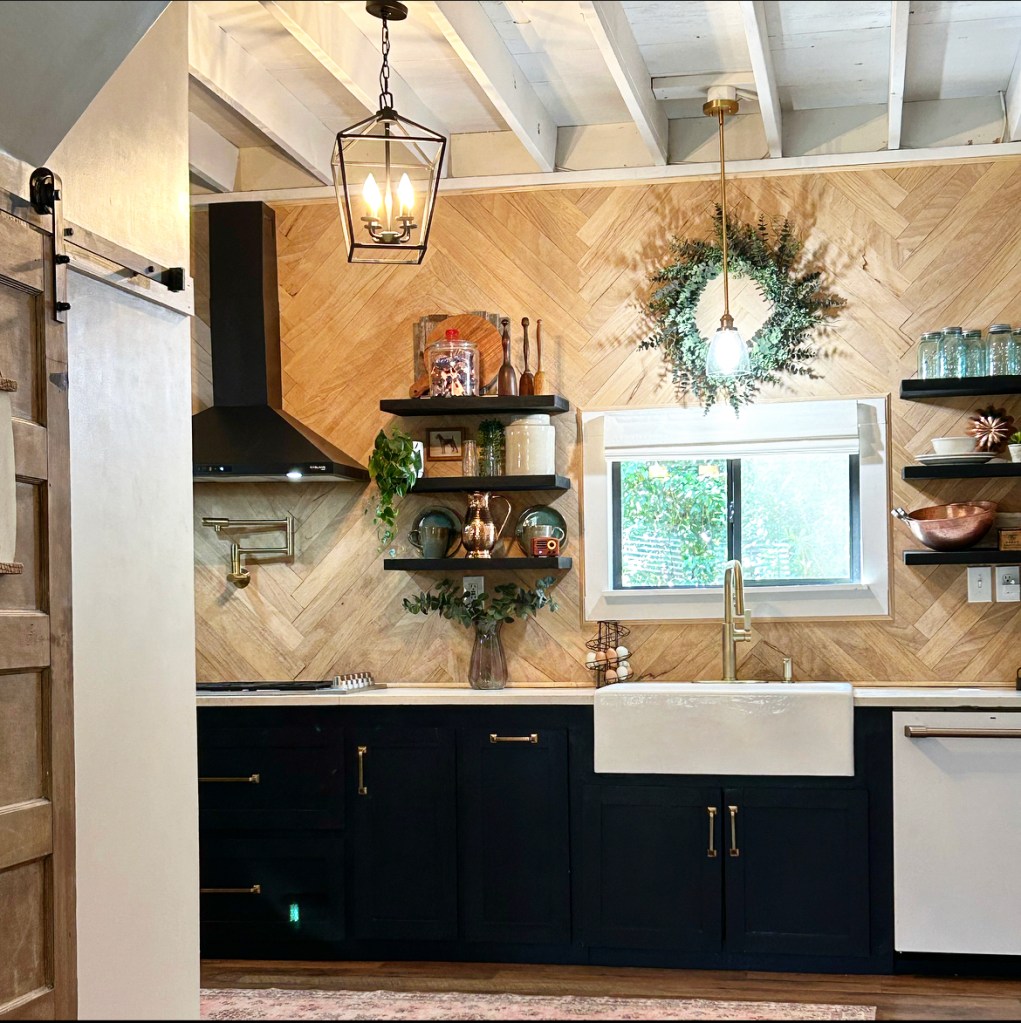
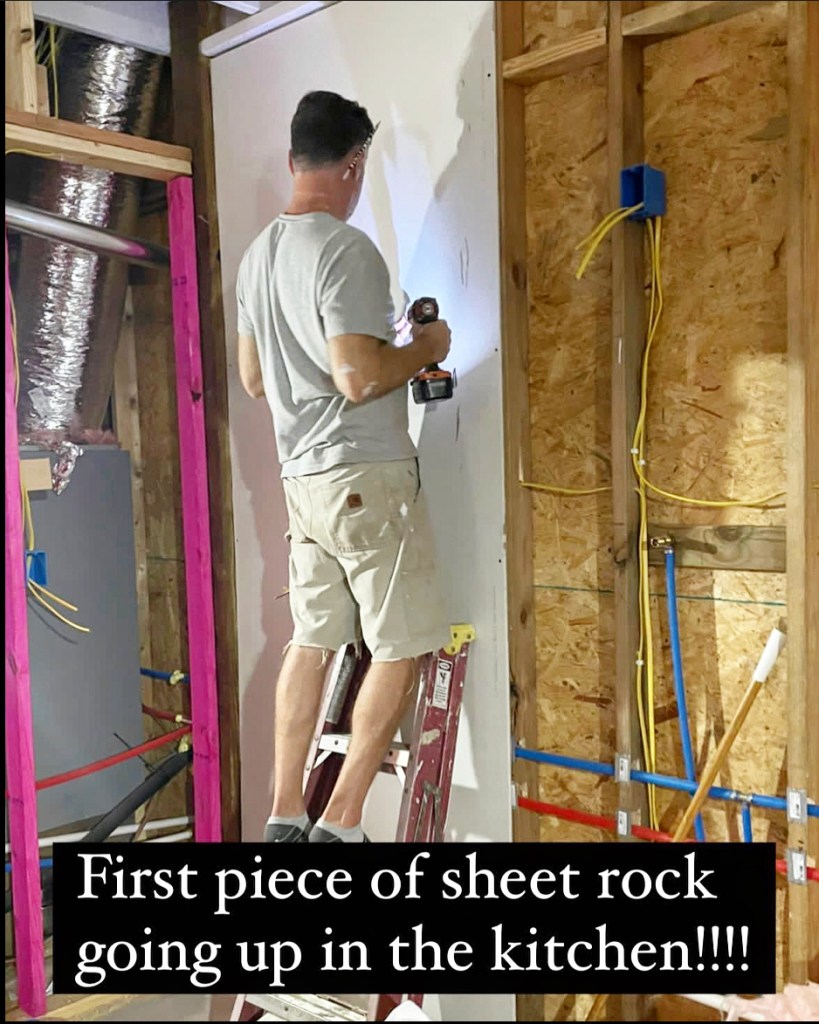
In barndominium design, most often you’ll see the living space, dining area and kitchen connected. It’s important in this type of floor plan to be consistent across all rooms. This doesn’t mean all finishes or styles have to match, it just means the overall flow of all three rooms should flow well together.

So yes, you can choose black matte, gold matte and glass finishes together! Want to go bold with your ceiling lighting? You can with larger spaces, as they can take more daring pieces but don’t shy away from unconventional lighting in smaller spaces!

Kichler’s Gimbal Direct to Ceiling lighting was our choice for our living room. The LED Downlight is designed to provide a 360-degree adjustable light source with a 30-degree tilt, for directional lighting to highlight architecture, walls and artwork. Easy snap-in clips for quick and easy installation!! 


With that, I hope you have enjoyed stopping by! We sure have enjoyed y’all’s visit! As always, if y’all have any questions, please feel free to reach out here or on IG through DM!


Barndominium Kitchen Reveal

Barndominium Kitchen Reveal

{This post contains sponsored links. The items featured and linked in this post were all provided by Pfister, Hickory Hardware, DIY Cartel , Zline, Concrete Countertop Solutions ZForm , Select Flooring, Vintage Tub and Bath, Urbandi and Kira Home Lighting; I could receive a small commission if you purchase from one of my links; all opinions and reviews are my own.}

IMG_3669

BARNDOMINIUM KITCHENS 

Ahhhh, barndominium kitchens!! The ideal blend of rustic charm and modern farmhouse.

You will most often see features like exposed beams and barn doors, that just evokes, a sense of history and nostalgia.

A barndominium kitchen typically feature all of the amenities of a modern kitchen, including high end appliances and stone countertops, with an open design plan.

{Full sources available at the bottom of the page.}

Are you in the process of designing a barndominium and are unsure of how to design the kitchen? It can be so overwhelming with all the different choices to make; from tile selections to cabinetry to countertops or fixtures! Let us take you through the process and we will share what we’ve learned during the build of our barndominium kitchen.

DESIGNING WITH WOOD FINISHES

A kitchen will be one of the most important spaces in your home and it will also be the biggest expense. Will your kitchen be a place for cooking and entertaining, or will it be more of a private space for family meals?

You will also want to consider the layout of the room and how you can best utilize the space. Think of how each nook and cranny can be utilized in your space. Functionality is your best friend when you’re designing your barndominium kitchen.

CHOOSING FINISHES 

One popular kitchen design trend is to use wood in your home! Try adding wood as decor or add wood for countertops, open shelving and feature walls. This gives your kitchen an rustic feel.

Another way to add interest to your barndominium kitchen is with the mixing of finishes. For example, in the above photo, I have the color Champagne Bronze for the cabinet hardware, mixing it with black matte metal for our light fixture. Paint is an excellent way to add color to the walls, in a light, neutral shade and then use accent colors to add pops of brightness. Painted cabinets are also a great choice for pops of color! Try wallpapering, a wall, for an accent pop wall! And don’t forget about lighting – pendant lights are a amazing way to bring some personality into the space.

APPLIANCES AND FIXTURES

When it comes to choosing the right appliances and fixtures for your barndominium kitchen, there are a few things that you need to keep in mind. The first is the size of the space. You will want to make sure that you choose appliances and fixtures that are the right size for the room. Secondly, consider the style of your home. You will want to make sure that the appliances and fixtures you choose, coordinate with the overall style of the house; especially if your floor plan is open, as most barndo’s are designed with open floor plan in mind.

CABINETS

When choosing cabinets for your barndominium kitchen, there are a few things to keep in mind. First, like your kitchen, think about the overall style of the space & style of your home. Are you going for a rustic look or modern? Second, consider the function of the kitchen and what it will be primarily used for: cooking or entertaining? Lastly, the budget. There are thousands of different materials and finishes to choose from, so it’s important to find something that fits both your style and your budget.

BARNDOMINIUM KITCHEN REVEAL

Well, you can not have a reveal without a few before photos, right?

IMG_1761

In the photo above, we are adding insulation to our kitchen walls.

In the photo above, we added our first piece of sheet rock to the kitchen! We were so excited about every step we would make while self-building! It has given us such a greater appreciation for what we have.

IMG_1764

In the photo above, we added our countertop base.

The photo above is the concrete frame for the white concrete countertops.

The photo above shows were we began the first white concrete countertop. You can read about how we DIY-ed our white concrete countertops, here and watch the reel on IG here.

Next was the wood herringbone pattern backsplash. I was so excited about my idea to add the wood shiplap in a herringbone pattern!! My husband did a fantastic job executing my idea! This is where I really began seeing my vision come to life and I was so excited!!! After all, we had been dreaming, designing and planning for a year and a half at this point!

IMG_1769

Adding the open shelving. We DIY-ed half of these and the other half was a collaboration with Urbandi. You can check out that reel here, on IG.

Adding the cabinets and drawers to the kitchen!

We built all of the cabinets and drawers from pine. I chose the color Dark Kettle Black by Sherwin Williams, which was color matched from Benjamin Moore.

Adding cabinet hardware and trim to the kitchen.

Last, but certainly not least, flooring!

Originally, we had planned to have concrete floors but the sealer we used wasn’t the correct one and it basically came off. Our feet were not happy, from walking on the concrete floors, during the day. I also was thinking of safety for grand babies, so we decided to go ahead with the same flooring that we used upstairs in our loft. You can check out that blog, here or the reel on IG.

One other space to think about in your kitchen is a pantry or food storage space. We chose to use the underneath part of our stairs and make a pantry to enclose under the stairs. You can check out the products we used here.

FINAL THOUGHTS 

We designed our barndominium kitchen to maximize the functionality of our kitchen, without compromising the style we love. We also chose finishes that would reflect farmhouse design. Barndominium kitchens encompass a wide range of different themes and styles. From open space and minimalistic to modern designs, the kitchen style reflects that of the homeowners. Our kitchen prioritizes functionality without comprising an aesthetic look. There are a number of storage solutions you can easily install into your own kitchen to maximize space while enjoying your barndominium kitchen! We feel extremely grateful to have a finished space! Living in our camper for almost a year, as we have self-built, then living in our unfinished home, has been a gift. Thank you for taking the time to invest in our family. If y’all have any questions, please feel free to reach out here, email or IG!

List of products we used during our kitchen build:

Montay Faucet in from Pfister. The Montay is a one hole installation with Advanced Pforever Seal technology to prevent leaking. Montay hits the spot. A home run, hit it outta the park type. Actually, it hits all the right spots. Sleek and statuesque with just a taste of raw-edged industrial design, it flows seamlessly with our barndominium kitchen. In our 25 years of marriage, hands down, Pfister Faucets are the way to go! We have used every faucet brand out there and we always keep coming back to Pfister. Pfister and I would love for you to be apart of the Pfister family! A company that stands behind all of their products.

Lita Pot Filler is also from Pfister in Brushed Gold. Pforever Seal™ features an advanced ceramic disc valve technology with a never-leak guarantee! Lita’s simplicity and elegance in an effortlessly sleek design. Lita features 2 swivel points, with extended reach, across the counter and stovetop. An additional lever at the nozzle offers added convenience so you can control water flow at the tip of your fingers. If you have ever relished in the idea of a pot filler, get one! I love having the convenience of a pot filler on those busy nights with your family!

Zline Appliances (Stove, Oven & Microwave) you can read that blog with links, here.

Our cabinet hardware is from Hickory Hardware. We chose their 5 inch and 12 inch Forge Cabinet Pulls in Champagne Bronze that give off that farmhouse chic design-the jewelry to your kitchen cabinets! I love that Hickory Hardware has been DESIGNED IN THE USA SINCE 1893!

The gold pendant lighting is from Kira Lighting and the black lighting is from Amazon.

How We Built Our Barndominium-With Our Own Hands

During the summer of 2020, my husband and I decided that we would place our house up for sale and move to the beach! The housing market was booming for homeowners and we decided it would be the best time to sell!

ED3FB364-9D49-4EA3-9C34-6068963036F8

Our home sold within the first week of having it listed and thus began our plan of homeownership via paying cash! We settled on building a pole barn that we would live in temporarily while we built our forever home! The pole barn quickly became our barndominium! We chose to build our barndominium at the size of 30×40!

Researching is Key

Researching is key if you are thinking about undertaking a large project like building your own barndominium. This project has consumed us for months, but it has allowed us to build almost everything ourselves and it has been so worth it! When we would shop for estimates, we shopped until we found a price we liked!

The photo below is the backside of our property and where our barndominium currently sets.

9B75C7D3-18E0-40CA-BD80-00C9CFC4B5B1

Finding Land

The very first item on our agenda was the land! We knew a quaint little beach town that we wanted to grow old in and began driving around looking at property in July of 2020.

The photo below is the beach across the street from our property!

F6001076-5A34-423F-AC18-F06678487D73

We began looking up owners of properties in the town from the plot map, to begin writing them, asking them if we could purchase their land. We had found a couple pieces of property, when my Father-In-Law reached out to us, who happened to live in the same quant beach town and asked us if we would like his property. We were shocked and so happy! Thus began our dreams of building a Pole Barn with an attatched Guest Suite.

In this photo, my husband had begun clearing our land. This is about two days into it!

BB51405F-37CB-4AC6-B7A2-09C22D879562

Clearing the Land

Next on the agenda was assessing the property. The property was not in the best shape. In fact, you could hardly see it with all of the overgrown trees.

This is the very first picture that I took of our property. This is the front side of our property.

D01481E7-DF58-4A88-9D11-790184DEEF3D

There was also a older mobile home, a storage building plus seven junk cars that had been setting on the property for years, along with a boat plus a good amount of trash to clean up.

Below in this photo, my husband was removing the last of the junk cars!!! This was car number seven!

BFF81687-4E23-4AF0-9BA8-DDAE3093386E

We knew we needed to rent a tractor to clear the land and make a driveway. I also wanted to learn how to operate a tractor! I actually wanted to learn about anything that my husband was willing to teach me during this process!

B8E8F6D0-ED09-4528-A2A7-71C9369D3C01

Neither my husband or I had never used a tractor up until this point, but we learned! I think we enjoyed it too!

540F8420-0299-4936-836B-8E14E203D7A2

It was a lot of sweat equity work with taking out trees, pulling them down and across the road and watching my husband drop trees that stood seventy feet in the air!

95097FD0-9C54-4EA4-A412-22F05977837B

My parents would always be calling, when they saw our stories on Instagram and say to be careful! We also have our own portable sawmill that we plan to mill our pine and oak trees that we saved for wood countertops for our home.

Setting the Posts and Adding Fill Dirt

5F04DB1C-BAF5-49C9-ADE9-E7D981BAADC9

The first step was setting the posts! 

We also purchased two dumpsters of fill dirt from a local company. We rented another smaller tractor to help push the dirt out into the pole barn and help keep it evenly spread.

92A33F40-68CC-4911-8803-D02AFA3B4033

Leveling Out the Dirt and Adding Posts for Barn Doors

The next step was buying a laser to level out the dirt for the pole barn. We wanted to make sure we had the ground level!

75FB3A32-E02B-447C-858B-BB7324786EB4

We also rented a compactor to compact down the dirt. We also added two posts for the barn doors on the front!

FF631E1B-A942-4886-BD00-A3730F110829

Adding Footers and Rebarb 

Next we added a layer of plastic and the footers and rebarb. We also attached concrete wire to the rebarb. 

Concrete Pour for the Foundation

We did hire out this job because it was such a large job that we did not think we could handle the amount of work on our own.

093D6D3D-0C39-4A6E-9E2C-31DB3F0A736D

Plus, if you happen to mess up concrete, well, its a hard and expensive job to mess up on!!

So glad we hired this one out! Those concrete guys worked so hard! You can watch the video of our concrete pour here

Buying Windows and Doors

My husband wanted to go ahead and buy the windows and doors before framing, so he knew the size of the frames that he would need to be making for the pole barn. We went to Habitat for Huminity to find our windows and doors. We scored big and were able to grab almost everything we needed from Habitat for Humanity! Some of the windows and doors were used but some were new! We spent under $500 for all of our windows and doors! Check out our trip to Habitat for Humanity!

18329225-36F6-4BFD-8666-FE8AA6291958

Framing the First Floor

Framing the first floor went pretty fast.

We were able to get it all done in about two to three days.

9936BB2B-77C1-4506-B75A-512C3AF6A1A3

I learned to frame and framed one of the walls on my own! It is always so cool to learn a new trade!

Framing the Second Floor

We second story framing went faster than the first floor. We plan to use the two wings of the barndominium for attic storage and then the middle of the second floor as useable space. My parents came down to help us on a Saturday! Much needed!

Roof

We were able to frame the roof fairly quickly in about two weeks,  then added the galvalume roof.

My parents and my brother came to help for the putting the galvalume roof on! It took about two and a half days for the install on the galvalume roof! Not to bad for two old guys (both of our Dad’s) and two middle aged guys (hubs and bro). No pun intended 🤣


My parents and my brother came to help for the putting the galvalume roof on! My mom helped me with cleaning up debris, breaking up a pile of extra concrete and making lunch for our guys! Check out our reel on the installing of the roof! 

After Framing and Roofing

After our barndo was framed,  the next few projects were not nearly as overwhelming. My husband had general construction knowledge and we are both hard workers, willing to do whatever it took to bring our temporary home to life!! Anything we were not knowledgeable on, we turned to You Tube, family or friends that were experts in the subject area.

B6E7C545-8872-4024-9753-594CFC3896BC 

I built the exterior barn doors, myself, with the help of a couple assistants to cut and hold wood! Check out that process here!  It is truly amazing what you can learn to do if you have the willingness to learn! You might may some mistakes along the way, but just start over and try again!

 
CDFC3110-AB3D-4B5A-A880-01B26B95FE12

Our plan has been to do as much work that we can do on our own, to keep building costs as low as possible. This is a cash build and we had absolutely no plans to get any type of loan for our barndominium build or our forever home build! Our hope was to get the barndominium dried in and basic items checked off then take time to finish the remaining rooms. 

Home Depot Gift Card

We are almost completely done with the building process. Finishing up with sheet rock and paint over the next little bit! Would you like to guess at how much we spent on our Barndominium build? The first person to comment with the correct amount, I wil send you a $100 gift card from Home Depot!

1A62566A-1B2E-4A53-B9E5-C11DF8976FEE

Instagram Collabs

I have been so blessed to have a job that never feels like work to me! I couldn’t be happier as a blogger and a influencer on IG! I am excited to share in a blog post, soon, our barndomium reveal and which companies I collaborated with! Any questions, please don’t hesitate to reach out!

Love~Shae