
(This post contains sponsored links from Juicebox Charters. All thoughts, views and opinions are my own.)

What is Crab Island?
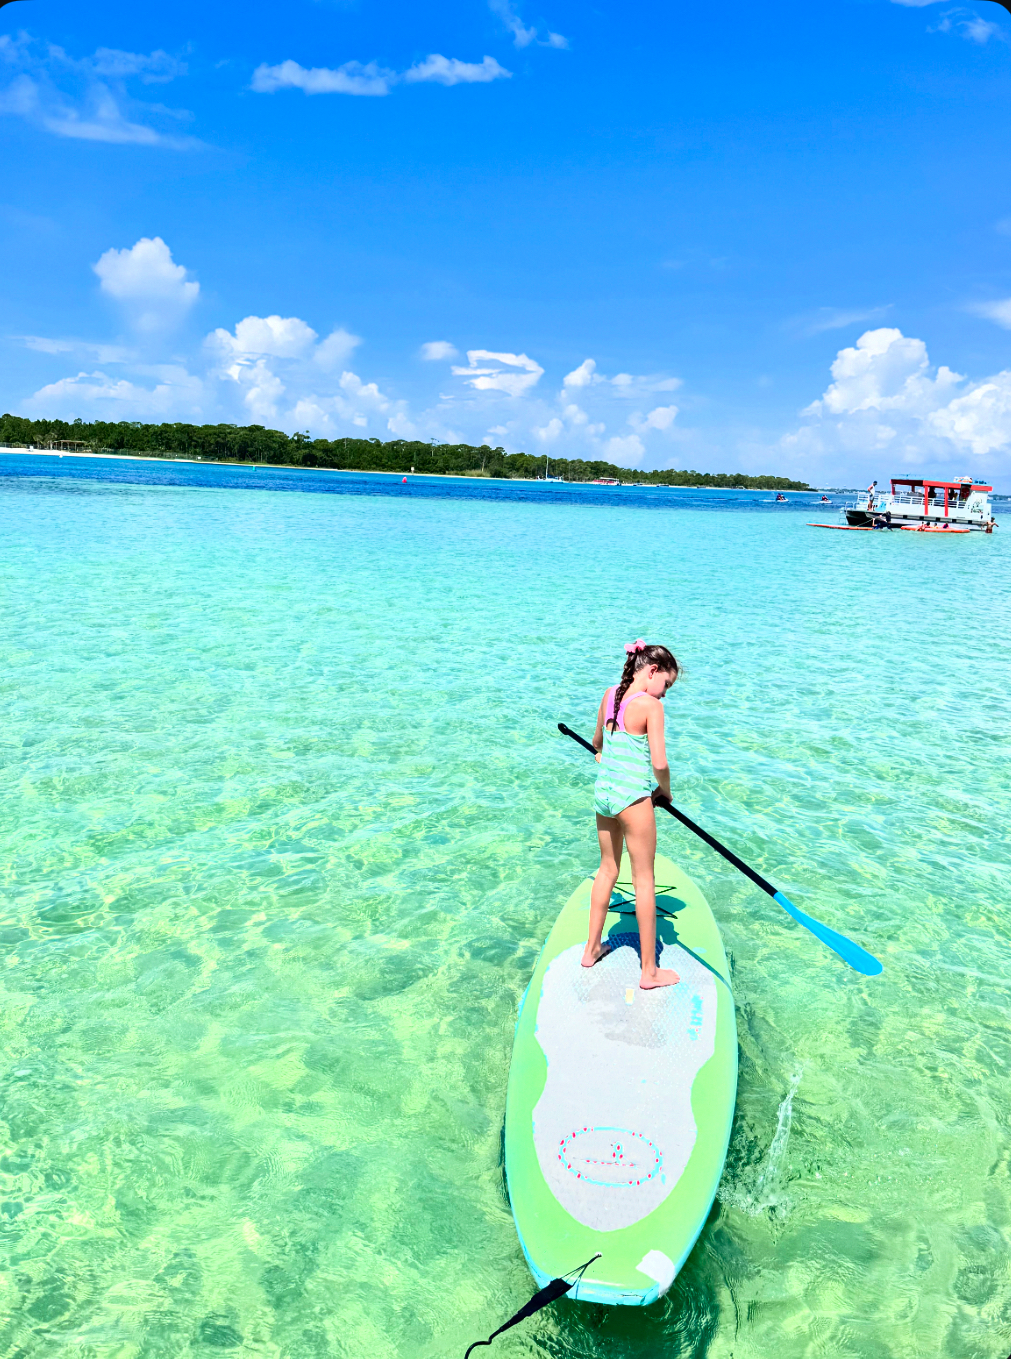
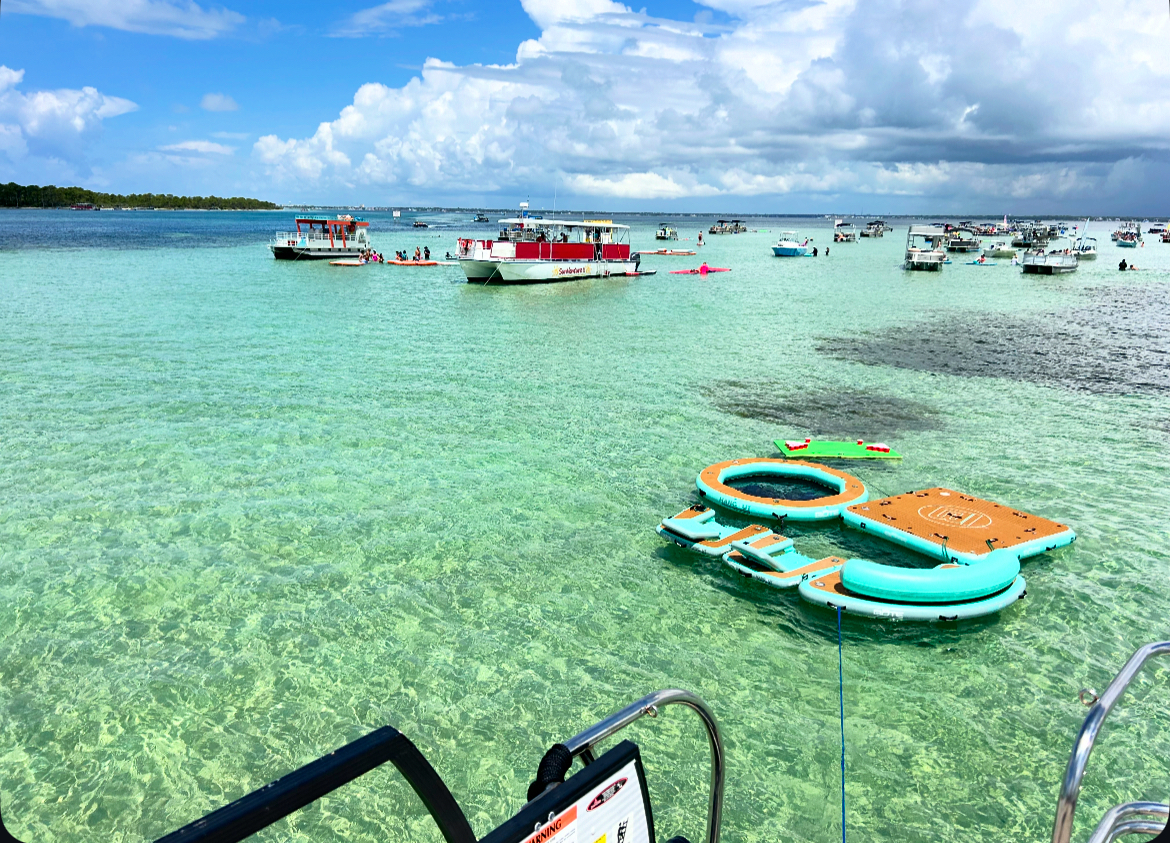
Crab Island is a massive sandbar located on the Emerald Coast in Destin, Florida! It is one of the most popular attractions in all of Destin! With it’s shallow, emerald green waters, dolphin sightings and floating restaurants Crab Island is one of the most favored activities, in the area! Did you know that Crab Island been featured on HGTV and Good Morning America?!
How deep is the water on Crab Island?
On Crab Island, the depth of the water is about 1-4 ft. It’s the perfect place to anchor your boat and enjoy the day! Check out my blog post here to read more about Crab Island and local spots in Destin/Ft. Walton Beach area’s.

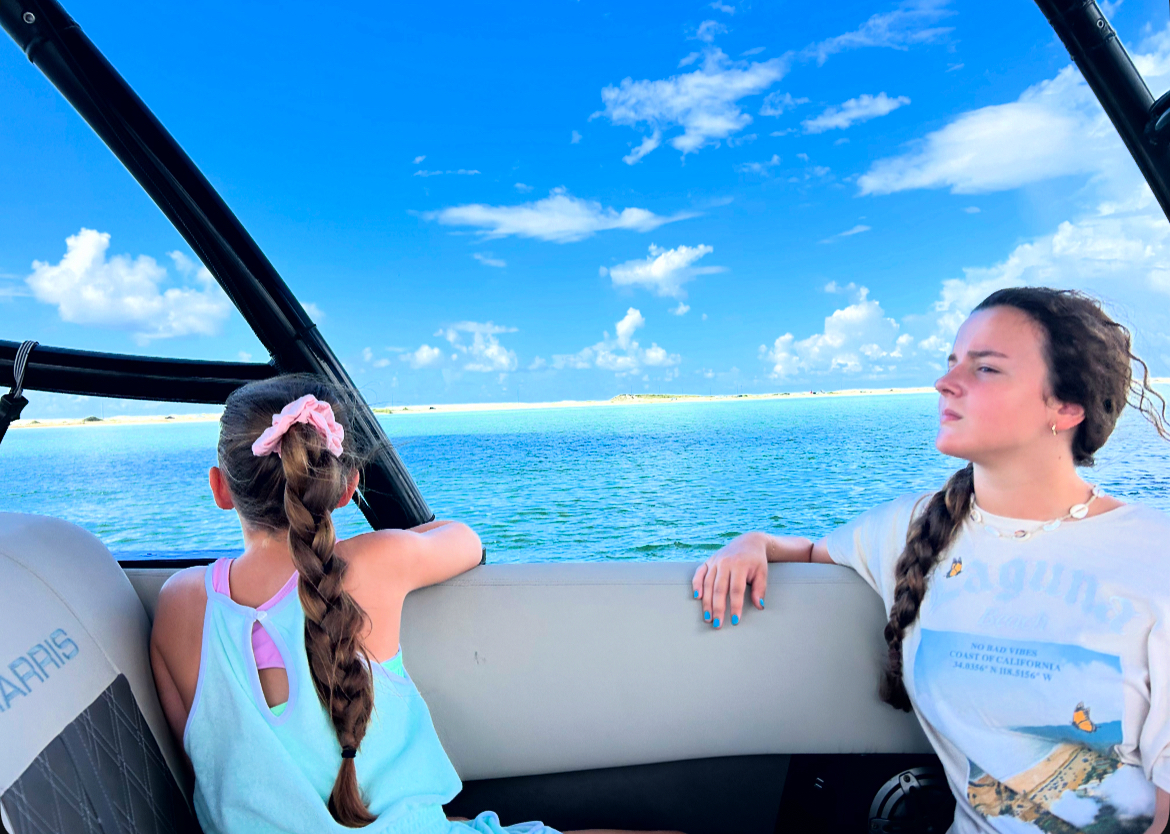
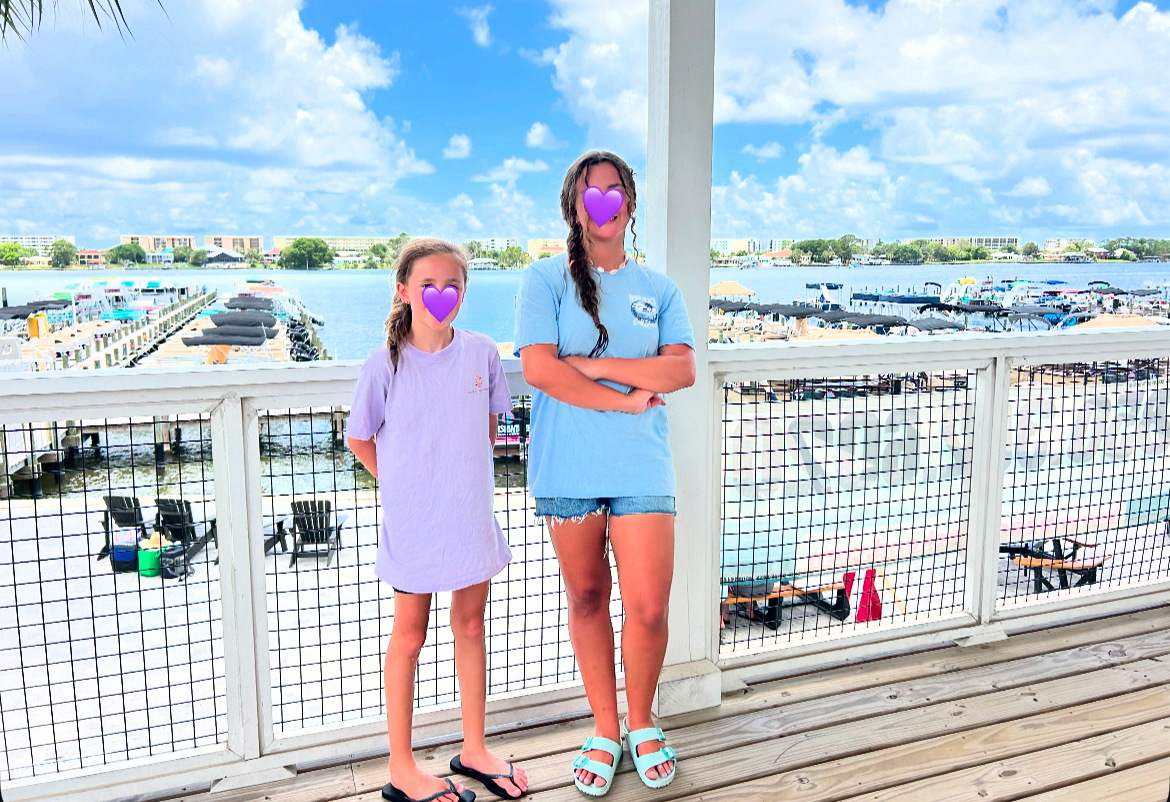
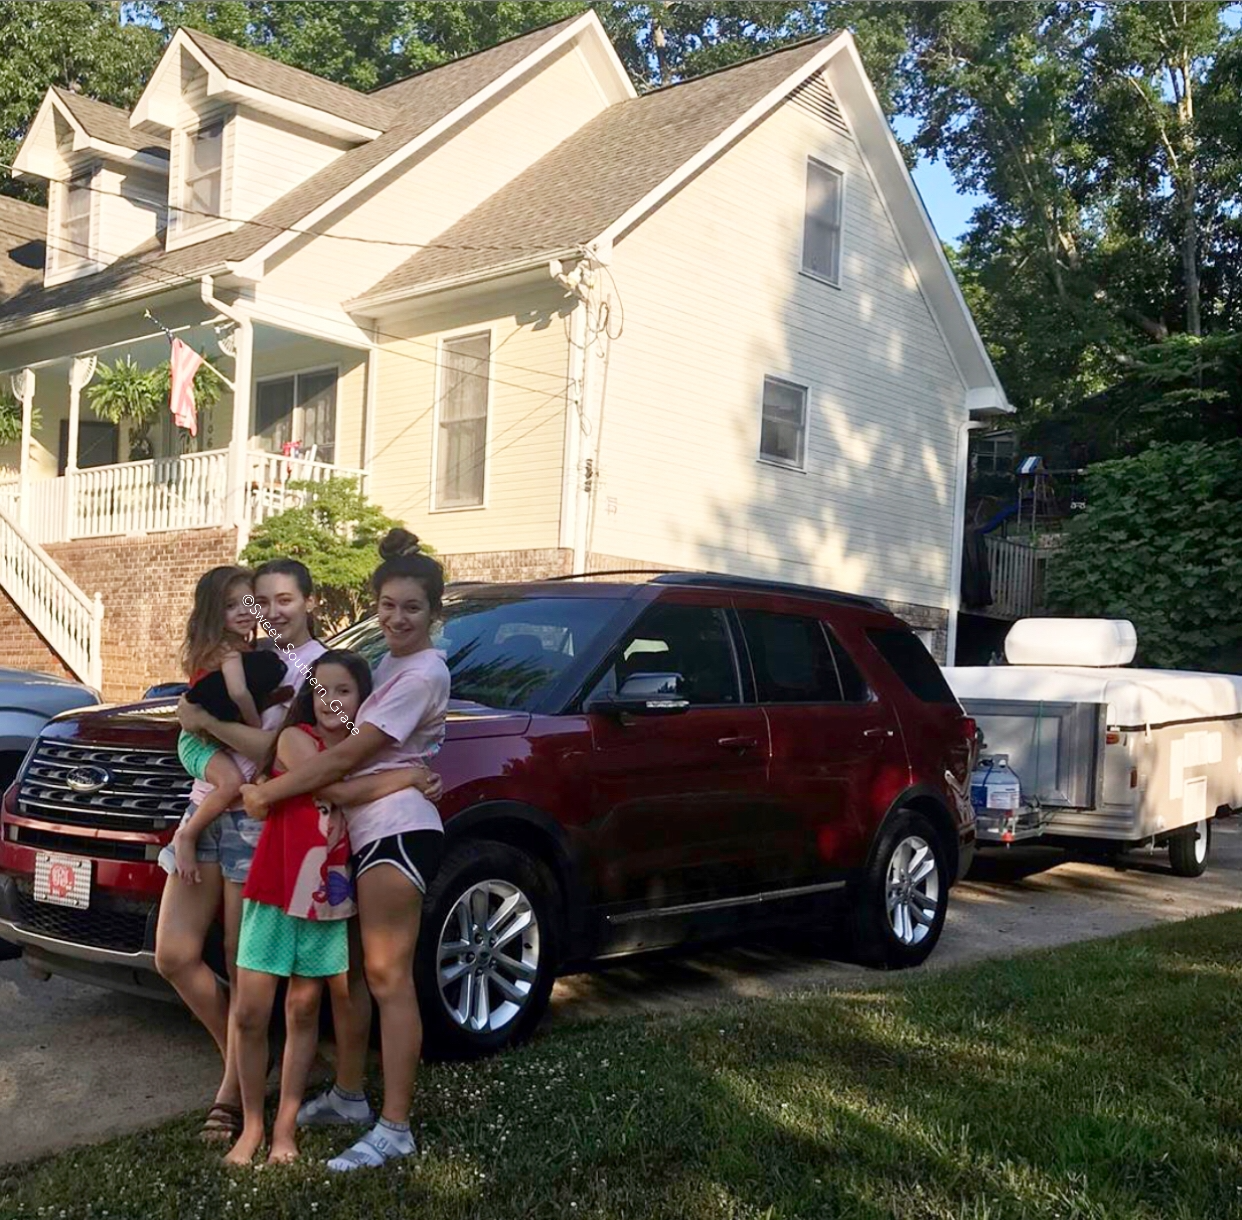
My husband and youngest daughter had a blast paddle boarding! My number three daughter and I, relaxed on the 2nd tier of the boat, up top! We also enjoyed walking around on Crab Island, visiting with restaurant vendors and vacationers. These views have blown my mind. I am constantly awe-struck of what an incredible place we live in! It’s absolutely beautiful here on Crab Island!

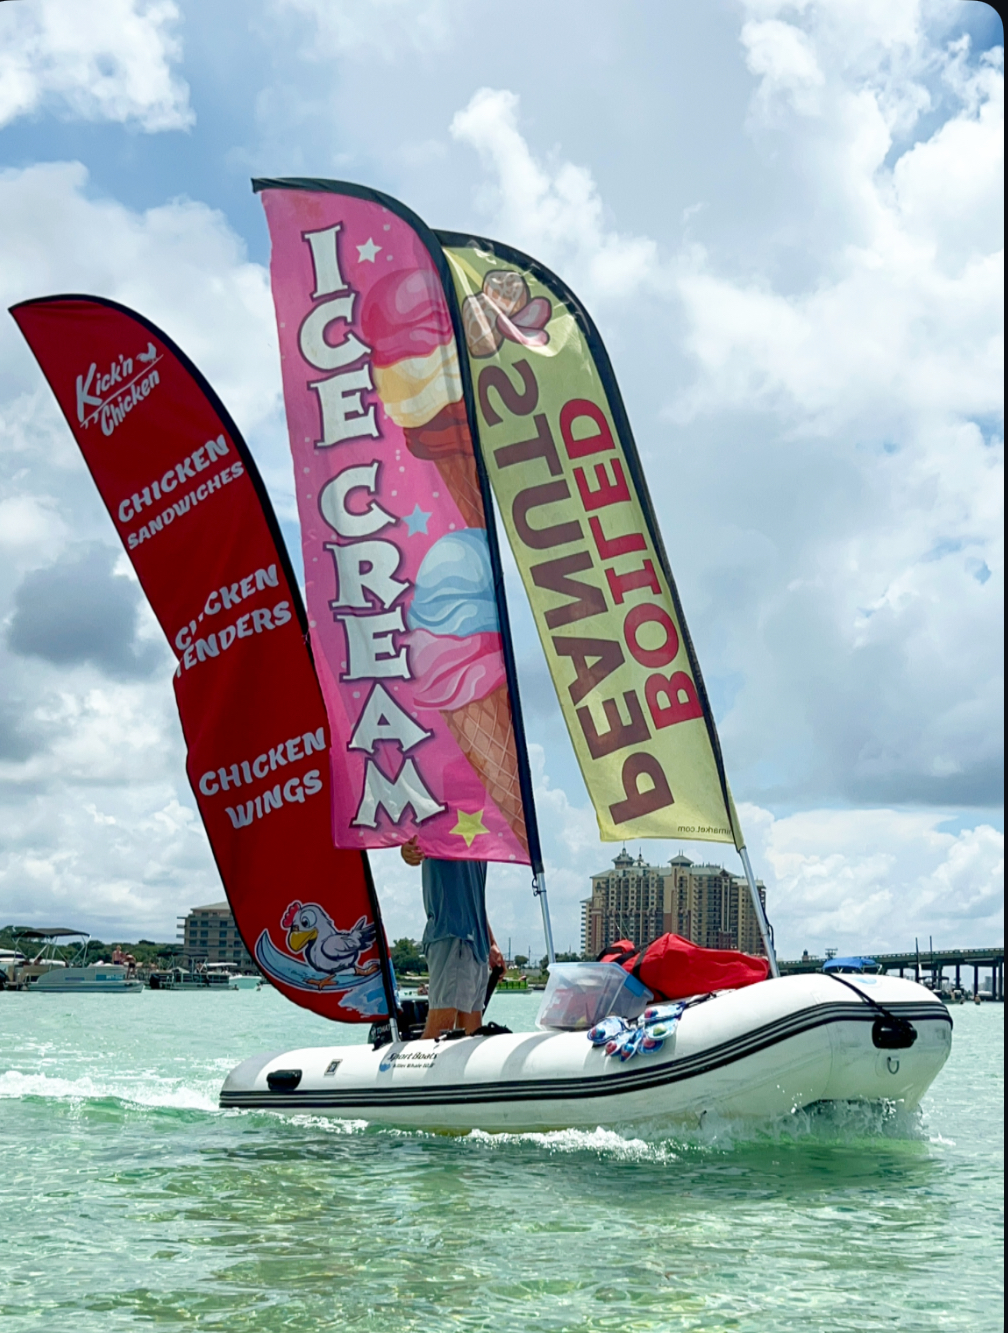
Floating Restaurants on Crab Island
There are many floating restaurants on Crab Island! From boiled peanuts, to grilled burgers and pizza or Chick-Fil-A! You won’t go hungry on Crab Island!
The General Store
The General Store on Crab Island has floats, sunscreen, googles, dry bags snacks, drinks and more! I think I even saw that they sold T-shirts!

Gulf Stream Ice Cream & Shaved Ice
Gulf Stream sells ice cream on the water, sort of like a boat ice cream truck! They will drive their boat, right up to your boat, on the water! So fun! They also have shaved ice!

Pirate Porky’s Pizza & Grill
For lunch, we did pizza & burgers. We decided to take one of the paddle boards over (included in your charter) to one of the floating restaurants! Such a fun experience!

Reef Burgers
Hungry for a 1/2 pound burger at sea? Reef Burgers did not disappoint!

My husband and I tried a burger a it was great! Their employees are super sweet, too!

Kluge’s Barbecue
They seek turkey legs, pulled pork barbecue sandwich’s, tacos and more!

Kick’n Chicken
Kick n’ Chicken sells tenders, sandwich’s, wings, ice cream and boiled peanuts!
Chick-Fil-A
You can even get your favorite chicken out here on Crab Island!!! Chick-Fil-A serves you in a boat and will deliver right up to your boat!!

Juicebox Charters
Sail away to the best sandbar in America with a private pontoon charter, guided by a USCG-licensed captain!

Let’s Plan a Trip
Planning a family outing day, a girls weekend, or a couple’s trip? A cruise through Destin Harbor, is the perfect way to explore the beauty of the Emerald Coast. Book your adventure today and let Captain Justin create a tailored and memorable charter for you!
Why choose Juicebox Charters?
The waters are pristine on the Emerald Coast and with Juicebox Charters, you can experience luxury on the open water. Their expert team is dedicated to providing an unforgettable adventure-whether you’re snorkeling in crystal-clear waters, island hopping, or simply relaxing aboard their comfortable, well-equipped vessels.
With a variety of customizable packages, Captain Justin will cater to your every need, ensuring your time with Juice Box Charters is as seamless, as it is memorable.
Experience and Affordability
With over 5 years experience operating a charter boat, rest assured that they have a track record of success in hosting your group.

Competitive pricing without surprise fees. The cost of your charter includes a luxurious, modern Harris Solstice double decker slide boat, two paddleboards, a full complement of Bote floats, a large cooler with ice and bottled water, an upgraded Bluetooth sound system, beer pong float, games, snorkel masks, net. You really only need sunscreen and towels! Check out my IG Reel for a complete video of our trip, here.
Beach Weekend Marina
Beach Weekend Marina in Fort Walton, is where you set off for your adventure, to Crab Island! The marina has a wrap around patio, which is an excellent way to enjoy a cold drink and enjoy an Emerald Coast Sunset.
Final Thoughts
Crab Island was a blast with Captain Justin from Juicebox Charters! The best pricing, which INCLUDES all you need for a trip to Crab Island! The boat is super clean and nice, no worries with being uncomfortable. The team from Juicebox Charters was amazing! Friendly, nice, very accommodating!! Our family loved it so much, we plan to go back again before the summer is over!!


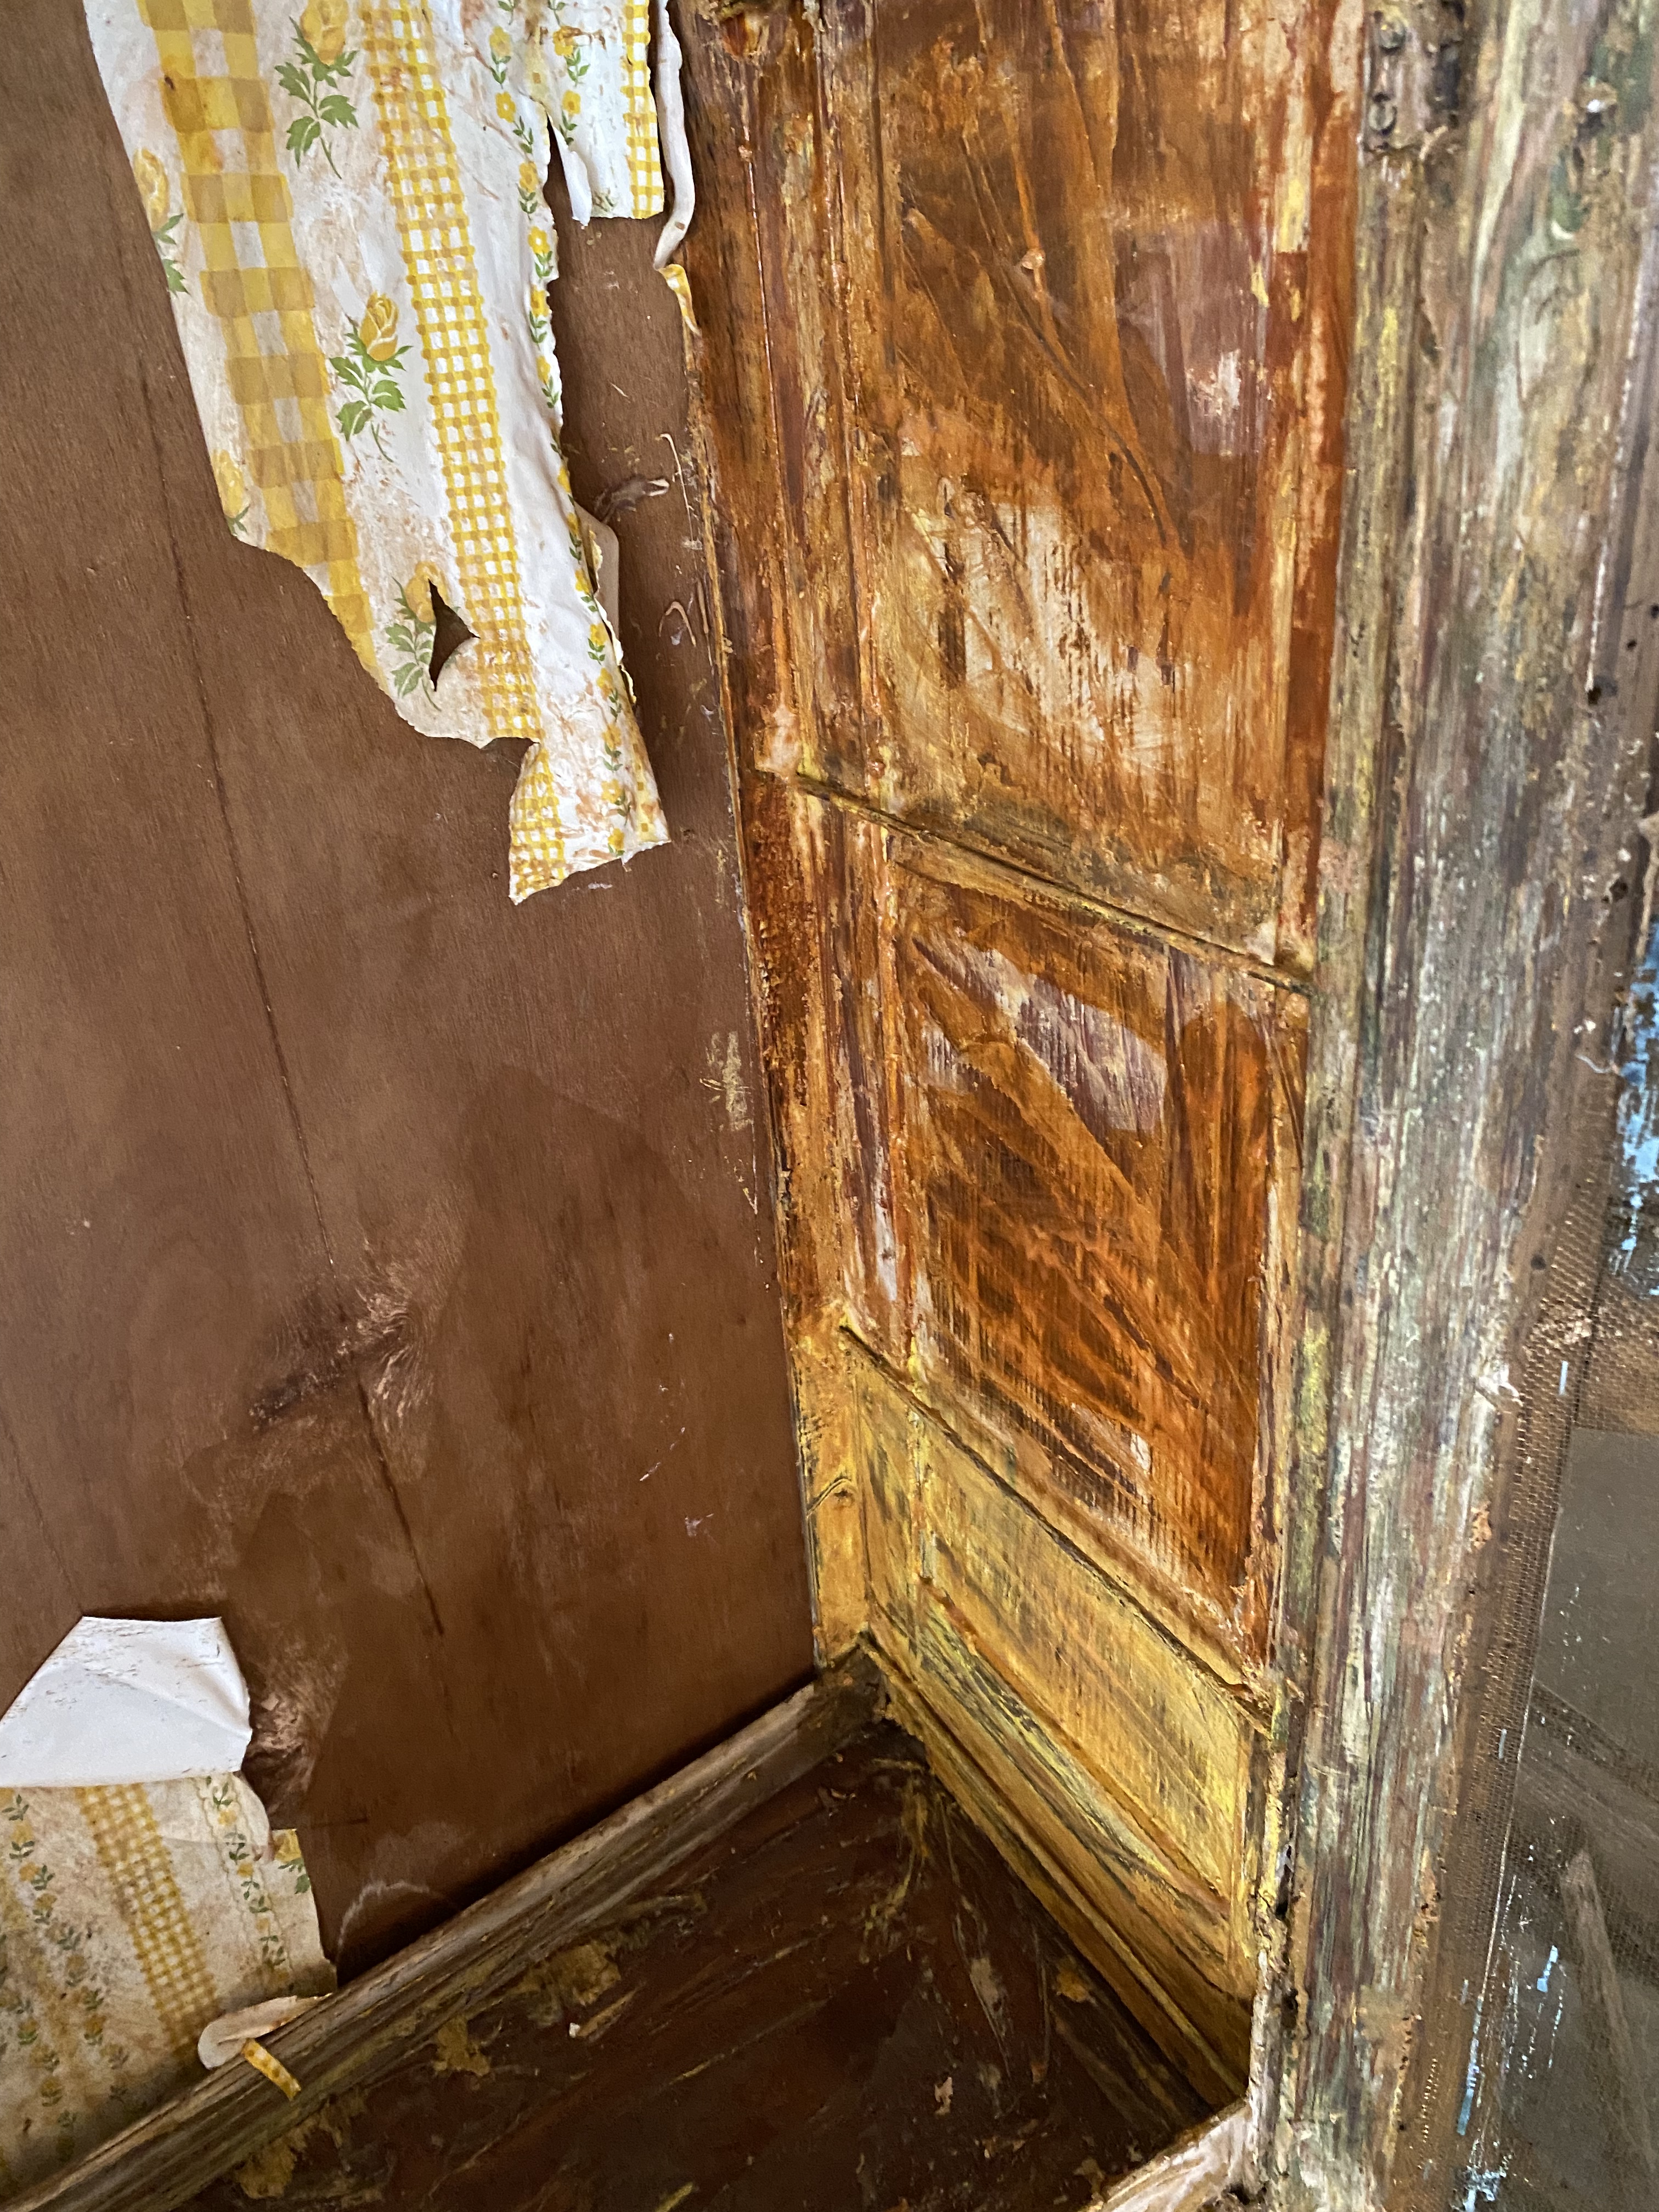
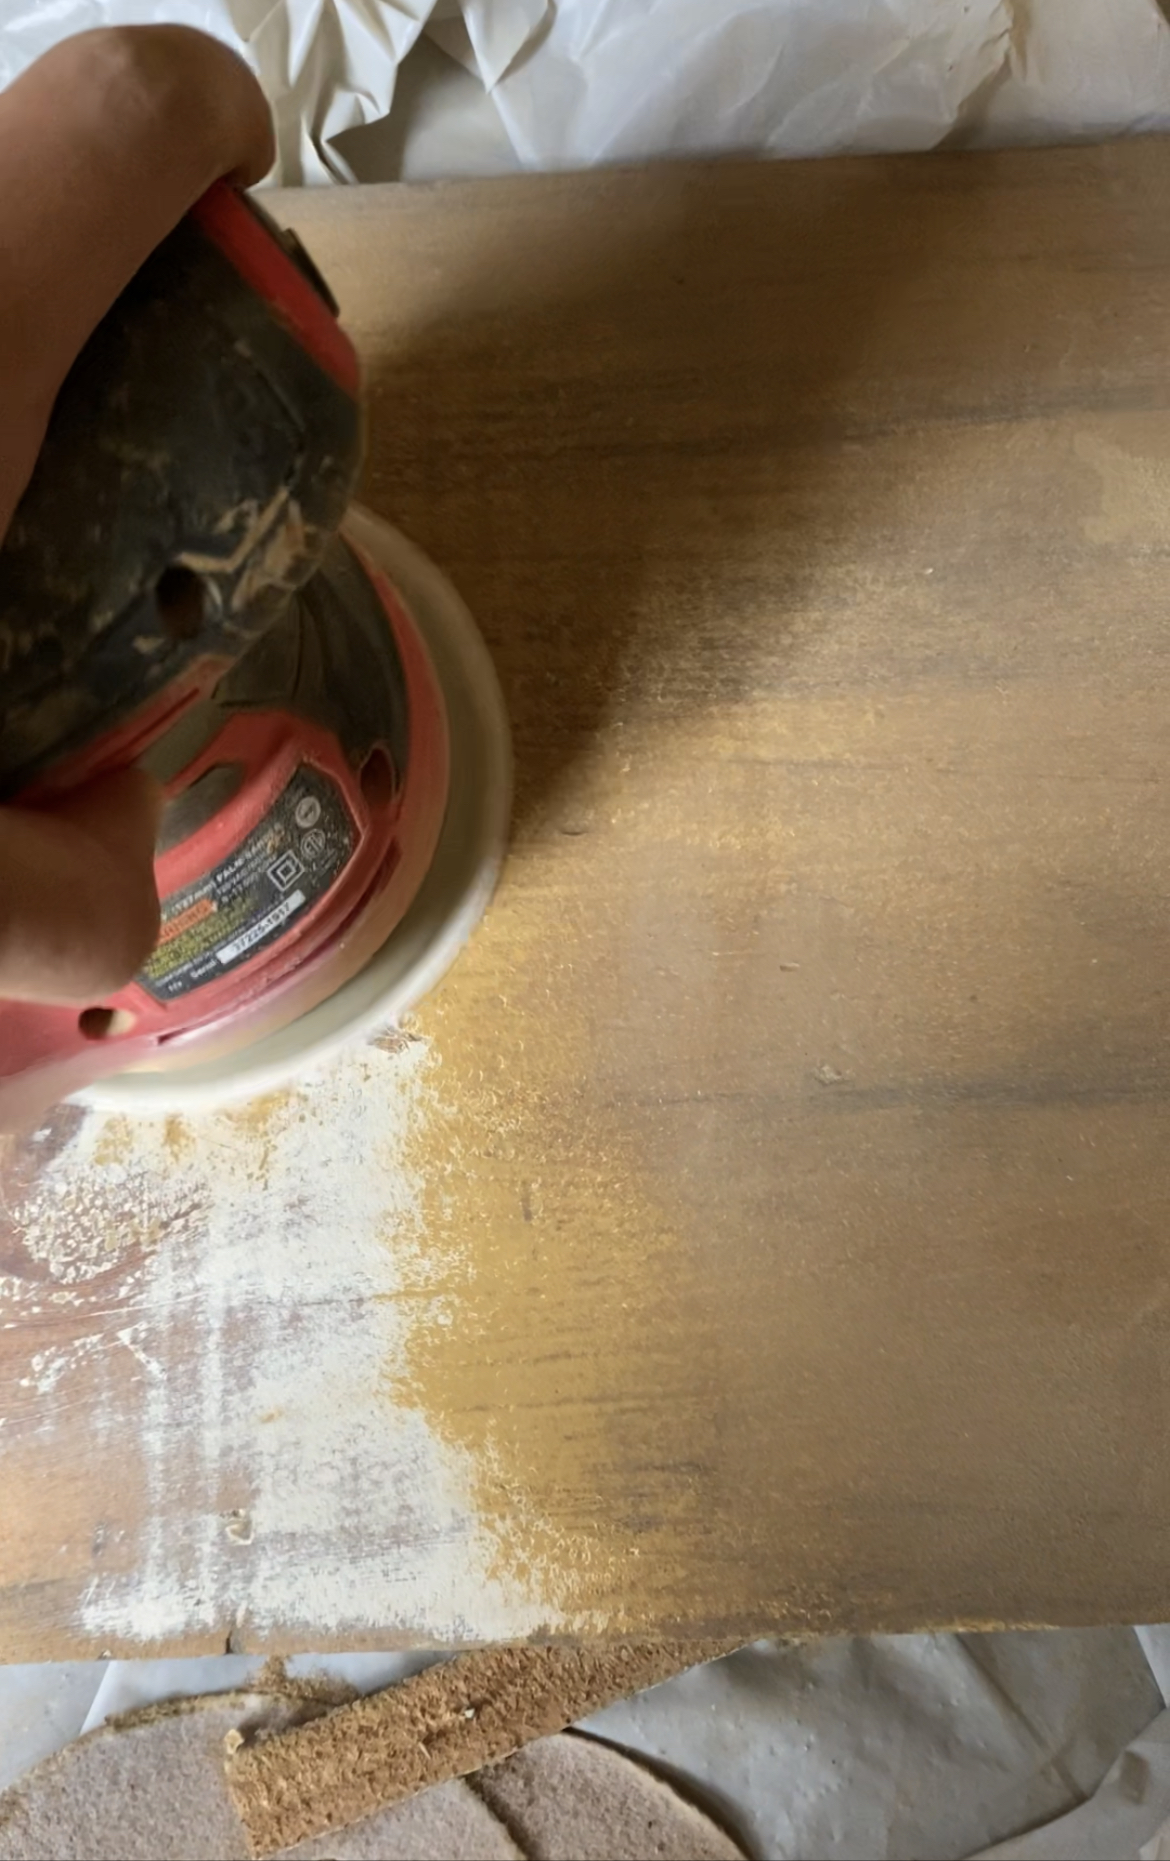
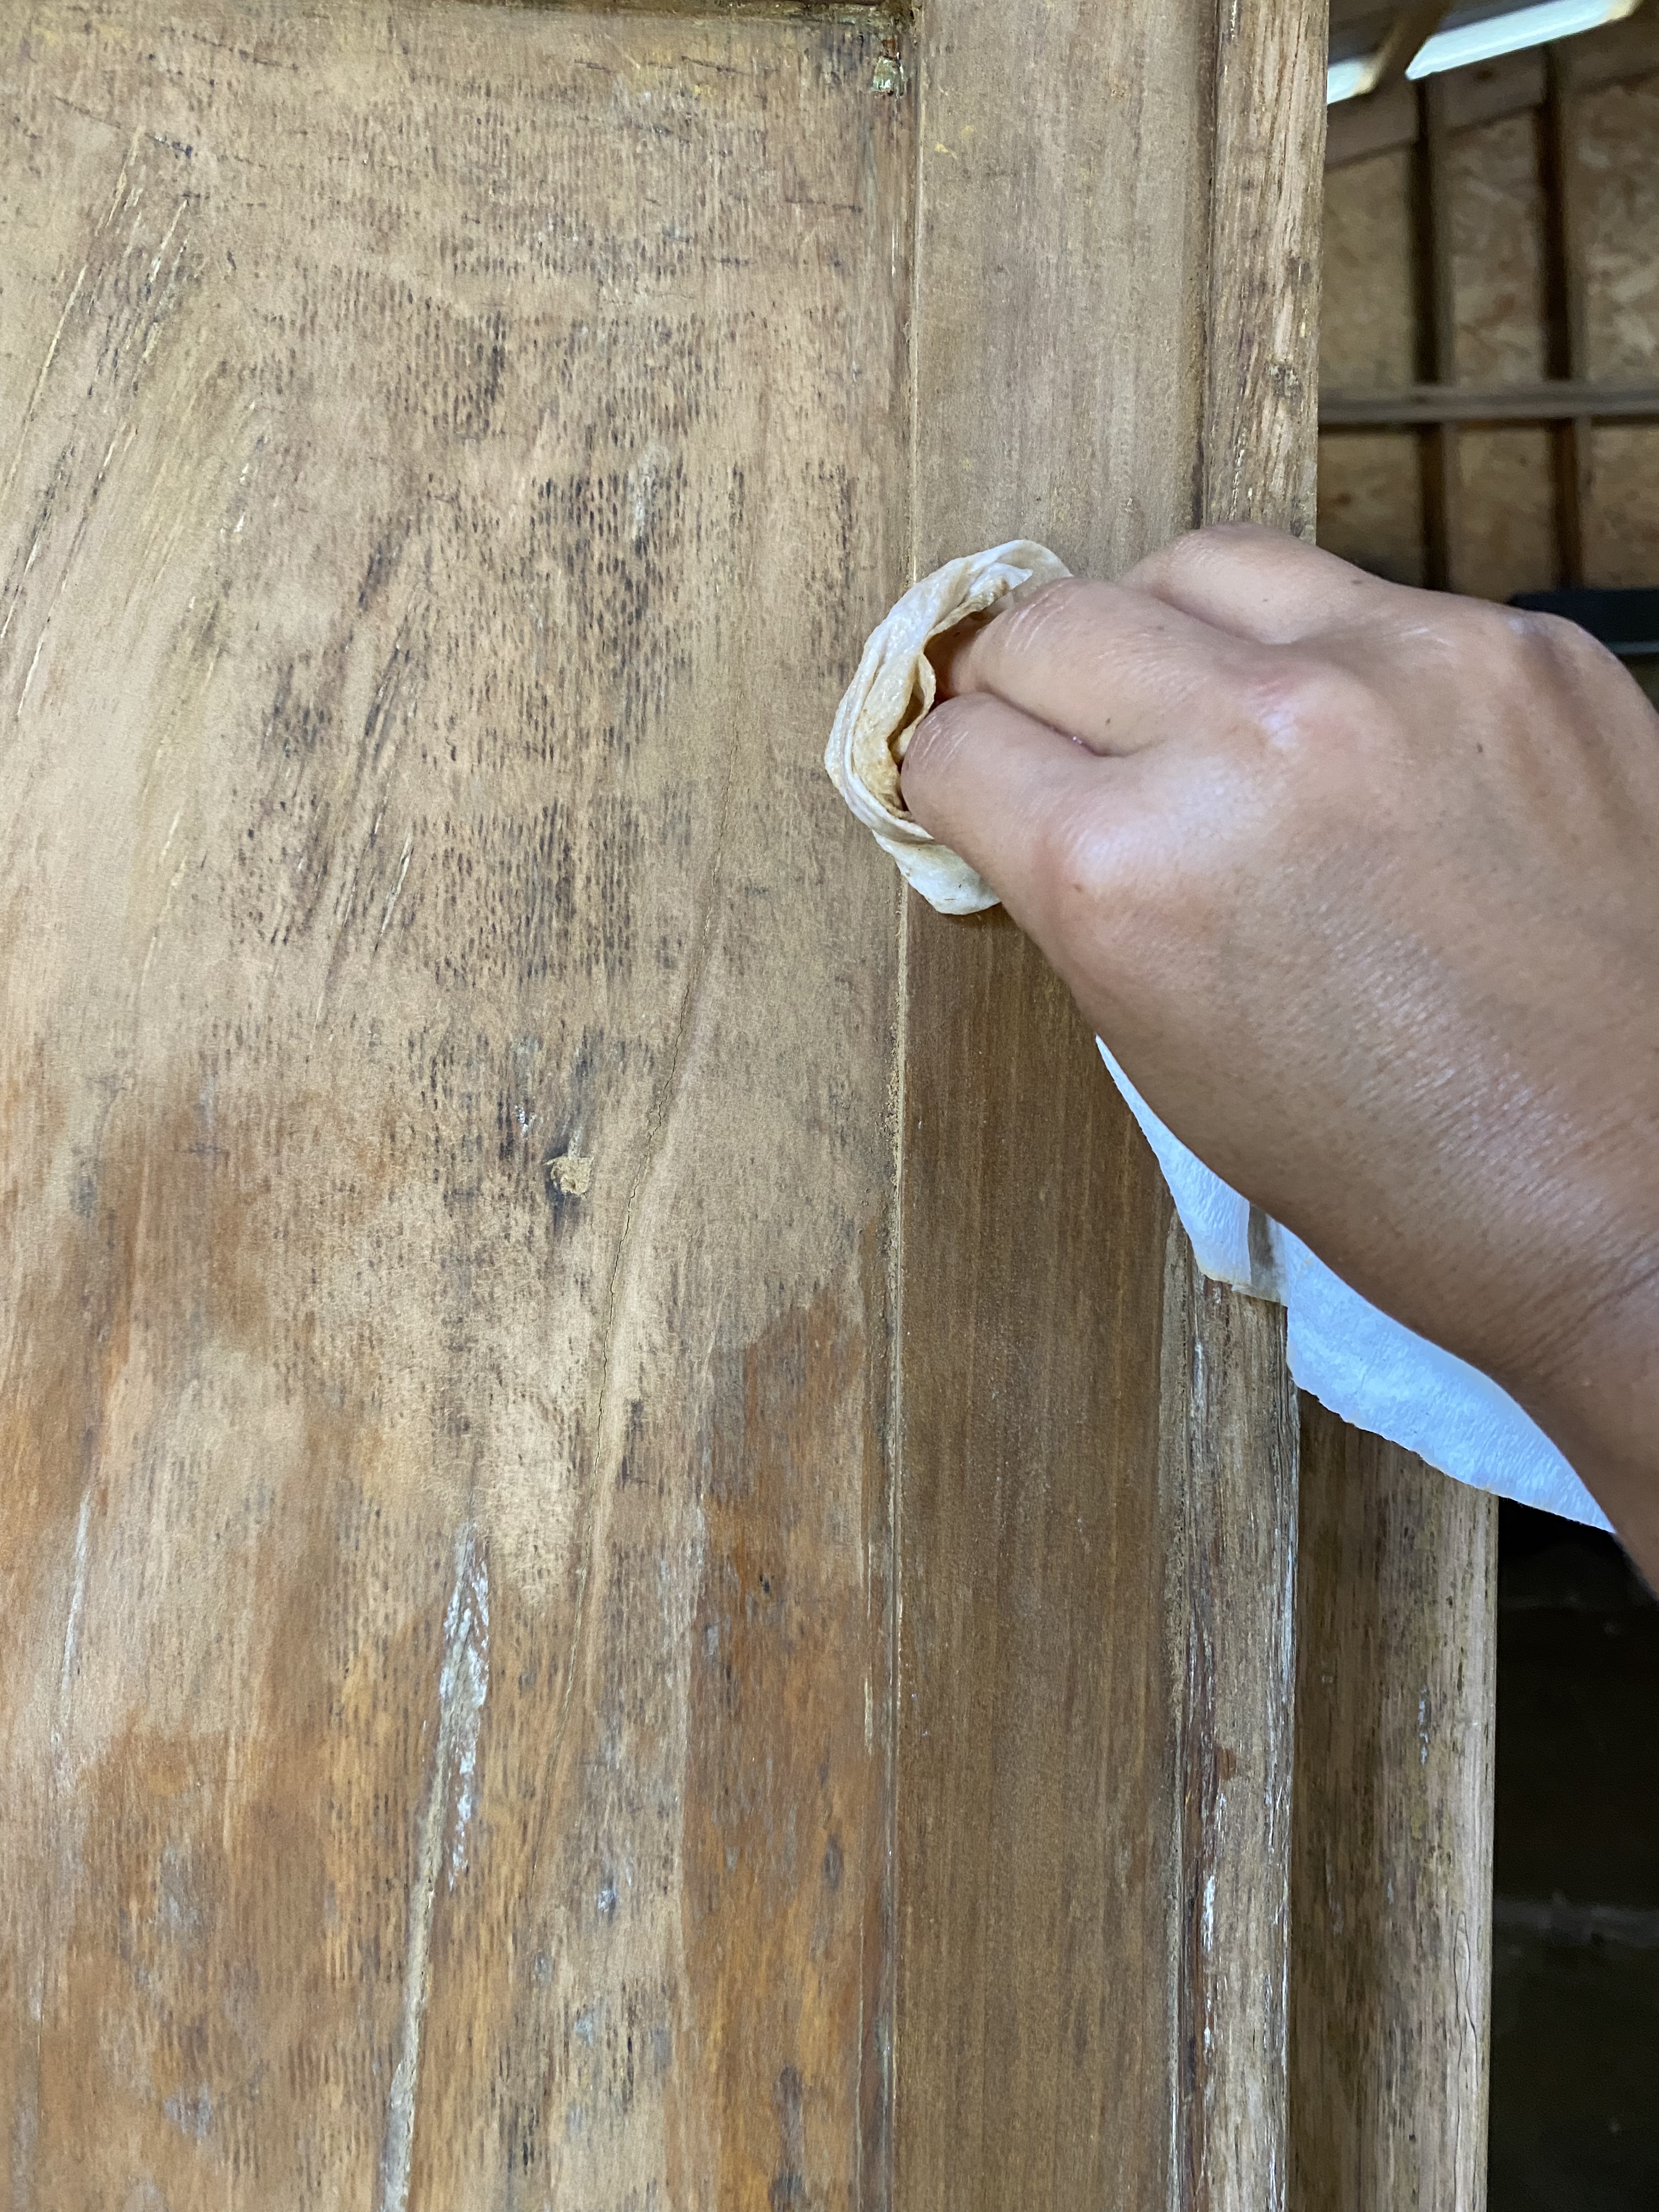
 Antique Pie Safe


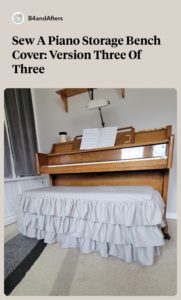


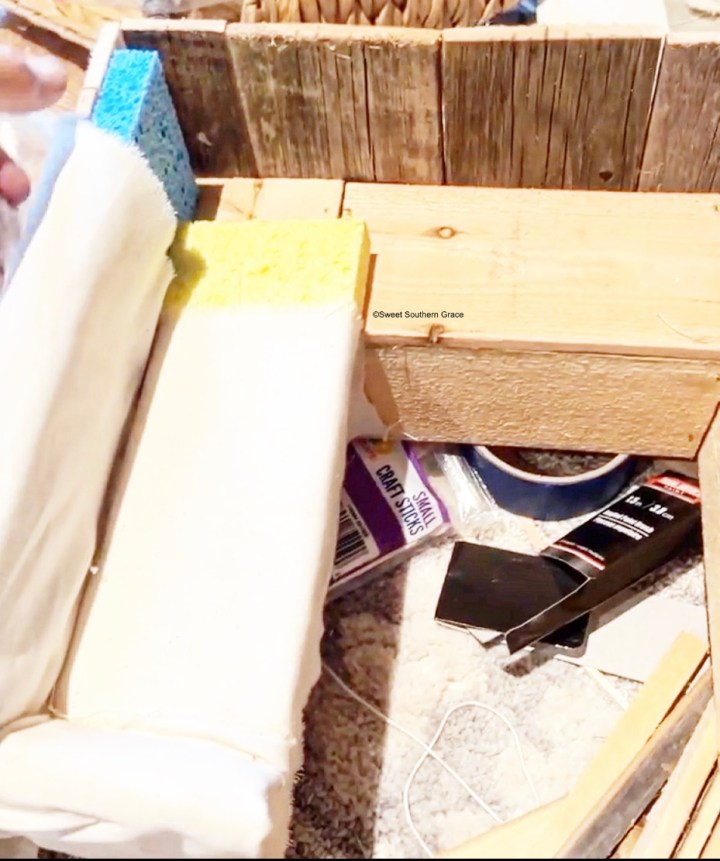
 I did use the attachment to my carpet cleaner to clean the cushions and let them dry in the sun. I found all of my fabric on sale at Joanne’s for $50. I used two coupons! I did not have a pattern for the cushions, so I used the existing cushions as my pattern, by laying the fabric on top of the cushions and left about an inch for seam allowance on all sides.


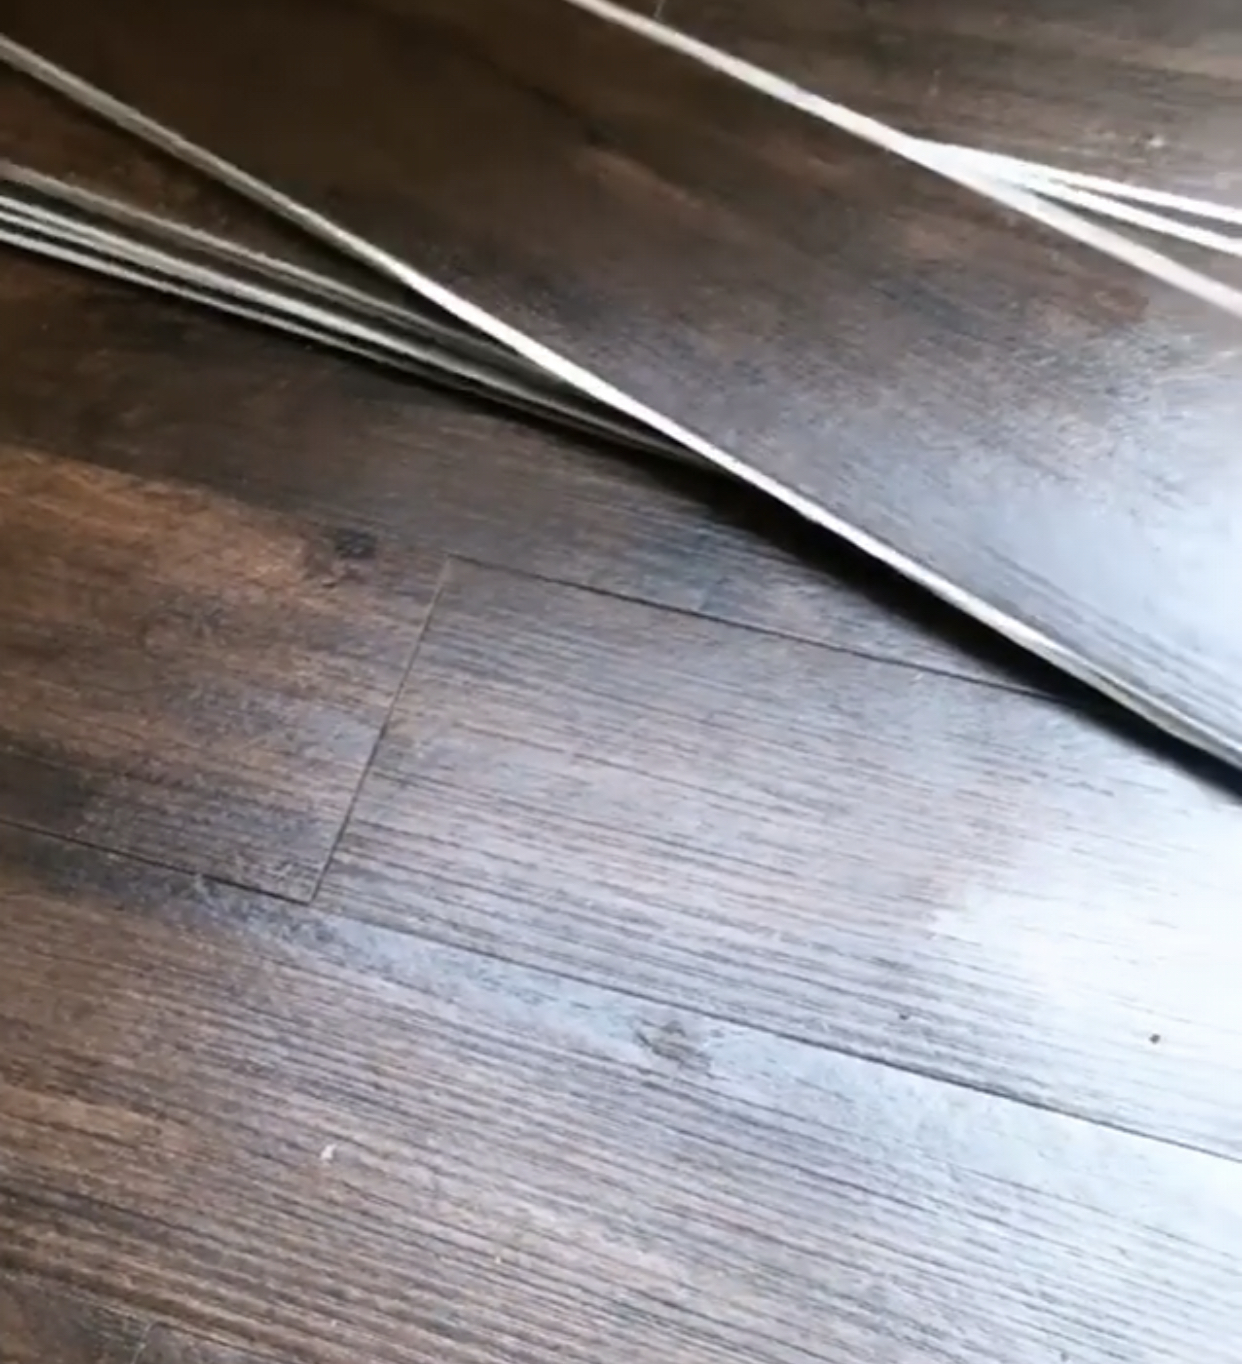 I decided to use stick down floor “hardwood” vinyl “planks”. I even staggered it to make it look like hardwoods. I bought two boxes for $15 each, at a local discount store called Ollie’s.


You must be logged in to post a comment.