[If you click a affiliate link, I can receive a small commission. It does not affect my opinion as they are all my own.]
Today I’m teaming up with several bloggers to share items that we have found in a thrift shops, estate sales, yard sales or side of the road items and share how we turn them into something beautiful.
 Antique Pie Safe
I have wanted to find a pie safe for our home for the longest time! I was so grateful when my Father-In-Law offered me one of his pie safe’s! I knew immediately where I wanted to use it in our new DIY Barndominium! I thought it would be gorgeous in our bathroom and we could store towels and linens in it!
Check out our DIY Barndominium here.
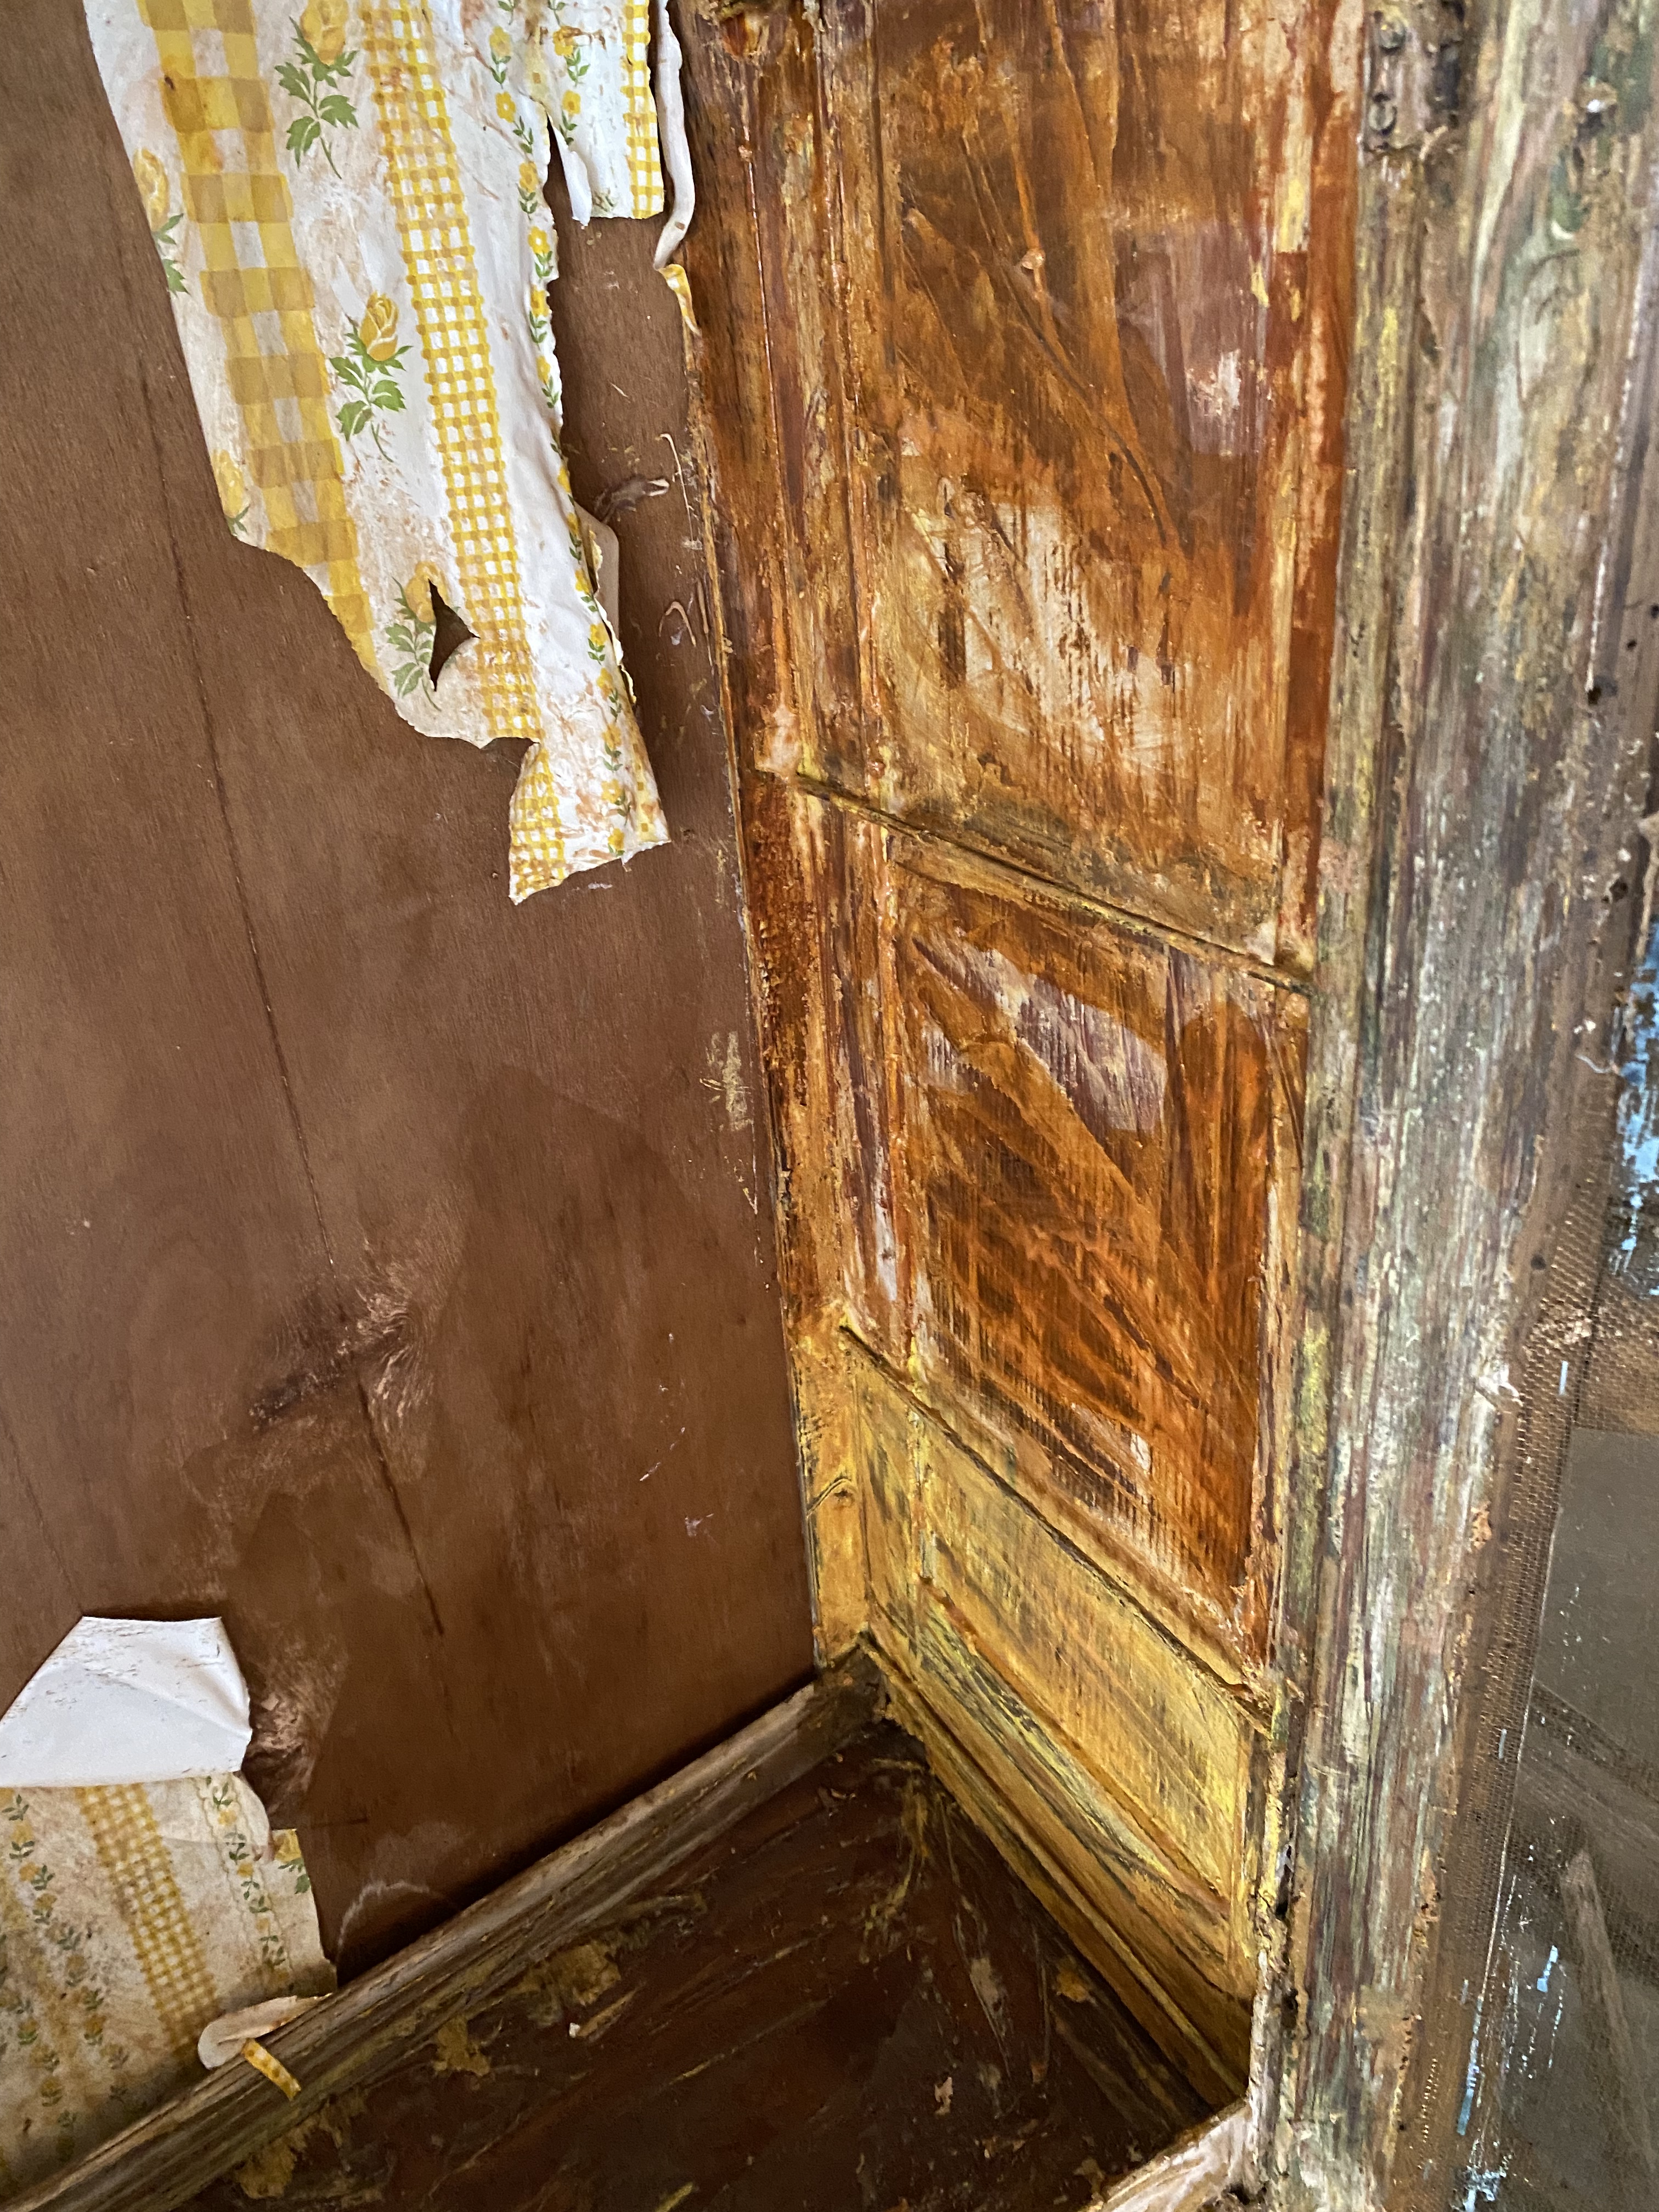
Before Photos
We can’t have a diy makeover without the before photos, right?!

This is the before photo after I’d taken out the shelves and the drawer. The cabinet had several layers of paint, from green to yellow and white primer with a couple layers of really old stain!
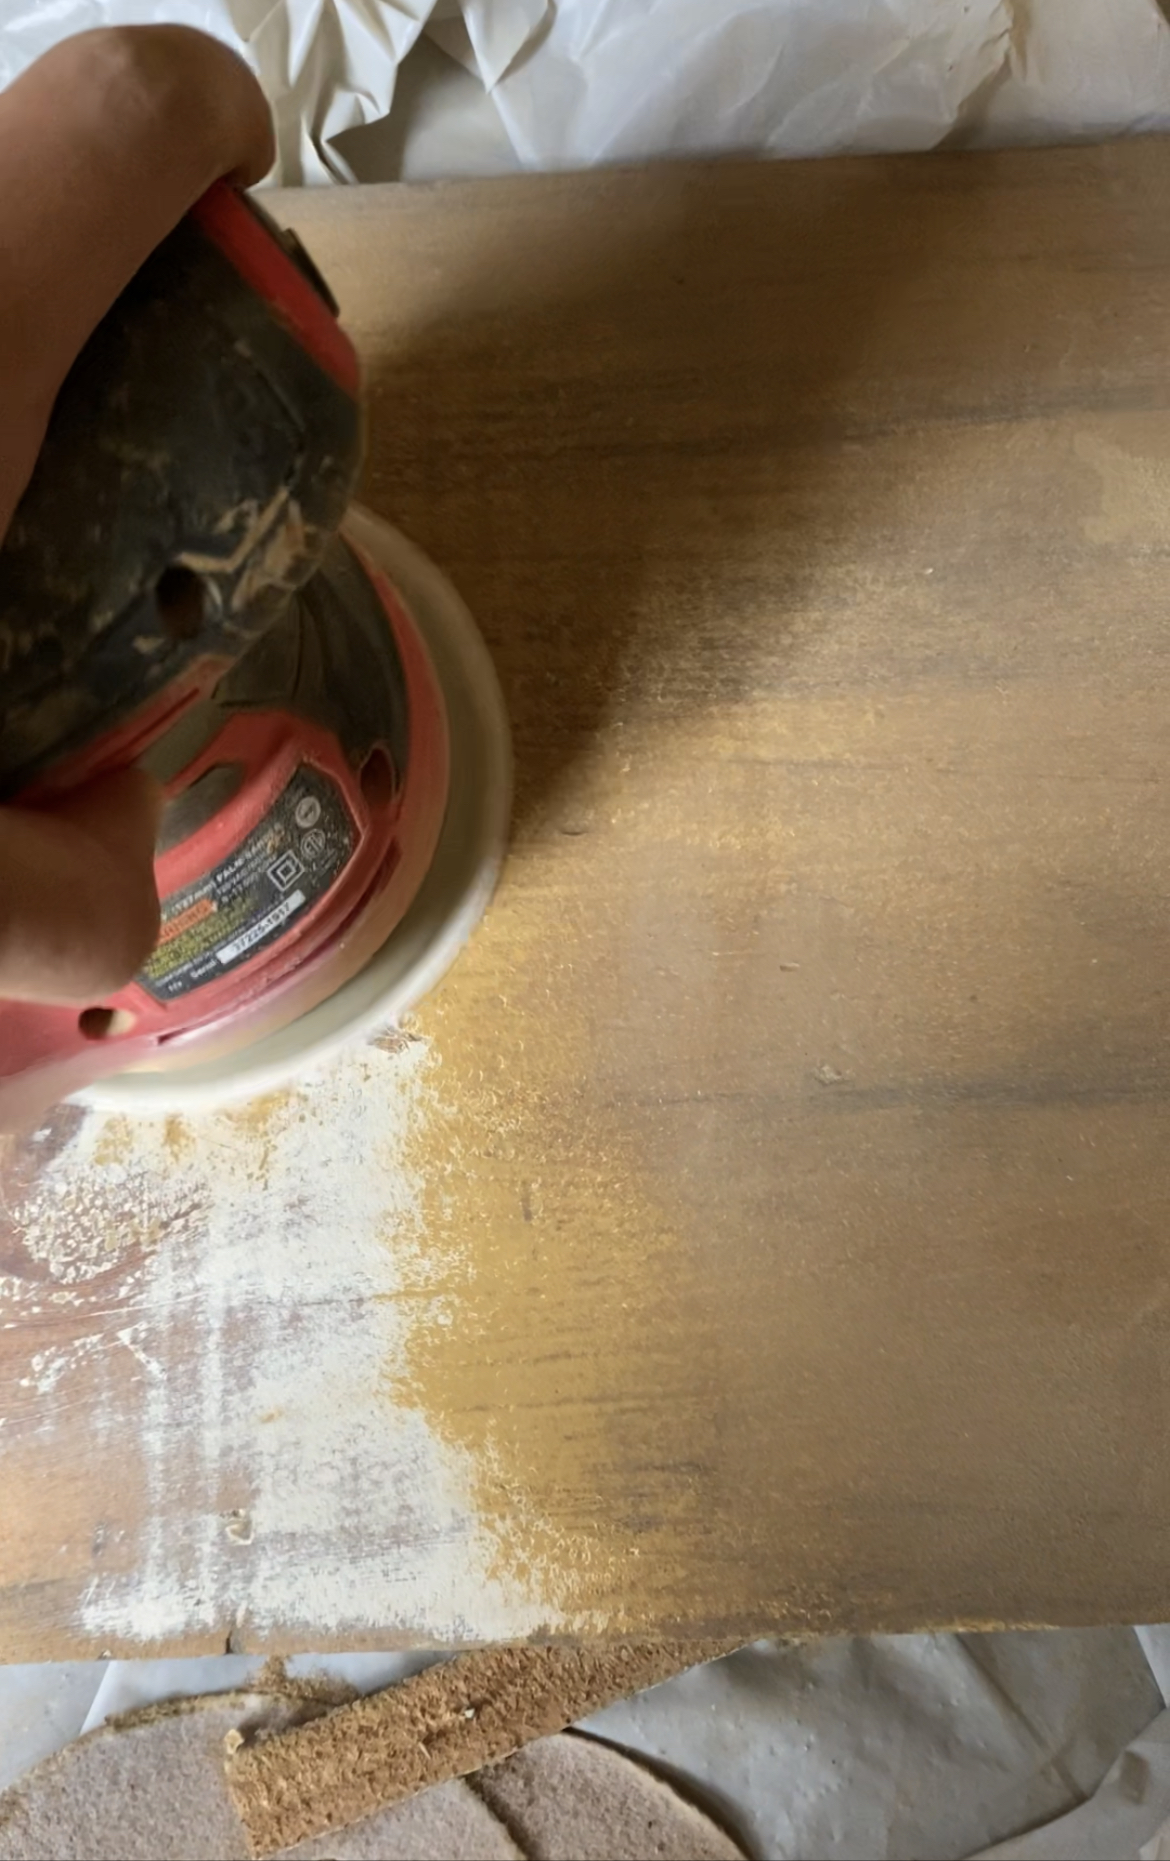
Time to Strip & Sand

I decided to sand the entire piece first, with my orbital sander. Here is a similar one to mine. Next, I used Citri Strip for the entire piece. I like using this stripper better than others as it’s not such a harsh chemical to use and breathe in. Grab it at Home Depot. I stripped the cabinet four times and in between each time, I used my razor to remove the old paint and stain.

The pie safe also had a sheet of vintage yellow flowered contact paper with layer of glue on it. It took a lot of tugging but I got it all off! I also decided to remove the old screens from each door. Each screen had a layer of staples that I removed as well.

The interior side walls were also painted with a bright yellow paint. Here is about 50% through the stripping process on those walls.
For the shelves, I decided to sand with my orbital sander instead of stripping. Look at those layers of paint and stain.
On the backside of the shelves, there was an Army printed wording in black writing. It looks like these shelves were made from an old wooden Army shipping crates. It makes me think about all of the families who have owned this pie safe over the years and repairs that were made just like we were doing now!

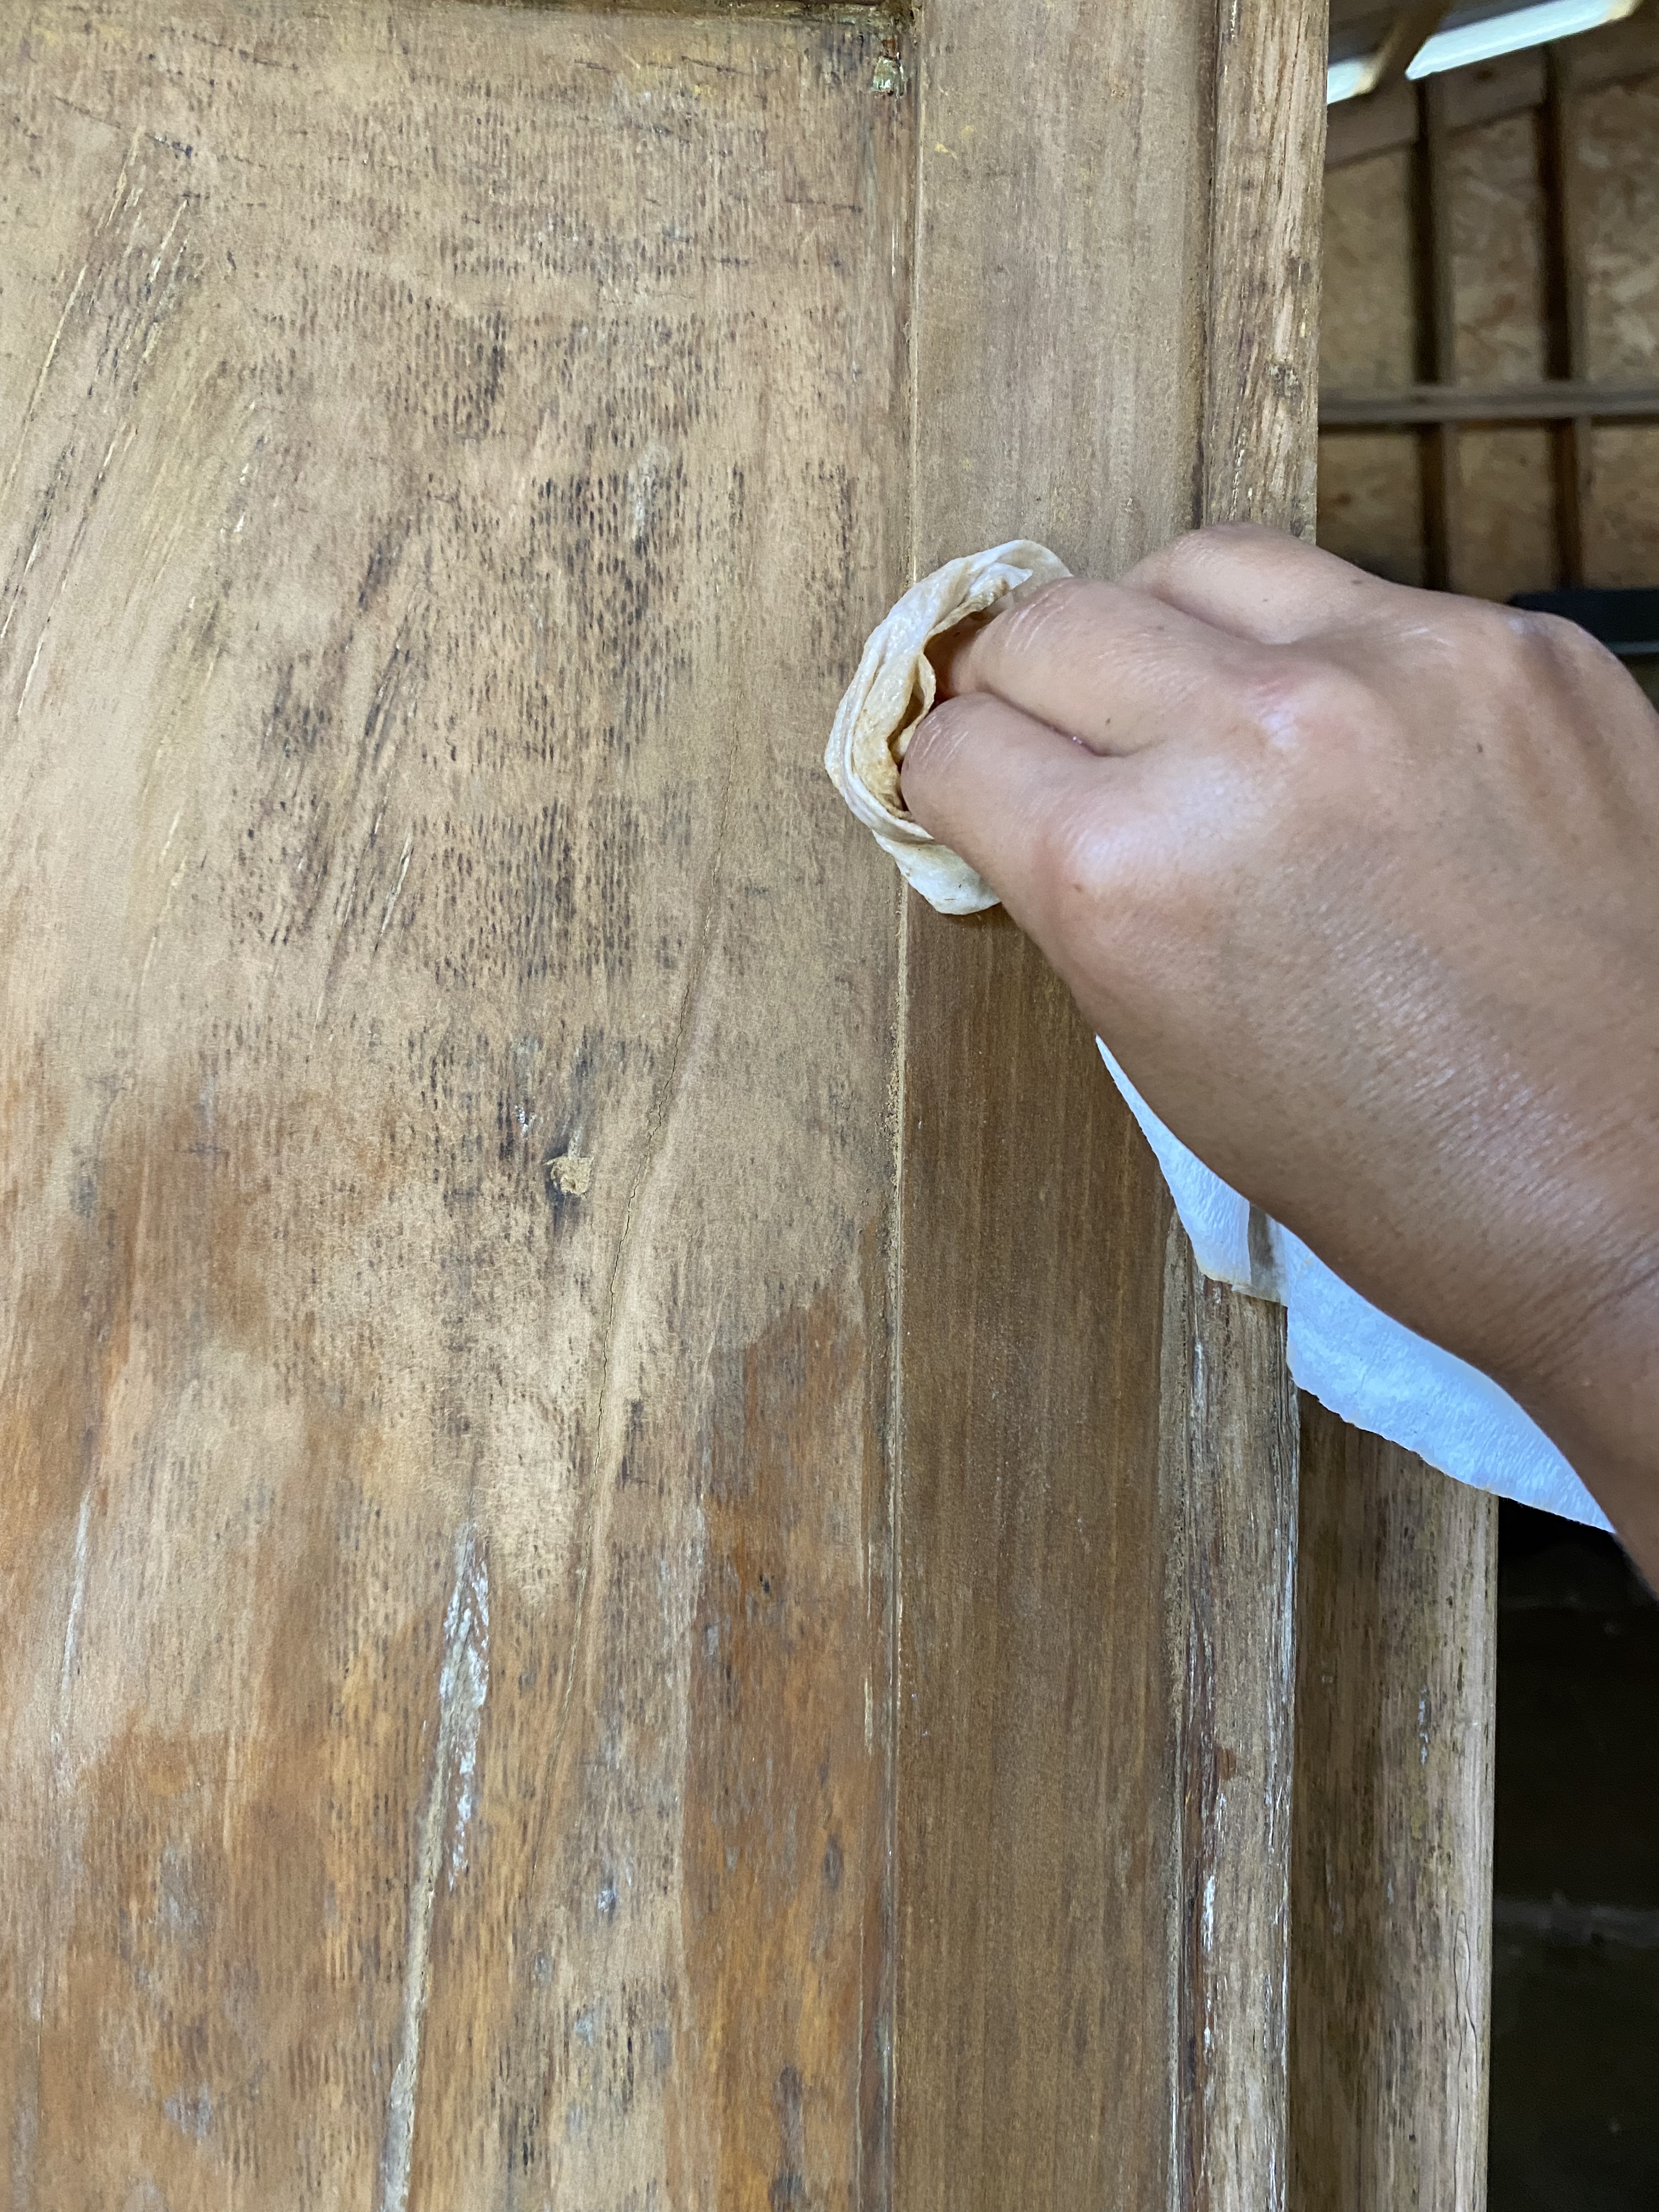
The exterior side walls also had a wooden ruler that had been used for trim at one time but was only revealed when the Citri Strip had removed all of the old stain.

I love being able to think about all of the other people who owned this pie safe before me. It such an honor to have such a beautiful piece!
Time to Seal

Before I began sealing, I cleaned the pie safe with good ole soap and water! For the wax, I used Minwax Grain Highlighting Finishing Wax.
I wanted a wax that would highlight the wood’s natural beauty along with give it a slight white matte finish.
Repair Time
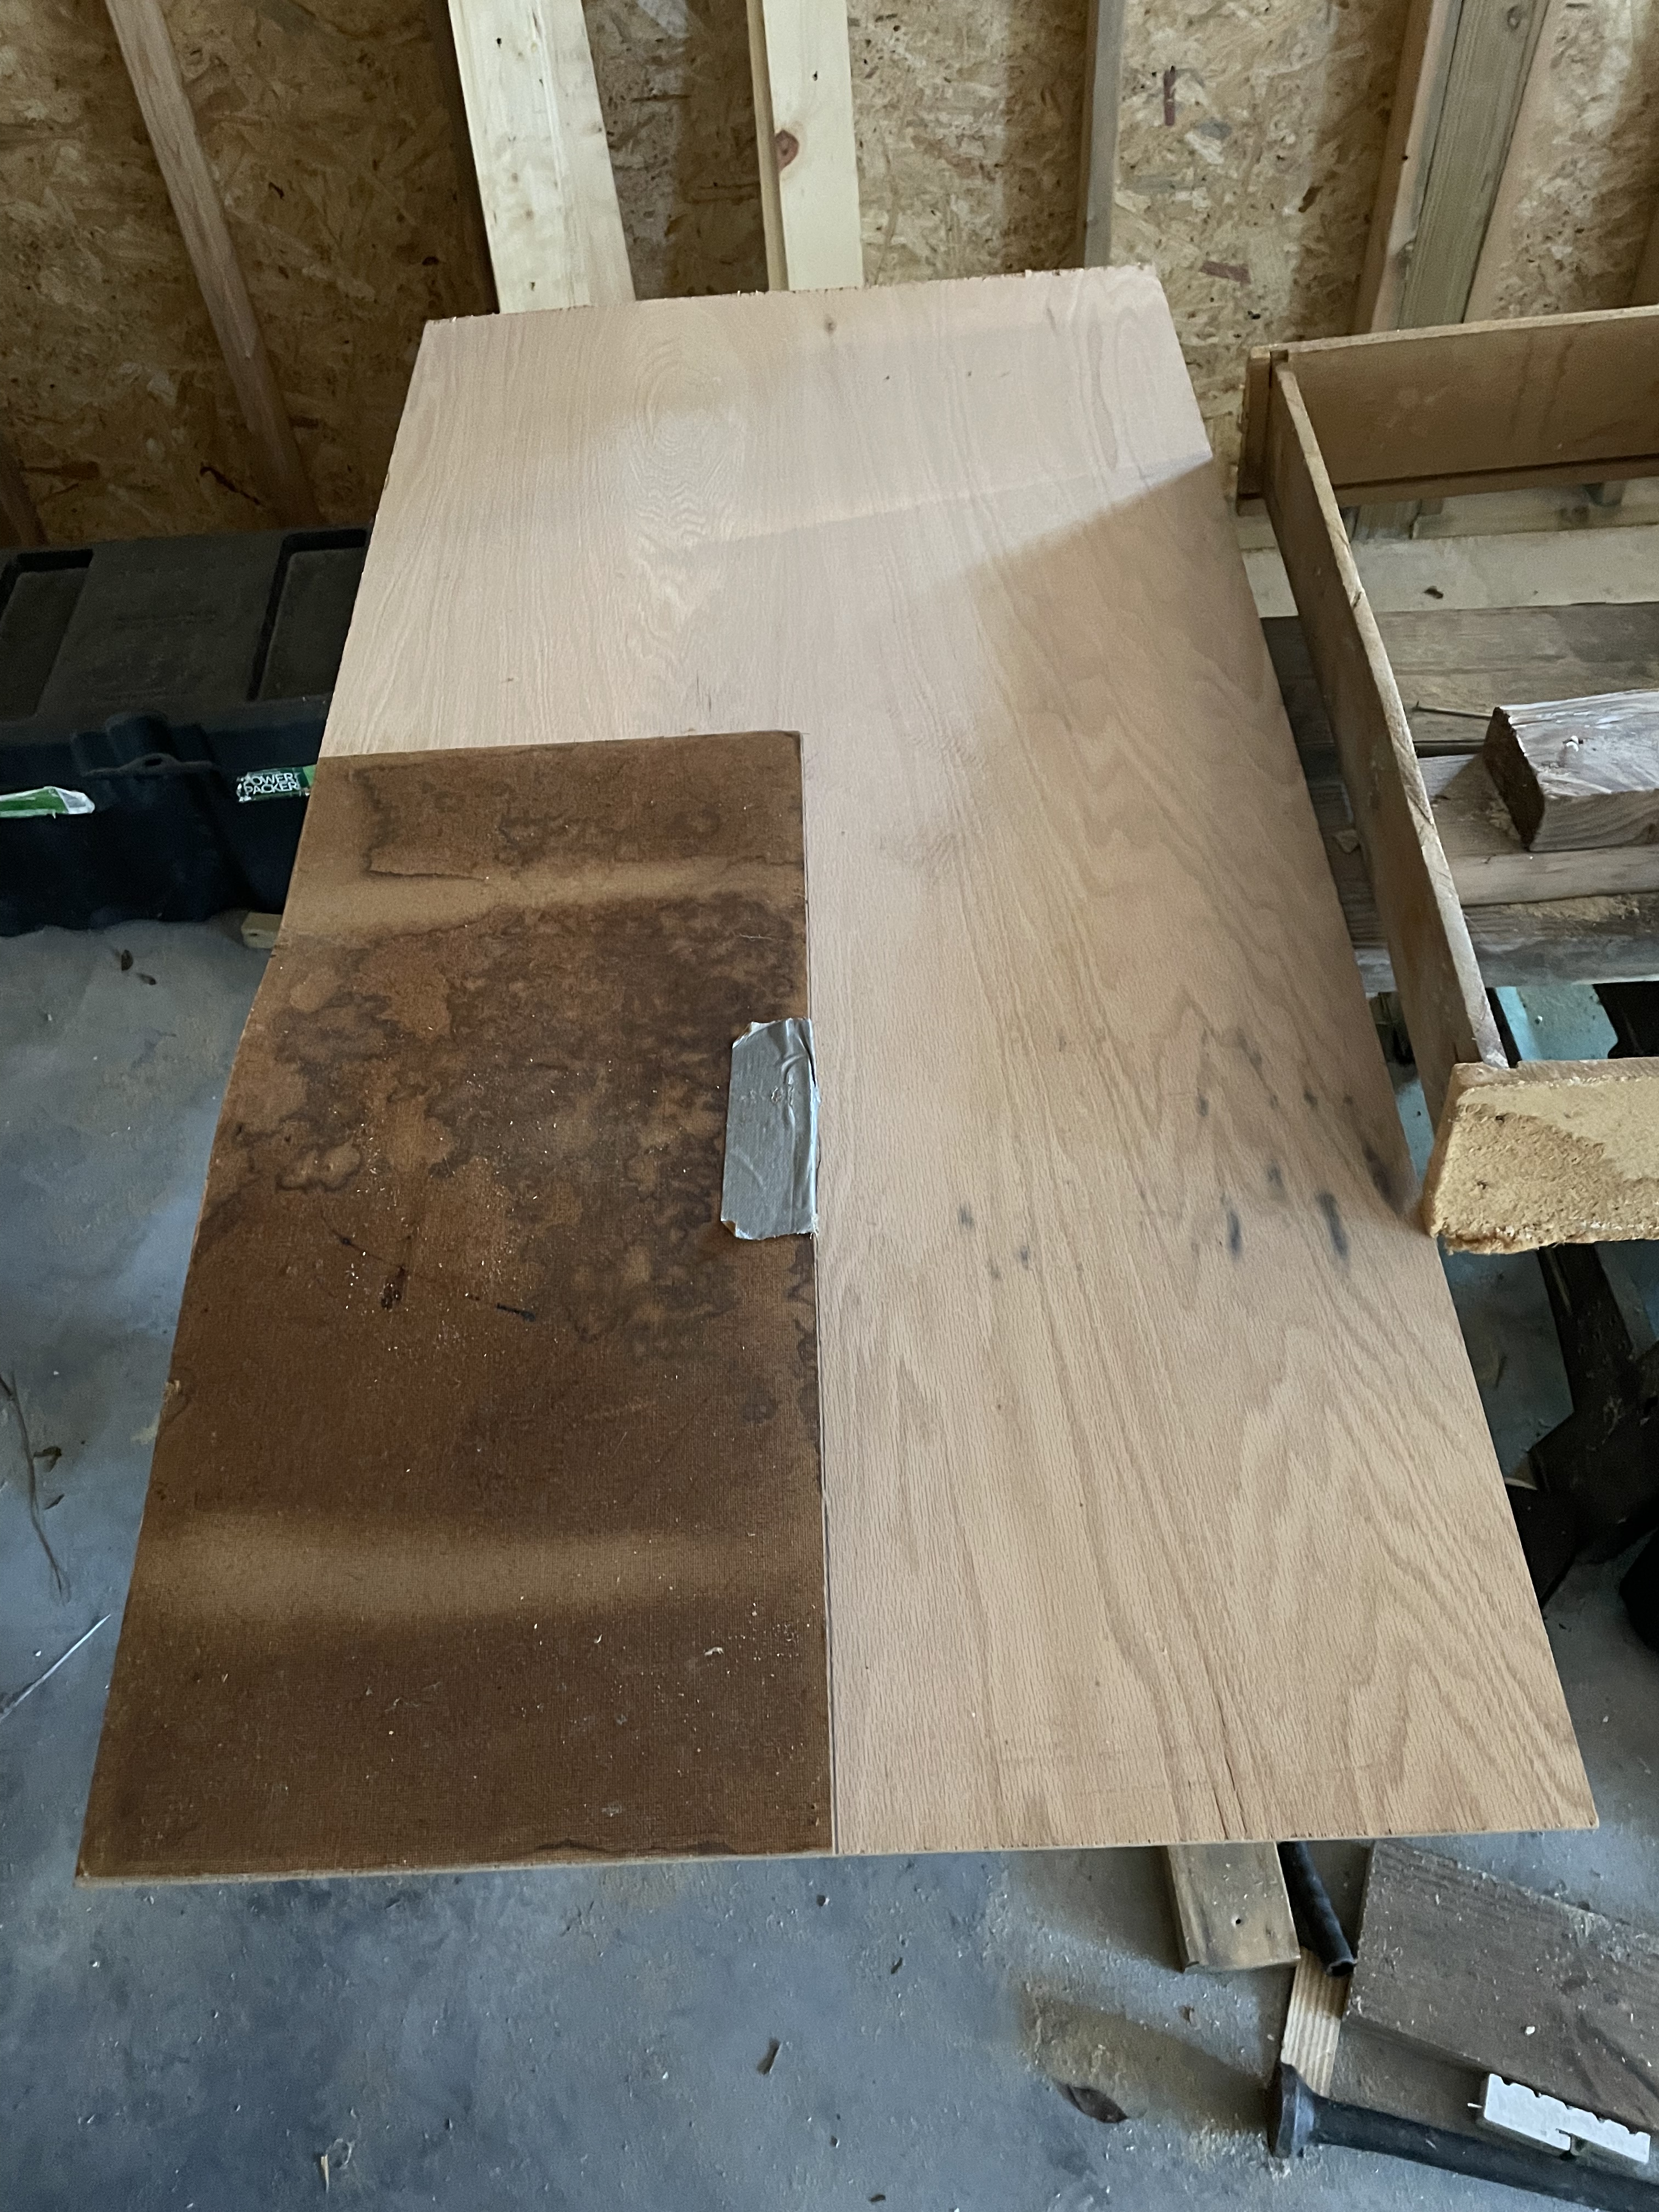
The pie safe drawer needed to replace all three sides of the drawer. It also needed a new drawer bottom. Two of the sides and the bottom were press board.

I grabbed a 1/4 inch oak craft board and traced the old sides, marked with a pencil and cut with my saw.

I did the same for my drawer bottom. I also traced with a pencil, cut with my saw and used a 1/4 oak craft board.
My husband made grooves for the drawer sides so that the drawer bottom could slide into.

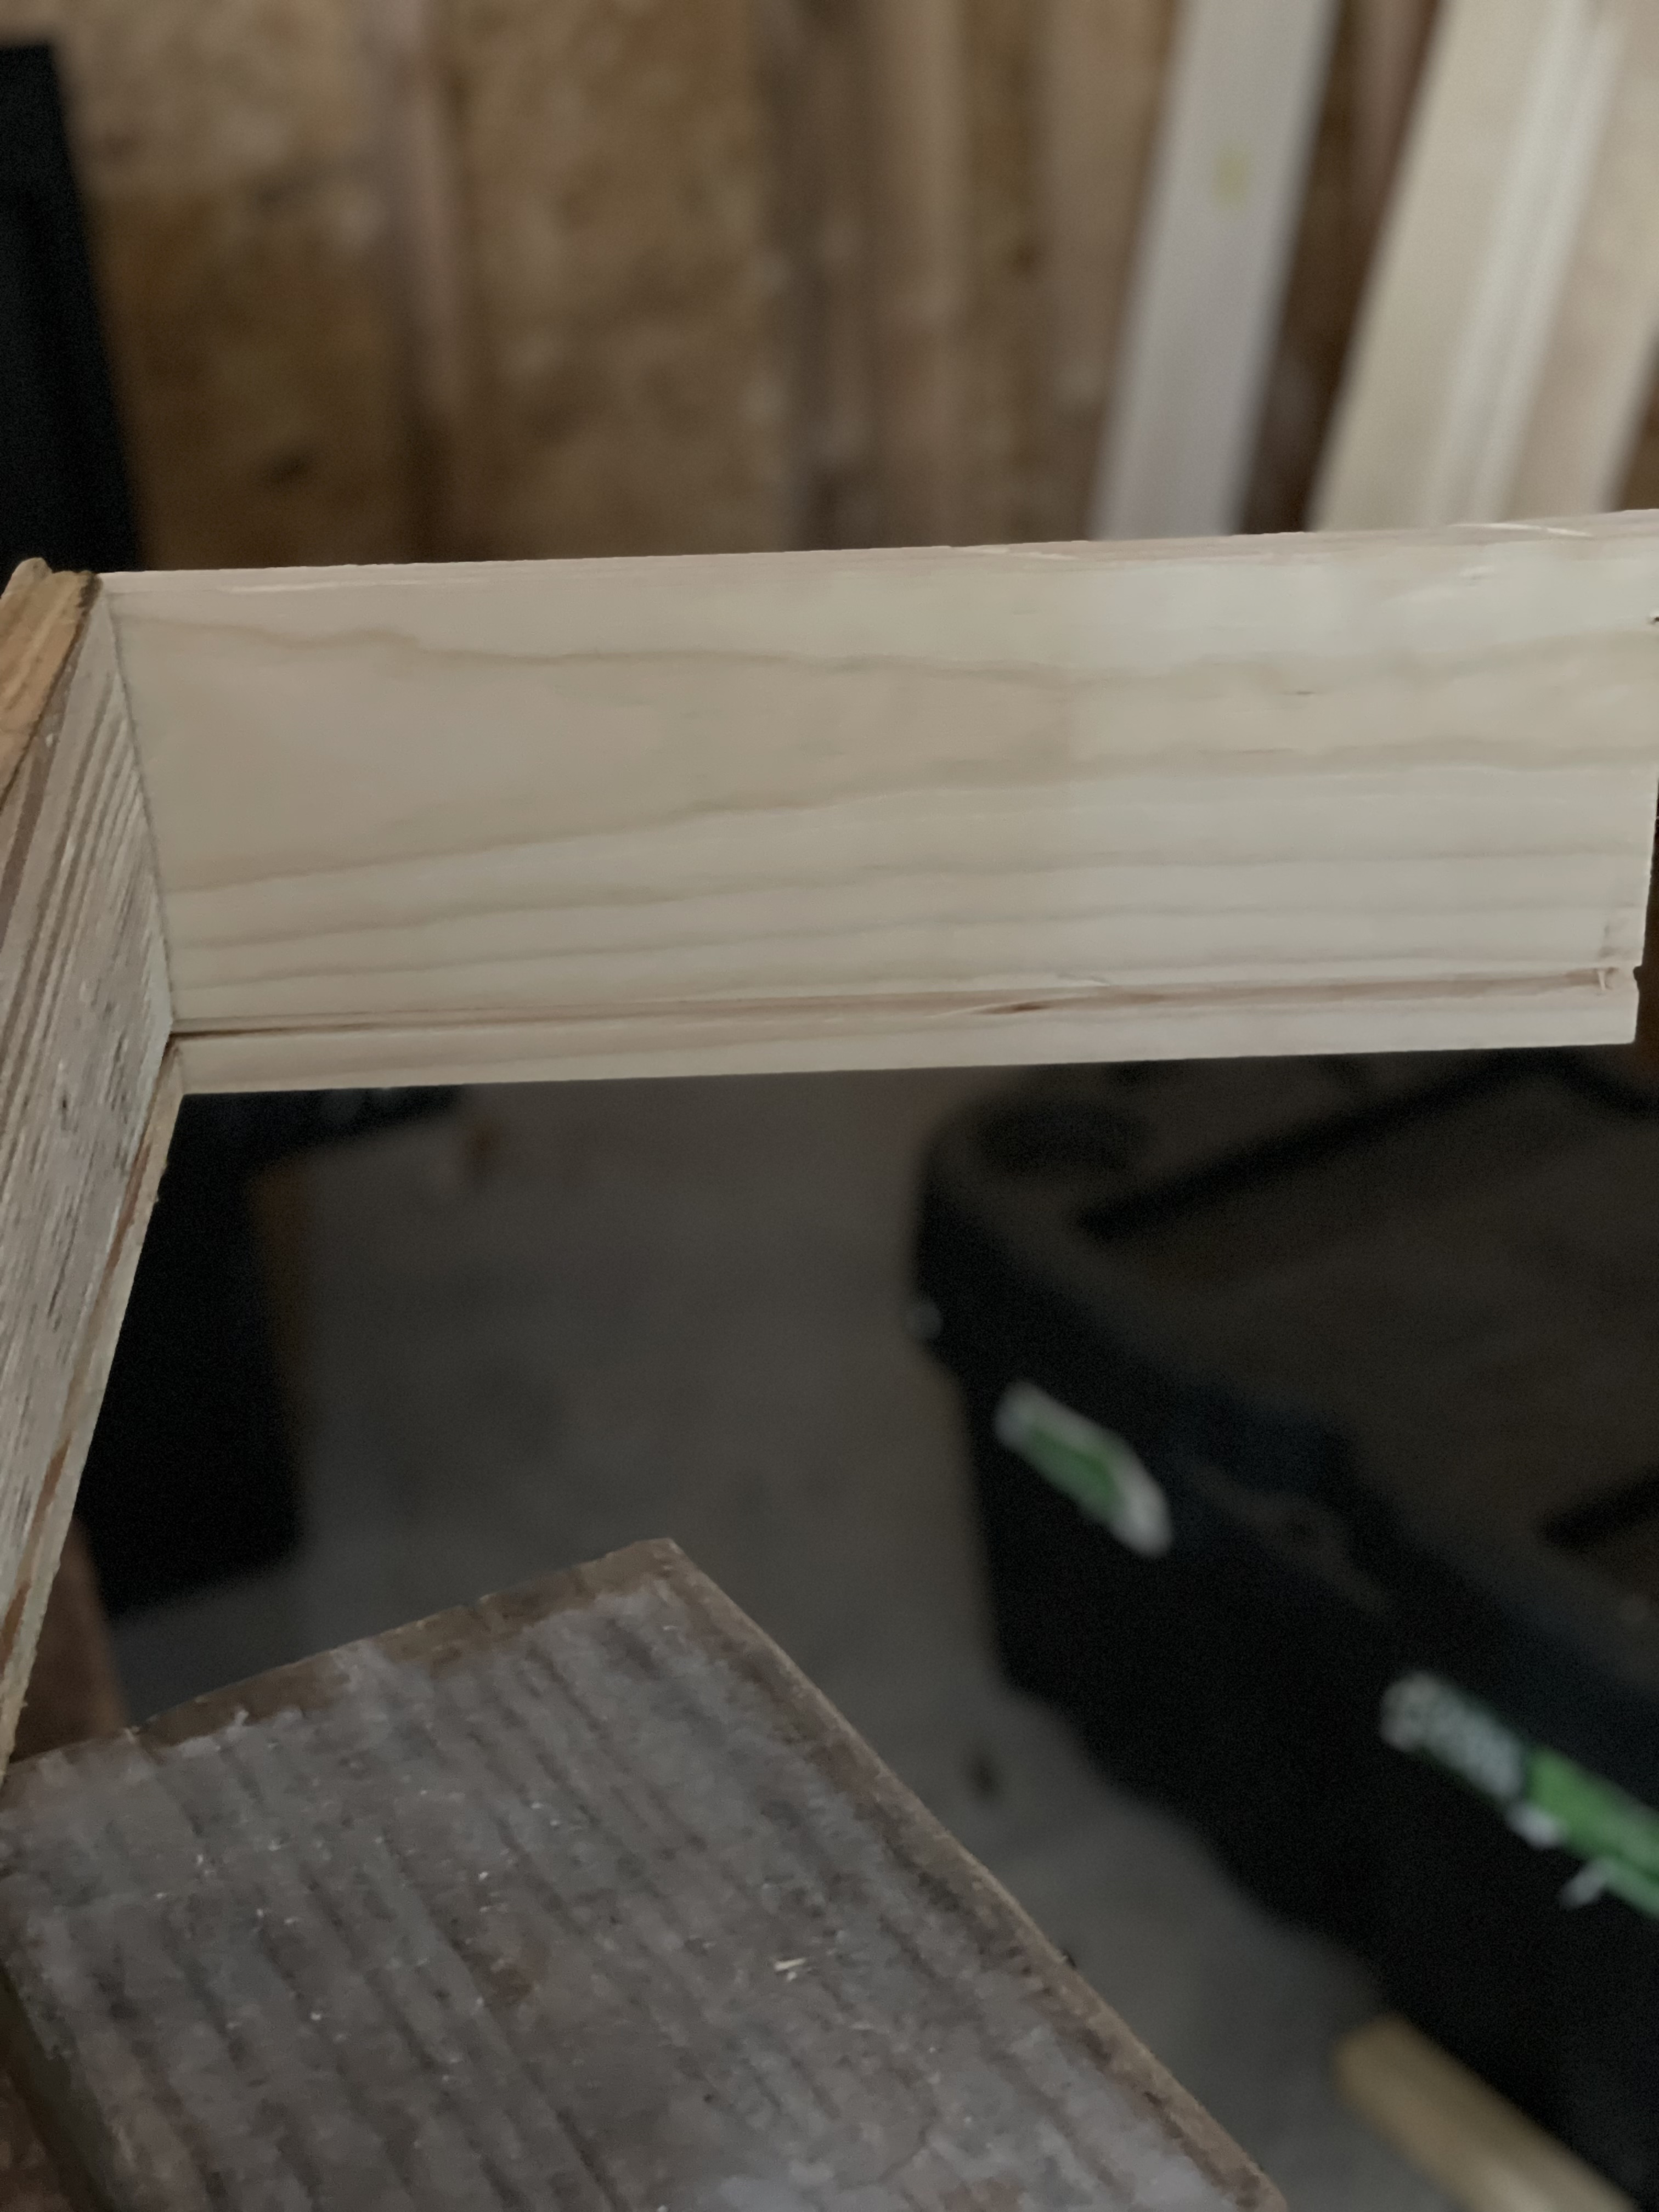
Here is a close up of the cut grooves.
My husband also cut notches out of the bottom exterior of the drawer so that the drawer could slide in and out from the drawer slides.

He is such a sweetie! ❤️
Finished Piece

I enjoyed sharing our project of our Antique Pie Safe Makeover with y’all! Did y’all follow along in stories on IG, as I made this piece over? Hop on over and give me a follow, take a look around too! Check out my other fellow bloggers too and see what they’ve come up with for this week’s Thrift Store Challenge!
❤️~Shae
Thrift Store Challenge – Christmas In July

https://lecultivateur.com/2021/07/15/thrifting-in-July-with-Christmas-in-mind/

https://www.robynsreverie.com/new-blog/ChristmasInJulyThrift

https://www.worcesterrun.com/post/whimsical-nursery-decor


That pie safe turned out so nice! I can’t wait to see it all styled in your bathroom once you get moved in. I love all the things you found as you stripped back all the layers. So much history….
LikeLike
Holy COW. This came out amazing!!!!
LikeLike
Thank you so much!
LikeLike
I love this! The Army words and the ruler are so cool!!
LikeLike
I love the history behind it!
LikeLiked by 1 person
love seeing the process, and all the little unique things uncovered in the process. I have a pie cabinet that I got from my Grandma when she passed away. It has that exact same yellow paint on the inside! She had previously stripped the outside, but the inside needs finishing, and I need to repair the drawers and hinges as well. Nice to see what you did, thanks for sharing!
LikeLike
Glad you have one to restore as well! Thanks for stopping by!
LikeLike