“This blog post is sponsored by Lorex Technology and reflects my personal views and opinions on the products.”
Lorex Technology offers a simple solution of home security system that you can access from your pocket computer-aka your smartphone of your choice.
Home Security Made Simple
Does the thought of installing your own home security system intimidate you? Fear no more, we are here to show you just how easy it is to install you own home security stystem from Lorex. Plus, I want to share why we chose Lorex for our home security monitoring needs! Check out our VIDEO on IG of our installation and how it works
2K Wire-Free Camera Security System with Wi-Fi Doorbell
Overview
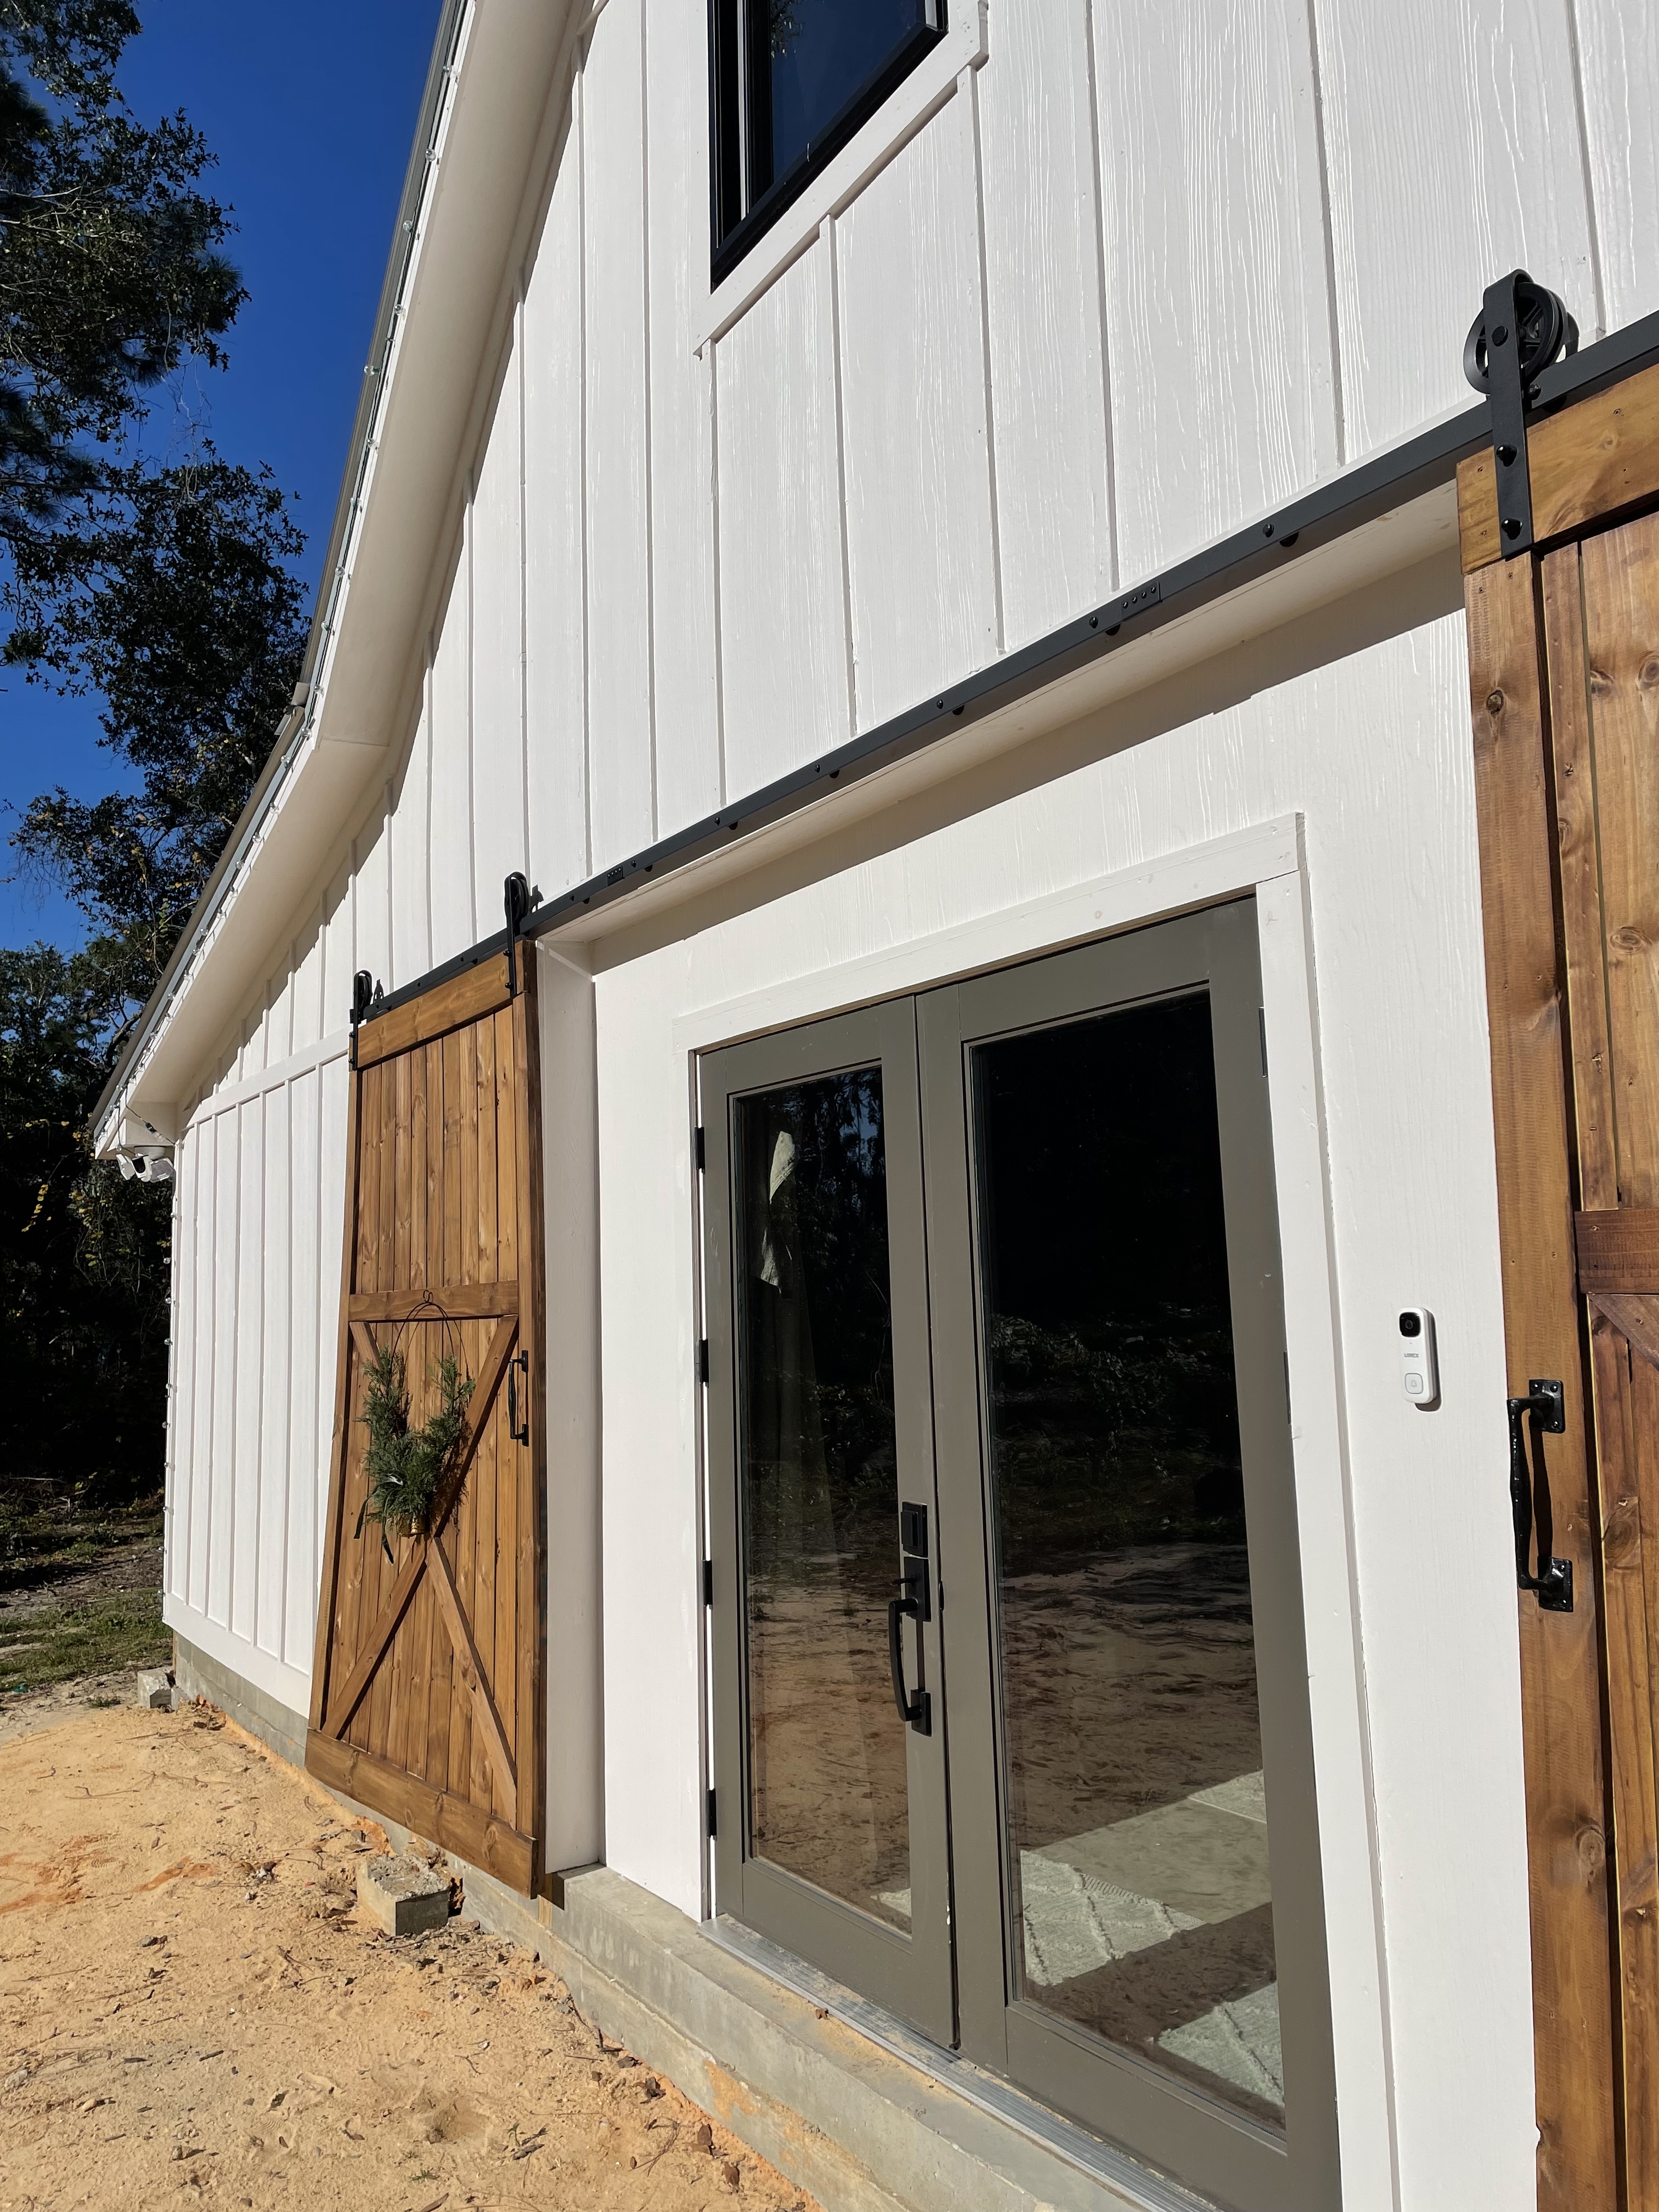
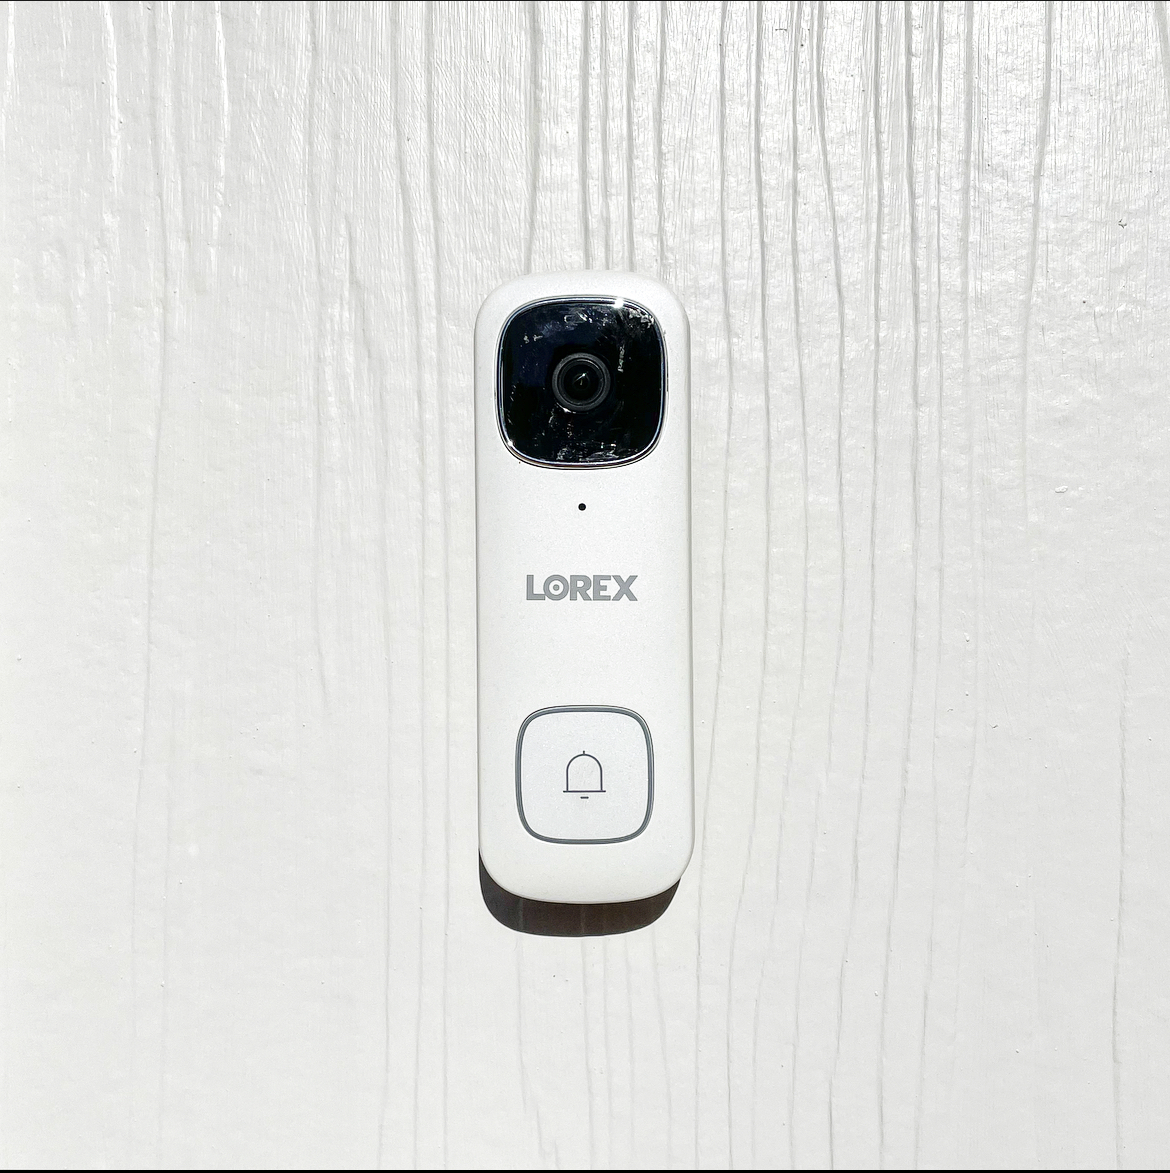
Lorex’s home security has never been easier to install or monitor your home with their indoor/outdoor 2K Wire-Free Security System. The Lorex Home Hub, a 2K Wi-Fi Video Doorbell and three 2K resolution wire-free cameras, this system will help you protect what matters most with no monthly fees. Let me show you how!

Smart Deterrence
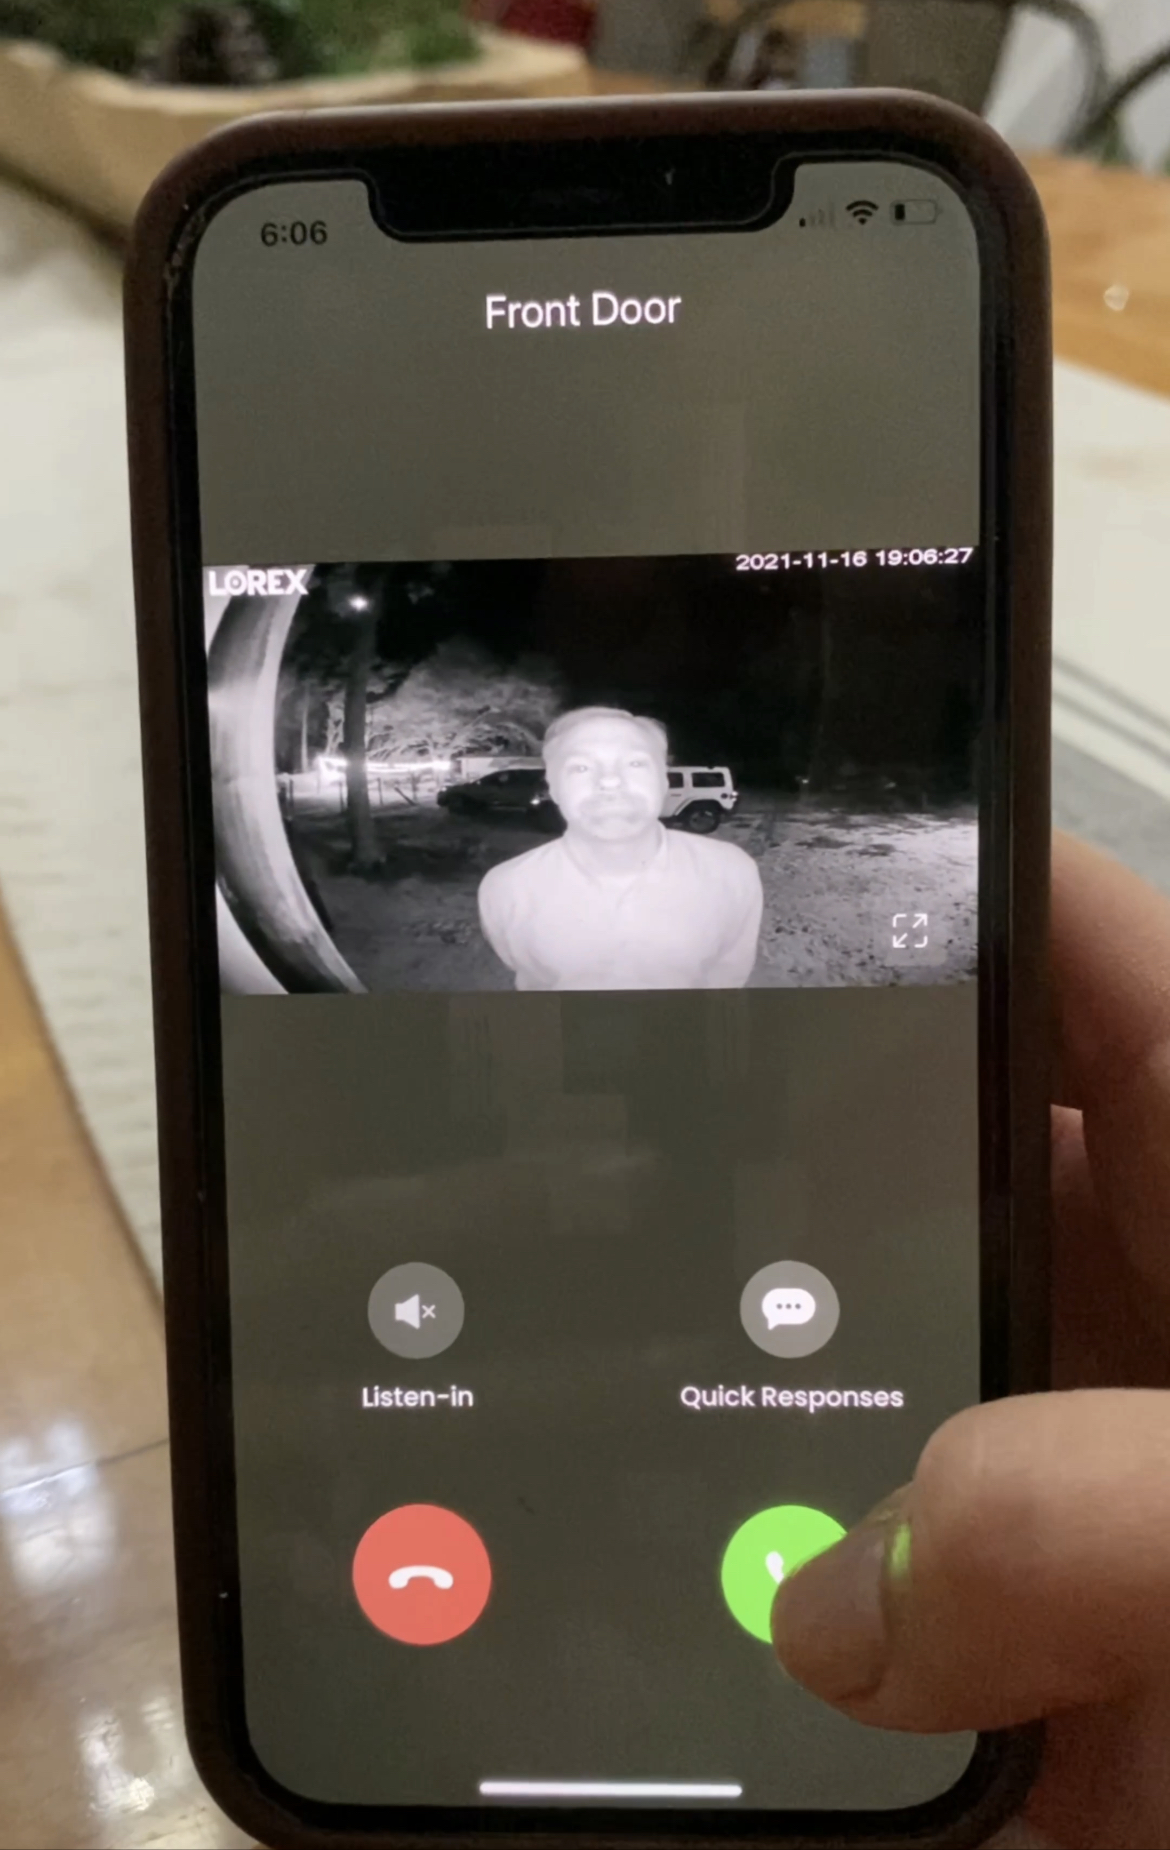
The Doorbell and Wire-Free cameras include a motion-activated LED warning light to deter any unwanted guests. You can even get a notification on your smartphone when someone arrives at your home!
2K Resolution Recording
A 4MP image sensor provides 2X the resolution as 1080p, which provides an exceptionally sharp and detailed video.
Color Night Vision™
External lighting capture’s full color video at night. In low-light settings, the camera’s IR night vision will activate.

1080p Wi-Fi Floodlight Camera
Overview
Combine your security plus lighting with Lorex Technology’s 1080p Wi-Fi Floodlight Camera. With dual LED lights that can produce 4k lumens, which is plenty to illuminate your front door, garage or backyard during the night. I believe it also serves as an effective deterrent for any unwanted guests on your property. The 1080p Wi-Fir Floodlight Camera also includes full 1080p HD recording, a remotely triggered siren, two-way audio and infrared night vision, that allows the camera to see up to 50 feet. Local storage means no monthly fees. One of the best features is that you can install by using your existing light fixture wiring, so it stays powered 24/7 without having to recharge batteries! The camera on the floodlight can be adjusted vertically or horizontally. Includes a 32 GB microSD card and supports up to 256 GB microSD storage
Dual LED Floodlights
With the Dual LED Floodlights, there are three ways of activating the floodlights: motion, on a schedule or manually. In motion-triggered mode, the lights will automatically turn on when the passive infrared sensor detects movement. They will automatically turn off after the designated duration. Option to activate the floodlights manually or on a schedule through the Lorex Home app.
Fully Weather-Resistant
The Wi-Fi Floodlight camera is MADE for the outdoors. Featuring IP65 weather-resistance certification, even rain and snow!
Real-Time 1080p HD Video
Its all in the details by capturing important details with real-time, 30 frames-per-second full, 1080p HD resolution recording.
PIR Motion Detection
Passive Infrared motion detector will capture the most important moments and has a 270° horizontal field of view!! It is designed to sense the infrared energy that eminates from people, animals or even vehicles. This helps to reduce false alarms from other moving objects! So smart!
Wide Angle Lens
This Wi-Fi floodlight security camera is equipped with a wide angle lens that is ideal for monitoring large areas or doorways and has a 137° diagonal field of view!
1080p Full HD Smart Indoor Wi-Fi Security Camera
Overview
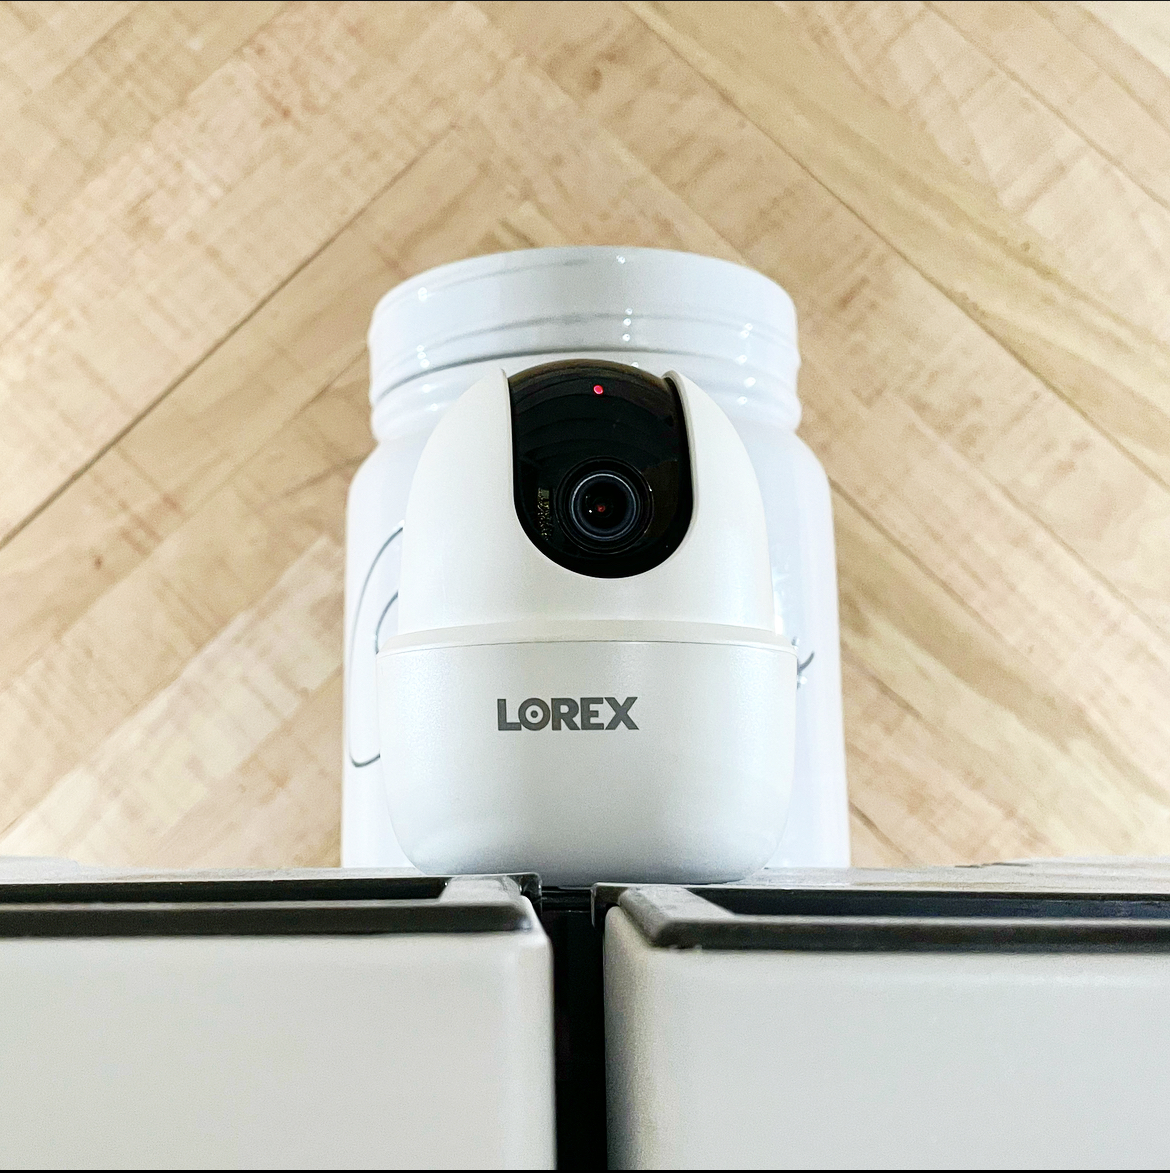
Lorex’s 1080p HD indoor Wi-Fi monitoring is a seamless, easy solution for monitoring doorways, windows, hallways or even your high value items. Or if your like us, have a puppy to monitor while your away! You could even use it to monitor little ones at night. The camera features a pan-tilt feature that allows you to remotely adjust it’s field of view up and down or left and right straight from your phone. It also has 1080p HD resolution, two-way audio and infrared night vision!
Privacy Mode
Privacy Mode is available using the Lorex Home app to temporarily disable your camera’s remote viewing, recording capabilities and push notifications.
Pan, Tilt, Digital Zoom
The WiFi camera has the ability to pan and tilt! It also features 16× digital zoom and night vision range up to 33 feet.
Two-Way Audio
The camera’s built-in microphone plus speaker will help you ward off uninvited guests, all with a touch of your smartphone or even your tablet. You can talk to whoever is on the other end of the camera!!!
Wide Angle Field of View
The Wi-Fi camera is equipped with a 135° diagonal field of view. I recommend setting up the camera near doorways or wide entranceways for maximum coverage!
Person Detection
With Person Detection, avoid false alerts and unnecessary notifications. Designed to recognize when a person enters the camera’s field of view, this feature will reduce unwanted motion alerts while providing more intelligent monitoring for us!
HEVC / H.265 Encoding
High Efficiency Video Coding, more commonly referred is a video encoding technology that compresses large data files without diminishing the quality. It can compress up to 50% more than previous encoding technology, which helps save you bandwidth space when remotely watching live or recorded footage.
Lorex Security System Installation
Set up
With Lorex, you can easily set up your Wi-Fi Floodlight Camera with a quick and easy installation process by using the existing wiring from your previous floodlight or outdoor house light. It can also connect to your pre-existing standard junction box. How amazing is that?! Win, win in my book!

Lorex Home App
For our family, if your like us, when your away for a business trip or on a long overdue family vacation, using the Lorex Home App to keep tabs on your home, has never been easier! Stress-free if you will! Download the app and use your smartphone or tablet to view live and recorded footage, change the camera settings or even use two-way audio plus more!
Overall Review
I researched every single home security system that is available on the market, right now and I chose Lorex for our home security! Why? Easy to install, budget friendly and it gives us the home security that we need!
I absolutely love our new security system from Lorex!! I have worked with Matthew from Lorex and from the start, he has been so kind, asking if we had any questions about the system, if we were enjoying it and if he could be of any assistance, he would help!! If I needed tech, he was on it and they would call me within the hour!
EXCEPTIONAL PRODUCT
Lorex’s reviews online are outstanding and I give them an outstanding ovation of quality of product and outstanding customer service! This system is also super budget friendly when comparing other home security systems! I believe it will fit into almost any budget! If you have any questions, please reach out! I’d be happy to answer any of your questions or point you in the right direction!
PS-Lorex has Black Friday sales now!!!
❤️~Shae
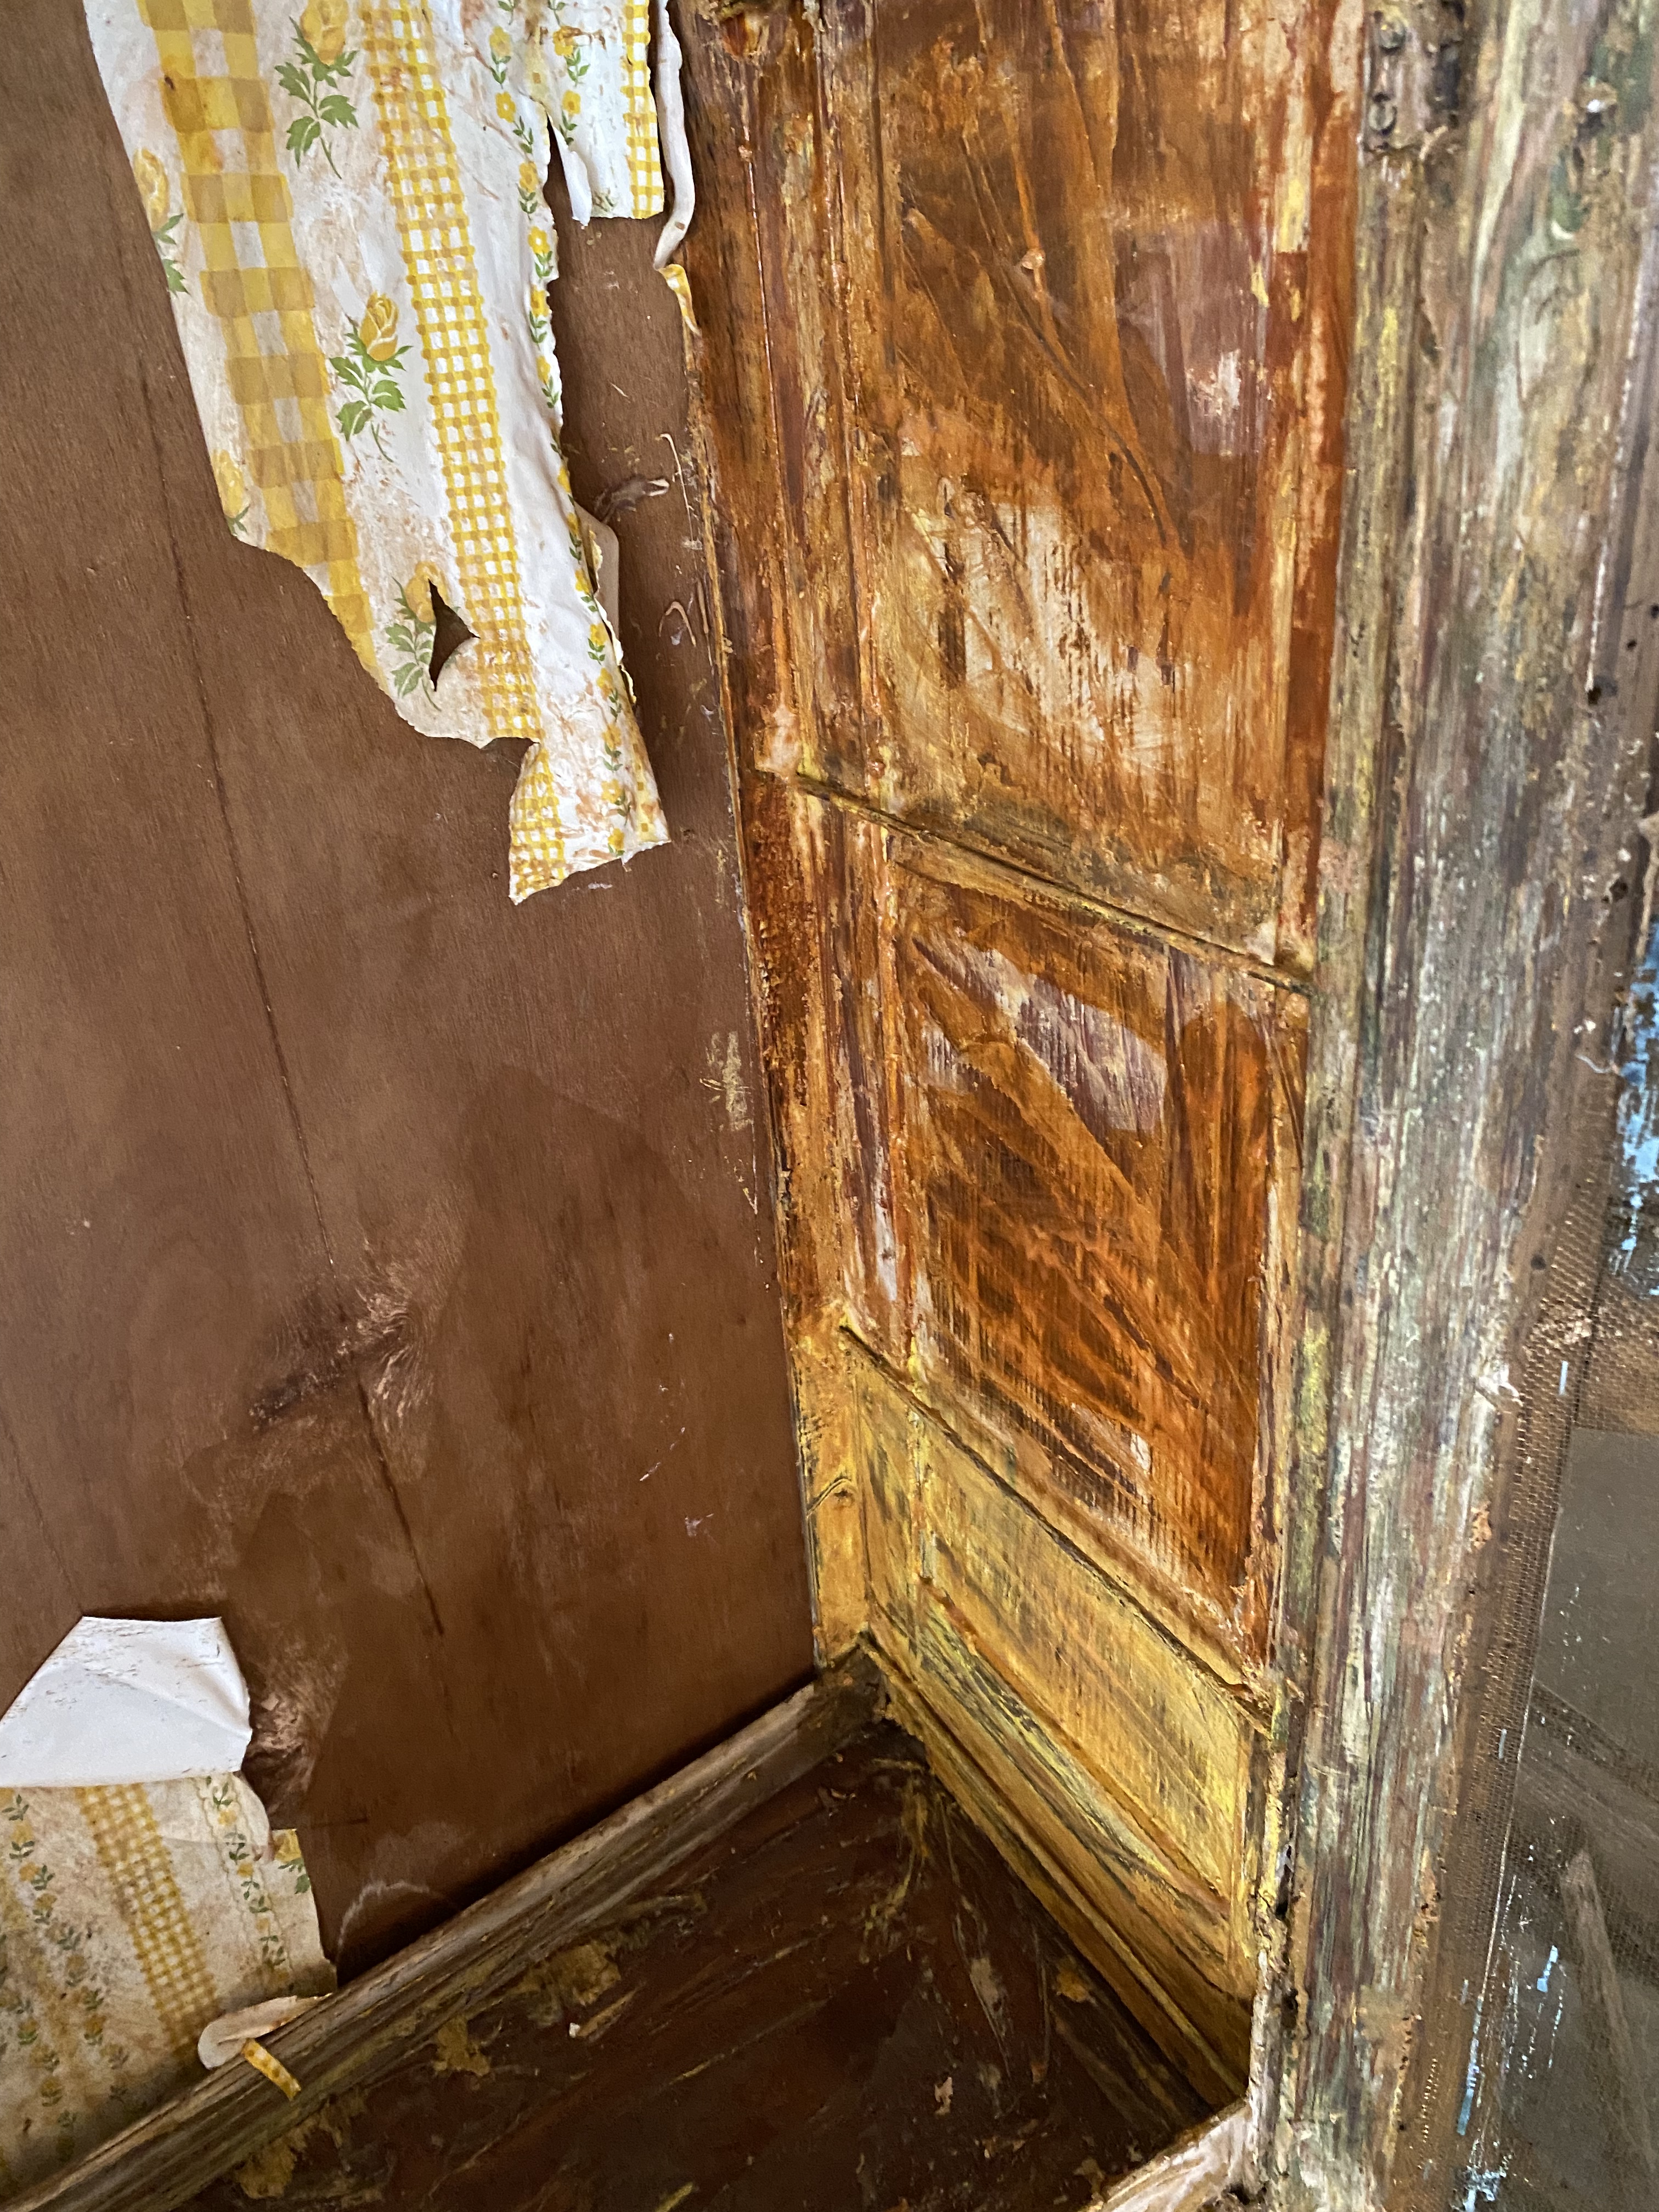
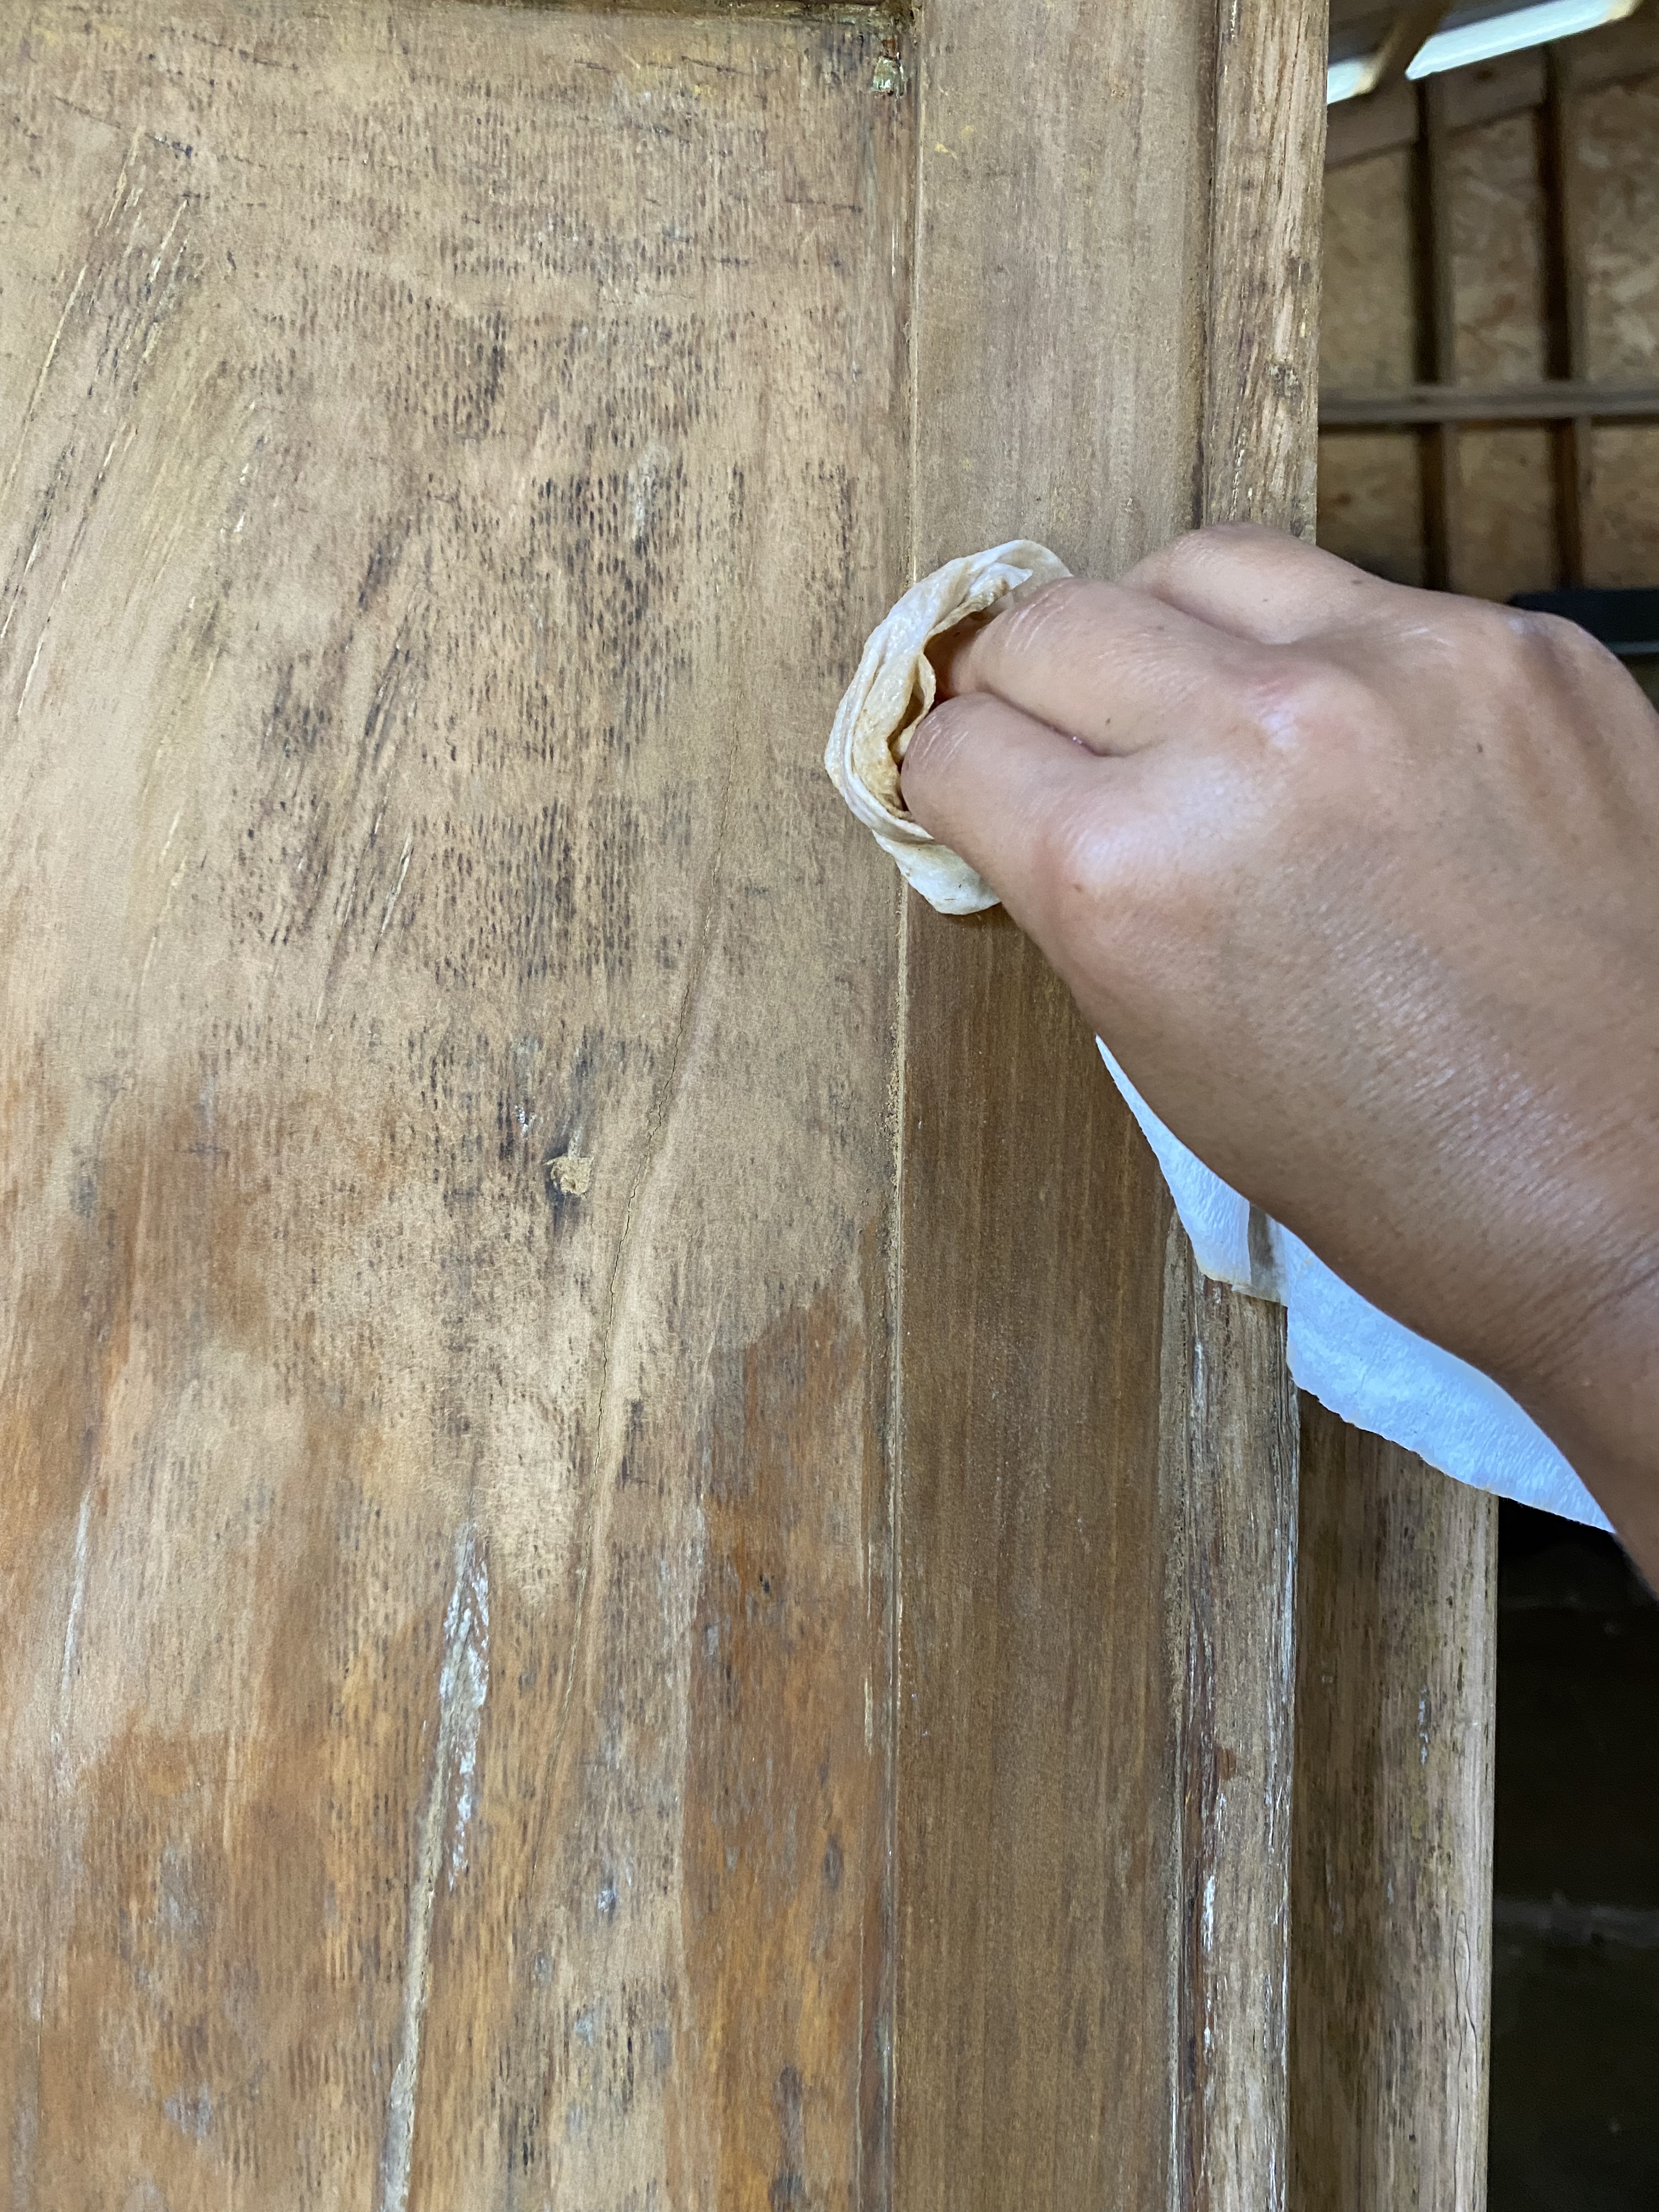
 Antique Pie Safe


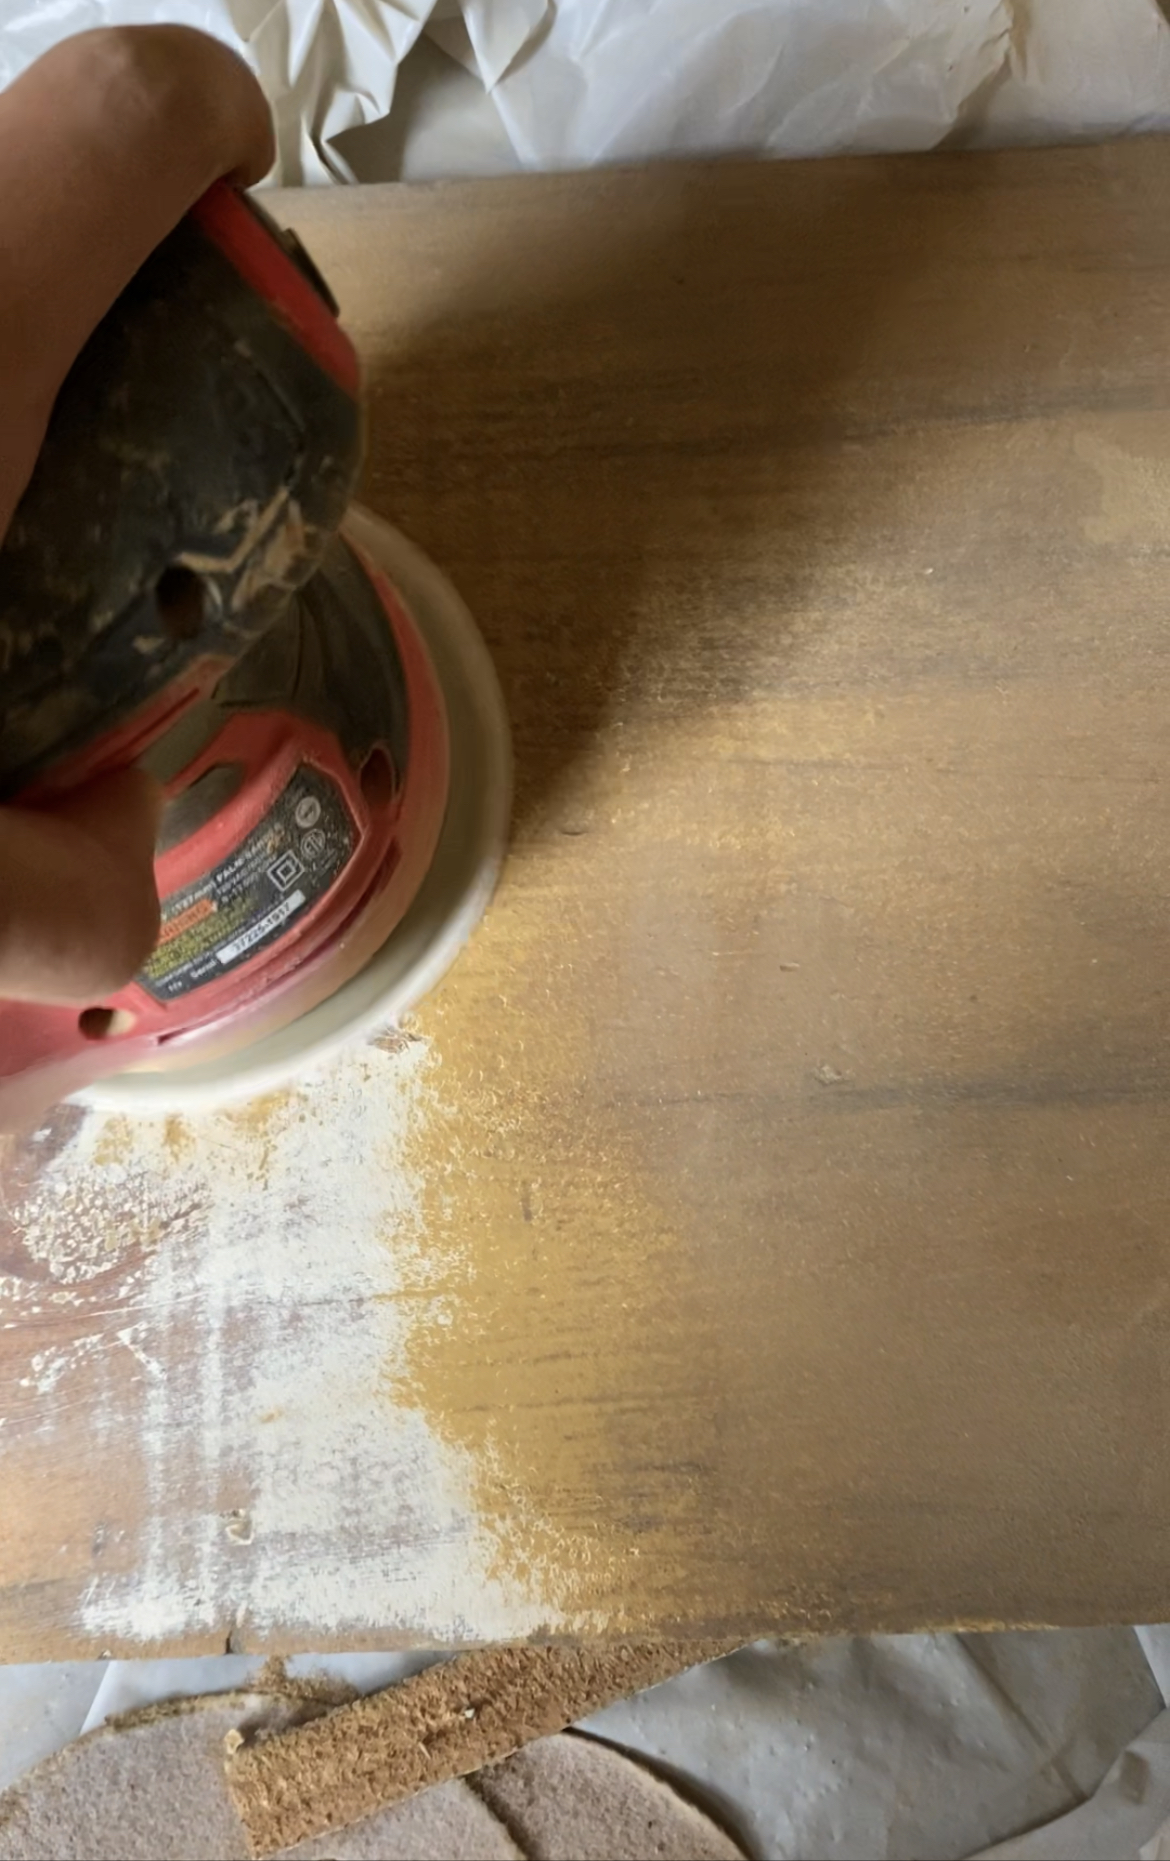


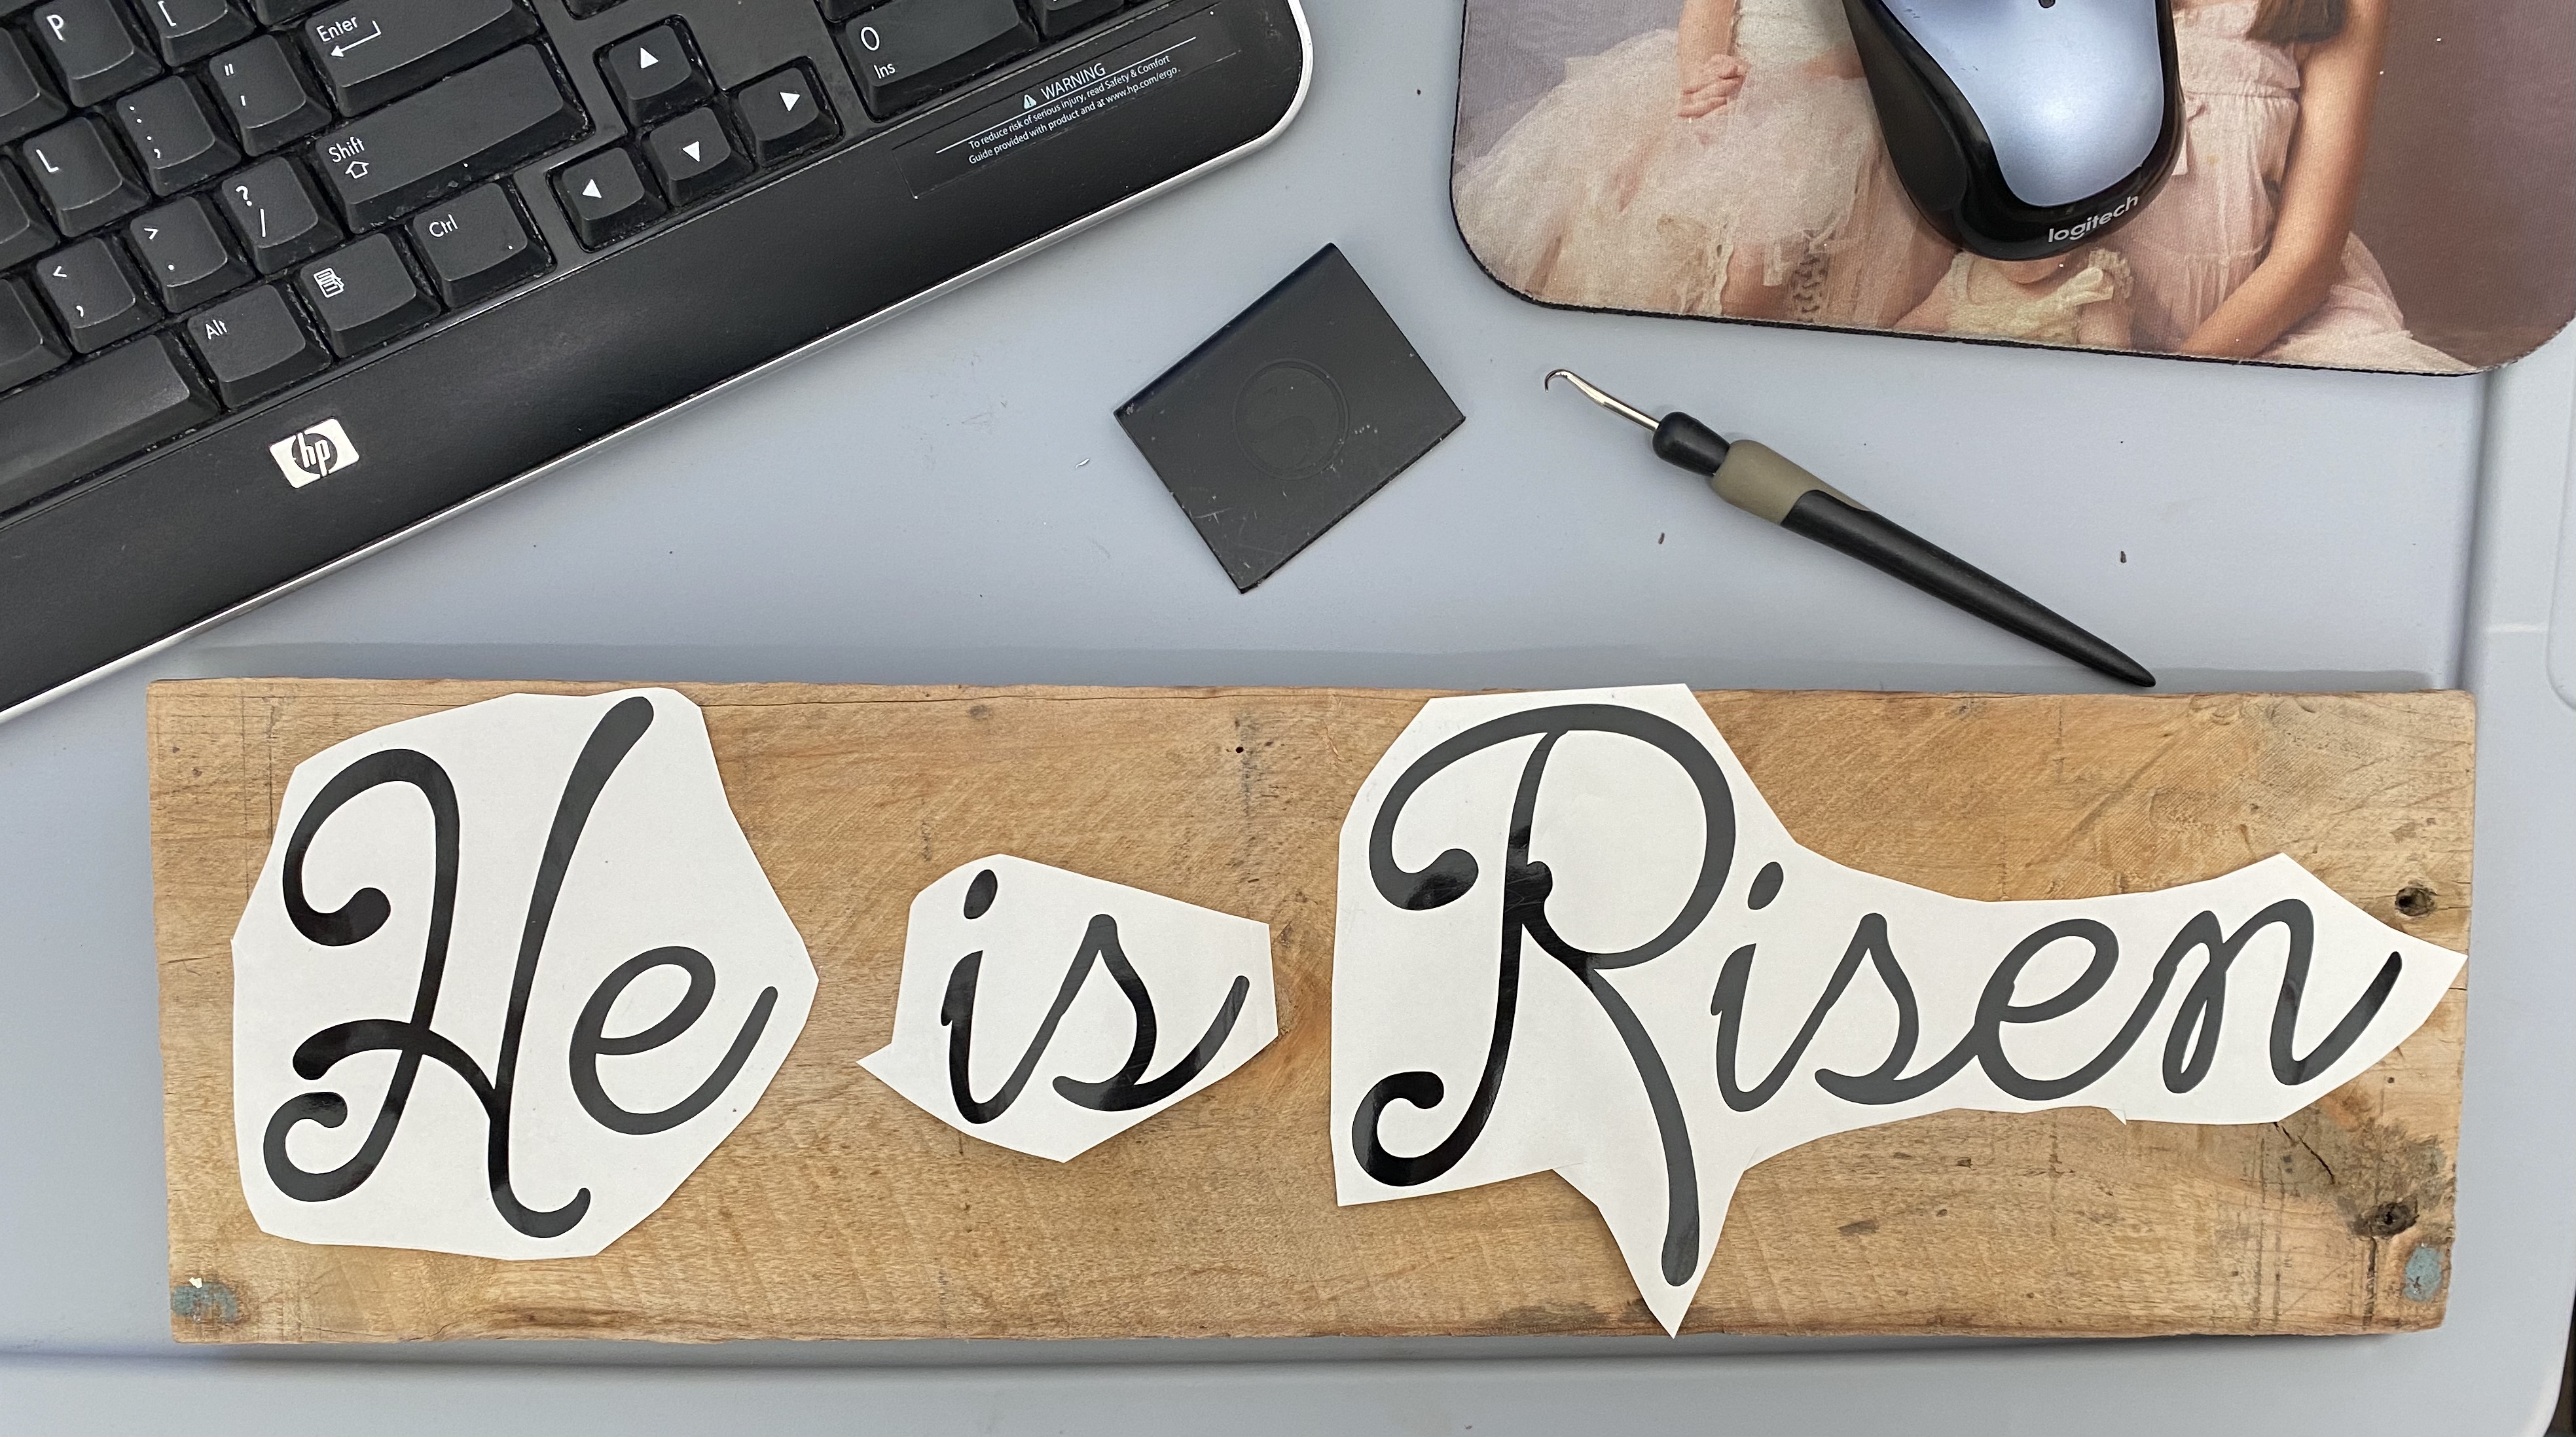
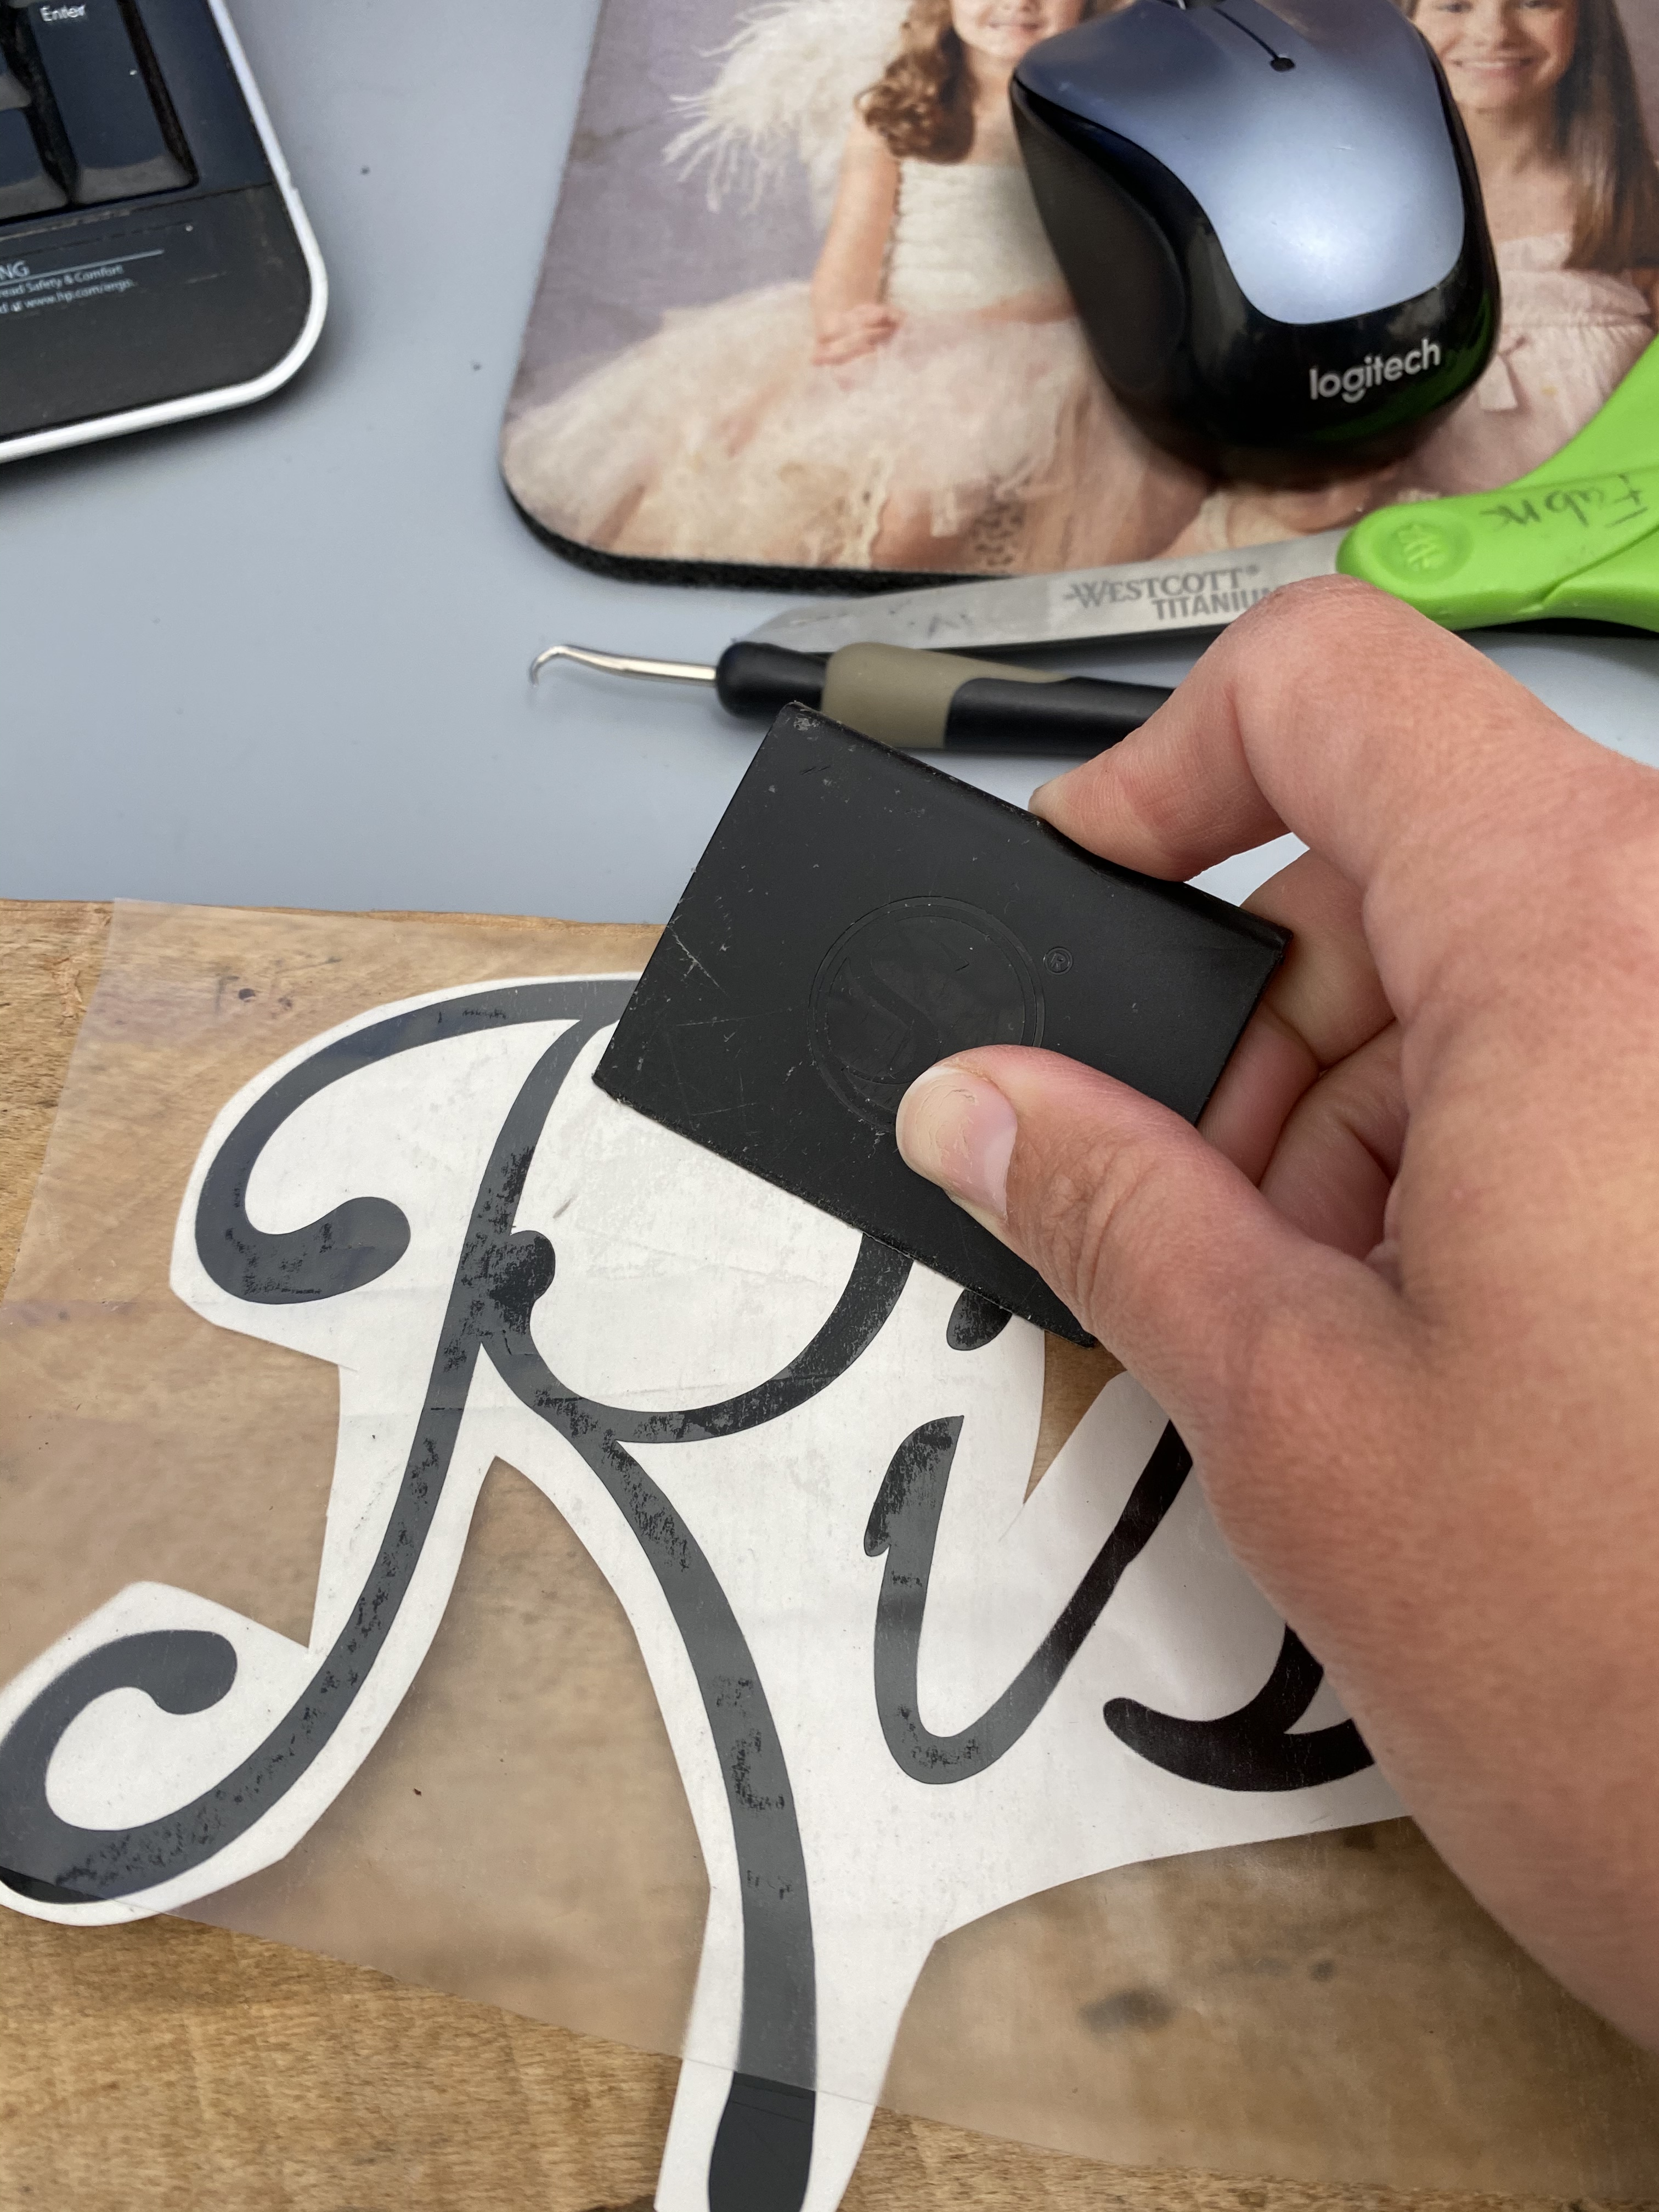
 I decided I could use the back of this sign for a different sign. The first vinyl design did not work out due to the size and file of the vinyl design. I realized this AFTER designing the entire design.
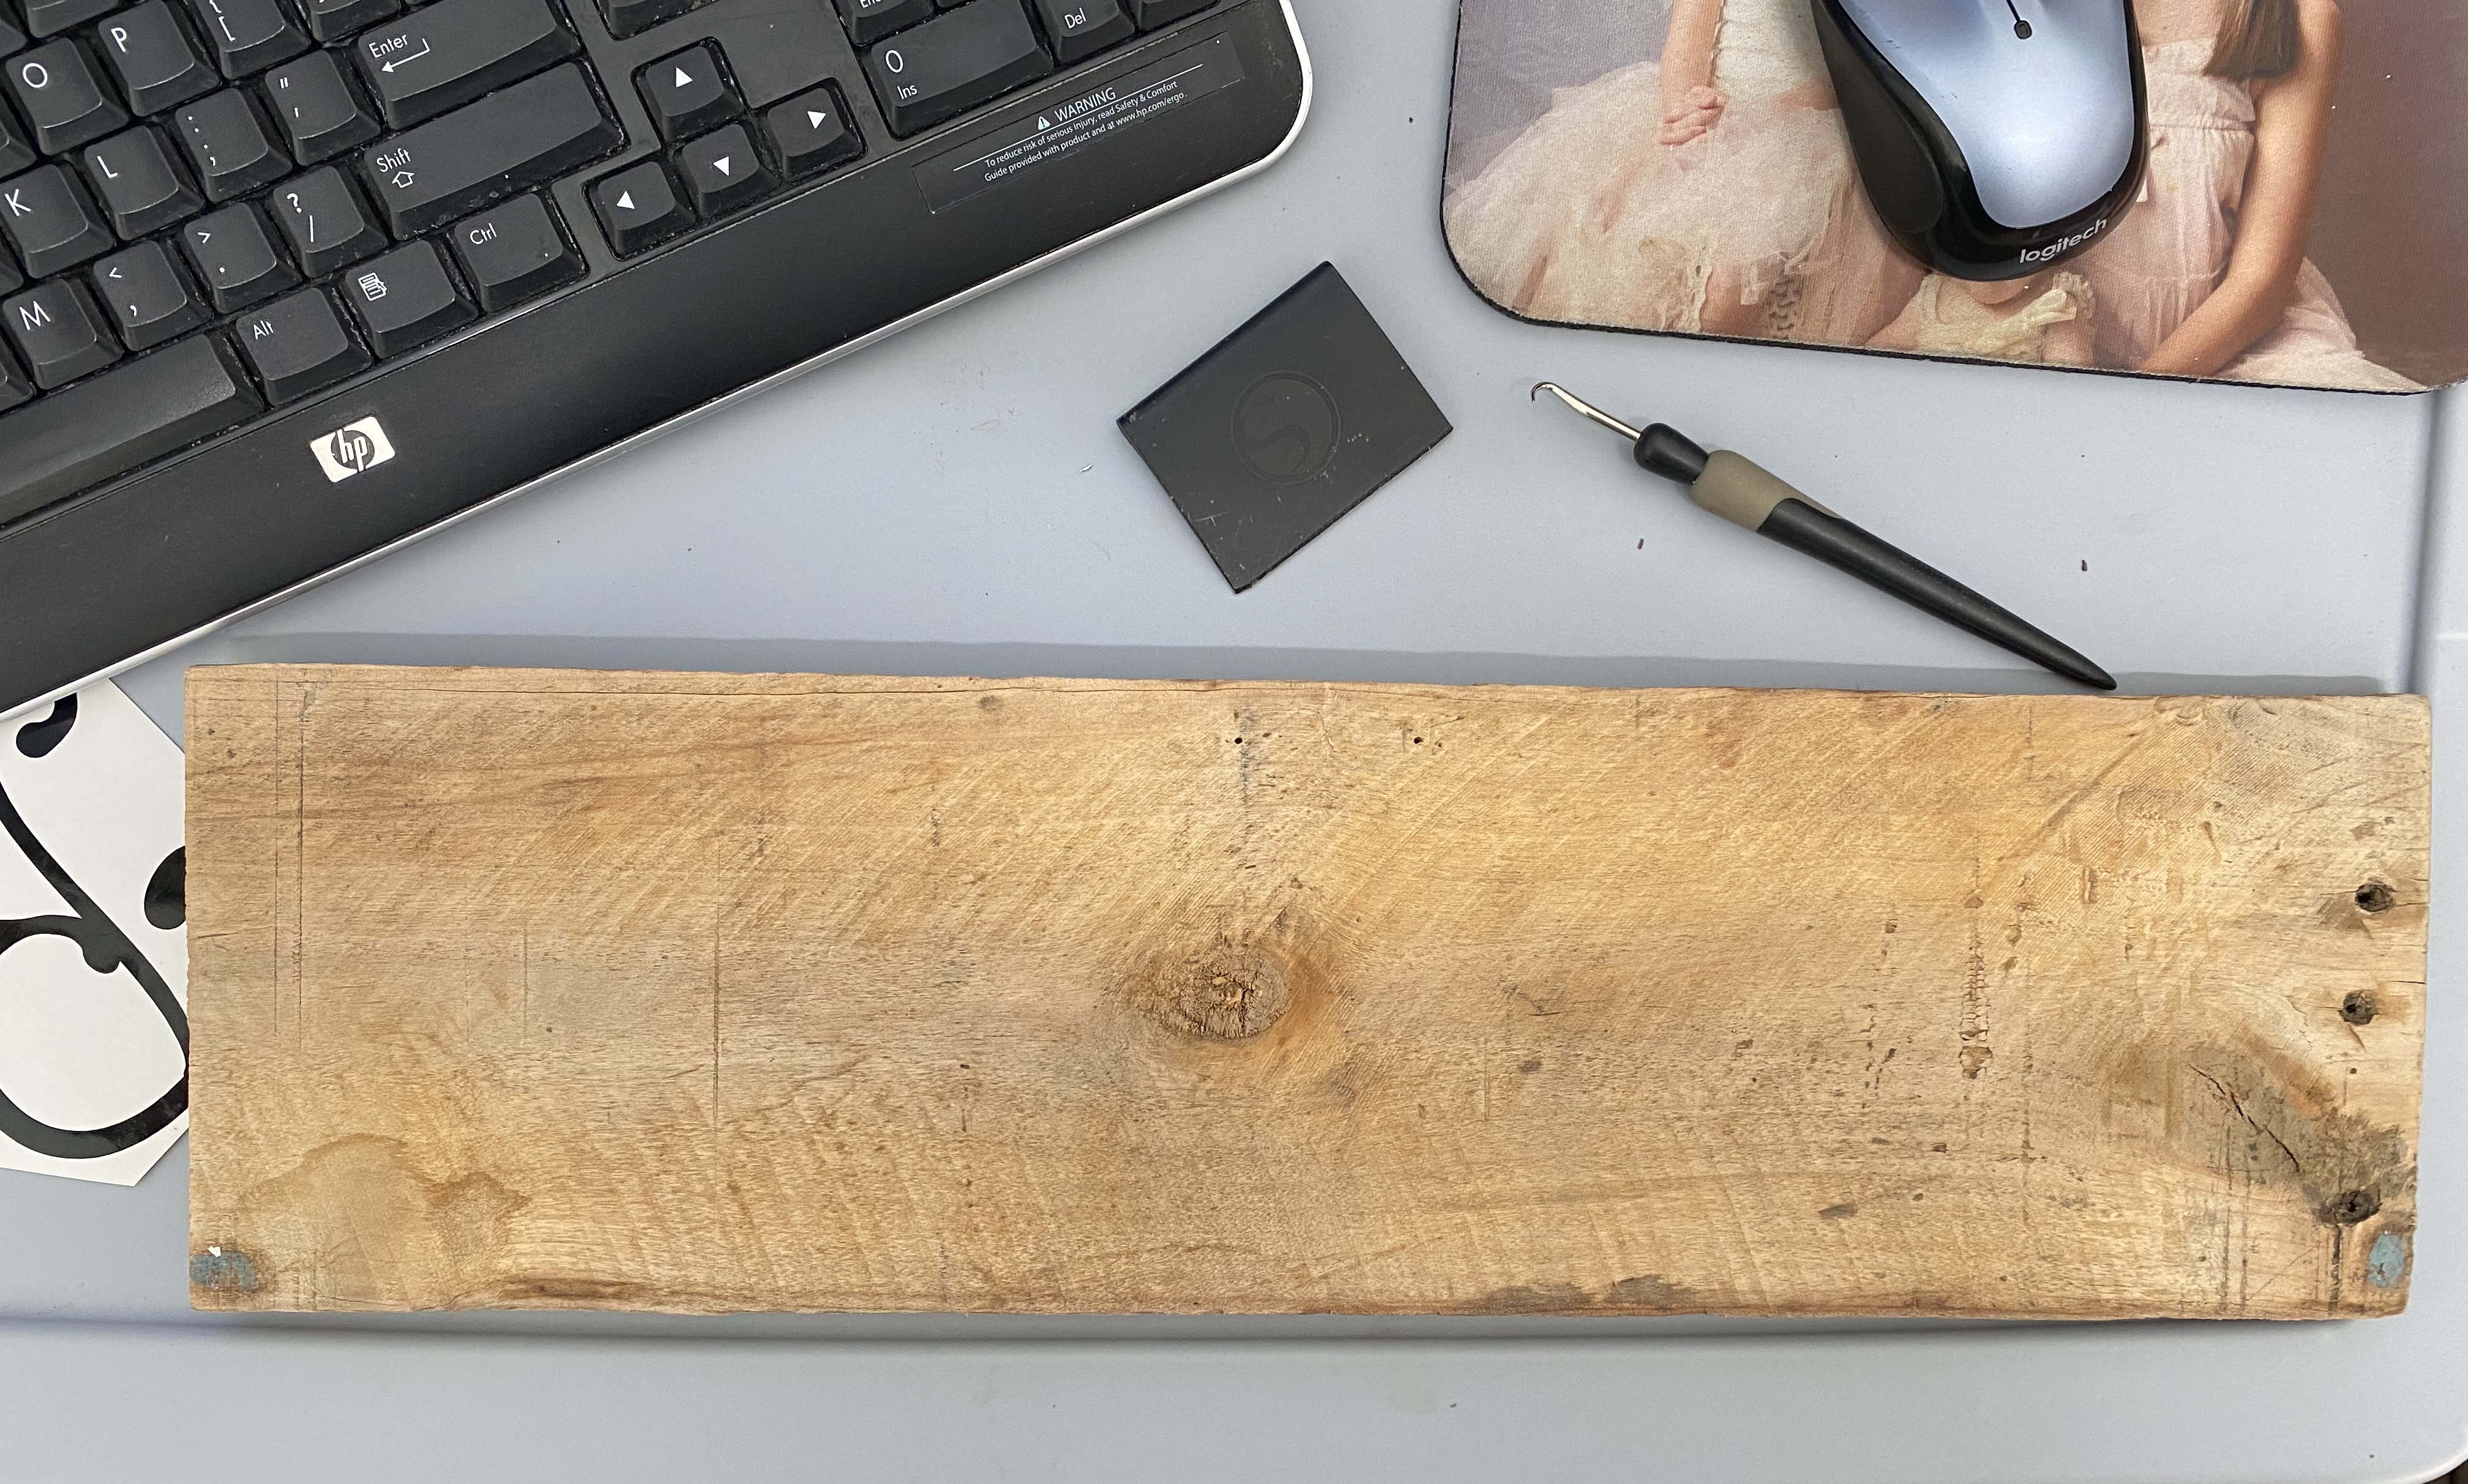


You must be logged in to post a comment.