
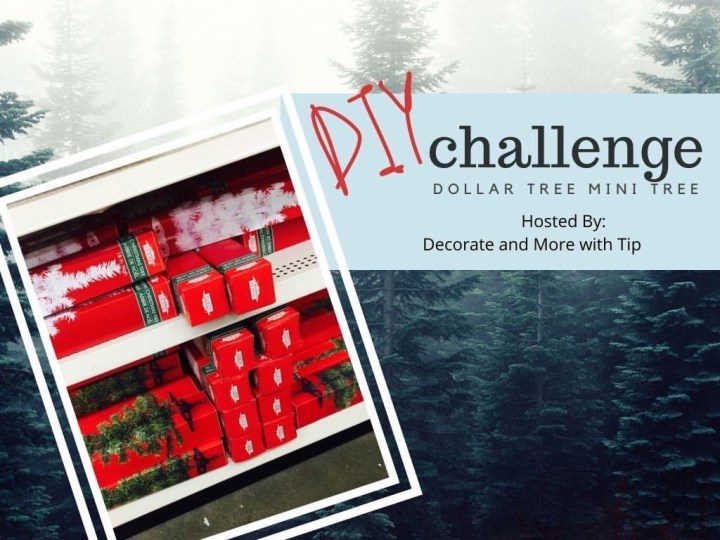
I always enjoy a good decor challenge on a budget, so when my friend Terrie, from Decorate and more with Tip invited me to her DIY Dollar Tree Challenge, I knew I would love it!!
DIY Dollar Tree Challenge:
Rules: Purchase an 18 inch tree from The Dollar Tree and decorate it as budget friendly as possible!! Challenger accepted ✅
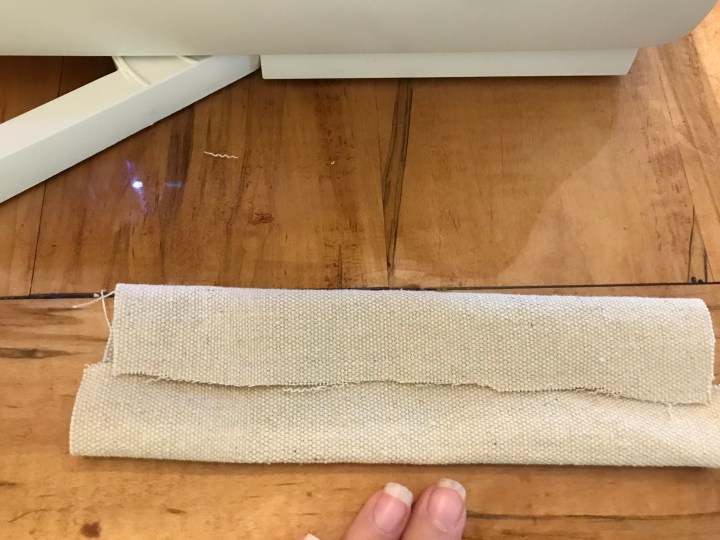
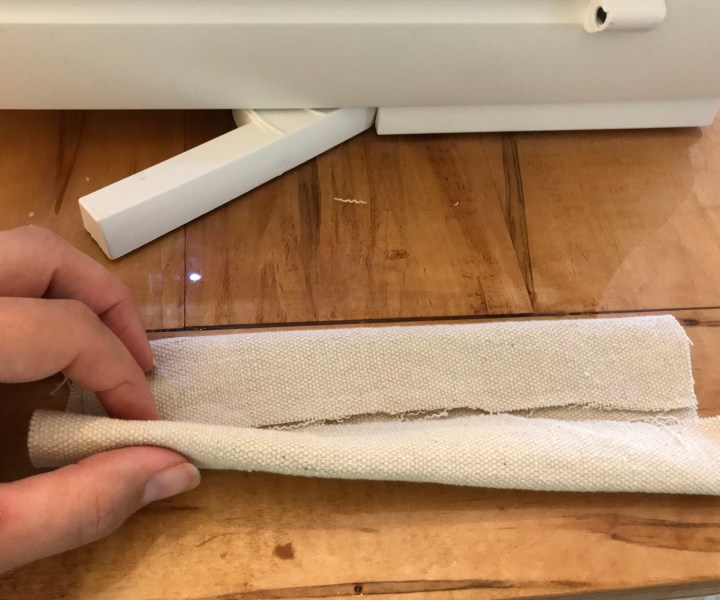
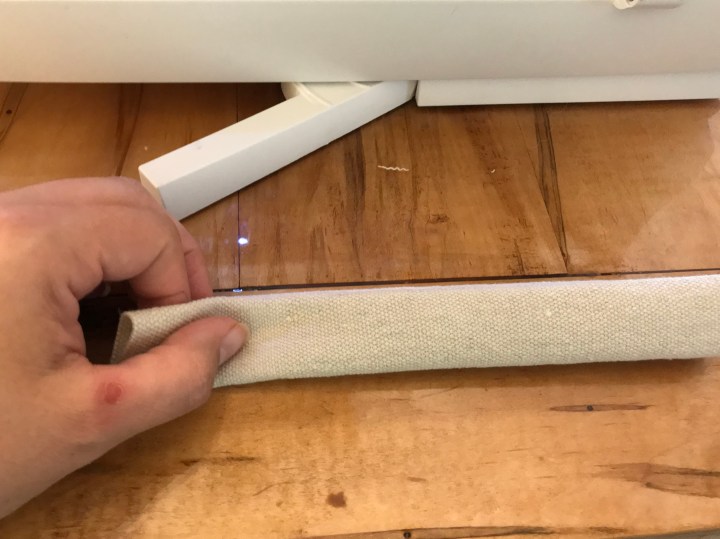
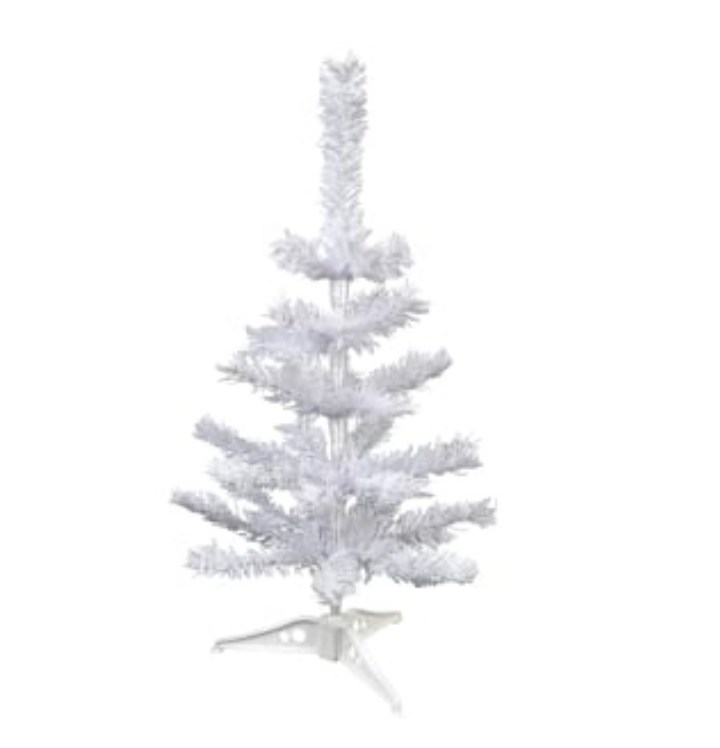 I started off with this white Christmas tree from The Dollar Tree. I decided to use some of my leftover painter’s drop cloth canvas to make a bow topper and ribbon for the tree. All you do is cut a small cut at the top of the canvas then make a second cut, depending on your width you want of your “ribbon”. I decided my bow ribbon and ribbon cascading down the tree would be 2 inches in width and around 20 inches long. I like my ribbon to sort of bunch into the branches. A drop cloth is only $3 for a small one.

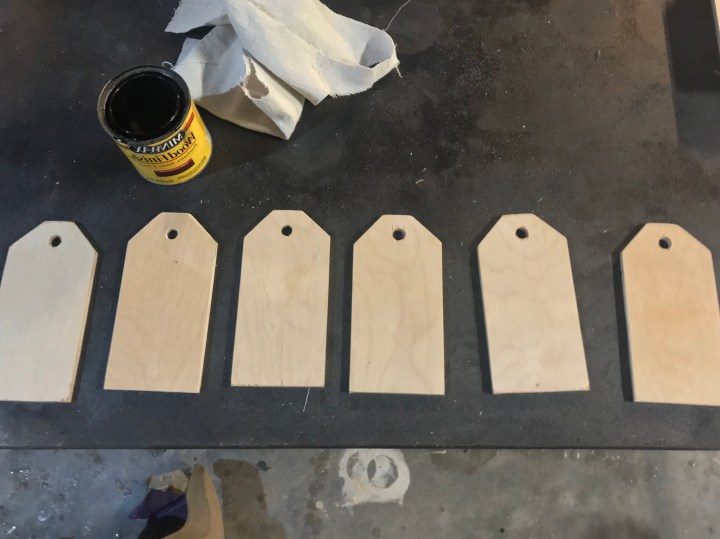
Next I decided to use my wood star garland from one of my fav shops, 302 Wood Works .
 Lastly, I went to Hobby Lobby and purchased these little pink mini ornaments for $1.99 at 50% off!

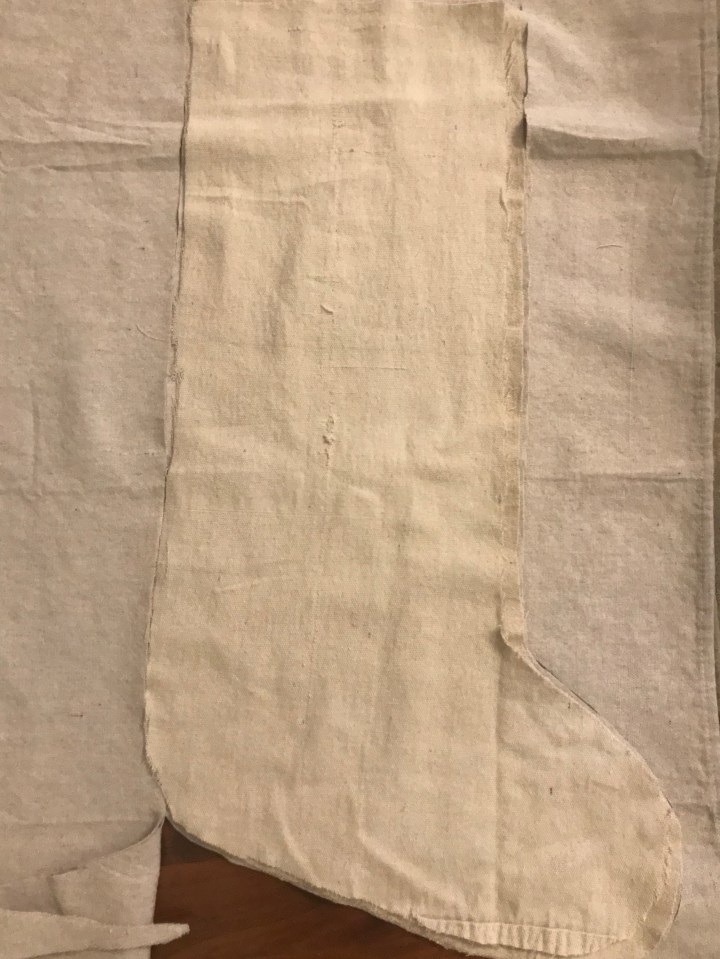
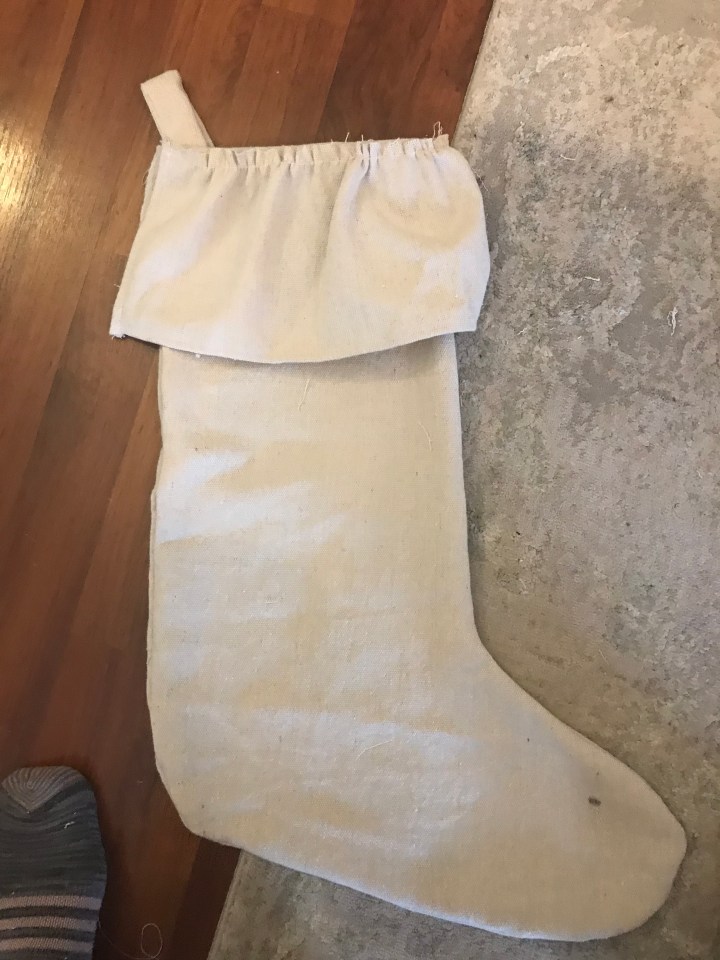
Along with these mini ornament hooks for .99 cents at 50% off. For the tree skirt, I used a piece of canvas drop cloth! I only spent $3 and some change on the supplies for decorating the tree. My total cost for decorating my tree was $4.32!!
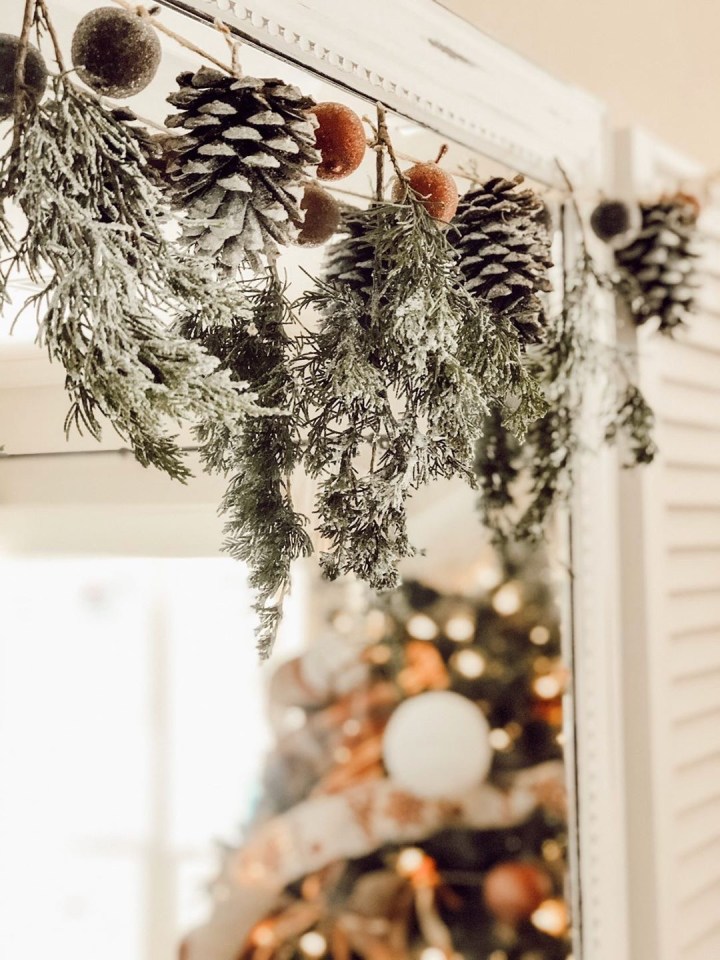
I wanted to style the tree in our girls bathroom upstairs, which is decorated in a boho theme. I wanted the tree to reflect that, with a pop of pale pink for color and a fun flair! What do y’all think?

❤️-Shae
Please don’t forget to head on over to each of my friends, as they show us what magical transformation they made to their Dollar Store Christmas tree!!
Terrie – Decorate and More with Tip
https://decorateandmorewithtip.com/dollar-tree-table-top-christmas-tree/
Kelli – K’s Olympic Nest
https://olympicnest.com/blog/dollar-tree-christmas-tree-hack-creating-a-farmhouse-buffalo-check-christmas
Shae – Sweet Southern Grace
https://wordpress.com/post/sweetsoutherngrace.blog/1001
Rebecca – Rebecca Anne Home
Dayna – Just Another Farmhouse
https://barnhousemess.wordpress.com/2019/12/02/diy-christmas-tree
Christine – CD’s Country Living
https://cdscountryliving.com/diy-rustic-mini-christmas-tree-centerpiece/
Dani – Welcome to the Taborhood
http://www.thetaborhood.com/blog/mini-tree-diy
Tammy – Patina and Paint
Carol – Bluesky at Home
Mary – Shady Oak and Sassafras
https://shadyoakandsassafras.com/dollar-tree-thrift-store-christmas-tree-challenge/
Jessica – Jessica Welling Interiors
Teresa – Through a Vintage Door
https://throughavintagedoor.com/03/12/diy-dollar-tree-challenge/
Michelle – Blessings by Me
Jessica-Jessica Simmons
https://jessicabsimmons.com/decorating-a-mini-dollar-tree-christmas-tree/


 You can also check out our
You must be logged in to post a comment.