
Welcome to our Christmas Home Tour with farmhouse cottage with bits of rustic, boho and shabby chic flairs! Keep reading for a unique home tour to inspire your own Christmas decorating for your home.
Deck the Halls-Shae’s Christmas Home Tour
Welcome to our “Christmas Home Tour-Deck the Halls”. We are thrilled you are here! We’ve got lots of Christmas decorating ideas to get your juices flowing! Our goal is to inspire you to create your own festive Christmas home to share with family and friends. I hope as you tour our home that you gets lots of inspiration and ideas for your home!
Farmhouse Christmas: Let’s Decorate
Christmas is my favorite time of year to decorate! I have always enjoyed decorating for the holiday since my very first Christmas as a newly wed. We didn’t have much, but that didn’t stop me from making our house a home for the holidays! This is where all of my DIY inspiration began and on a dime!
The Importance of Inspiration:
With that being said, whether you have a big budget or a non existent budget, you can create something magical, if you just use your own creativity! After all, isn’t your own creativity part of the magic? That is one reason why I spend time, getting inspired before I purchase anything! Being inspired is like saving money in a sense! I hope this tour gives you inspiration and helps you to step outside your tried and true decorating!
I believe your home, what’s inside your home, your surroundings, should add joy to all of your decor! Let’s get this party started!
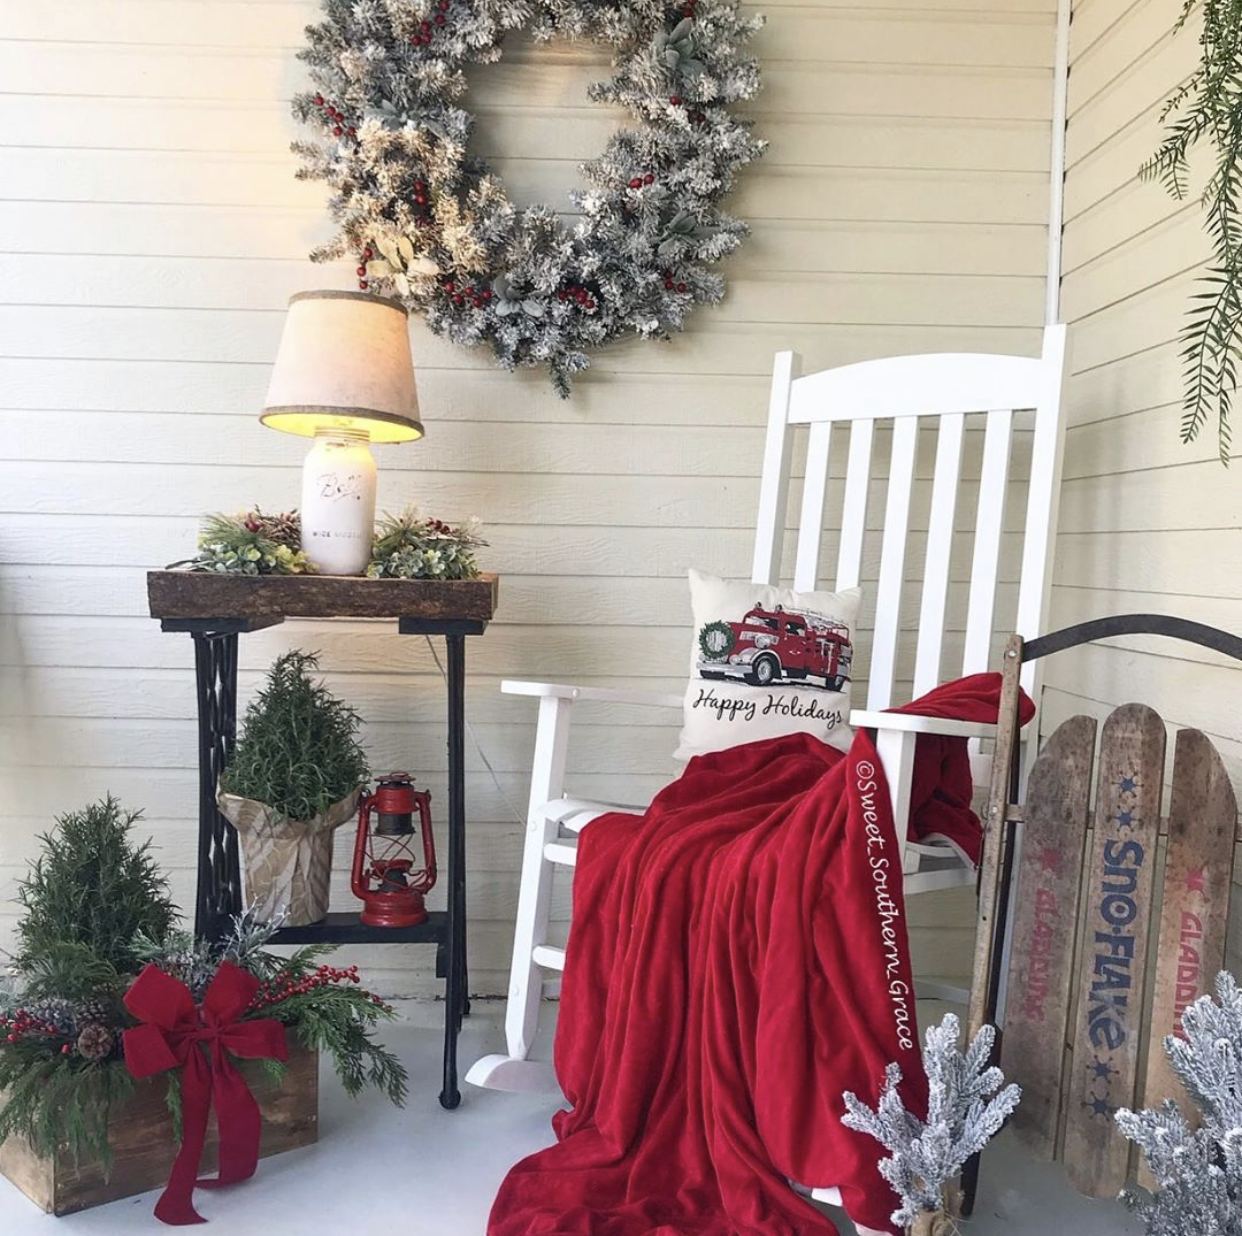
Farmhouse Christmas: Front Porch
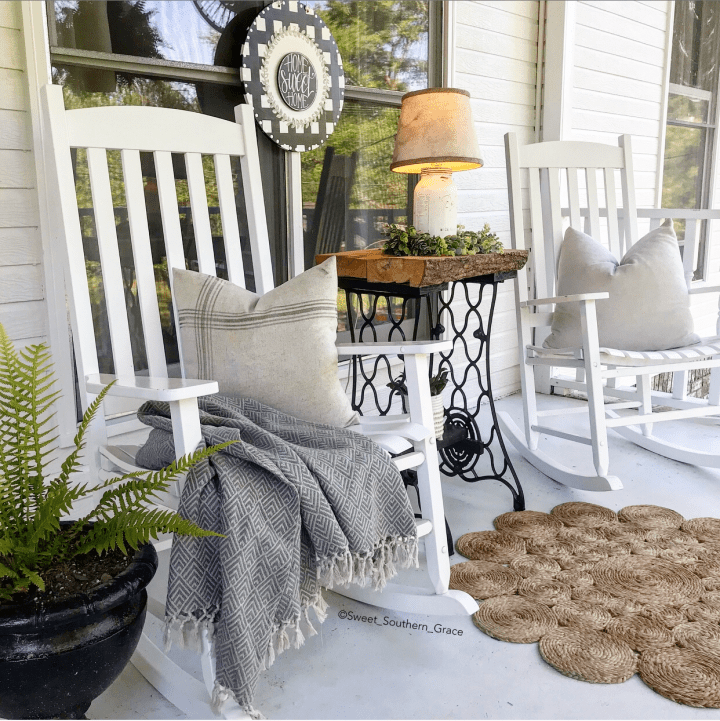
As you step onto our covered front porch, you will see a vintage vignette complete with a vintage sled. Our table is a vintage singer sewing machine base that we found on our local trading site. It was a diamond in the rough, as it was all rusted when we found it. We sanded and painted it with black latex paint and added a wood top. The wood top was made from a tree that fell on our property, that my husband milled.

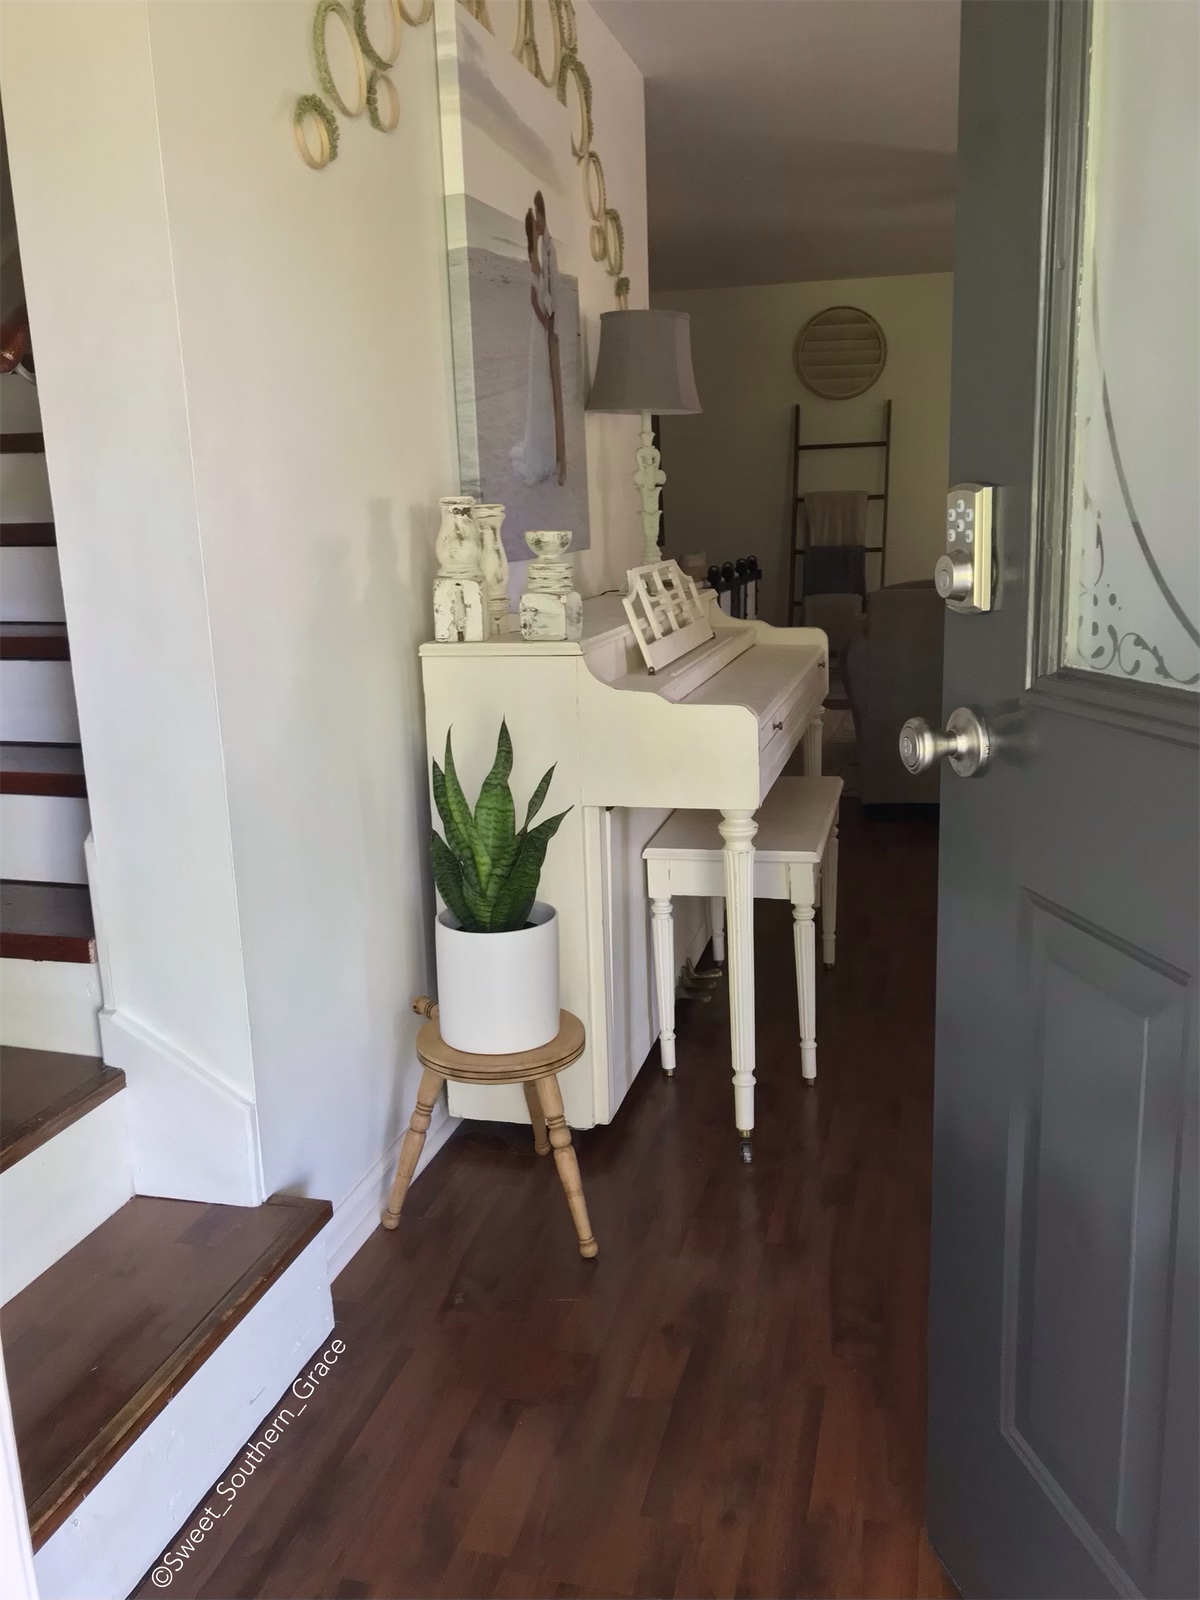
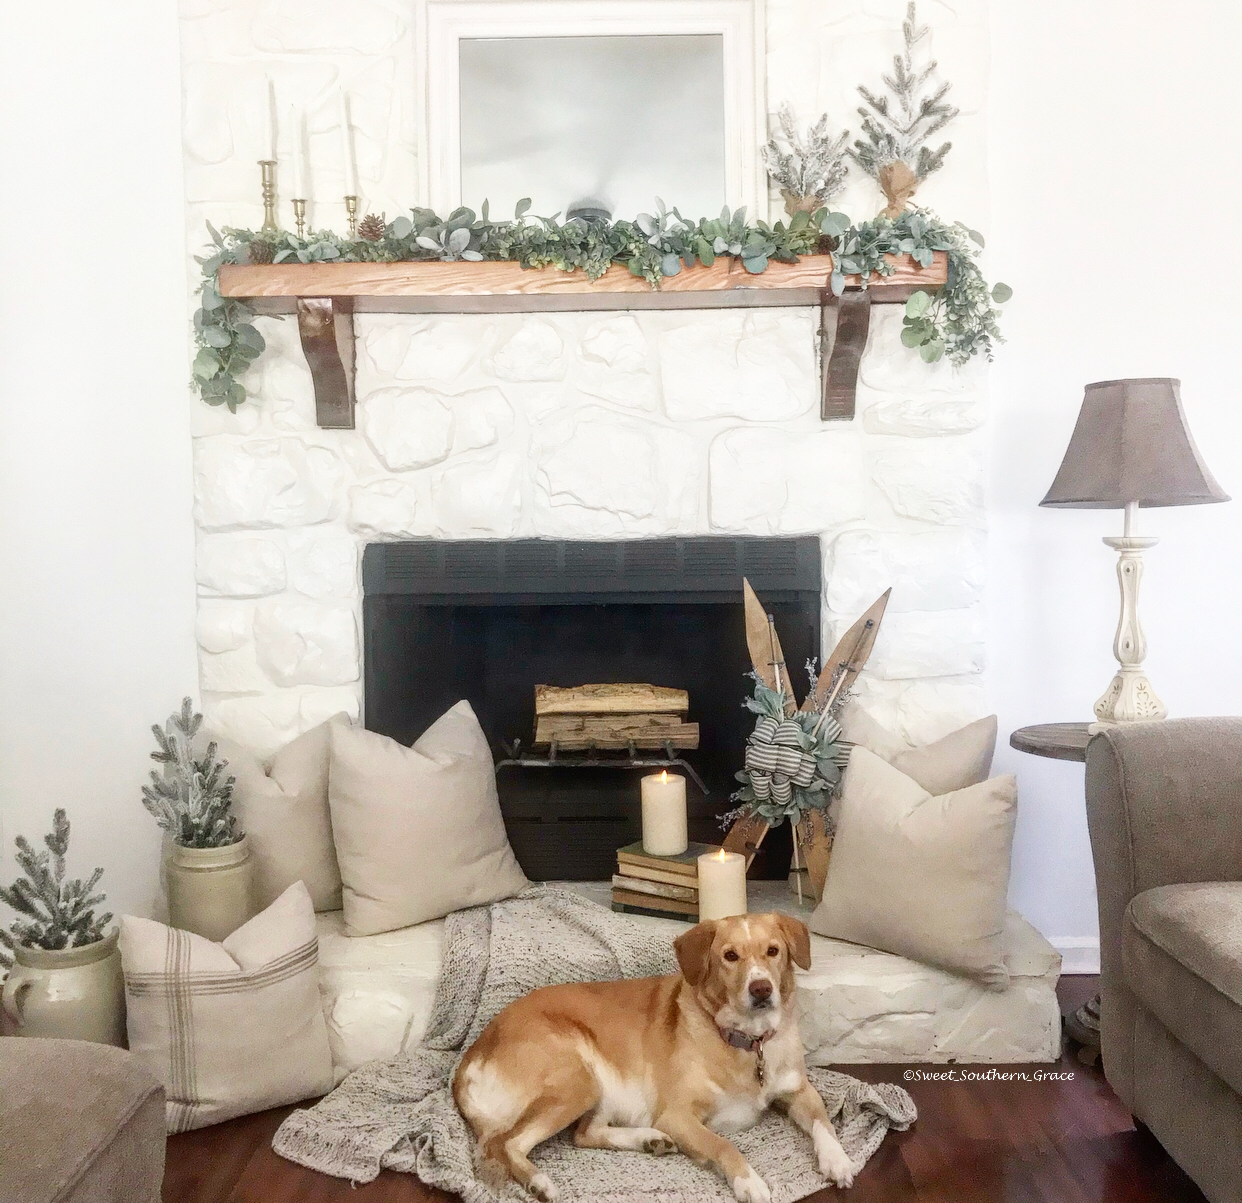
As you open the front door of our open, you will most likely be greeted by our golden retriever mix, named Tinker Belle, inviting you into our home, as long as you give her a good belly rub!

Farmhouse Christmas: Dining Room
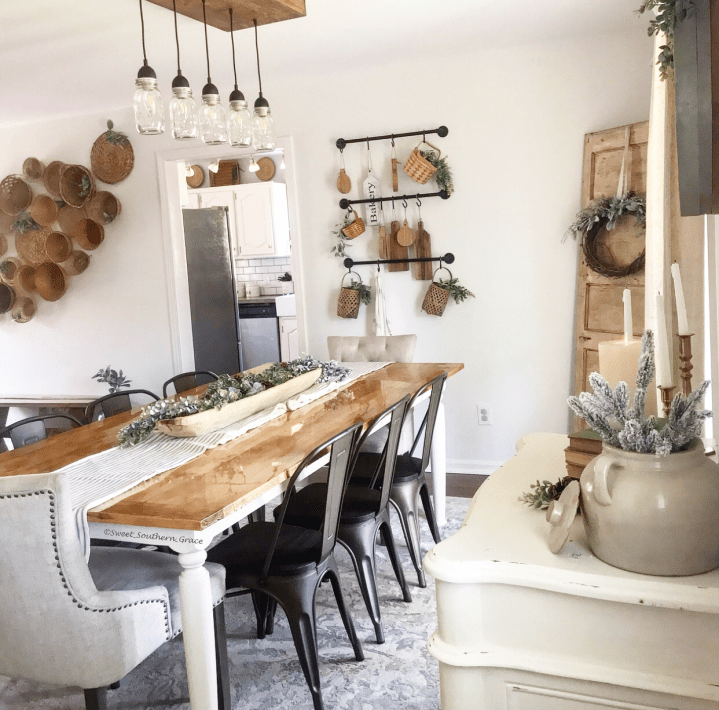
You will see lots of cottage farmhouse with bits of rustic decor in our dining room. My husband and I designed and built our farmhouse table. When we began shopping for a new dining room table, everything we found was not made of real wood and that got me to thinking that we could design and build our own! We headed to a local wood store and picked out the most beautiful ambrosia maple! I was like a kid at Christmas time, waiting on my husband to build the table so I could figure out what stain, paint or epoxy I wanted to use. I was so excited to begin having meals around our table!

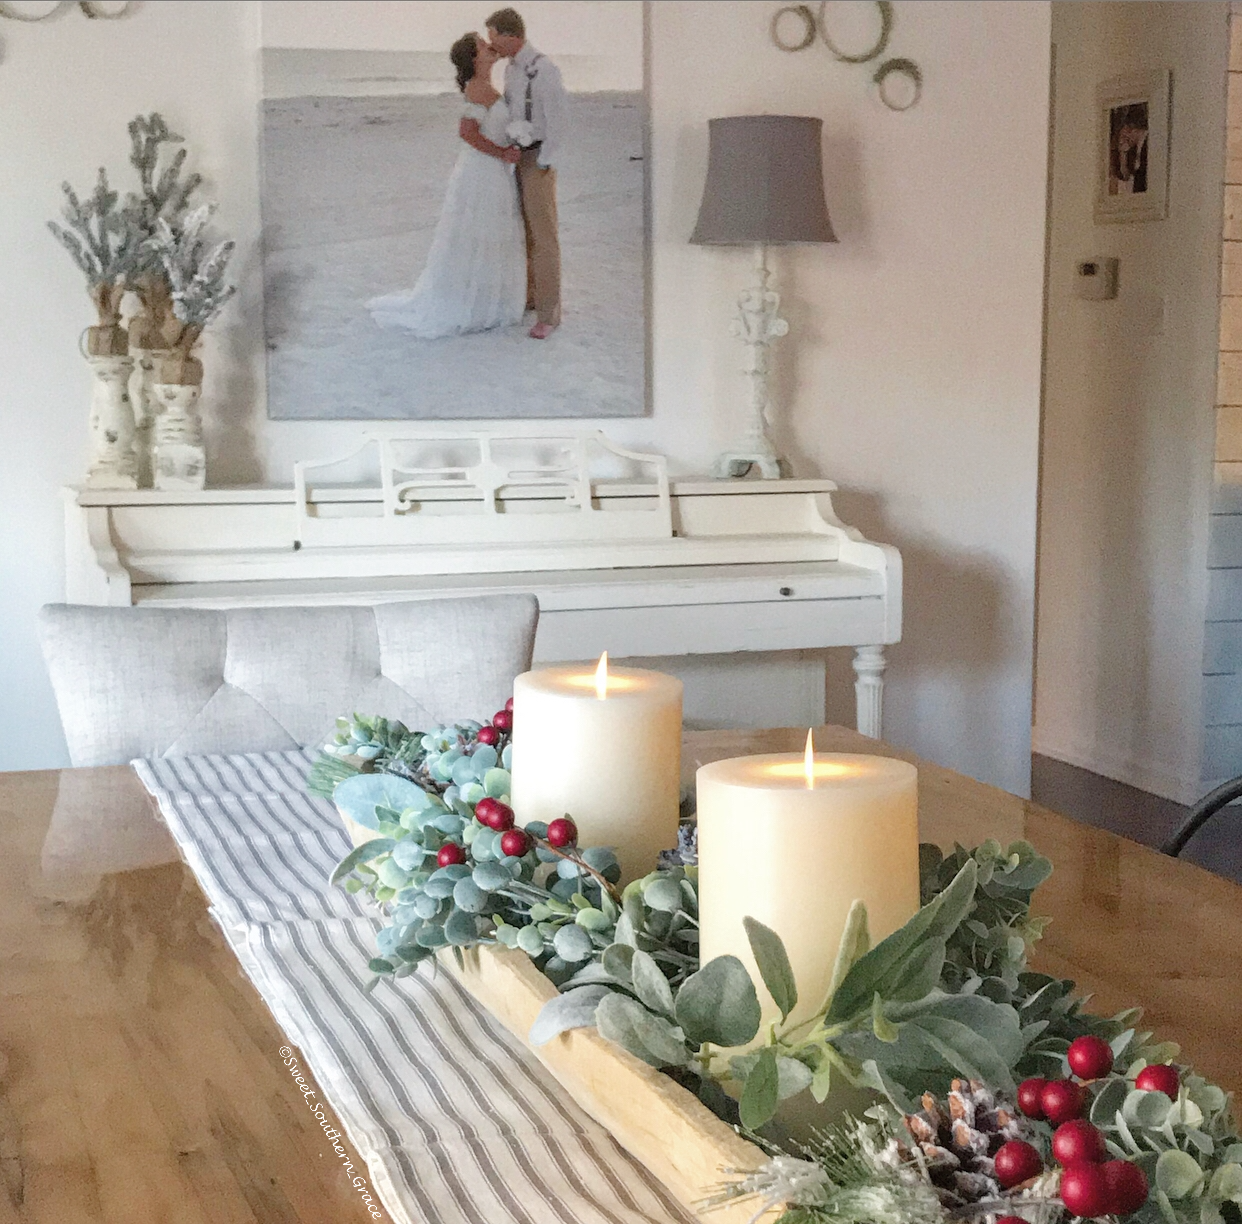
I also enjoy styling my dough bowl for each season. My husband also made the dough bowl from a salvaged log, that he found on the side of the road.

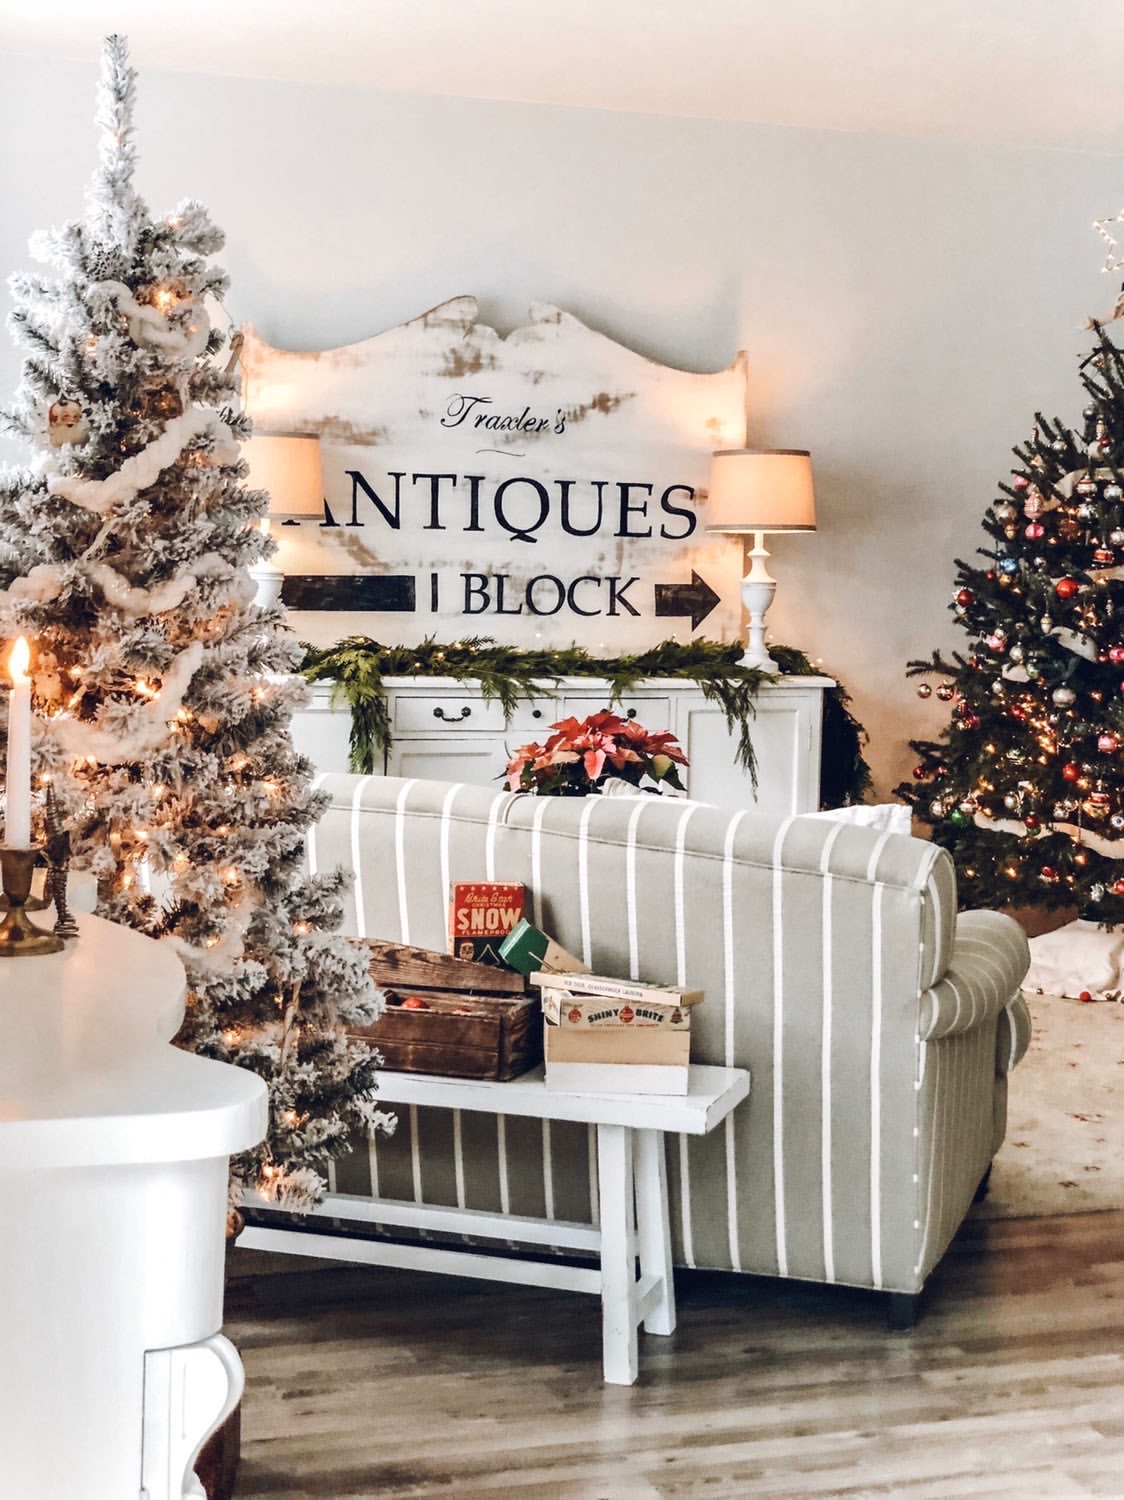
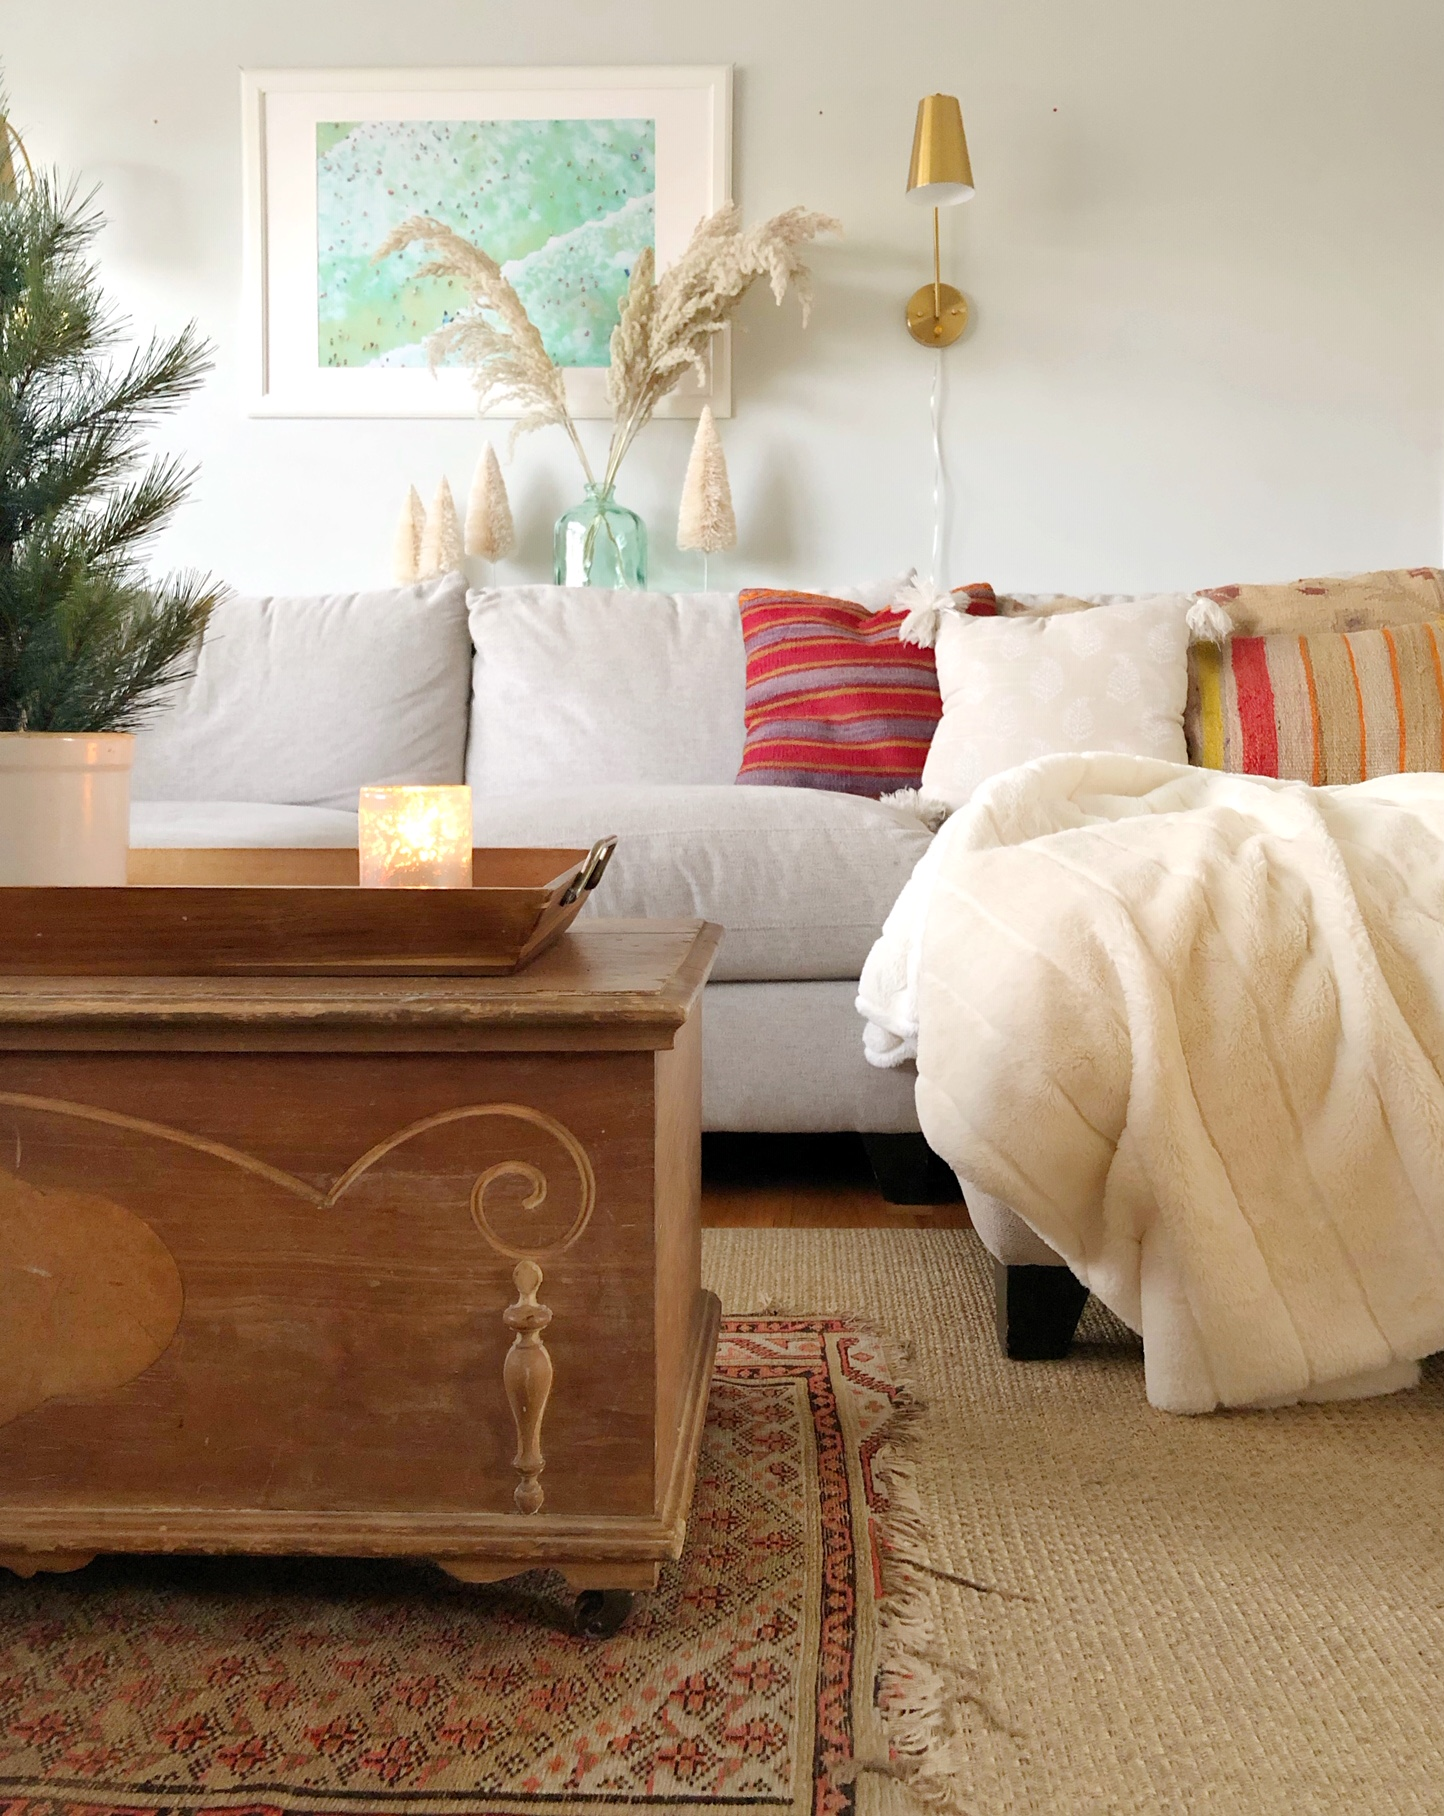
Farmhouse Christmas: Living Room
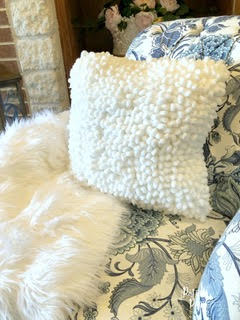
Let’s head into the heart of our home, our family room/living room. Our white stone painted fireplace with our newly, neutral painted walls gave me the idea for using natural elements on our neutral, flocked King of Christmas tree. Most of the ornaments were handmade by my husband and I. From the embroidery hoop wreaths to the wood Christmas blocks to the wooden spindle ornaments. We enjoying creating a space with items that we love and by creating it with our own hands, gives us such JOY!
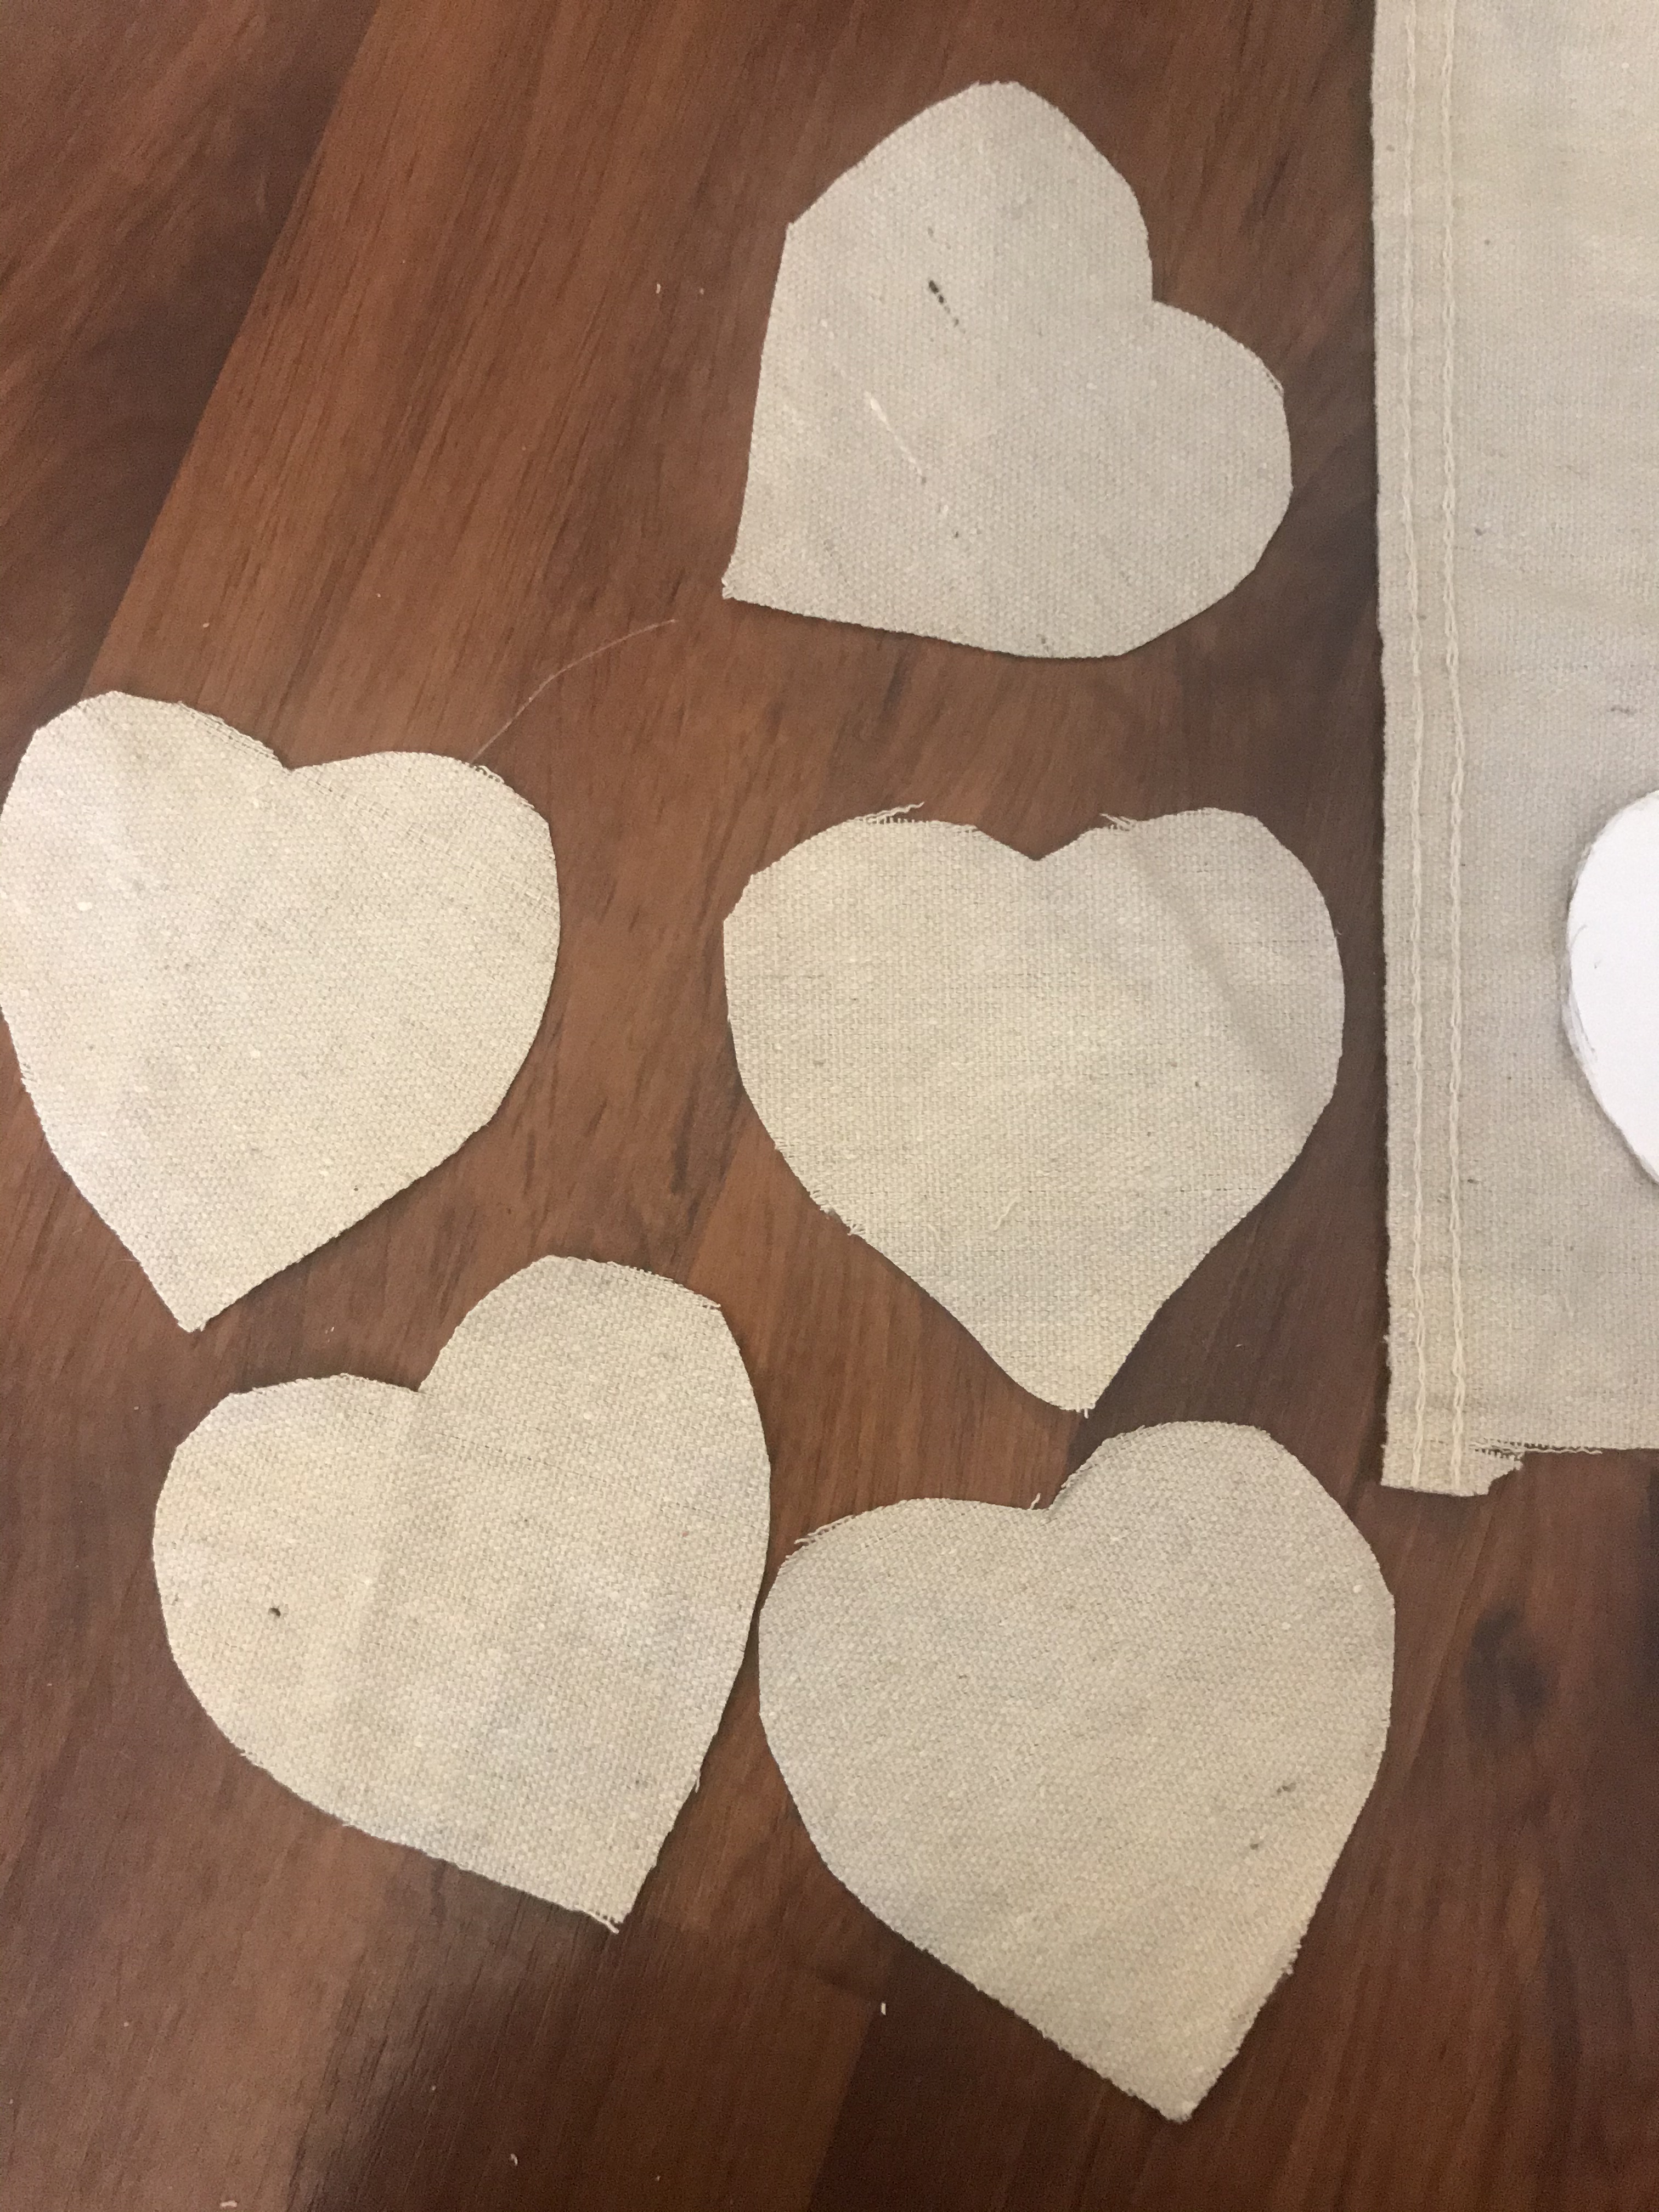
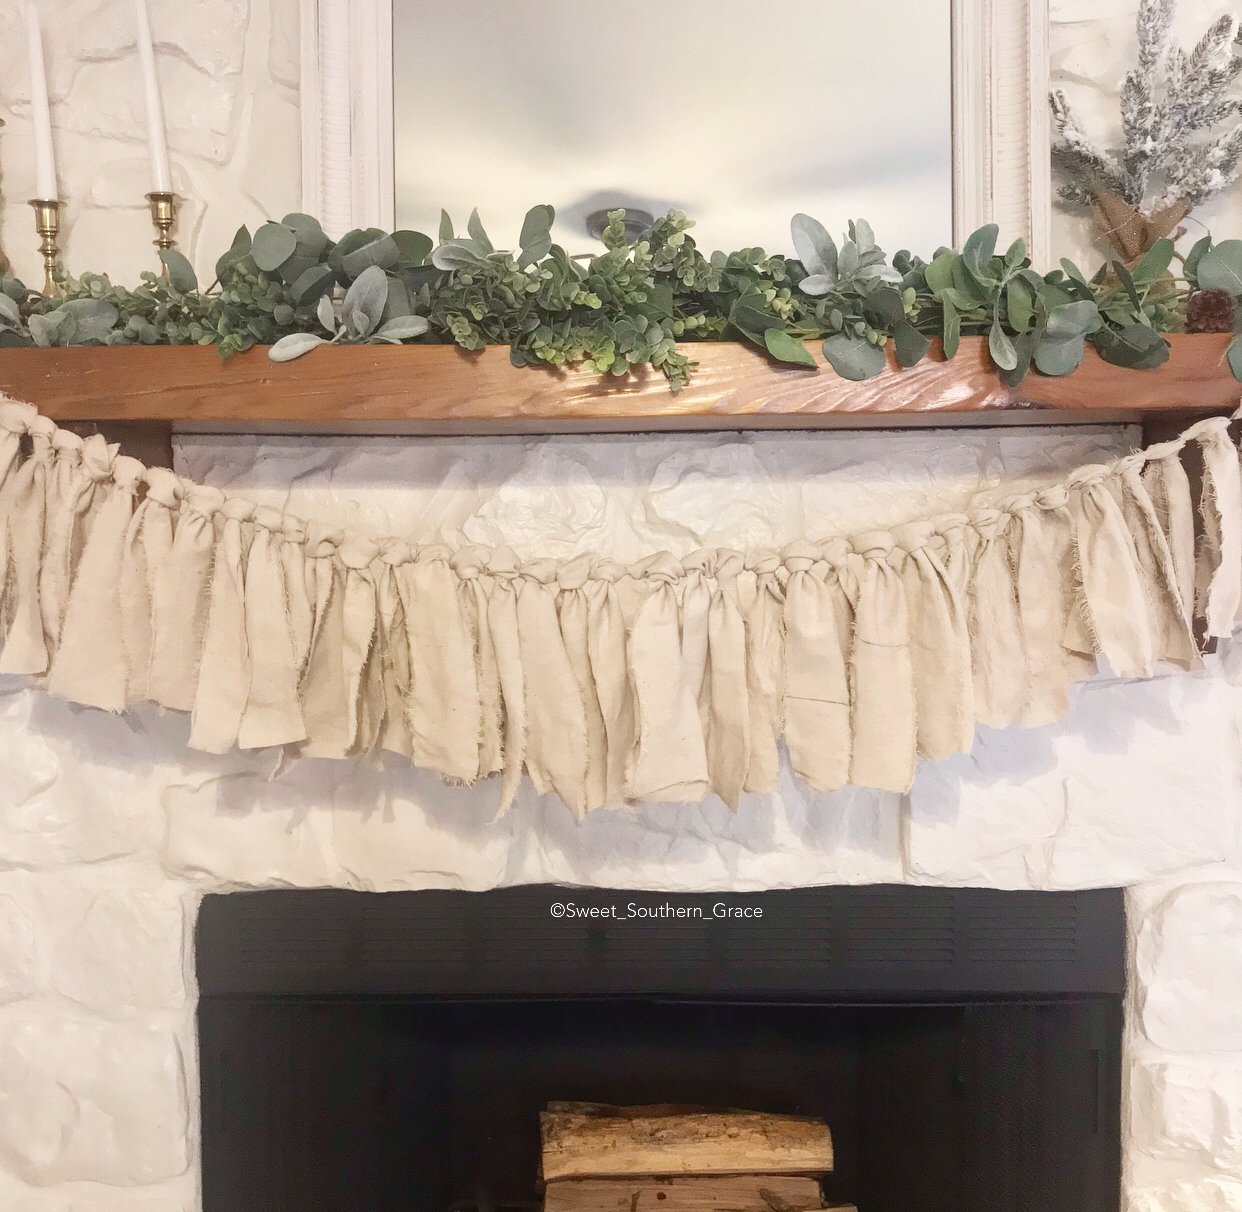
We also designed and built the wood tree box stand. I thought it would be fitting, giving all of our neutral plus natural elements this year! When it came time for stockings, I knew I wanted something white or light and originally thought I wanted white sweater-y material. It was a no-go real quick, when I found that none of the stores had what I was envisioning in my mind. I remembered I had a left over painter’s drop cloth canvas from when I made my curtains, so why not make them out of that? I basically made 6 stocks for around $11! You can see that blog here . I also added ship lap wood name tags to all of stockings as well. Those were super easy to make and free because I had all items on hand!

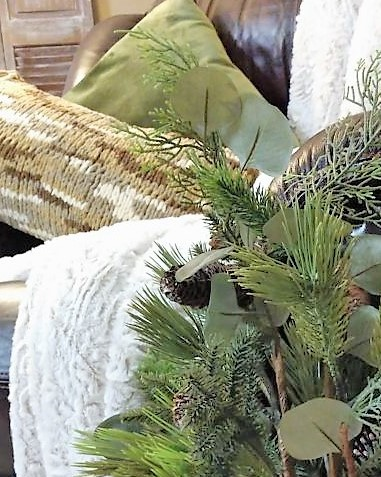
For my mantel, I added greenery from Hobby Lobby along with some Christmas picks that I bought a couple years ago on clearance from the Hearth and Hand collection for $1.47 each! I also added bits of lambs ear and red berries! I added the berries because one of our daughter’s requested color! Well color you will have my darling!
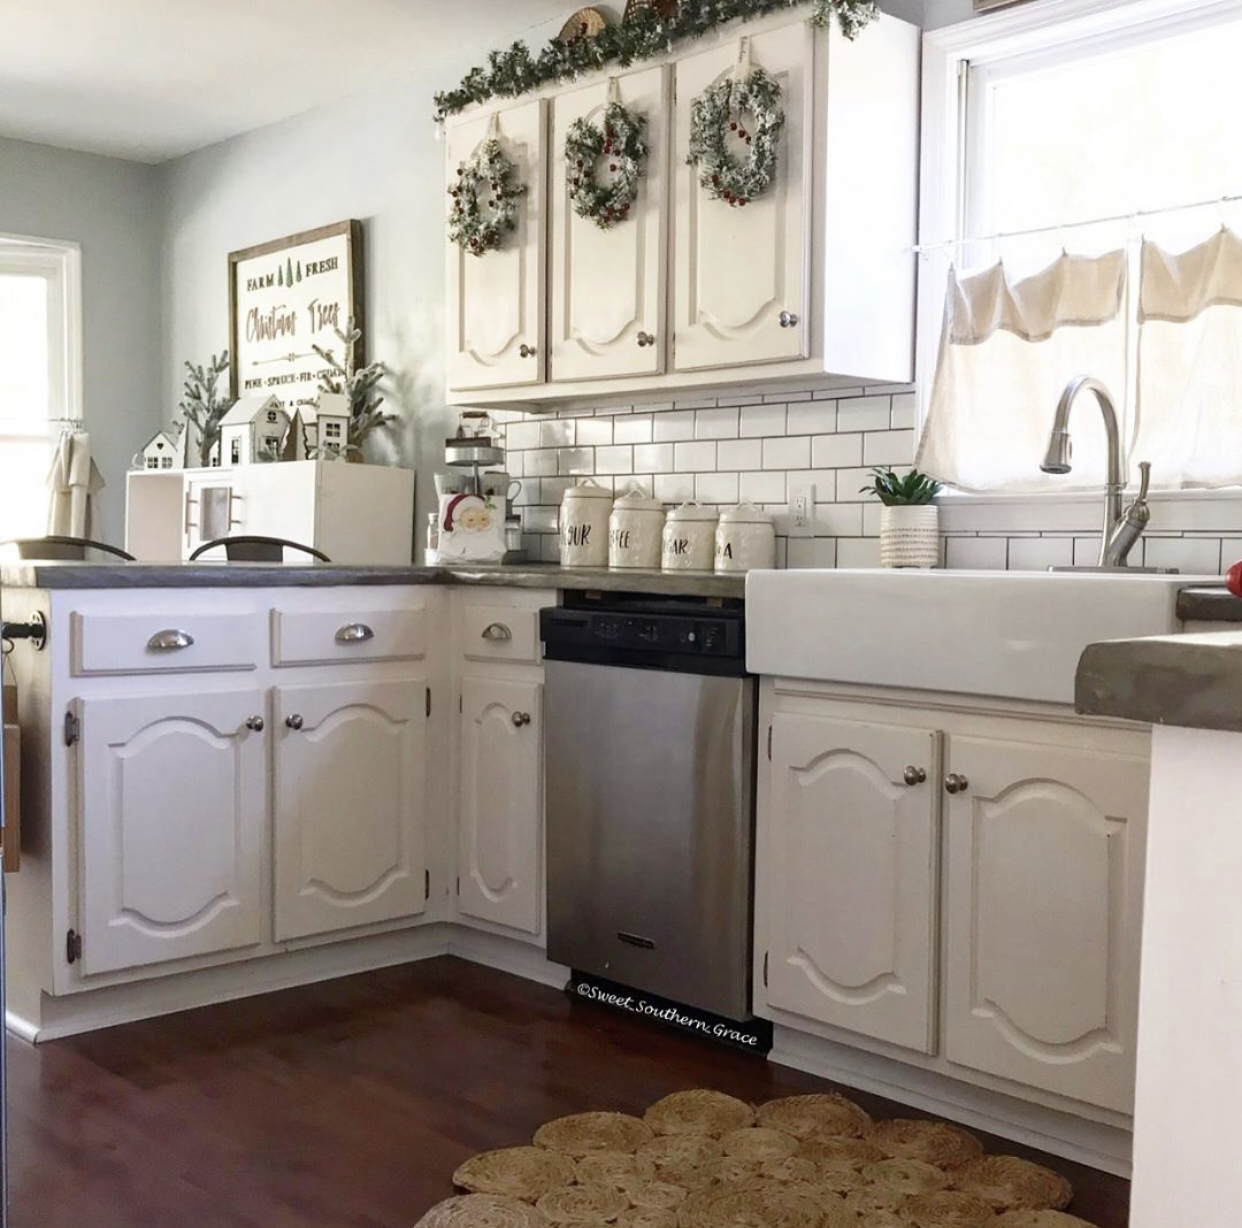
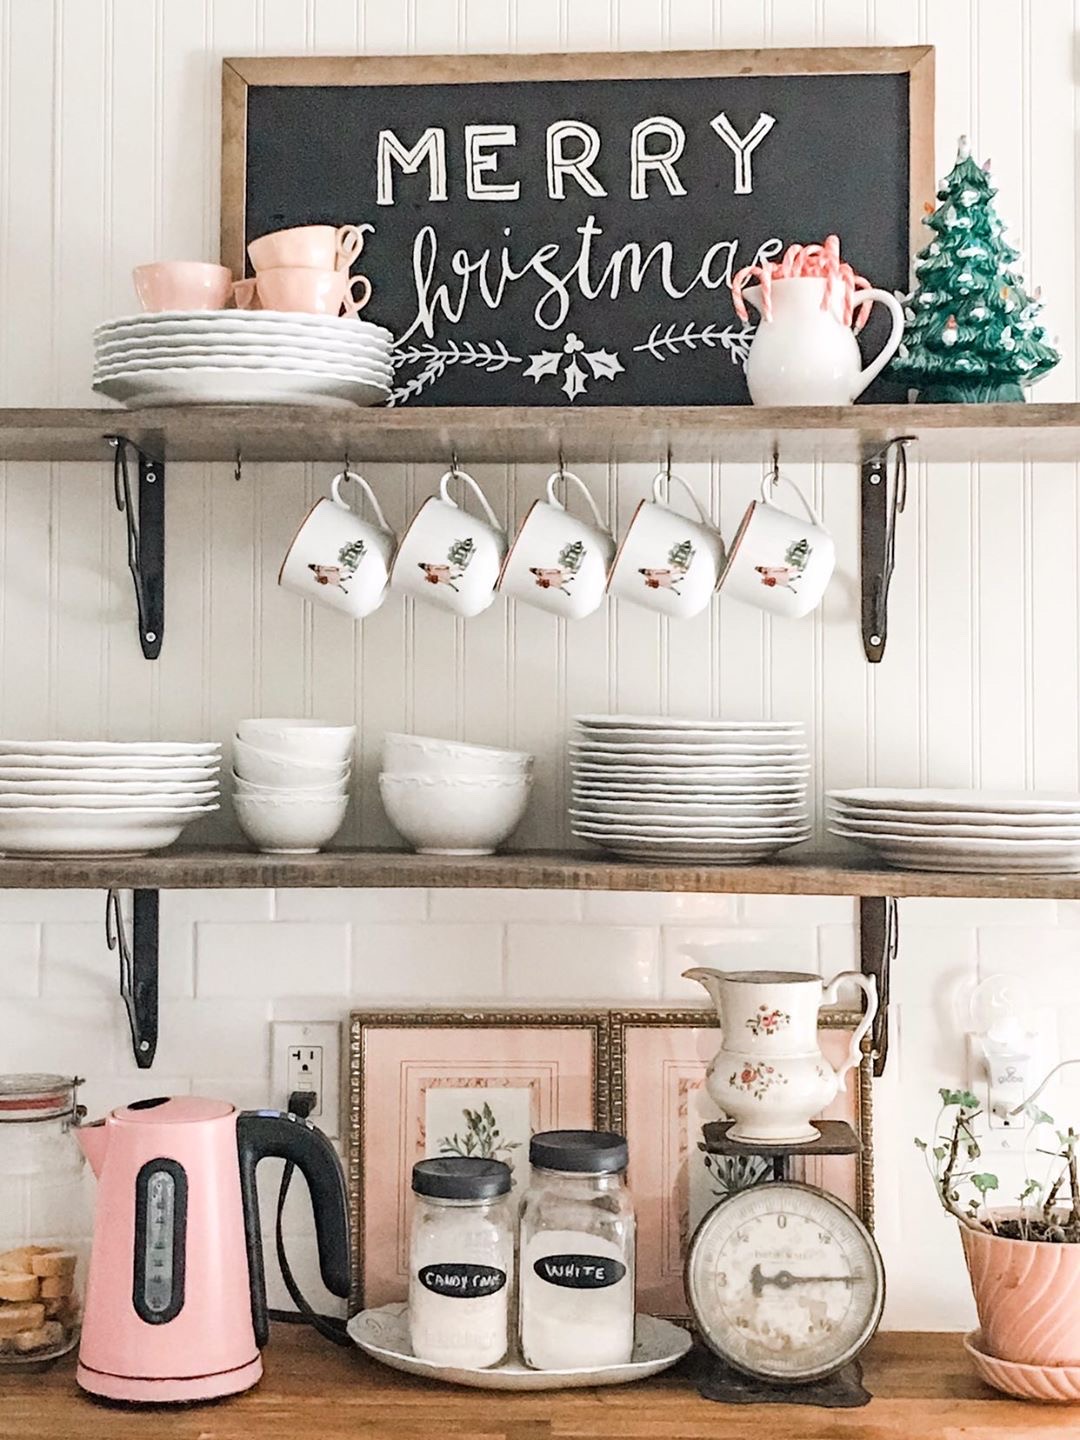
Farmhouse Christmas: Kitchen Deck the Halls
For our kitchen, I would use the same cabinet wreaths that I made last year, except I would flock them myself. I added a neutral “Merry Christmas” cotton garland that I found I Hobby Lobby for the ribbon. I added more red berries that you see throughout my home. I added my tiered tray to the corner of my bar area and added all the essentials necessary for making hot cocoa. My girls always love a hot cocoa bar!
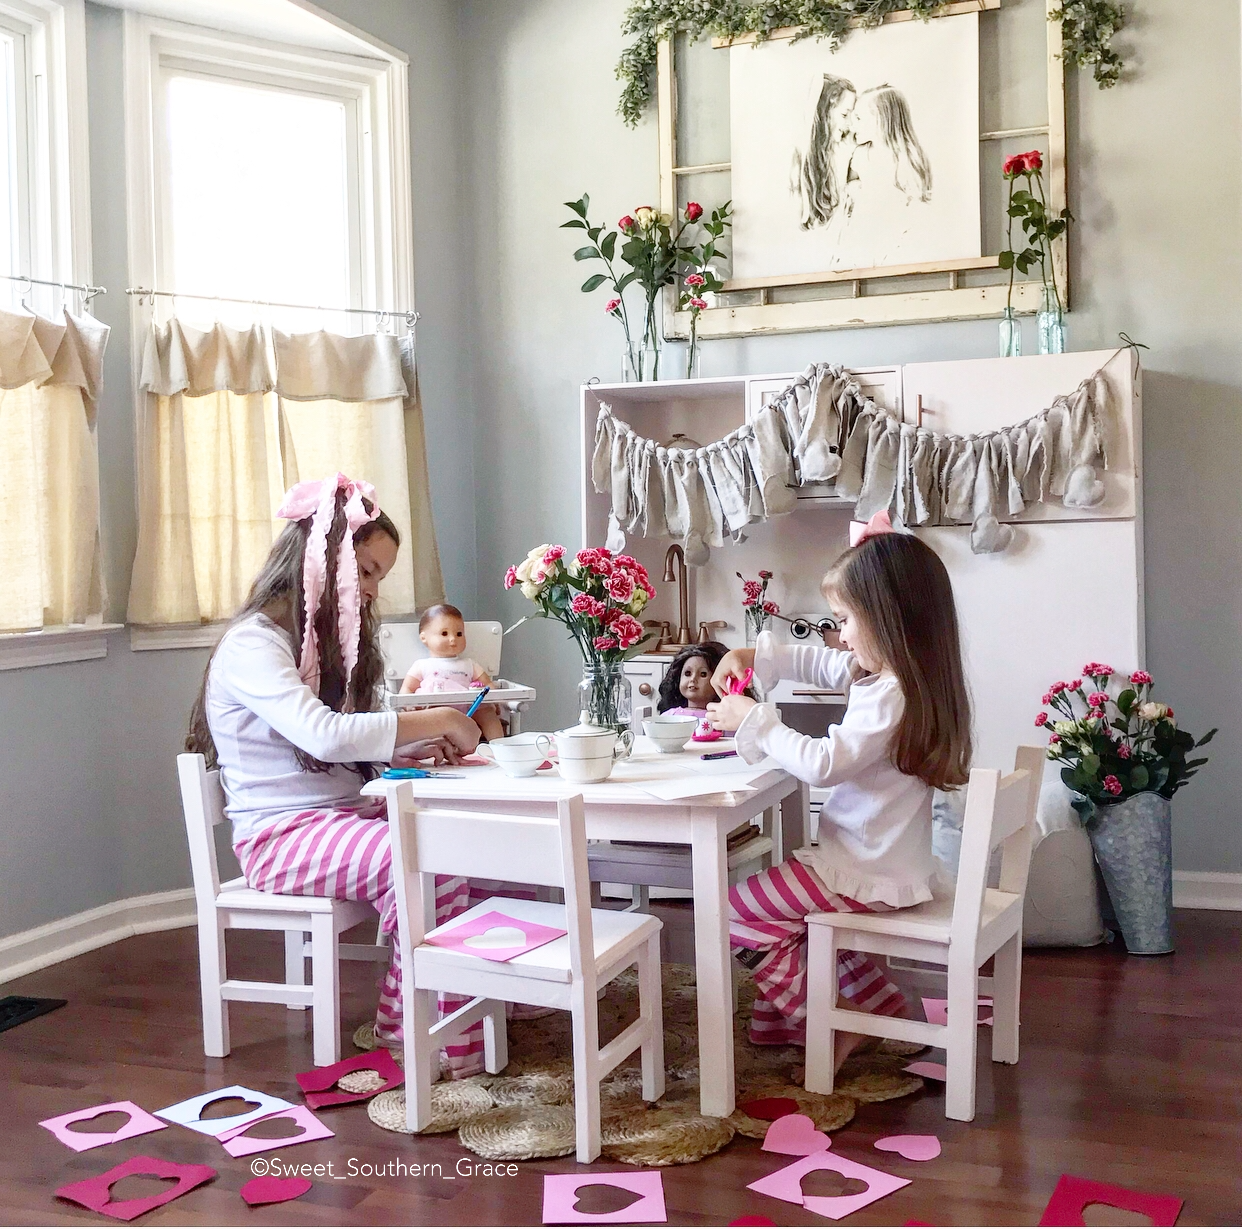
Farmhouse Christmas:Eat-in Kitchen

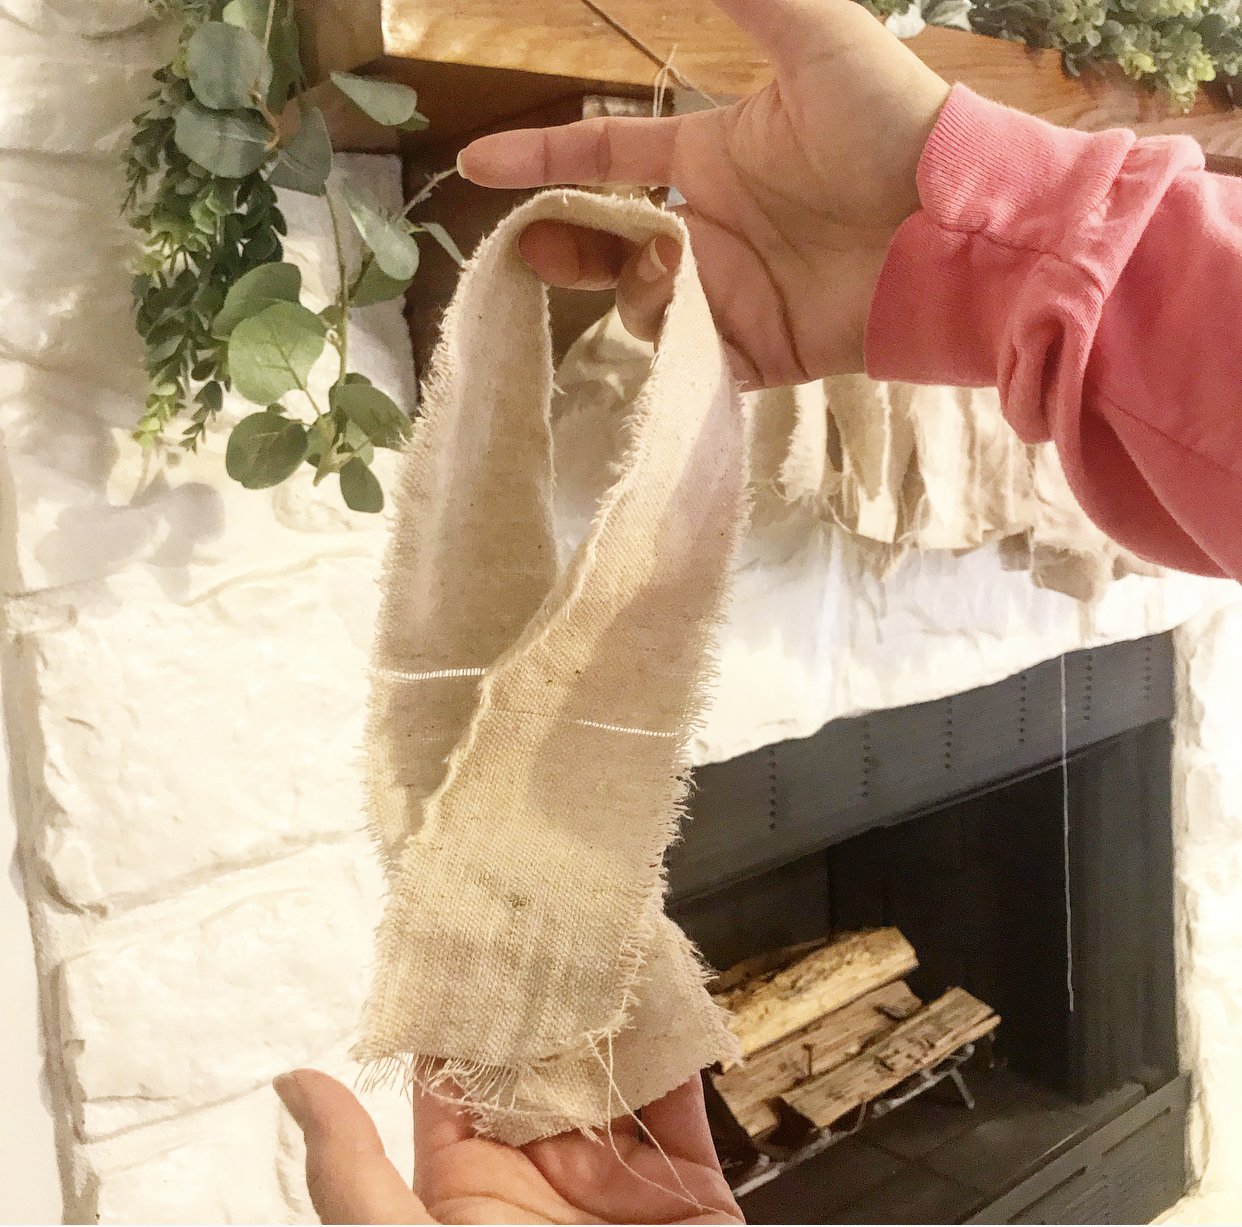
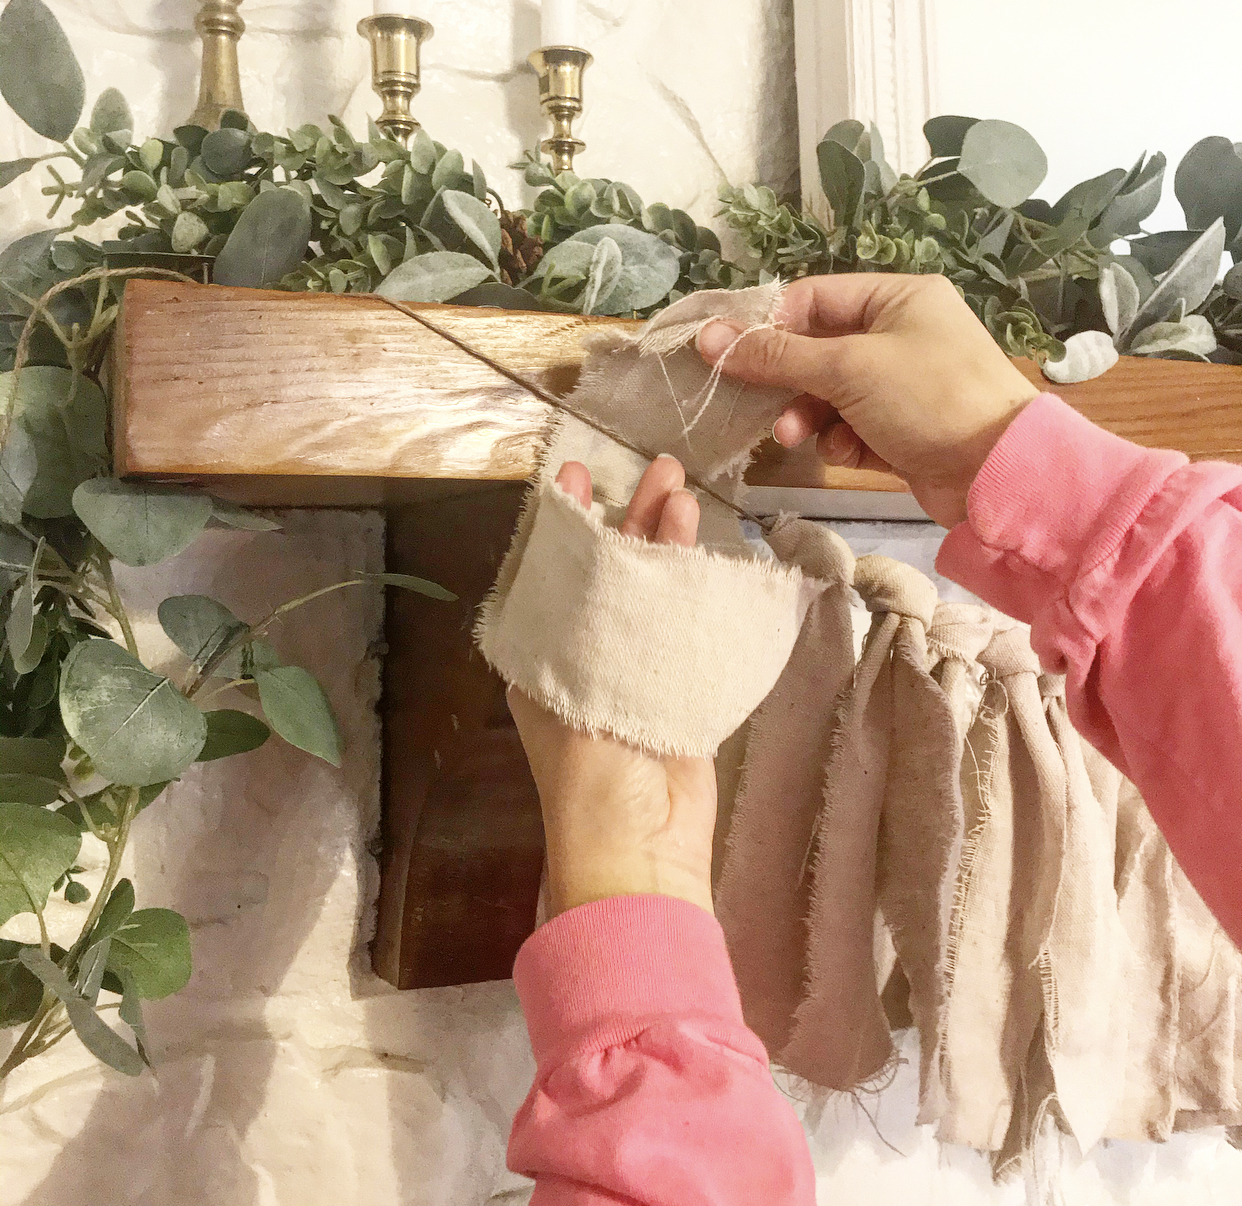
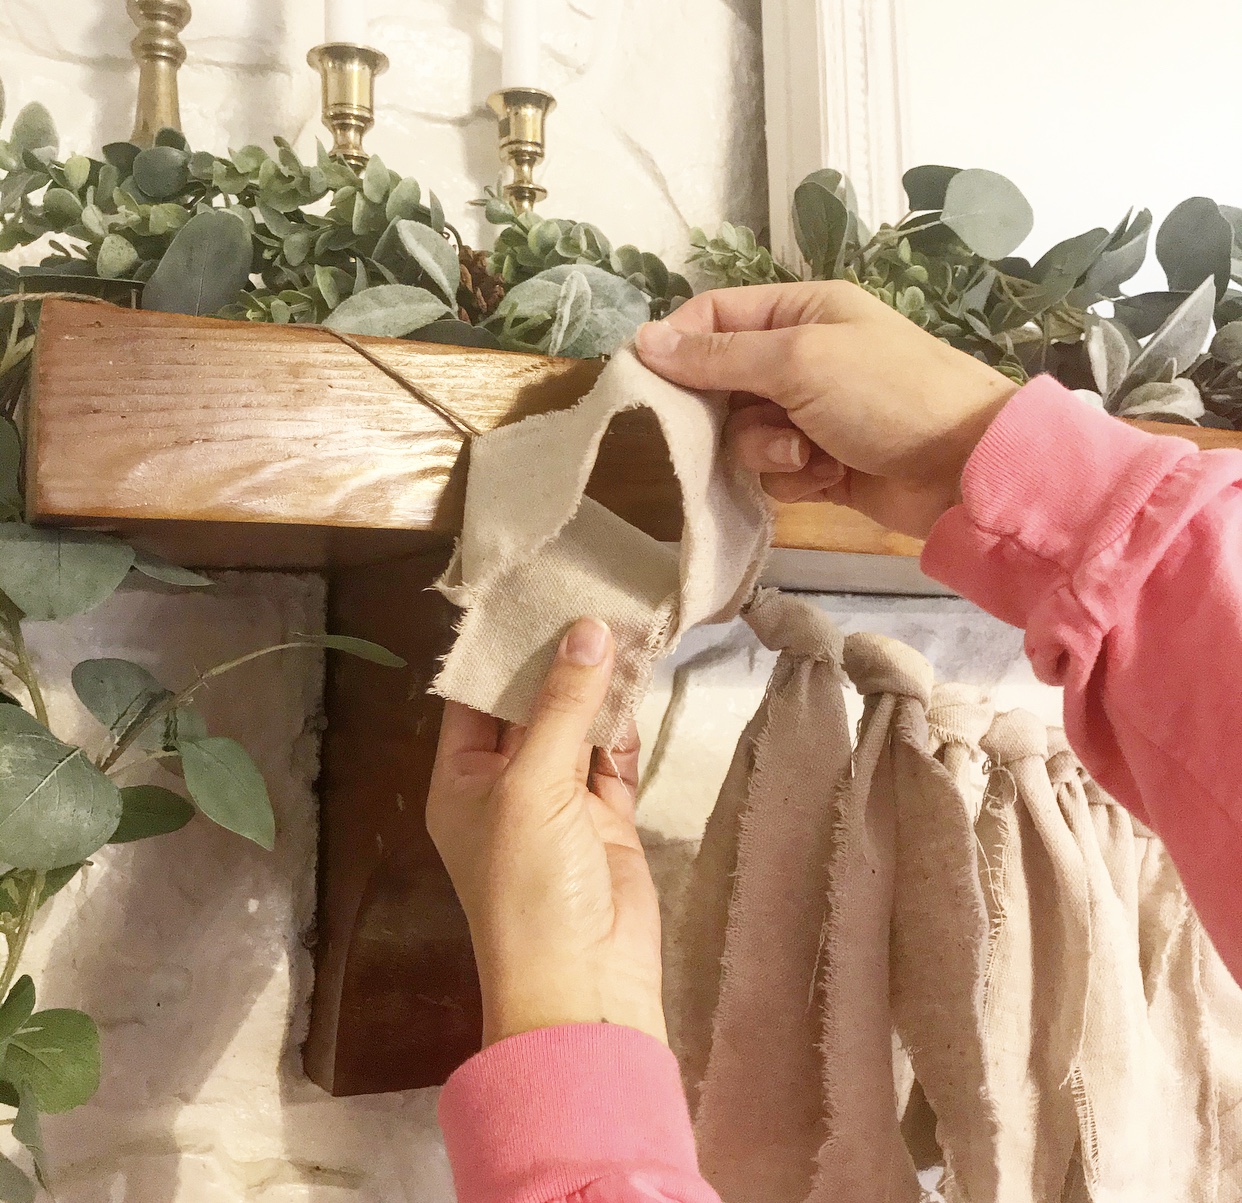
This year, I decided to dress up the girls kitchen play set for Christmas as well! We had the best time, making it feel like a cozy spot for them to make memories, making gingerbread houses and tea parties, of course! And what gingerbread making party wouldn’t be complete with our American Girls?! For this tree, I made “ribbon” with ripped pieces of painter’s canvas drop cloths. It seriously has come in handy this year! I also made a bow for the tree topper from the canvas drop cloth! The tree skirt? Canvas drop cloth! What rustic farmhouse tree wouldn’t be complete without our hand-strung, cranberry and popcorn garland!
Farmhouse Christmas: Outdoor Tablescape

My Christmas isn’t complete without my outdoor Christmas tablescape! My husband and I also designed and built this table as well! For our outdoor tablescape, I used my dough bowl with a few flocked trees, white Christmas houses and the crystal that was given to me by my mother. It is a farmhouse, rustic feel and I enjoy the simplicity!
Keep Everything in Perspective:
If you are anything like me, you really enjoy seeing all the creativity! When I am looking for inspiration in other people’s homes, whether it’s in a blog, magazine or in person, I get inspired to go home and create my own magic!! My hope is that you will take our inspiration but not feel pressured from it. We always do our best to re-use decor and you can always revamp by painting or by just giving it a mini makeover!
Prioritize Joy:
With my blogging and IG responsibilities, I decided to focus my efforts on what was most important to me. When I thought long and hard about it, I decided that every square inch of my home should be filled with Christmas because it gave me such JOY! Decide for you, what’s most important and do what gives you joy without feeling overwhelmed!
Farmhouse Christmas: Setting Limits
I know that there are times when I begin to feel like I need to set limits with myself. When I begin to feel overwhelmed, I let one or two or however many things I’m balancing on my plates, go. Gone. Load lightened. And guess what? I don’t feel guilty about it. That is how I set my own boundaries with myself. Boundaries I make with myself are a great way for me to set limits. Being proactive in managing potential stress is a great way to have more time, joy and energy during the holidays! Pick and choose your priorities because after all, isn’t this time of year for celebrating with the birth of our Savior, traditions with our loved ones.
From our family to yours, we wish you a joyful, blessed and peaceful holiday season!
Merry Christmas!
❤️-Shae
Please continue the Christmas Tour: Deck the Halls from the other talented bloggers.

https://www.dabblinganddecorating.com/single-post/2019/12/02/Christmas-Front-Door
Christmas Home Tour 2019

Christmas Home Tour 2019: Deck The Halls
Christmas Home Tour


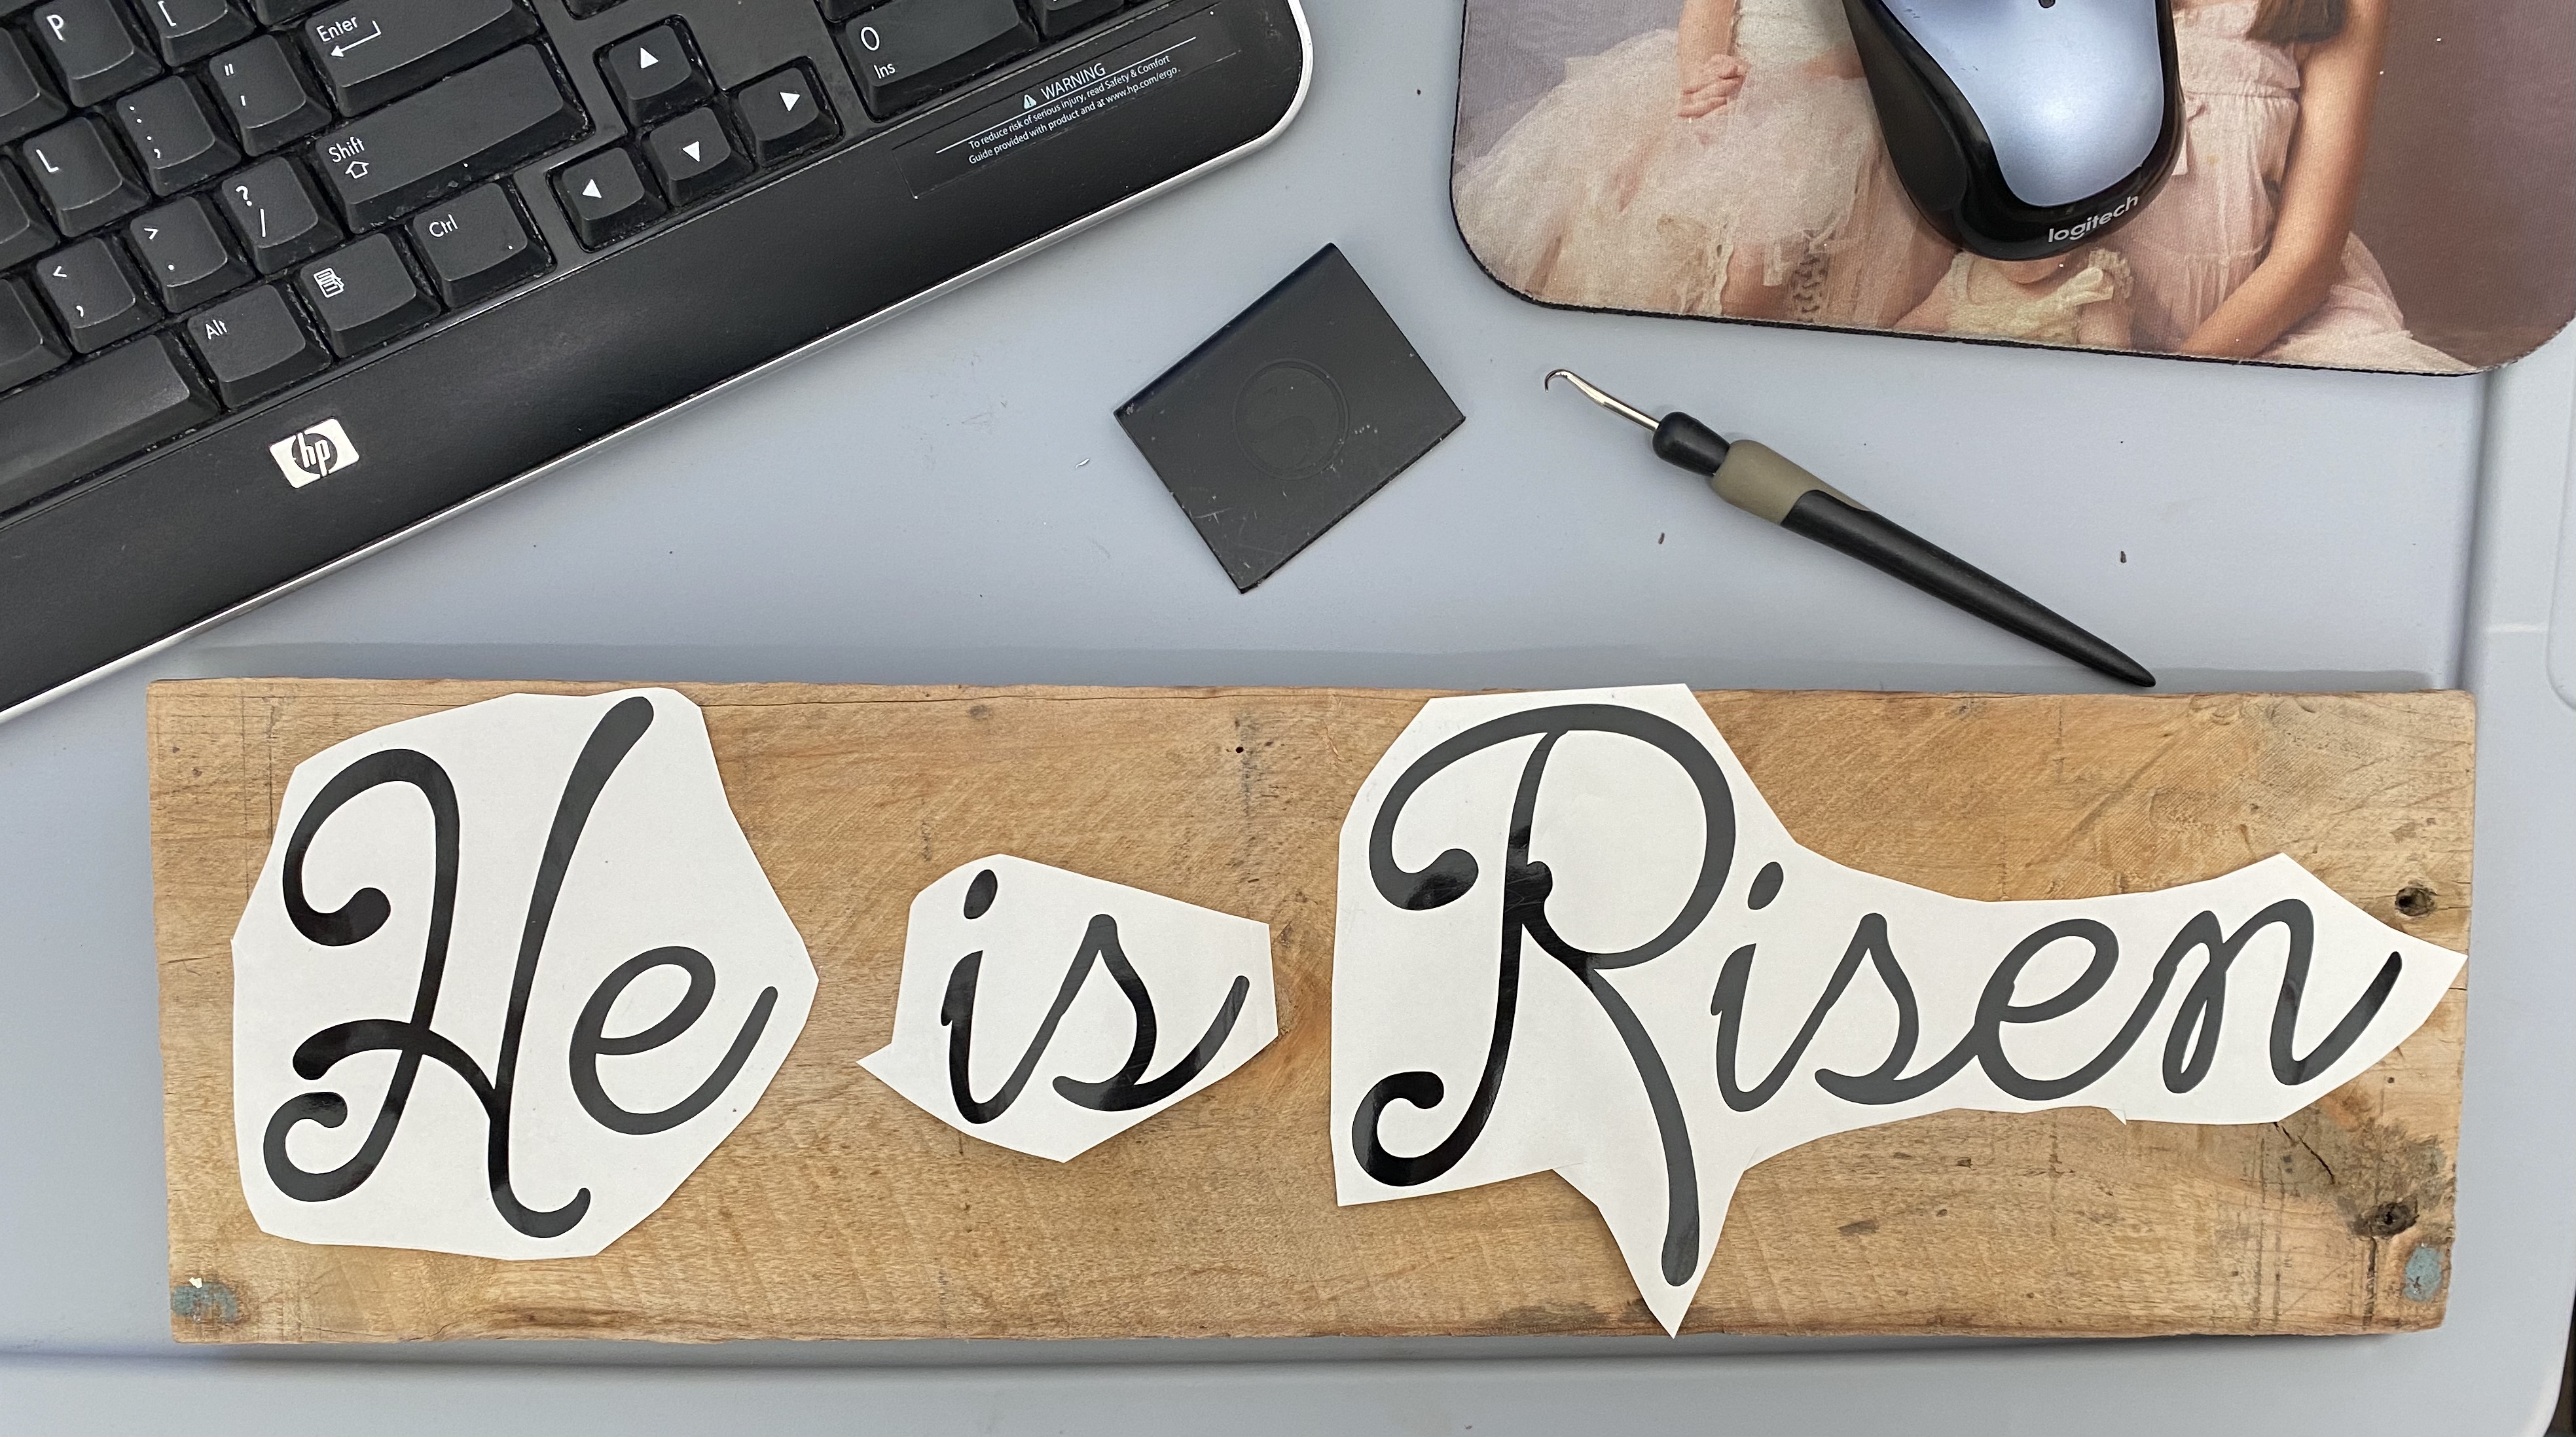
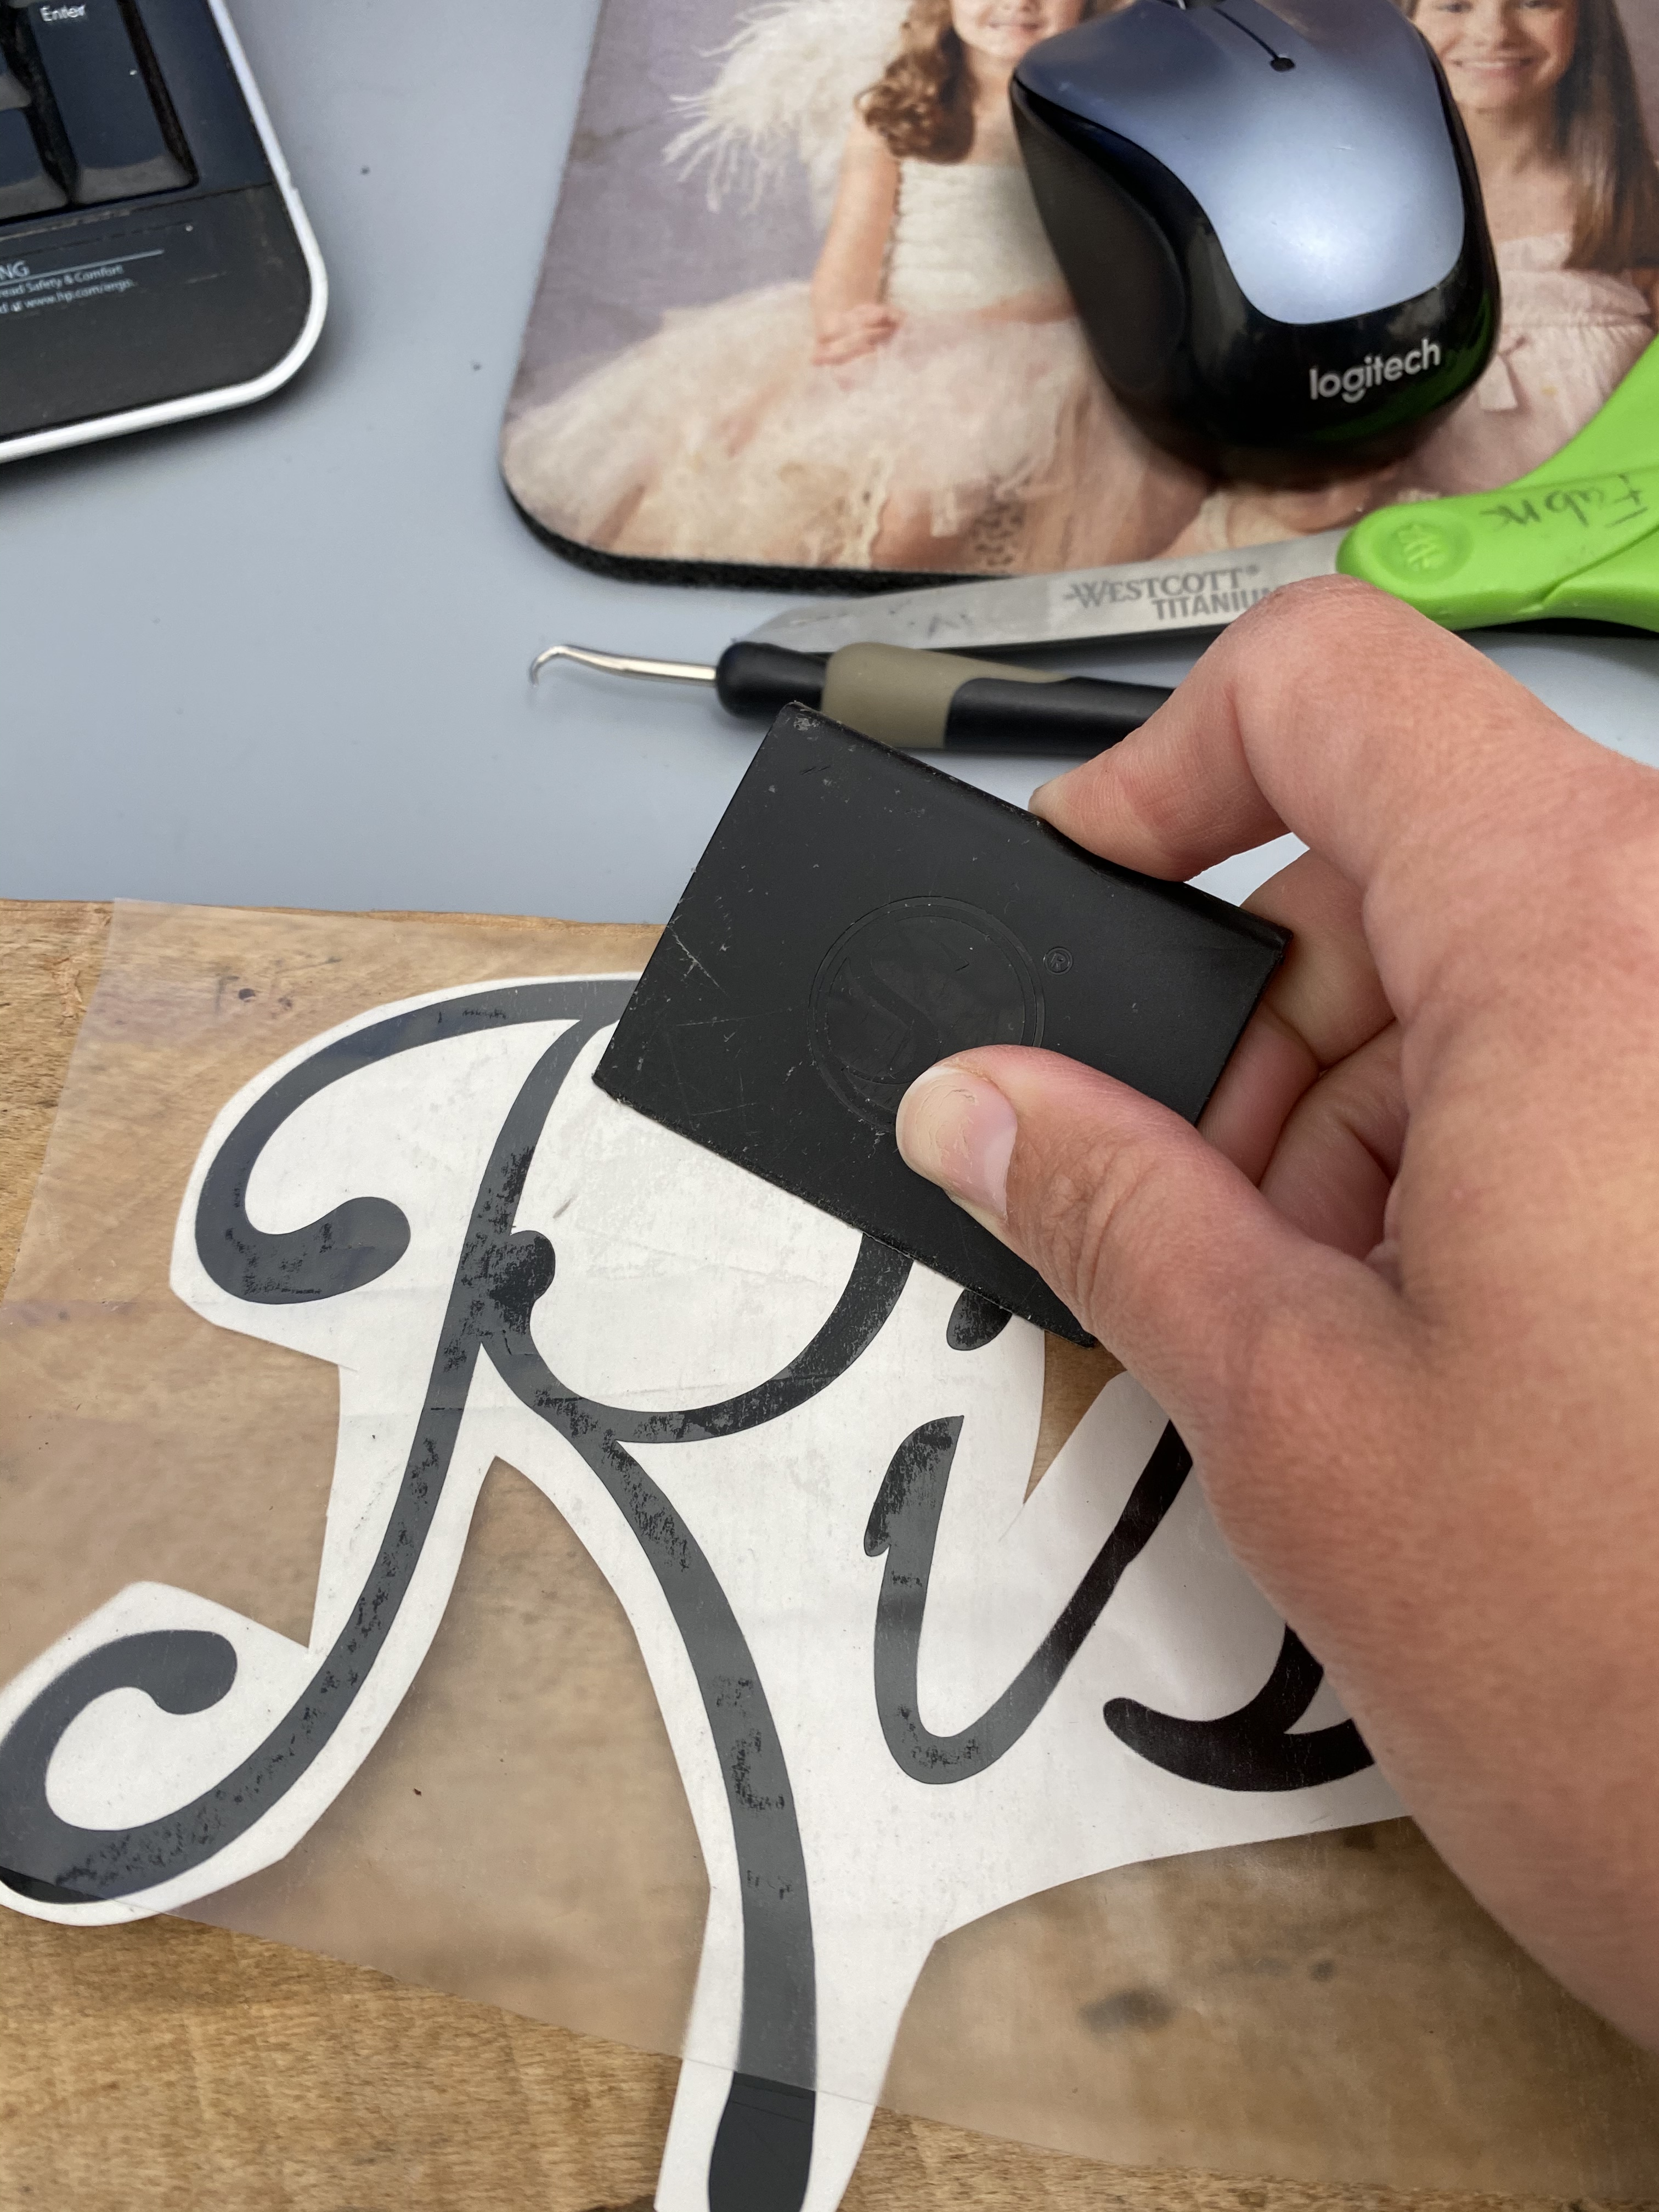
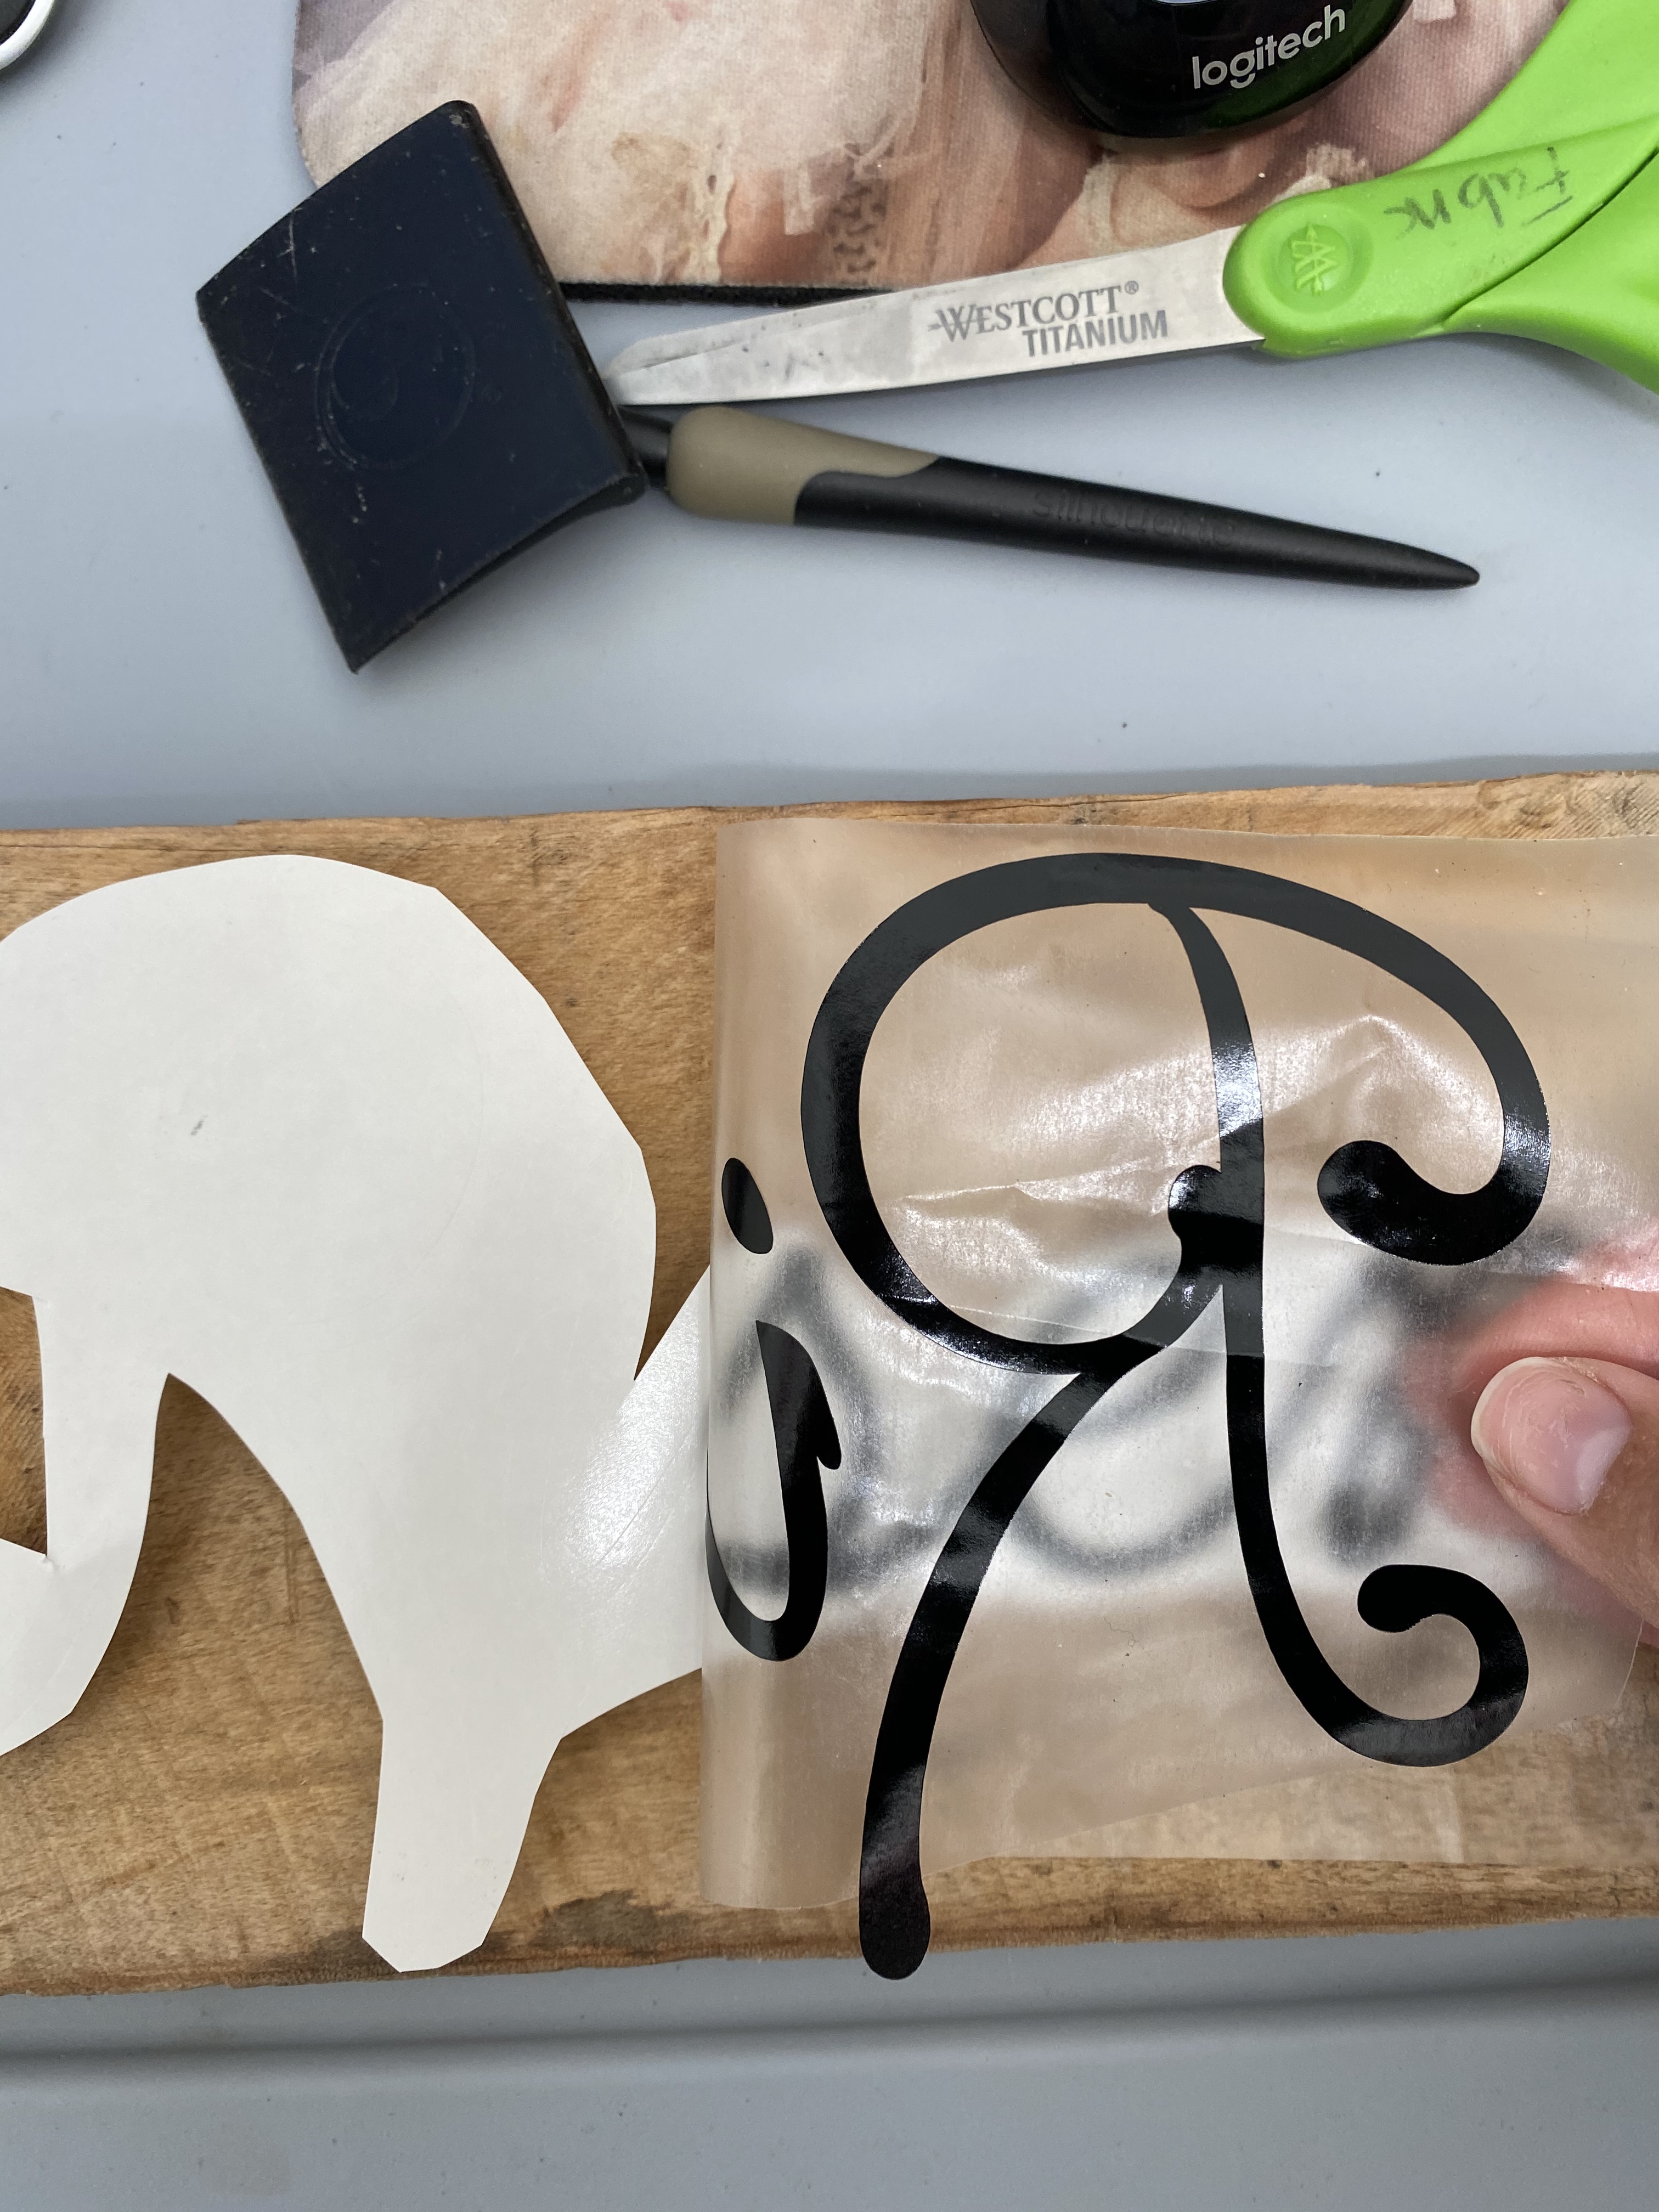
 I decided I could use the back of this sign for a different sign. The first vinyl design did not work out due to the size and file of the vinyl design. I realized this AFTER designing the entire design.
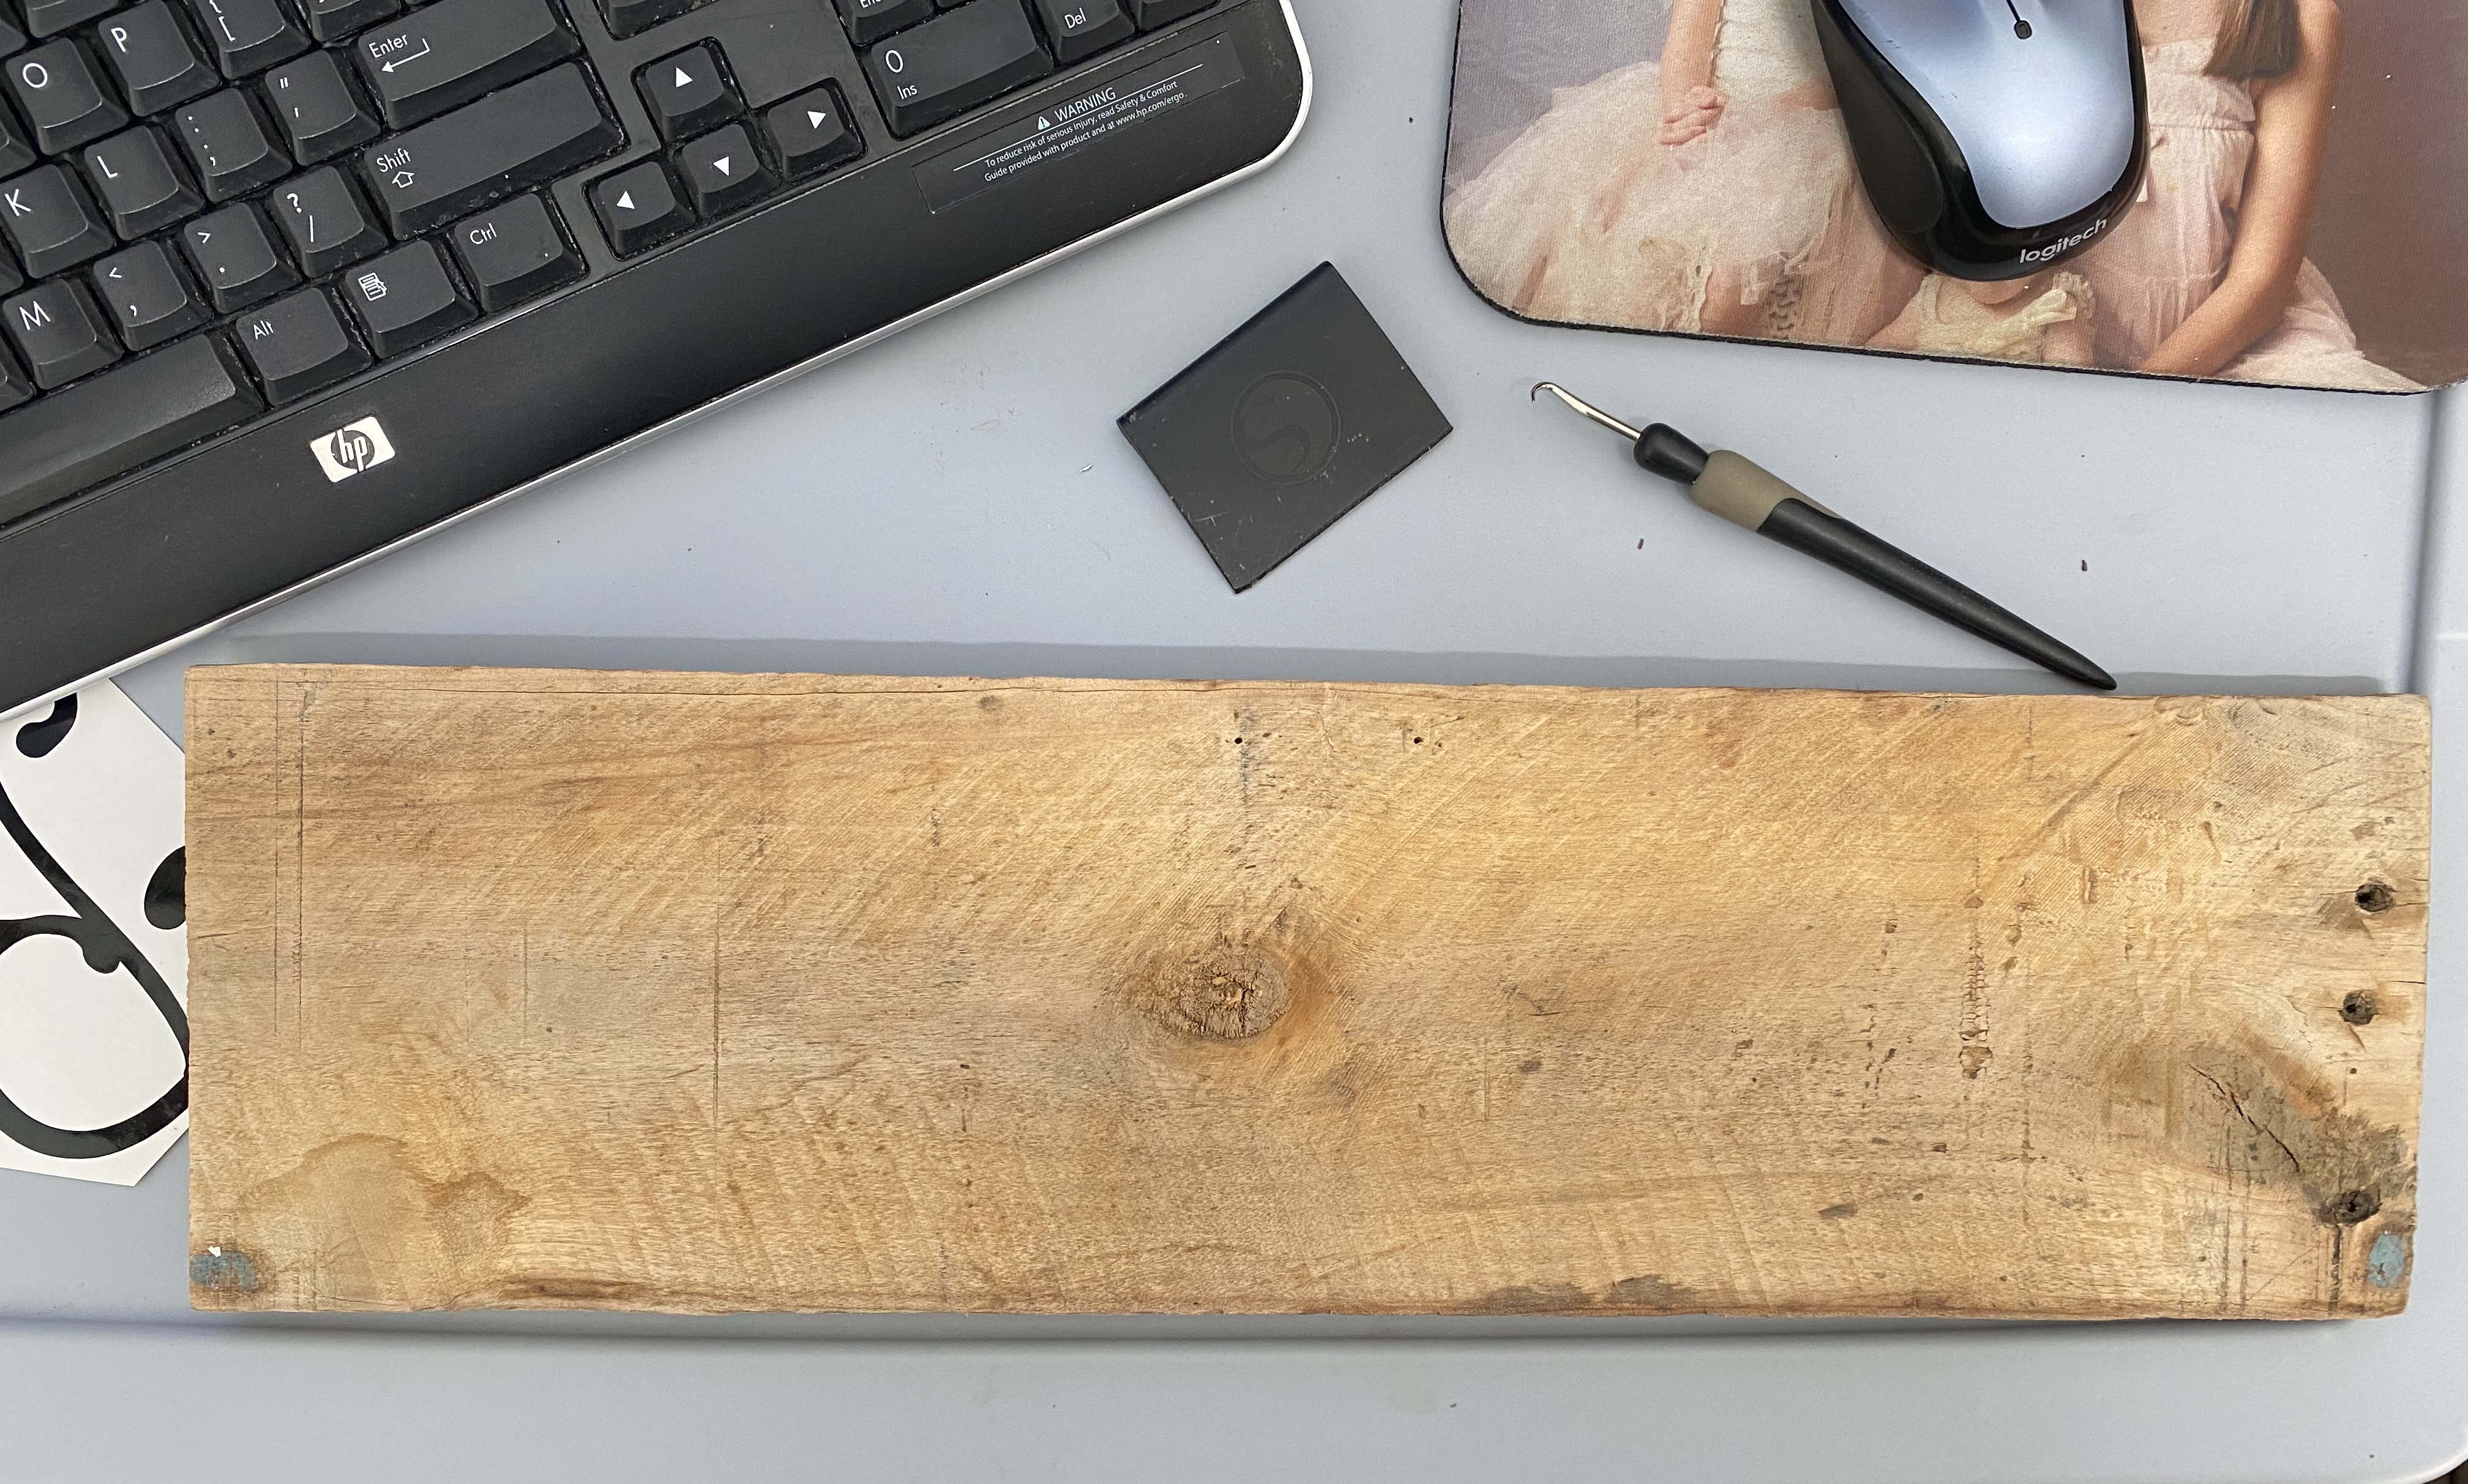


You must be logged in to post a comment.