[This post contains sponsored links. The items featured and linked, in in this post is provided by The Home Depot; all opinions and reviews are my own. If you click a link, I may receive a small commission, at no cost to you.]

How to Install a Board & Batten Wall
I have been wanting to create a board and batten wall for quite some time now. I jumped at the chance when The Home Depot reached out and asked if I would be willing to work with them! I knew exactly which room would be the perfect spot for a board and batten wall! My number two daughter and I had just re-decorated her room in a boho style so I knew that by adding texture to the wall, that it would add more of the bohemian flare! This is a quick weekend project and budget friendly as well! You can use the link above and enter code “THANKSGIVING20” at check out for 20% off select Furniture, Textiles, Mattresses and Decor from October 22nd-28th, 2020.

Let’ s Build a Board & Batten Wall
Products needed for the wall:
* 1×2’s for the Vertical Primed Wood 8 Foot
* 1×3’s for the Horizontal Primed 8 Foot
*Paint Brush, Paint Roller Assembly and Tray
*Tape Measure
*Pencil
*Level
Tips on Buying Boards
When buying boards, hold the boards to your eye to make sure they are straight. We chose the primed boards because they were already sanded and primed, thus making this project a easy weekend project!
Step 1
Measure the length of your wall to find out where your center of your wall is located. Once you find your center of the wall, you want to mark that center measurement.
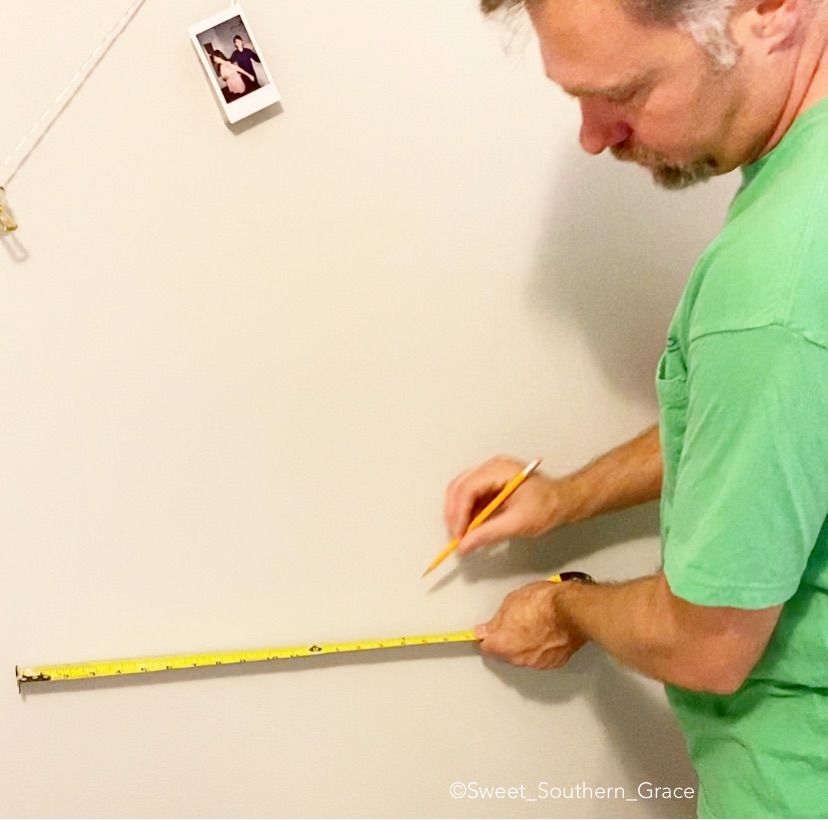
Step 2
Decide how far apart you want your boards to be apart and mark that measurement with a pencil. Ours will be 16 inches apart.
Step 3
Measure the height of the wall.
Step 4
Now that we have all of our measurements for the width and the height, that will tell us how much material we will need, based on the length of the boards, at The Home Depot.

Step 5
After shopping at The Home Depot for our supplies, the next step is to add your board along the top of the wall and ceiling.

Cut your pieces based on your measurements. We cut our boards with a miter saw.

Step 6
The next step is placing the vertical boards on the wall.
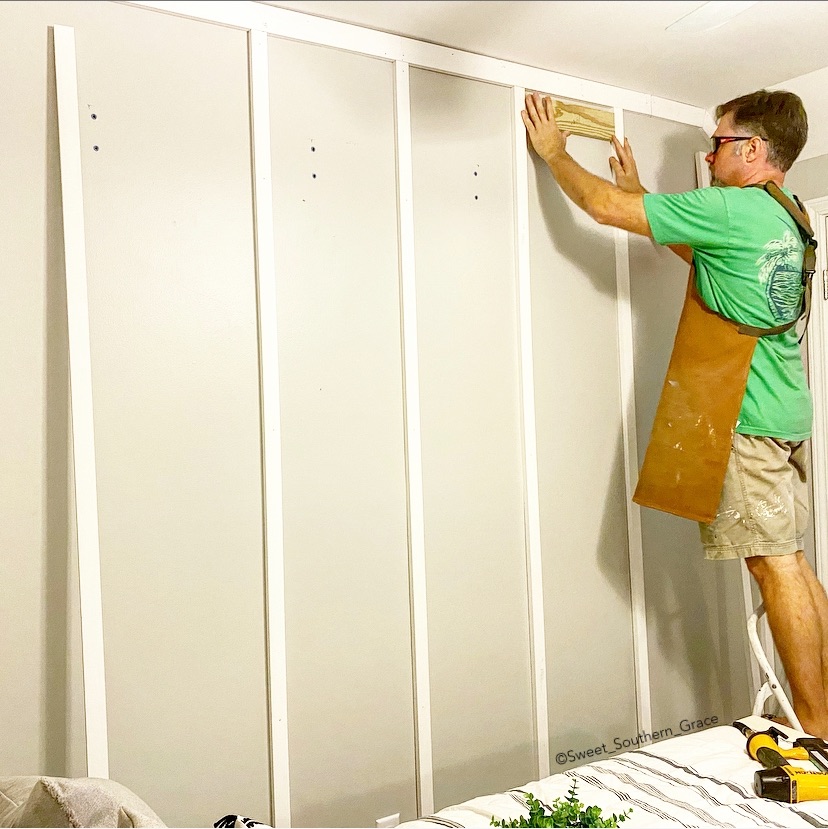
Place the vertical center board on the wall first and make sure the board is level. We chose to have our board and batten, 16 inches apart. We made a 14.5 inch board, for a spacer board, to go in between each board and batten. It will help keep your board and batten on center and helps to keep them straight as well.
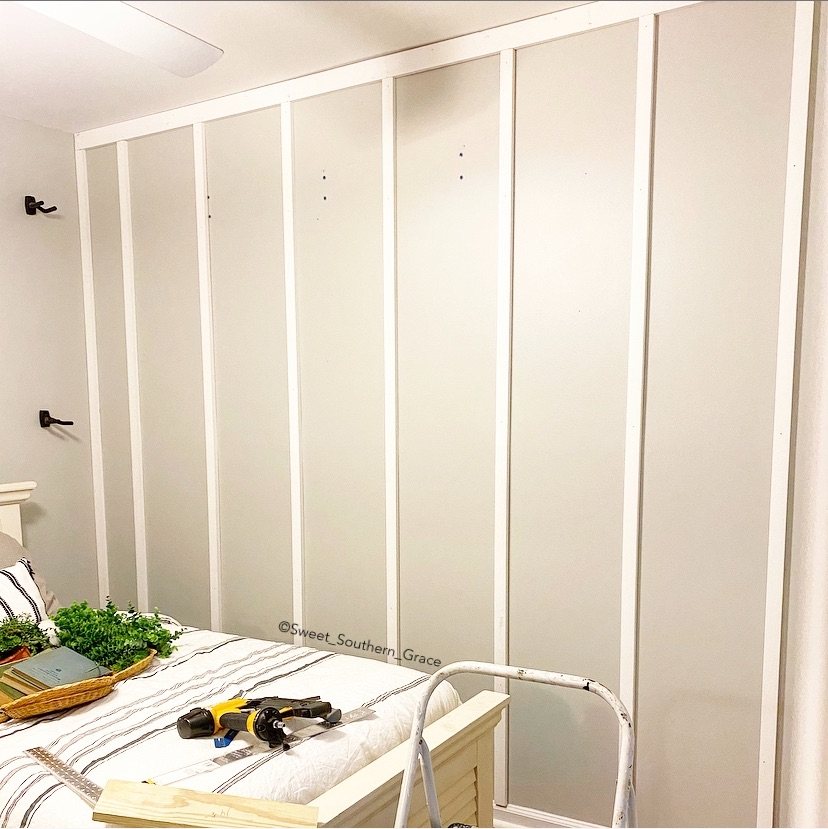
Next, begin placing your board and batten on both sides of your center board, making sure each board is level.

Step 7
The final step is painting! We chose PPG Timeless Paint in the color, Chinese Porcelain. It is the 2020 Color of the Year paint! PPG Timeless Paint is a innovative new formula that makes it even more washable! It has a complete one coat hide, coverage and durability, making it perfect for a weekend project! It also has outstanding washability, scrubbability stain resistance, making it perfect for our family! You can pick it up at The Home Depot.

The first step in painting is to trim out, all around your wall, baseboards and around the board and batten pieces. My oldest daughter helped me paint!
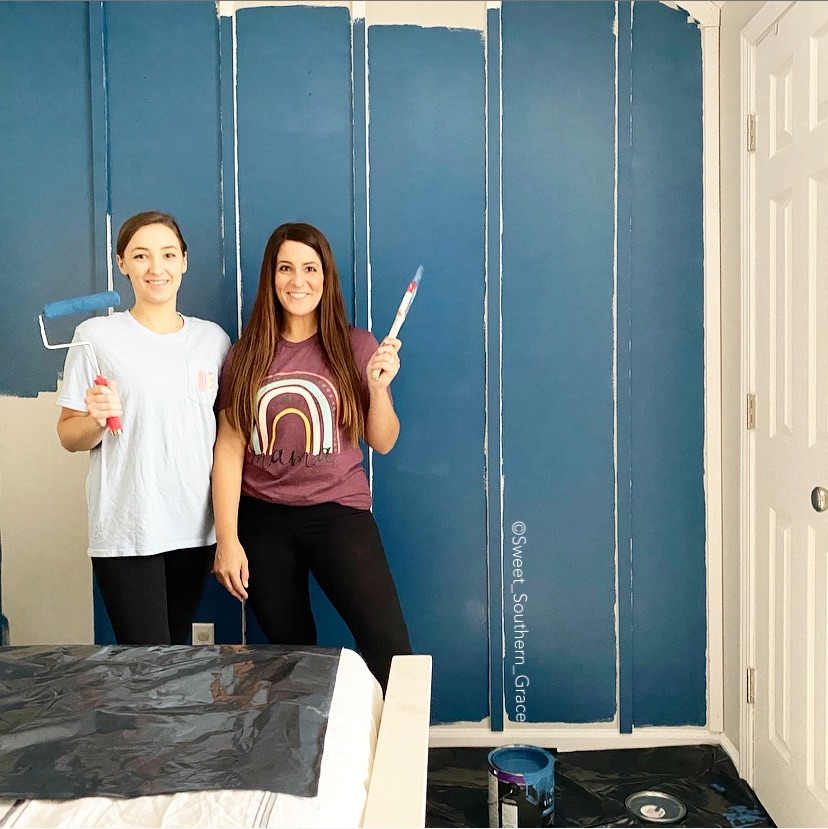
After trimming everything out, I used a small roller to roll the remaining area of the wall. This was my first time using PPG Timeless Paint and I absolutely loved the one coat coverage and the vibrant colors, they have to offer! I also appreciated the low odor and low voc.
The finished wall, as it was drying! I could hardly wait for it to dry so I could style the room!

Finished Board and Batten Wall
I am loving this weekend project of our Board and Batten Wall with The Home Depot.

It was quick and budget friendly! I love the texture that the board and batten adds to our daughter’s room! It definitely gives a beautiful flare to the bohemian vibes of this room!

Final Thoughts
Have you ever thought of doing a board and batten wall in your home? Do you have any board and batten walls in your home? I’d love to hear in the comments below! if you have any questions, please let me know in comments. I hope you have enjoyed following along with us on our DIY with The Home Depot!
Love, Shae
