I am excited to share how we built our barndominium desk with ya’ll today! It’s budget friendly too at under $90!!
I’ve teamed up with my sweet friend (host) Terrie from Decorating & More with Tip plus several other blogging buddies! Our goal is to each turn something from Trash to Treasure!

Background of Our Barndominium Build
Most of ya’ll know that we have been building our barndominium, the past few months! Check out the blog here.

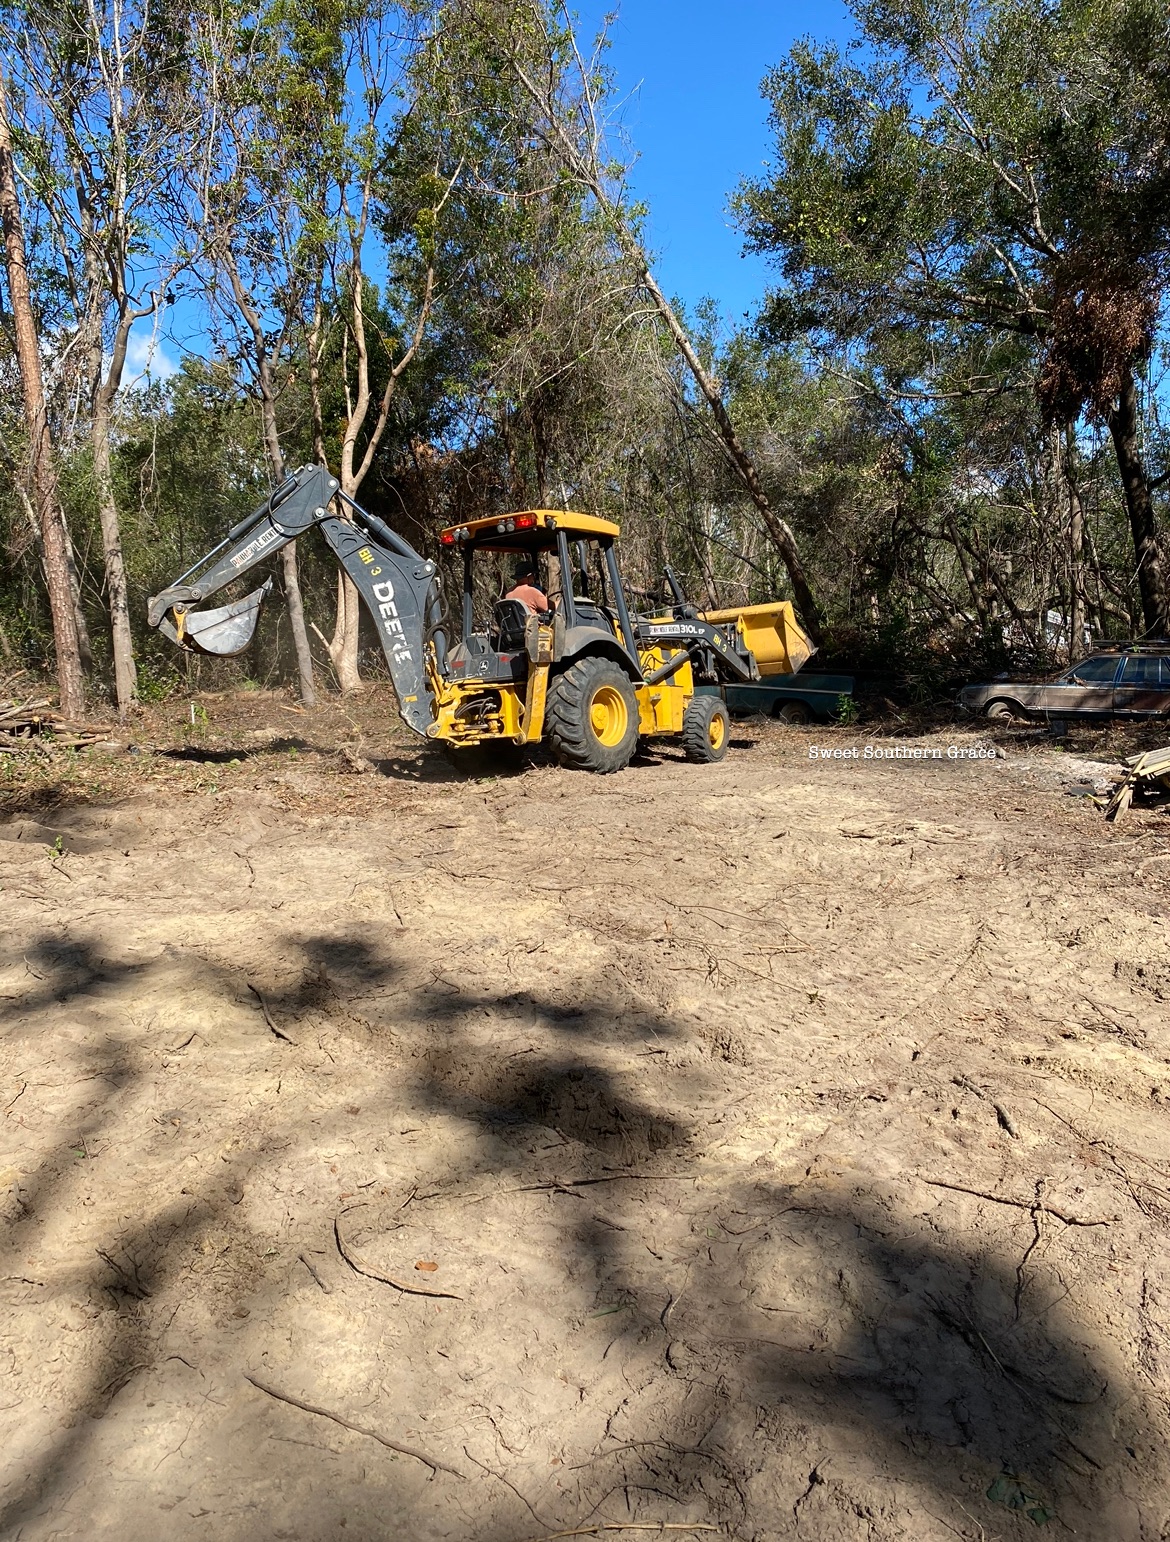
We basically started with a piece of land that literally was littered with trash and have built our home with own hands! The photo below is where my husband was clearing our land of trees, trash and junk cars.
We also had to rent several dumpsters to throw away the large amount of trash! The photo below is dumpster number 2.

Curating Spaces For Our Barndominium Home
Since tax season has rolled around, I knew that I would need a space to work on our taxes, instead of sitting on the concrete floor. I have not had a desk since our move and had been teaching/working at my dining room table! Our youngest two girls needed a space for schoolwork!
 Our Vision Coming to Life
I have had this vision of what I wanted this space to look like for the past several months. I enjoy roughly sketching out designs for our home. I want to make sure that every single inch of our almost 1,700 square foot barndominium, to be useful and curated to our family’s specific needs.
Supplies needed:
~2-2x12x12 foot boards
~3-Quarter inch pipes
~3-Quarter inch floor/wall flange
~Stain- Minwax Semi-Transparent Red Oak (on hand)
~1.5 inch wood screws (on hand)

Assembling the Desk
The first item on our agenda was sanding down the wood on all sides. My husband also had to trim one of the boards, as it was uneven. Next we counter-screwed the boards together.

After the boards were counter screwed, we applied a light coat of the stain on either side.

Next up was installing the quarter inch pipes and wall flanges to the wall. Measure how far apart you want your “brackets” to be and mark with a pencil.

Add your 1.5 inch screws to the studs in the quarter inch pipes and your done! Place your desk top on the “brackets” that you’ve installed! Done!
Styling our Work Space

We still have a check list of items to finish. I need three barn lights to go over each desk area. I also need to build two bottom cabinets for either side of my desk area, which will hold my printer/computer on one side then files/desk items on the other side.
I’ve bought three white mid century chairs, along with a couple cork boards for the girls wall sides. The middle desk area is mine and I’ve added a vintage crib spring for my memo board.

I am also adding pipe “brackets” to the wall with metal galvanized baskets to hold pencils, crayons, markers and color pencils. I am loving how it is looking and can’t wait to update y’all with a finished look soon-probably on IG, so be sure to be following along with us on IG as we finish up with this project plus more on our barndominium build!

I would love for you to check out my other blogging buddies below and see what item they found from Trash to Treasure! You will never be disappointed with these ladies!


This is going to be such a great space for you and your girls. I love how you took simple pieces and made a functional desk for your needs. Great job Shae!
LikeLike
Thank you so much Terrie!
LikeLike
This is so cool, Shae! And the whole project is quite amazing! You had me at “barndominium!” Congrats!
LikeLike
Thank you so much Gail!
LikeLike
What a great place for your kids to work! Love your whole barndemonium!
Niky @ The House on Silverado
LikeLike
Thank you so much Niky!
LikeLiked by 1 person