Let’s take this Hobby Lobby pumpkin and turn it into a Pottery Barn terracotta pumpkin dupe! You see, I loved the look of these large terracotta pumpkins. I found from Pottery Barn, but they were $89. There was just no way I was going to pay that much per pumpkin, so I figured I’d DIY it myself!

FALL DIY BLOG HOP
Our sweet friend Terrie from Decorating More with Tip decided to take a break from our blog hops, so I decided to jump right in and host! I thought it would be fun to create a fall DIY with several of my blogging buddies.

Supplies
• Faux Pumpkin
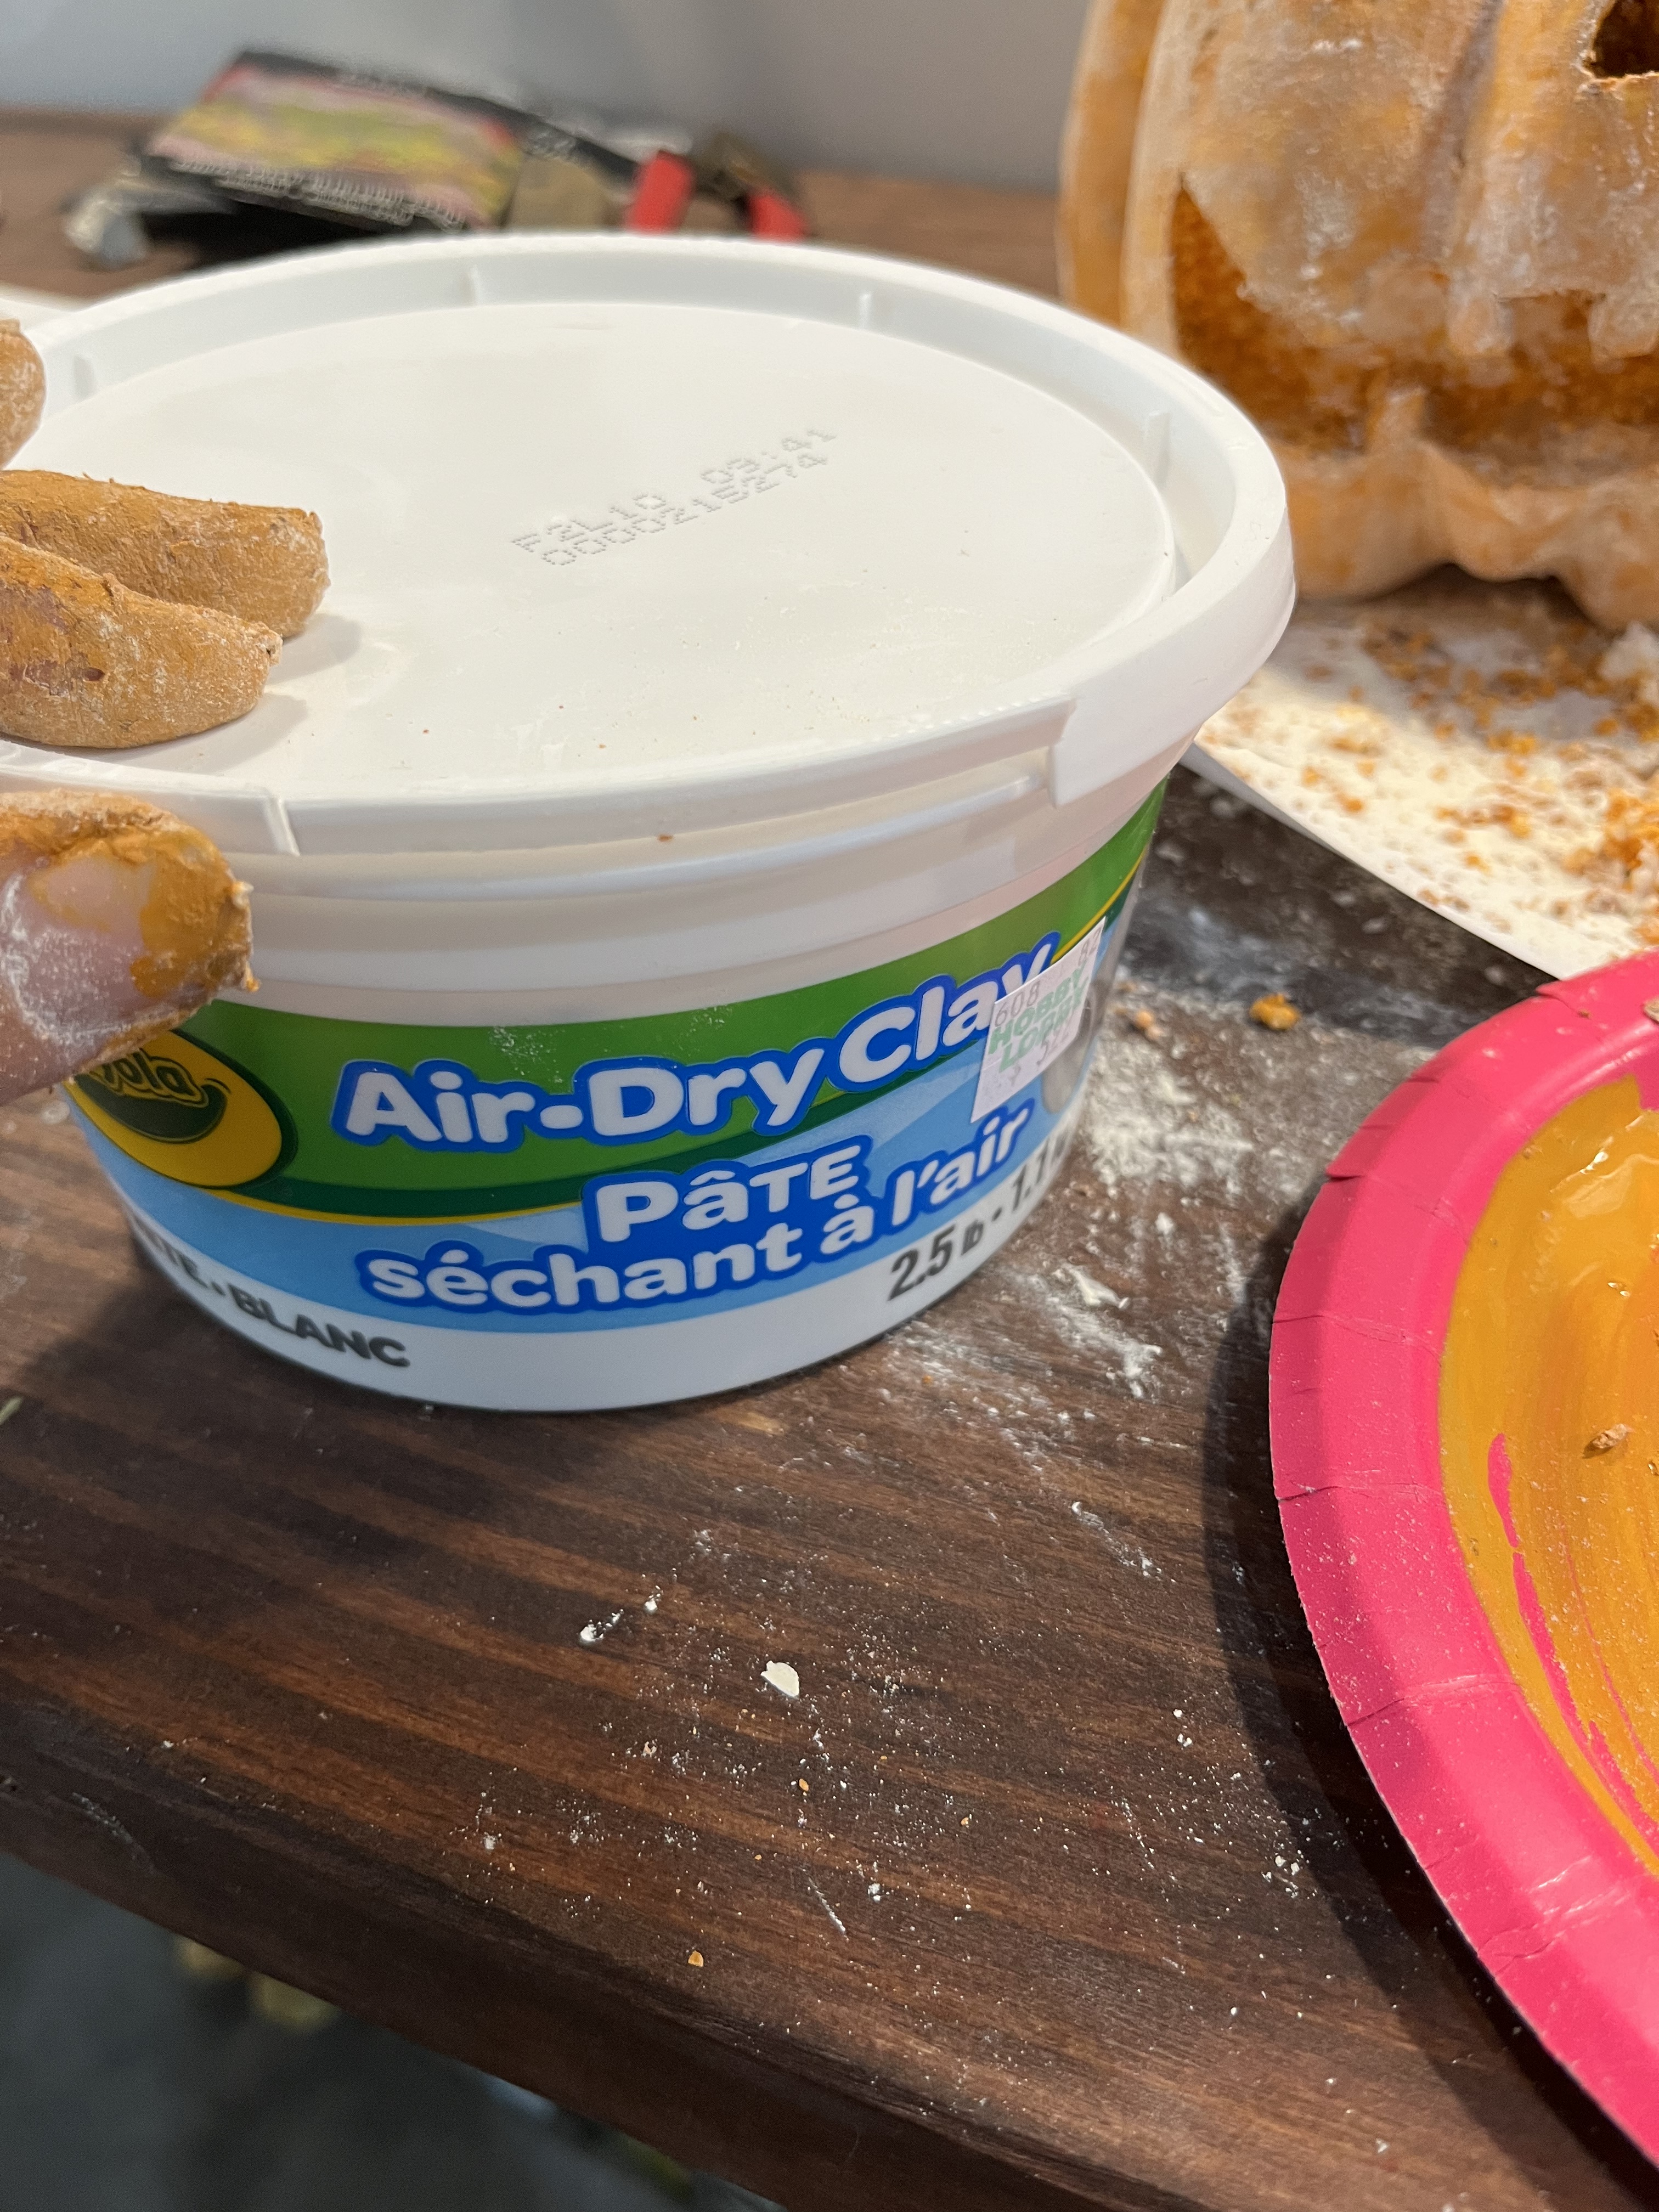
• Air Dry Clay
• Flour
• Brown, Orange & White Craft Paint
• Paint Brush
First, I decided to use some of my inexpensive faux pumpkins from Hobby Lobby. I have had my pumpkins for a few years but linked some that are comparable above.

The first item on my agenda was to carve out eyes, a nose and a mouth for my pumpkin. I drew on an eyes, nose and mouth, so it was easy to carve out with a knife.

Next, painted the whole pumpkin, including the stem, with the brown, white and orange craft paint.

I mixed the colors until I achieved the color!

Next, I sprinkled flour all over my pumpkin while it was still wet by sort of dry brushing it on.

Next, I used air drying modeling clay to extend the pumpkin stem, making it a more whimsical type of pumpkin.
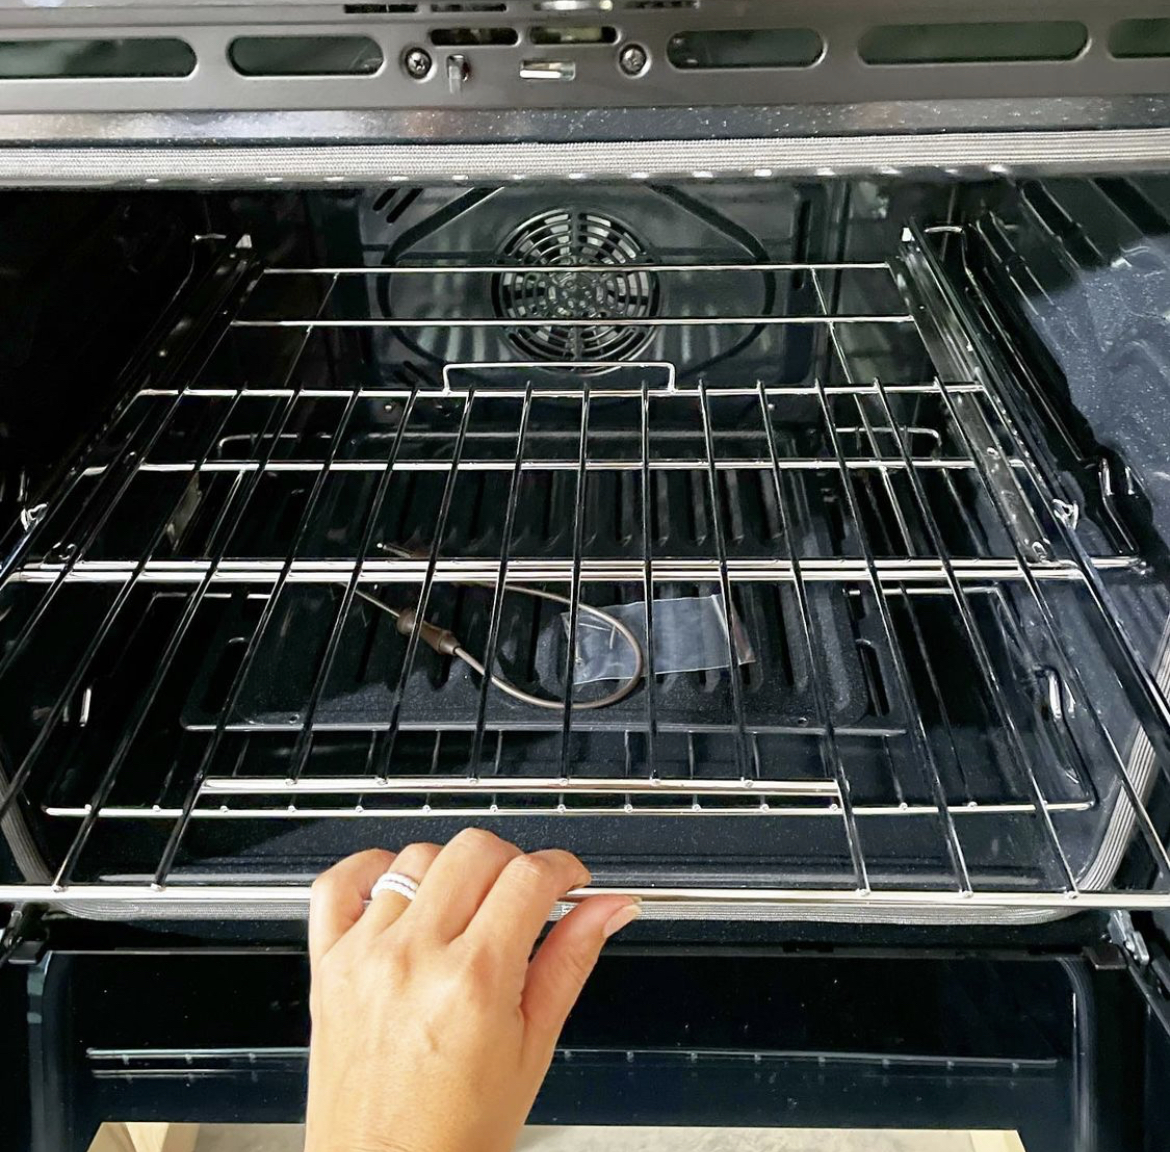
When the clay is dry, it’s time to paint!

I painted the air dry clay stem, the same color as the pumpkin.

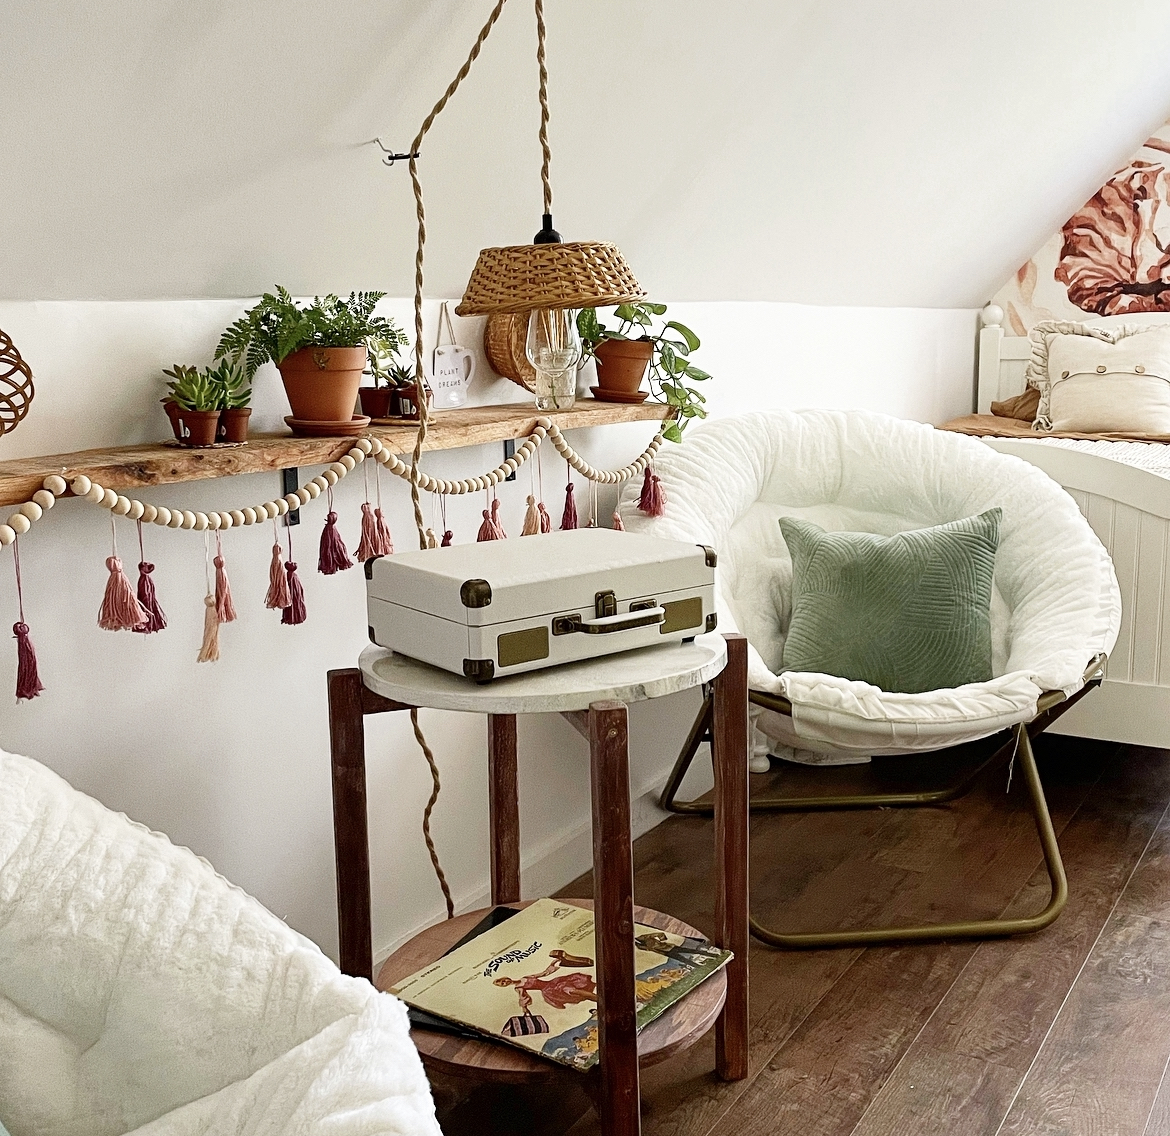
Finished! Time to style your new terracotta pumpkins around your house! It’s honestly such an easy DIY! I’m so glad I didn’t spend $89 on the originals, and instead created this Pottery Barn terracotta pumpkin dupe!
I also painted a pumpkin and made it into a floral dupe!
Please be sure to check out my other blogging buddies to see what they’ve come up with for our Fall DIY Blog Hop!


I hope y’all have enjoyed our Fall DIY Blog Hop! I enjoyed hosting and hope y’all will come back again! Happy Fall Y’all! 🍁🥧🎃


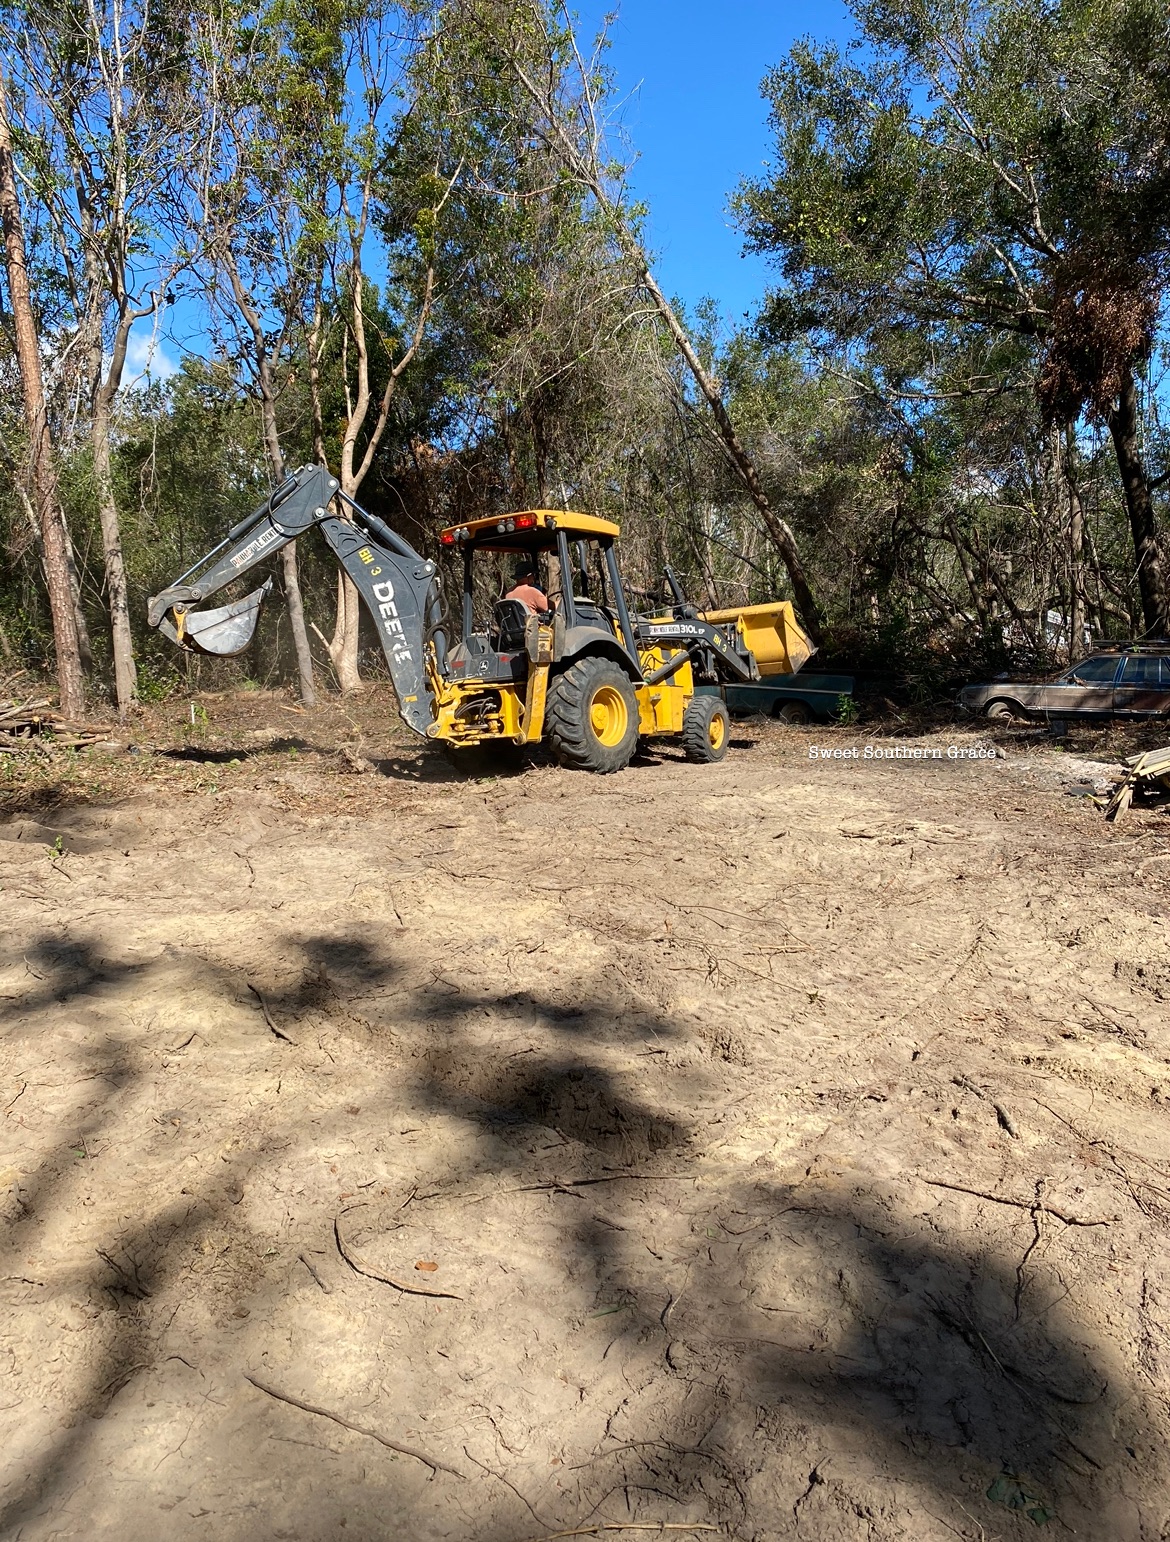

 Our Vision Coming to Life


You must be logged in to post a comment.