
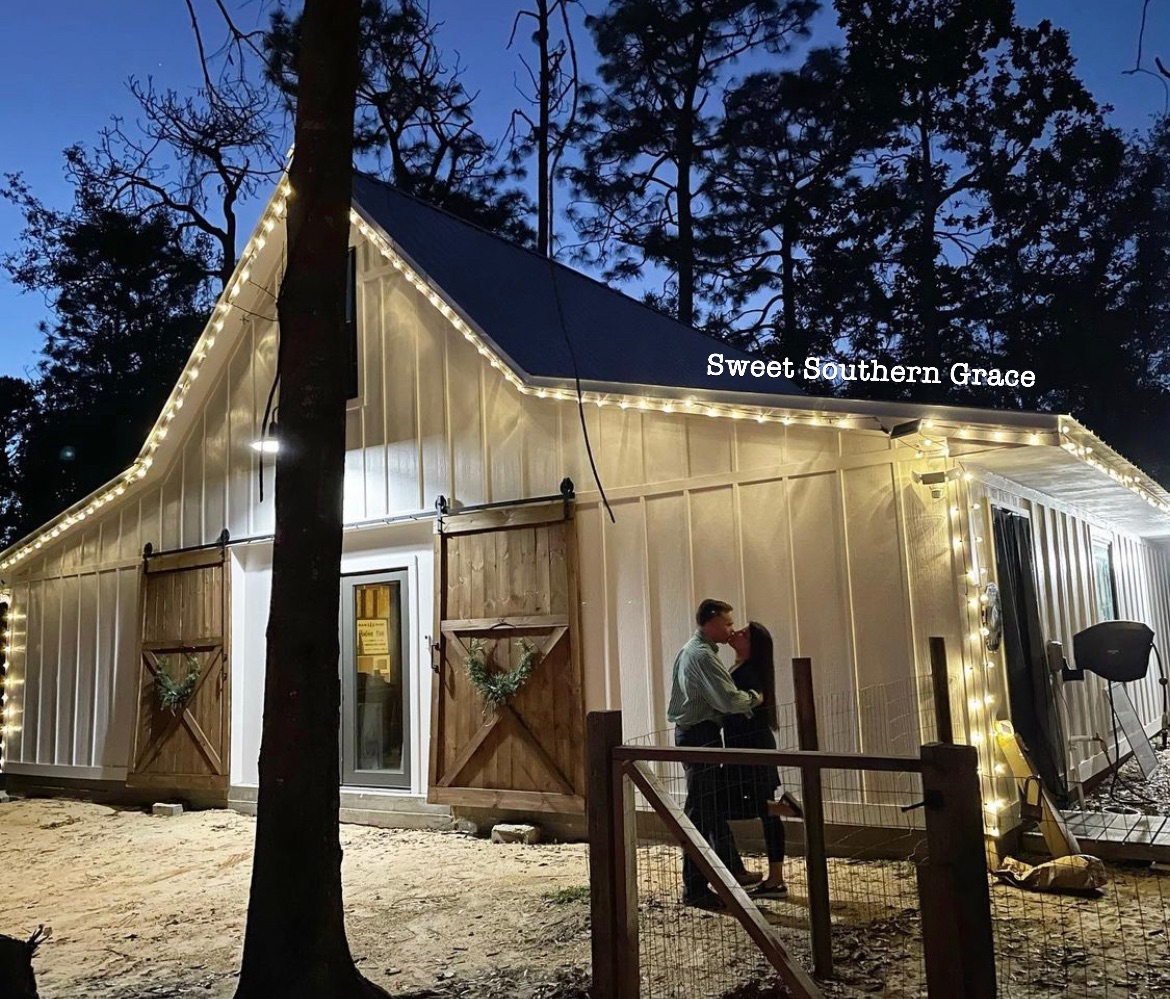
Summer of 2020, my husband asked me if i wanted to build a barndominium? A barndo-what? I am sure all of our friends and family thought we were a little crazy, as we took on such a huge project, with just myself, my husband and our oldest adult daughter.

As we embarked on this barndominium journey, we began meeting people that were curious about doing the same! The further we got into our build, the more people we began meeting that were building barndominium’s, thus the barndominium pandemonium.

Our family is finally finishing up on the last details of our barndominium. Projected finish date is summer of 2022. The burning question is, ”What is a barndominium?”.
What is a Barndominium?
Barndominiums are usually metal buildings that have an inside living quarter, which are very affordable, energy-efficient and low maintenance homes.
Barndominium’s can also be barn-to-home conversions, also called barndo’s. There is also an increasing number of ground up construction Barndominium’s like ours! Lots of Barndominium’s have an attached workshop/garage as well!
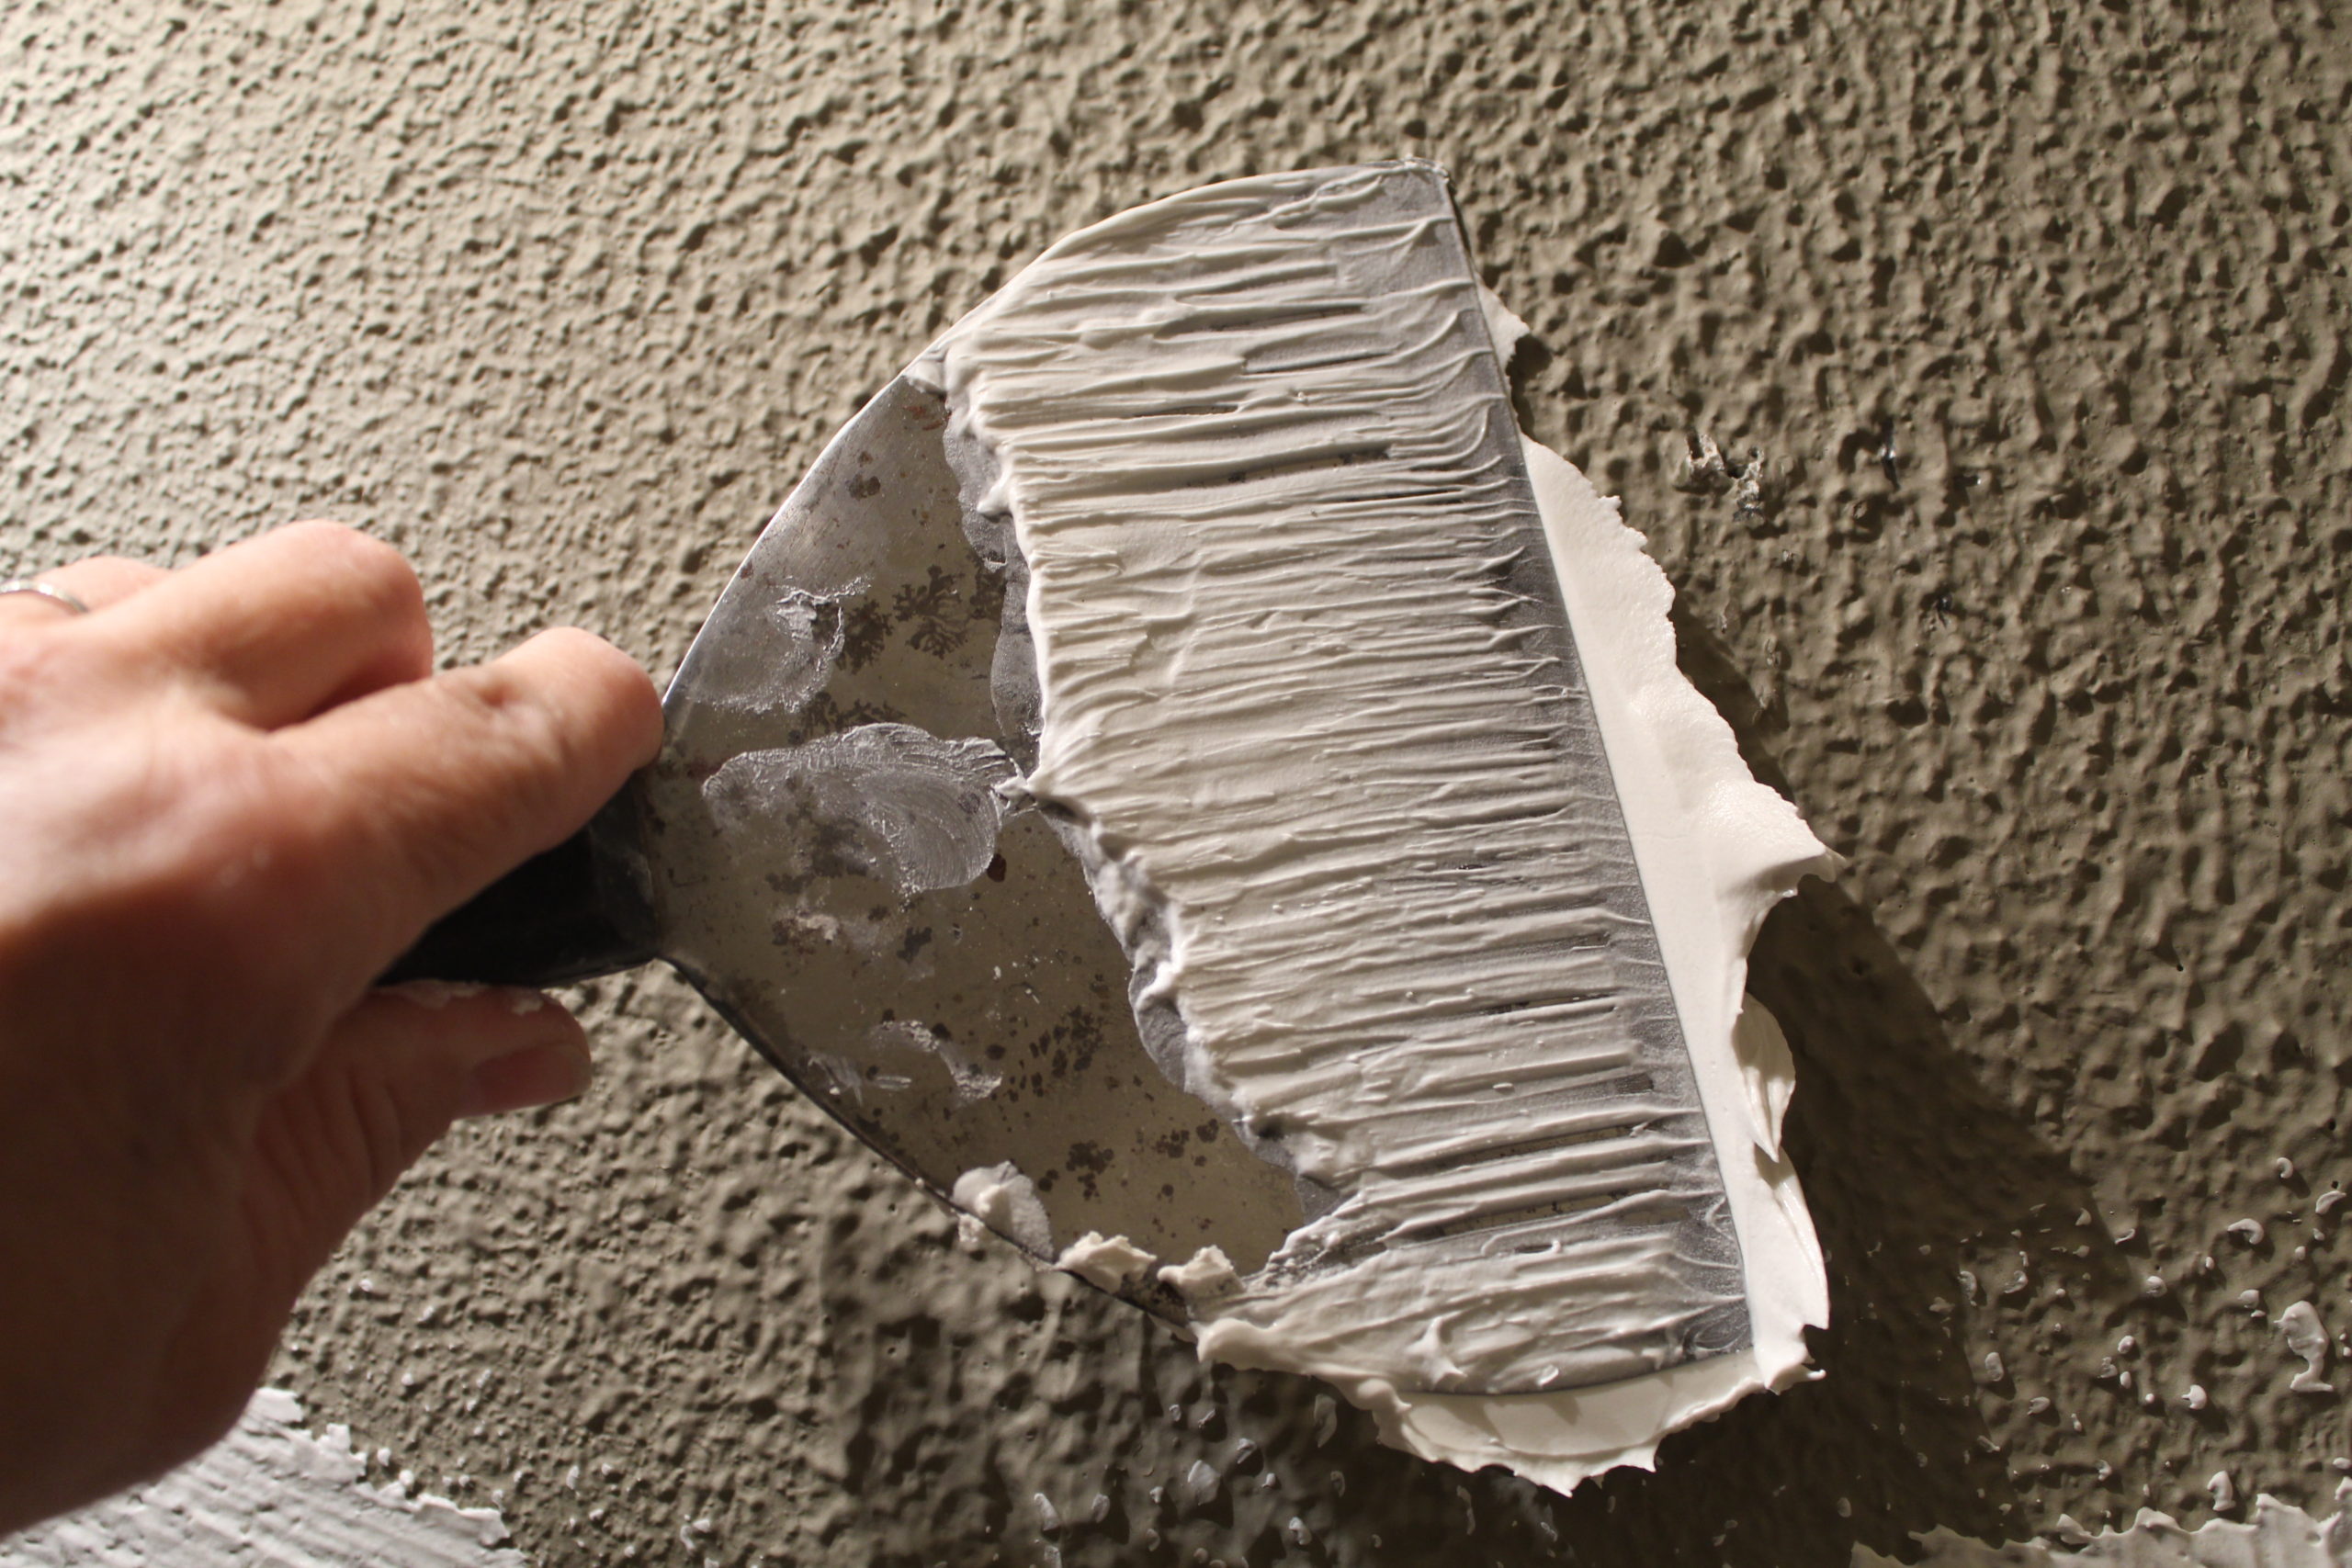
Many barndominium homes feature stained concrete floors, energy-efficient windows, engineered concrete slabs, spray foam insulation, efficient plumbing and high ceilings.
The sleek farmhouse design style has exploded in popularity and the barndominium helps you get that farmhouse look on the exterior, not just the interior. On the other end of the spectrum, other farmhouses are heavy on the rustic, countryside look.
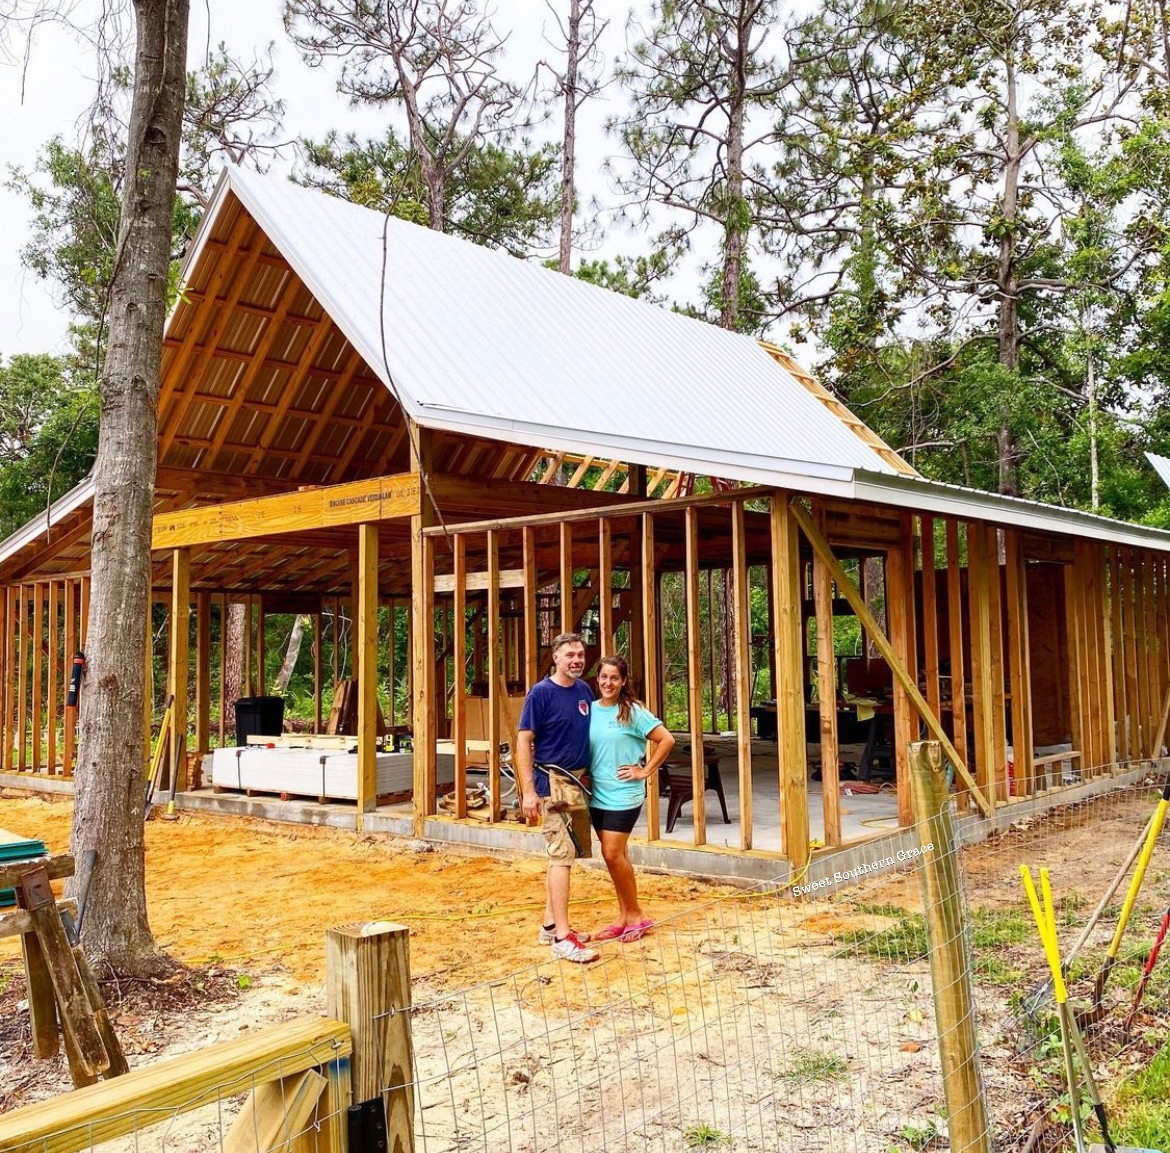
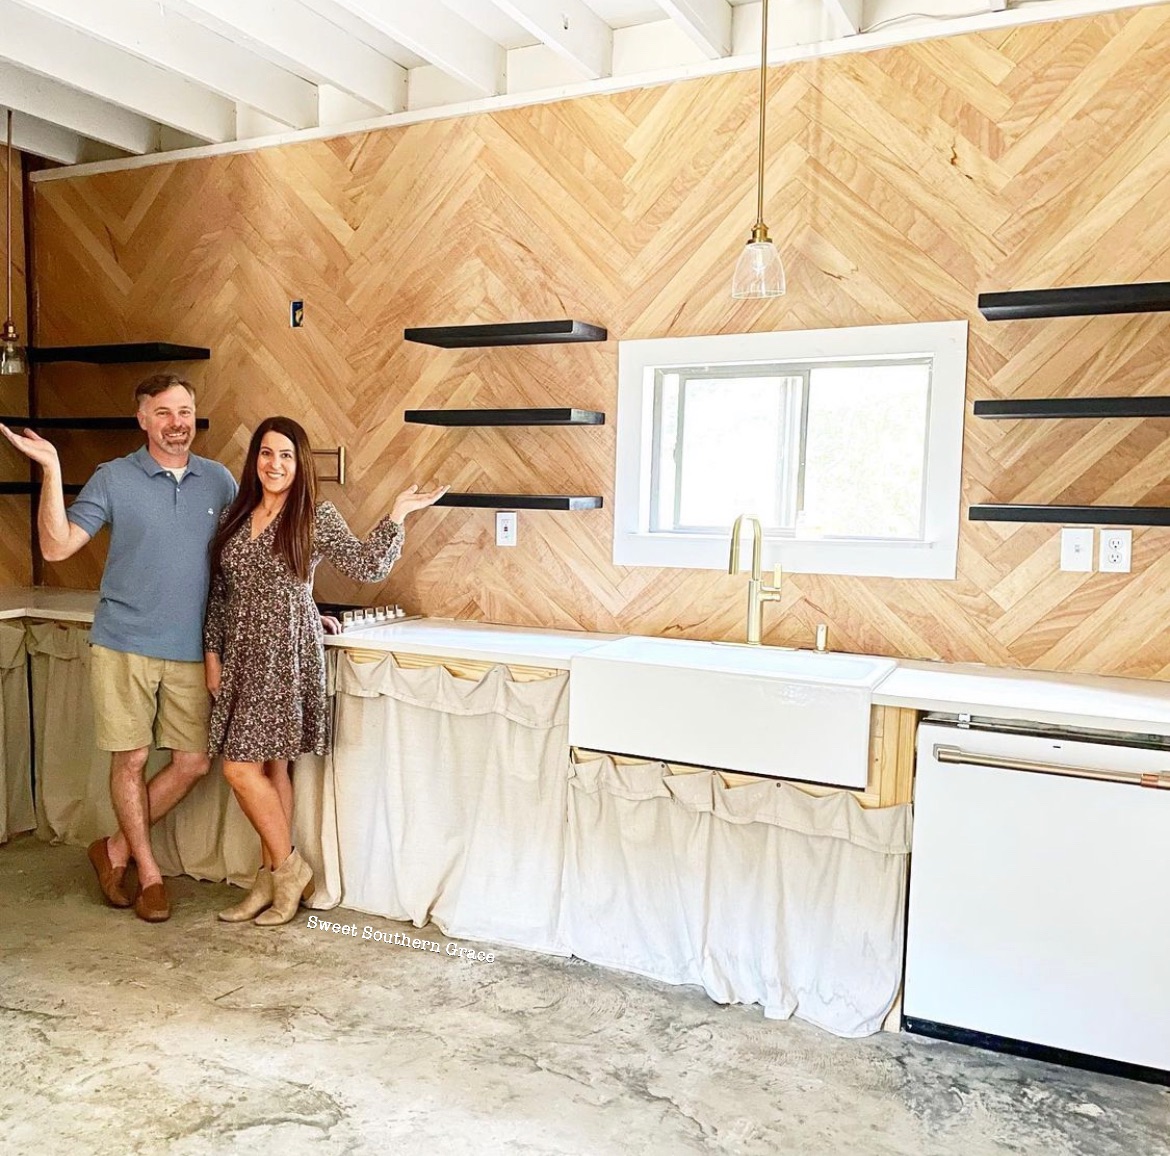
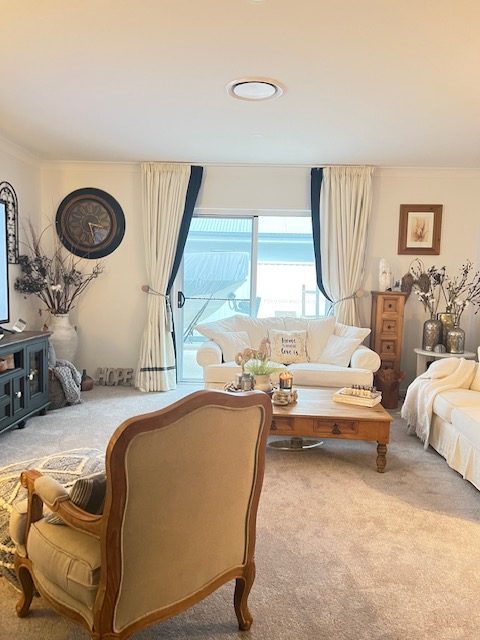
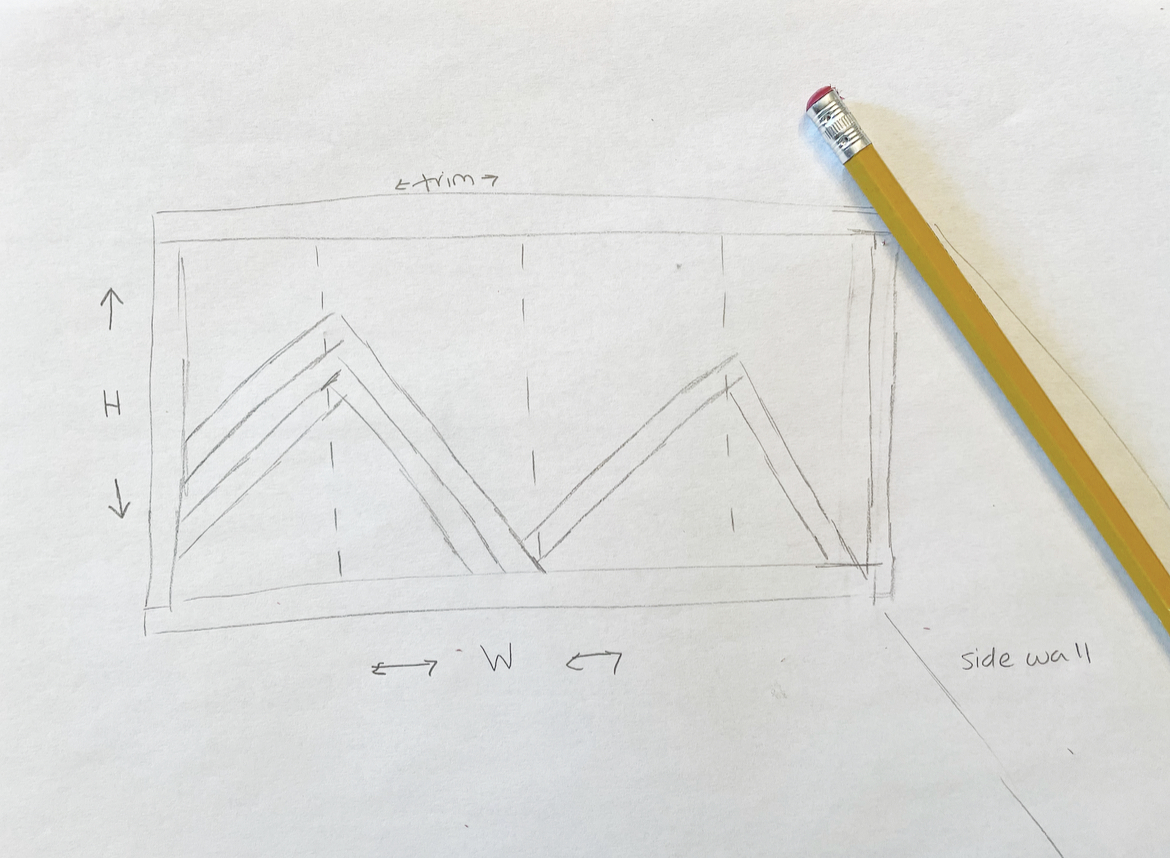
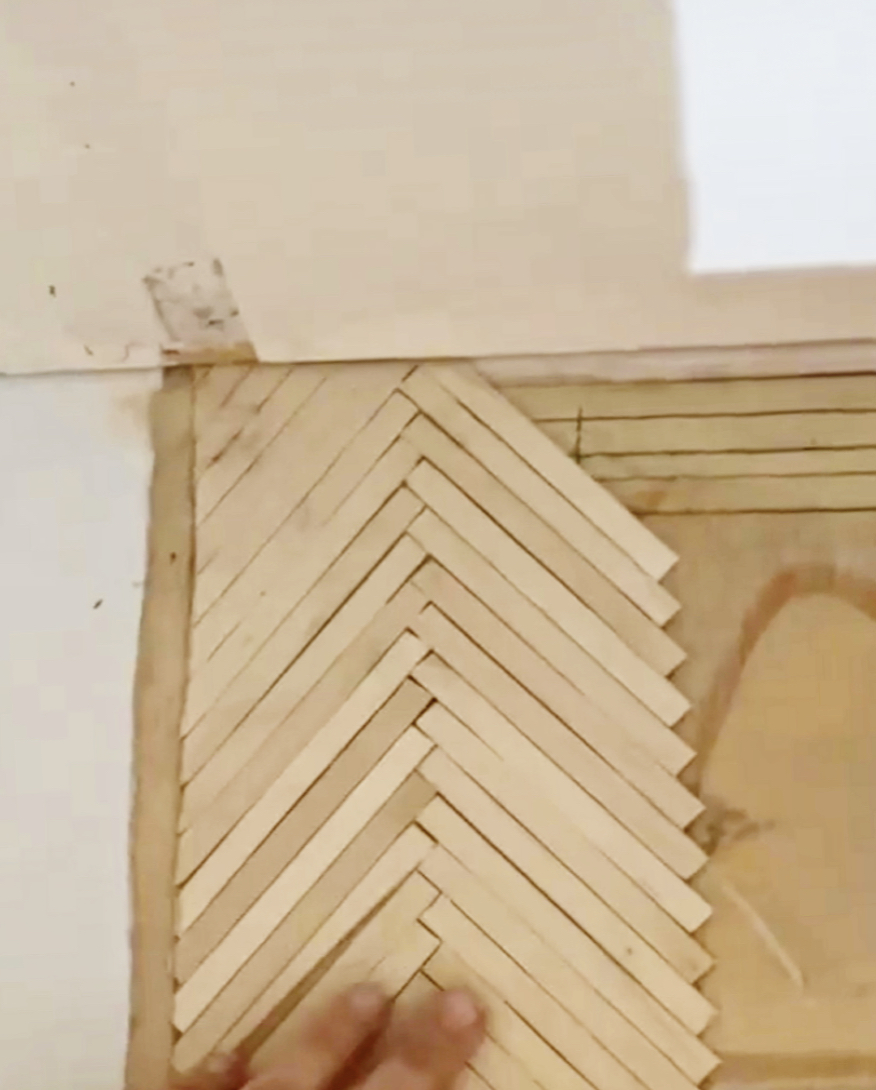
What is a barndominium without a great room? Most feature an expansive, open-concept living room with high vaulted ceilings. Almost all barndominiums have a rectangular foundation, allowing the barndominium floor plan to be customized to your exact liking.
Barndominium Building-How long does it take to build?
Barndominiums take approximately 3-6 months to construct but construction time depends on size, customization and if you build on your own versus hiring a builder. We chose to be our own contractor and build our barndominium, ourselves! It took us about a month and a half to frame! Check out our framing video here! Our time frame from start of foundation pour to finish date is approximately 13 months.
Barndominium Cost
How much does it cost to build a barndominium? Let’s break down a list of costs, associated with building a barndominium.
Factors that go into the cost of a barndominium include:
* Location
*Size
*Custom Features
*Construction material pricing (fluctuation with pricing)
*Labor
*Quality of materials being used
Barndominium’s have the option to purchase barndominium kits, which include components of walls, roof, ect. We looked into buying a kit, but the cost was higher in comparison to buying them on our own. The pricing of materials have fluctuated tremendously in 2021. As a result, construction pricing has been harder to predict as it is continously changing.
Below is a general price range for each component of a barndominium:
Kit $20,000-$90,000
Structural Engineer-$1,500-3,000- You will need a structural engineer to draw up your plans if you don’t buy a kit.
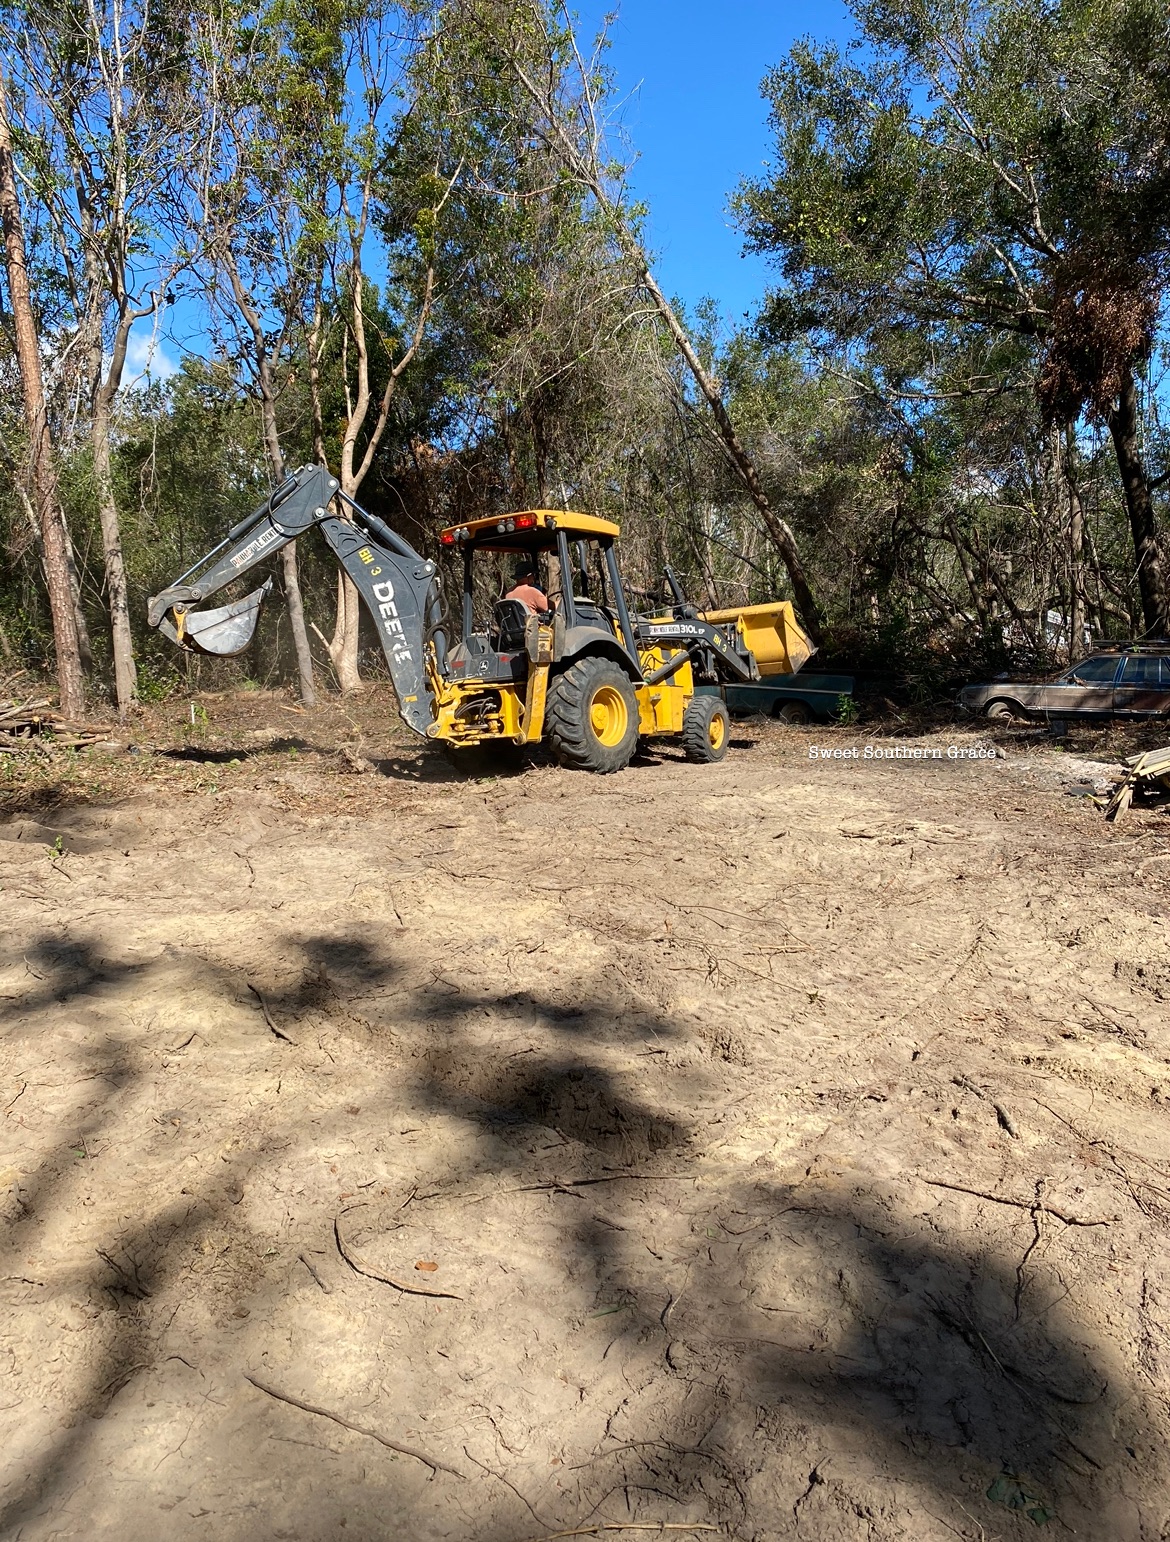
Land Clearing-$1,500-$20,000-Save money by renting tractors to clear the land on your own.
Labor for assembling-$30,000-$60,000-Save money by diy!
Insulation-$1,500-$3,000
Foundation-$5,000-$10,000
Roofing-$2200-$6,000
Siding-$2200-$5,500
Sewer-$1,200-$3,000
Electrical-$1,500-$15,000
Plumbing-$1,500-$5,000
HVAC-$5,000-$10,000
Permits-prices vary depending on location.
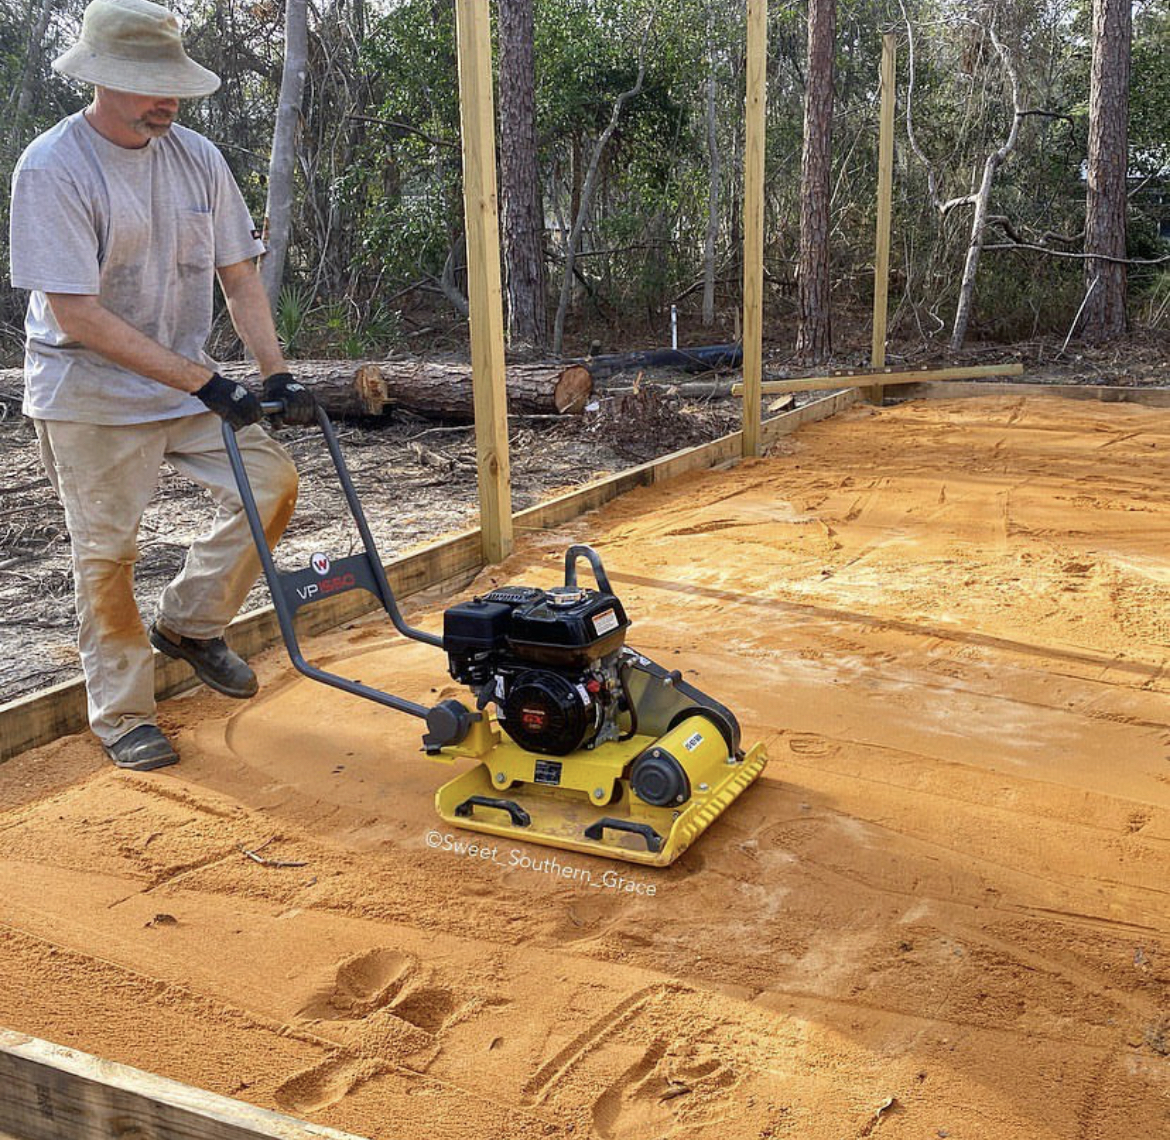
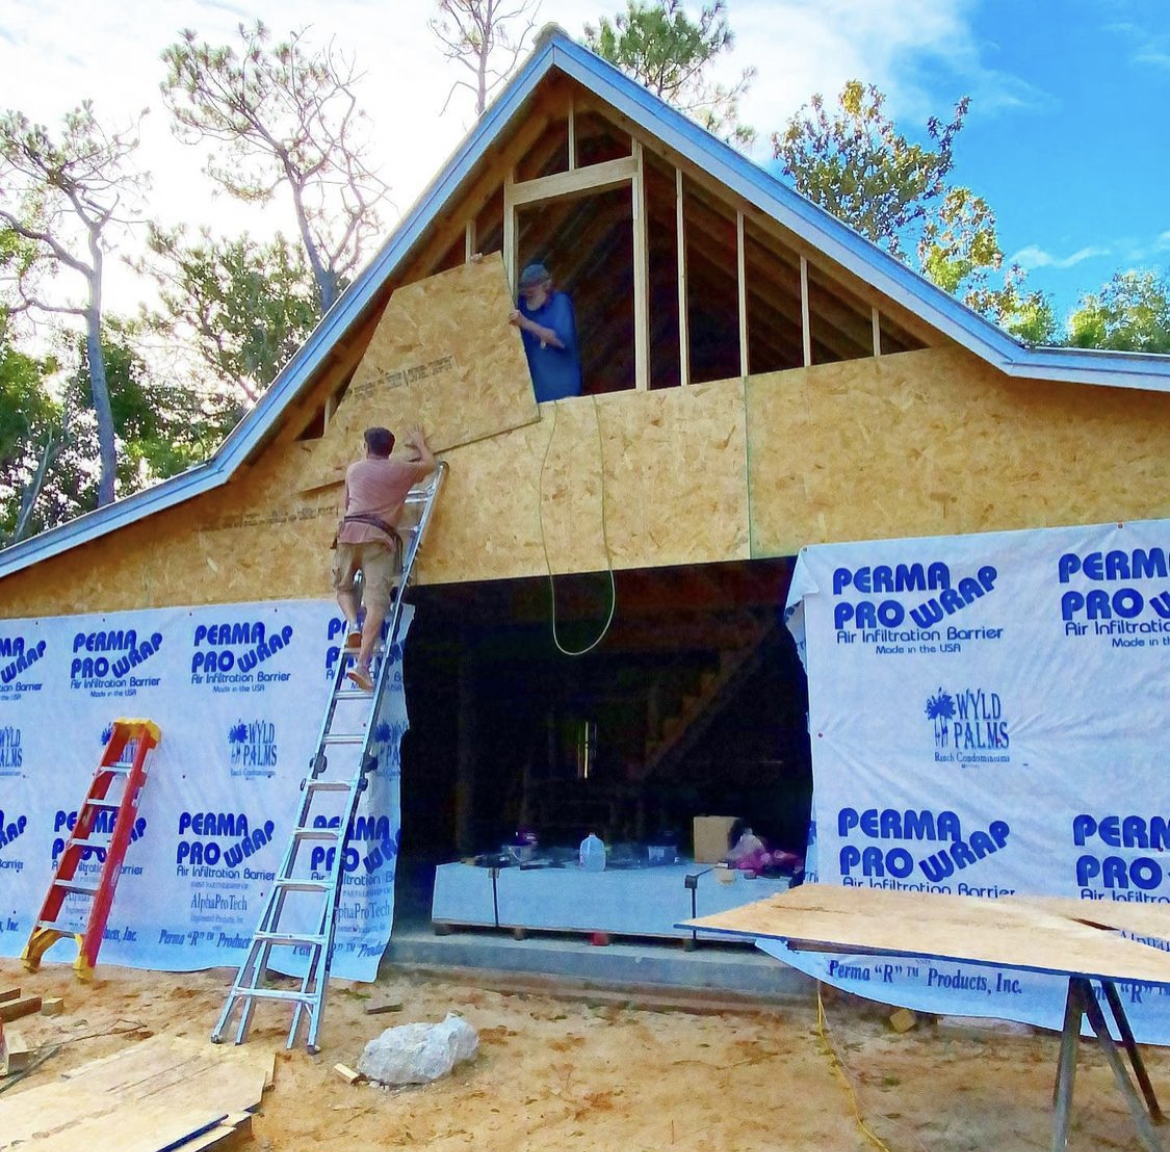
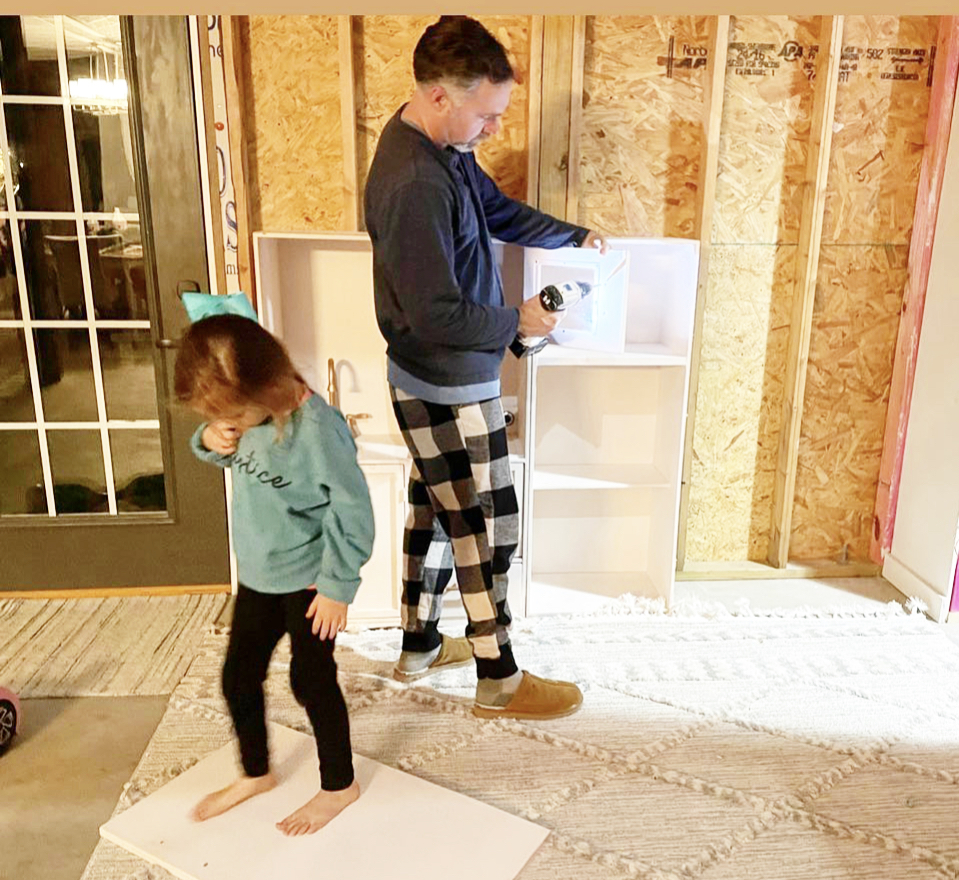
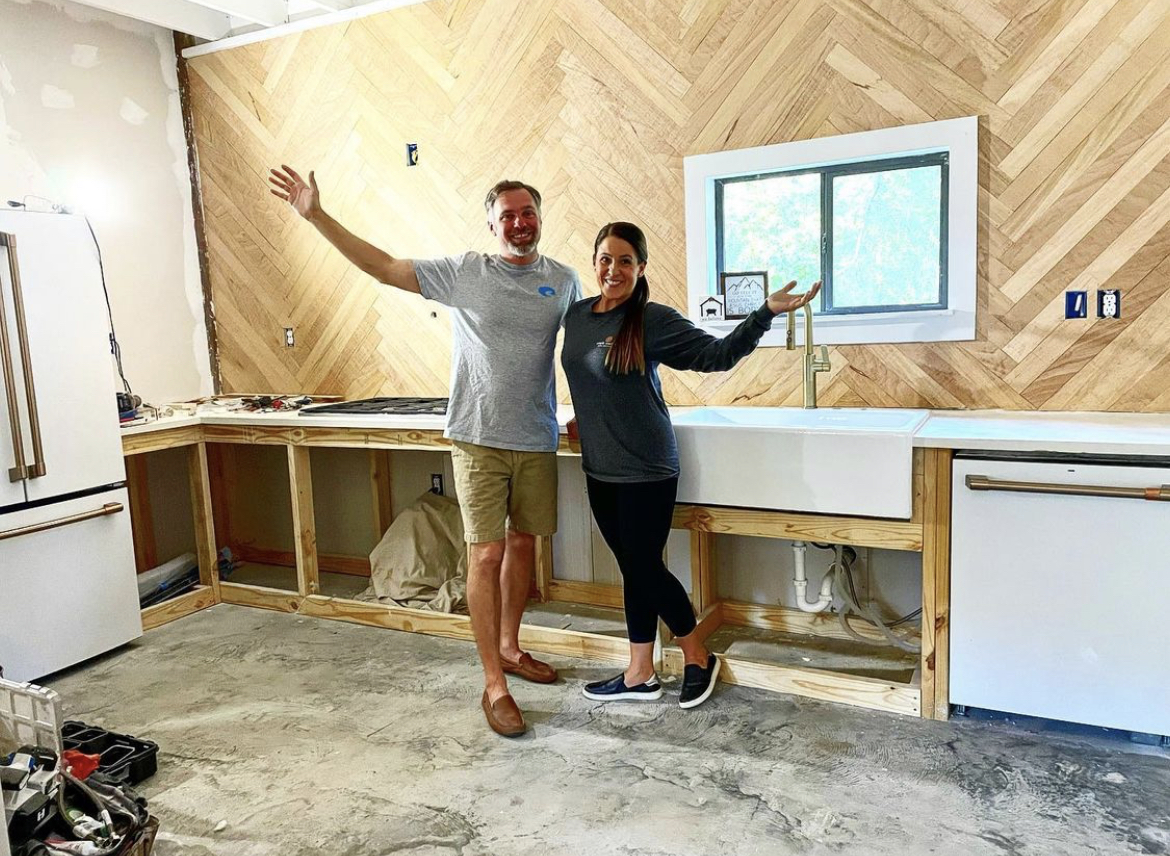
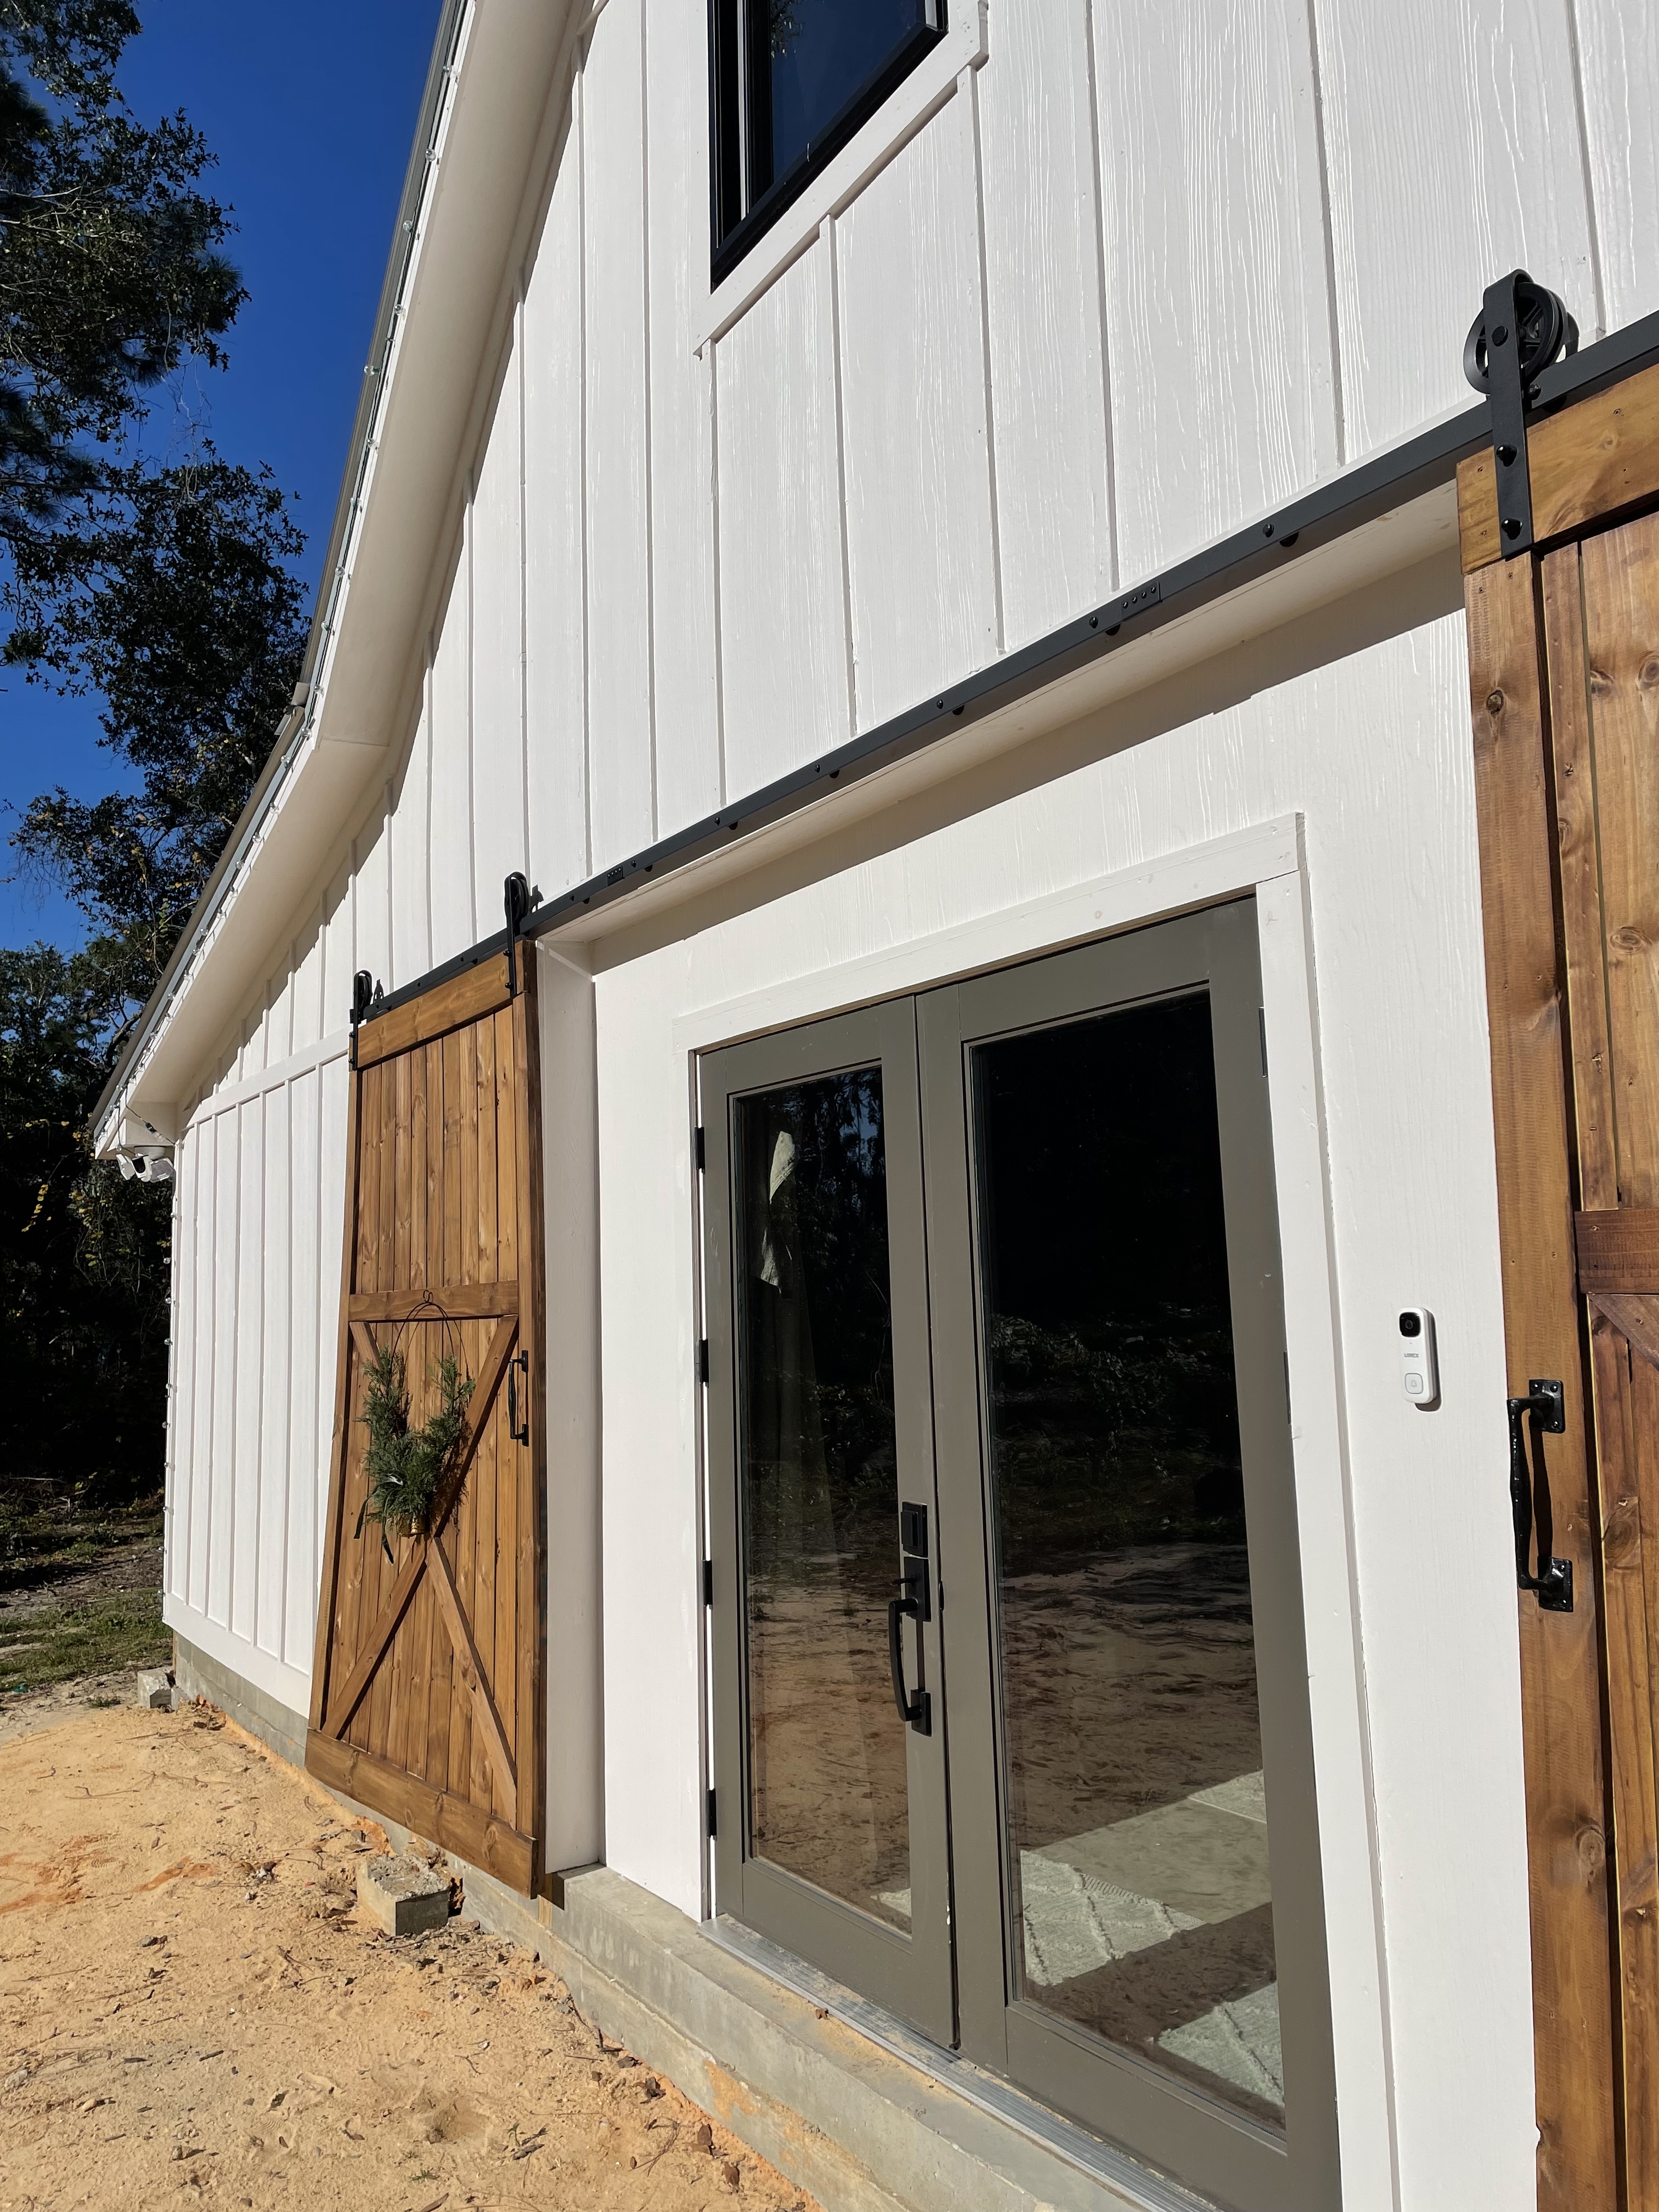
Our barndominium build was built 90% by my husband, myself and our oldest daughter (my best friend).

We did decide to pay for a local company to do the labor for our concrete. You can check out our concrete pour here.

We also had my Dad, my Father-In-Law to help with a few projects. My brother also helped when we put the roof on.

Our oldest adult daughter has also helped throughout our build. She is so strong and is able to help her Daddy lift heavier items! We are so grateful for all of her hard work! We also can not fail to mention the hot meals, prayers and just fellowship from my Sister-In-Law, (my brother’s wife) plus countless other family and friends that kept us in their thoughts, prayers and offered a listening ear, during our build!
Tips for Building your Barndominium-How have we been able to save money with our build?
Research, Research, Research!
Researching is key and the golden ticket, in building and saving money! We did not buy a barndominium kit because it was cheaper for us to buy materials on our own instead of the kit. My husband even drew up our barndominium plans himself then I took it to a structural engineer to draw up the structural design plan!
Shop Local Habitat for Humanity
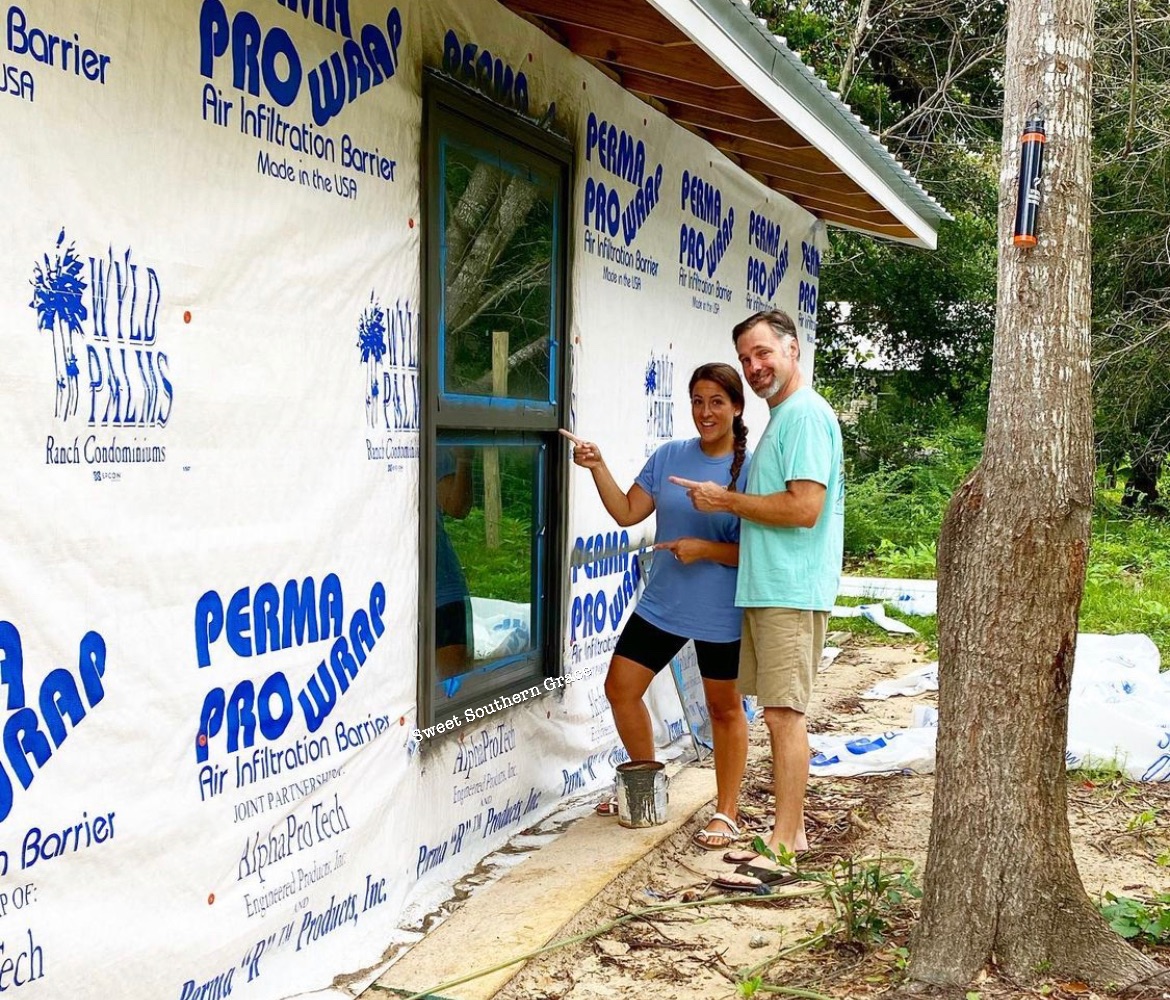
We shopped at local Habitat for Humanity and found windows, doors, insulation, nails and dry wall. Some of the items were new and some gently used! We saved over 5k just on windows and doors! Currently we saved over 1k on insulation! We found dry wall for $7 a sheet! That’s over a 50% savings!! Try looking for local discount stores that sell building supplies at a discount. We were willing to drive a distance to find materials that were cheaper! Check out our reel on how we saved at our local Habitat for Humanity! Buying used windows and doors needed our own touch, like our paint colors and door stains! It was easy, see?!

DIY as much as you can!
Learning to have a lot of patience during this progress, you can diy the majority of your build! Be willing to learn a new trade! Don’t say you can’t because you can learn a new skill! I have learned to build barn doors, frame a wall and more! Be patient! If you don’t know how to dry wall, learn! If you can’t install a kitchen faucet, learn!
With diy-ing almost everything ourselves, plus with me being an influencer ( I got around $20k in collaborations), we estimated that we’ve saved over $50k on our build! Check out one of our collaborations here!

Ask For Help
Don’t be afraid to ask for help! Family and friends are willing to help! I think my Dad could always sense when we were getting to the point of being overwhelmed with everything. There are certain points when he would ask if we needed his help. The roof was a huge one!

We still have projects to finish inside and even the outside of our barndominium. We even have four friends that are willing to drive hours away and come help with projects here this spring!! It is truly God ordained!
What have we learned?
We have learned that if you put your mind to something, that you can do it! We have learned a whole heck of a lot of humility, compassion and perseverance. When we wanted to give up, we turned to God. We we wanted to throw everything out of our non-existent windows, we gave it to Him! When we thought our purpose was one way, God had other plans and we stopped, allowed Him to carry out His plan for our family.
When it seems like your drowning and the project seems so massive, I promise, you will look back and be glad that you did it! If we can answer any questions, please reach out!


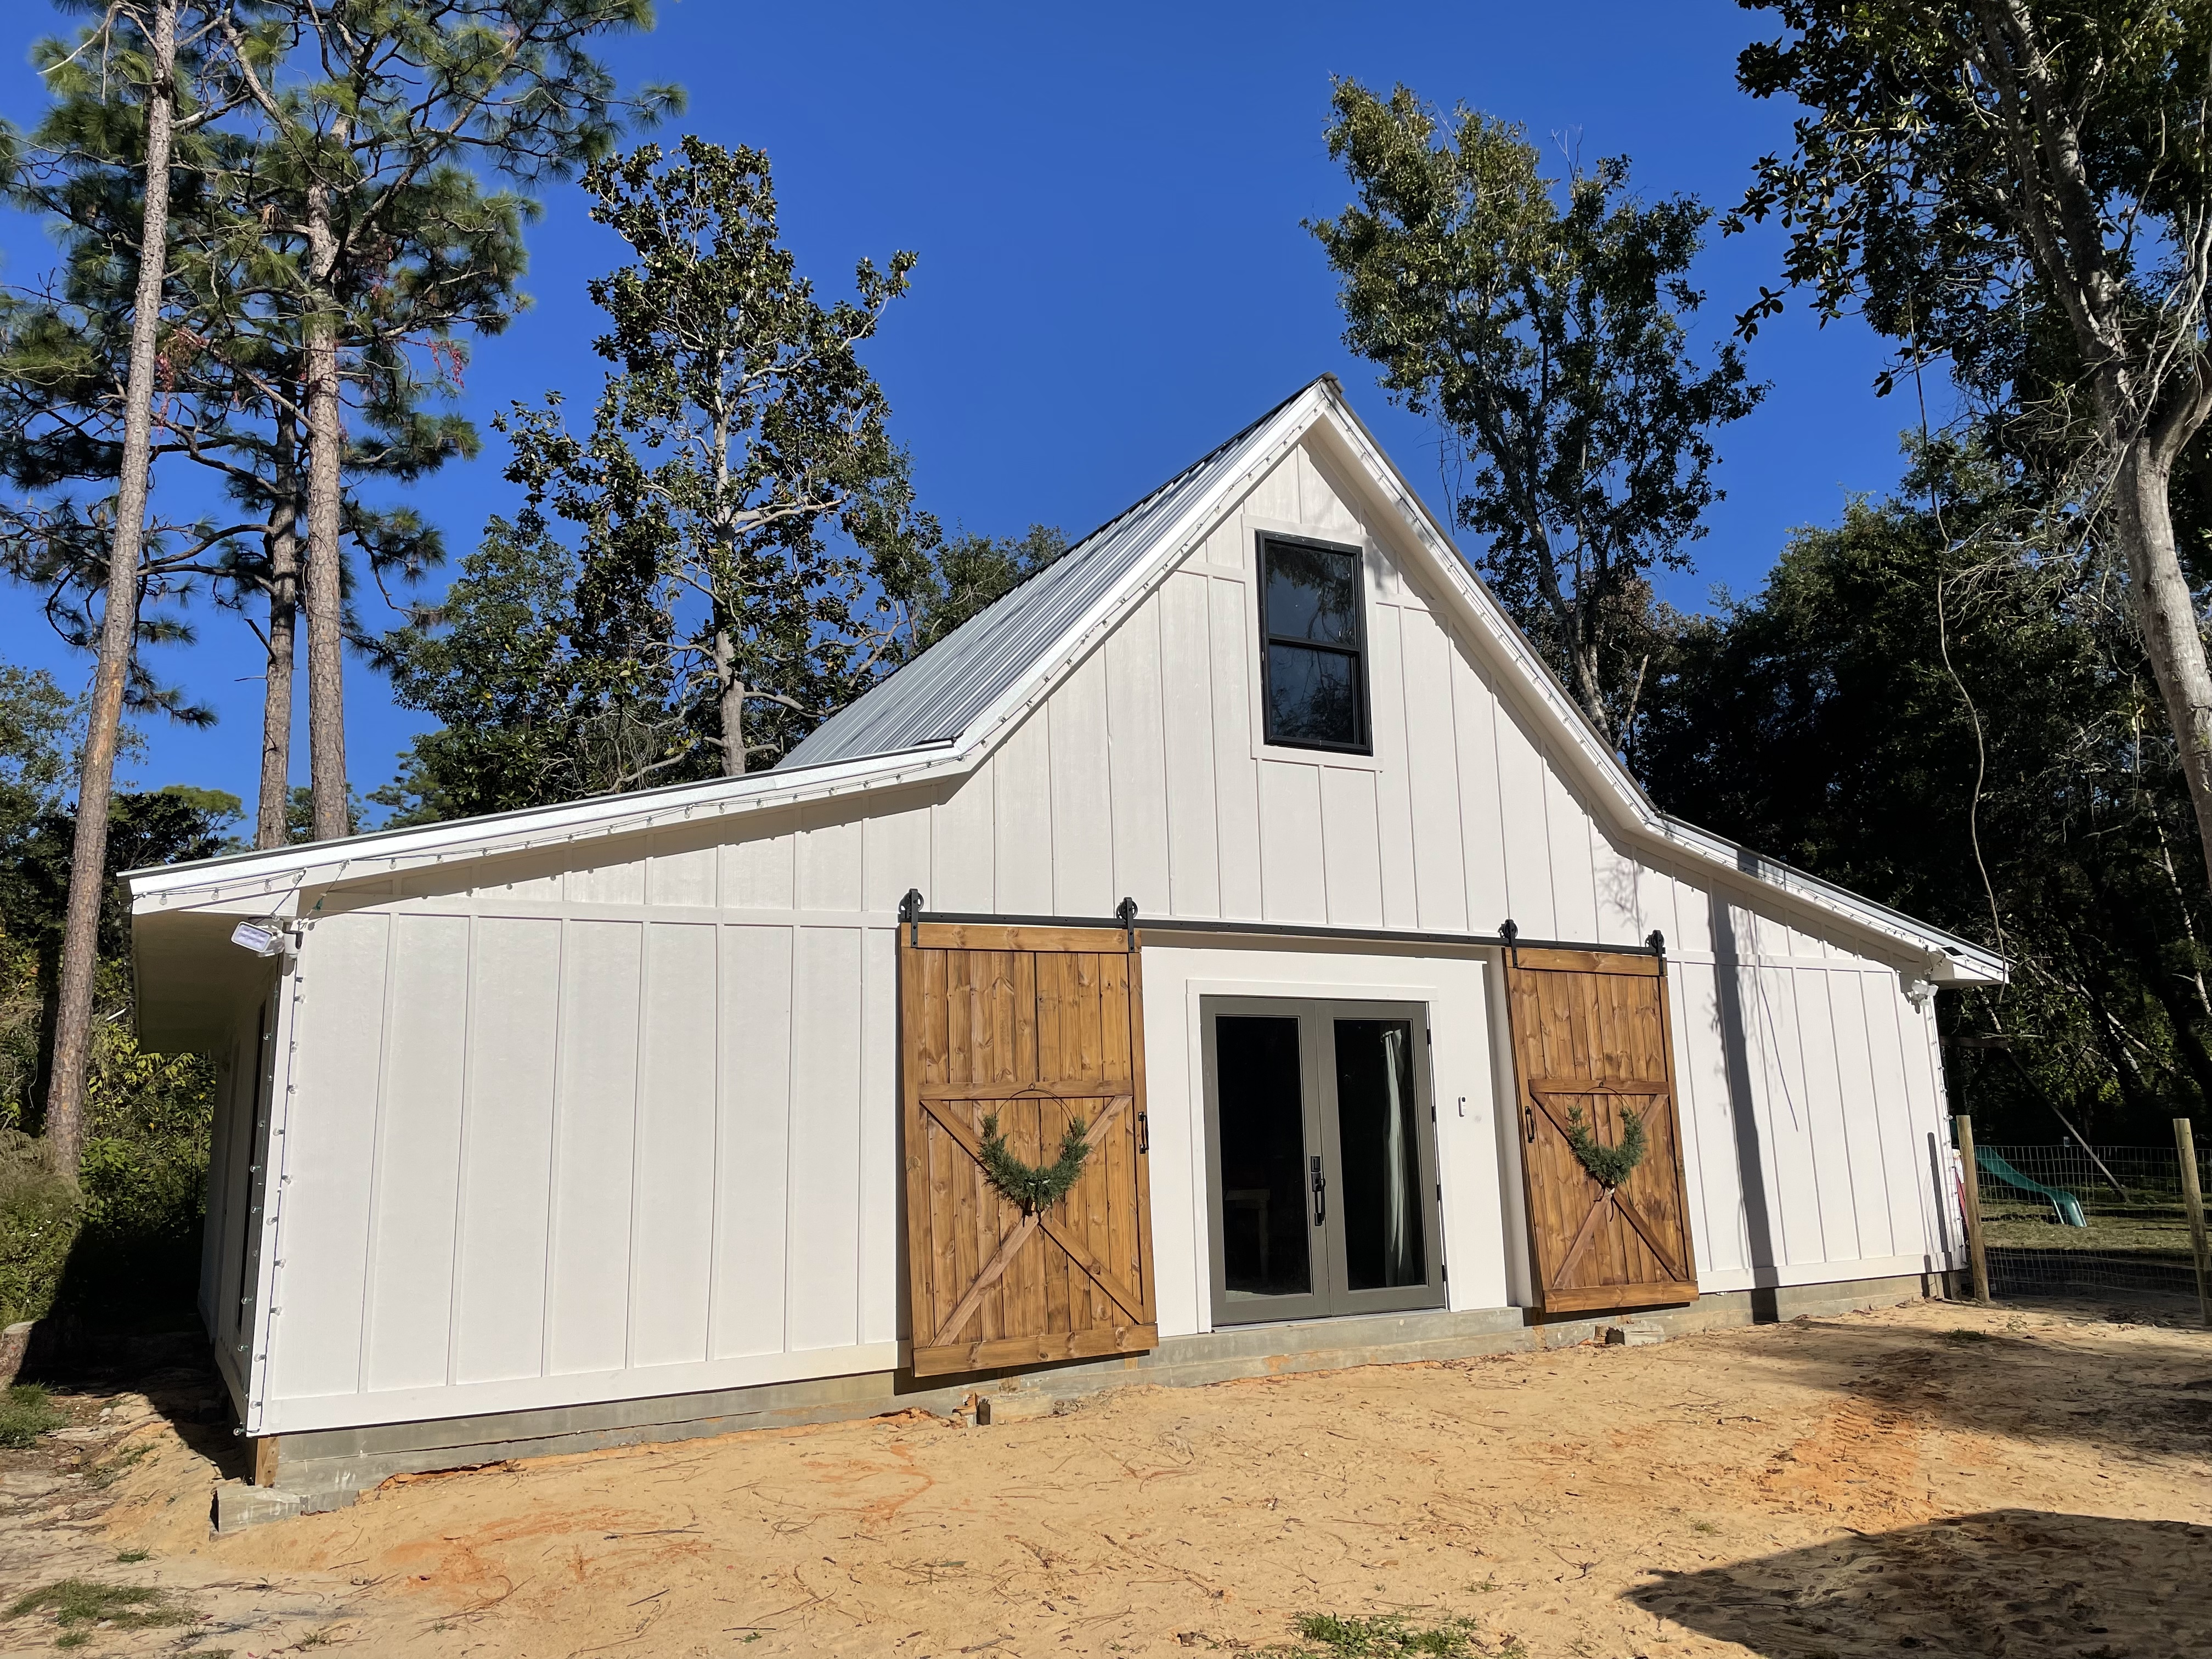
 Our Vision Coming to Life


 Sweet Southern Grace
 Patina and Paint
 Stilettos and Shiplap


You must be logged in to post a comment.