“ This post may contain affiliate links, meaning I receive commissions for purchases made through those links, at no cost to you, through Amazon Associates program, Free Form Paint Brush or Home Depot.”
Teaming up with several blogging buddies for a DIY Home Improvement Challenge. our host is my sweet friend Terrie, from Decorating and More with Tip!
I have had plenty of time to think about design elements for our barndominium master bedroom! I toyed with the idea of a geometric wood wall but I was unsure! After talking with a couple of my interior design buddies, I decided to just go for it!!

Materials
- 1x2x8 Furring Strip Board
- Brad Nail Gun
Nails - Paint
- Freeform Paint Brush
- Caulk
- Caulk Gun
- Sander
- Circular Saw
- Level

Paint
After we installed the trim, we painted the accent wall. This will save time once the accent wall is installed.
We painted the wall Orchid by Sherwin Williams in an eggshell finish. We use Free Form Paint Brushes. You can use SWEETSOUTHERN15 for 15% off!
Time to Install the Geometric Wall
Stick with 45 and 90-degree angles! we only used 20 furring boards! We spent less than $50 on this wall!

We decided to start with the right hand side of the wall. Honestly, we decided to just hold boards up at different angles, with various spacing ,to see what looked right. Next we leveled and nailed as we placed the boards on the wall!

Once we got into a groove, the install went really fast and ended up being a really fun project. It took us a couple nights because we ran out of boards! it could easily be done in a day to complete!

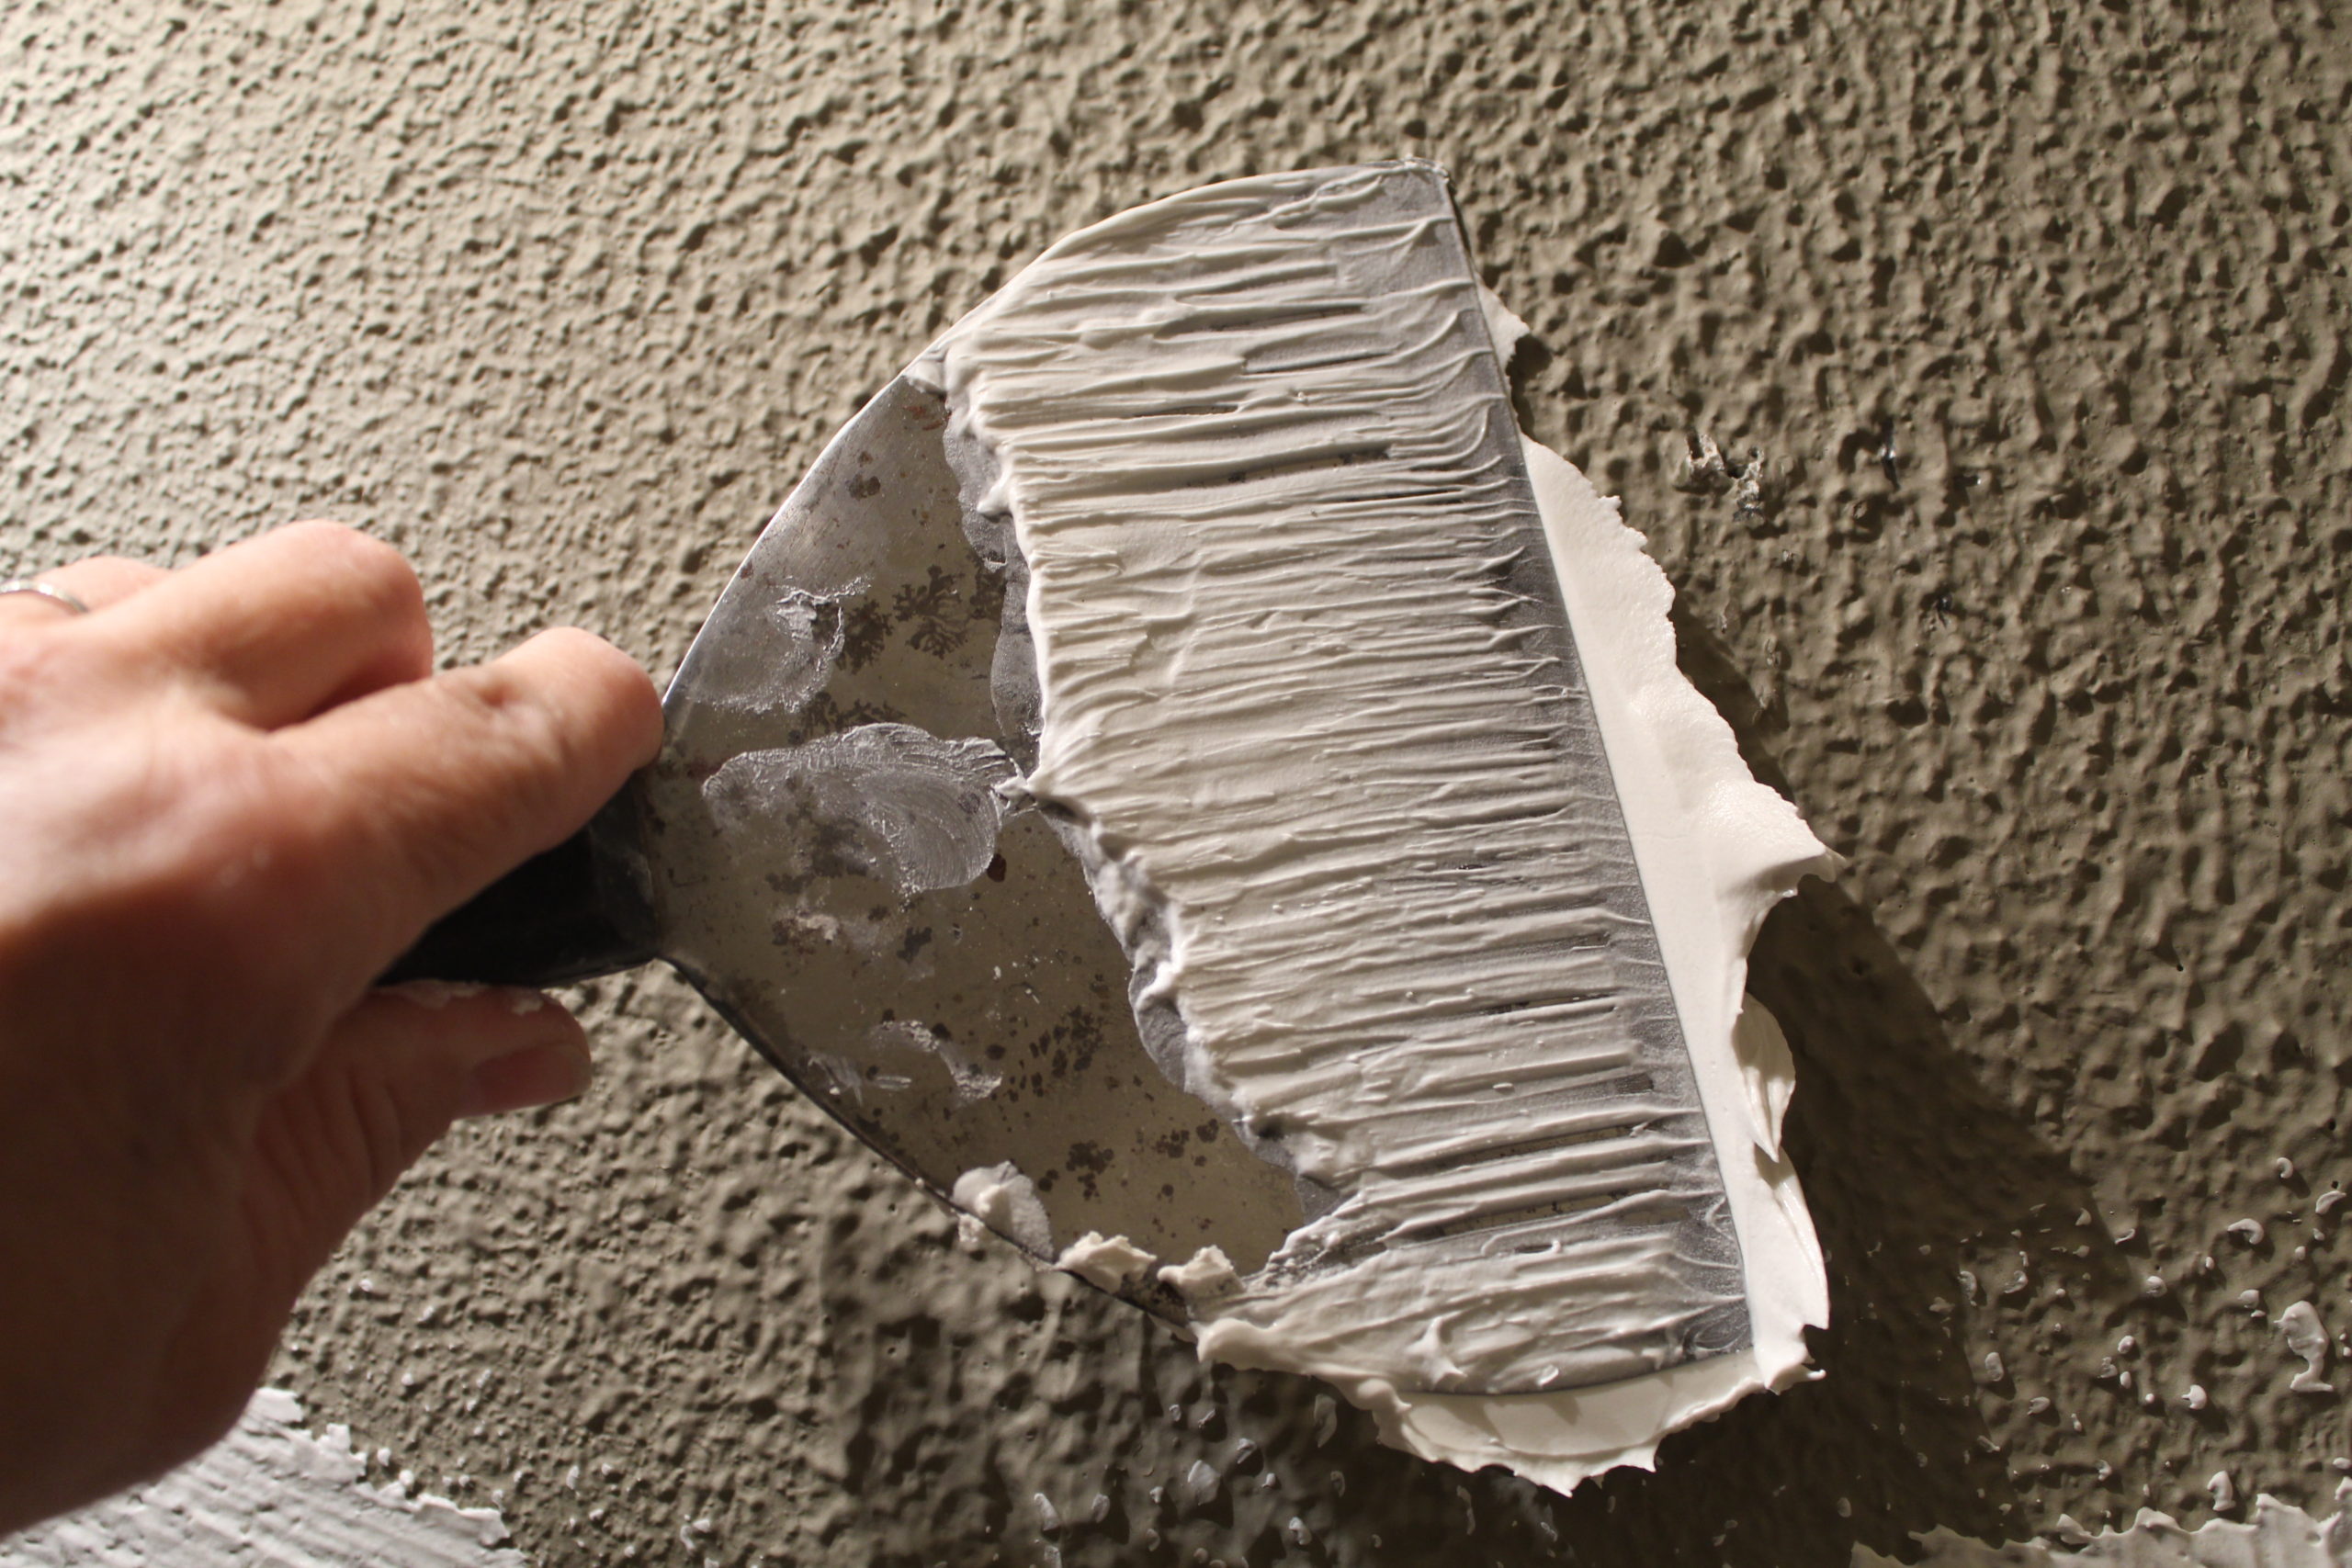
Time to Caulk
Time to caulk the seams and wood putty the nail holes!

I caulked along the seams where the boards meet the wall, using two tubes of tubes of caulk.

I also sanded a few of my boards as they were rough! And once the caulk is dry….

This part of the project gets a little tedious because you have to apply the rest of the paint with a brush!

Make sure you get into every nook and cranny. I used a craft brush in the really tight spots where my boards met with an adjacent wall or the trim. You’ll definitely want to brush on two coats.
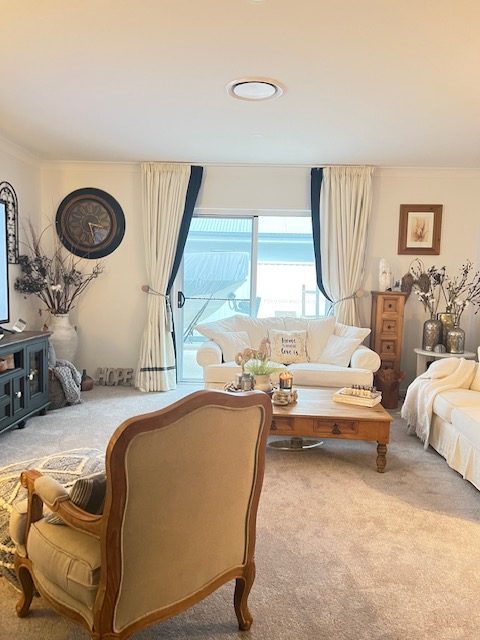
Once your paint is dry, you’re done! Now you can style your room and enjoy!

I hope you have enjoyed this project with us! Check out my other blogging buddies to see what DIY Home Improvement Project they have come up with for their homes to share with ya‘ll!

Terrie Decorating and More With Tip
Tammy Patina and Paint
Teresa Through the Vintage Door
Shae Sweet Southern Grace

The wall looks amazing. I have to say you and your hubby is creating such a warm and loving home. I love coming over to see what you are doing. Love the color as well!! Great job Shae, I love it!!
LikeLike
I’m loving this wall , I want to do something in our master but I’m not so brave! After seeing what you have done here , it makes me want to start a wall feature right away .. Love what you did and amazed at the cost !!
Great job and well done Shae..
Teresa!
LikeLike