
My husband and I just recently celebrated our 21st wedding anniversary! It amazes me to think how quickly we got here! We fell in love at 17 and 20 years old…. It was late fall of 1997. Fast forward to just a few months later and my family was moving 4 hours away. We quickly decided to go ahead and get married…and let me tell you that my parents were not happy! I will add that I graduated high school at 16 and was already finished with my first year of college. We married in the spring and we moved into a condo, across the street from the beach, for the summer of 1998. We like to call that beach condo, our 3 month long honeymoon!
~The dating life~

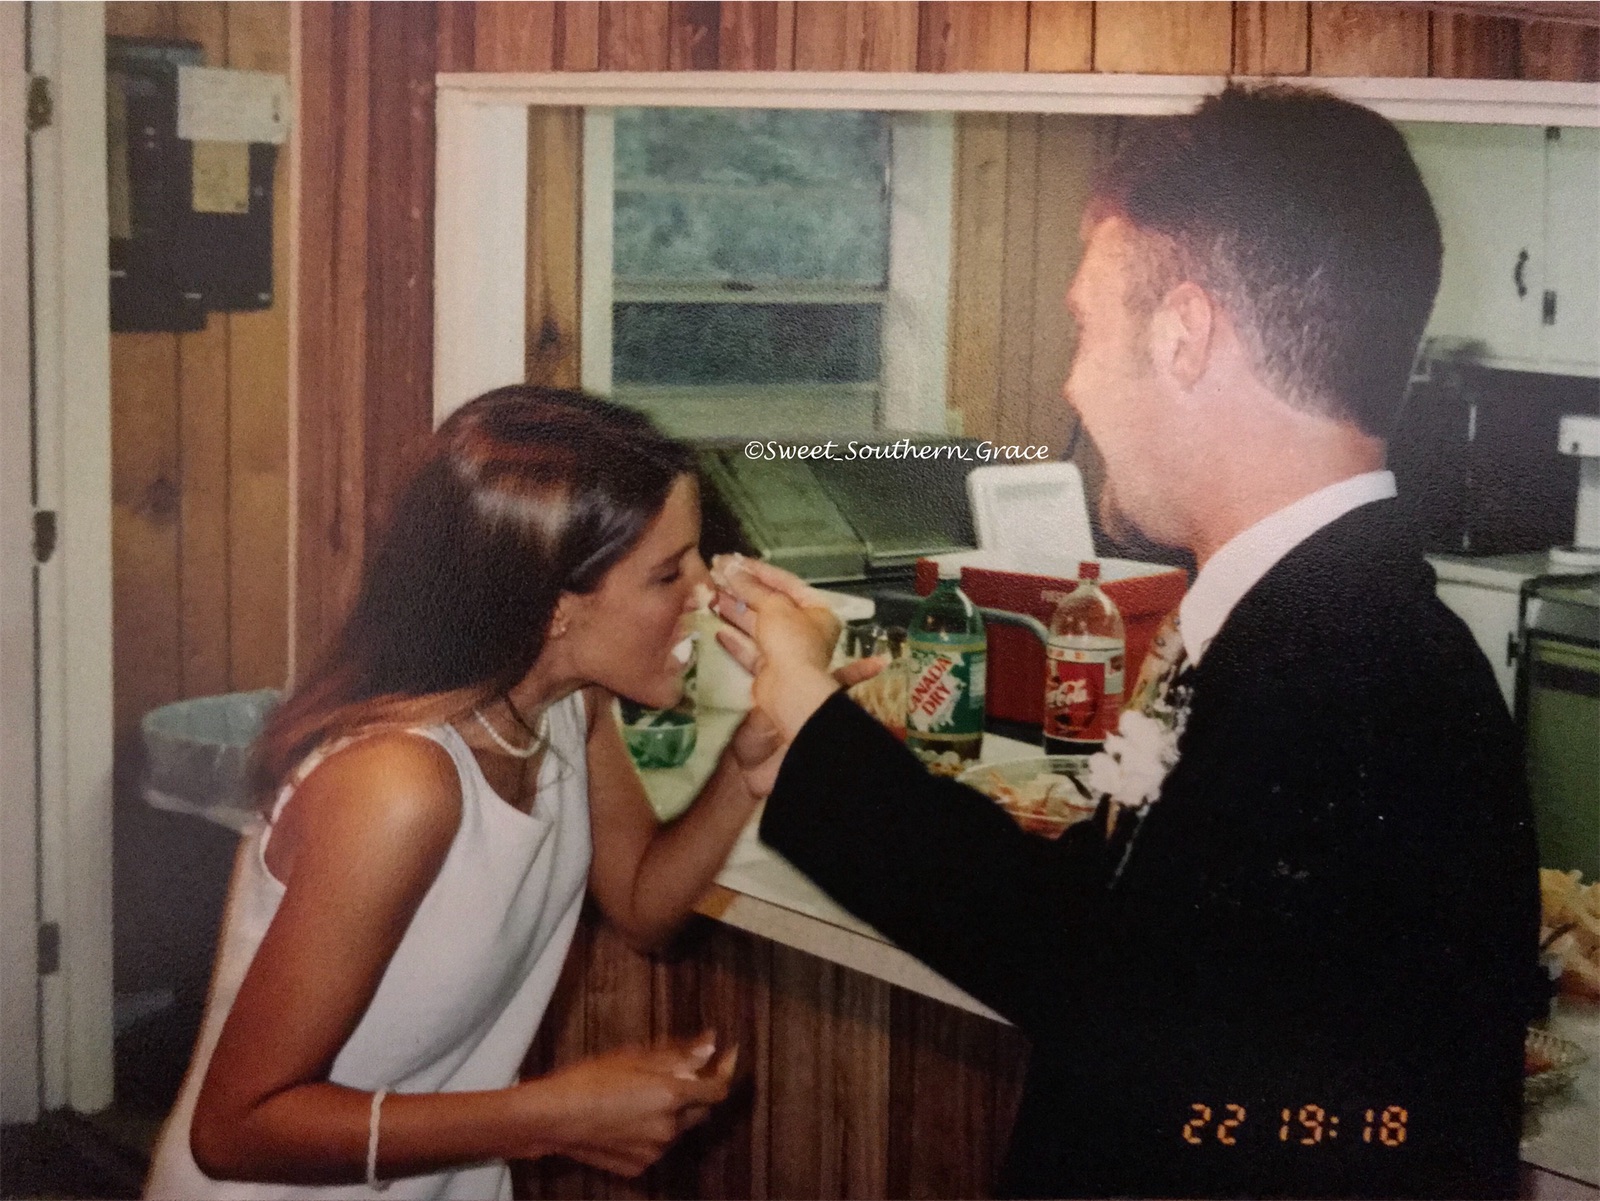
~Our Wedding Day~

~Time for cake~

~Cake Time~
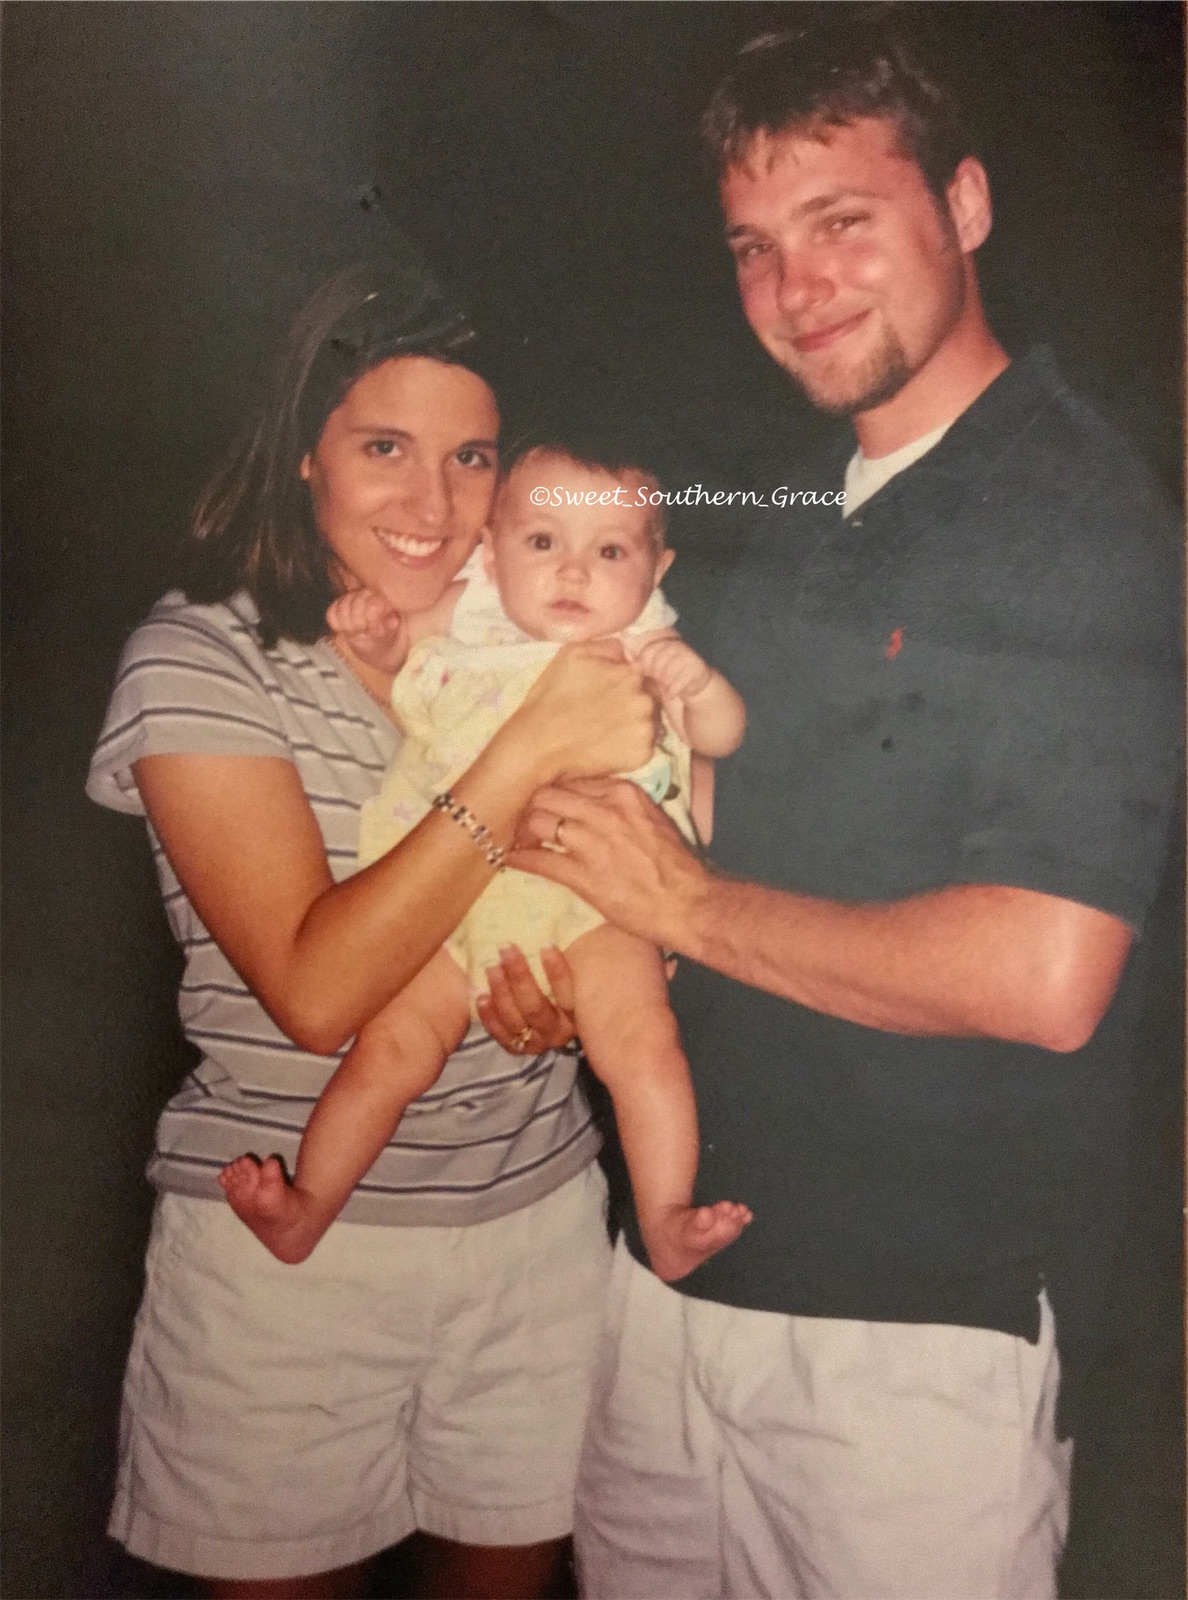
A couple months into our marriage, we learned we were expecting our first daughter. We rang in the New Year with our first daughter! As our daughter grew, we quickly realized that having a family, we would need to make a lot more money!
~Our family of 3~
We made the decision to move to Birmingham in the fall, for better job opportunities for Wesley. We also decided that I would stop going to college classes for a little while because we wanted to give our daughter a sibling. Our second daughter was born 4 years into our marriage.
~Easter Sunday~

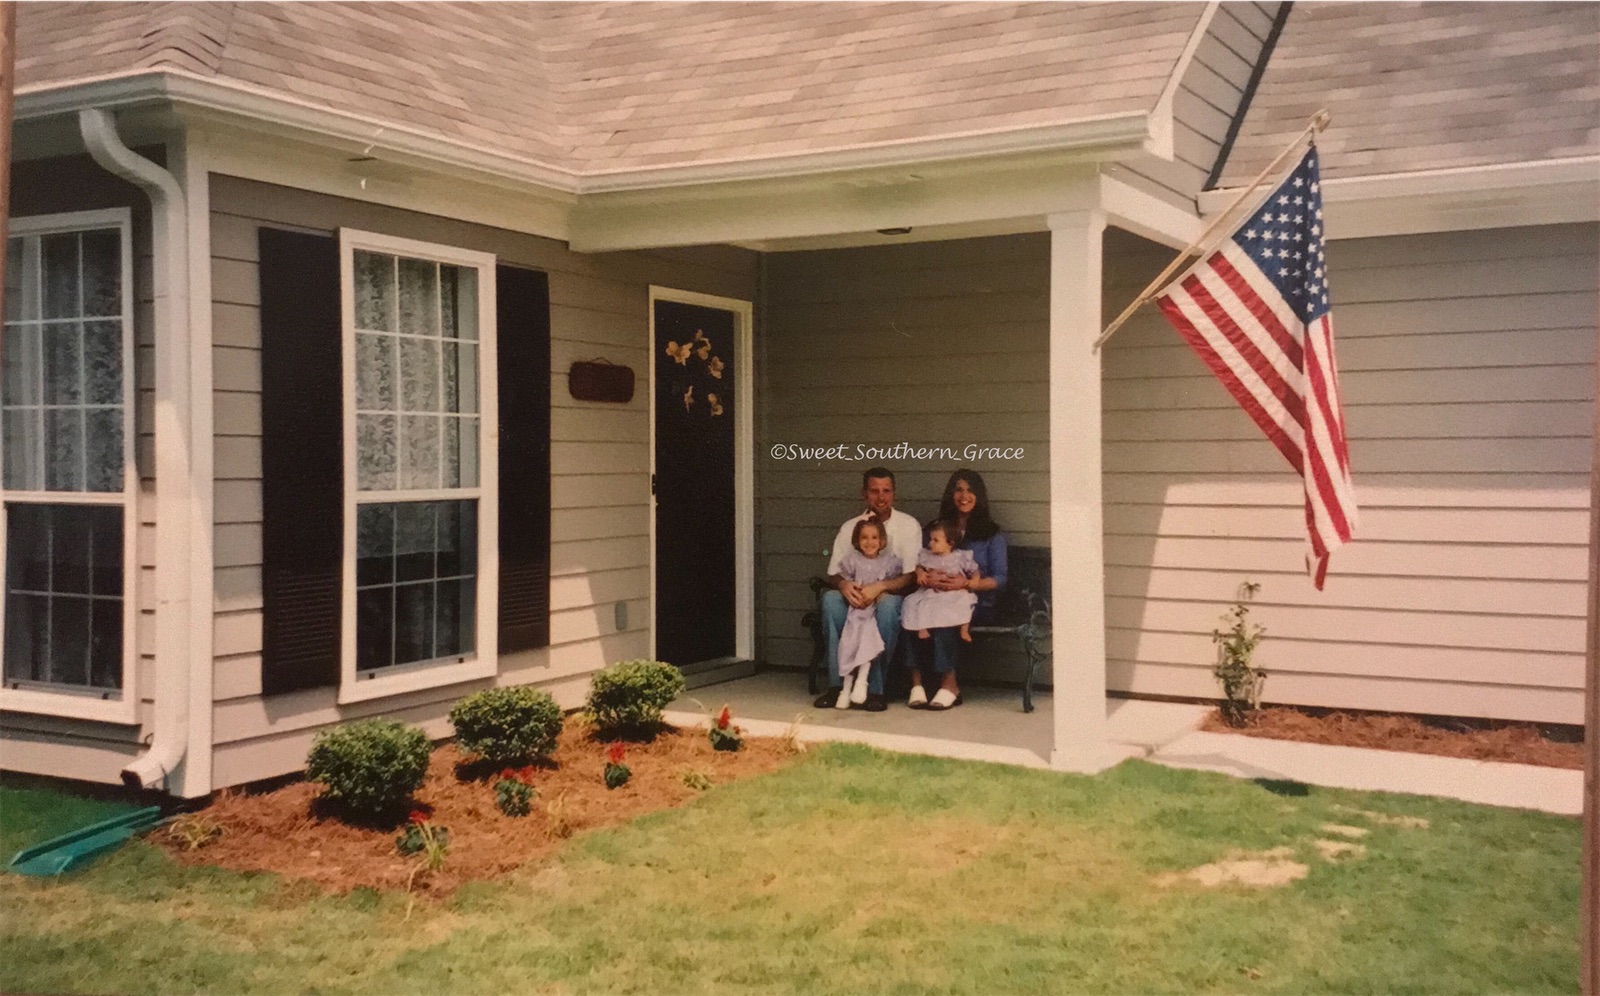
As we were busy being parents, Wesley’s career was beginning to take off! A little over a year after our second daughter was born, we purchased our first home in a growing neighborhood. Shortly thereafter we launched our first entrepreneur endeavor!
~Our First Home~
In spring of 2008, our second daughter began having seizures and was diagnosed with Juvenile Myoclonic Epilepsy. At that time, we didn’t know if it would be something she would have her whole life. The pediatric neurologist did say if the meds were able to stop her seizures within the first few months of onset, that she could possibly live a seizure free life.
~Le Bonheur Children’s Hospital~

During the summer of 2008, I decided to go to med school to become a Pediatric Neurosurgeon. I wanted to help find a cure for epilepsy and be a liaison to help other families with different obstacles encountered in today’s society. After a few years of school, I felt the pull to be a wife and mother more. After praying about it, I decided to forego med school for the time being.
~Dolphin Island~
End of 2008 and the beginning of 2009 is where our marriage got tough. I think ignoring situations in our marriage was the build up, to the fall of our marriage. We decided that right after Christmas, that we would file for divorce and split everything equally. Telling our children that we were getting divorced is one of the hardest things that I have ever had to do. I will never forget the looks on their faces when I told them that their Daddy & Mommy were getting divorced. Let me tell you, it is soul crushing.
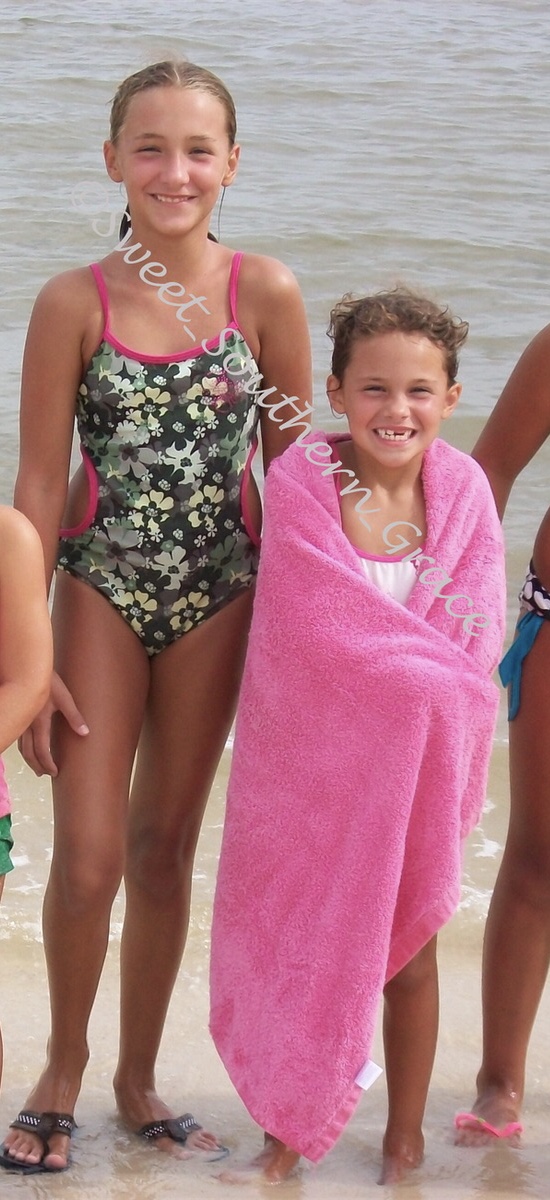
~Our yearly trip to the pumpkin~

During this time, I began to dive deep into my relationship with God. I read my Bible more, searched the scriptures and read The Love Dare book. It was probably one of the hardest times in my life to date but also one of the most endeavoring times, as I was learning to be on my own for the first time in my life. I went through anger, confusion, sadness, acceptance. After a couple months of Wesley and I being apart, we began talking again and hanging out as a family. We would have dinner together or go to the kids sporting events together, ect. I really feel like we were beginning to rebuild our relationship and I had a better appreciation of my spouse and vice versa.
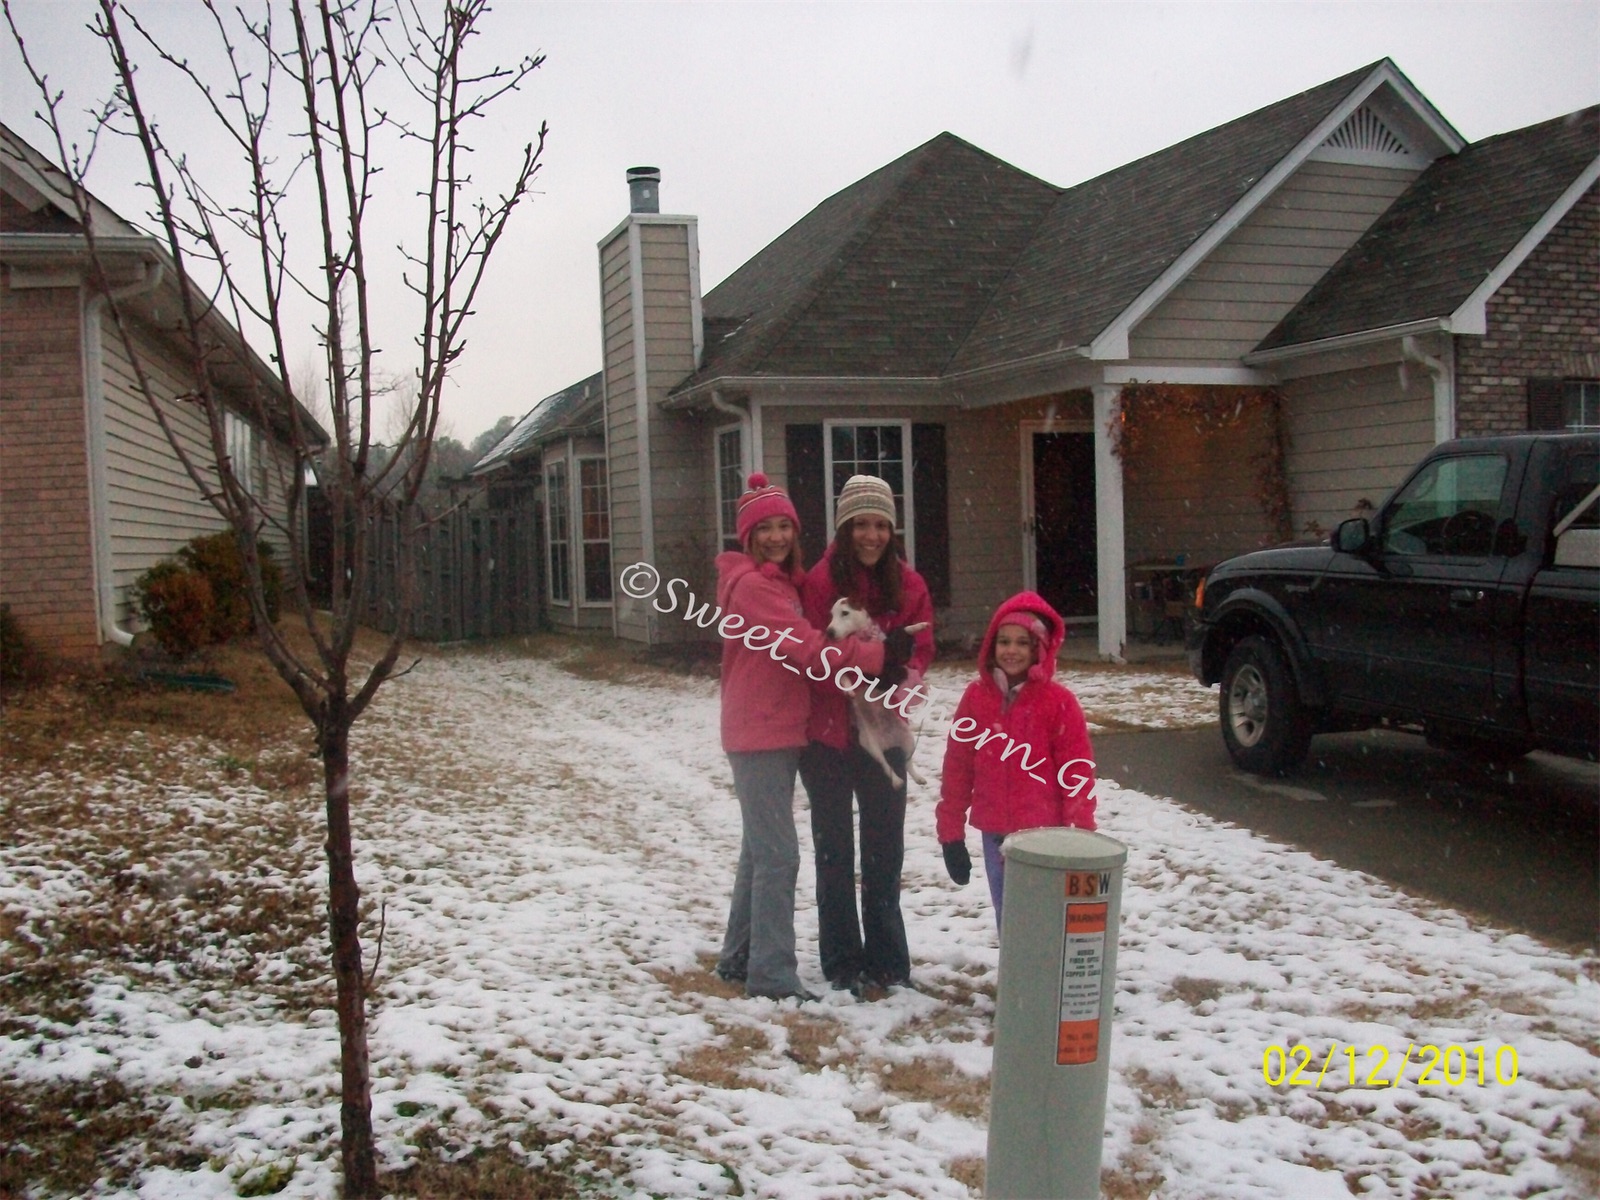
~Snow day~
As spring began to emerge, our relationship began to flourish. We decided to remarry! Our second daughter was also being weaned off of her one of her seizure meds and was doing wonderfully! Shortly there after, she was weaned off her second seizure med and remained seizure free! She was been seizure free for almost 12 years now! Praise God!
~Noccalula Falls~

~Noccalula Falls~

~On our way home from Noccalula Falls, God sends us a promise of something new with a beautiful rainbow~

God sure does have the most perfect timing because shortly thereafter, we found out that we were expecting our 3rd baby! Wesley & I were both in agreement that He sent her to us because He knew she would be such joy and light to our family!
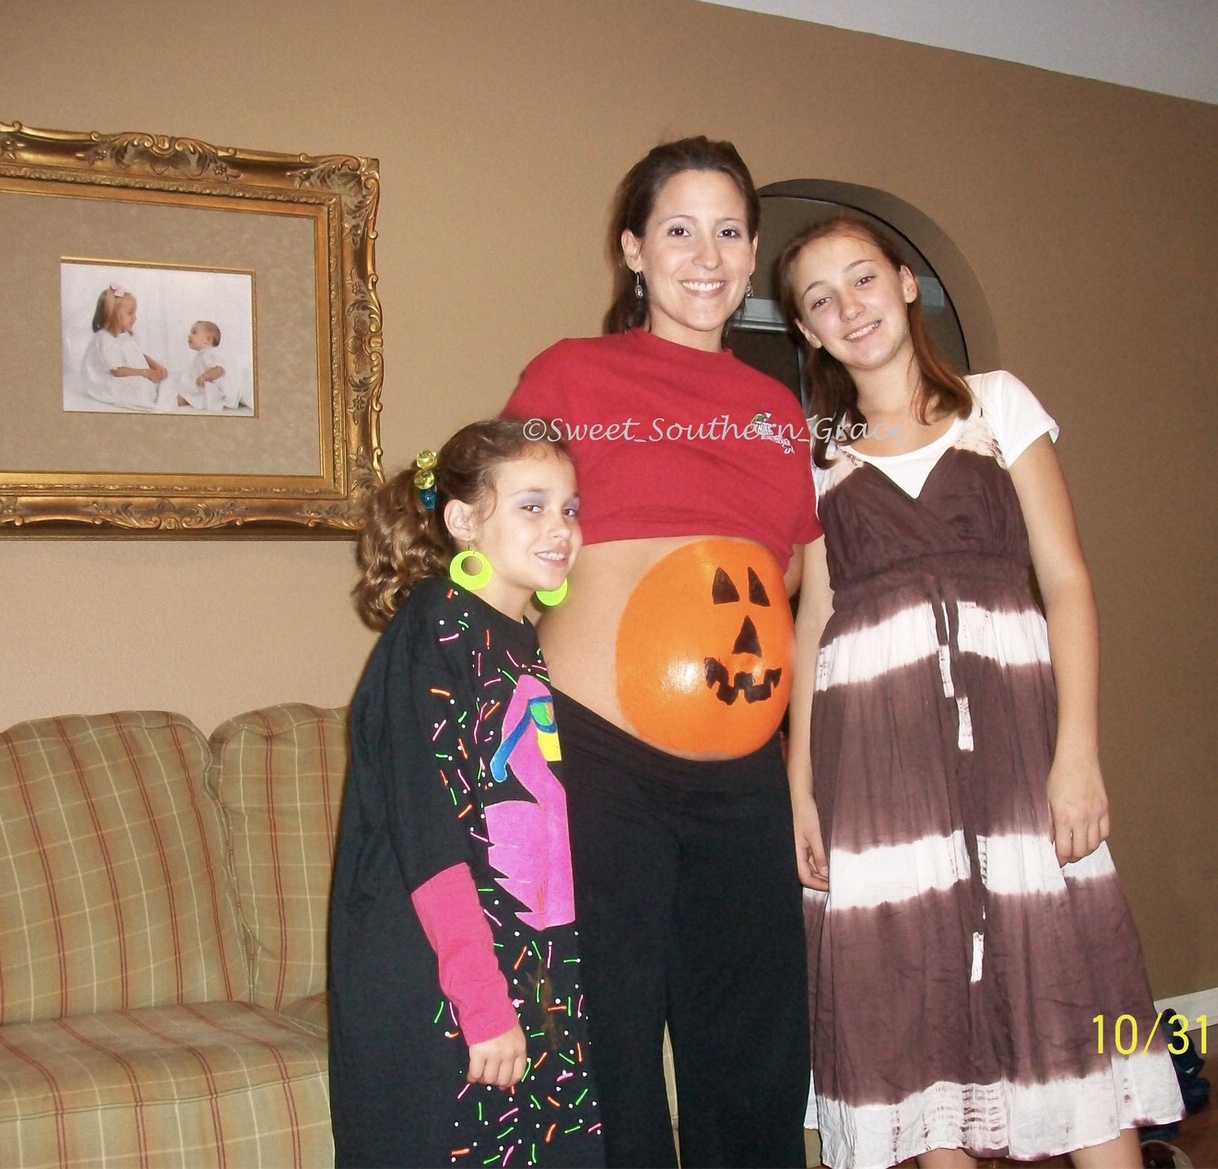
~Halloween-This is probably one of my most fav Halloween’s because we went to the thrift store to create costumes! For daughter #1 was a “hippie” and daughter #2 was an “80’s girl”.~

~Wesley also painted my belly like a pumpkin~
~Christmas-headed to celebrate my birthday at The Melting Pot~

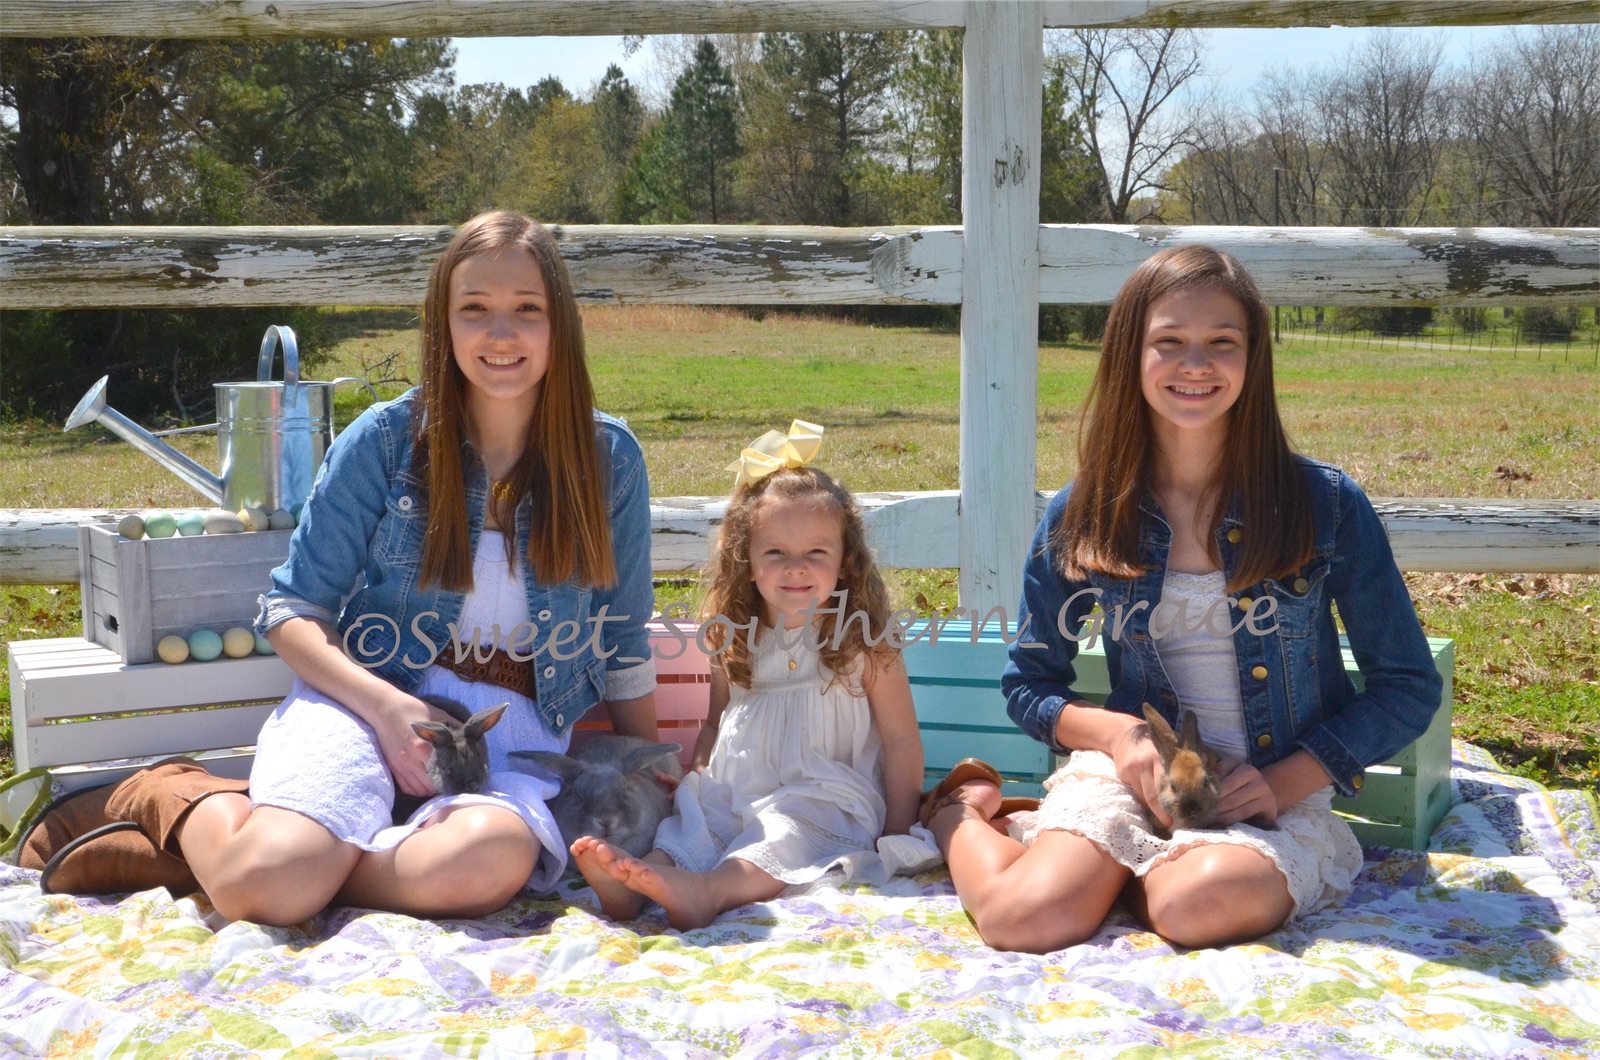
~Number 3 has been a JOY to our family since the day she was born~

In 2014 we decided to start looking for a larger home for our growing family. We also decided to add one more child to our family.
 We found out we were expecting baby number 4 and set up a cute pumpkin display to tell our three daughters.

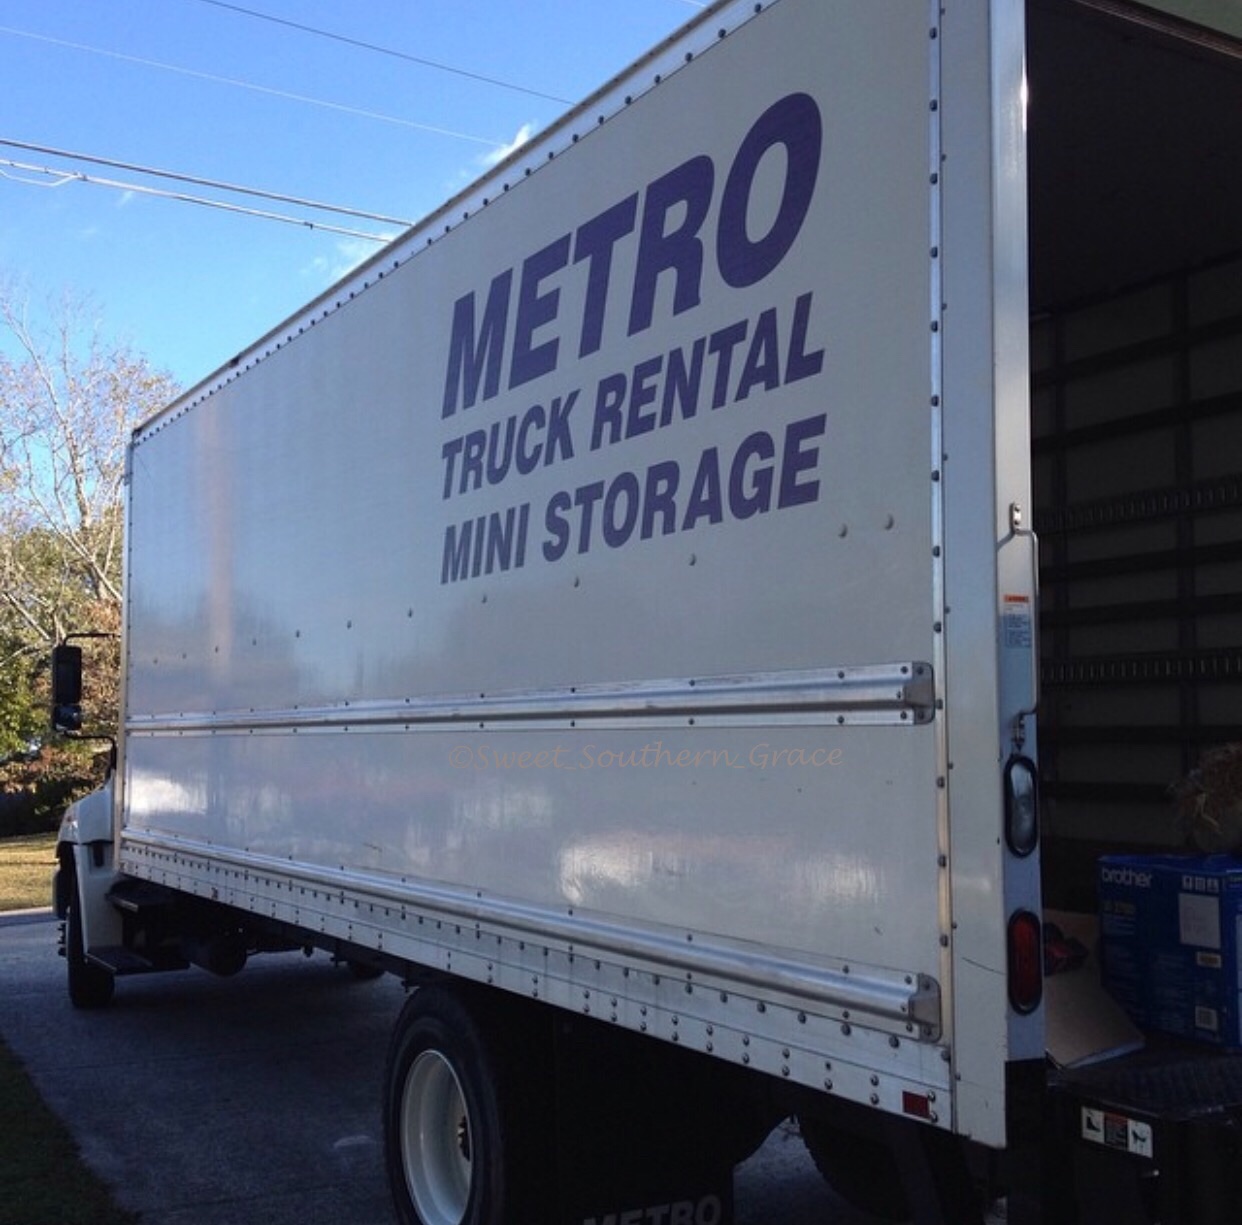
We moved into our new home on a Friday!
I was feeling a little crampy that day, but nothing serious. I did not lift anything at all and rested when I felt tired. I felt the usual pregnancy tiredness and lower back pains over the weekend, but nothing out of the ordinary. Early Monday morning, I awoke to child birth like cramping and I knew. I prayed that God wouldn’t take our baby but He decided it was his or her time to come home.
After a couple of weeks, we decided to start trying again and to our surprise, I became pregnant immediately with our rainbow baby!

Baby number 5 was born on a hot summer day!

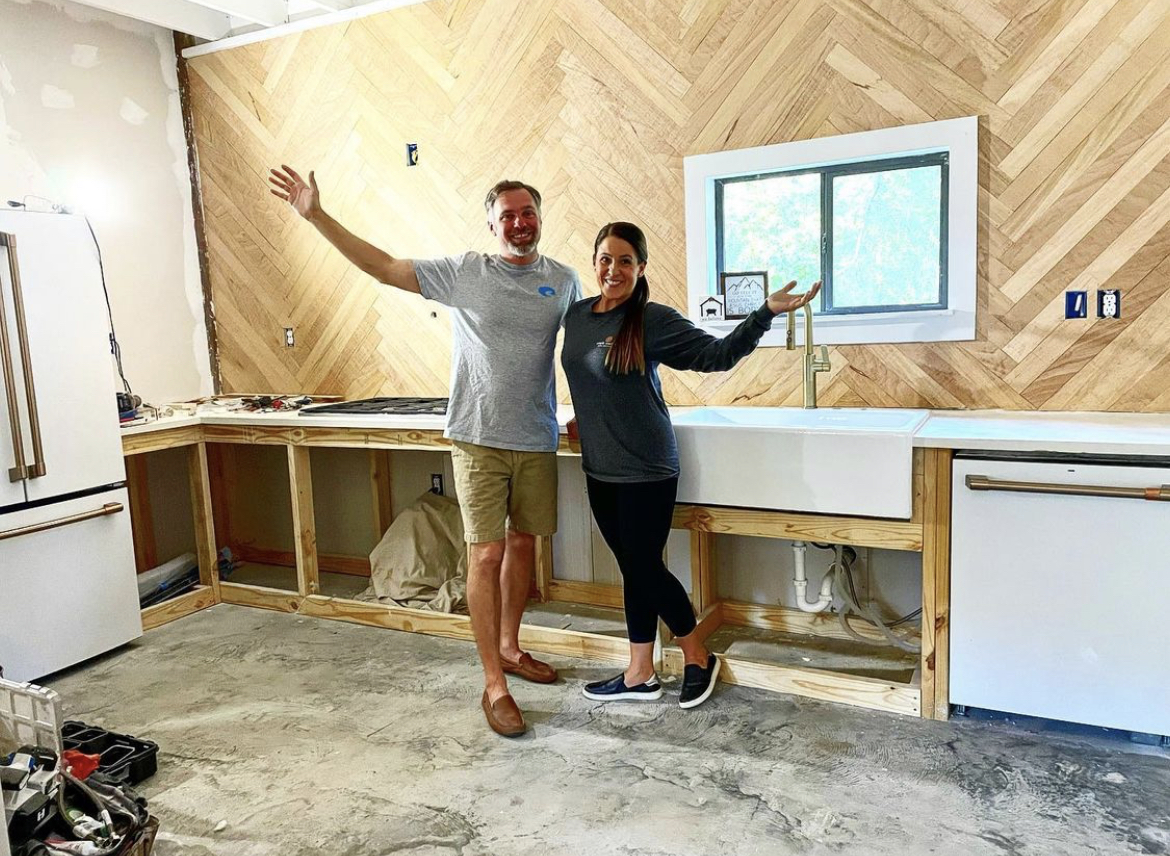
Fast forward a couple of years and Wesley had the opportunity to change up his career! We also began a new entrepreneur endeavor!! A couple years later, we began Sweet Southern Grace with IG, Pinterest, Blogging & You Tube! We have always enjoyed a good DIY and sharing it with others. I always like to say that, I design and he builds!
~Egmont Key~

I read a quote from The Marriage Mentality that hits home. It reads, “The greatest gift you can give to your marriage is time. It’s literally giving a part of your life to your spouse. A part of your life you will never get back, but always share.
~Egmont Key-Exploring the Island we saw several gopher tortoises. We even fed this one~
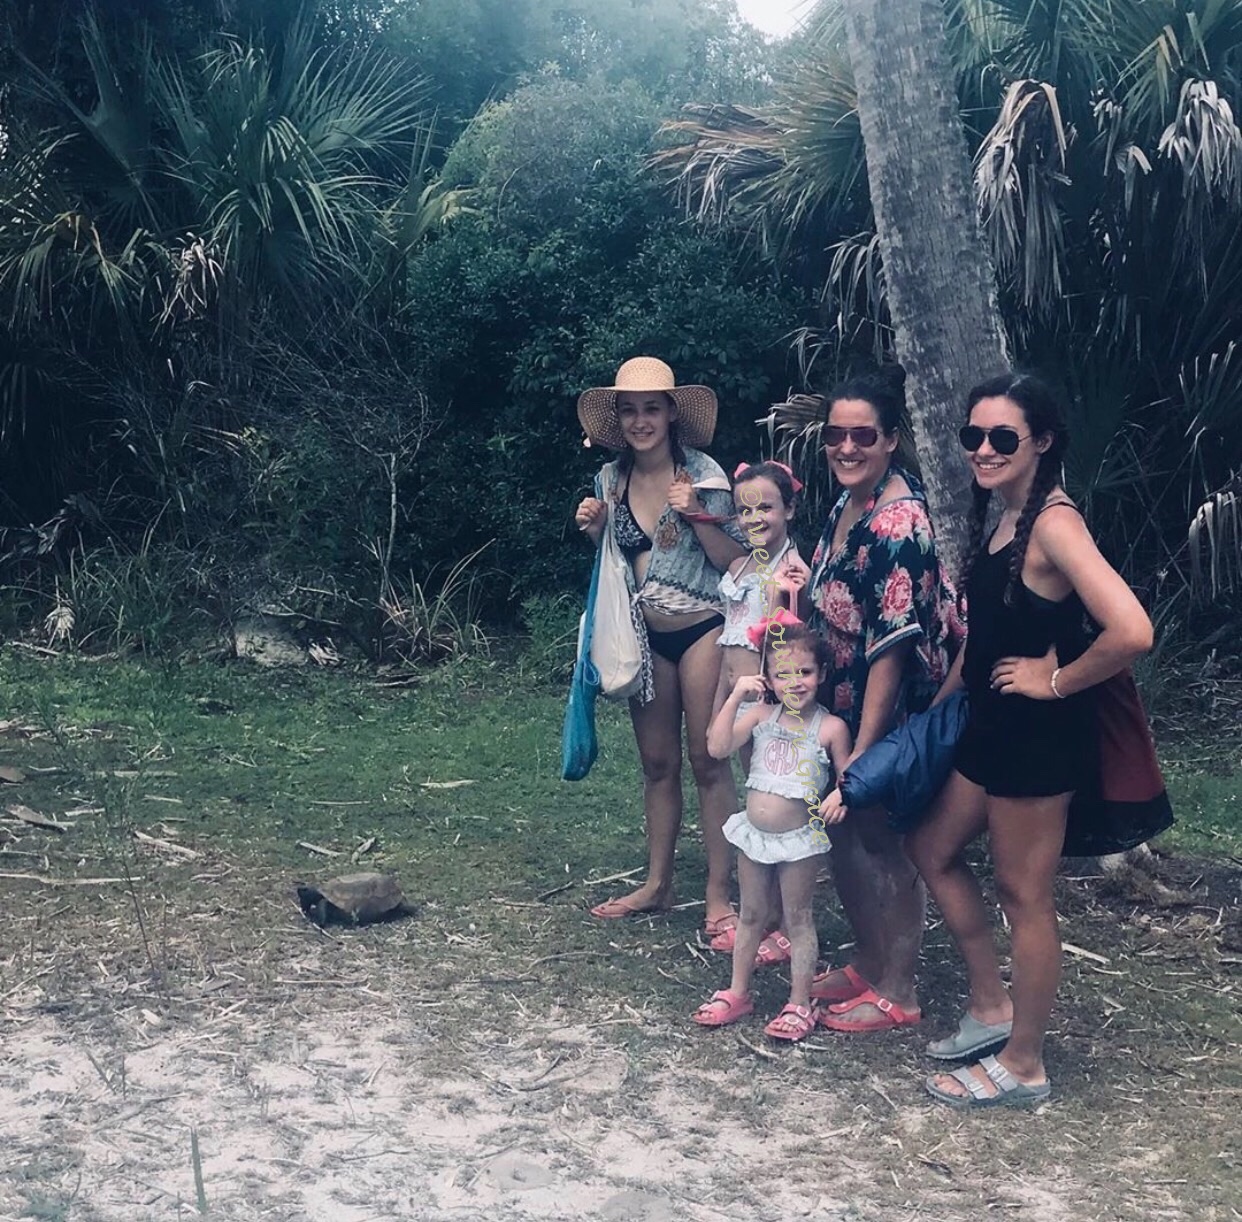
~Building sand castles with our girls has always been a tradition! This is in Fort De Soto~

~Brynne Decor Prints~

Things that we have learned along the way…
1-Protect your marriage by guarding your hearts.
2-Don’t let the sun go down without saying, “I’m sorry” after a disagreement.
3-When you tell your parents or other family members, something that your spouse has said or done to hurt you, it is much harder for them to forgive your spouse than it is for you to forgive your spouse.
4-Communicate with each other.
5-Respect each other.
6-Learn to listen.
7-Try to establish time together each week.
8-Get marriage advice when needed. Seek help from a pastor or christian psychologist.
~20th Anniversary Vow Renewal last year. It was my first time wearing a wedding gown. I look back on that day & I felt so special, like a princess! A little back story-My parents were not happy I was getting married at 17. In fact, the only part they played in our marriage was being present on our wedding day. One of the reasons we wanted to renew our vows is so that I could pick out my own wedding gown. This is definitely one of my most fav days ever.~

There is no “ending” to our story because we are living it now! I have three friends who have shared their stories of how God has restored their marriages. Please take the time to read, as I am sure each one will be a blessing to you!
From Blair:
“Have you ever received a gift that you thought you didn’t need, but it turned out to be the best gift ever? That’s exactly how I feel about our sweet daughter, Olive. The news of my pregnancy did not come at the ideal time for me and my husband. We were struggling.”
“Truthfully, marriage is hard at times and you may feel like giving up. In February of 2016 I was at that point. But God had other plans. What I thought was the absolute worst time to bring a child into this world, God saw it to be perfect timing. He knew that we needed Olive, desperately needed her. She saved our marriage and made our little family whole again.”
“Did you know that in the story of Noah and the ark that the olive branch represents a new beginning? In Genesis chapter 8, after 40 days Noah sends a dove out. But he could find nowhere to perch because water covered the surface. Noah waited 7 more days and again sent the dove out. When the dove returned, there in its beak was a freshly plucked olive branch.”
“Then Noah knew the water had receded. At the time we chose her name, we were not aware of the meaning behind it. But oh how fitting…Olive was the new beginning for our marriage.”
From Lindsey:
“My husband and I have been married 21 years. We were very young when we married. When we met, I was 13 and he was 18, we started dating at 15 and 20. We married and had our 1st child at 17 and 22. Our second child was born when we were 19 and 24. We divorced at 21 and 26 and remarried at 22 and 27.
The way we met was a total God moment. I know that for most people they probably think “God doesn’t give you your spouse at 13″ but in this case he did.”
“God knows us better than we know ourselves and he knew what shenanigans we would get into and that we would need each other to not only survive them but to thrive in them.”
“Life as a teen wife and mother is not easy. I was clueless, but I loved my family. My husband worked ALL the time while I took care of our babies. We were broke, and although I was great with my kids, I had no idea how to truly take care of a home. Being so young, our parents were very involved and all of those factors, led us to separate and eventually divorce.”
“Between the separation and divorce, we were apart for 2 years. During the time of our divorce, which was the hardest time of our marriage, we had good moments together, times we only spoke to trade the kids off, times we fought like cats and dogs, I had a boyfriend/he a girlfriend, it was just a complete roller coaster. We were both trying to find ourselves and not in the healthiest ways…But God!!! God stepped in. The kids & I were living with my parents and like I said before, being so young, our parents were heavily involved. My mom wanted me to do things her way and one night when I didn’t want to, she told me we couldn’t stay there anymore. I panicked but decided to ask my ex-husband if we could stay with him, until I bought a house (I was already looking for one). He said yes and we moved in.”
“When we first moved in, we continued the way we had splitting who had the kids, the same as before, finances separate, just roommates. Over the next few months, we hung out more and more, remarried, and just overall decided to try again to make it work. I got pregnant and gave birth to number 3 and even though we still had a rocky marriage, we just continued to show up. Over time and with God guiding us, in ways that we didn’t even realize, our marriage healed and continued to get better and better. I’m not going to tell you we are perfect but, we still show up and our marriage is better than it’s ever been.”
From Rebecca:
“My husband and I started dating at 17 and were married at 20. We bought our first home at 21 and had our first child at 22. Life was happening fast!!”
“Both of us came from divorced families and had never seen what a healthy marriage was made of. We were basically just winging it. We had no friends at that point because our friends were out partying and being young. It was just us. My husband traveled out of town Monday through Thursday for 13 years, which was extremely hard on our marriage. Not only was he traveling but he was traveling with single men who wanted to go out and party at night. I was home working and taking care of our daughter while he traveled the country with single friends. Thankfully my husband remained faithful but y’all, it was hard! Too hard to put into words. It was like I had a weekend husband and my daughter had a weekend dad. When he would return home late on Thursday nights we would try to squeeze in as much family time as we possibly could along with chores around the house. He would get completely overwhelmed and it would usually turn into an argument.”
“This was our life for years. I think at that point we started to resent each other and it got to where I didn’t want him to come home and he didn’t want to come home. When my daughter was 2, I called it quits. I just couldn’t live like that anymore. I was so miserable and walking on egg shells all the time. He moved out Labor Day weekend 2009. I felt like a complete and total failure. I had failed at marriage. I had failed at giving my daughter both parents in the same home. All I could think of was that my little girl would end up, just like us, with divorced parents and being pulled in 10 different directions at holidays. She would be around step-parents and step-family’s, where you feel like the odd ball that is just being included by default. I will never forget Christmas morning without him. It was just me and my daughter Christmas morning and I’ve never felt so sad and so defeated in my life. I’m tearing up now just typing that line because I can still remember that morning like it was yesterday and it was 10 years ago.”
“My husband took the divorce really hard and started finding unhealthy outlets which resulted in a severe seizure right after the New Year. I will never forget that call from his work. They still had my contact number because we had just separated 3 months before. “Ms. ——, your husband had a seizure and is being taken to the hospital via ambulance.” I was at work and I can remember sitting there stunned and trying to figure out what I was feeling. How did I react? I was divorced remember, so I wasn’t suppose to care. I sat there thinking, oh well, he’s not my responsibility anymore. I remember trying so hard not to care! I didn’t want to care. I wanted to keep hating this man that had ruined my idea of marriage. I called his Mom and let her know and went back to work. I couldn’t focus all day. All day I tried not to care and tried to be ok. Then I thought ok if I just see him and know he’s alive, I’ll be ok right? So after work I took our daughter to see her Dad.”
“As soon as I walked in I knew I loved this man fiercely. I knew that this seizure was God’s way of waking him up and I always say “shaking some sense into him.” From that night on, we started building a relationship again. He would come over and we would spend time together as a family, until we didn’t want to leave each other’s side anymore.”
“The rest is history. We’ve been together 17 years next month and life is good. Life is not perfect, life is not a hallmark movie or a romance novel. Marriage is hard! Marriage is work! Marriage is compromise! There are days that I think, why did I come back to this dude?! Then there are days where I know exactly why I came back! And that is normal.”
“For all of the newlyweds or newly-engaged people reading this, my biggest piece of advice is DO NOT COMPARE!! Do not compare your relationship to movies, friends, relatives, etc. You have no idea what goes on behind closed doors. I once was so jealous of a marriage that I thought was perfect and I kept thinking her husband is so much better than mine and guess what. That husband was cheating the entire time. So it isn’t always what it seems. No ones marriage is perfect. They may want you to think it is and only show you the highlights but everyone struggles and that’s ok. I have learned that through those biggest hurdles we grow stronger and stronger every single time until we’ve basically become unbreakable!”
If ya’ll made it to the end, I am so thankful you stopped by to take the time to read our story. If you have any prayer requests specifically for your marriage, please let me know.
❤️-Melia Shae


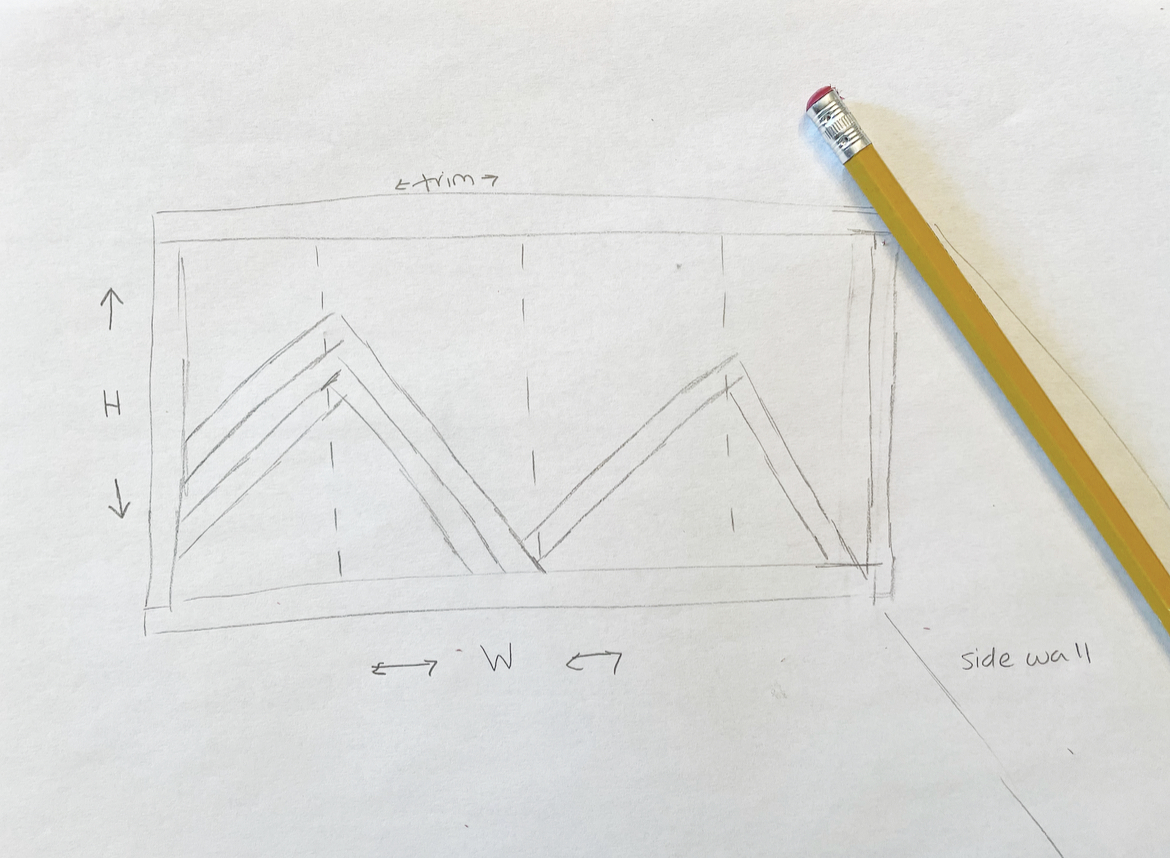

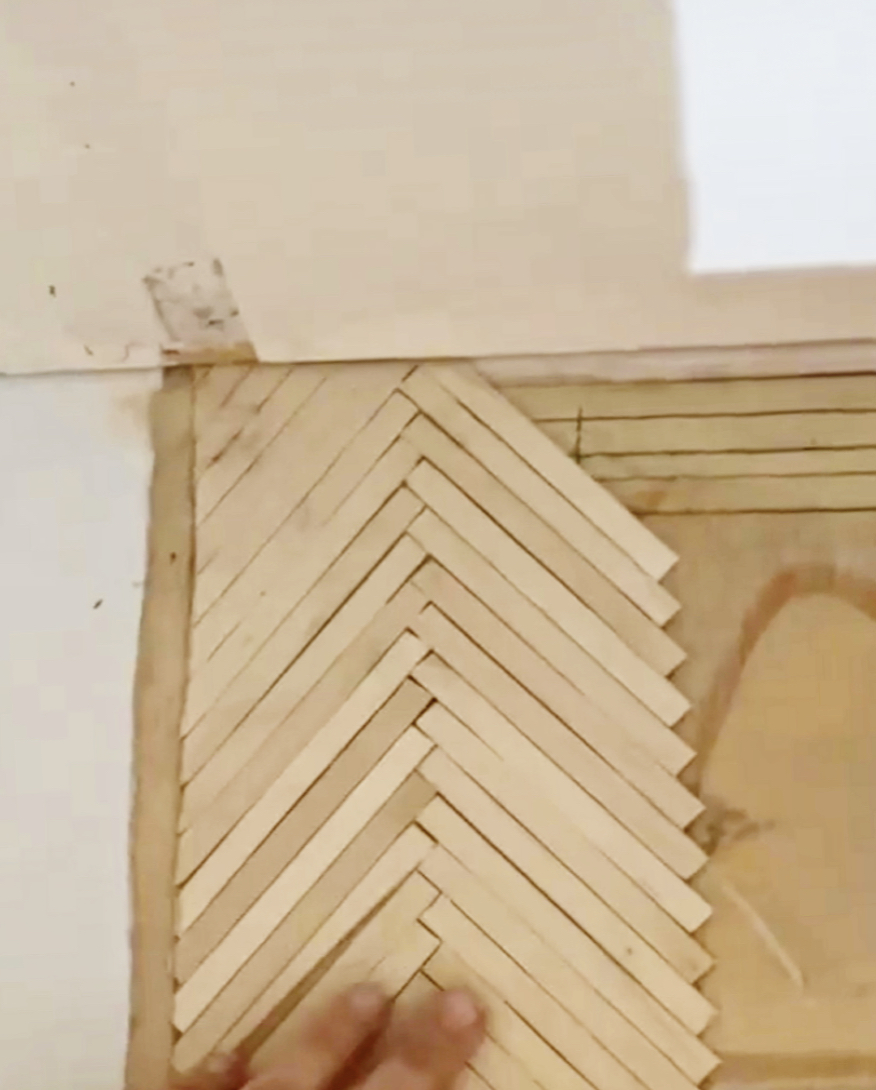


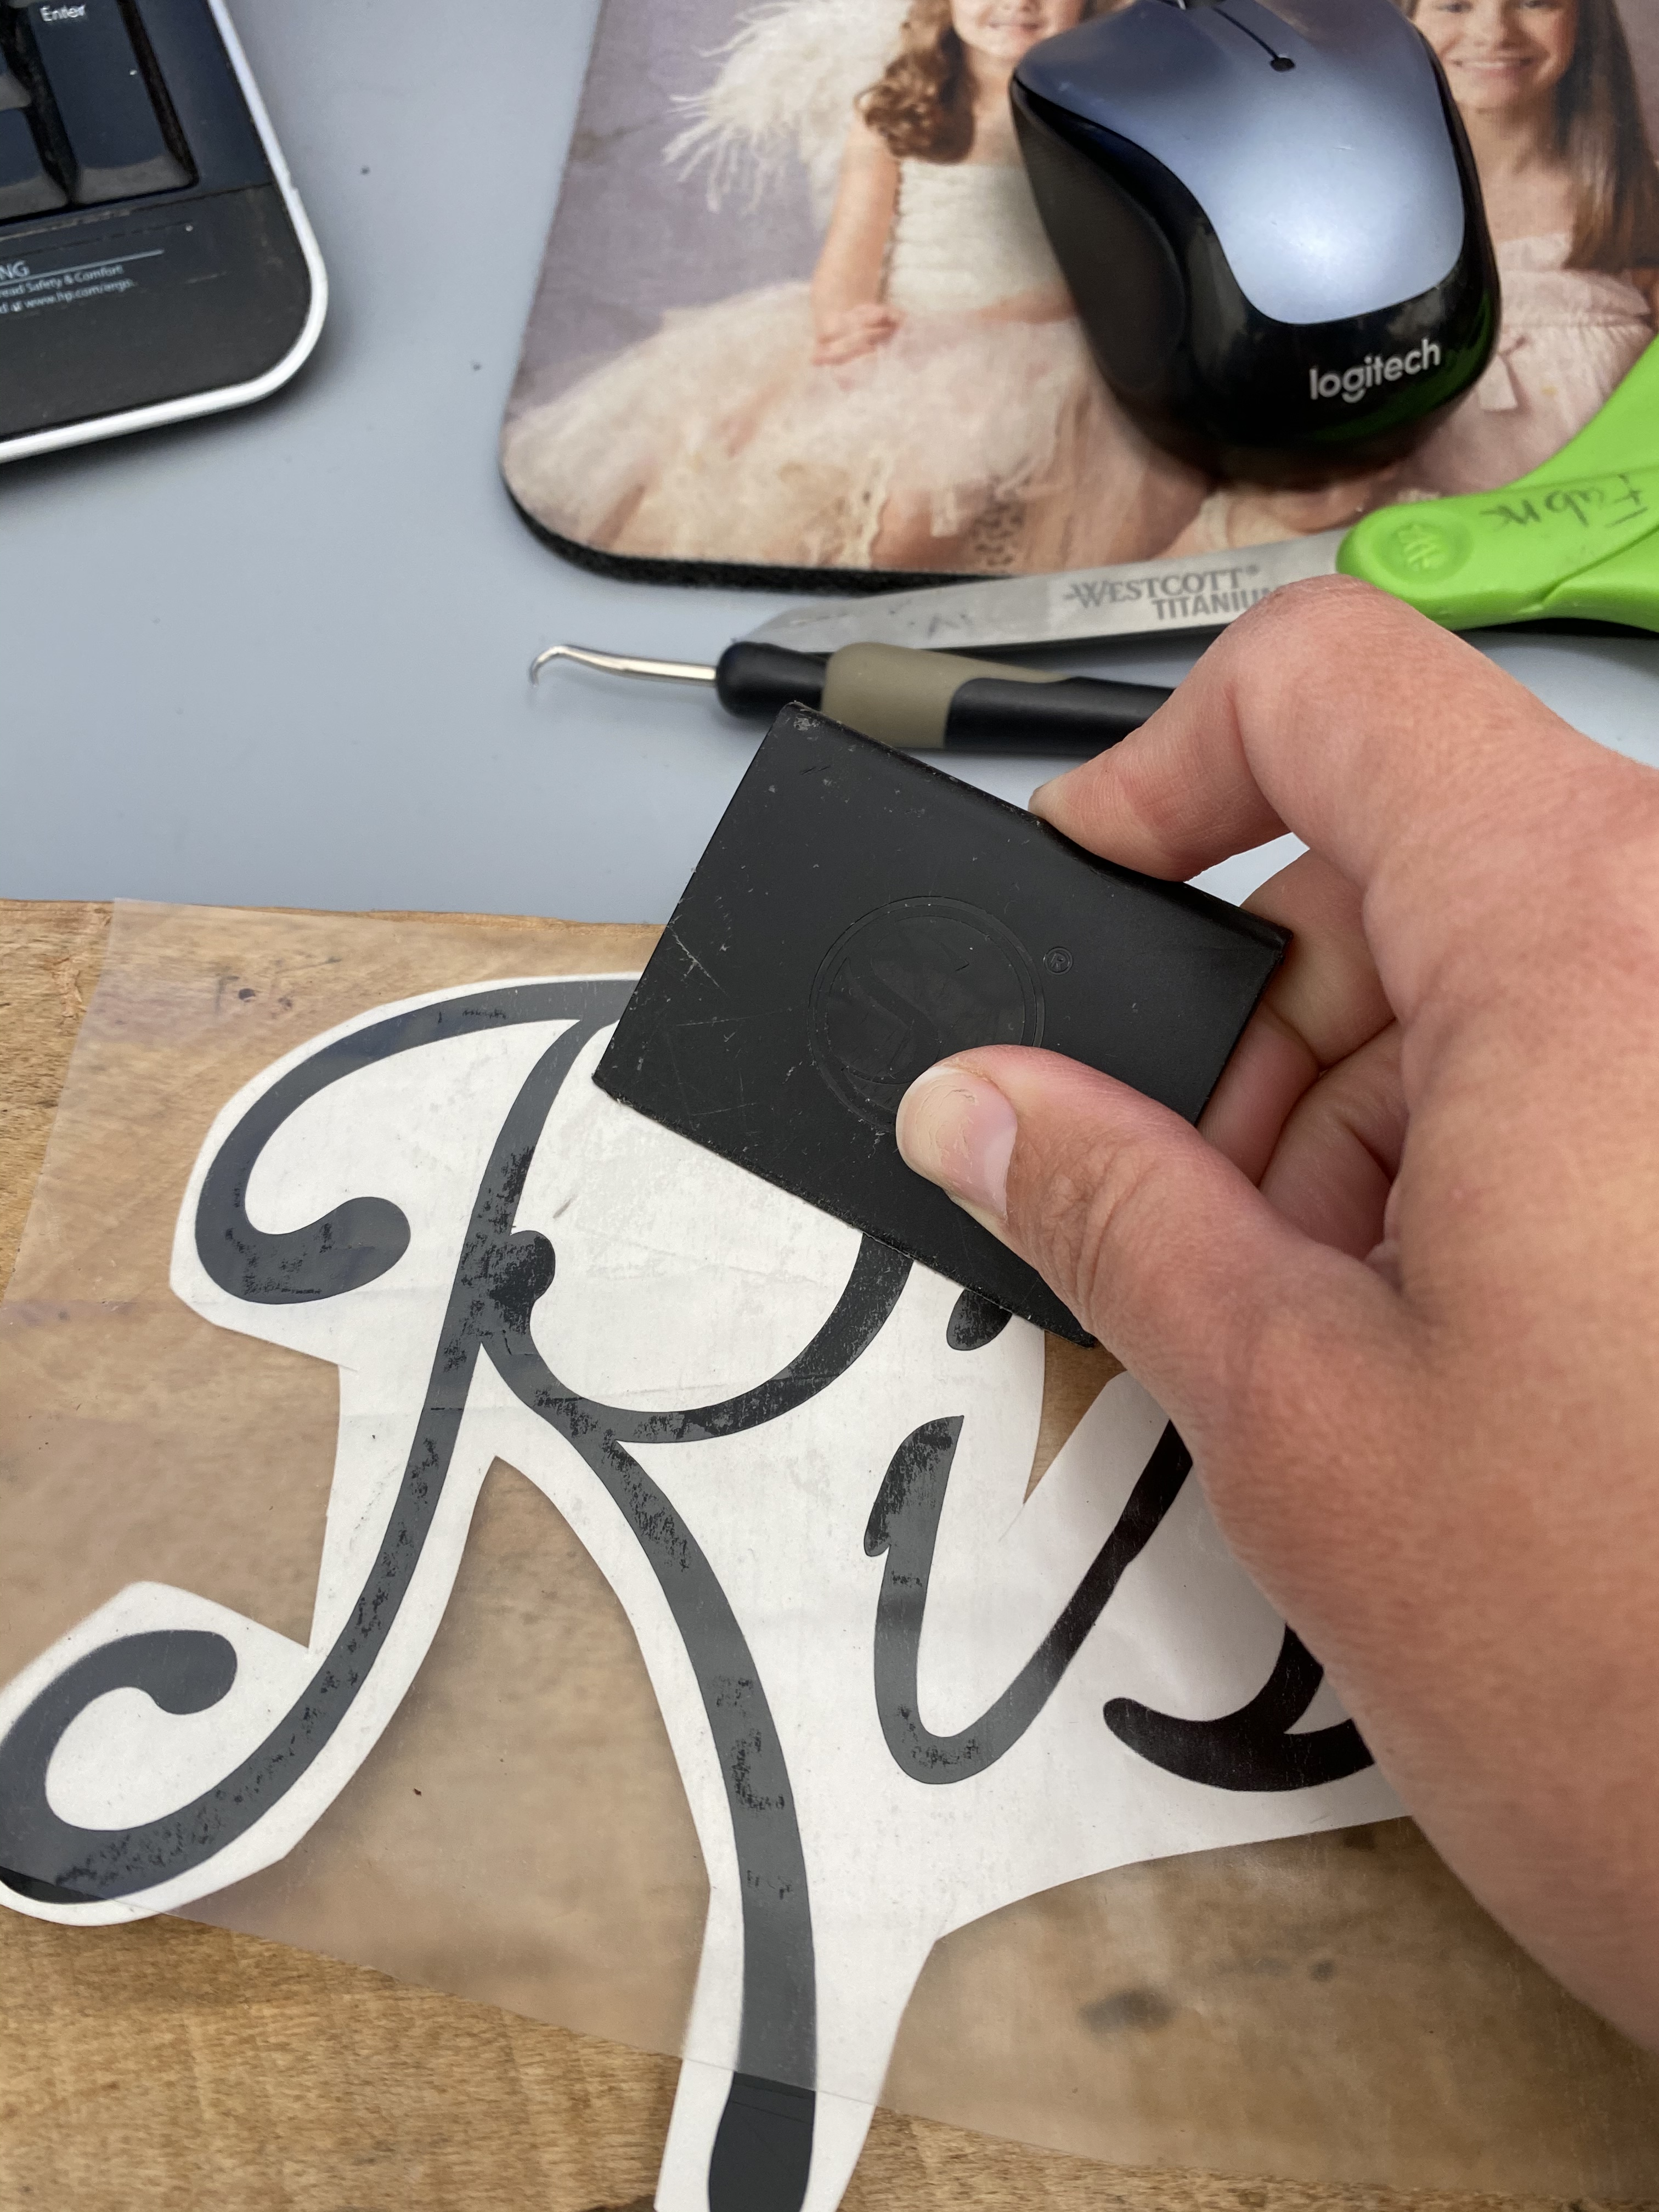
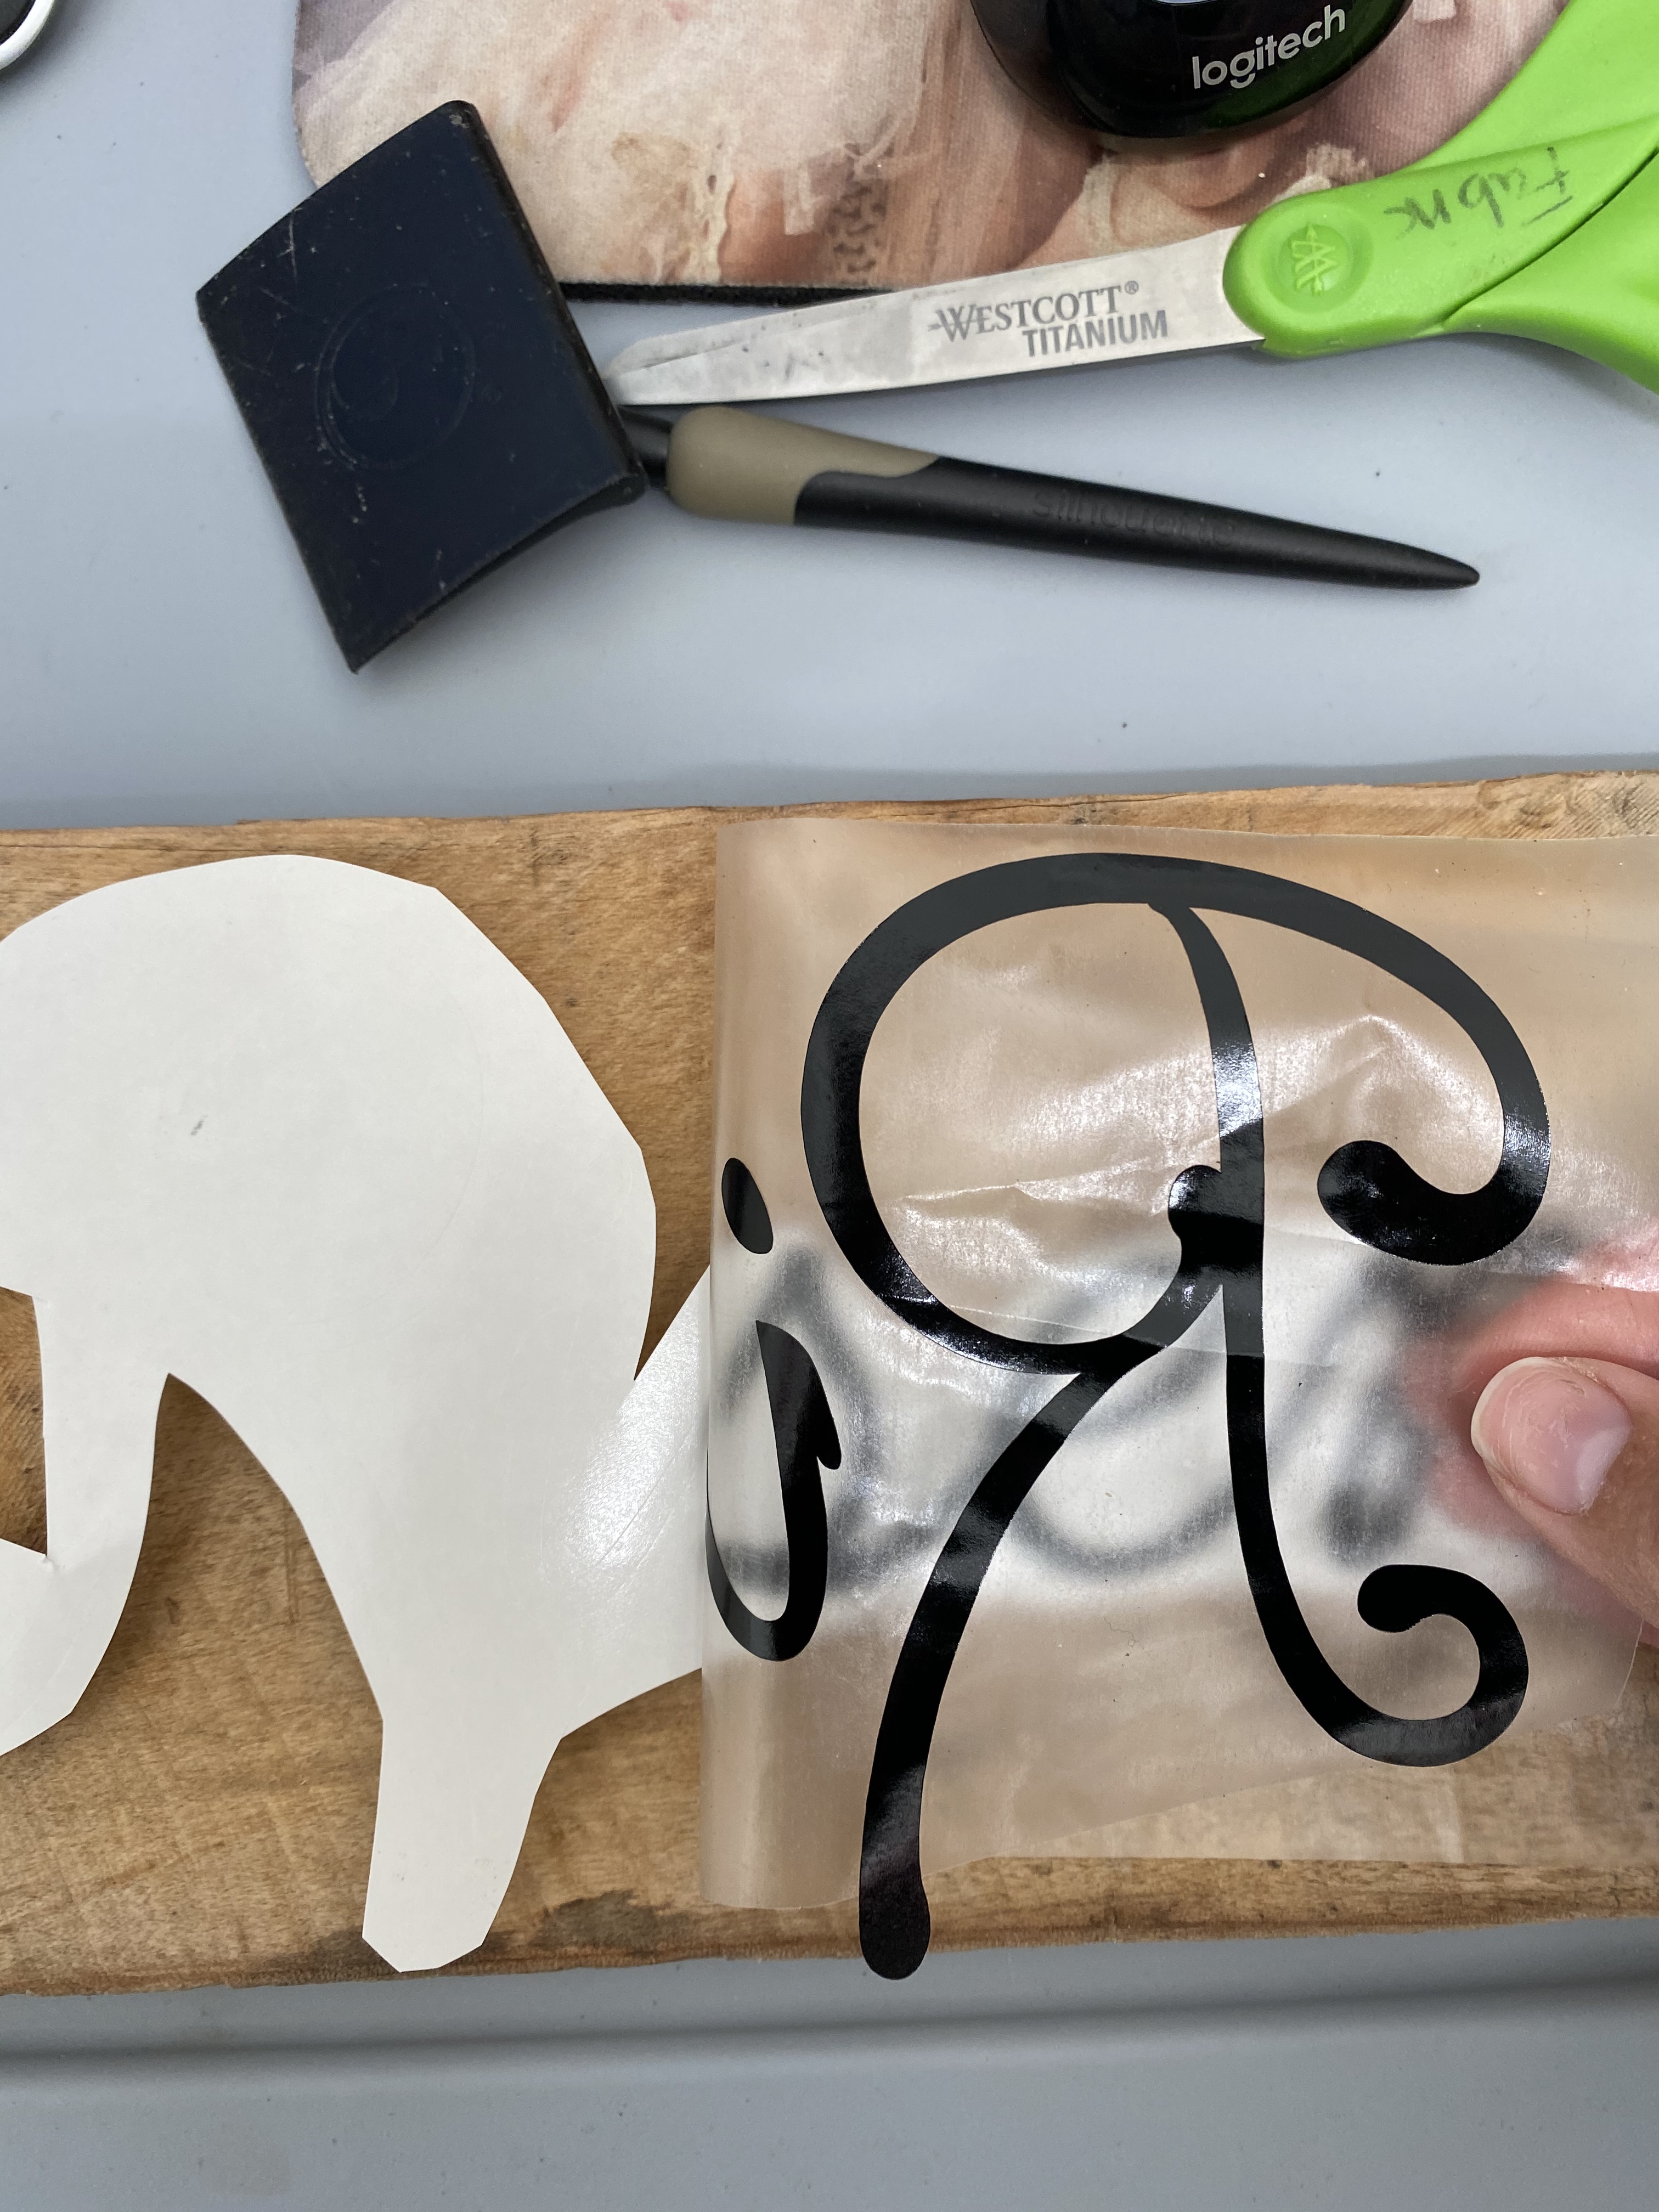
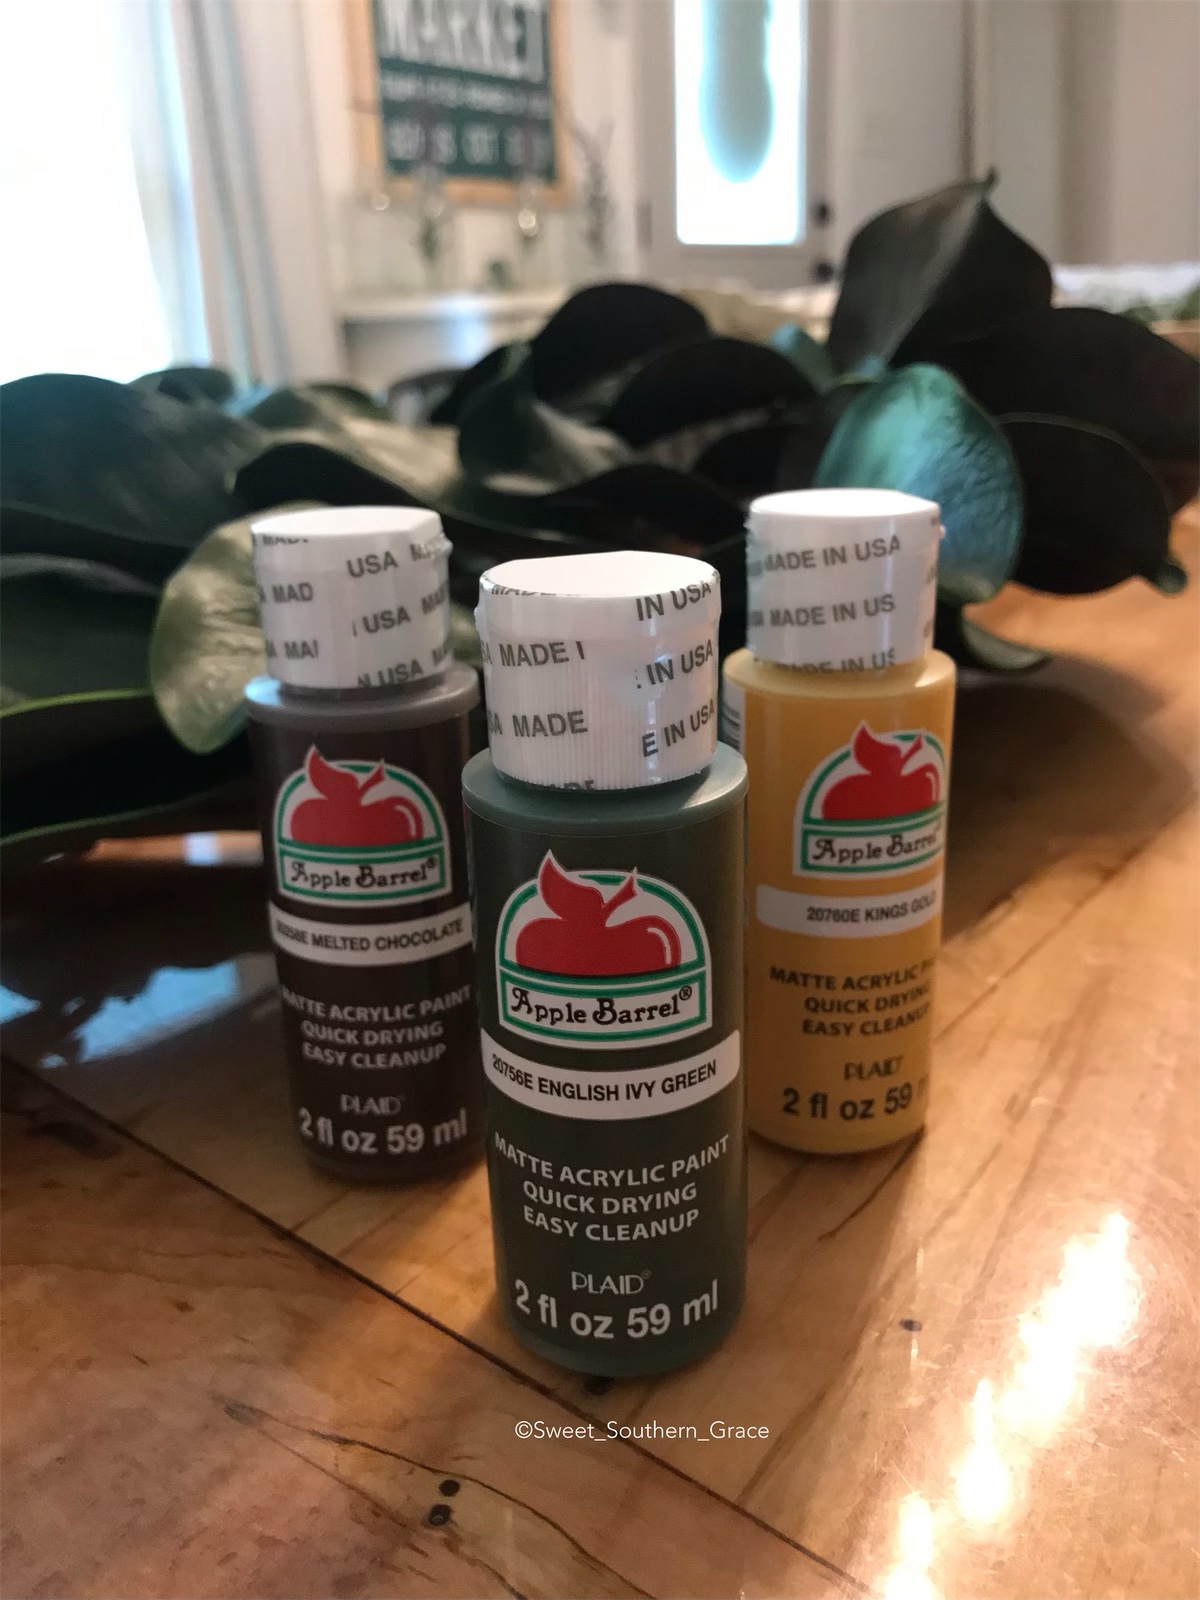
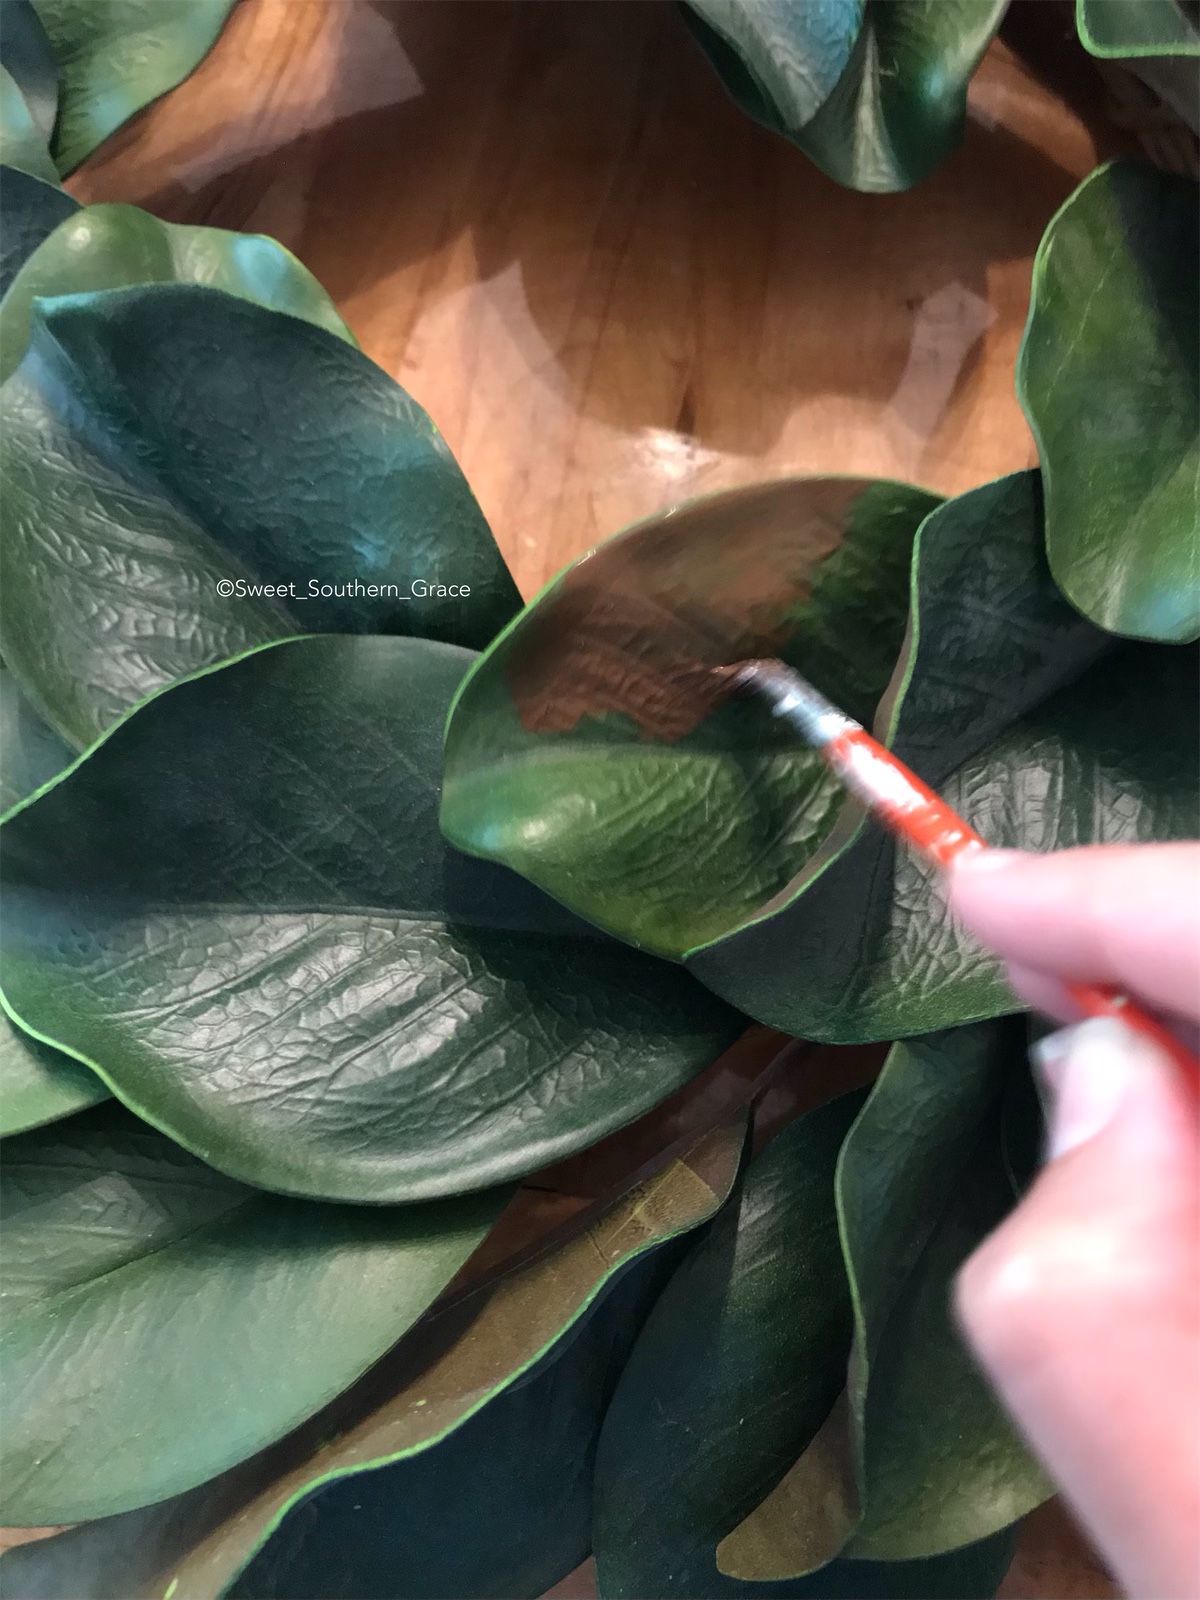
 I decided I could use the back of this sign for a different sign. The first vinyl design did not work out due to the size and file of the vinyl design. I realized this AFTER designing the entire design.


You must be logged in to post a comment.