If you have noticed the cost of all new kitchen cabinets, renovating your kitchen can be one of the most expensive projects when renovating your home. When deciding to turn our kitchen into our dream, we knew we would be on a budget. I did not have a set budget in mind, but let’s just say my budget goes a little something like this…as cheap as possible. You can see the full kitchen renovation blog Here . I knew I wanted to keep the cabinets because they were made of real wood. I chose white kitchen cabinets with light distressing. I also wanted to paint the inside of my cabinets as well. When we moved into our home, 5 years ago, the cabinets were painted a latex white on the outside but not painted on the inside. Below is the before photo of our kitchen, the day we purchased our home!

If you have followed along with me for awhile, you can see throughout my blog, my love for chalk paint. As durable and hardy that chalk paint is, I knew it would be a great choice for kitchen cabinets.
First things first, we removed all of our items from the inside of the cabinets.
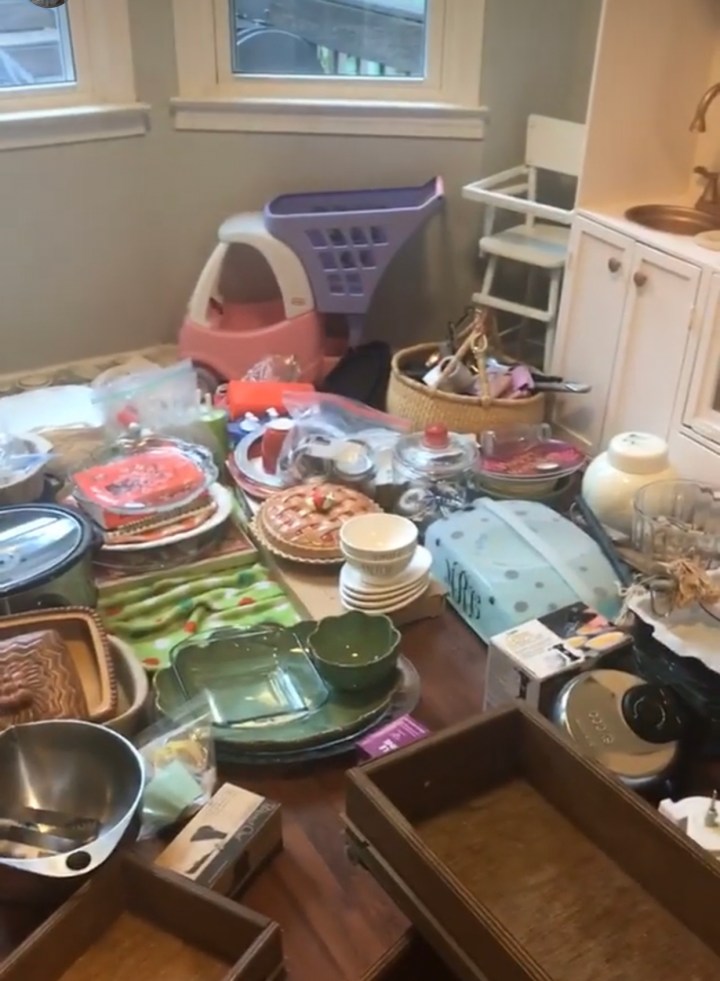
Next, we began removing all hardware, doors and drawers.

I gave all of the cabinets a good wipe down with soap and water. Next, I mixed up my homemade chalk paint recipe. I always use Sherwin Williams brand paint. You can find that recipe here . I painted the inside of all the cabinets with one coat then lightly sanded and wiped with a damp cloth.

I repeated these steps until I had three coats of paint on the inside of all the cabinets.

The next item of agenda was to paint the outside of all of the cabinets with two coats of paint, with light sanding in between and a wipe down with a dampened cloth.
I only needed two coats of paint on the outside of the cabinets because my cabinets were already painted white before I began painting.

Next we painted the cabinet doors and drawers. We set up an assembly line in our garage. We used 2×4’s to lay the doors on to help make sure we didn’t get drips.
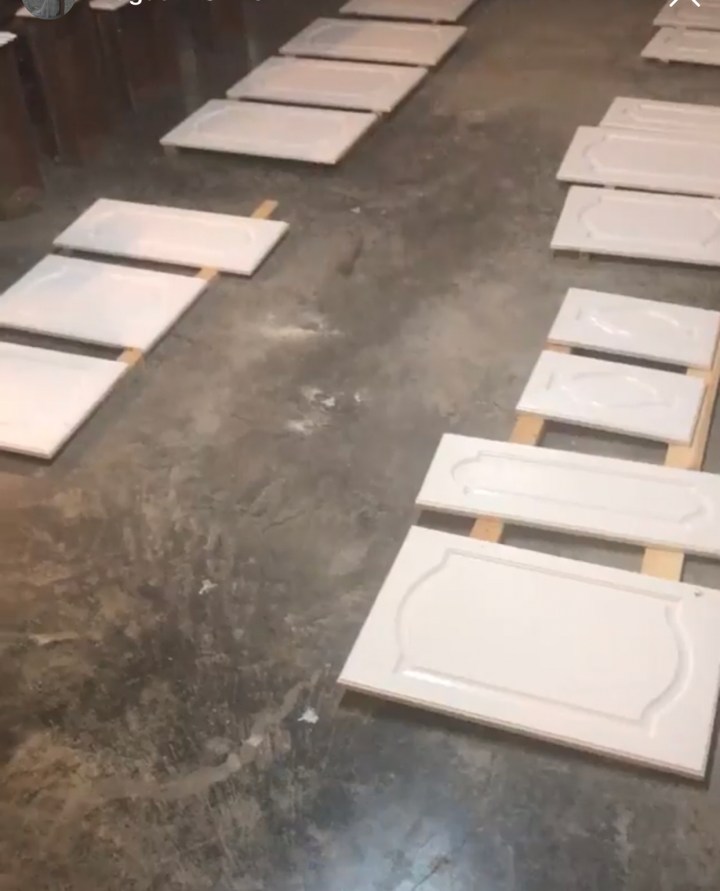
If you do come back and found that you’ve gotten a few drips, you can sand it down and paint over that spot. It’s not a big deal but does make a little more work for you. After the first side of the cabinet doors were painted with two coats of paint, light sanding in between and wiped down, I waited 24 hours before flipping over the the second side of the cabinet doors. The second side received the same treatment as the first side.

After finishing the cabinet doors, we moved on to the cabinet drawers. The inside of the drawers had never been painted, so they received three coats with light sanding in between and a good wipe down, after each coat. Next, we moved on to the outside of the cabinet drawers.

They received two coats of paint with light sanding and a wipe down in between coats.
At this point, I felt like I could finally begin to see the light 🙌🏼 It took us about two weeks for myself, the hubs and our two adult daughters, to all work on the cabinets! Much longer than I anticipated!

Here came the fun part! I wanted to go ahead and place all of the cabinet doors and drawers back on, so I could precisely decide where I wanted to distress. I used my orbital sander to lightly sand on the inside of the cabinets. Then I used 120 grit to sand all the edges of the cabinet doors and drawers, where it would naturally wear. I don’t like super heavy distressing but I would say this is light to medium distressing.
Before (The day we purchased our home.)
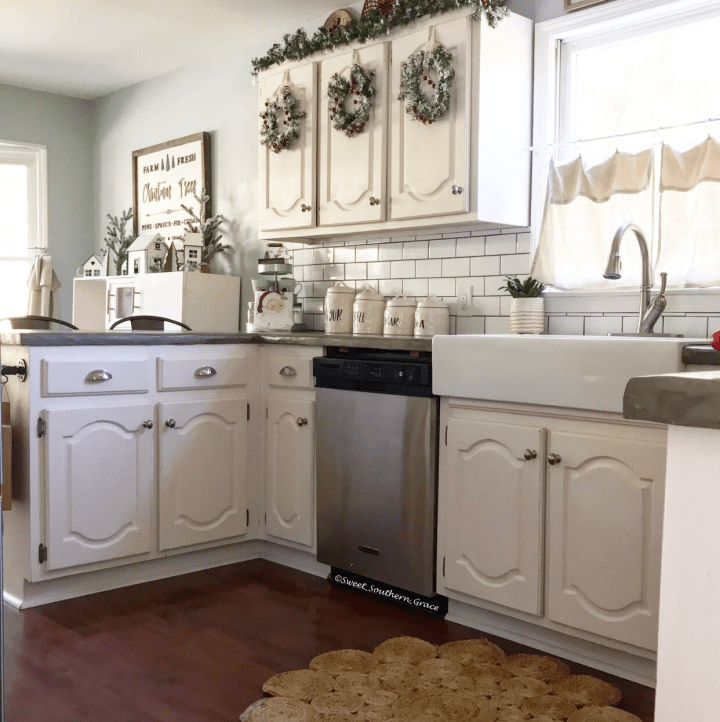
After (Current view with Christmas decor.)
We are absolutely loving how our cabinets and entire kitchen has turned out!! We absolutely get so much JOY from our home DIY renovations. I hope you have enjoyed reading and we hope to inspire you!
❤️-Shae

Your kitchen is beautiful!! It looks so much bigger with all the lighter colors.
LikeLike
Thank you so much Michelle! We love it!
LikeLiked by 1 person