Today I am teaming up with a multitude of fabulous bloggers to share a Spring Upcycle DIY! My friend Terrie from Decorating and More with Tip , heads up our group and the rules were as follows: The Spring Upcycle DIY must be something spring related and we need to upcycle something we already had on hand at home!

Challenge Accepted
Challenge accepted? Well, may be. I actually failed. Twice to be exact. I think I have a good excuse though and I did rise above it! We have literally everything we own in storage! I have very little to work with so I had to be super creative!
Wood Sign
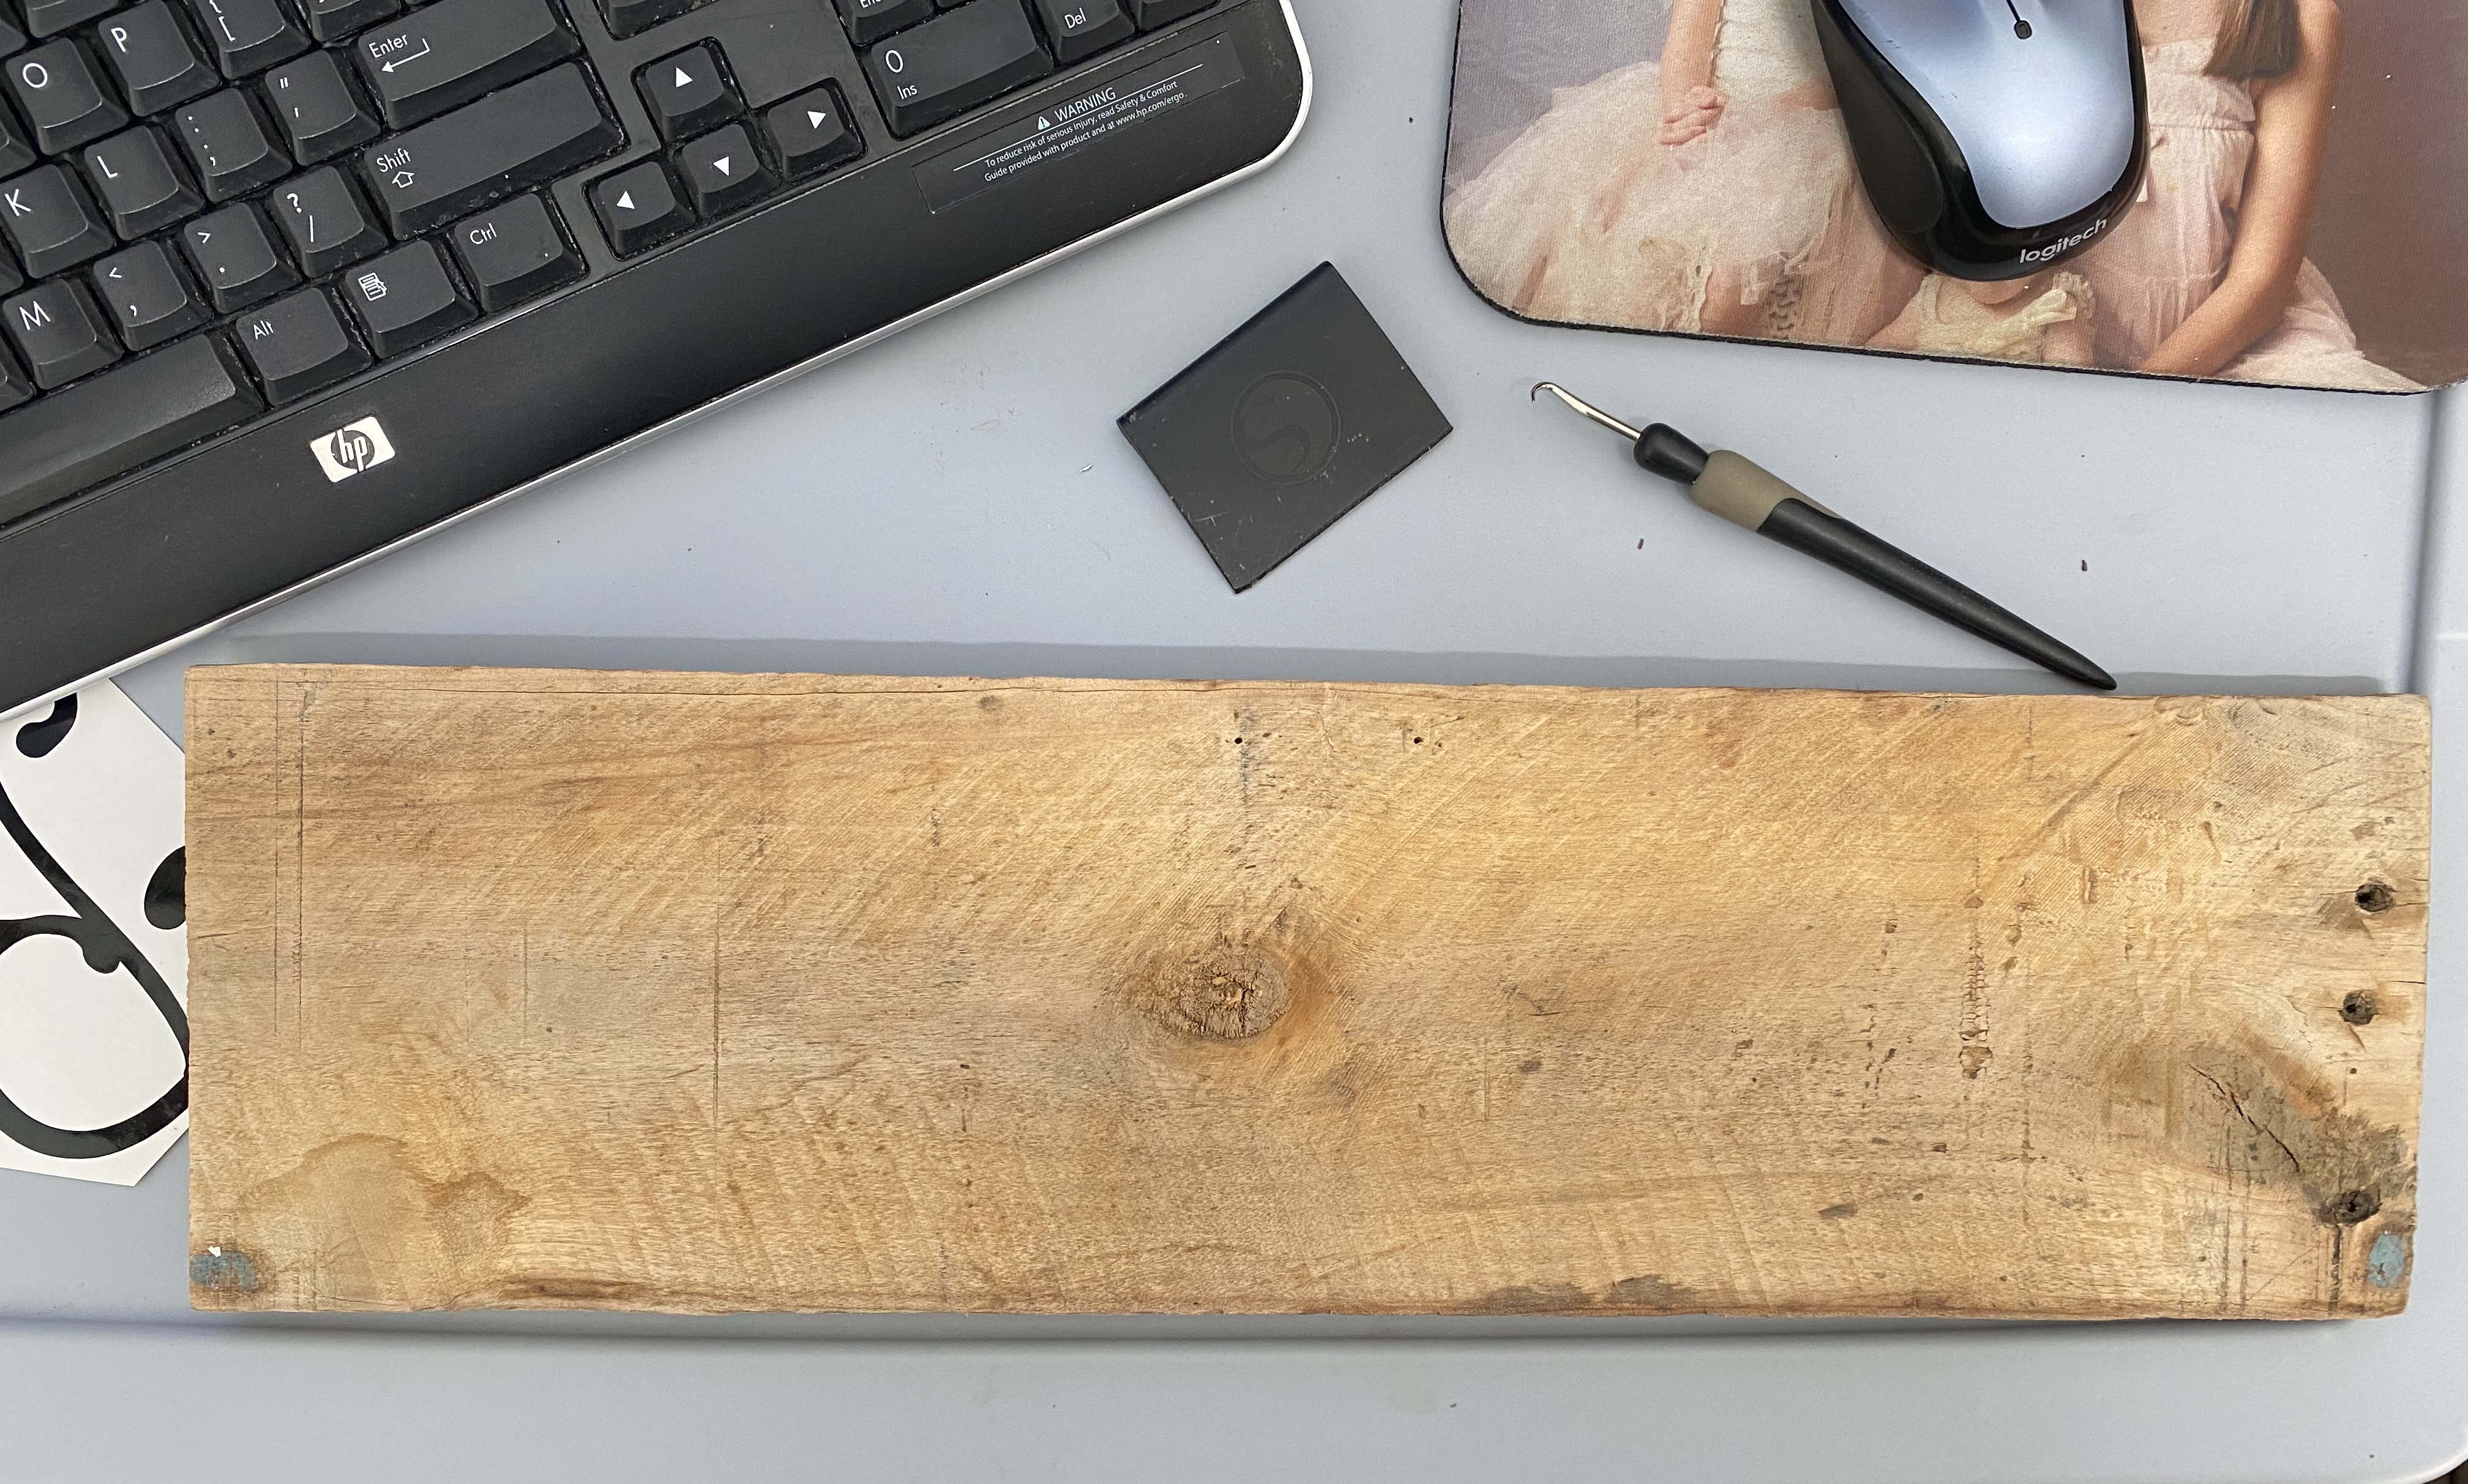
I first decided I would have my husband cut me a piece of aged wood that we found on our new property. I planned to paint a garden sign for our new garden but it has been raining here for the past couple of days and the wood was still wet. Since the wood stayed damp, I could not paint on the wood. Next, I decided to do a vinyl design on a sign that I had in my camper, which is our current home, as we build our forever home!
 I decided I could use the back of this sign for a different sign. The first vinyl design did not work out due to the size and file of the vinyl design. I realized this AFTER designing the entire design.
Easter Wood Sign with Silhouette
Next, I decided to go a more simpler route and just do vinyl wording for Easter.
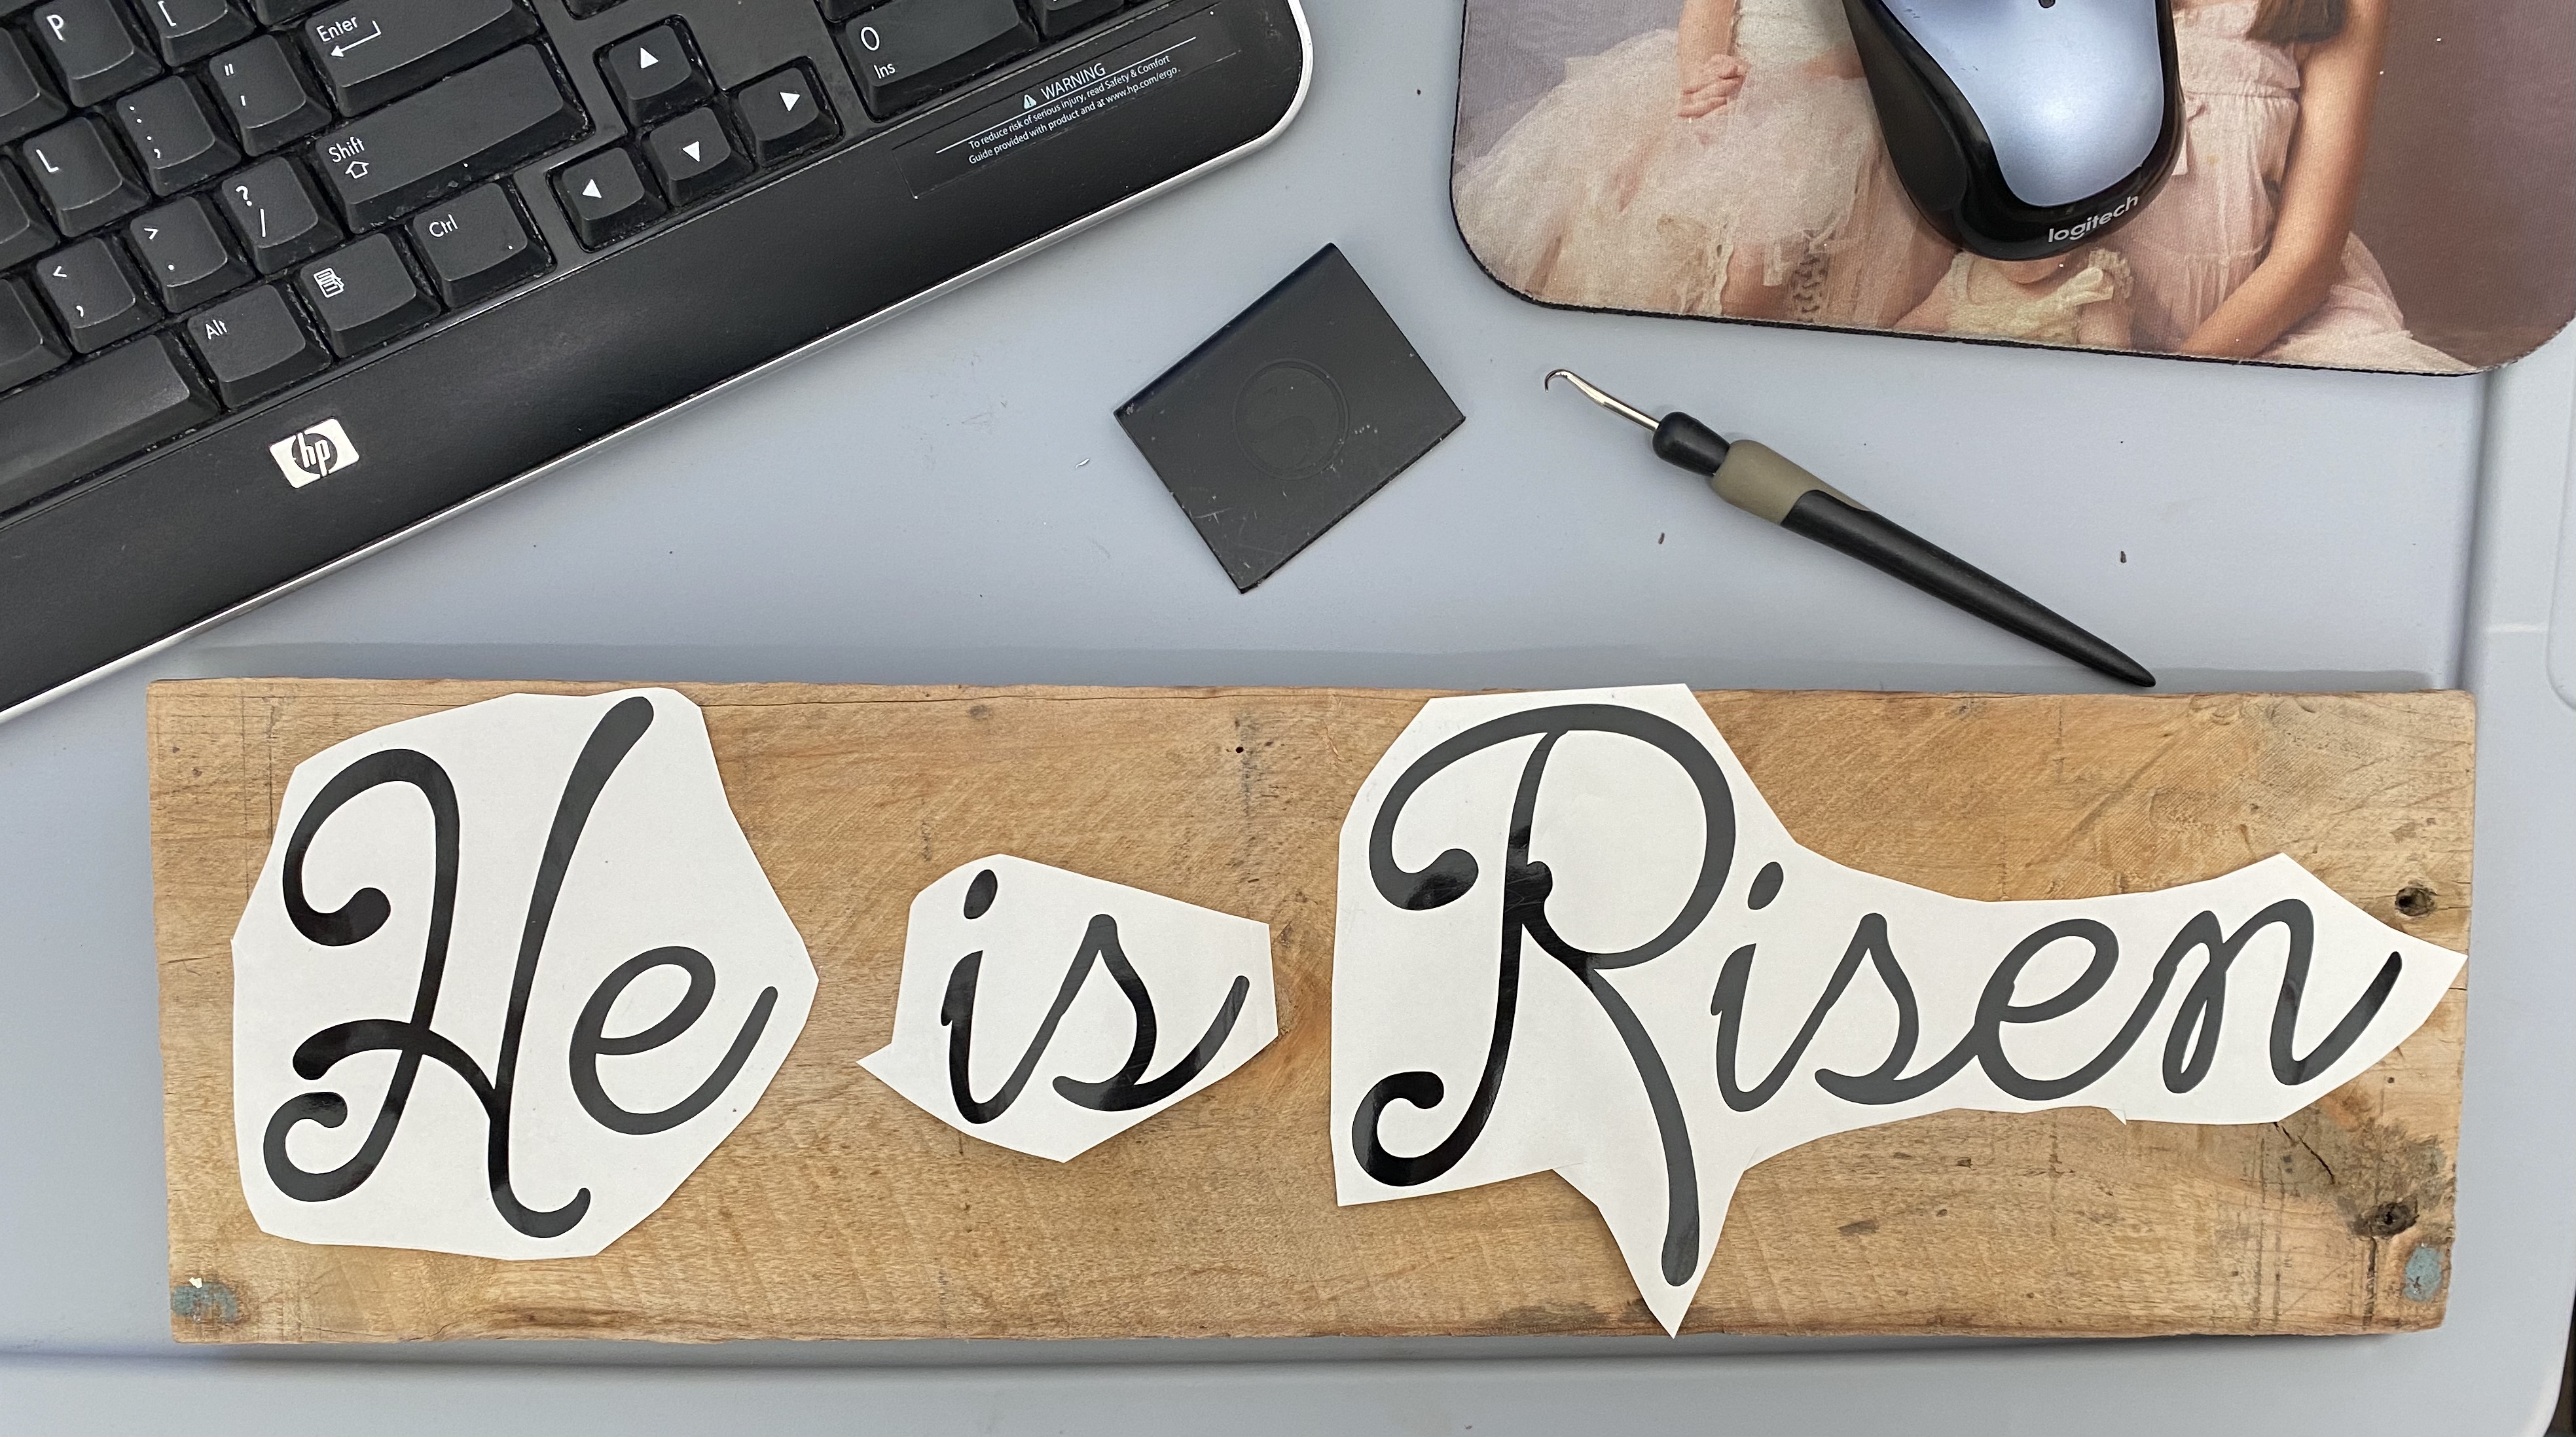
I decided on “He is Risen” for the saying for my sign. I went to my Silhoutte program and grabbed a font from my Silhouette library and manipulated it a bit, to size.
I measured the wood and decided to go with 17×4.5 for the size of the vinyl letters, since my wood sign is 19×5. After printing the vinyl words, “He is Risen”, I removed the negative vinyl, which we call weeding, in the vinyl world. I also cut out each word and placed it on the wood for placement before I added the vinyl to my wood sign.
A little bit of history of the wood: The wood iteself is actually wormed antique wood from a barn and it is over 100 yeaars old! It is a pretty cool piece of history! We have made many things from this wood like framed mirrors, shelves and more!
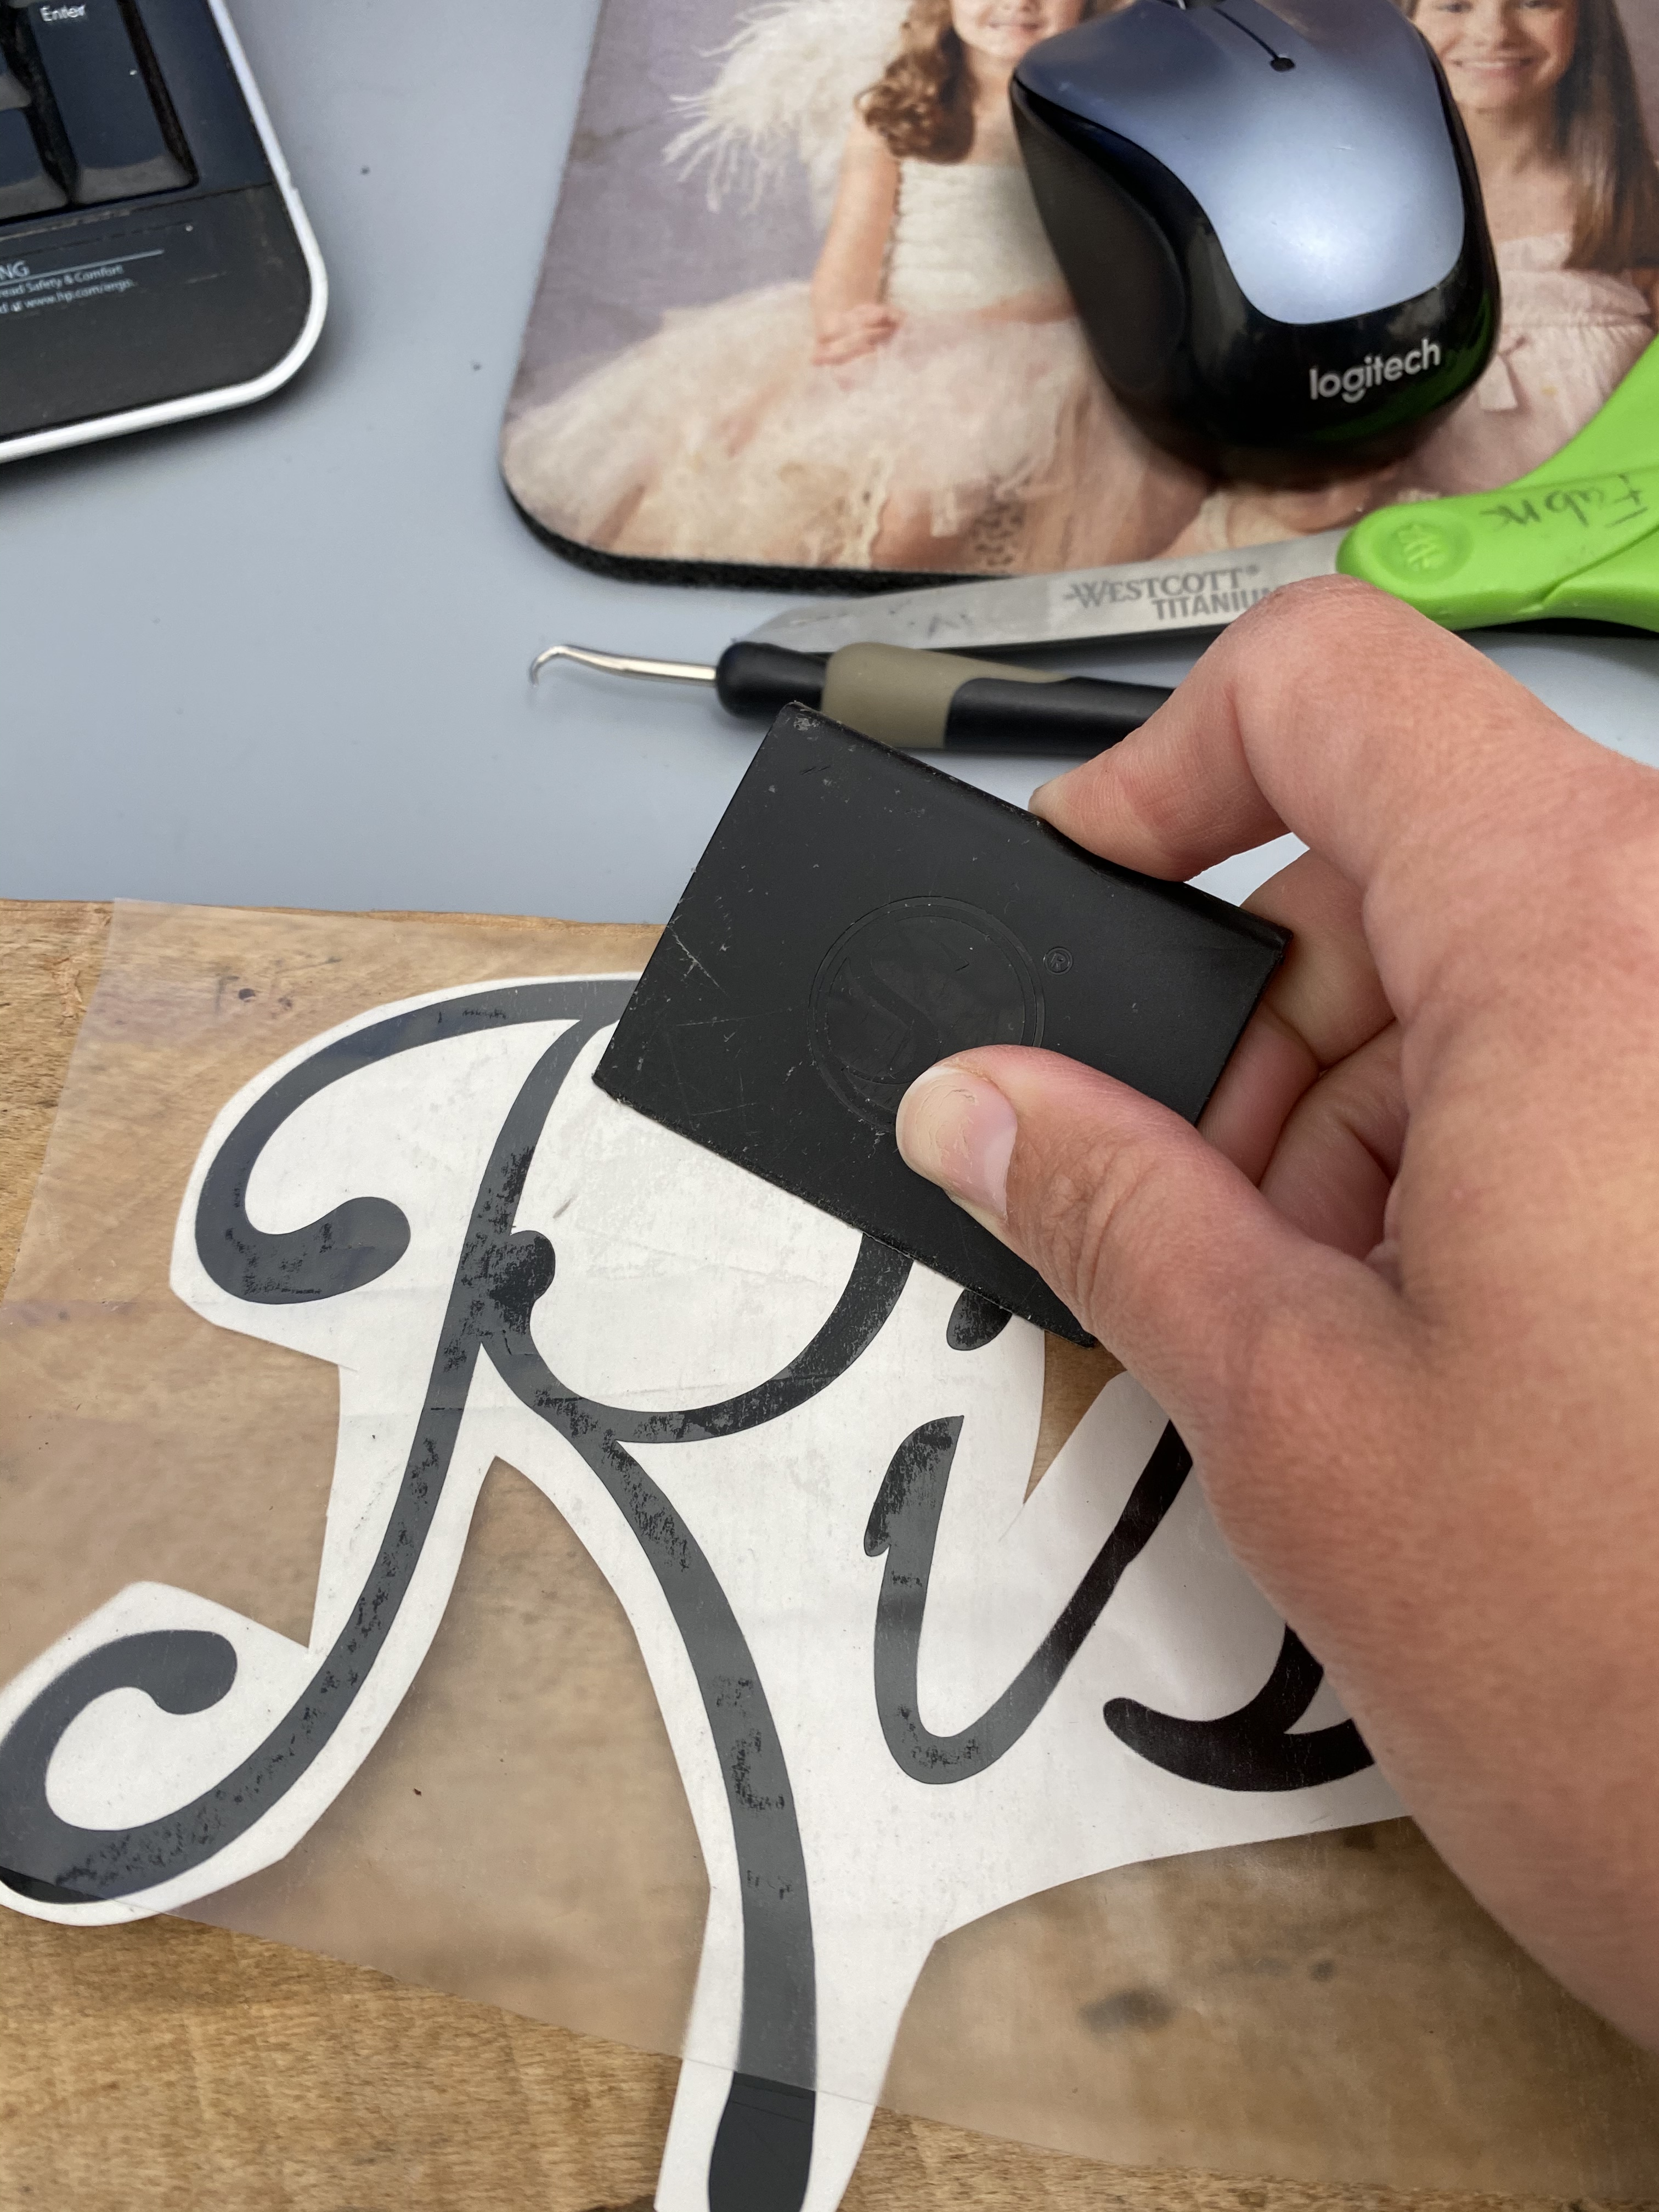
I added transfer contact paper, made sure the vinyl adhered, then carefully peeled the vinyl from the contact paper.
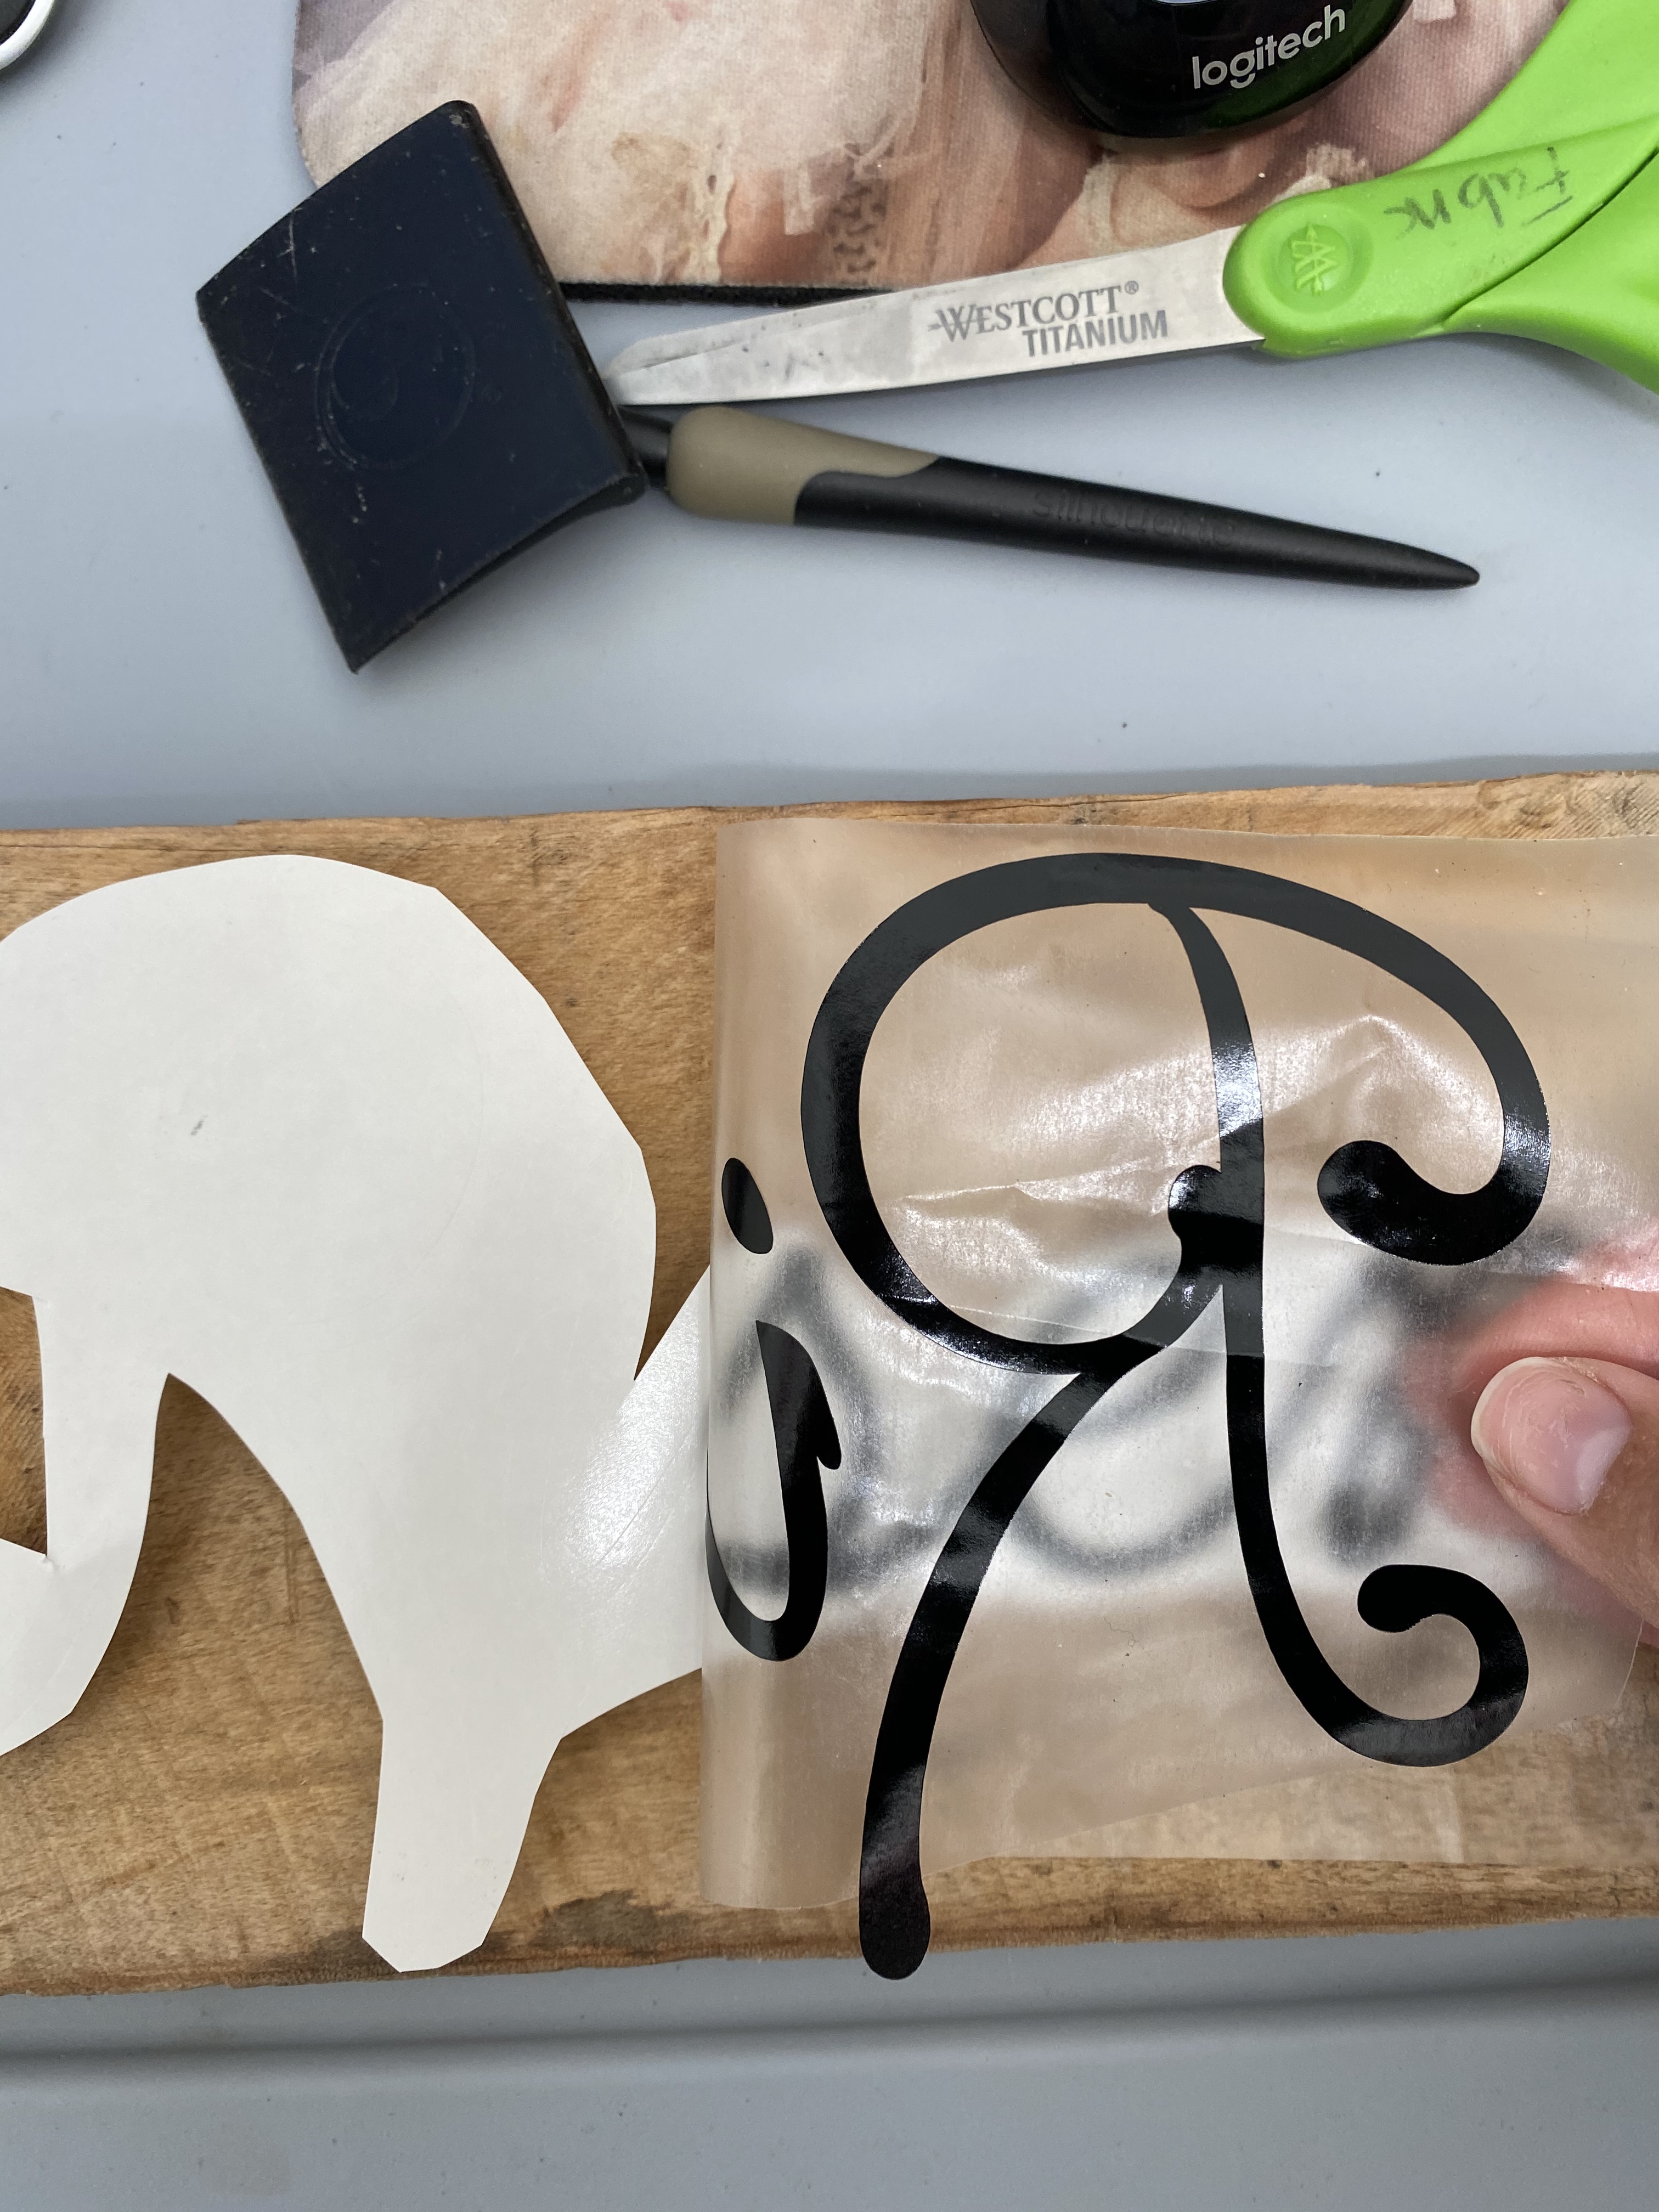
Next, I placed the word “Risen” on the sign first, noting that I wanted the “n” to be about a half inch from the very end of the wood sign. I measured about a half inch from the first and last letter

After adding the word “Risen”, I added the word “He”. I added “is” last and made sure it measured equal on spacing at about an inch from the words “He” and “Risen”.

Final Thoughts
Overall, a simple and quick project that cost me $0 since I had everything I needed on hand! I have stories on my Instagram account that you can see a bit more details! I hope you will take the time to check out what my friend’s have come up with for their Spring Upcycle!
Love~Shae


DECORATE AND MORE WITH TIP | Blessings by me | JUNK TO GEMS | CLOCHES AND LAVENDER


PATINA AND PAINT | PALLET AND PANTRY | B4 & AFTERS | PURPLE HUES AND ME


Oh this turned out so sweet. And the wood piece is perfect love that it has history too. Your camper looks beautiful. We did the same when we bought this farmhouse. Good memory making.
LikeLike
Hey Corine! Oh wow! I’m so glad you understand where we are coming from! I have met many who are in the same process now!
LikeLike
I love your sign! I have a Silhouette too and I love it. We rescued wood from my Dad’s old barn and plan on making a new countertop for my laundry room with it. Seeing your sign makes me very impatient to get started. lol! Thanks for sharing such a wonderful project.
LikeLike
You are so kind!! Thank you so much
LikeLike
Awesome tutorial, Shae! I always struggle when it comes to making wood signs. I’ll definitely have to try your technique! Perfect choice of wording for the season, and I just love how you’ve displayed it!
LikeLike
You are so kind my friend!
LikeLike
This is so cool and awesome, Shae! You certainly did rise to the occasion with this challenge! How amazing to be using 100 year old wood! and the wording! You go!
LikeLike
Thank you so much!!
LikeLike
Shae, it is a very simple sign with a powerful saying. I love it!! Thanks for sharing. By the way, you have your temporary living quarters looking so beautiful and homey.
LikeLike
Thank you Terrie! And thank you for always including me! I really enjoy writing with all of you wonderful ladies!!
LikeLike
I couldn’t pin this from my phone, but glad I was able to pin it from my laptop. I’m amazed how beautiful your camper is! I love your sign and how you spaced it like you wanted.
LikeLike
Thank you so much!
LikeLike
This is beautiful! I just love how it turned out! And your camper looks so cozy!!
LikeLike
Thank you so much!
LikeLiked by 1 person